Create Burn-To-Redeem NFTs For A Unity Game
In this guide, we'll show you how to create a "burn-to-redeem" mechanic in a Unity game; where users burn one NFT to claim a different NFT!
By the end, you'll learn how to:
- Create an NFT Collection with custom logic in Solidity using ContractKit
- Deploy your contract to the blockchain
- Allow players to claim NFTs from within a Unity game
Let's get started!
Pre-Requisites
This is the 4th step of a multi-part series on building Web3 Games with our Unity SDK.
We recommend reading the previous guides before continuing:
- Getting started with the Unity SDK
- Airdrop Free-To-Own Access Key NFTs to Players
- Add A Connect Wallet Button to Your Game
Creating A "Burn-To-Mint" Smart Contract
We'll write a smart contract in Solidity using ContractKit that has the following logic:
- The contract is a collection of ERC1155 NFTs that can be claimed
- Users can only claim an NFT if they own an Access Key NFT (from our previous guide)
- The Access Key NFT is burned as the user claims!
Creating the Smart Contract
To begin with, we'll use the CLI to create a new smart contract project by running the following command:
npx thirdweb@latest create contract
This will kickstart an interactive CLI where you can answer a series of questions to start your project. Set your project up like so:
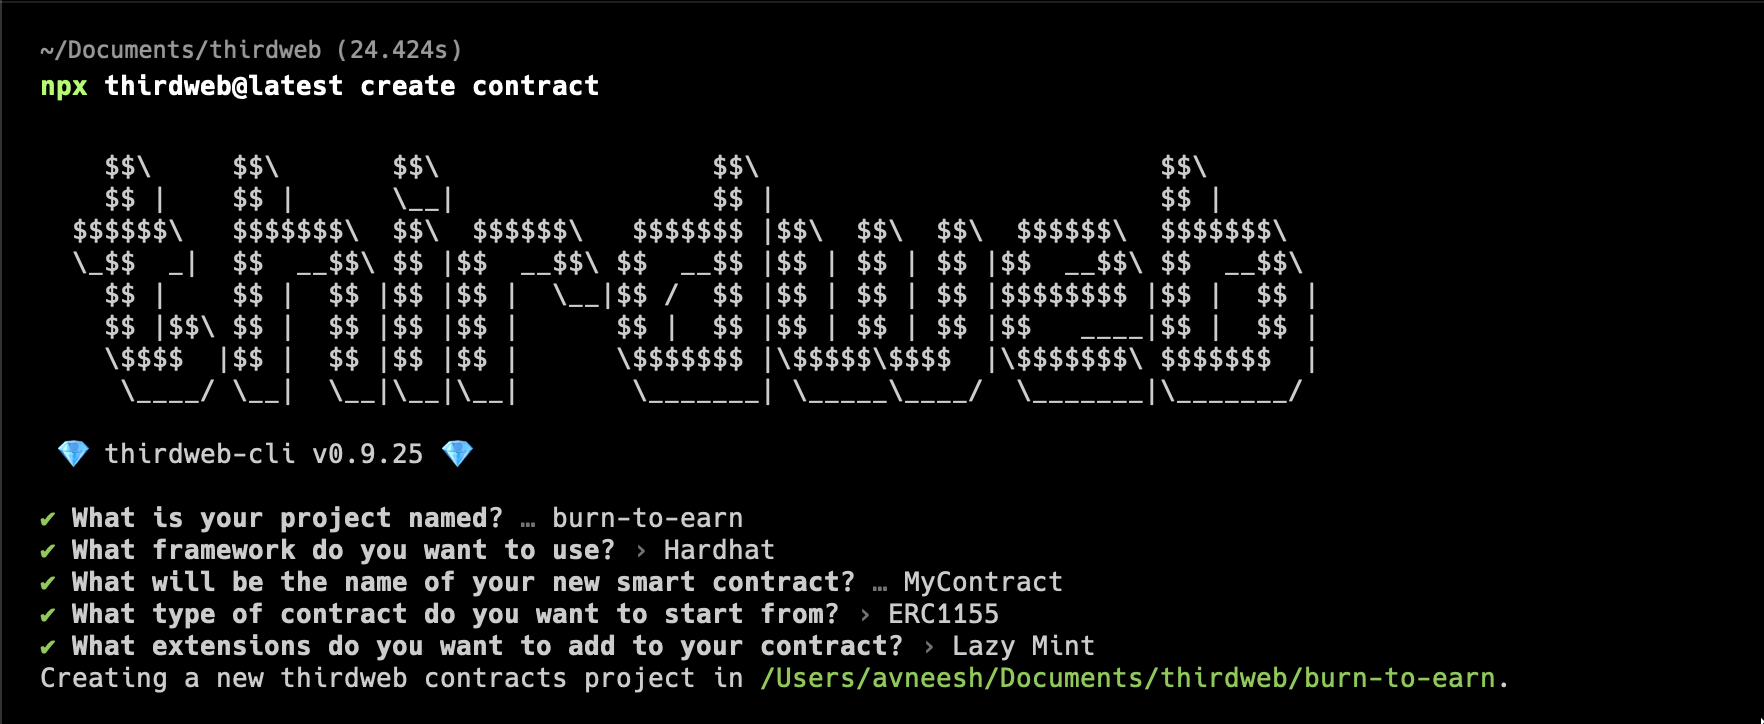
Change the directory into the newly created project and open it in your text editor. Take a look at the contracts/Contract.sol file now. Let's quickly review what we've created so far with the CLI before we continue:
We're importing the ERC1155LazyMint smart contract from ContractKit. This comes packed with features that allow us to upload NFT metadata and have other wallets claim them.
We inherit the ERC1155LazyMint contract inside of our contract; meaning we can access all of the base contract's functionality inside of this one:
contract Contract is ERC1155LazyMint
- We use the
constructorto specify things like thenameof our smart contract. This logic gets run when we deploy it to the blockchain.
Excellent! Now we're set up with the foundation of our ERC1155 NFT Collection.
Let's add our custom logic next.
Restricting Mints To Only Access Key Holders
We only want users who hold an Access Key NFT to be able to mint from this contract.
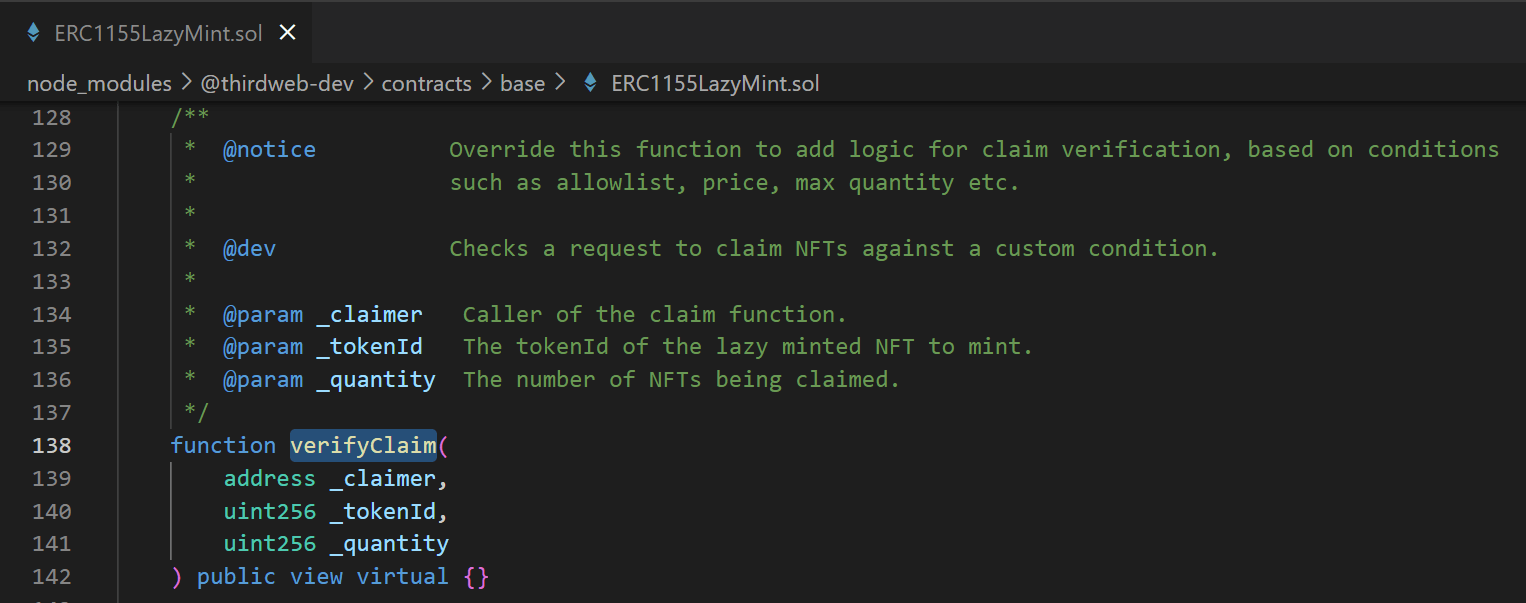
The ERC1155LazyMint contract we're inheriting comes with a function called verifyClaim that we can override.
This verifyClaim function is run before a wallet tries to claim an NFT from our contract. If the verifyClaim function fails, the user isn't allowed to claim an NFT.
You can see the function in the base contract, that by default, allows any wallet address to claim an NFT (since the function is empty):
Within our smart contract, let's override this function:
function verifyClaim(
    address _claimer,
    uint256 _tokenId,
    uint256 _quantity
) public view override {
    // Here, we'll check if the claimer has the access key
}
Next, we need a way to check the balance of the _claimer address to ensure they own an access key NFT as they attempt to claim.
Let's first create a variable to store our access key NFT collection inside this contract, then use it to check the claimer's balance.
We can implement this logic in a three-step process:
- Create a variable for our access key NFTs smart contract
- In the
constructor, set the above variable to our access key's contract address - In the
verifyClaimfunction, use thebalanceOffunction on the access key contract.
Our smart contract now looks like this:
// SPDX-License-Identifier: Apache-2.0
pragma solidity ^0.8.0;

import "@thirdweb-dev/contracts/base/ERC1155LazyMint.sol";

contract Contract is ERC1155LazyMint {
    // Define a variable to store the access key smart contract
    ERC1155LazyMint public accessKeysCollection;

    constructor(
        string memory _name,
        string memory _symbol,
        address _royaltyRecipient,
        uint128 _royaltyBps,
        // Pass in the address of the Access keys collection
        address _accessKeysCollection
    ) ERC1155LazyMint(_name, _symbol, _royaltyRecipient, _royaltyBps) {
        // Set the access key smart contract in the variable we created
        // (ERC1155LazyMint isn't the "exact" type of the Edition prebuilt,
        //  but it has the same function "balanceOf" that we need.)
        accessKeysCollection = ERC1155LazyMint(_accessKeysCollection);
    }

    function verifyClaim(
        address _claimer,
        uint256 _tokenId,
        uint256 _quantity
    ) public view override {
        // Check if the claimer has the access key
        require(
            accessKeysCollection.balanceOf(_claimer, 0) >= _quantity,
            "Rejected: Claimer does not have access key"
        );
    }
}
Burning The Access Pass
Now we've ensured the user owns an access key NFT before they claim, let's burn the access key as the user receives their NFT.
We can do this by overriding the _transferTokensOnClaim function from the base contract. As the name suggests, this is called after the verifyClaim function has run, in order to actually mint the token to the claimer address.
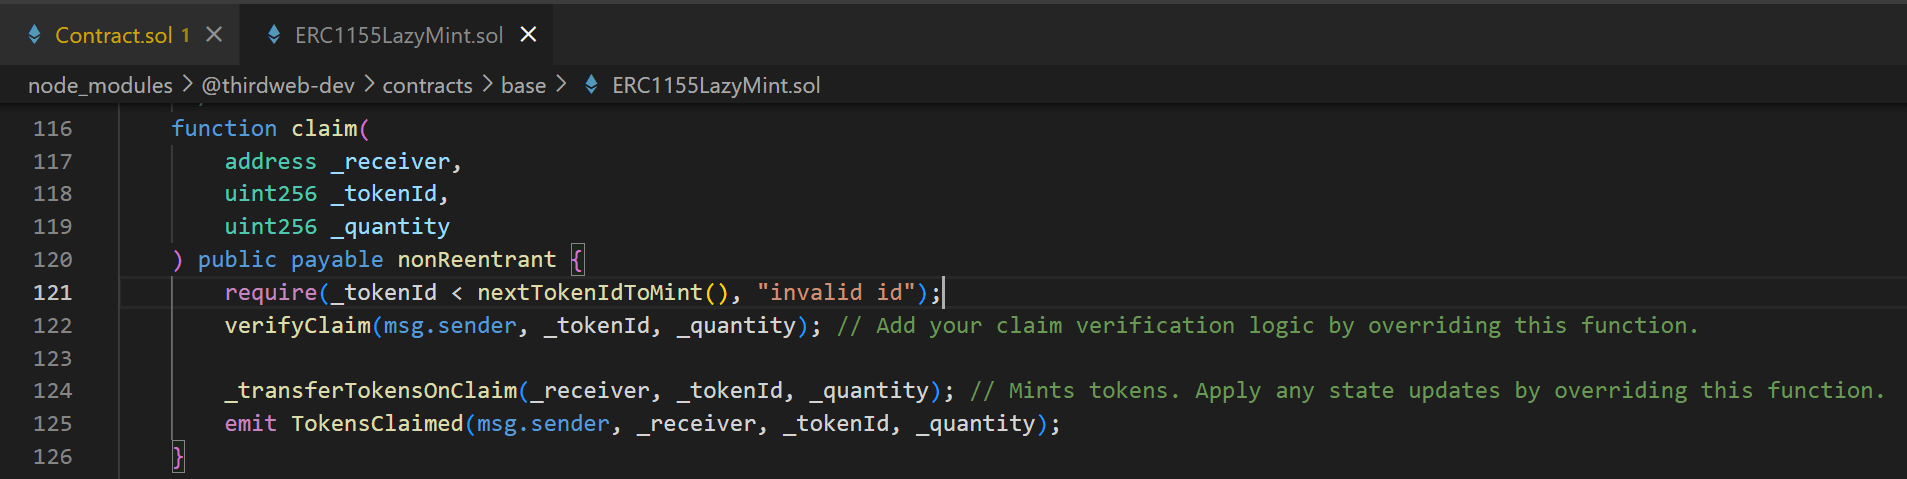
We can see that in the source code of the claim function in the ERC1155LazyMint base contract too. (Notice the order of functions that occur inside it):
verifyClaim_transferTokensOnClaim
So, in our smart contract, let's override this function to include our burn logic:
function _transferTokensOnClaim(
    address _receiver,
    uint256 _tokenId,
    uint256 _quantity
) internal override {
    // First, burn the access keys from the user's wallet
    accessKeysCollection.burn(
        _receiver, // Burn from the receiver
        0, // Token ID
        _quantity // Amount to burn is the quantity they are claiming
    );

    // Use the rest of the inherited claim function logic
    super._transferTokensOnClaim(_receiver, _tokenId, _quantity);
}
That's it for our smart contract logic! Let's move on to deploying it now.
Deploying The Smart Contract
To deploy your contract, run the following command:
npx thirdweb@latest deploy
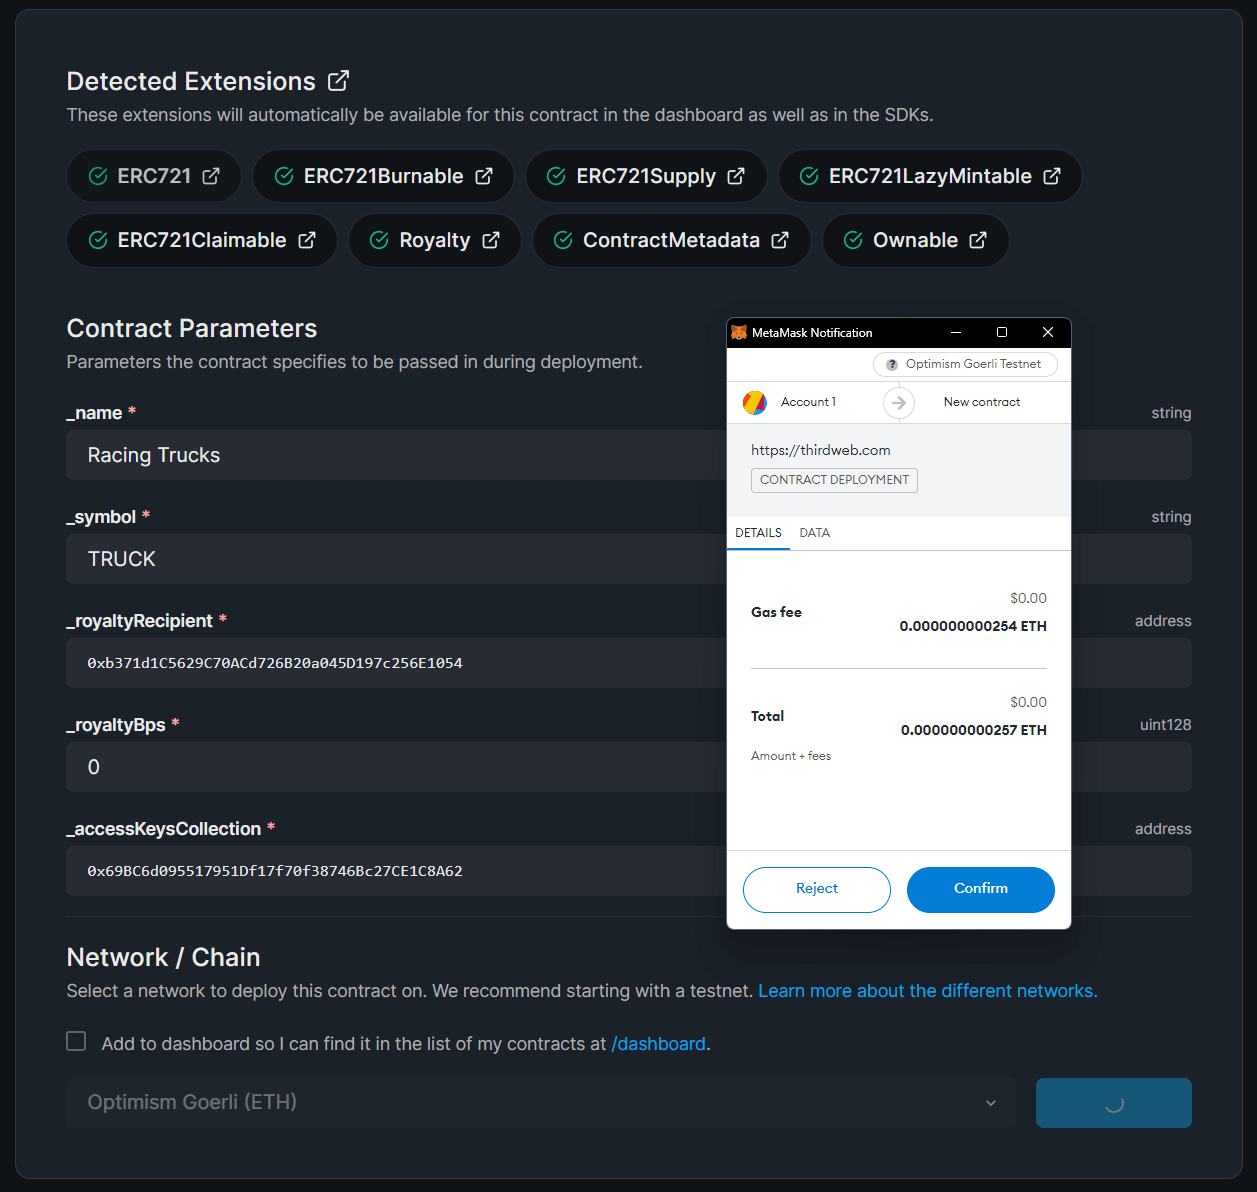
Open the URL in your browser and populate the fields of the constructor like so:
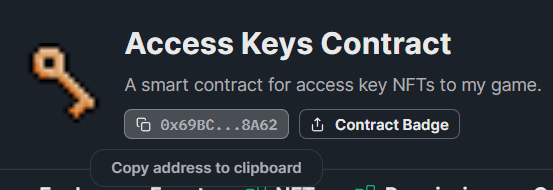
_name: Name of your NFT collection_symbol: Ticker for the tokens in the contract_royaltyRecipient: Wallet address to receive royalty fees on secondary sales_royaltyBps: How much royalties you want to take. e.g. 500 = 5% fee._accessKeysCollection: The smart contract address of your access keys (see below):
When you're ready, deploy your smart contract to the same network as your access keys, and approve the Contract Deployment transaction:
Uploading NFT Metadata
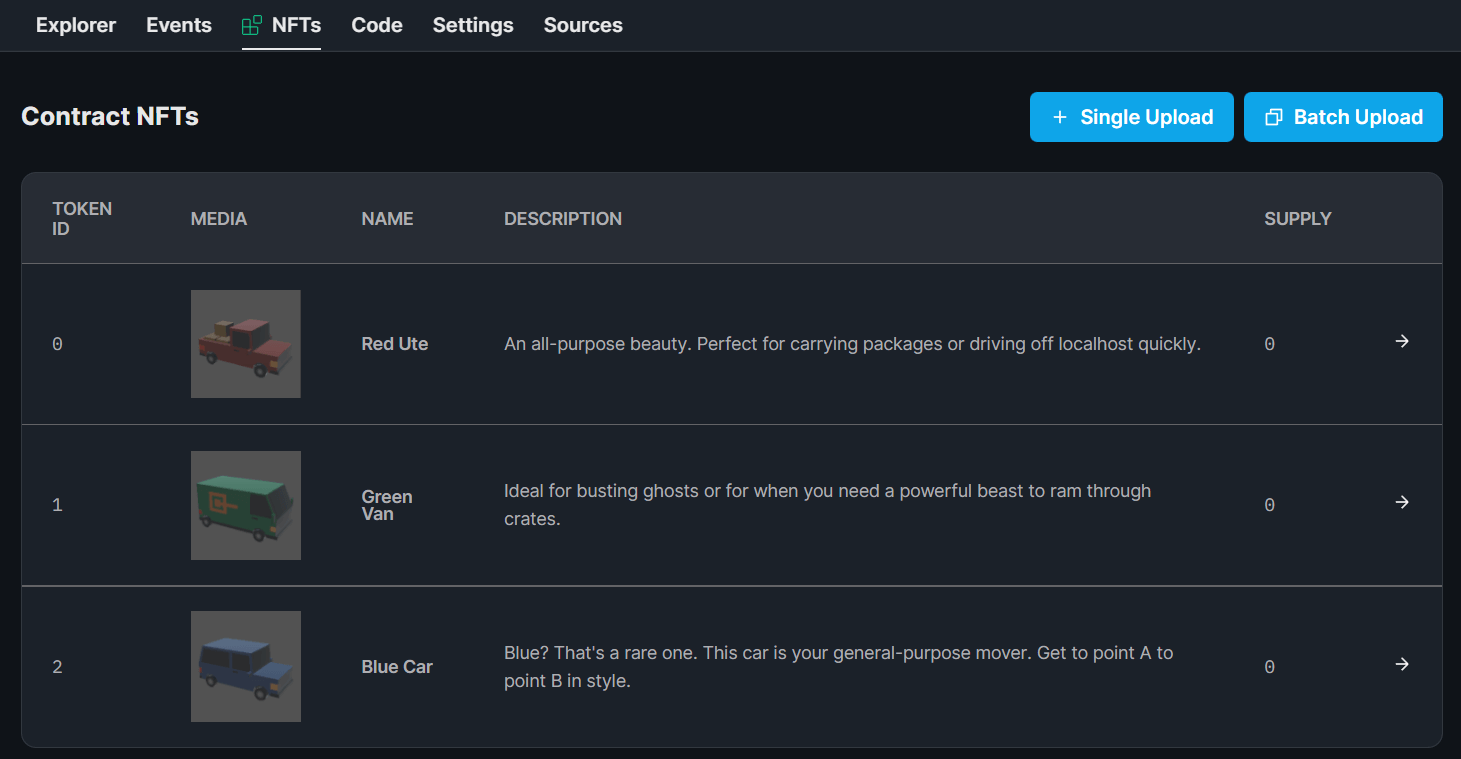
Once deployed, head to the NFTs tab and Single Upload or Batch Upload your NFT metadata for the NFTs that represent your playable characters in your game.
For our game, users can mint one of three vehicles to drive with, so here's how I've configured the NFTs:
Alright! Your smart contract is ready to go!🥳🎉 Let's get back to Unity now.
Claiming NFTs From Unity
In our previous guide, we read the user's wallet to see if they owned an Access Key NFT.
Now we're going to allow the users that own an access key NFT to mint a vehicle NFT of their choice! In the process, they'll burn their access key NFT.
Connecting User Wallets
Follow our guide "Add A Connect Wallet Button In Unity" to allow users to connect their wallet and check their balance for access key NFTs first.
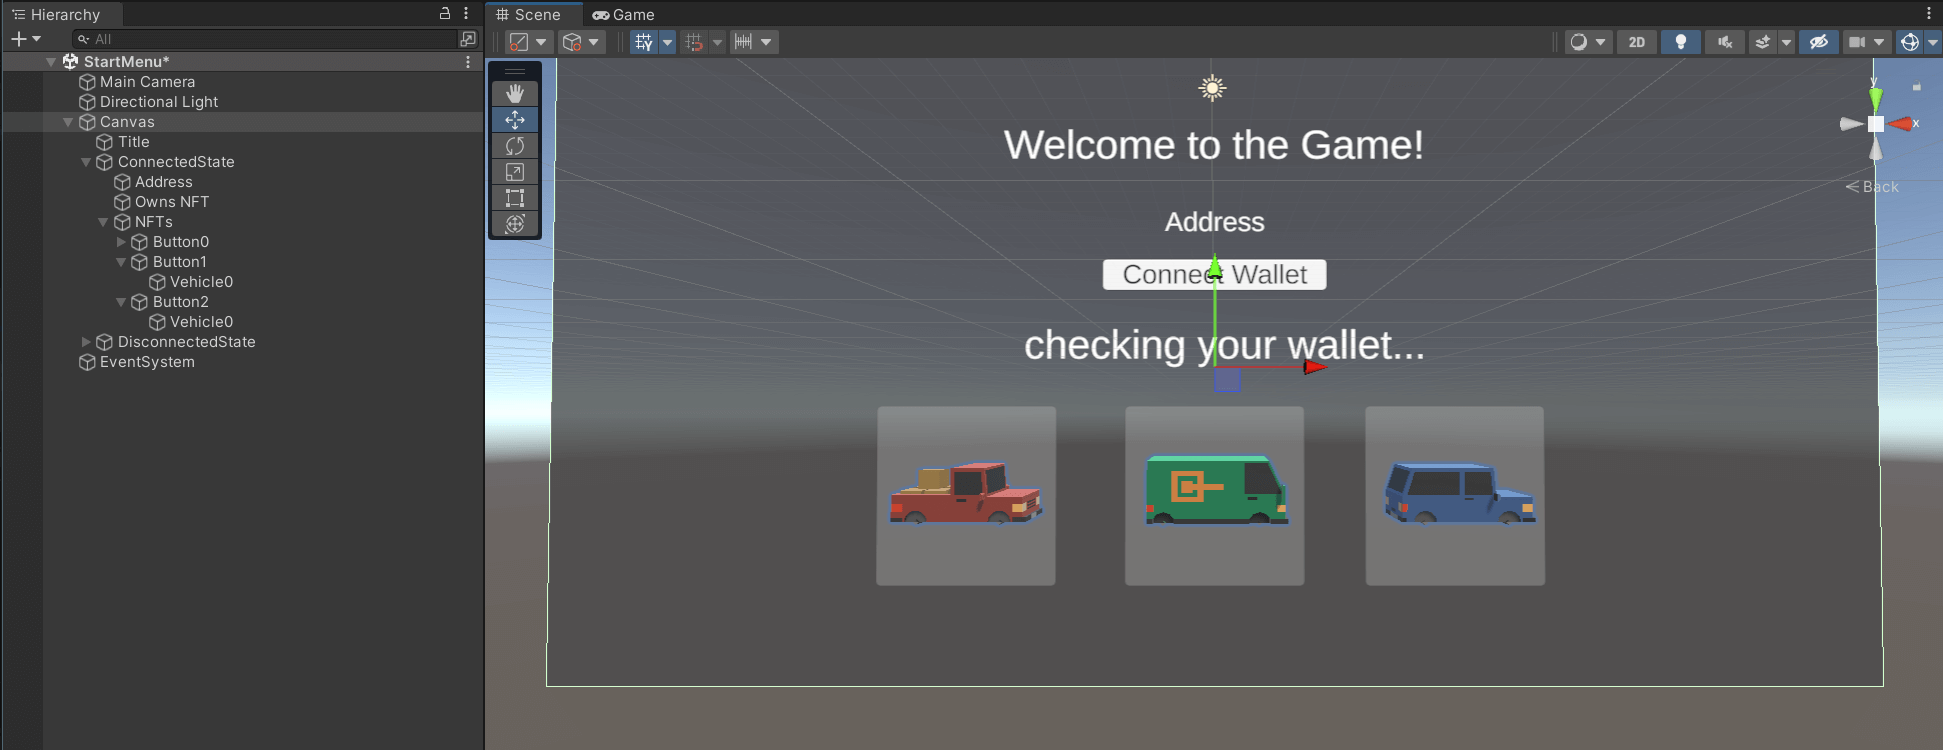
Rendering Selectable NFTs
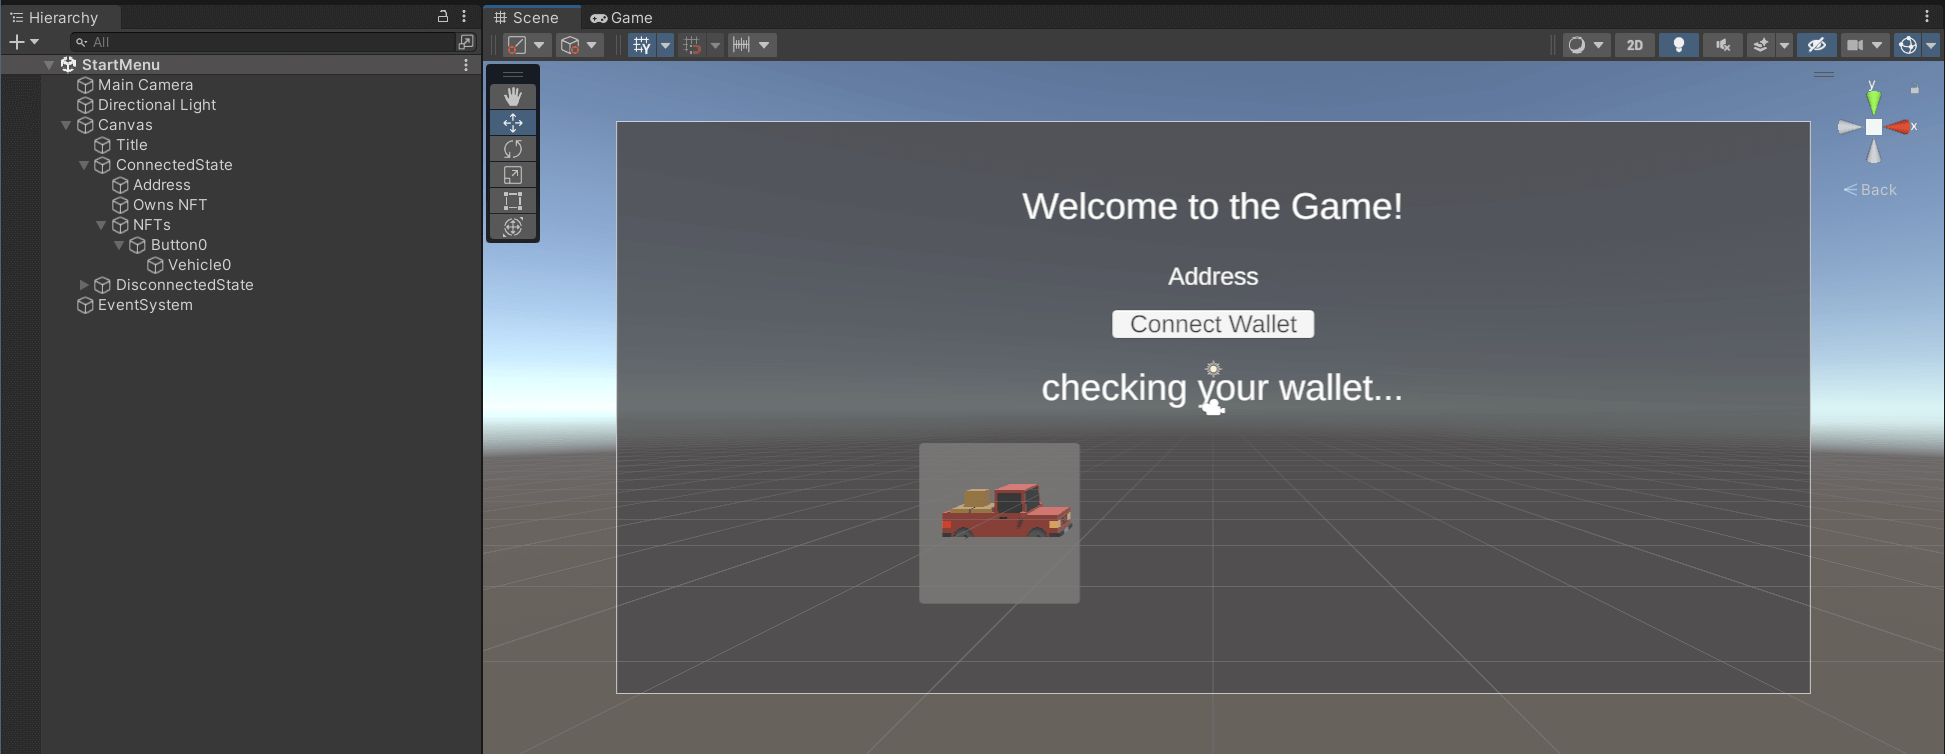
Within the ConnectedState game object, create a new Empty Game Object called NFTs. Within the NFTs game object, create a new button called Button0.
With some styling and demo assets, it should look something like this so far:
Now let's create a new function inside our existing StartMenuManager script called RenderNFTs; which will render our buttons on the UI IF the user has an access key.
public void RenderNFTs()
{
    // From the ConnectedState GameObject, find the "NFTs" GameObject
    GameObject nfts = ConnectedState.transform.Find("NFTs").gameObject;
    // Set the NFTs GameObject to active
    nfts.SetActive(true);
}
Claiming NFTs On Click
Now the user will be able to see the buttons if they own an access key NFT.
We want each button to claim the respective NFT when clicked, so let's add another function called SelectVehicleToMint that accepts a tokenId parameter:
public async void SelectVehicleToMint(string tokenId)
{
    // Connect to the smart contract for the vehicles
    Contract vehicleContract =
        sdk.GetContract("0xc1B3337f08a6eF19DFc8C46731a0B20b7D97E15F");
    // Connect to the smart contract for the Access keys
    Contract accessKeyContract =
        sdk.GetContract("0x69BC6d095517951Df17f70f38746Bc27CE1C8A62");
    // Need to grant approval for the contract to burn our nfts first
    // This is only required if you're using the burn-to-earn logic.
    // It is NOT required to claim from a prebuilt drop contract.
    await accessKeyContract
        .Write("setApprovalForAll",
        new List<object> {
            // The address of the vehicle contract
            "0xc1B3337f08a6eF19DFc8C46731a0B20b7D97E15F",
            // True to grant approval
            true
        });
    // Claim 1 vehicle of their choice.
    await vehicleContract.ERC1155.Claim(tokenId, 1);
}
So that we conditionally render the buttons when the user connects their wallet, add the following logic to the end of the ConnectWallet function:
public async void ConnectWallet()
{
    // ... existing logic here

    // New logic:
    if (balanceFloat > 0)
    {
        RenderNFTs();
    }
}
Finally, let's set the OnClick handler of the Button0 object we made to call the SelectVehicleToMint with the token ID of the red vehicle:
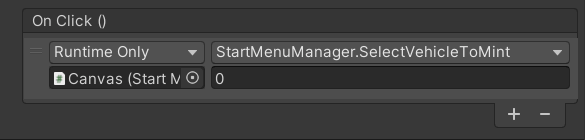
Here's what we have so far:
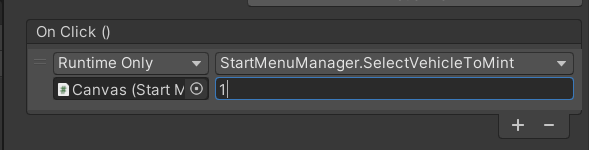
Now, let's duplicate our button so that the user can select one of the three vehicles:
Remember to change the argument of the OnClick function to the token ID of the vehicle (1 for the green van) and (2 for the blue car):
Wrapping Up
That's it! 🎉
We've successfully implemented a way for users to mint NFTs in our Unity game!
As a bonus, we burn the Access Key NFTs from the previous step in the process.
Got questions? Jump into our Discord to speak with our team directly!