Add A Connect Wallet Button in a Unity Game

In this guide, we'll show you how to add a "Connect Wallet" button to your Unity Game, to allow users to connect their wallet to your game!
Once connected, we'll check to see if they own an NFT from your collection and allow them to play the game if they do!
TLDR
This guide shows you how to create a dynamic user interface that changes based on the user's connection status. If you're in a rush, you can quickly grab the key code snippet below:
using Thirdweb;
using UnityEngine;

public class ThirdwebSDKDemos : MonoBehaviour
{
    private ThirdwebSDK sdk;

    void Start()
    {
        sdk = new ThirdwebSDK("goerli");
    }

    private async void ConnectWallet(WalletProvider provider)
    {
        string address = await sdk.wallet.Connect(new WalletConnection() {
            provider = WalletProvider.CoinbaseWallet, // Use Coinbase Wallet
            chainId = 5 // Switch the wallet Goerli network on connection
        });
    }
}
For those of you starting from the ground up, let's begin!
Pre-Requisites
This guide assumes you have set up a Unity project with our SDK.
If you haven't, please read our Getting Started With the Unity SDK guide first, and continue with this post when you're ready!
We're going to use Coinbase Wallet in this guide as an example, but you can choose any popular wallet provider supported in our SDK.
Creating The UI With Canvas
The way our connect wallet button will work is by deciding what to show the user based on whether or not they have connected their wallet:
- Disconnected State: We'll show the connect wallet button
- Connected State: We'll show the user's wallet address, and load their balance of NFTs from our collection.
To get started, let's create a new Scene for our start menu called StartMenu:
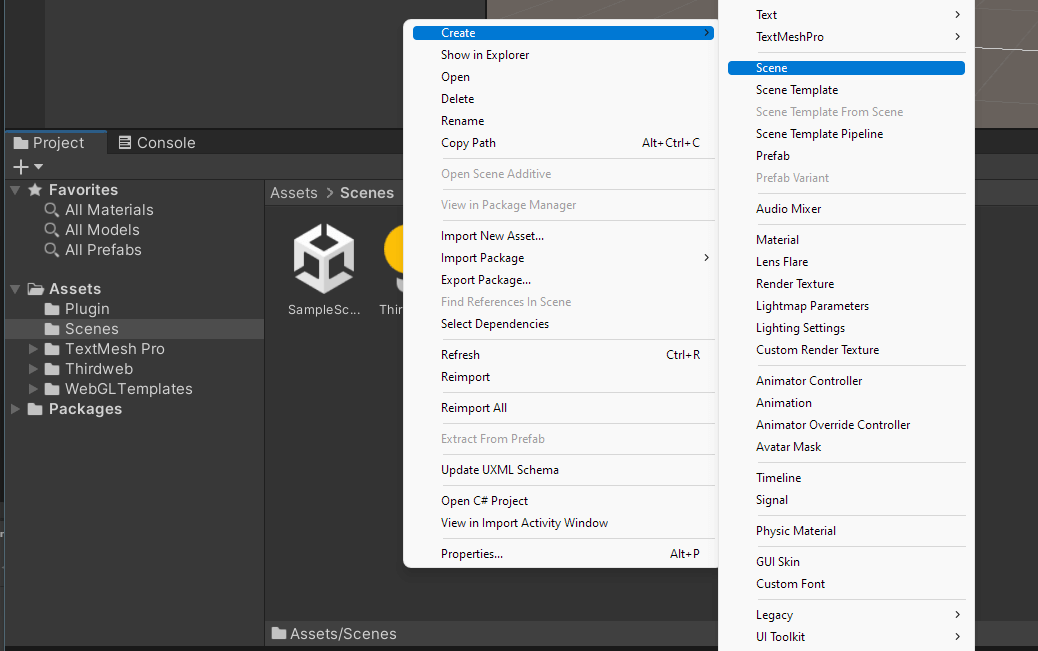
Drag your scene into the Hierarchy and create a new Canvas:
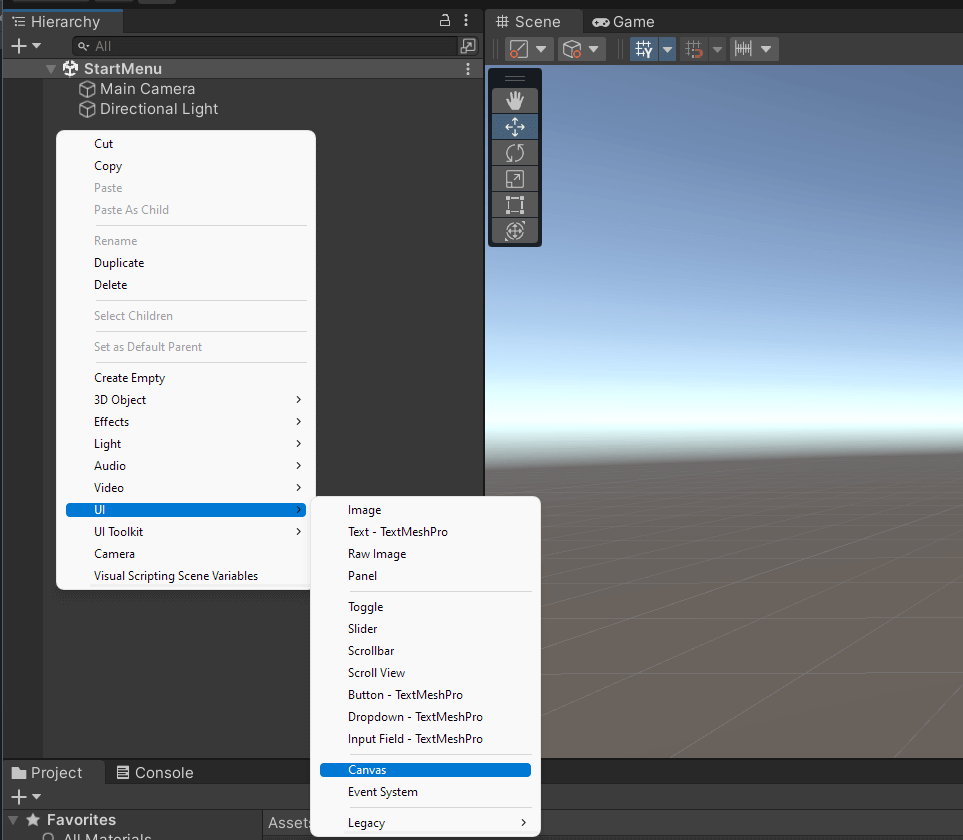
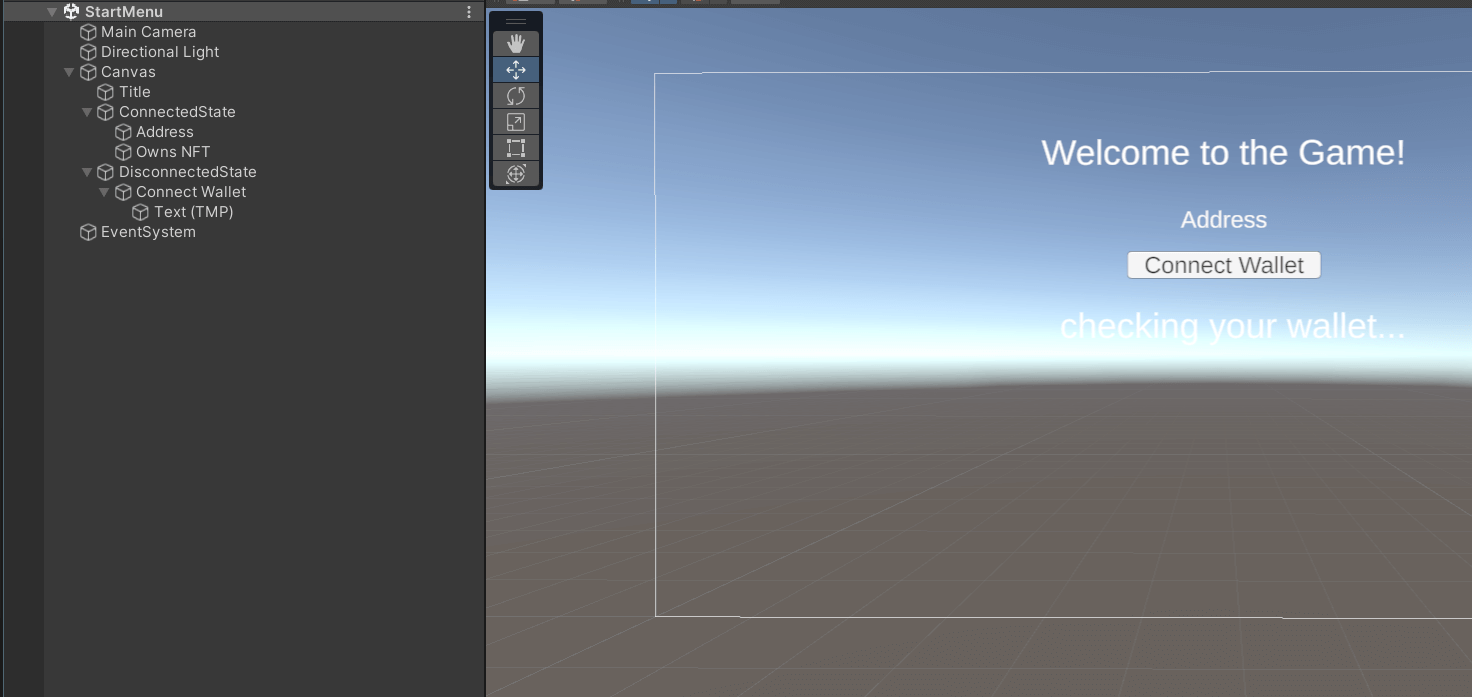
Within the Canvas, create a structure similar to the following:
Empty Game Object named ConnectedState: Container for the UI items to display when the user has connected their wallet.
Text - TextMeshPronamedAddress: Placeholder text where we'll put the users' wallet addressText - TextMeshPronamedOwns NFT: Placeholder text where we'll check and display whether the user owns one of our access key NFTs or not.
Empty Game Object named Disconnected State: Container for UI items when the user hasn't yet connected their wallet.
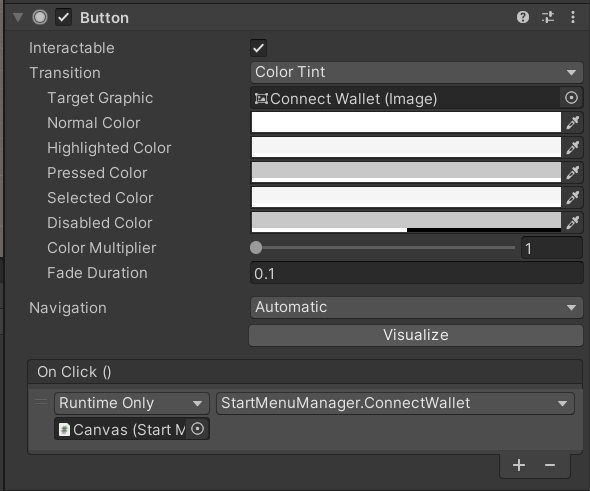
Button - TextMeshPronamedConnect Wallet: A button with the text "Connect Wallet". We'll use this to allow the user's to connect wallet to our game.
It should look something like this so far:
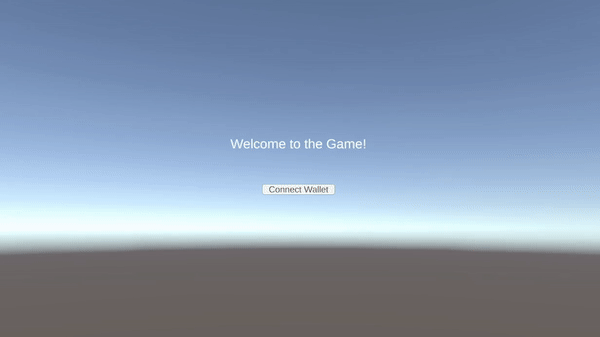
By default, let's hide the ConnectedState by disabling it like so:

Now when we hit Play, the user only sees the title and connect wallet button!
Add Connect Wallet Functionality
The behaviour we want with this menu is:
- Initially, the user sees the connect wallet button
- The user connects their wallet by clicking the button
- The user then sees their connected wallet address displayed
- The SDK checks the user's NFT balance and displays it
Let's create a new folder within the root Assets folder called Scripts.
Within the Scripts folder, create a new file called StartMenuManager, and open it up in your text editor!
To manipulate the items on the UI, we'll need to add references to the UI Game objects in our C# script. Within the StartMenuManager class, add the following public variables:
// Create references for the two Game Objects we created
public GameObject ConnectedState;
public GameObject DisconnectedState;
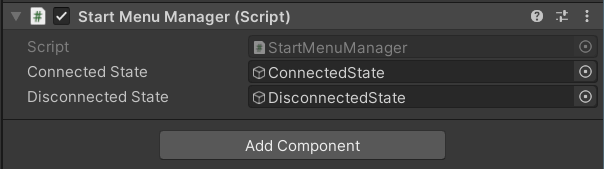
Drag the StartMenuManager script onto the canvas to add it as a component.
To define the ConnectedState and DisconnectedState variables, drag and drop the two game objects into their corresponding fields like so:
Now let's write the functionality to interact with the SDK.
Connect Wallet
First, import the thirdweb SDK into the script at the top of the file:
using Thirdweb; // for interacting with the SDK
using System.Threading.Tasks; // for some async functionality
When the game starts, let's initialize the SDK in read-only mode:
private ThirdwebSDK sdk;

// Start is called before the first frame update
void Start()
{
    // Configure the network you deployed your contracts to:
    sdk = new ThirdwebSDK("optimism-goerli");
}
Beneath the Start function, let's create a new ConnectWallet function, which calls the sdk.wallet.Connect() method. Within this method, you can provide:
- A
provider: Which wallet you want to use (such asCoinbaseWallet,MetaMask,WalletConnect, etc.) - A
chainId: Which blockchain/network you want users to be connected to. The SDK will ask the user to switch to this network after connecting.
public async void ConnectWallet()
{
  // Connect to the wallet
  string address =
      await sdk
          .wallet
          .Connect(new WalletConnection()
          {
              provider = WalletProvider.CoinbaseWallet,
              chainId = 5 // Switch the wallet Goerli on connection
          });

  // Disable disconnected state
  DisconnectedState.SetActive(false);

  // Enable connected state
  ConnectedState.SetActive(true);

  // Set the ConnectedStates "Address" GameObjects text to the wallet address
  ConnectedState
    .transform
    .Find("Address")
    .GetComponent<TMPro.TextMeshProUGUI>()
    .text = address;
}
Next, attach this ConnectWallet function to the OnClick handler of the Connect Wallet button using the UI:
That's it for our connect wallet functionality!
You can Build And Run your code to see it in action:
Checking User NFT Balance
We're assuming you have an NFT Collection deployed already in this section. If you don't, check out our guide on how to create and airdrop free-to-own NFTs.
Once the user is connected, we also want to kick off the process to check the user's wallet for an Access Key NFT. To do so, let's create a new function called CheckBalance:
public async Task<string> CheckBalance()
{
  // Connect to the smart contract
  // Replace this with your own contract address
  Contract contract = sdk.GetContract("0x69BC6d095517951Df17f70f38746Bc27CE1C8A62");

  // Replace this with your NFT's token ID
  string tokenId = "0";

  // Check the balance of the wallet for this NFT
  string balance = await contract.ERC1155.Balance(tokenId);
  return balance;
}
Finally, let's call this CheckBalance function at the end of the ConnectWallet function:
// ... existing code of ConnectWallet function ...

string balance = await CheckBalance();

// Convert the balance to a float
float balanceFloat = float.Parse(balance);

// Create text for the balance depending on if the balance is greater than 0
string balanceText =
balanceFloat > 0
  ? "Welcome to the Game! Pick A vehicle to mint:"
  : "You can't access this without a Key!";

// Set the ConnectedStates "Balance" GameObjects text to the wallet balance
ConnectedState
  .transform
  .Find("Owns NFT")
  .GetComponent<TMPro.TextMeshProUGUI>()
  .text = balanceText;
Wrapping Up
That's it! 🥳 Great work.
You've set up the foundation for any Web3 Game - connecting to a user's wallet!
In this guide, we've walked you through:
- Initializing the thirdweb SDK in C#
- Connecting the user's wallet when a button is clicked
- Viewing a wallet's NFT balance
Got questions? Jump into our Discord to speak with our team directly!