Get Started with the Unity SDK
Builders of the Metaverse deserve the best tooling; which is why we're building a multi-phased release to enhance the most popular game engines with support for Web3; starting with Unity.
We're excited to show you our brand-new Unity SDK, and empower you to create the next wave of web3 games. In this guide, we'll walk you through how to:
- Create a Unity project and install the SDK
- Allow users to connect their wallet to your game
- Read data from, and write transactions to smart contracts from C# scripts
Let's get started!
Creating A Unity Project
If this is your first time ever using Unity, you'll need to download and install the Unity Hub and Unity Editor.
If you're using Visual Studio Code like me, I'd recommend the Using .NET in Visual Studio Code guide for some helpful extensions and Intellisense support.
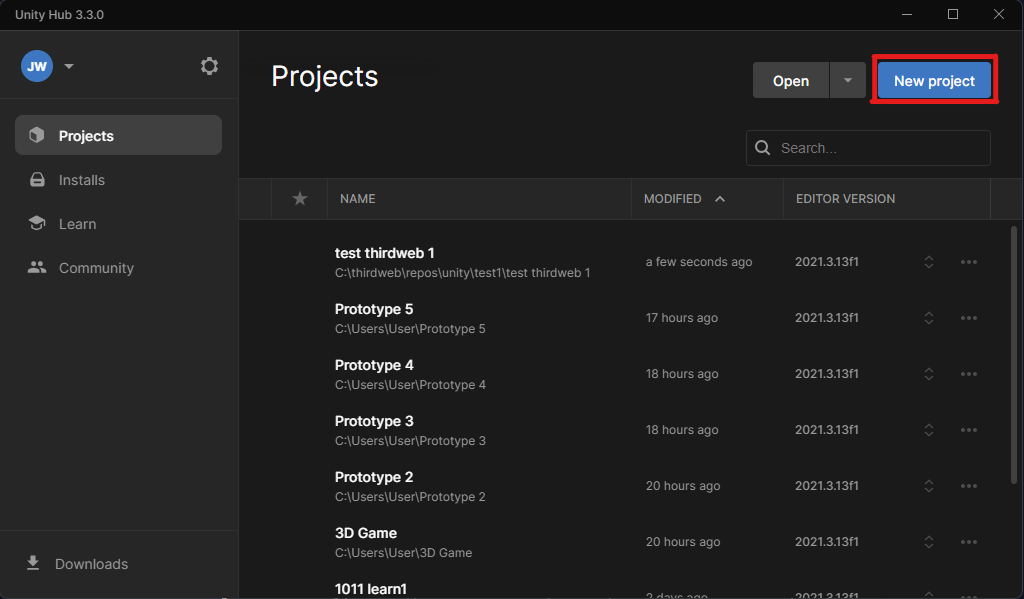
Once you're set up for success, open Unity Hub and click Create New Project:
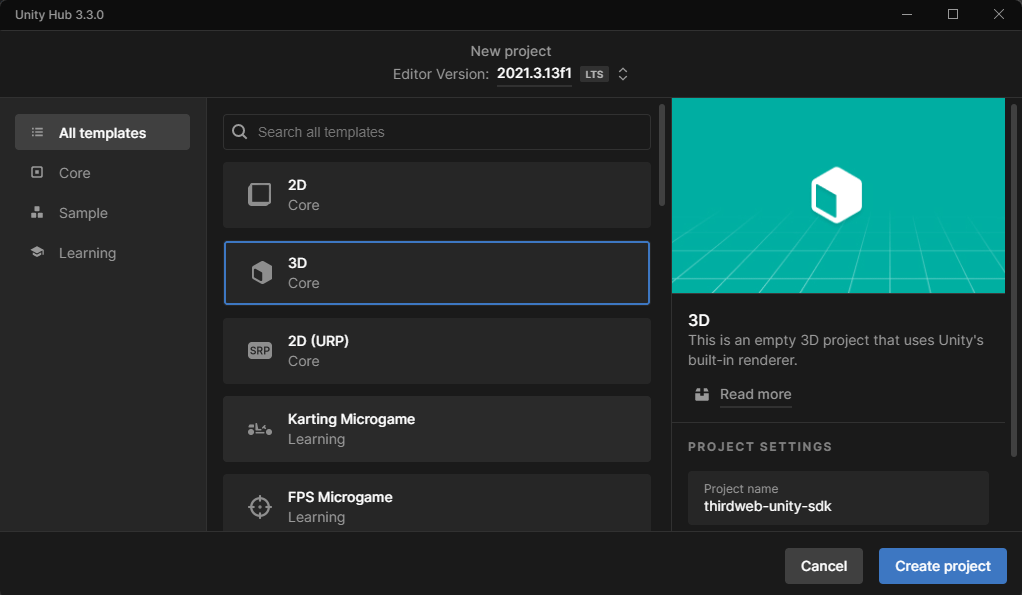
Next, select 3D, give your project a name, and click Create Project:
Installing thirdweb SDK
Let's import the thirdweb SDK so we can add some web3 functionality!
First, head over to the thirdweb-dev/unity-sdk releases page on GitHub.
Download the .unitypackage for the SDK version you want to use (usually you'll want the latest version):

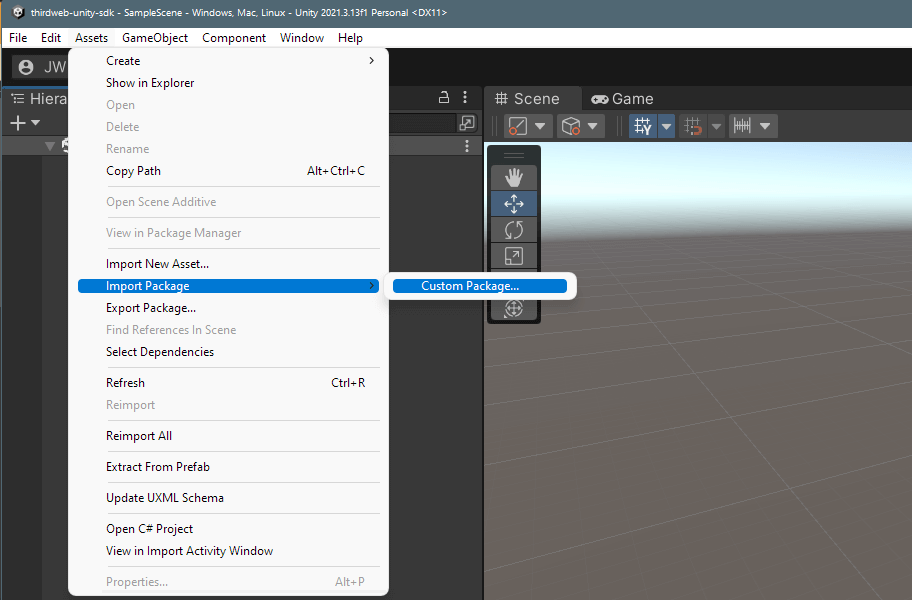
Now we've got the .unitypackage, we can add it to our Unity project by clicking Assets > Import Package > Custom Package like so:
From here, select the file you just downloaded from GitHub, which will open the Import Unity Package menu:
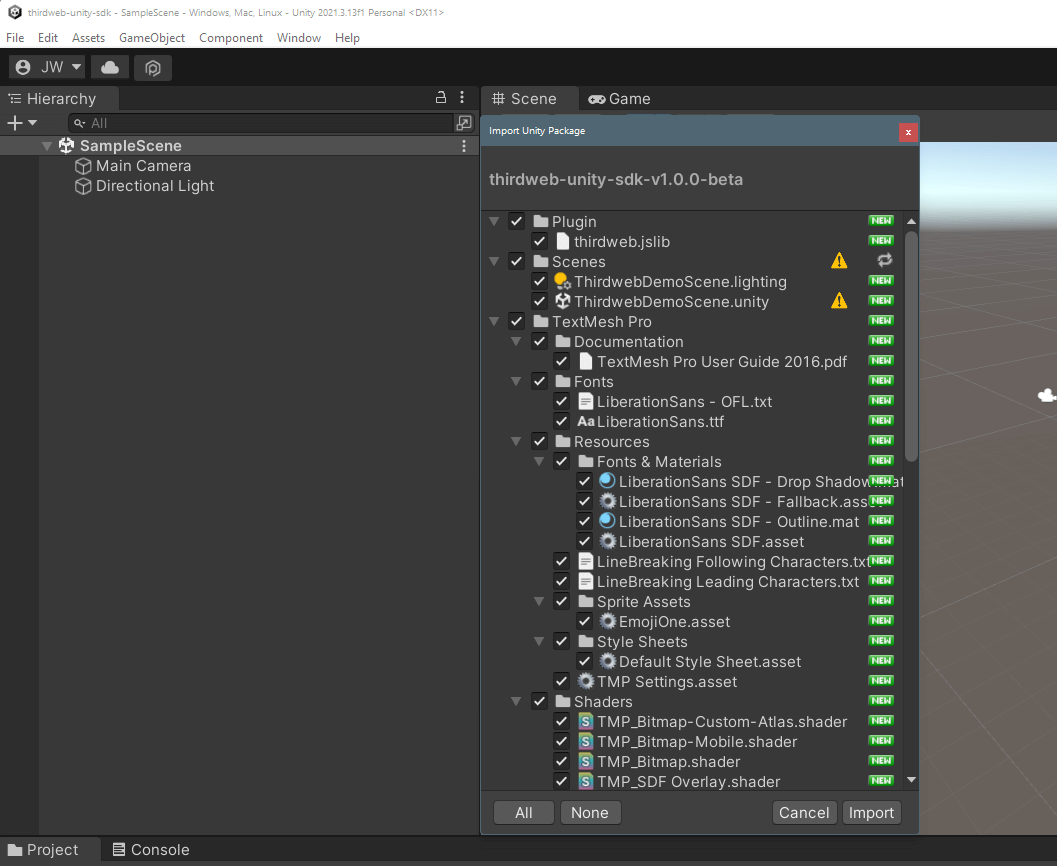
Leave everything selected, and click Import.
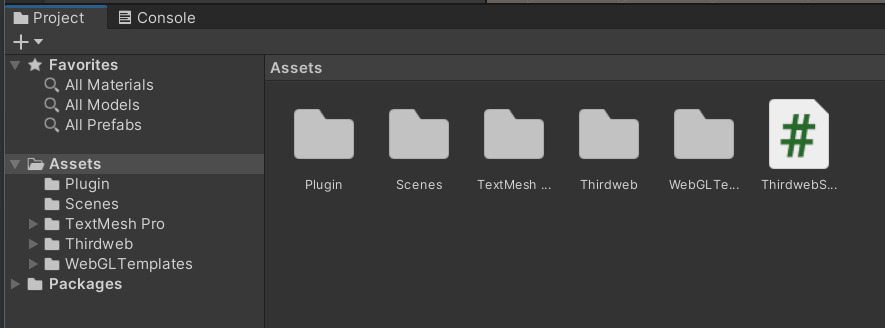
In your Project window now, you'll be able to see all of the resources we've imported:
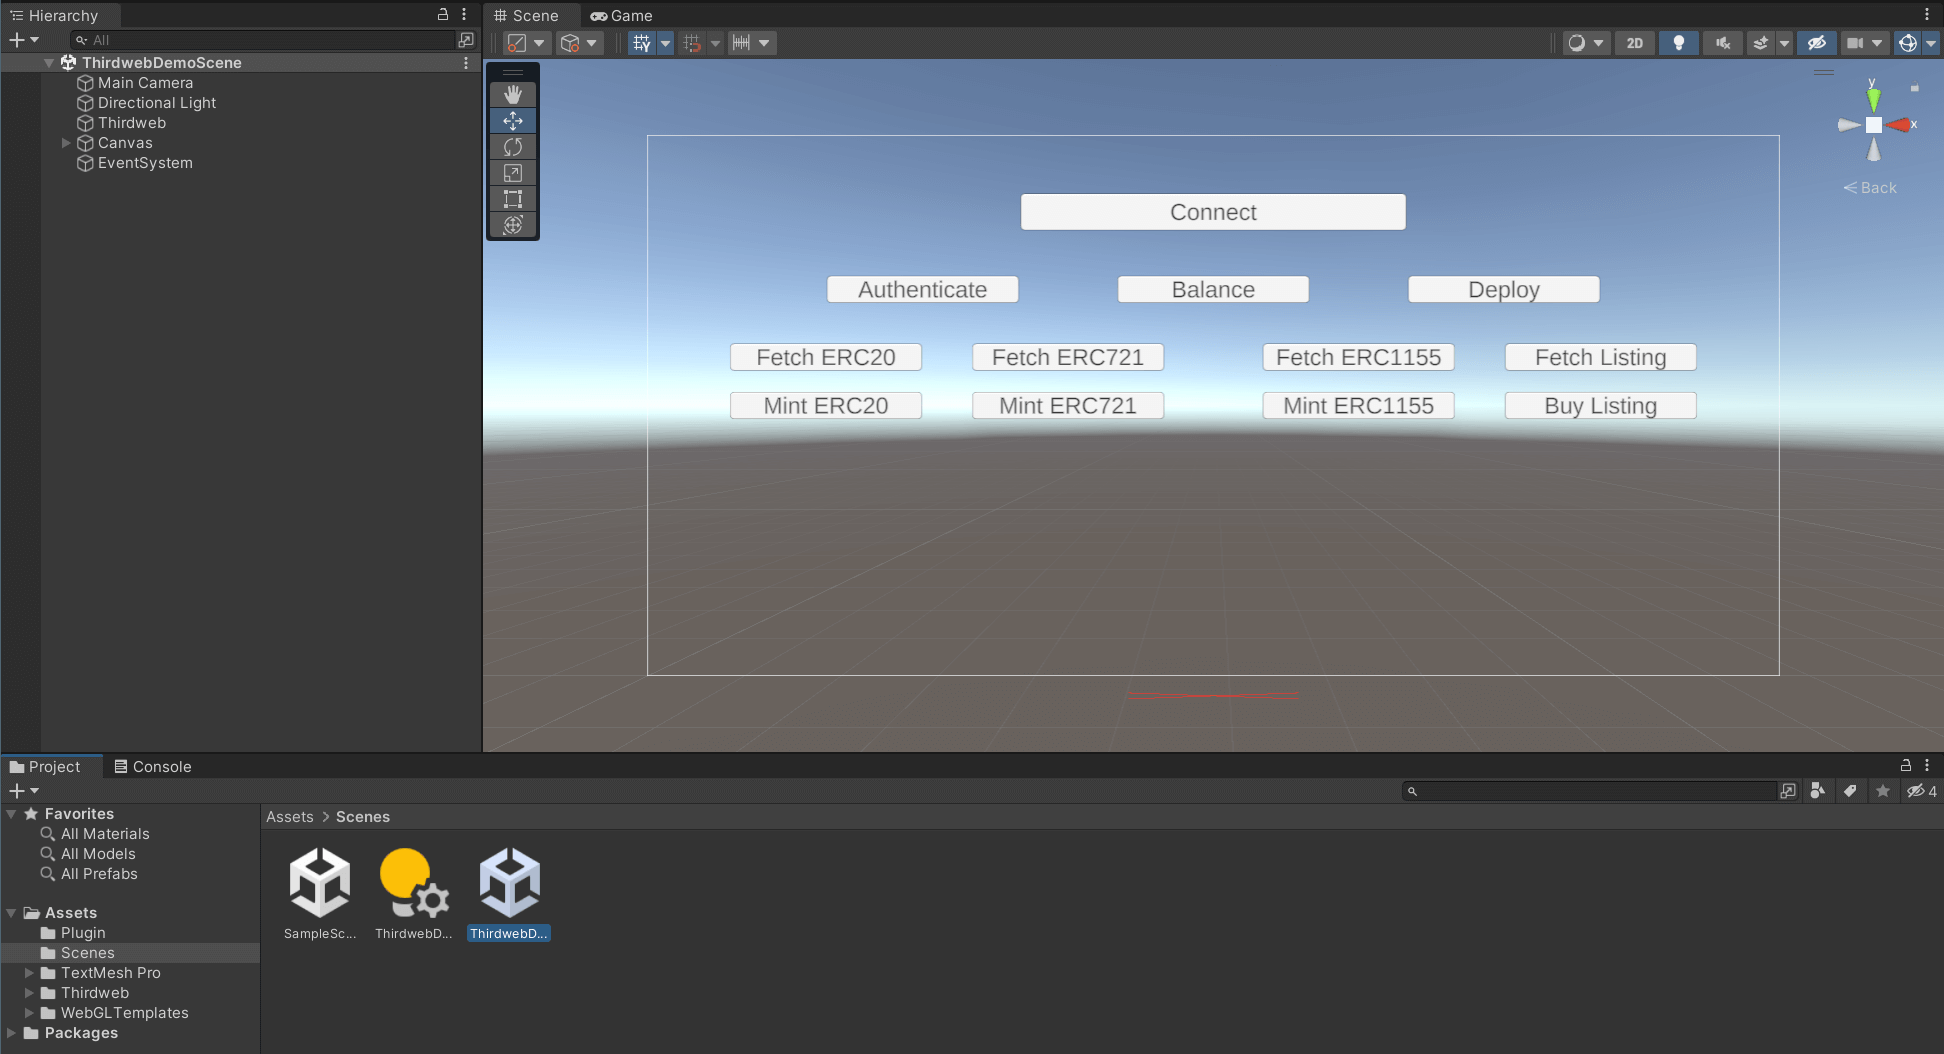
From the Scenes folder, double-click the ThirdwebDemoScene.unity file to open it. If you manoeuvre around the scene, you'll be able to see the Canvas that comes as part of the demo:
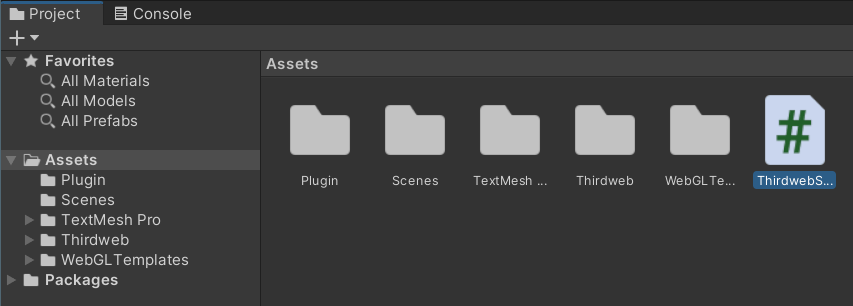
To view the code powering this demo and see what you can do with the SDK, open the ThirdwebSDKDemos.cs file by double-clicking it:
Within this file, you can see the basic functionality to initialize and start using the SDK.
For example, within the Start function (which gets called when the game starts), we can initialize a read-only instance of the SDK to read data from the blockchain:
using UnityEngine;

// Import the Thirdweb SDK namespace
using Thirdweb;

public class ThirdwebSDKDemos : MonoBehaviour
{
    // Create a Thirdweb SDK instance for us to use throughout this class
    private ThirdwebSDK sdk;

    void Start()
    {
        // When the app starts, set up the Thirdweb SDK
        // Here, we're setting up a read-only instance on the "goerli" test network.
        sdk = new ThirdwebSDK("goerli");
    }
}
Within this file, you can explore some of the most common functionality our SDK provides, such as:
OnLoginClick: Connect the user's wallet and set the SDK to read-write mode.GetERC721,GetERC1155, andGetERC20: Read information about various kinds of tokens from a smart contract.MintERC721,MintERC1155, andMintERC20: Write transactions to the blockchain from the connected wallet (mint new tokens).Deploy: Deploy a new smart contract directly from the SDK.
Familiarize yourself with the code and customize anything that catches your interest!
Read data from smart contract:
public async void GetERC721() {
  var contract = sdk.GetContract("<smart-contract-address>"); // NFT Drop
  NFT result = await contract.ERC721.Get(count.ToString());
}
Write transactions to the smart contract
public async void MintERC20() {
  var contract = sdk.GetContract("<smart-contract-address>"); // Token
  var result = await contract.ERC20.Mint("1.2");
}
Now let's see how we can build the game.
Building the Game
Currently, the built-in Unity preview isn't supported out of the box, as our game needs to be run in a browser.
To test our changes, let's Build and Run our game.
Open up your build settings by clicking File > Build Settings.
From the Platform options, select WebGL and Switch Platform.
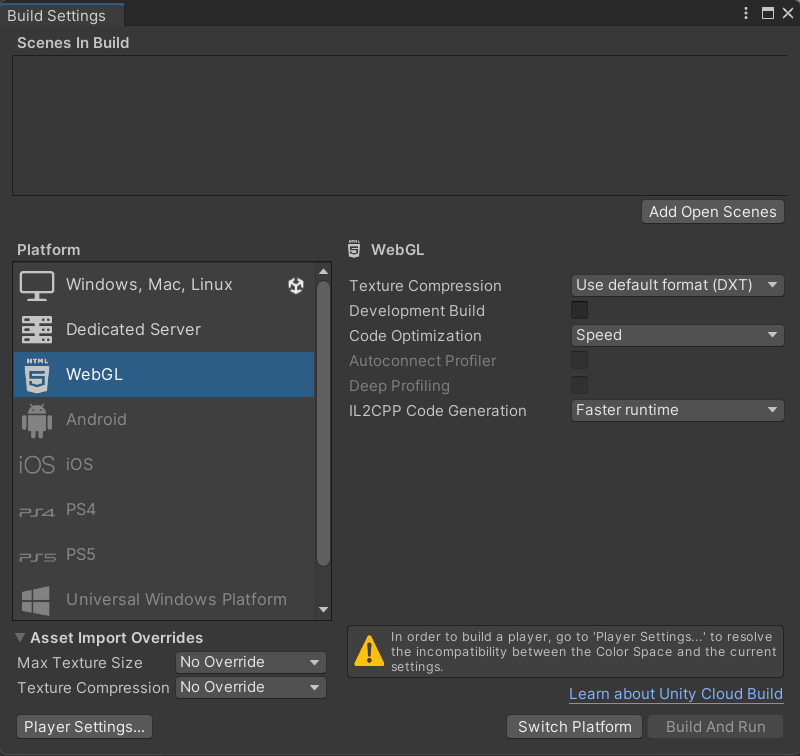
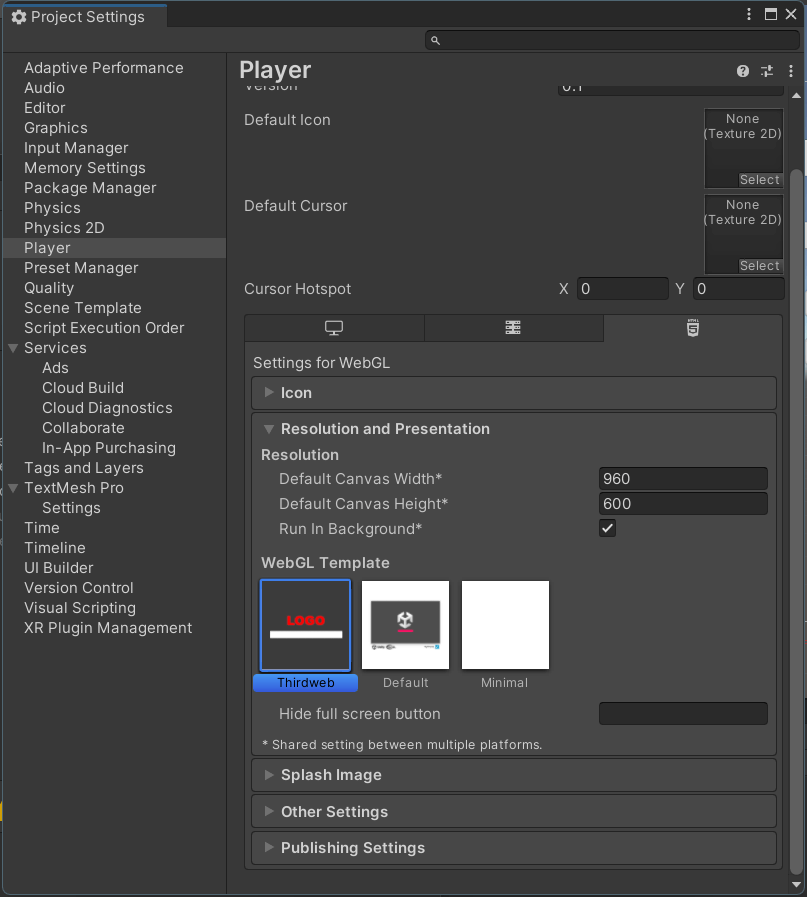
Next, click Player Settings... (bottom left corner) and set the WebGL Template under Resolution and Presentation to Thirdweb:
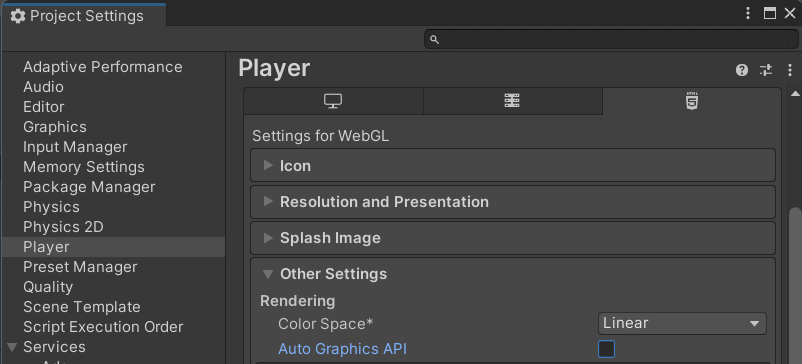
You may also need to disable Auto Graphics API in order to build your project:
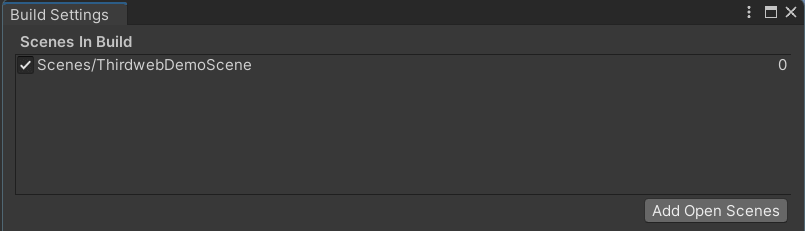
Ensure you add your scenes to the Scenes In Build by clicking Add Open Scenes:
Finally, click Build And Run, and create a new build folder in your project as the directory.
This will trigger the build process for you to test your game:
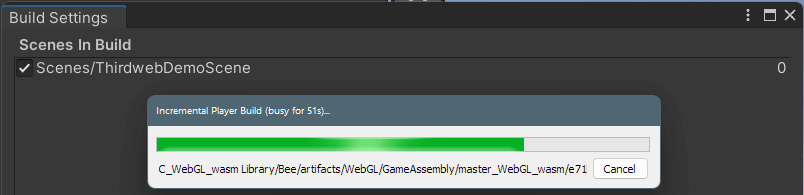
Voilà! Our game is built and we can test it out in the browser:
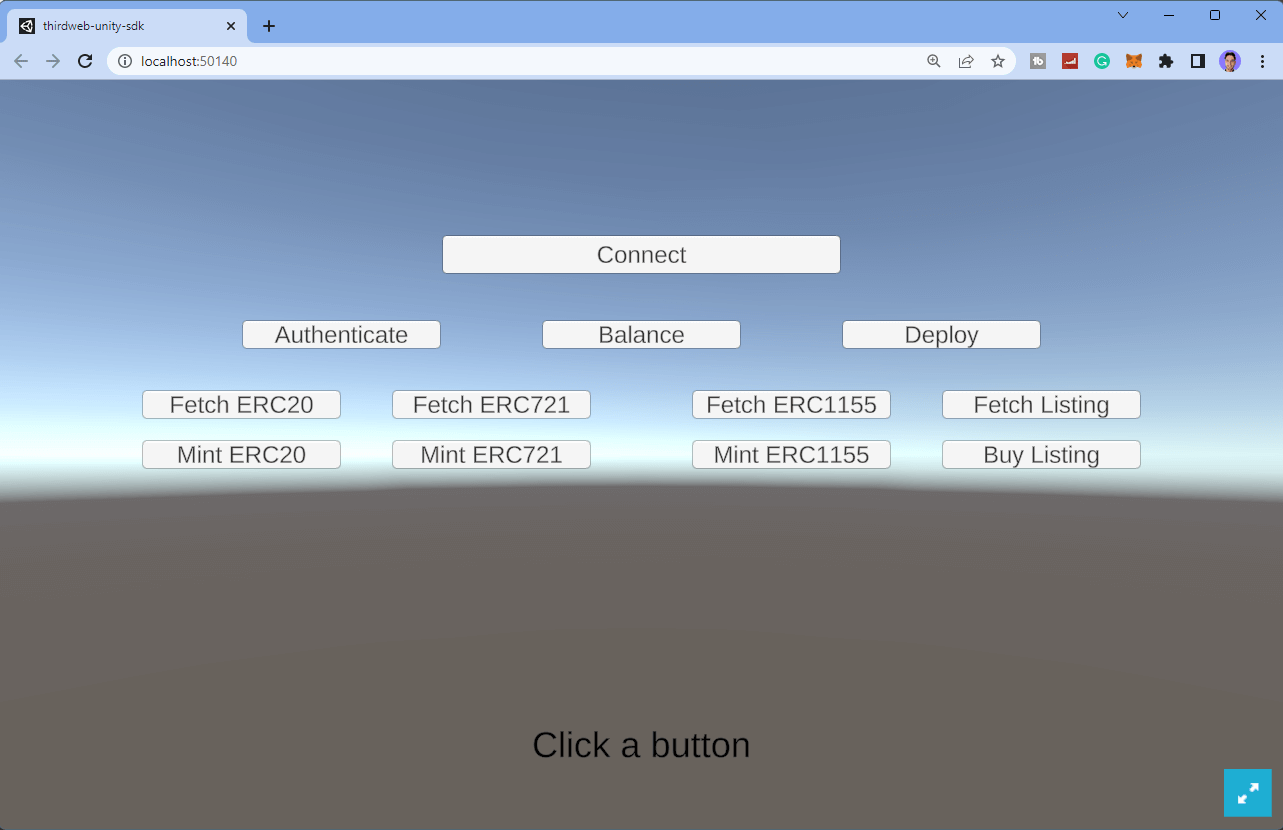
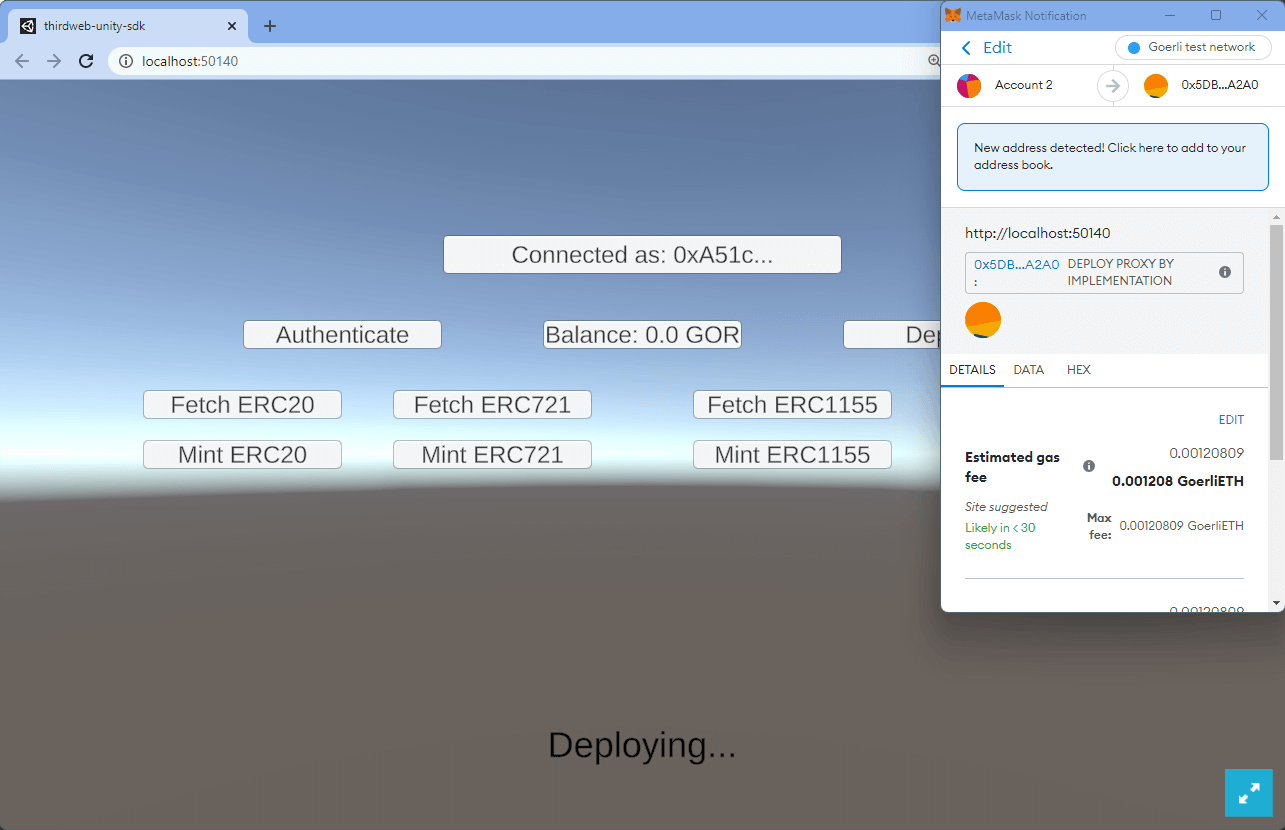
Now, we can connect our wallet and start reading and writing transactions to the blockchain like so:
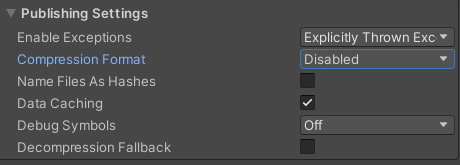
Deploying Your Game
To deploy your game to the web, from within the Player Settings... section, set the Compression Format under Publishing Settings to be Disabled.
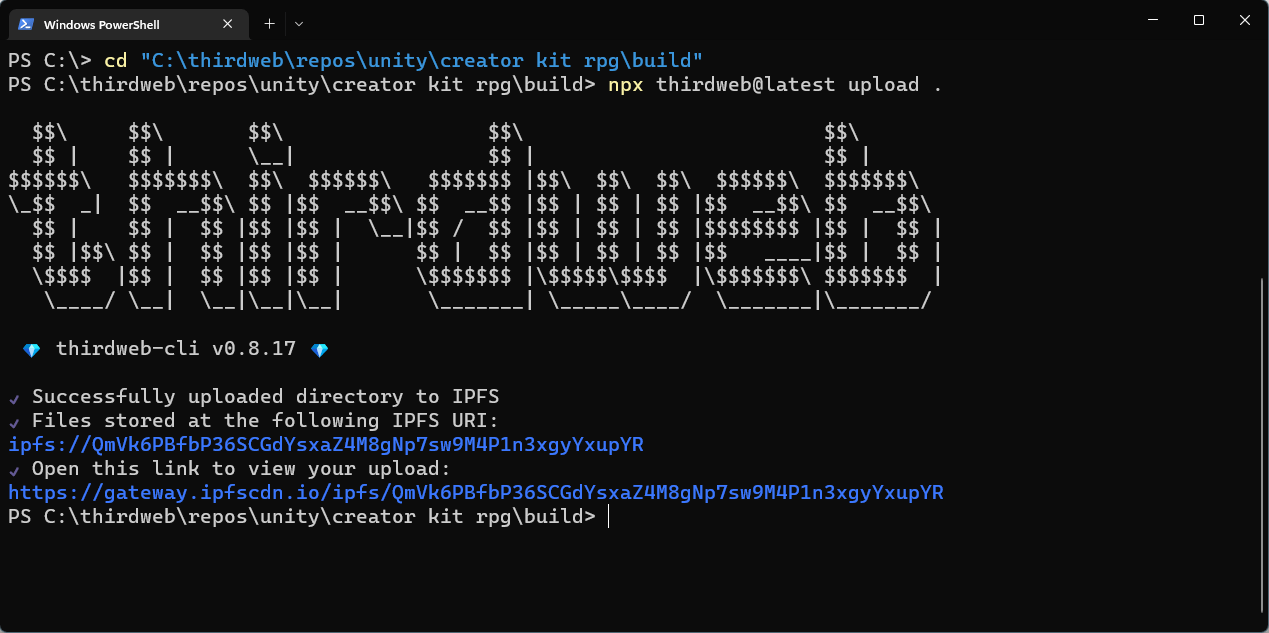
Re-build your game with these settings, and open the build folder (the directory you selected your build to be output to) in your terminal:
cd <path-to-build-folder-here>
We can then use Storage to upload and deploy our application to IPFS, by running the following command:
npx thirdweb@latest upload .
This command uploads your build directory to HTML and prints a link where your app is deployed:
Awesome! 🥳🎉
What's Next?
You're ready to build a game with web3 capabilities!
Got questions? Jump into our Discord and let us know you're building on Unity. We'd love to hear from you.