How to Create an NFT Minting Website (Template Included)

⚠️ Warning: This guide currently uses v4 of the Connect SDK. For v5 (latest) code snippets, please check out our documentation while this guide is being updated. ⚠️
In this guide, learn how to create an NFT minting website from scratch!
We'll take you step-by-step through the following:
- Deploying your NFT Drop smart contract
- Creating an app using our NFT Minting Site template
- Customizing your Connect Wallet button with web3 wallets, email & social account sign-in, and more options
- Setting up claim conditions for users to mint your NFTs
Let's get started!
Deploy the NFT Drop Smart Contract
To begin, head to the Contracts page in your thirdweb dashboard and hit "Deploy new contract":

You will be taken to our Explore page — where you can browse smart contracts built by the top protocols in web3 and deploy them with just a few clicks!
Note: You can also use the thirdweb CLI to set up a smart contract environment by running the below command from your terminal:
npx thirdweb create contractThis will take you through an easy-to-follow flow of steps to create your contract. Learn more about this in our CLI guide.
Otherwise, let's get back to Explore:
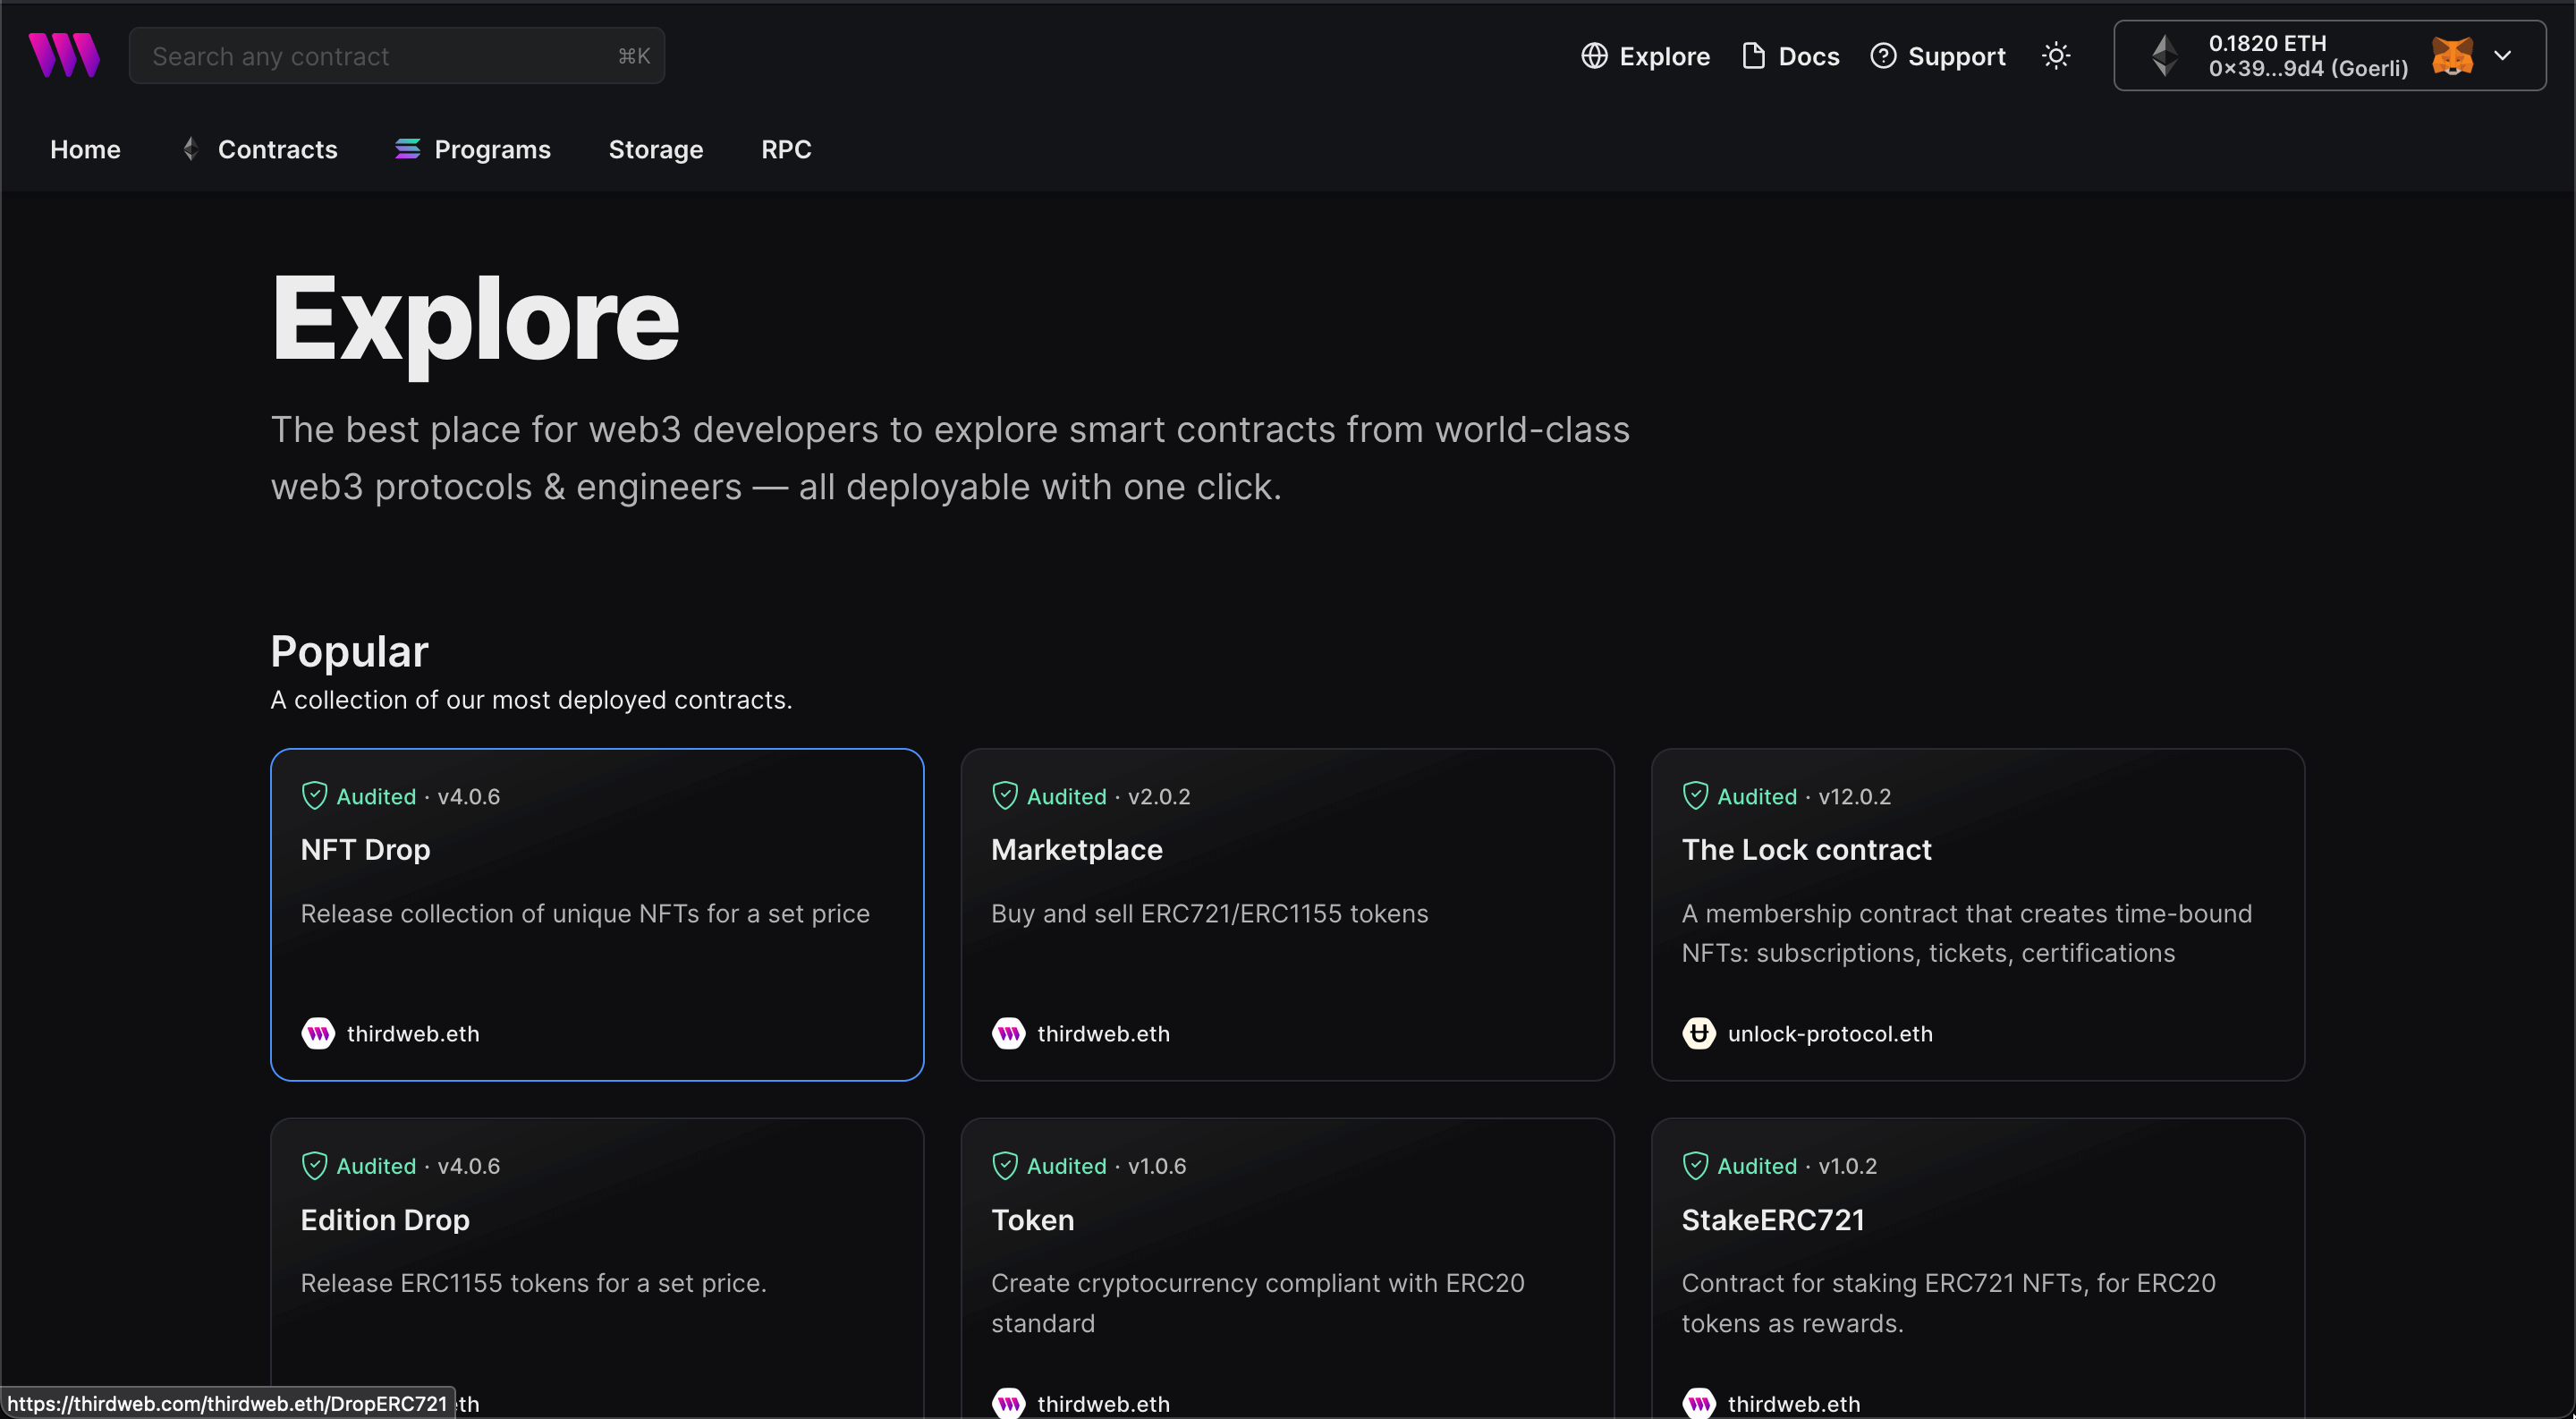
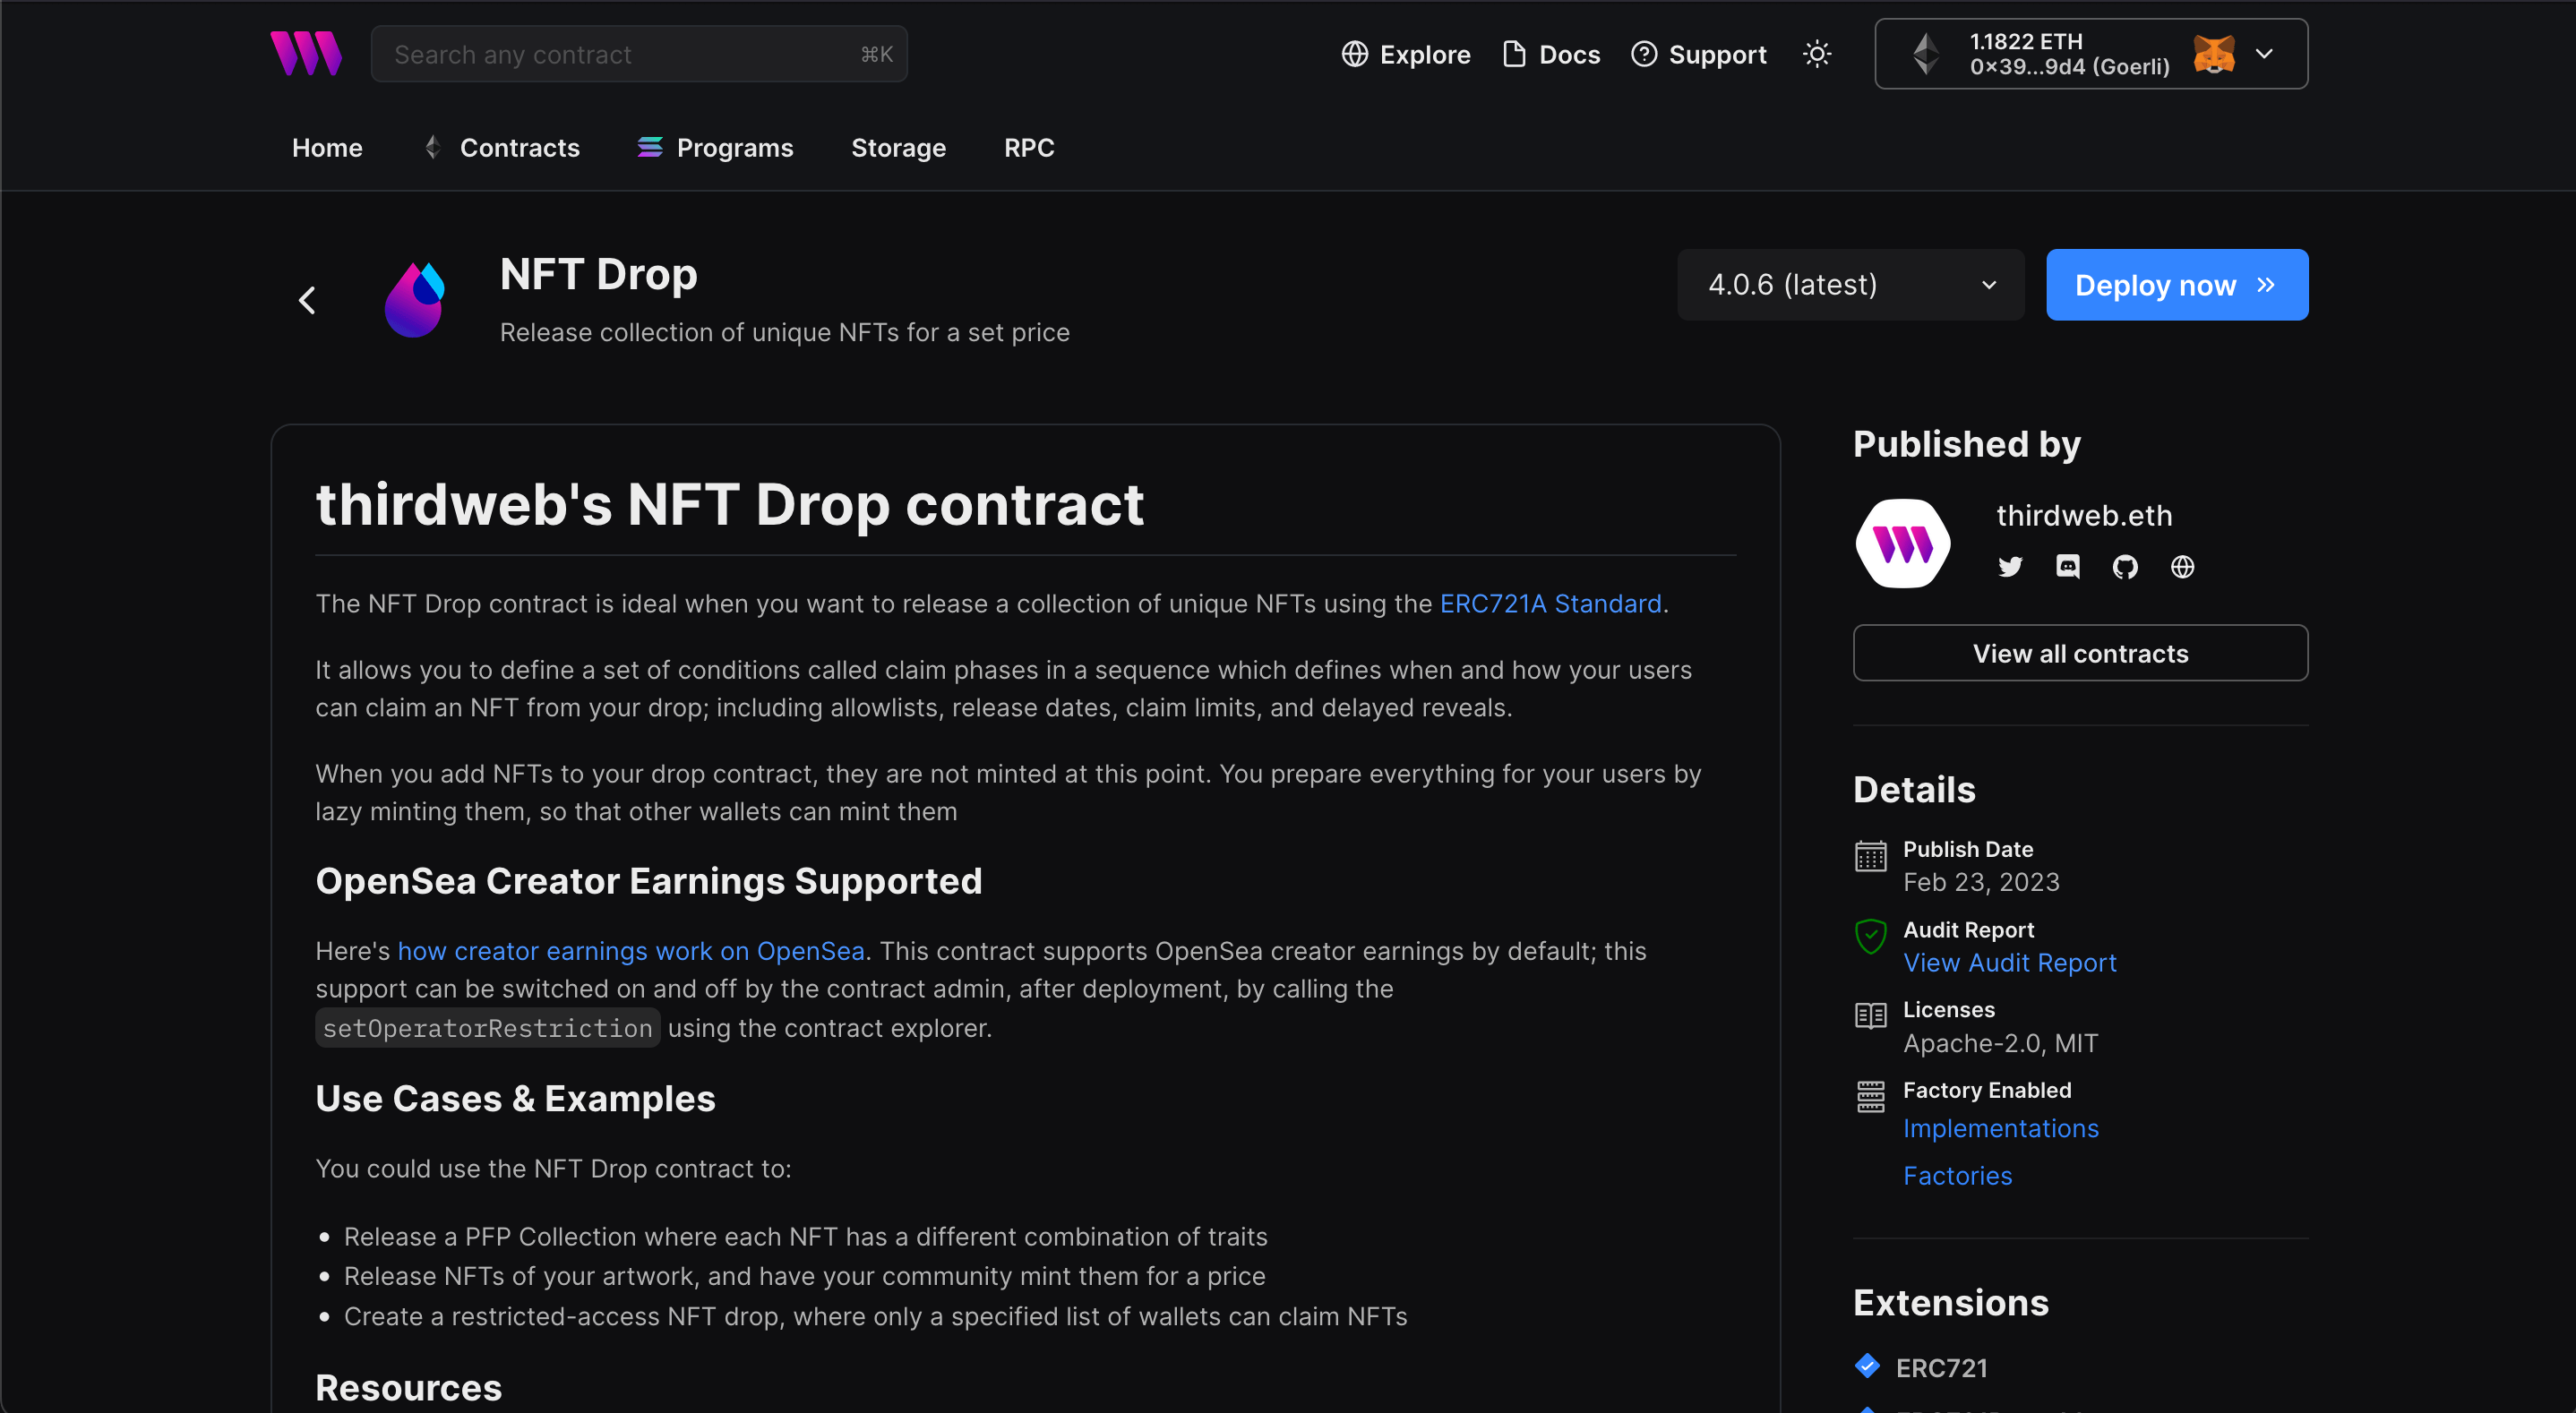
Here, select your smart contract of choice. For this guide, we're going to use the NFT Drop (ERC721A) contract to create our NFT collection:
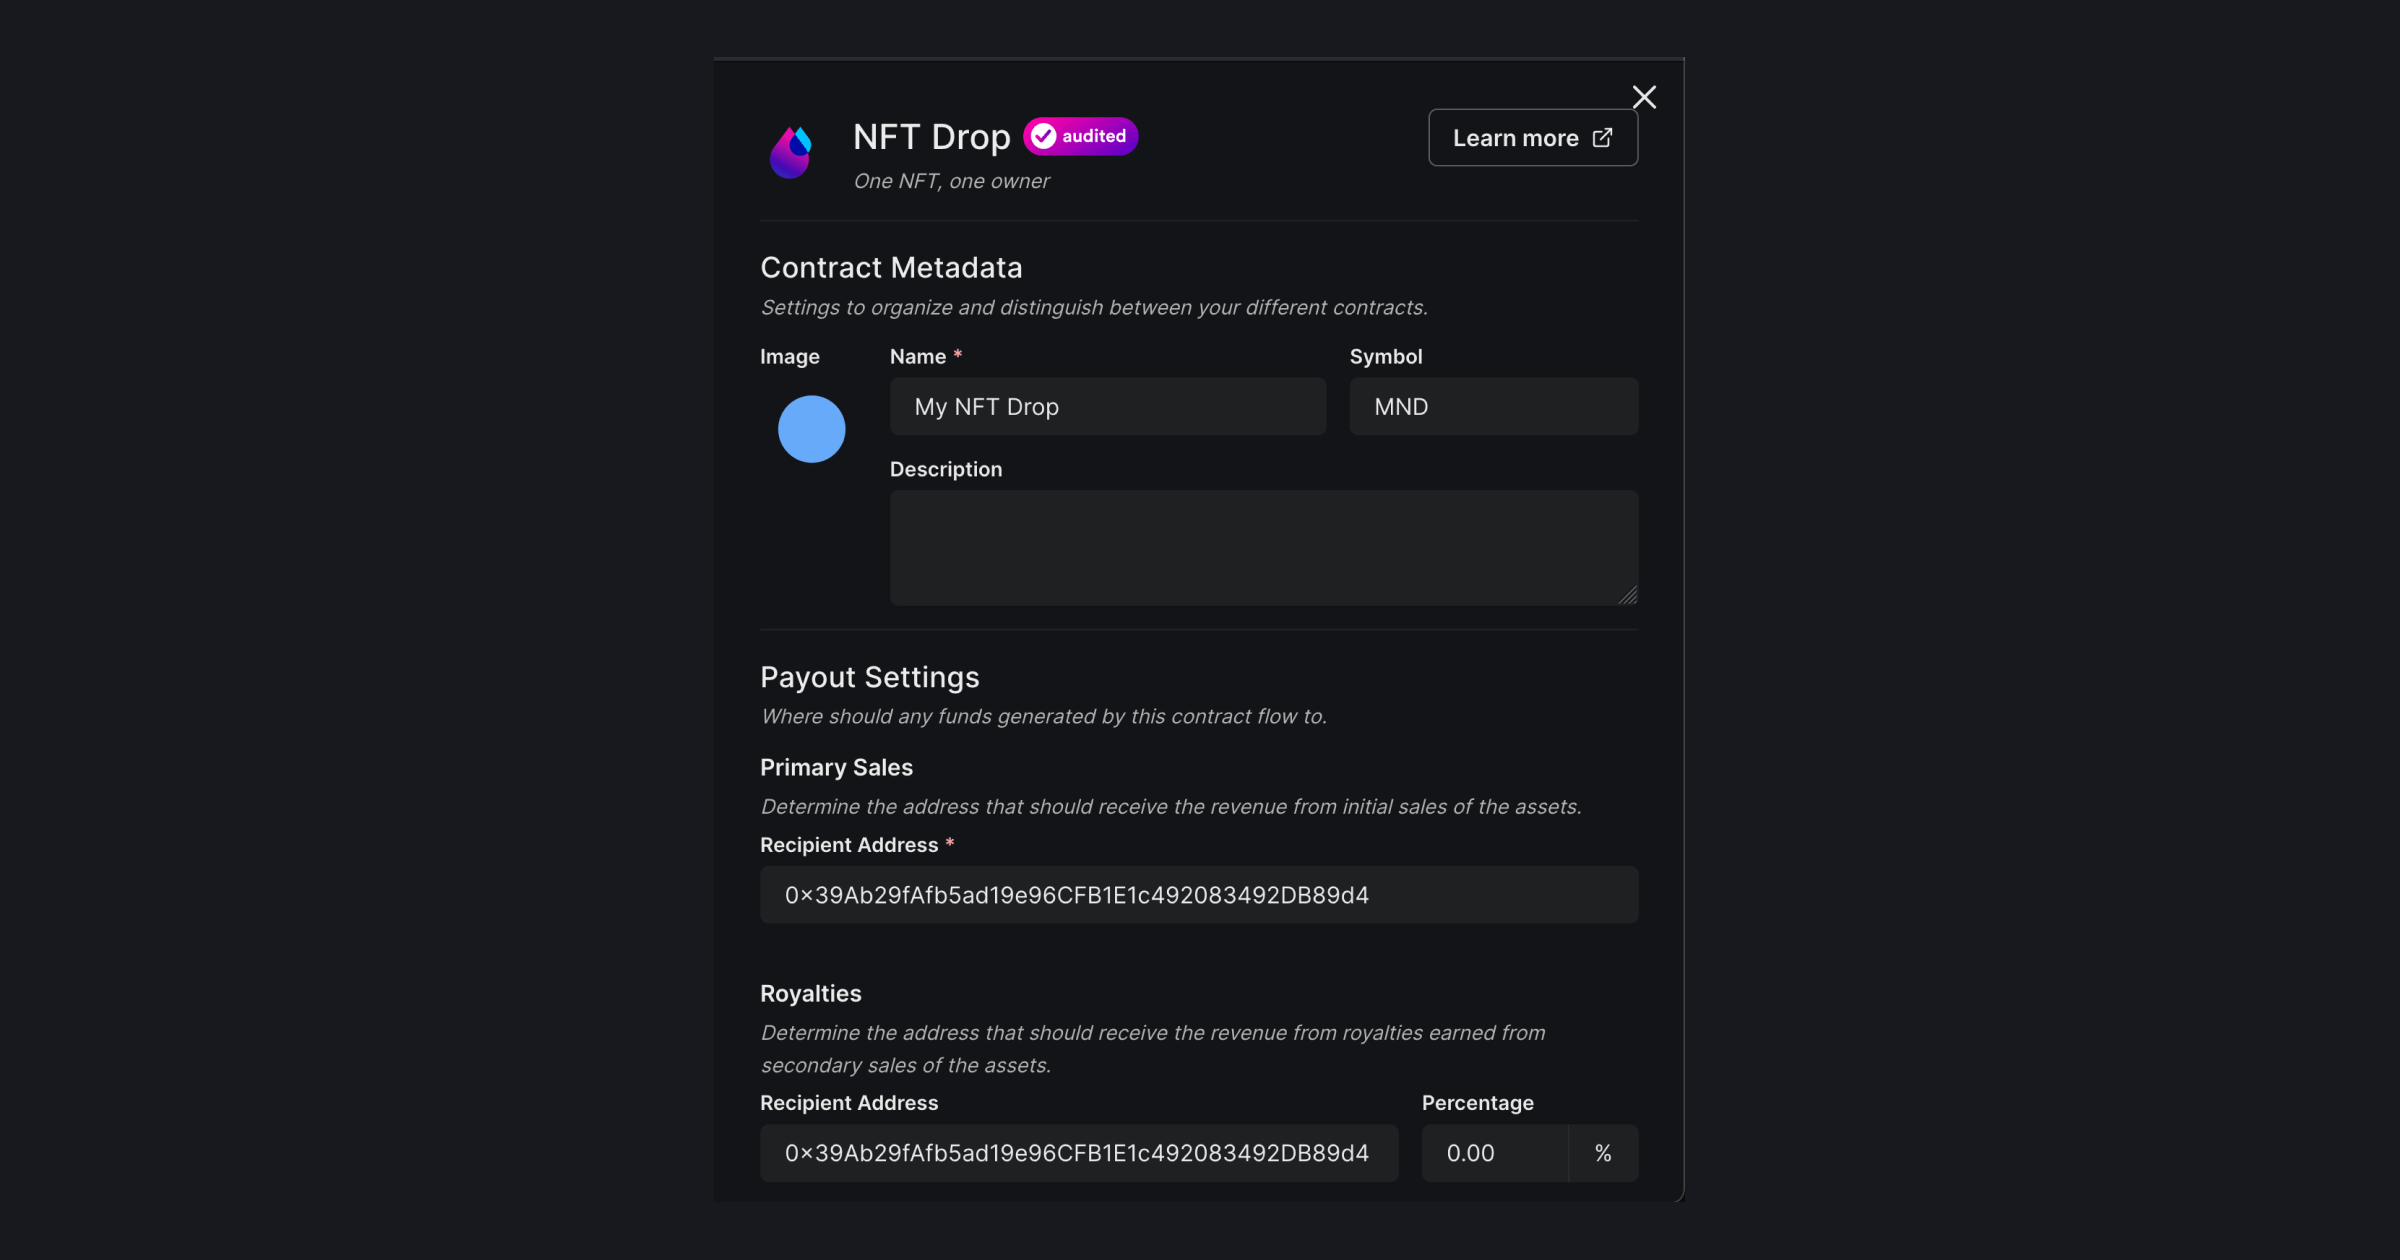
Set up your smart contract with an image, name, description, etc., and configure which wallet address will receive the funds from primary and secondary sales:
You can select any network you like. I am choosing Mumbai for this guide. Learn more about the different networks we have available below:
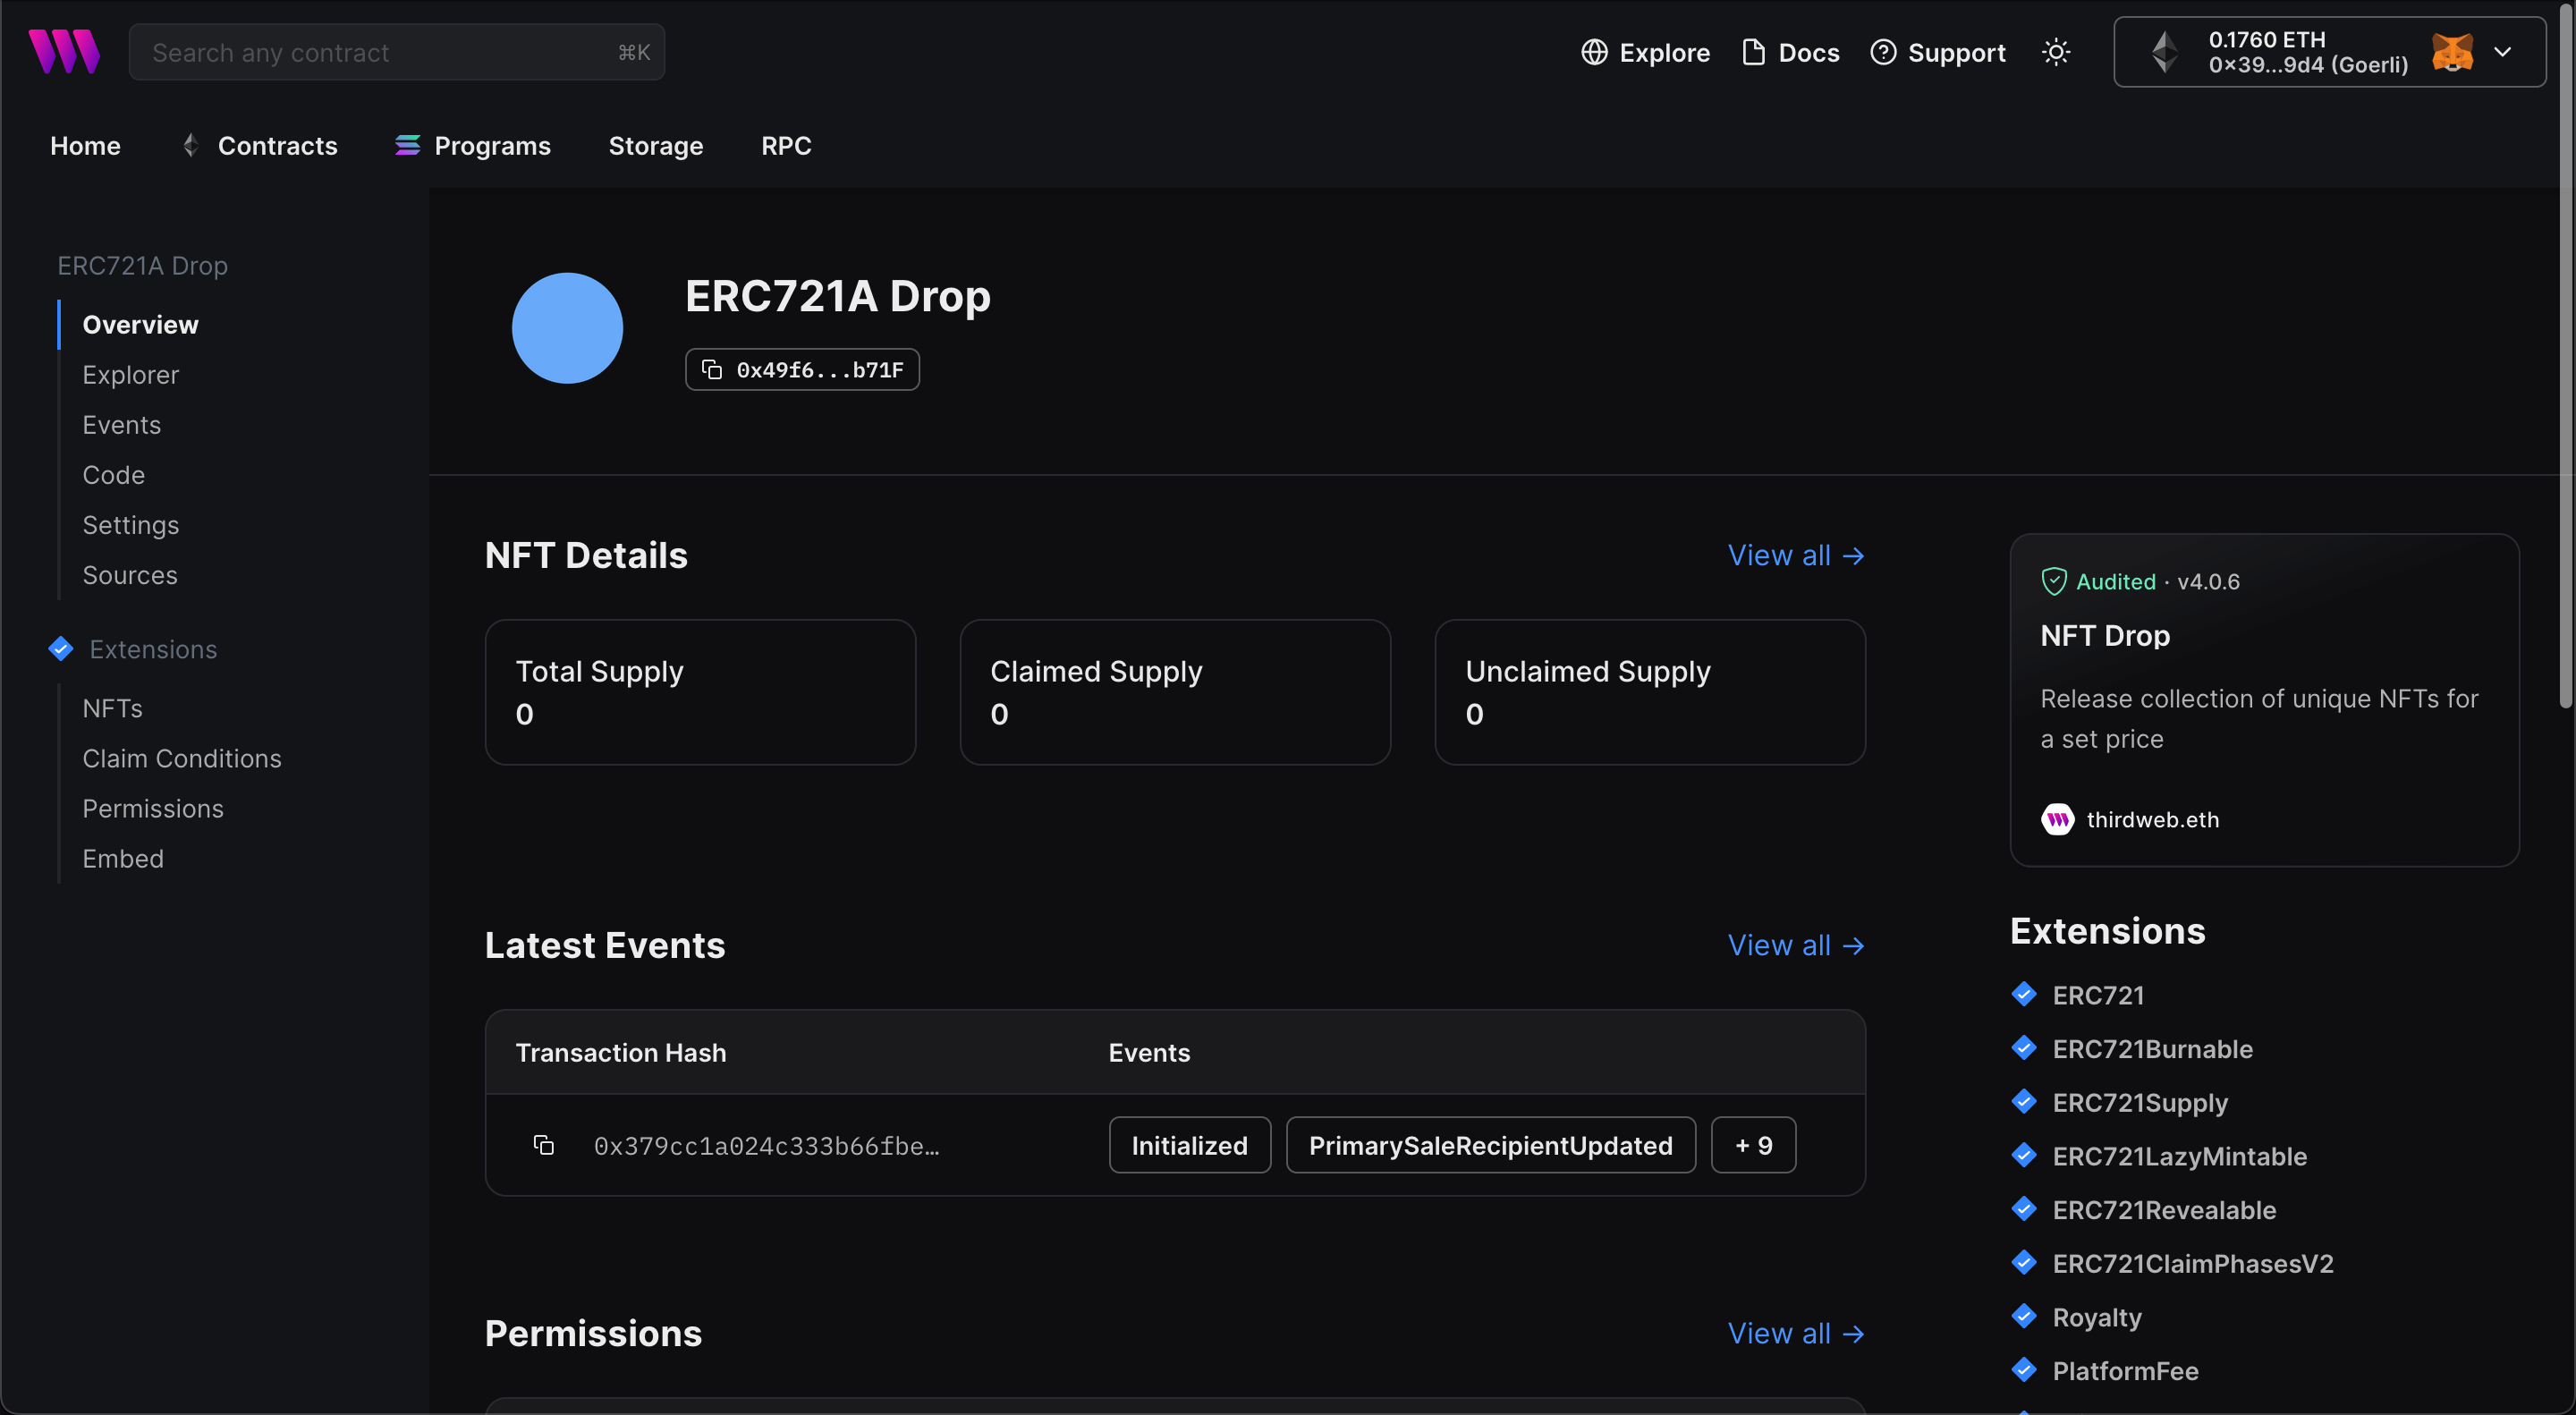
Once the contract is deployed, you can see the contract dashboard.
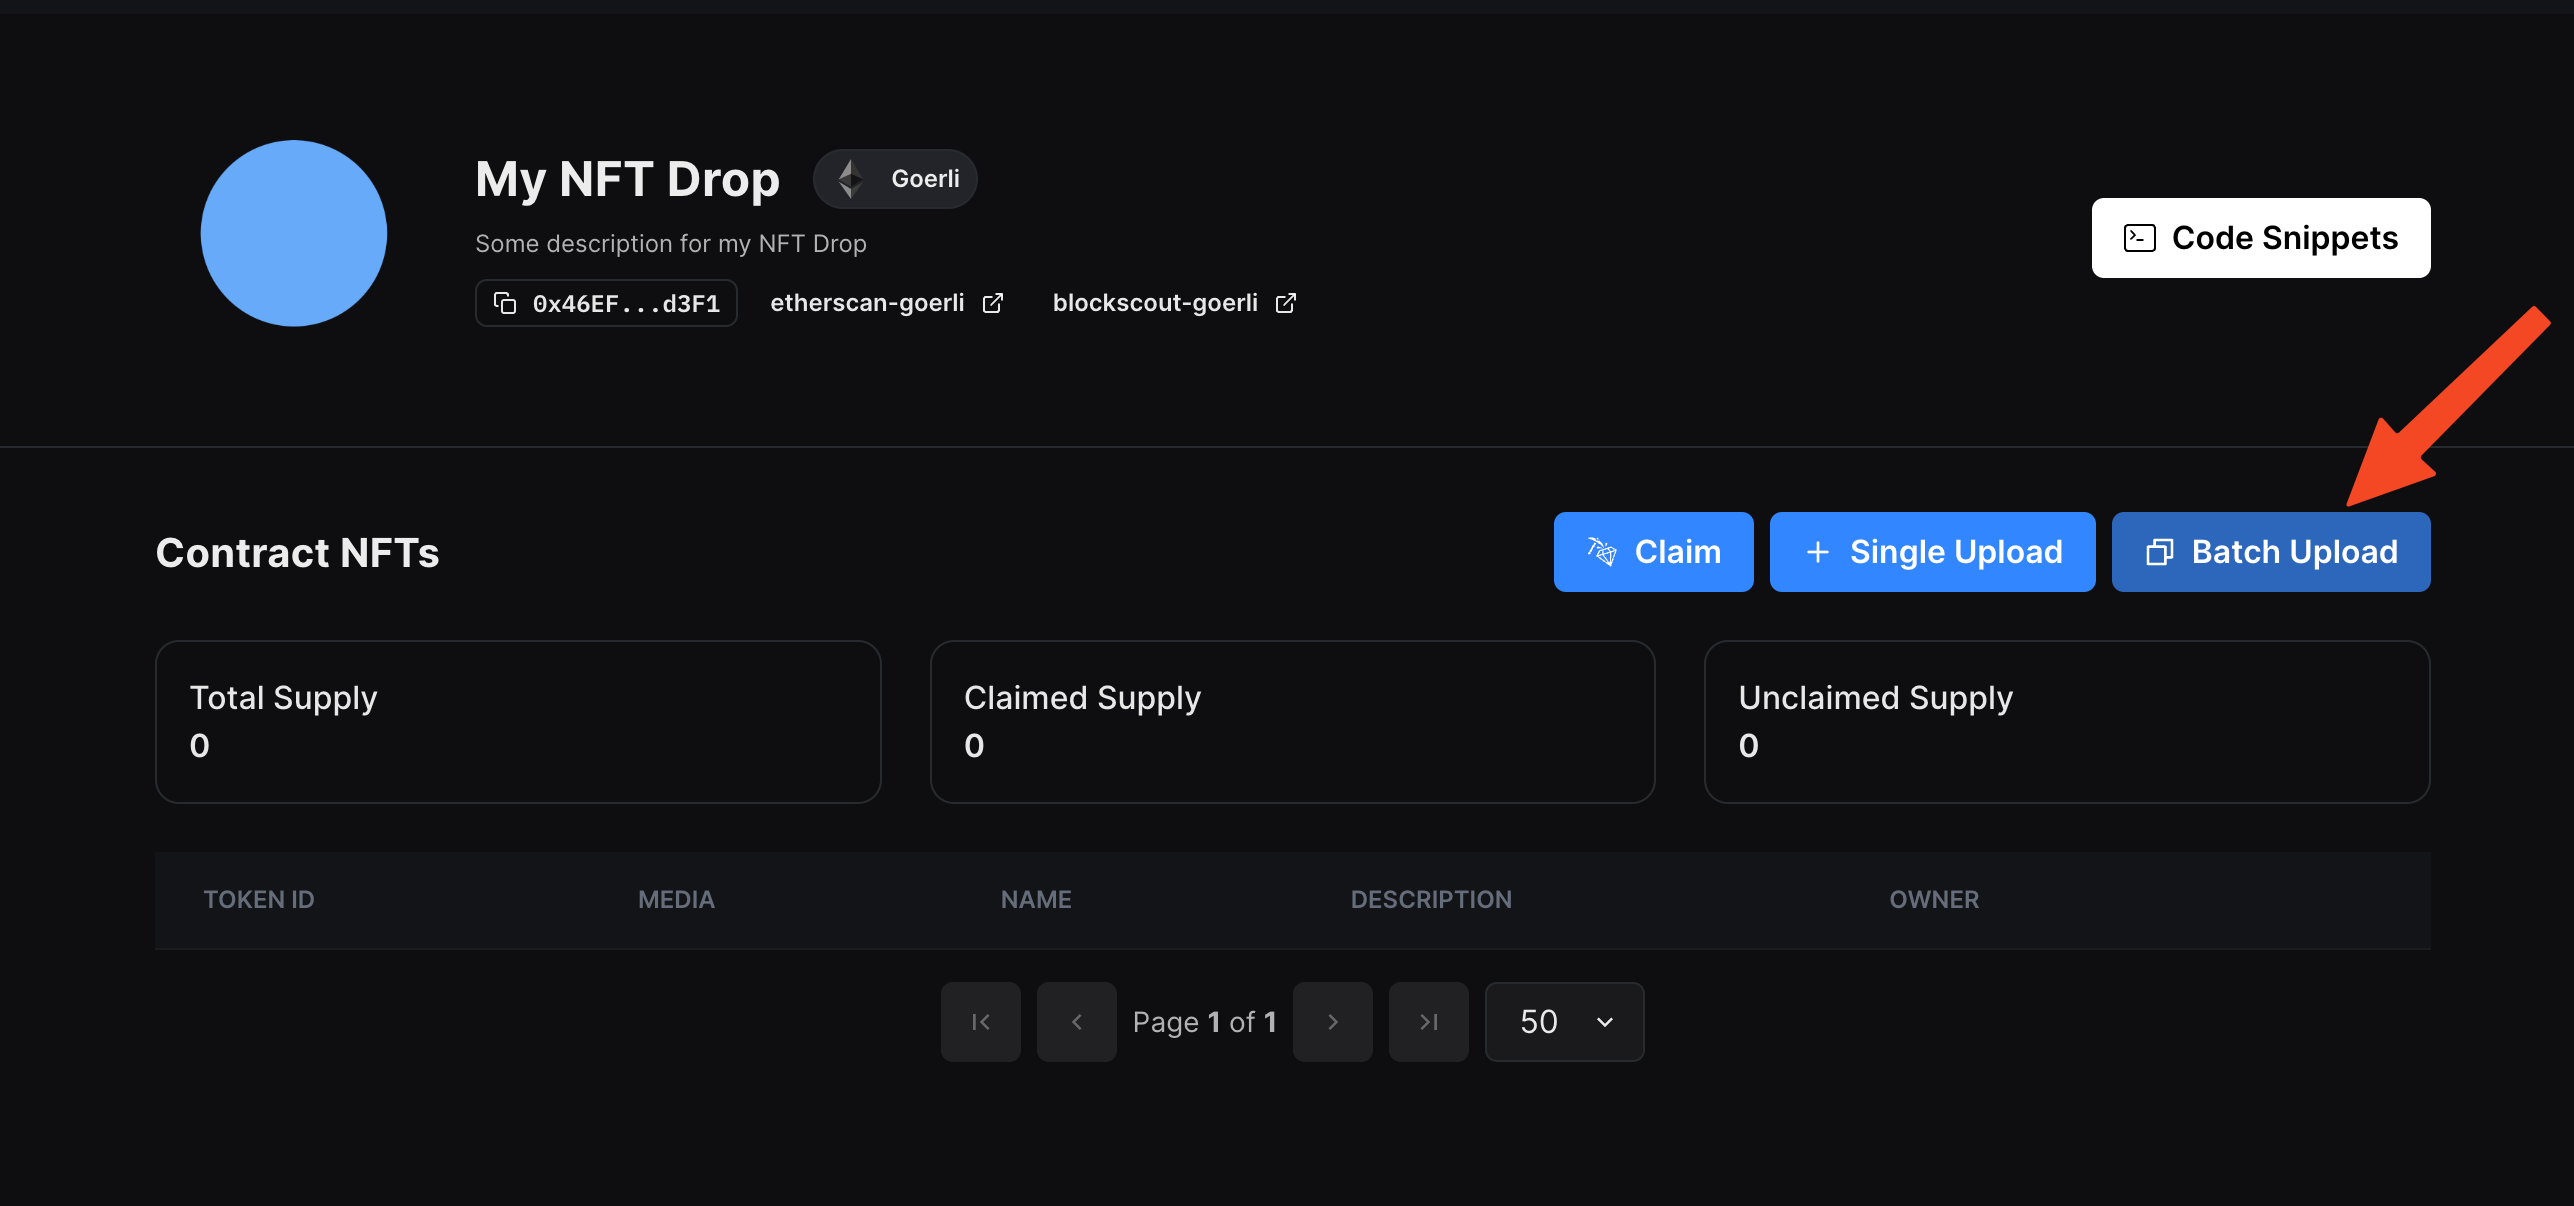
Batch upload NFTs
We'll now upload a bunch of NFTs to our contract for people to claim! Head over to the NFTs tab and click on "Batch Upload":
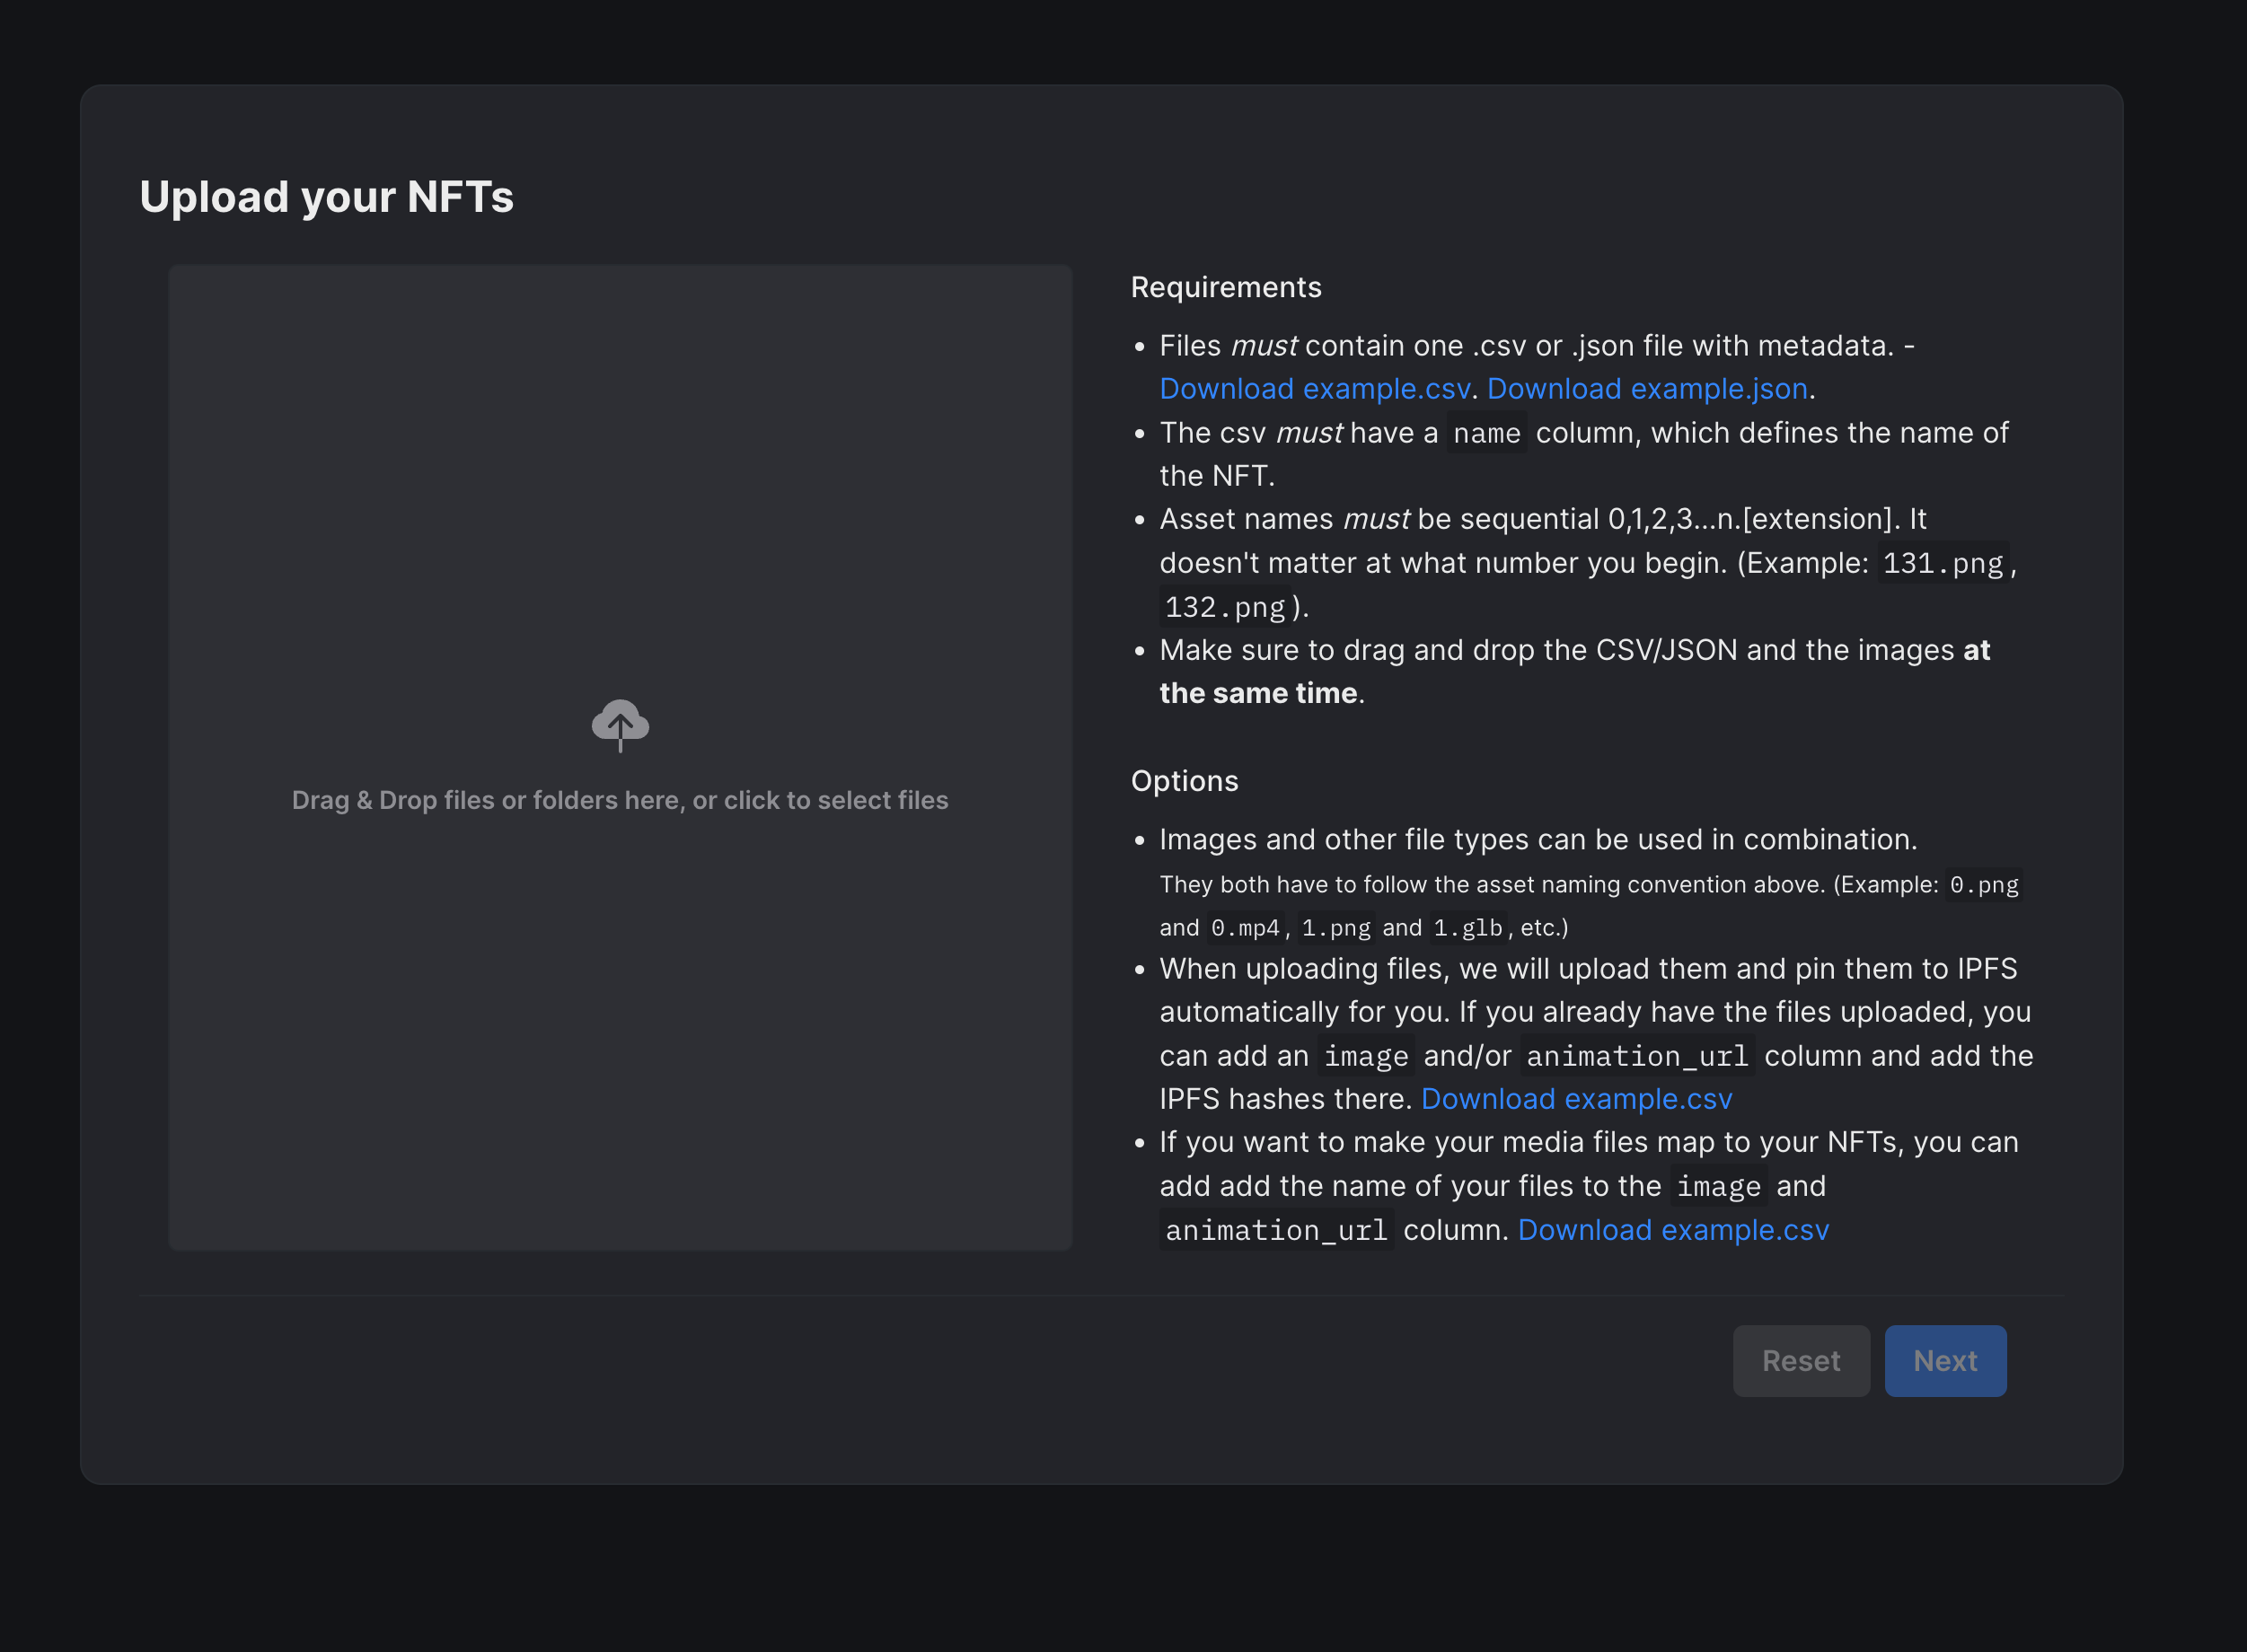
A drawer will slide in; upload your NFTs here:
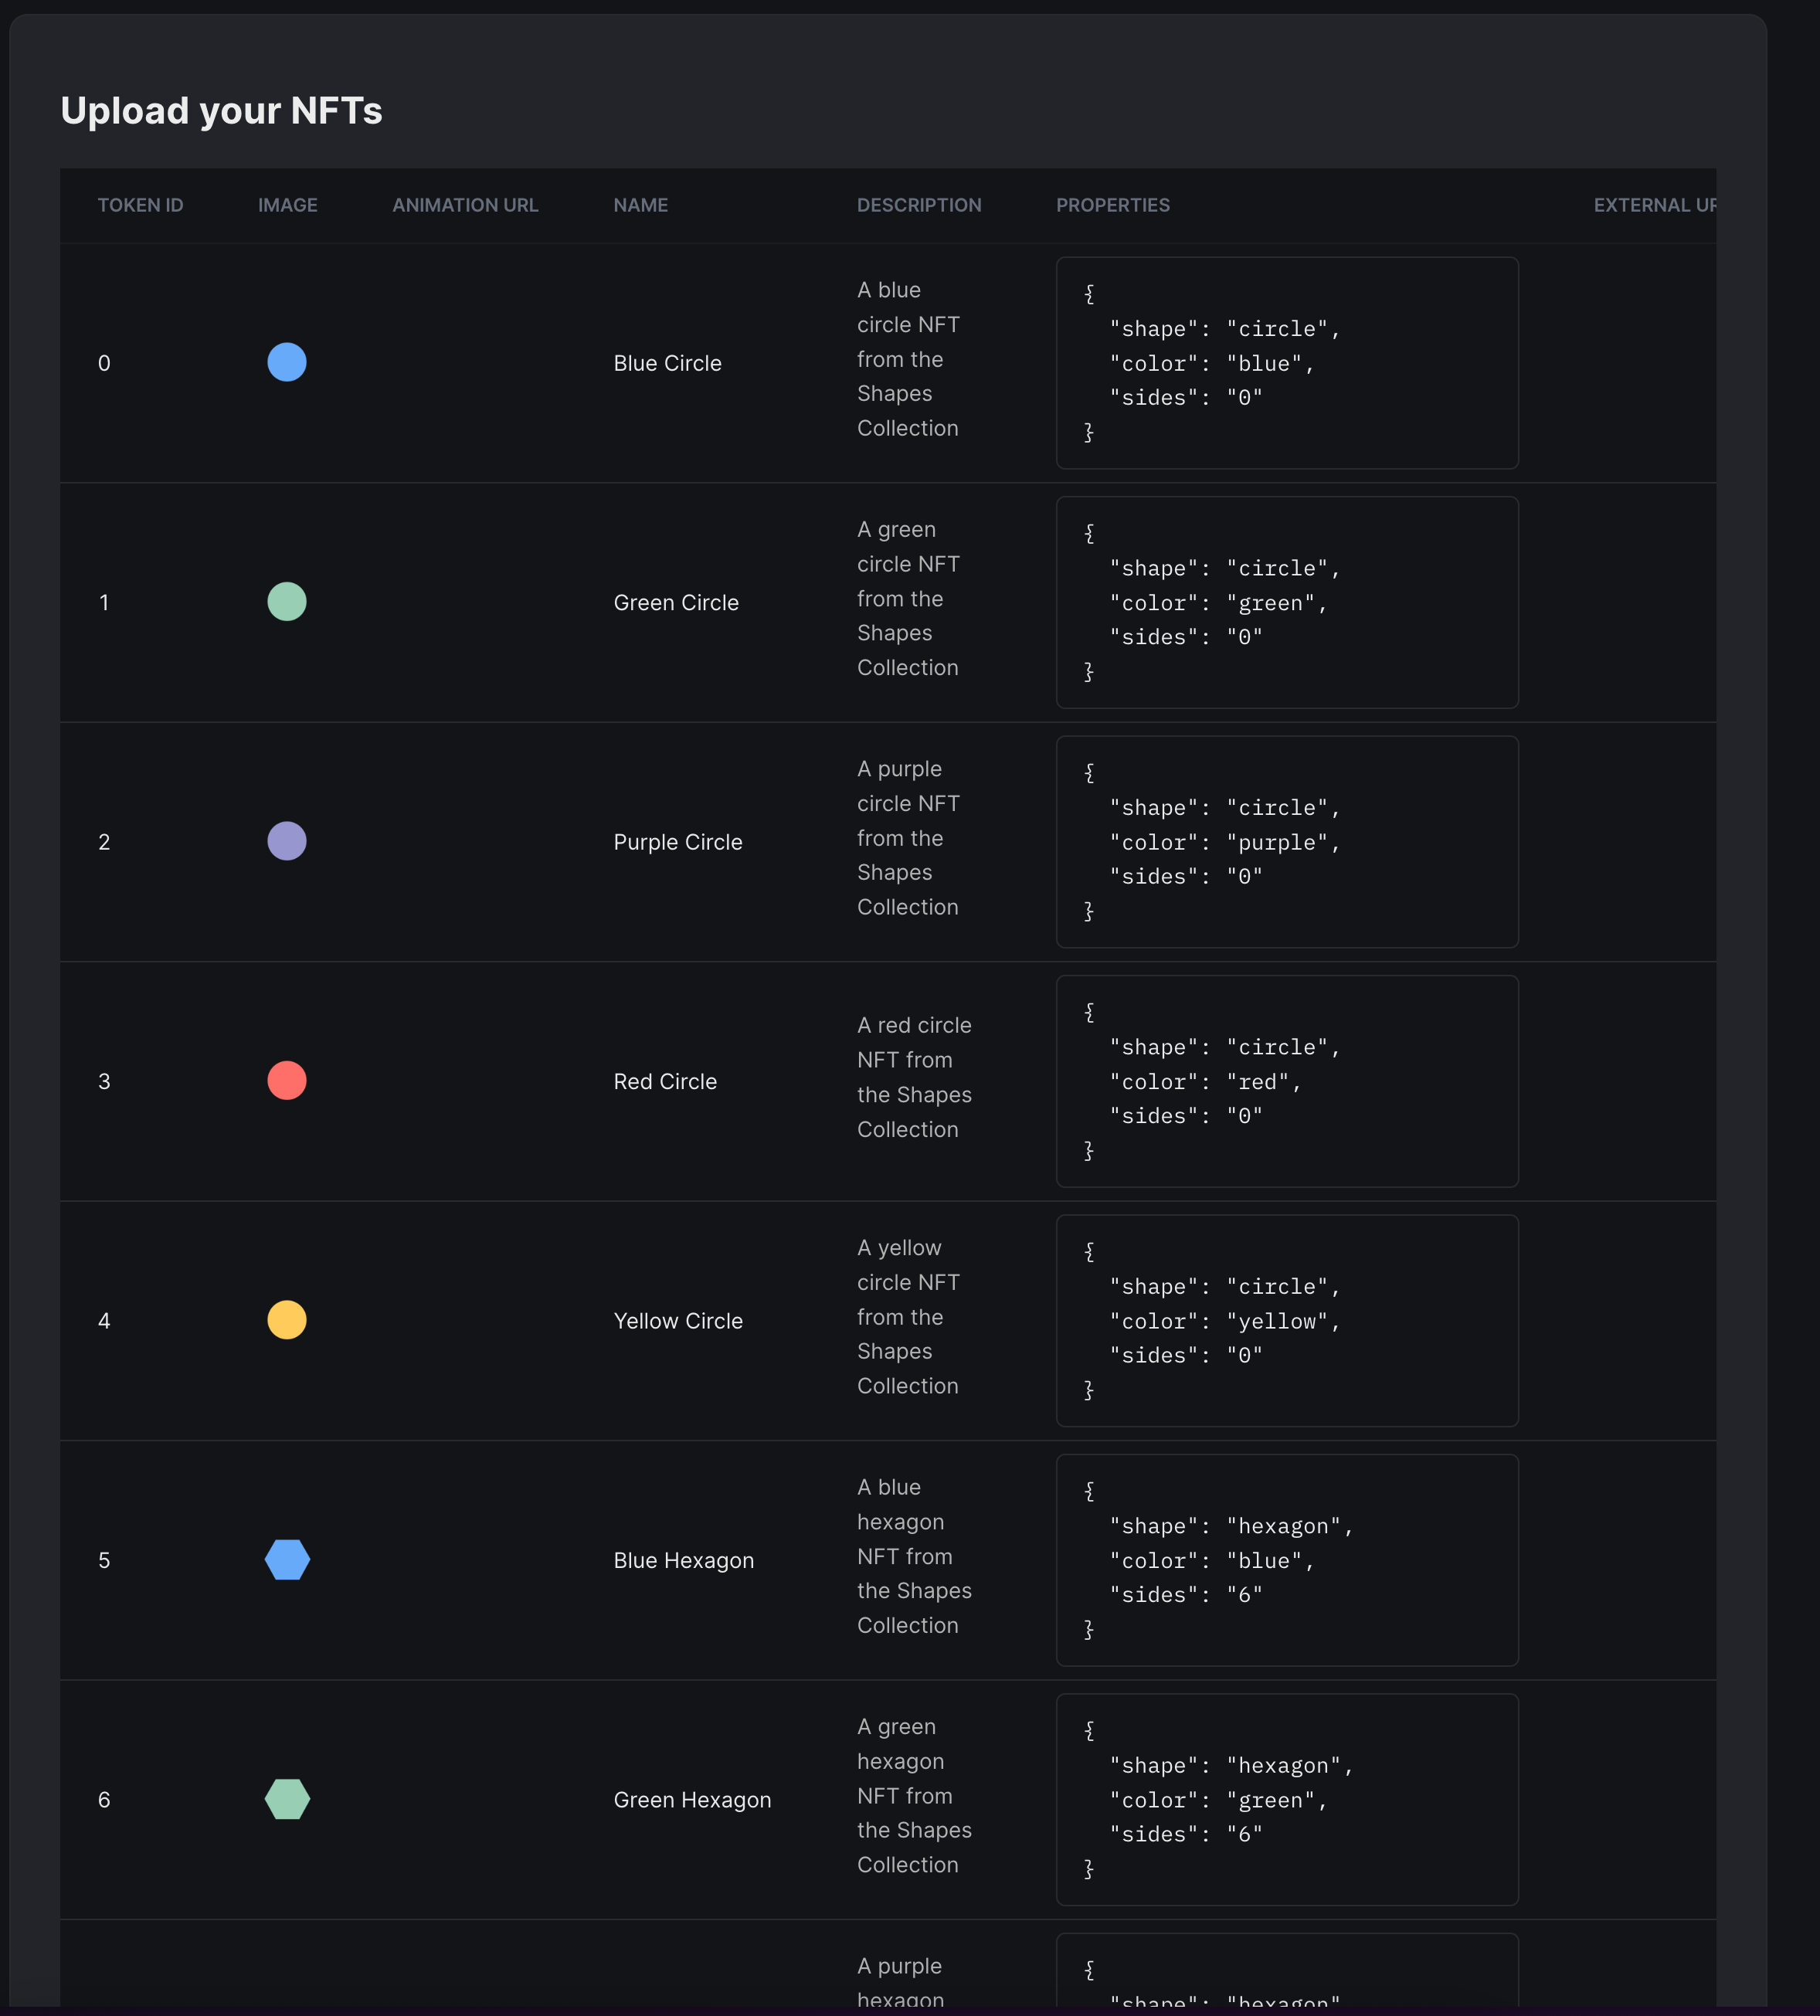
Once it is uploaded, you'll be able to preview the NFTs. You can go through all your NFTs, and if everything looks good, click on Next:
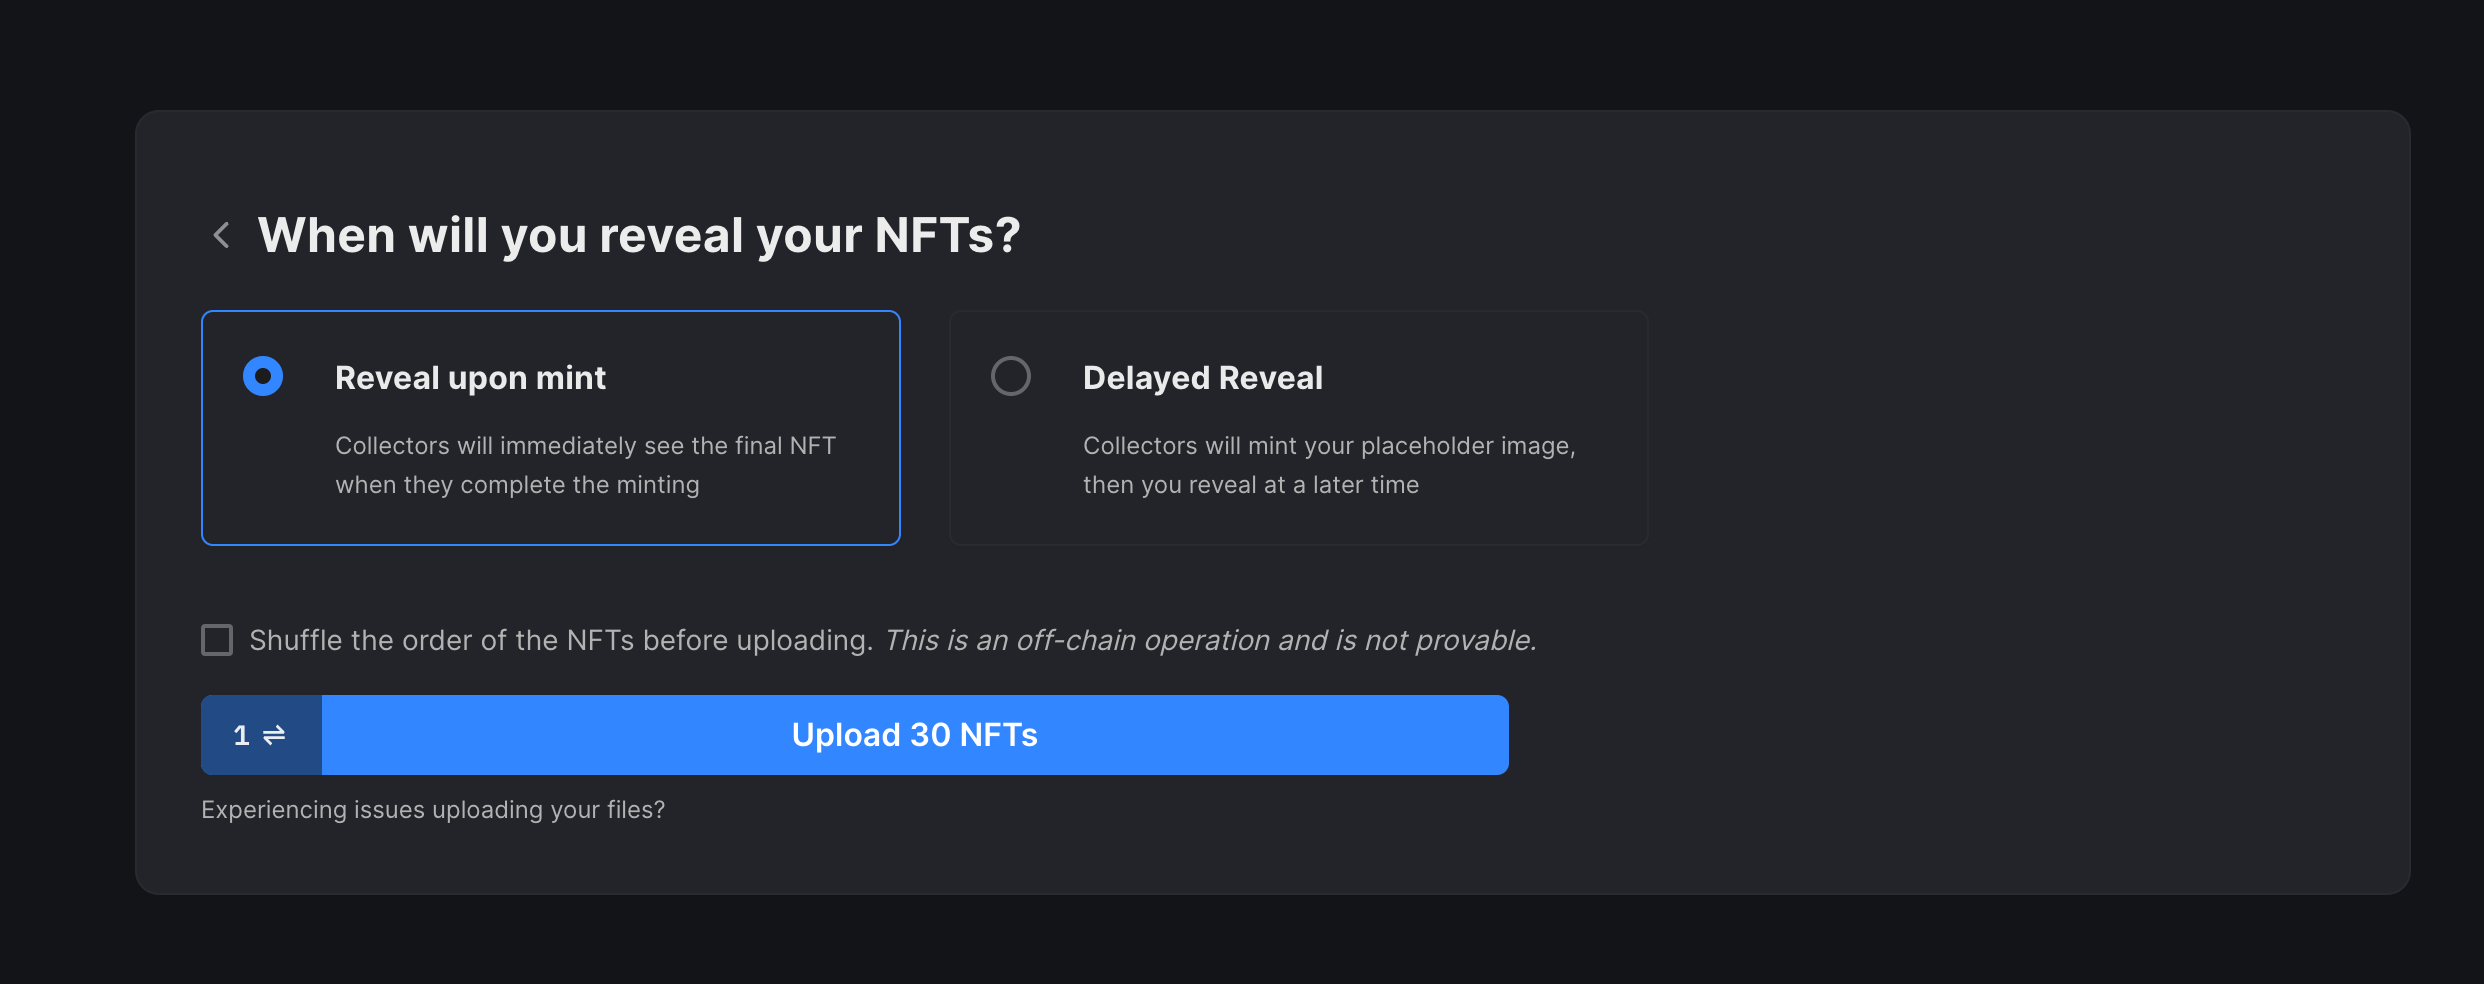
Select when you want to reveal your NFTs and click on Upload!
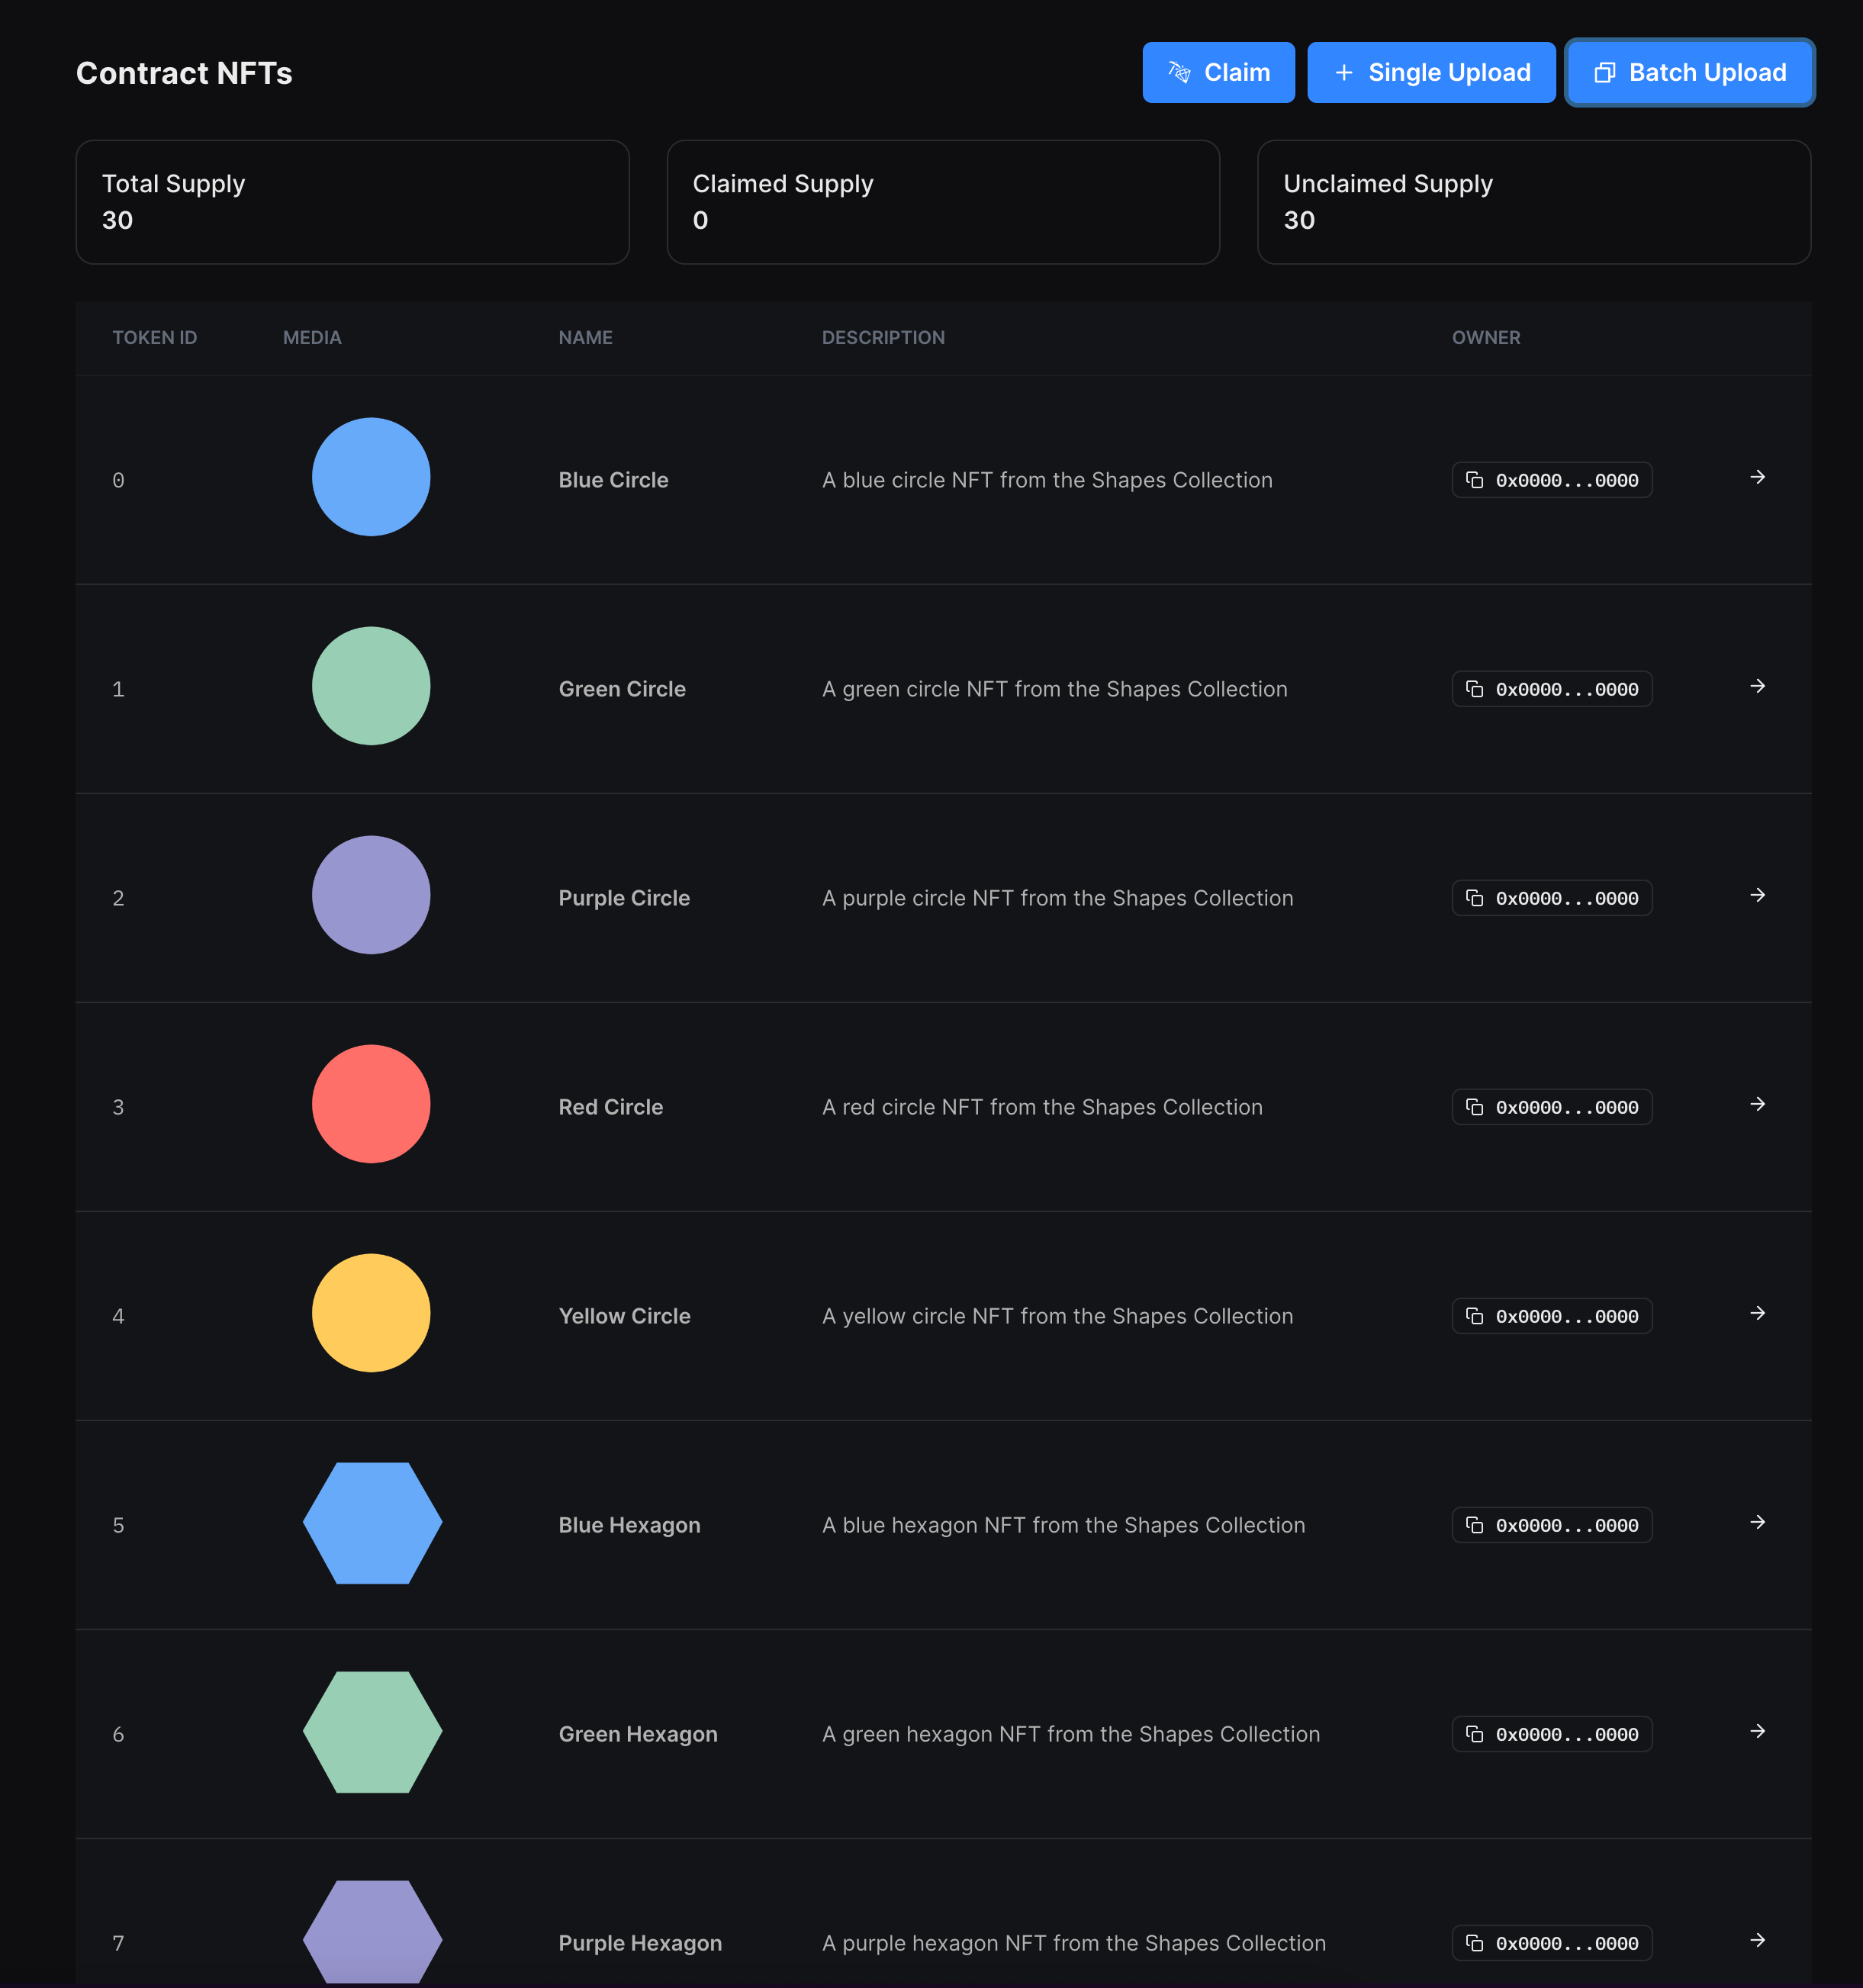
Once they are uploaded, you'll be able to see all your NFTs in the NFTs tab:
Set Up Claim Conditions
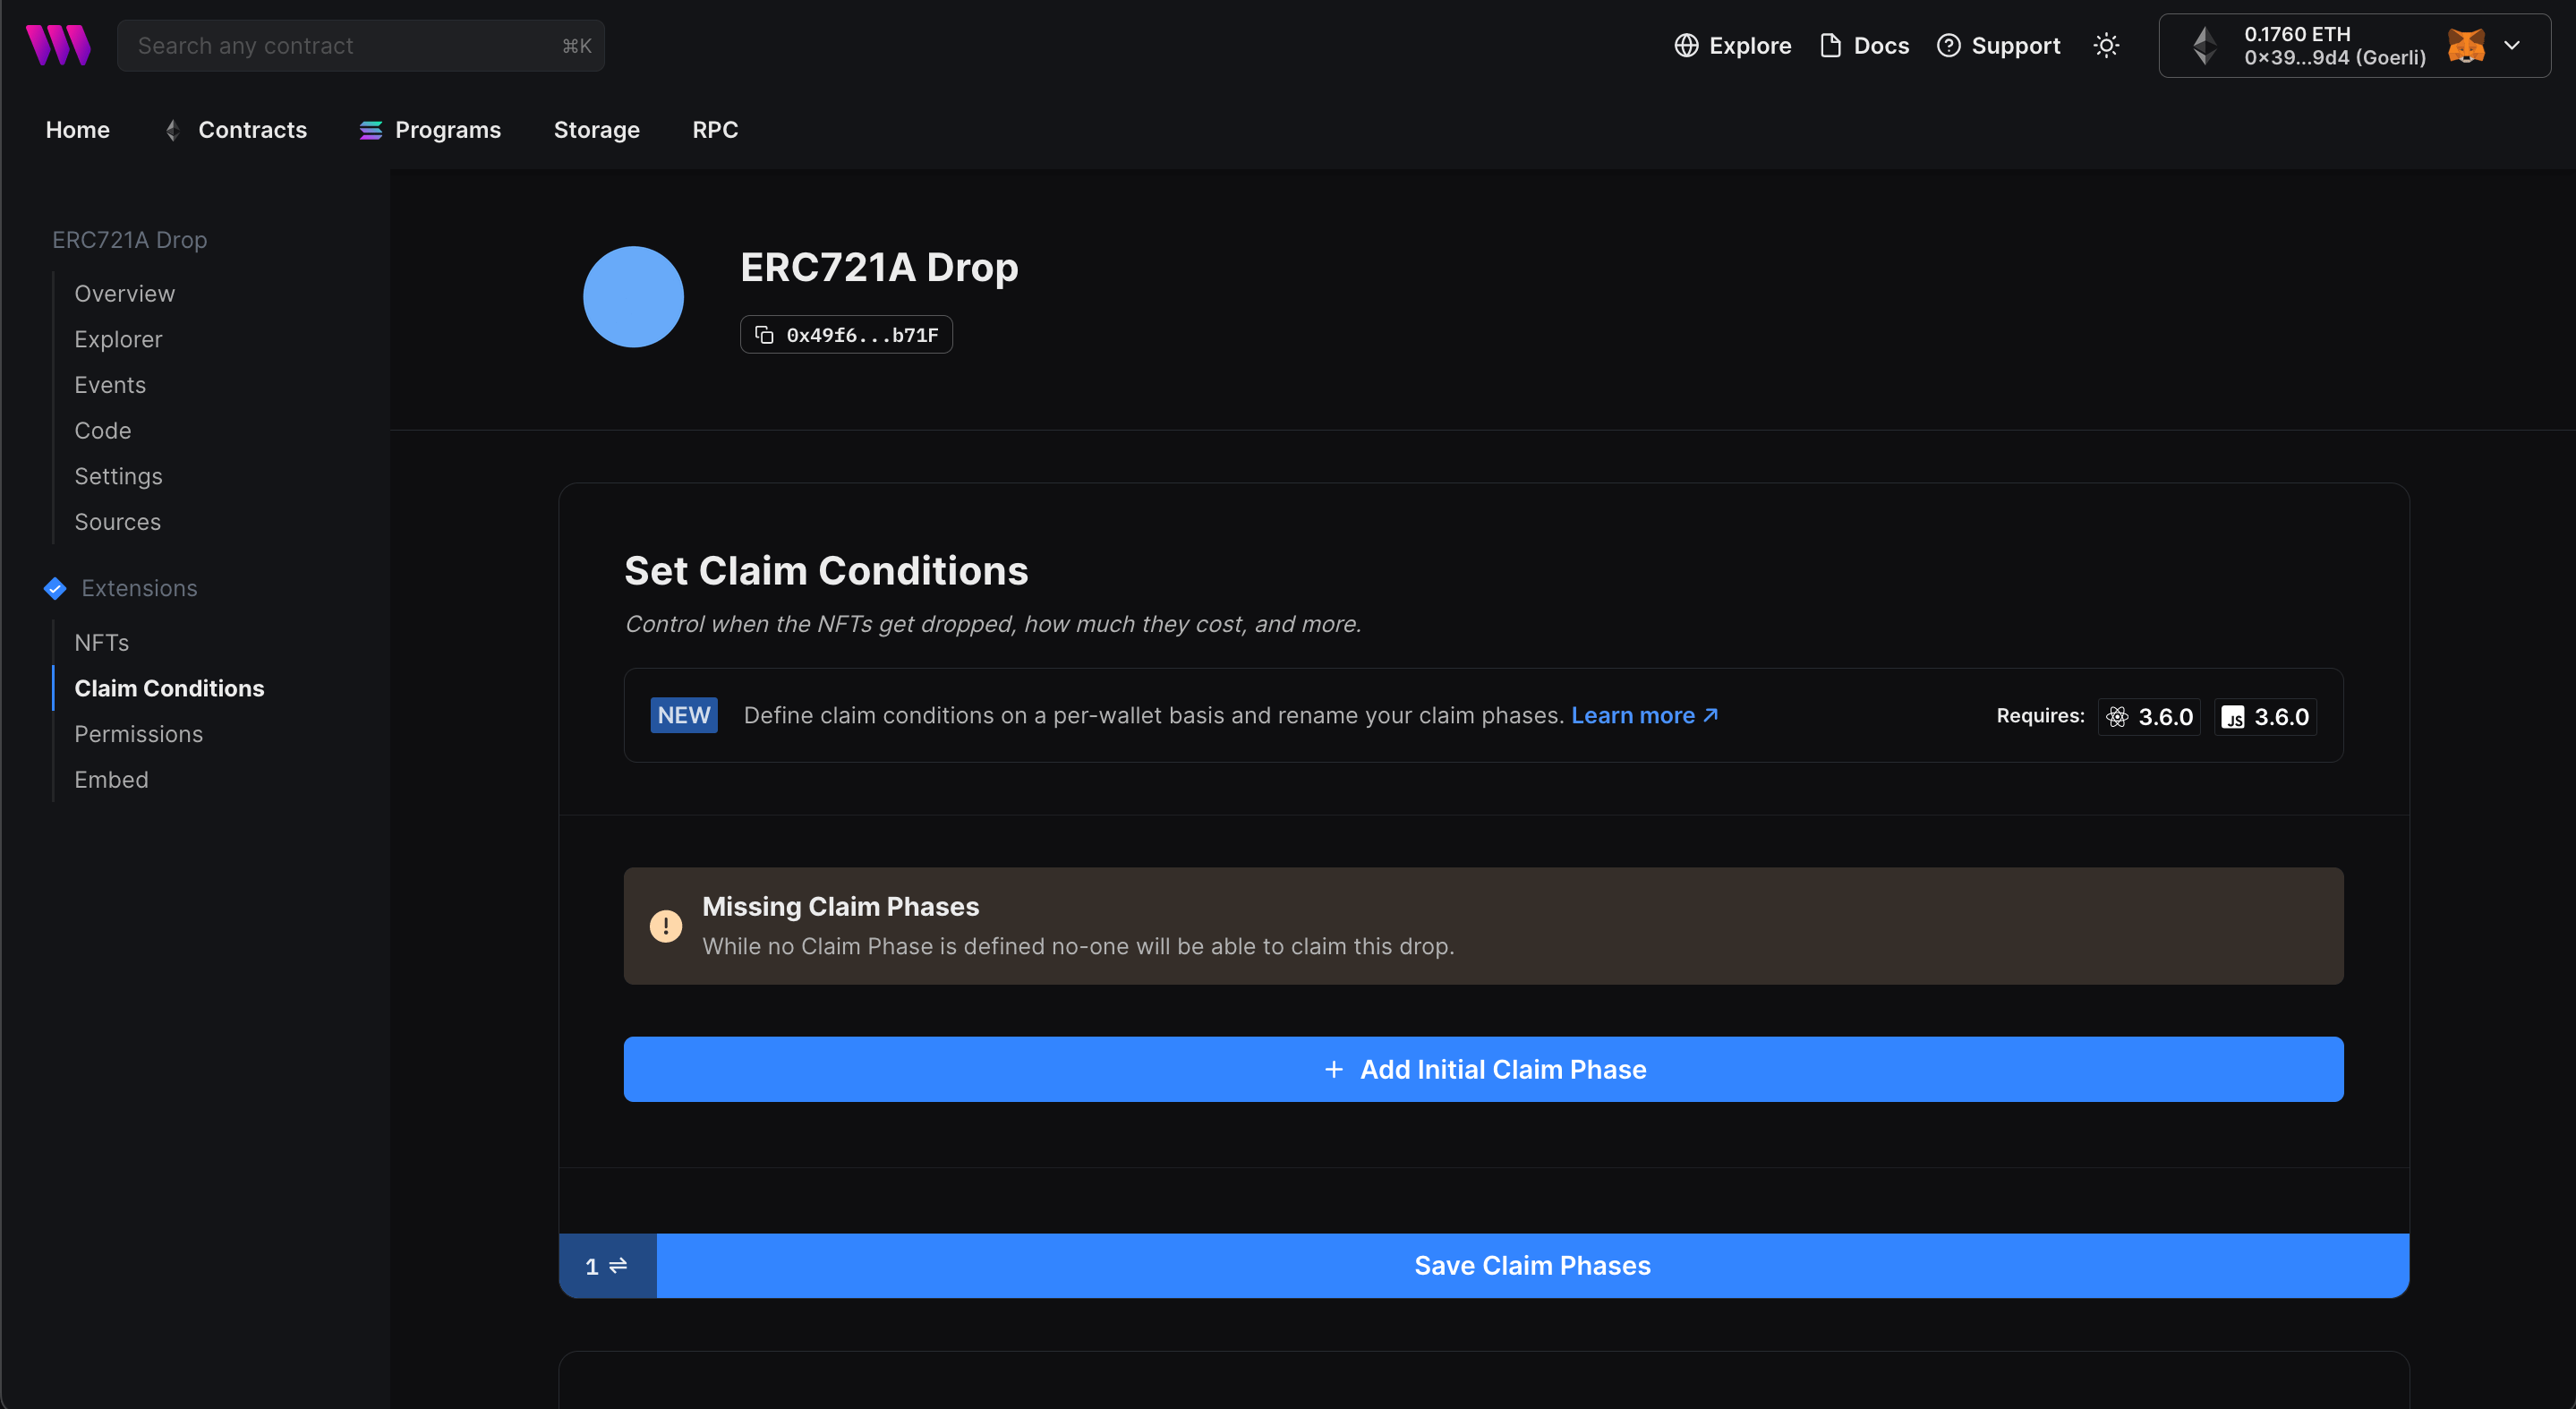
Claim conditions are the criteria that define who, when, and how users can claim an NFT from your drop, such as release dates, allowlists, and claim limits.
To add a claim phase, head to the Claim Conditions tab and click Add Initial Claim Phase:
Here, you can configure the price, release date, and more for your NFT drop:
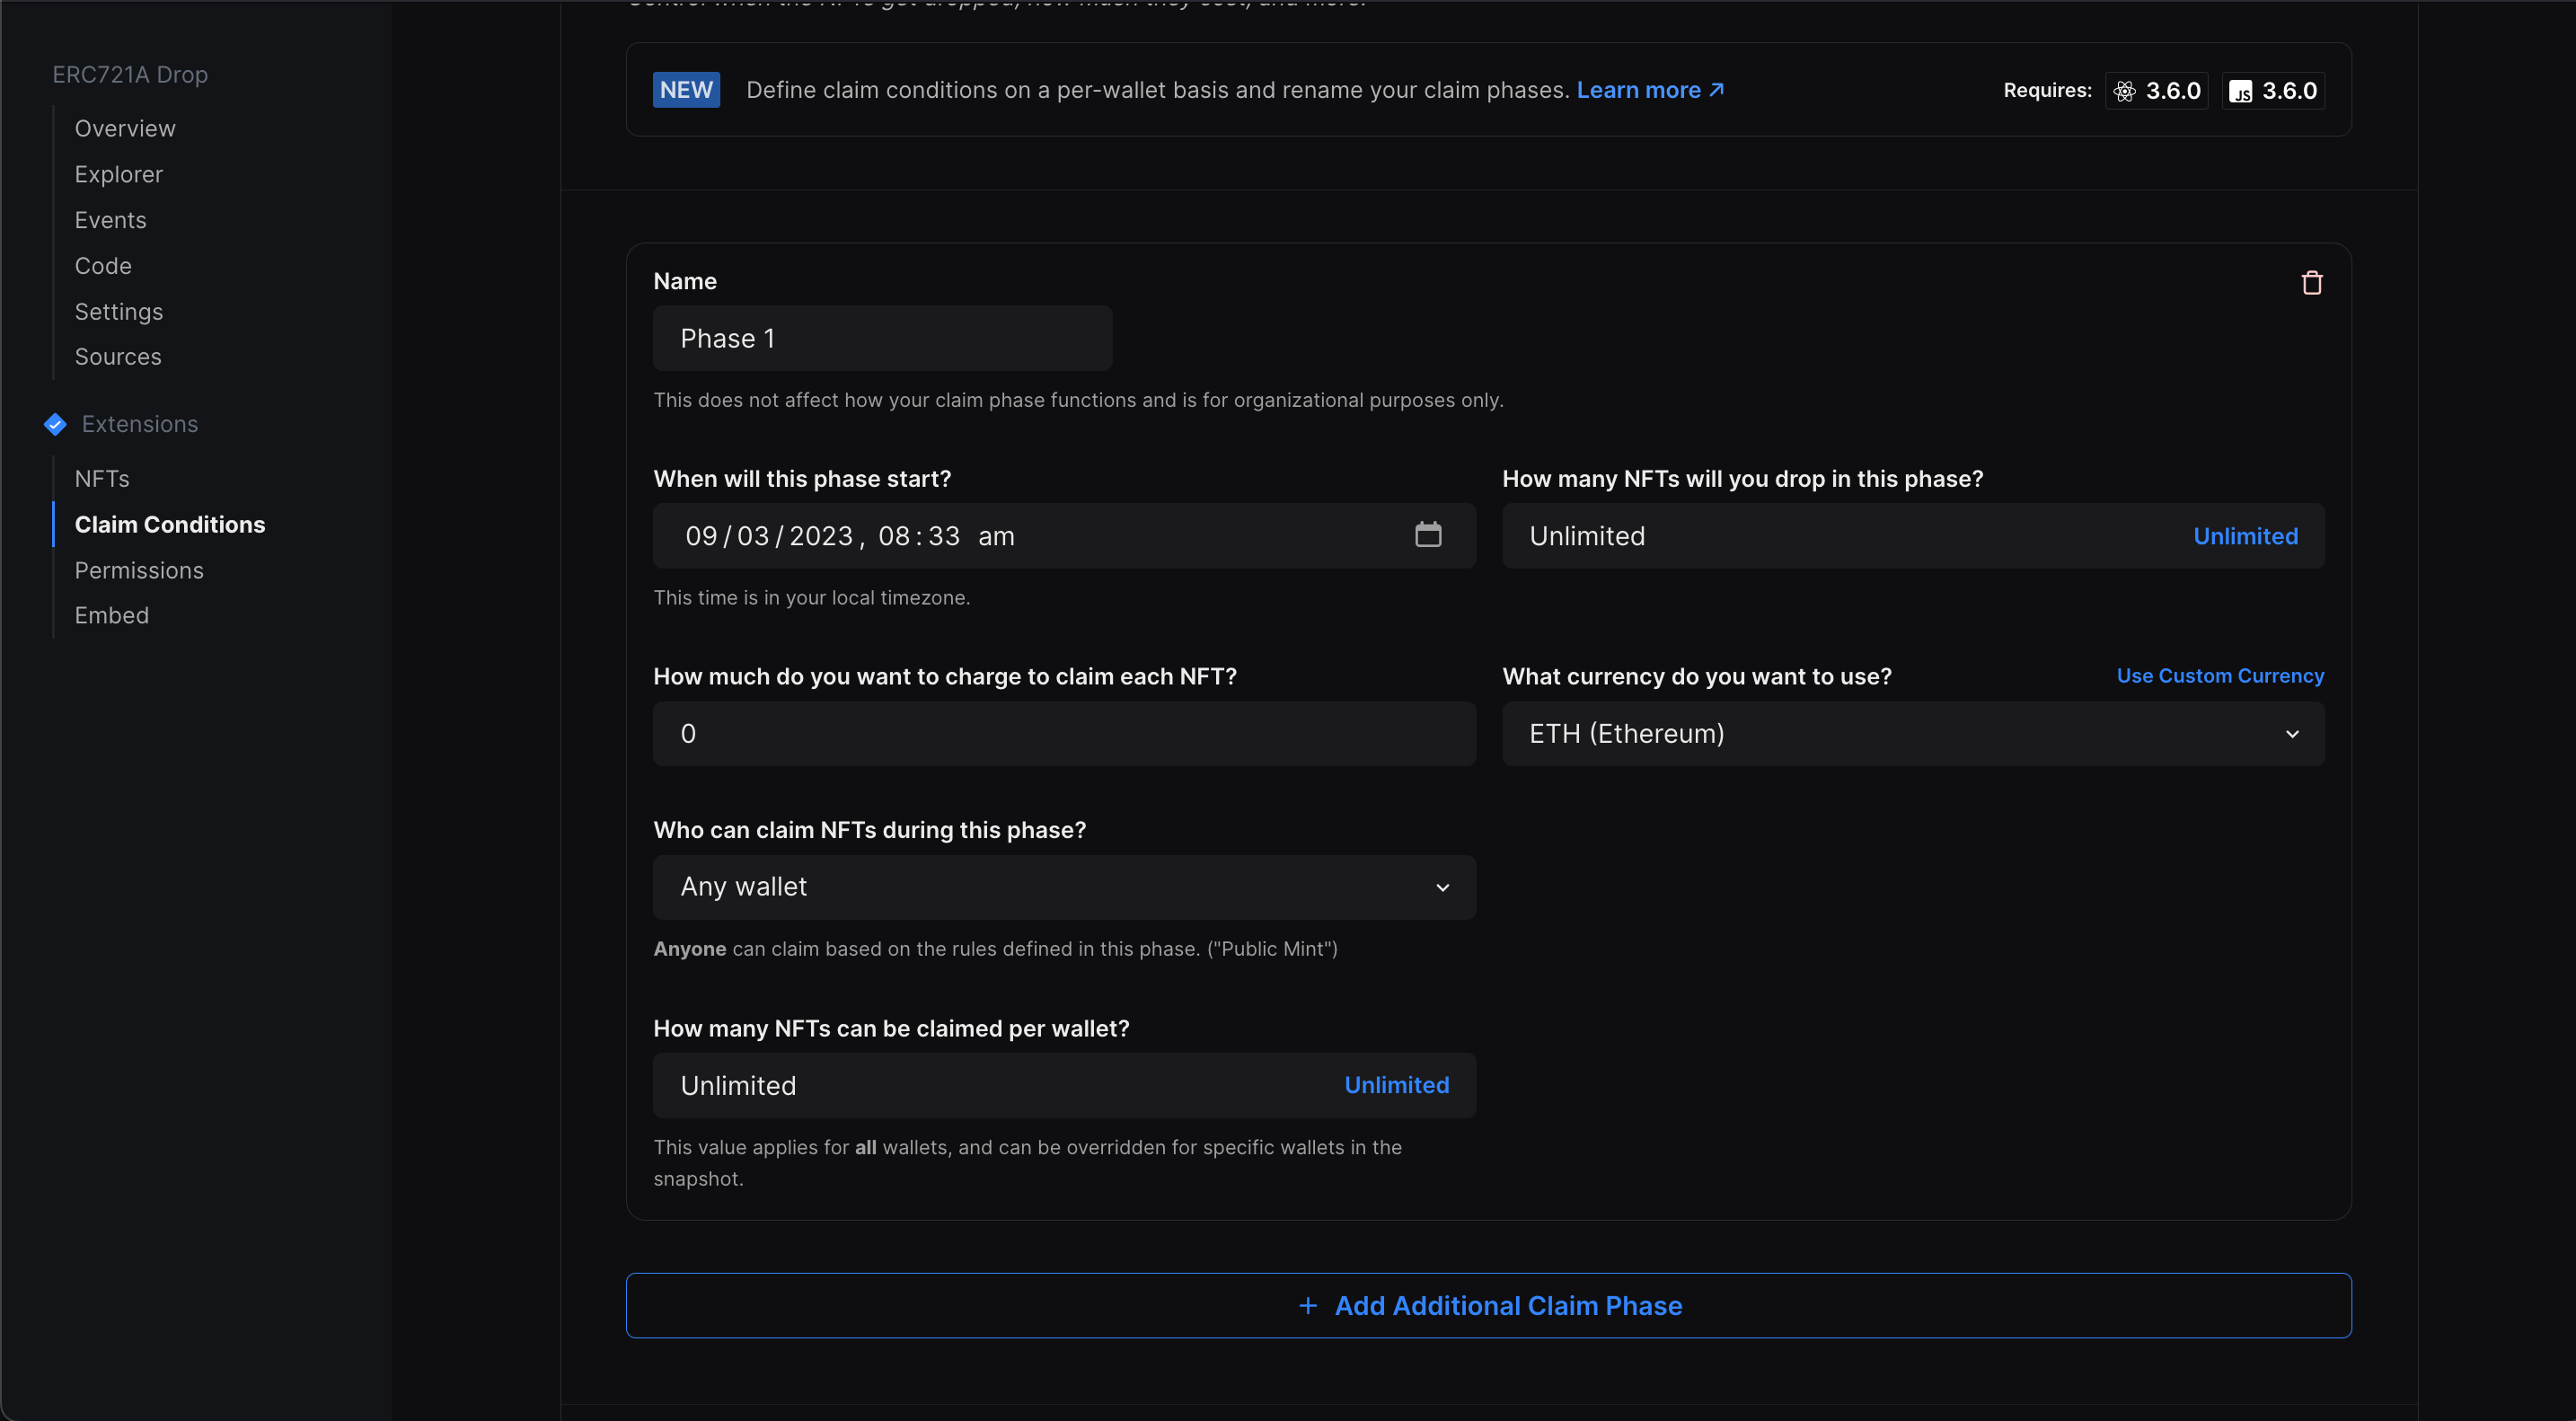
Update the details as you want and save the claim phase!
Creating the NFT Minting Site
We are going to use a pre-built template for this guide, so run this command in your terminal:
npx thirdweb create --template erc721This will ask you to enter the name of your project, so give your project a name and click enter. Once the modules are installed, open the project in your favourite code editor!
You will first need to create a new .env file and add the thirdweb client ID with the name VITE_TEMPLATE_CLIENT_ID. If you haven't made one yet, make it for free on the dashboard.
Next, we need to update some parameters in the src/consts/parameters.ts file:
- Change
contractConstto the address of the contract that you just deployed - Change
chainConstto the network on which you deployed your contract - We have already added the
clientIdConstin the .env file, so you don't need to do anything here - You can change
primaryColorConstto the color you want to use in your app. You can choose any color from these options:
const colors = {
  purple: "#7C3AED",
  blue: "#3B82F6",
  orange: "#F59E0B",
  pink: "#EC4899",
  green: "#10B981",
  red: "#EF4444",
  teal: "#14B8A6",
  cyan: "#22D3EE",
  yellow: "#FBBF24",
} as const;
If you want to use another color as your primary color, then open src/App.tsx and add a new color in the colors object and use it in the consts file.
- The
themeConstvariable decides the theme of your app. You can either choose light or dark - Finally, you can add relayer configuration options using the
relayerUrlConst,biconomyApiKeyConst, andbiconomyApiIdConstvariables. To know more about setting up gasless transactions, check out these guides:
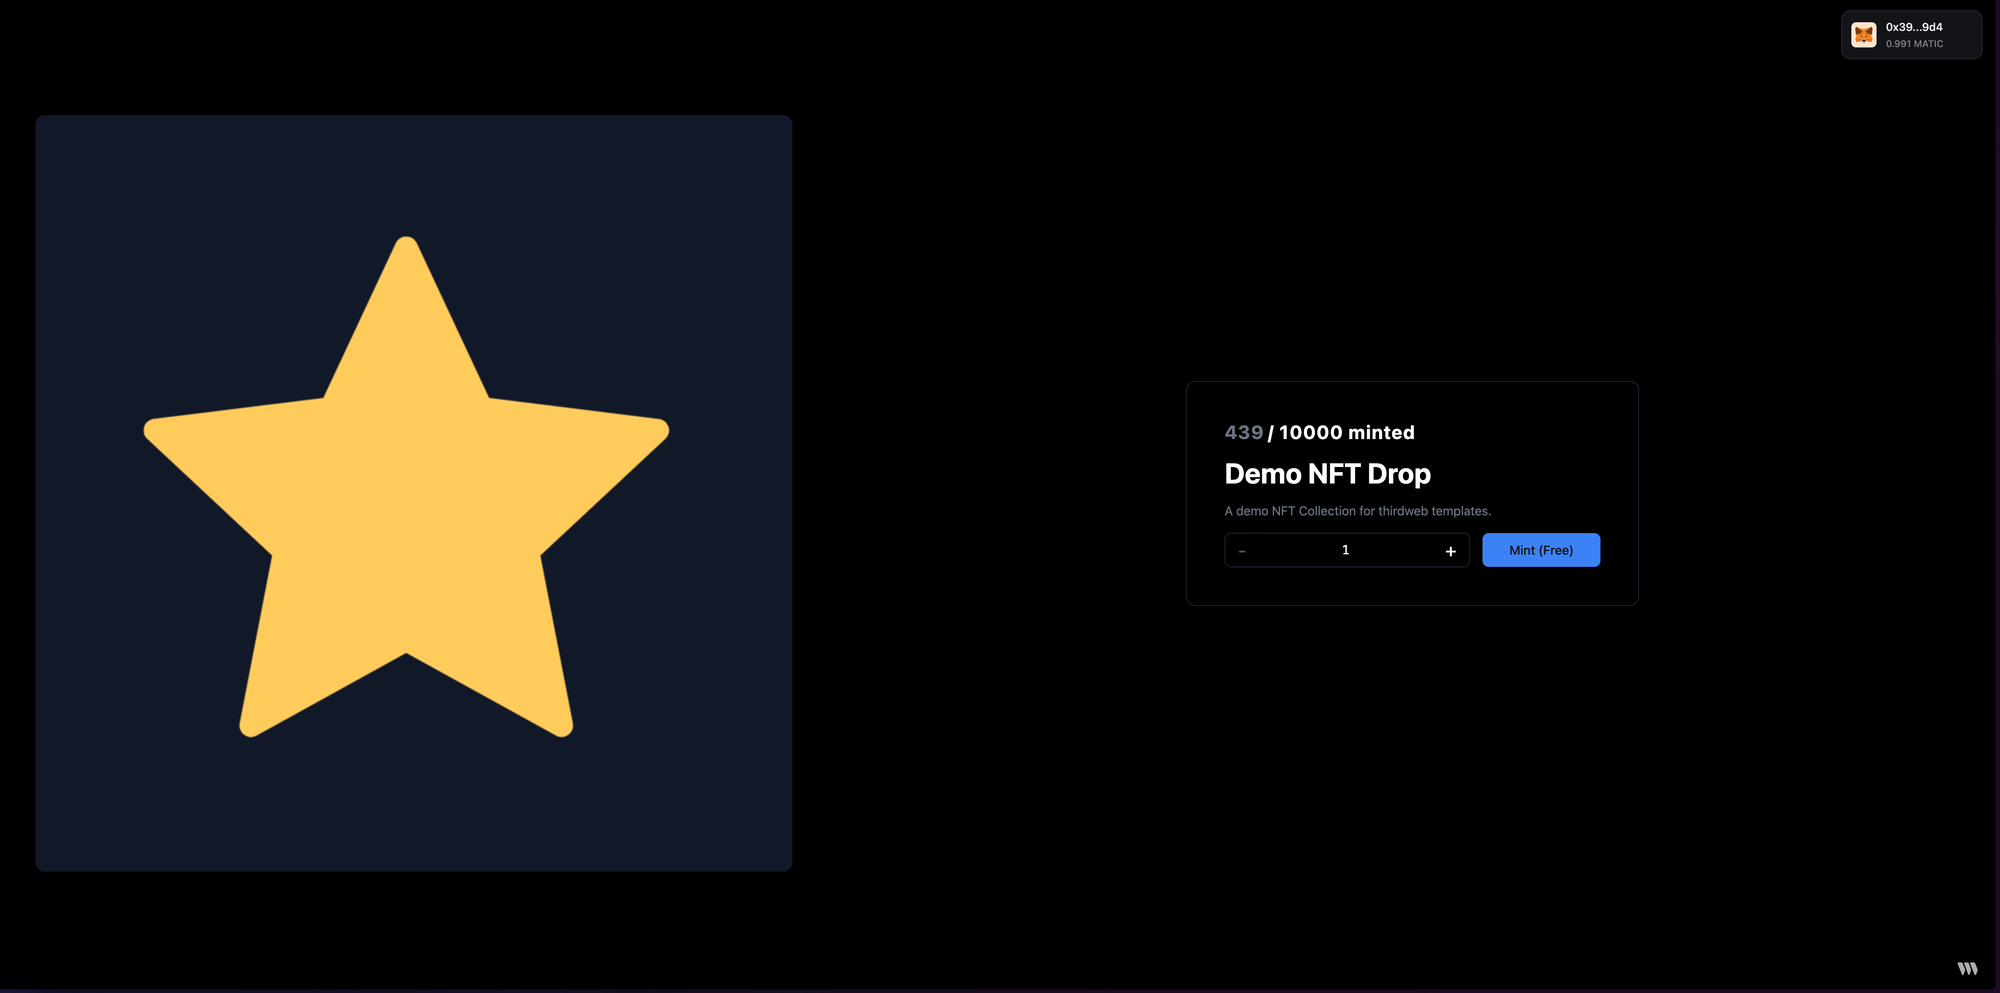
If you now run your server using yarn dev. You'll be able to see the metadata of your contract being reflected:
Customizations
This is just a basic structure for the NFT minting site. You can customize it as much as you want! Here are some ideas:
Styling
You can change the stylings or layout of the app you can change it in the App.tsx file. The template uses tailwind for styling, so you can add the respective class names to change the styles. If you are new to Tailwind, you can check out their documentation to learn more about it!
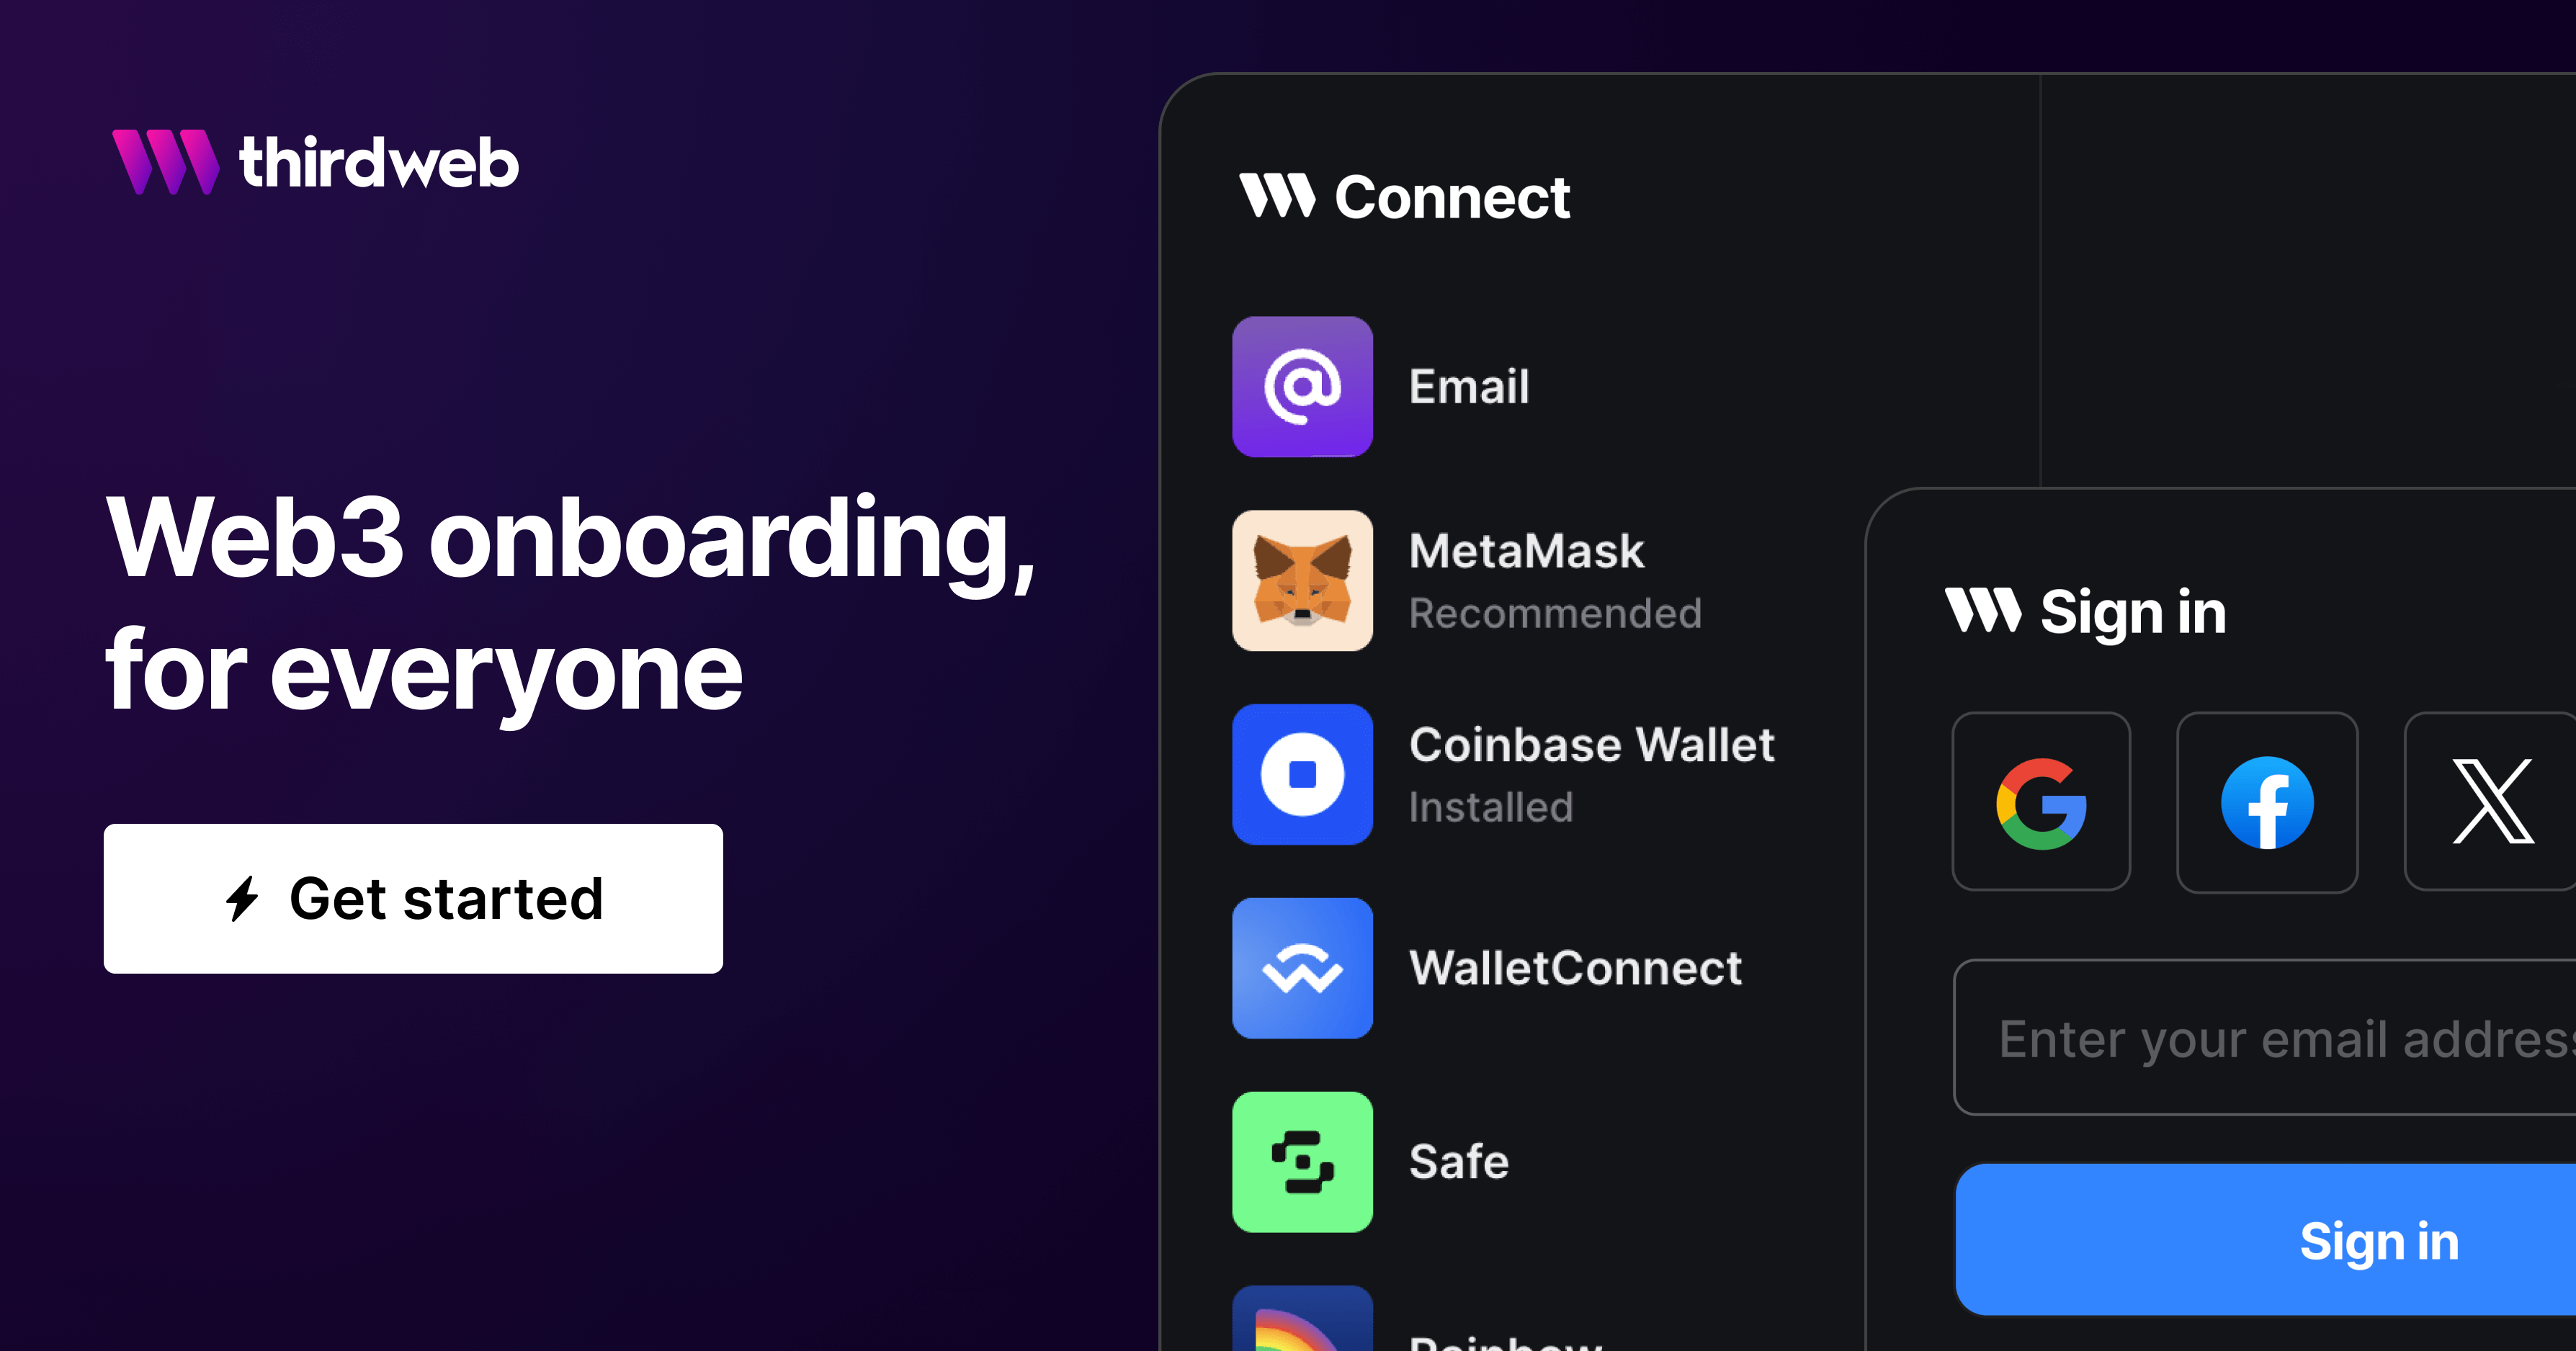
Adding more wallet connect options
If you want your users more ways to connect their wallets than just the conventional metamask/coinbase wallet connection, I recommend checking out our different wallet connect options like smart wallets, local wallets, embedded wallets, and much more on our wallets page:
Allowing users to buy NFTs using fiat
You can also add fiat checkouts for a more seamless experience for your users using our engine! Here's a guide going through how to accept fiat payments using thirdweb engine and Stripe:


Notify your drop claimers
If you want to notify your drop claimers you can use mailchain to do it. Here's a guide showing how to do it:
This is just a list few things that you can do with our SDK, but the sky is the limit here! You can check our docs to learn more about how to use a product.
Conclusion
This guide taught us how to create an NFT minting site using the thirdweb SDK and next.js.
You learned a lot, now pat yourself on the back and share your amazing apps with us on the thirdweb discord! If you want to look at the code, check out the GitHub Repository.
Need help?
For support, join the official thirdweb Discord server or share your thoughts on our feedback board.