Notify drop claimers using Mailchain

This guide will use Mailchain with thirdweb to send messages to your users after they claim your drop. Mailchain is a protocol that lets you message other wallets. It also functions as the email of web3, making it flexible to fit different tasks. In our case, we will send a mail to a user's wallet address after they have claimed the NFT drop.
We will cover how you can set up Mailchain, create an NFT drop contract on thirdweb and finally create a dApp integrating both to provide users a seamless experience for claiming the drops.
Creating a Mailchain account
Head to Mailchain web app. You should see a registration form, create a username, set a password, and copy the secret recovery phrase from the advanced options, as we will need this later. Now, click on Continue to create your account. You should now see your mailbox:
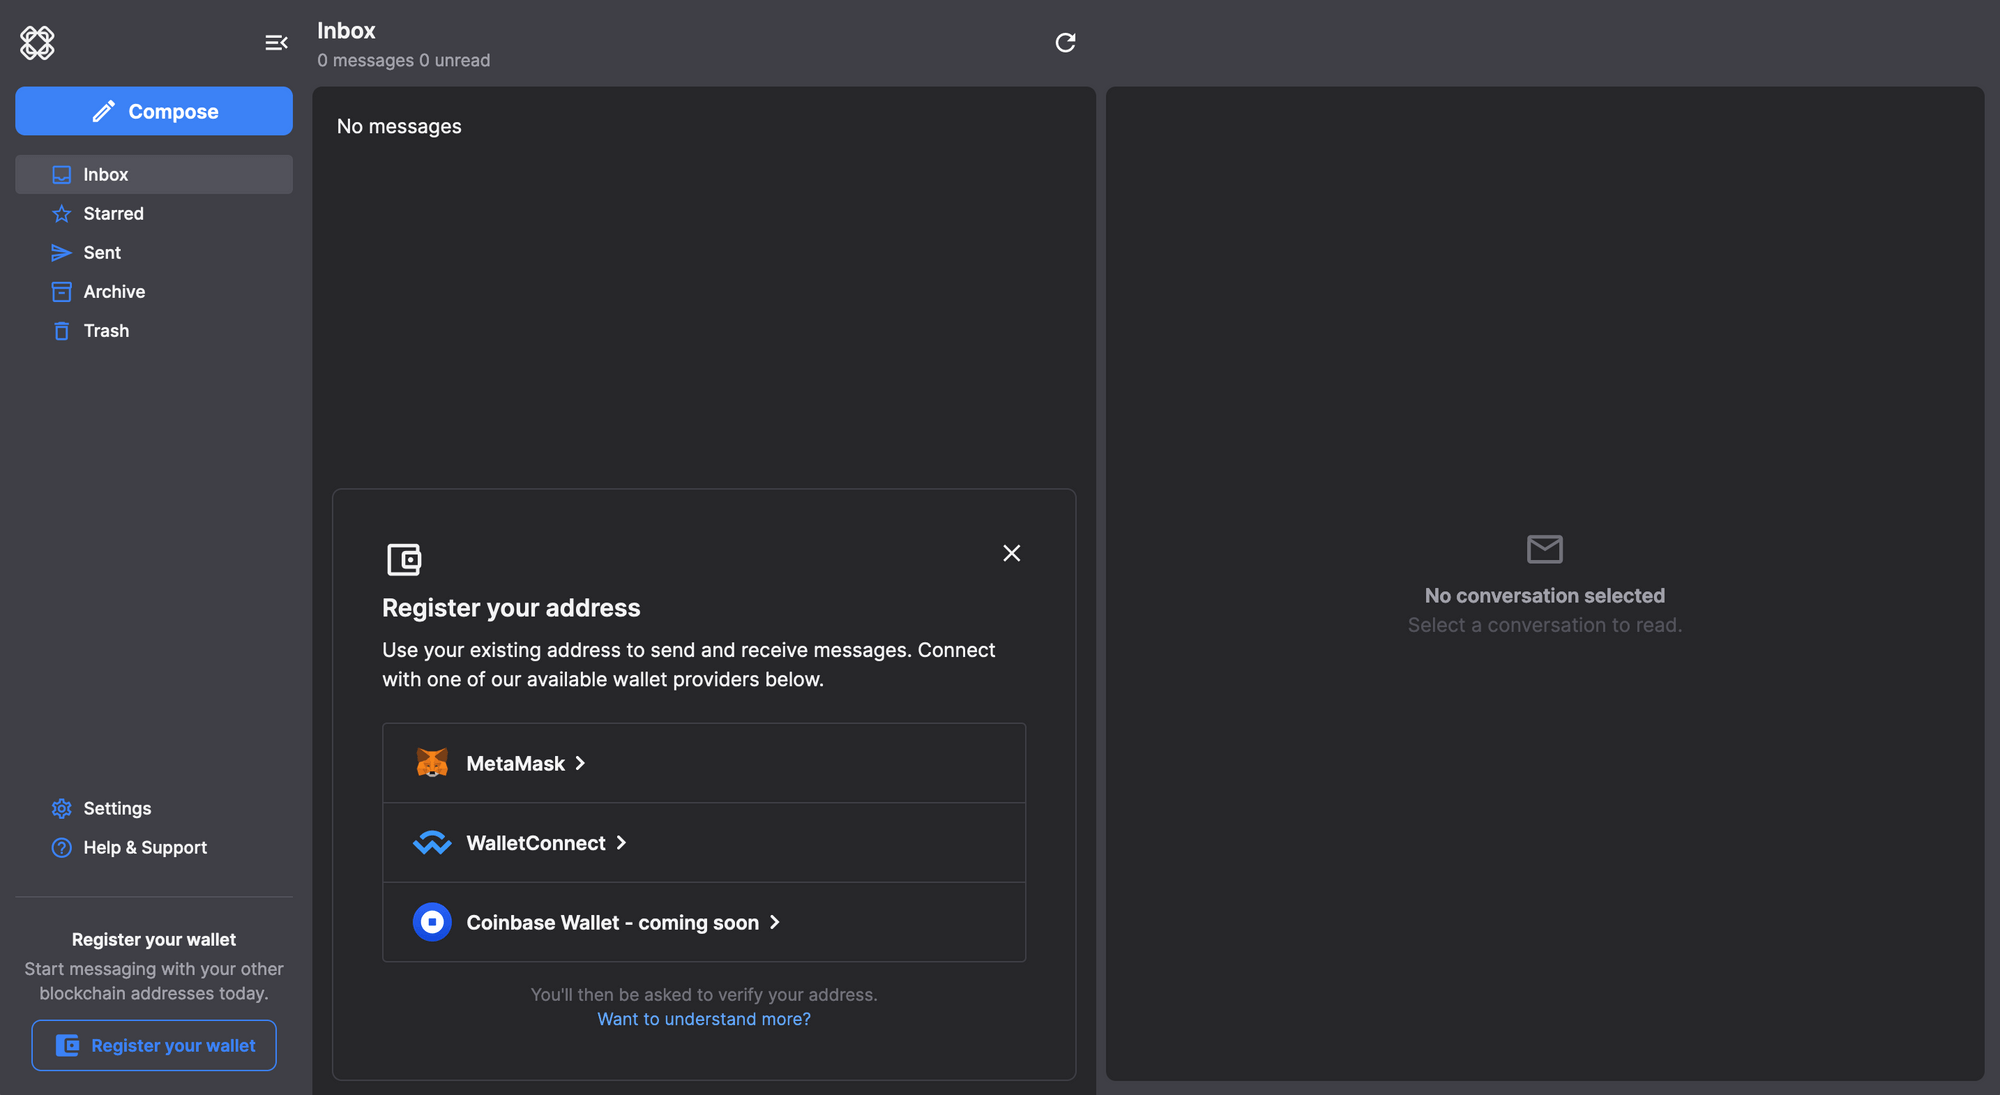
You can now register your wallet if you want to send mail from your wallet address or ENS. For this tutorial, we will be sending emails using a Mailchain username. However, the process for sending through the address is exactly the same.
Now, you can send mail through the Mailchain app and their SDK! Let's experiment with sending messages to other wallets using the app to better understand how Mailchain works.
Creating an NFT Drop
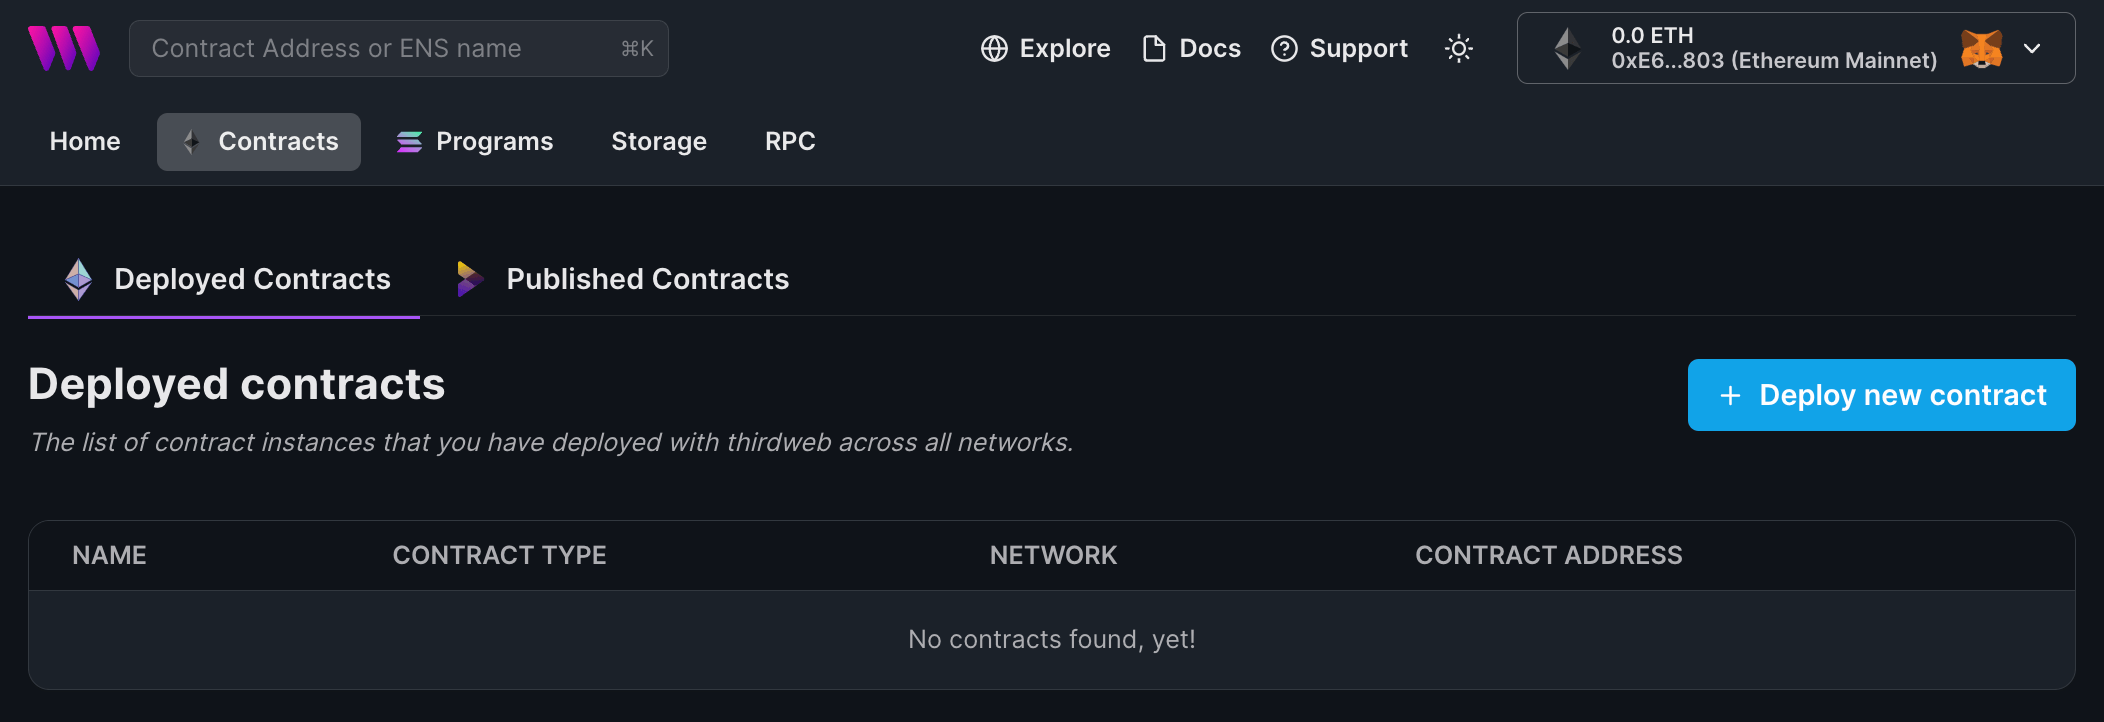
We are now ready to create & deploy a smart contract. To do this, head to the Contracts page in your thirdweb Dashboard and hit "Deploy new contract":
You will be taken to our Explore page — where you can browse smart contracts built by the top protocols in web3 and deploy them in just a few clicks!
Note: You can also use the thirdweb CLI to set up a smart contract environment by running the below command from your terminal:
npx thirdweb create contractThis will take you through an easy-to-follow flow of steps for you to create your contract. Learn more about this in our CLI guide.
Otherwise, let's get back to Explore:
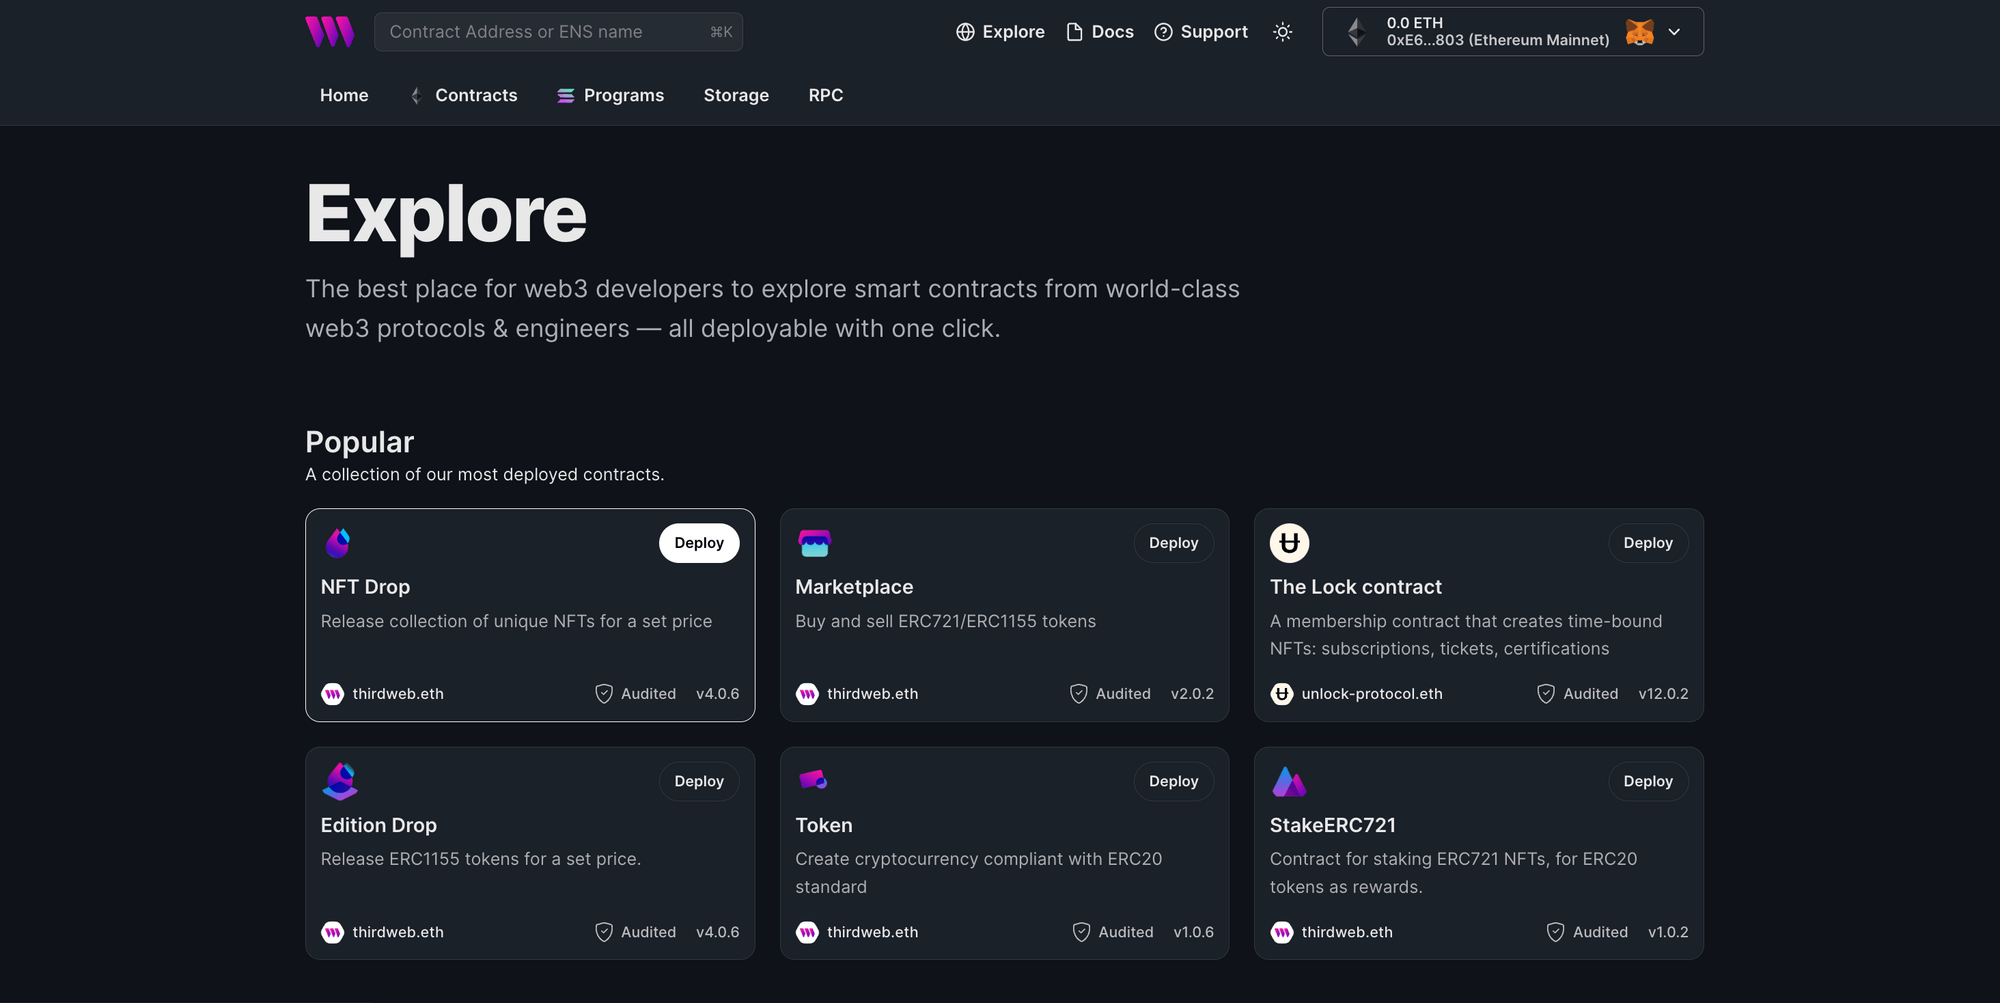
In here, select your smart contract of choice. For this guide, we're going to use the NFT Drop (ERC721) contract to create our NFT collection:
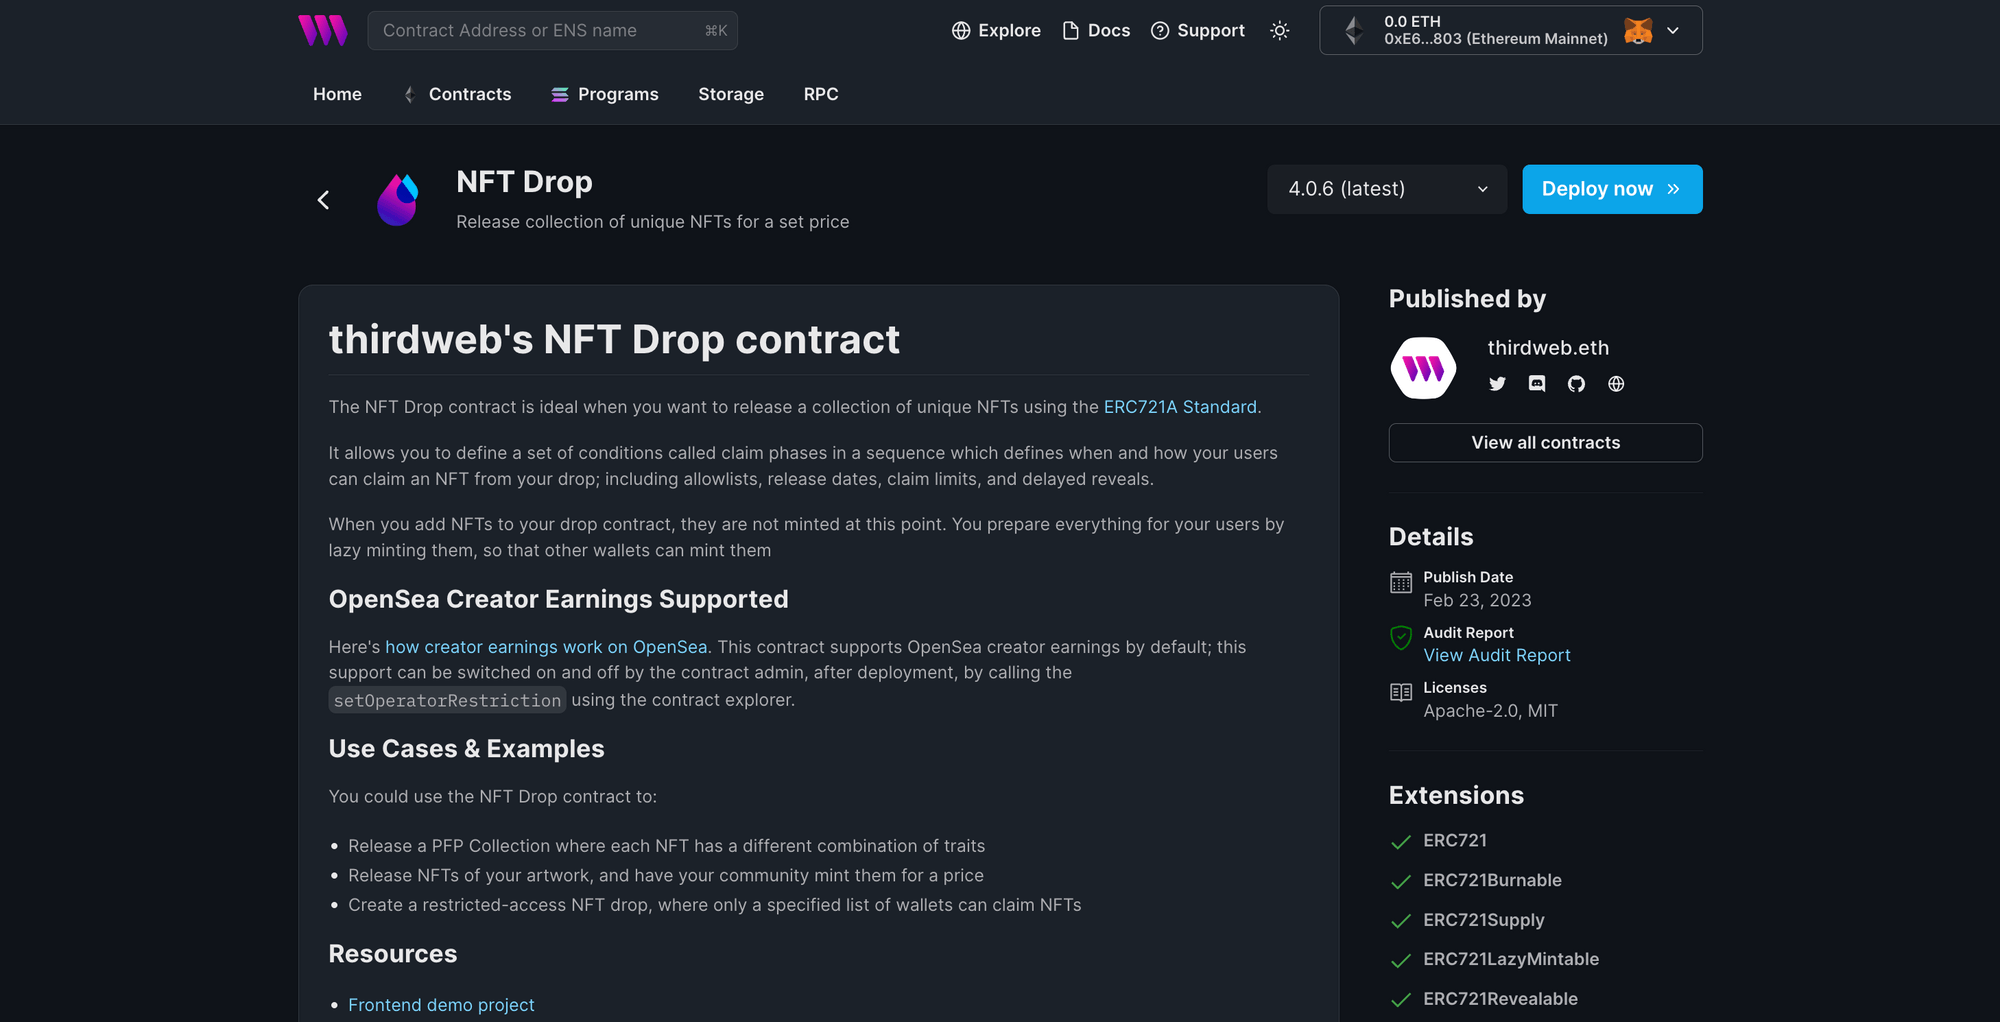
Hit the "Deploy now" button and configure your smart contract:
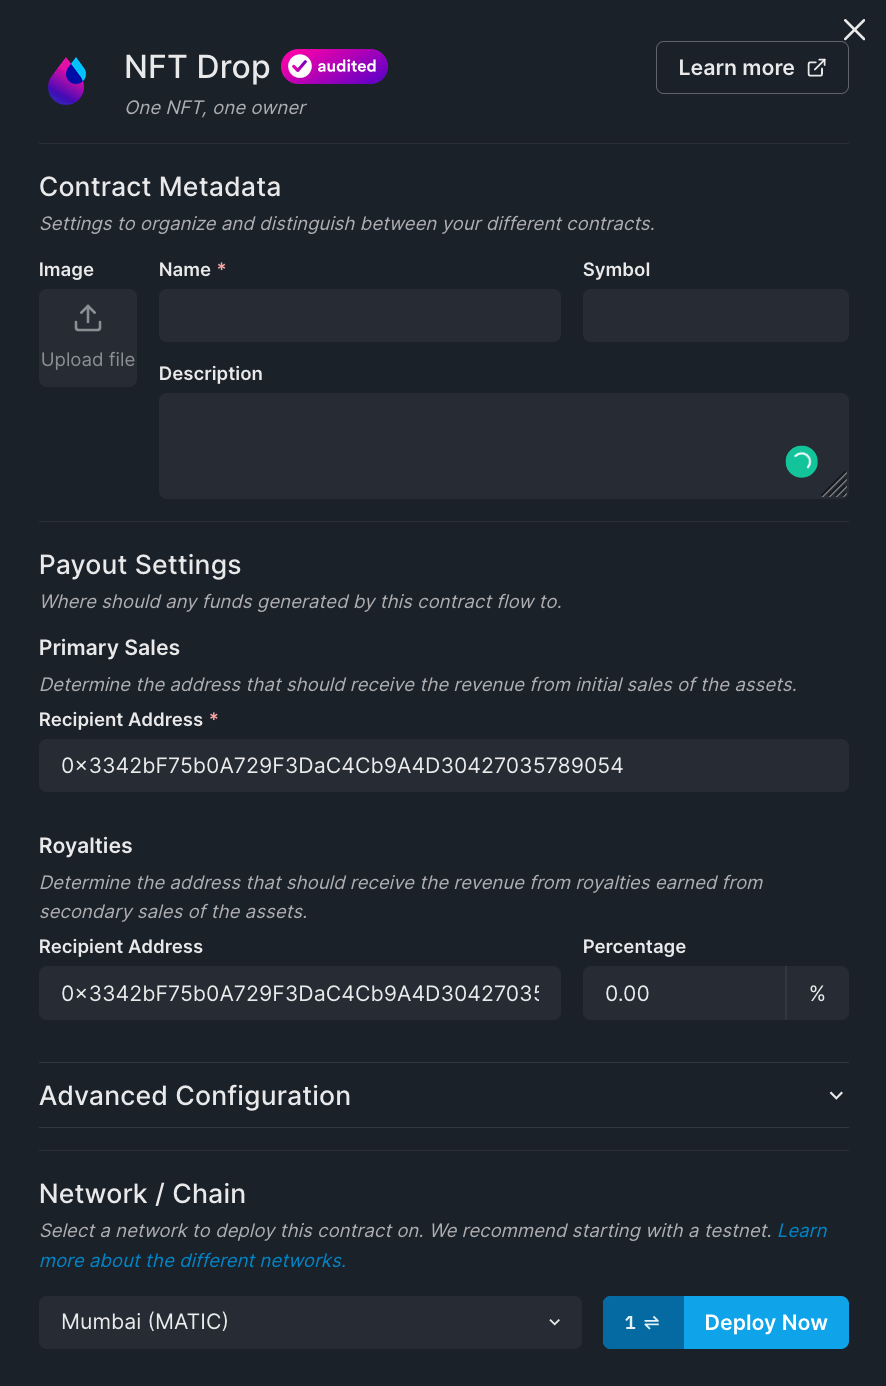
Fill in the desired details, select your preferred network (we recommend starting with a testnet), and click on Deploy Now. You will be prompted to approve a transaction. Afterwards, your contract will be deployed on the selected network. You should be automatically redirected to the NFT Drop dashboard for the contract. Feel free to upload/batch upload NFTs at this step, as we will need some to mint in the frontend application.
After you've finished uploading the NFTs, go to the Claim Conditions tab and set your claim conditions to make the drop claimable:
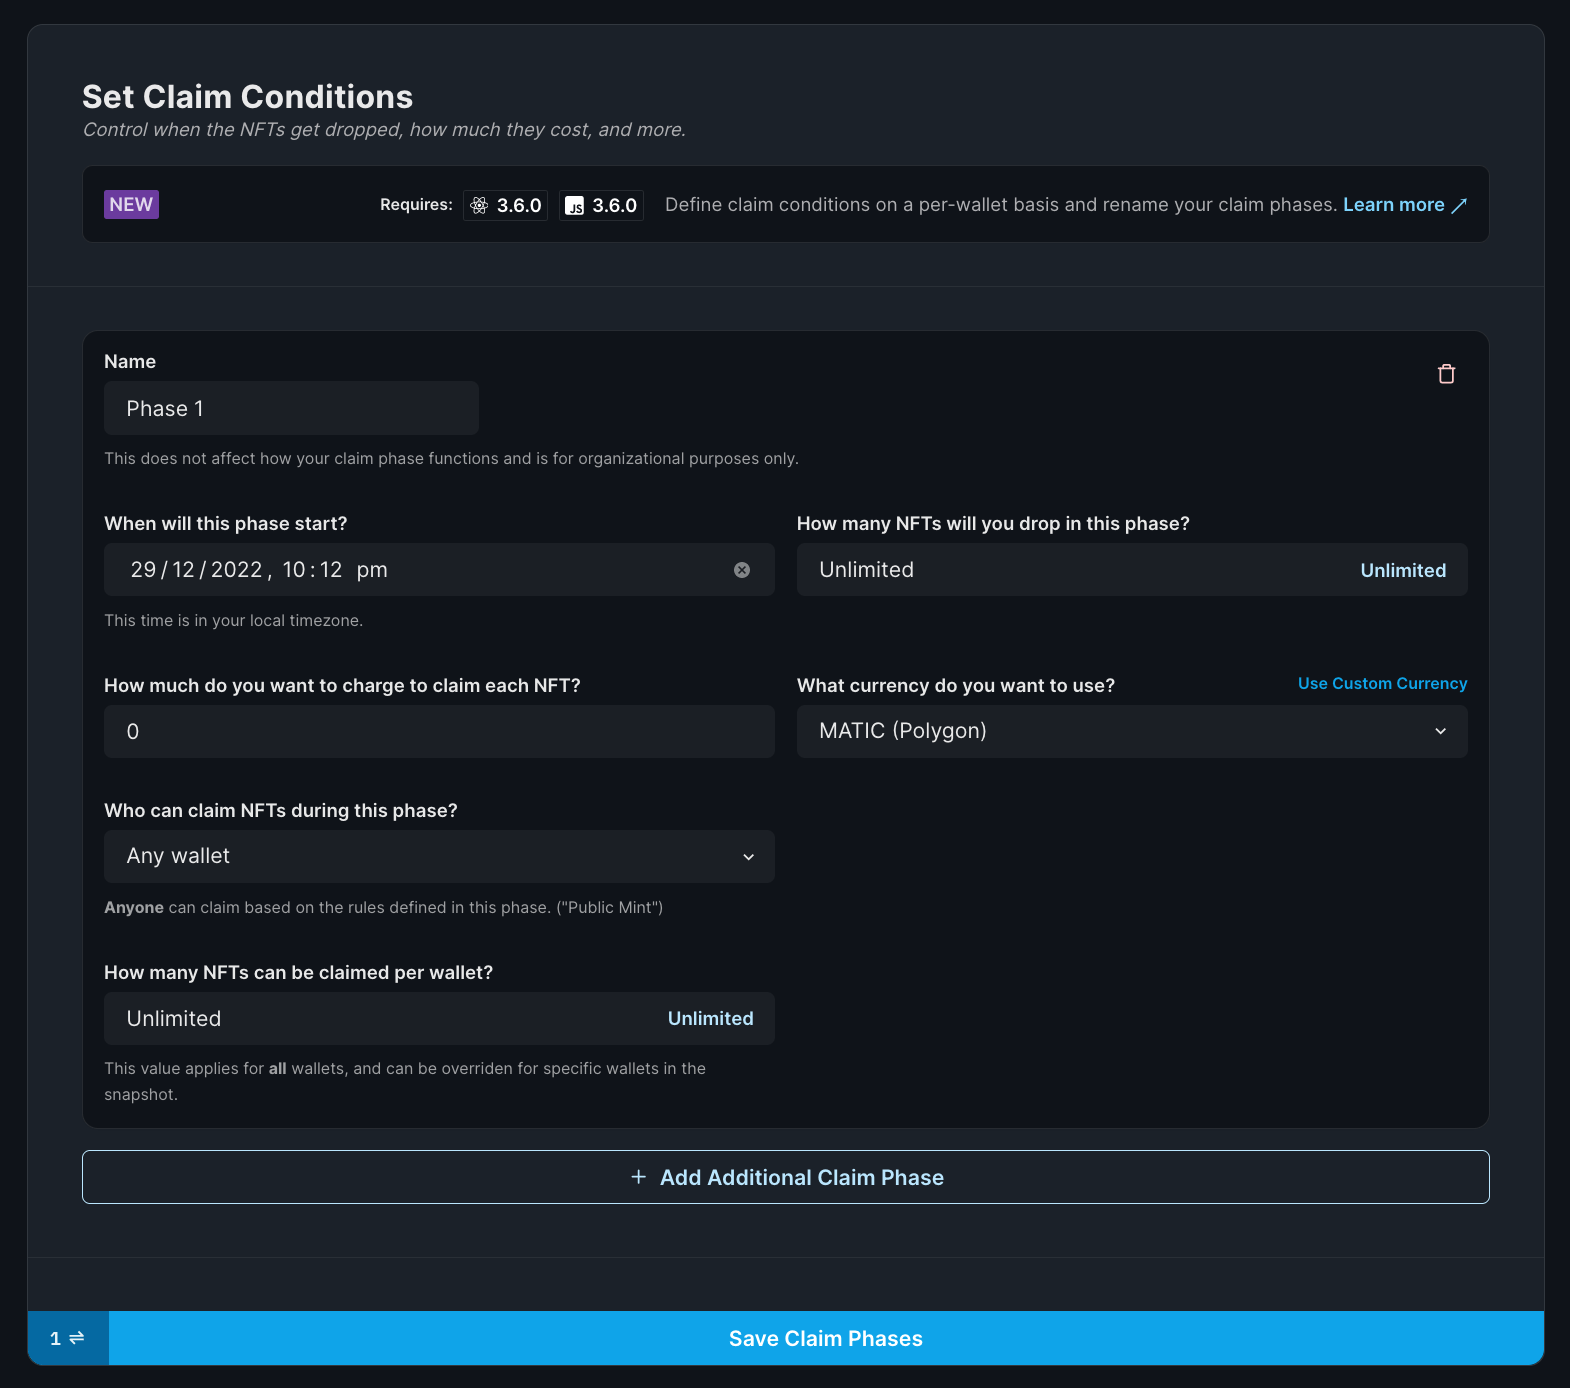
At this step, you can modify details such as who can claim the drop, the price of each NFT, etc. Feel free to modify it according to your wish.
Please take note of the contract address for this NFT Drop, as we will need it to interact with the contract from the front-end application.
Working on the app
Creating the app
Now that we have Mailchain and our NFT Drop contract set up, we can create our app. Navigate to a safe directory and run the following command in your terminal:
npx thirdweb create app
This should initialize an app creation wizard that should ask you for various configurations for creating your app:
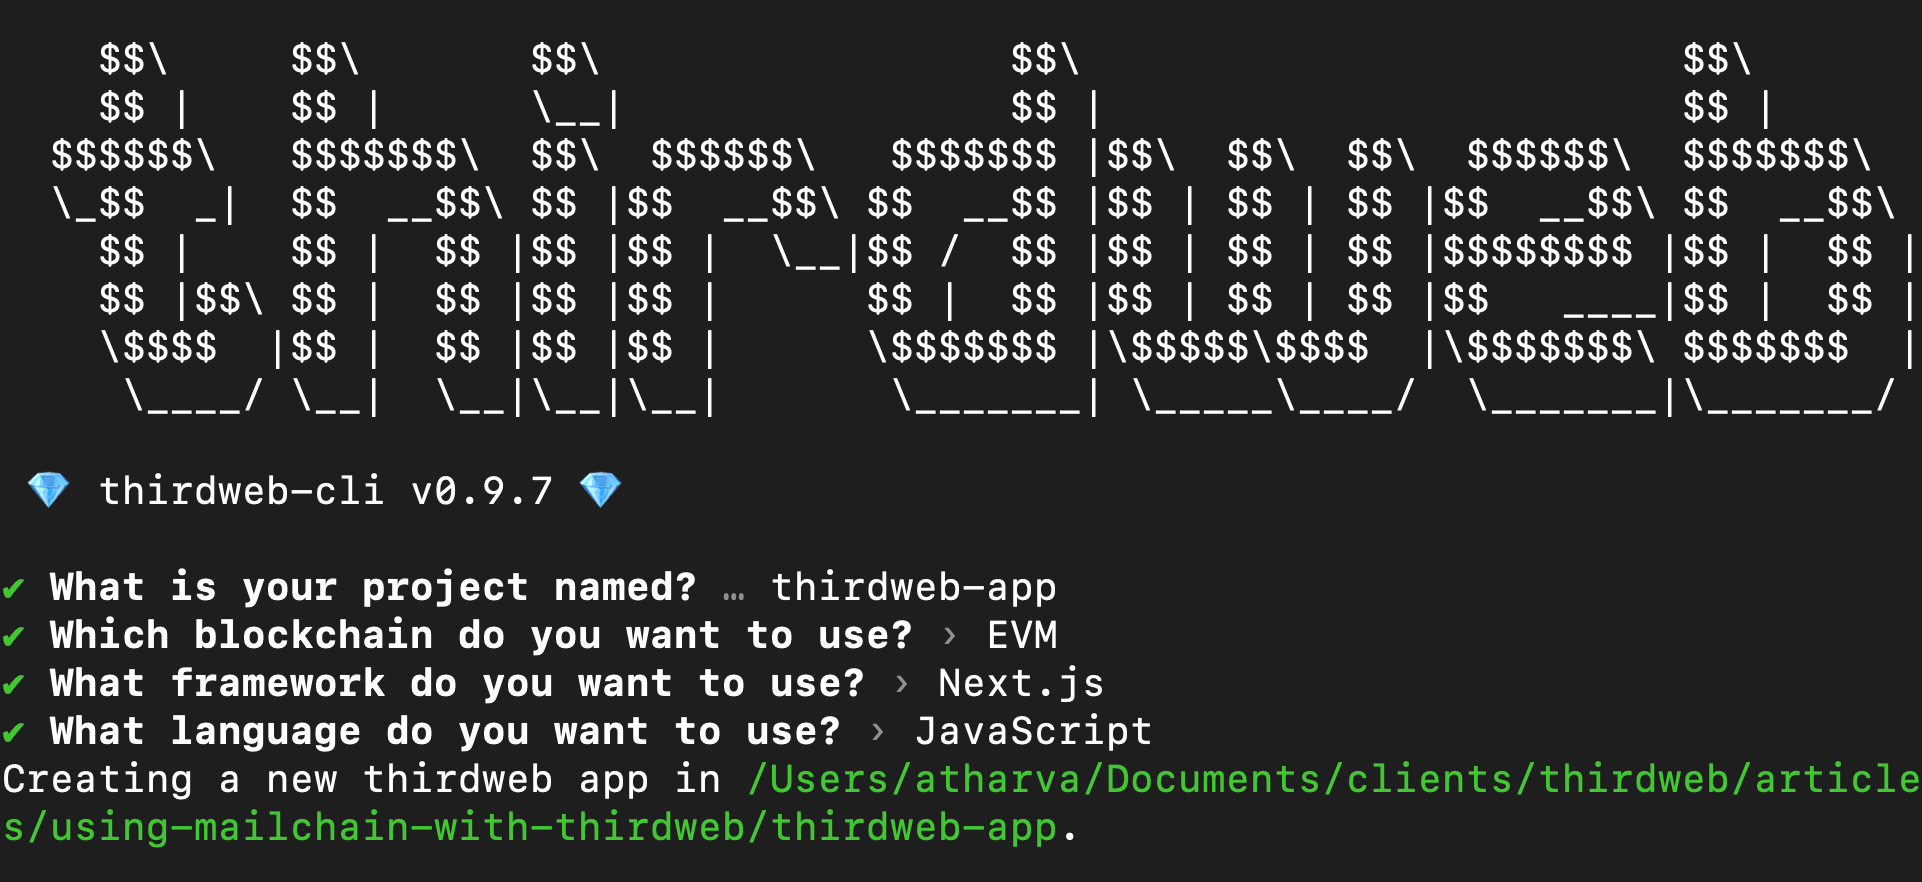
For this tutorial, I've used the above configuration. However, feel free to use any configuration of your choice. The app will then be installed with web3 features built-in along with thirdweb SDKs to ease your development process.
Configuring the app
Navigate to the created app directory and open the _app.js file in the pages directory. Here, change activeChainId to the network your contract is deployed on. For example, if my contract is deployed on Polygon Mumbai, I'll use ChainId.Mumbai here.
Now, create a new file in the project root called .env.local and add the following:
SECRET_RECOVERY_PHRASE=<secret_recovery_phrase>
MAILCHAIN_ADMIN_USERNAME=<mailchain_admin_username>
Make sure you replace these values to your credentials.
NOTE: Environment variables are not the safest and can be compromised. We recommend using secret cloud managers from various providers. For more information, read our portal page on using secret managers in your app. We are using environment variables here for testing purposes. Never use production credentials in environment variables.
Now that the configuration is complete let's implement Mailchain.
Creating an API route for Mailchain
To interact with Mailchain, you need to install the Mailchain SDK. Run the following command in your terminal:
yarn add @mailchain/sdk
This will install the Mailchain SDK and we're all set to send mails!
Next, in the pages directory, create a new directory called api; within that directory, create a new file, send-message.js. This will act as our API route for sending messages to wallets. Include the following contents in the file:
import { Mailchain } from "@mailchain/sdk";

const mailchain = Mailchain.fromSecretRecoveryPhrase(
  process.env.SECRET_RECOVERY_PHRASE
);

export default async function handler(req, res) {
  try {
    if (req.method != "POST")
      return res.status(405).json({ message: "Please send POST request" });
    const address = req.body.address;
    console.log(address);
    if (!address)
      return res
        .status(400)
        .json({ message: "Please provide a wallet address" });
    // Trigger mail
    const result = await mailchain.sendMail({
      from: `${process.env.MAILCHAIN_ADMIN_USERNAME}@mailchain.com`,
      to: [`${address}@ethereum.mailchain.com`],
      subject: "Thanks for claiming the drop 👋🏻",
      content: {
        text: "We are happy to see you here 👋🏻 Please join our Discord server to access the community 🔥",
        html: "<p>We are happy to see you here 👋🏻 Please join our Discord server to access the community 🔥</p>",
      },
    });

    console.log(result);
    res.json({ message: "Mail sent successfully!" });
  } catch (err) {
    console.error(err);
    res.status(500).json({ message: "Internal server error" });
  }
}
In the above code, we are doing the following:
- Initializing the Mailchain SDK using the secret recovery phrase we obtained through the Mailchain app.
- Check whether the requesting caller has sent a
POSTrequest. We will not send the mail if the request is not aPOSTrequest. - Checking if we have received the wallet address of the mail recipient from the request body. If not, we will not proceed with sending the mail.
- After all checks are completed, we will write the mail.
- Here, we have a
fromfield for which if you're using a mailchain username, you can useusername@mailchain.com,and for wallets, you can do0xaddress@ethereum.mailchain.comor you can enter the ENS asens-name.eth@ens.mailchain.com. - We have a
tofield, which is an array. You can send it to multiple wallets. However, we will only send to one wallet address at a time. We will get the address from the frontend once the drop has been claimed. - We are sending a success response so that the frontend app knows the mail has successfully been sent.
Feel free to change the subject and content for the mail to whatever you like!
You can see all your sent messages here: https://app.mailchain.com/sent. We recommend keeping the tab open while testing your app to see if these messages are being sent!
Now that the API route is ready, we are all prepared to create the drop UI itself!
Claiming the drop and triggering a mail
In the index.js file under the pages directory, include the following content:
import { ConnectWallet, useAddress, Web3Button } from "@thirdweb-dev/react";
import styles from "../styles/Home.module.css";

const dropAddress = "<contract_address_here>";

export default function Home() {
  const address = useAddress();

  const triggerMail = async () => {
    try {
      const response = await fetch("/api/send-message", {
        method: "POST",
        body: JSON.stringify({ address }),
        headers: {
          "Content-Type": "application/json",
        },
      });
      const data = await response.json();
      if (!response.ok) {
        console.log(data);
        return alert(
          "Unable to send mail! However, the drop has been claimed!"
        );
      }
      alert(
        "Drop claimed successfully! Check your mailchain for further instructions!"
      );
    } catch (err) {
      console.error(err);
      alert(
        "An error occurred while sending the mail, however the drop has been claimed successfully"
      );
    }
  };

  return (
    <div className={styles.container}>
      <main className={styles.main}>
        <h1 className={styles.title}>Claim our drop!</h1>

        <p className={styles.description}>
          Claim the drop using the button below and we will send further
          instructions through Mailchain!
        </p>

        <div className={styles.connect}>
          <Web3Button
            contractAddress={dropAddress}
            action={async (contract) => {
              await contract.erc721.claim(1);
              await triggerMail();
            }}
          >
            Claim Drop!
          </Web3Button>
        </div>
      </main>
    </div>
  );
}
In this guide, we won't be focusing on styling. However, we have inherited the styles that already come with the template. Feel free to design this in whichever way you desire. Make sure you change the dropAddress variable to your own NFT Drop contract address you previously copied.
In the above code, we are doing the following:
- Creating a function
triggerMail()that calls the API we just created, sending the connected wallet address that we get usinguseAddress()hook from thirdweb SDK. - Creating a
Web3Buttoncomponent to quickly claim the drop and call thetriggerMail()function to send the mail by calling the API. Using aWeb3Buttonis very easy and convenient as it handles everything- connecting wallets, loading states, switching to the correct network, and performing the actions specified.
And that's it! The app is ready. Now you can test it and play around with it.
Testing the app
In your project root, run the following command in your terminal to run the development server that allows you to access the app:
yarn dev
Now, if you visit localhost:3000 in your browser, you should be able to connect your wallet and claim the drop if everything is done correctly. Then, if you check your Mailchain mailbox, you should see the message you intended to send through the API, the drop is claimed, and you have the NFT!
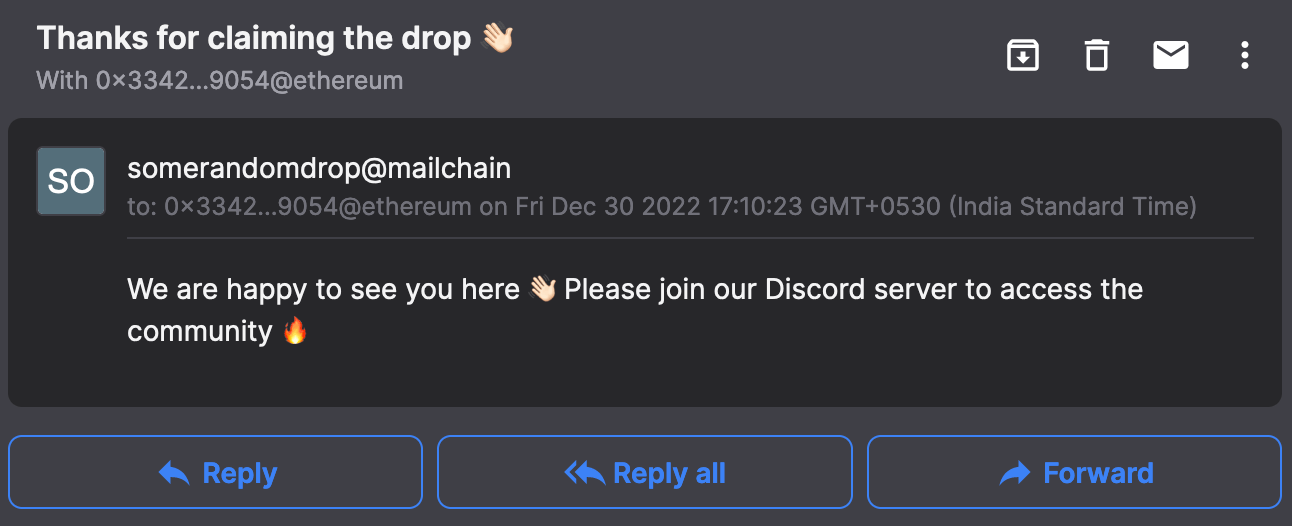
If you receive this mail, your app is fully working!
Conclusion
In this guide, we saw how you can use Mailchain with thirdweb and add communication to wallets when someone claims a drop. More applications would be to mail the listing creator on a marketplace when the listing is sold. There are a lot of cool things you can do with Mailchain and thirdweb! Feel free to refer to the GitHub repository if you're stuck somewhere in the code.
If you need help with something or have suggestions, or want to say "hi," join our Discord server now!