Deploy Smart Contracts From A Gnosis Safe
In this guide, we'll show you how to deploy your smart contracts using Safe (formerly Gnosis Safe) from the dashboard with multiple transactions.
If this is your first time using Safe, we recommend following our guide on how to Set Up A Safe Wallet first.
Deploying Smart Contracts with Safe
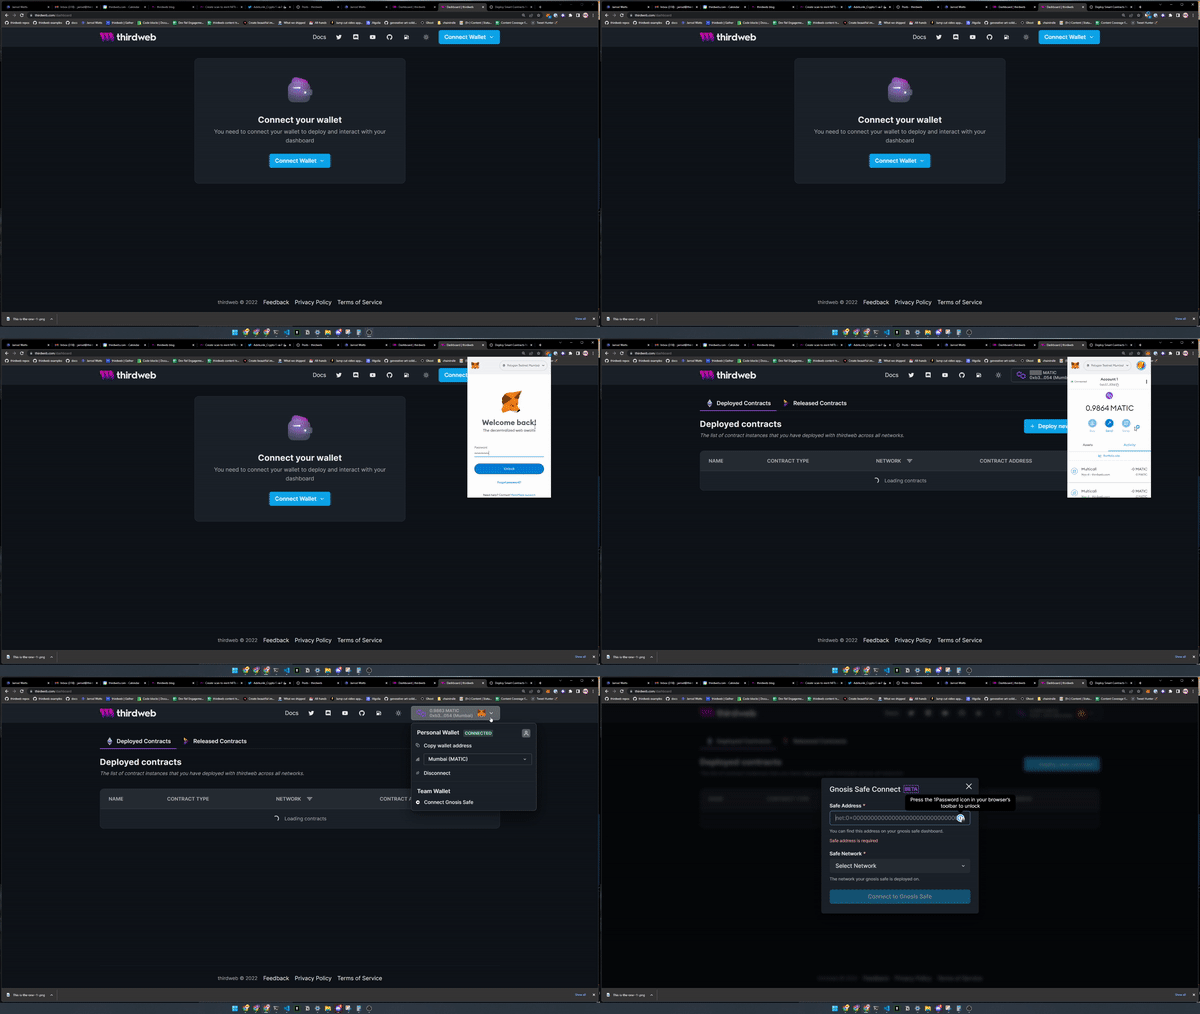
Head to the dashboard and connect your personal (non-Safe) wallet first.
Once connected, you should now be able to connect to a team wallet from the Connect Wallet button:
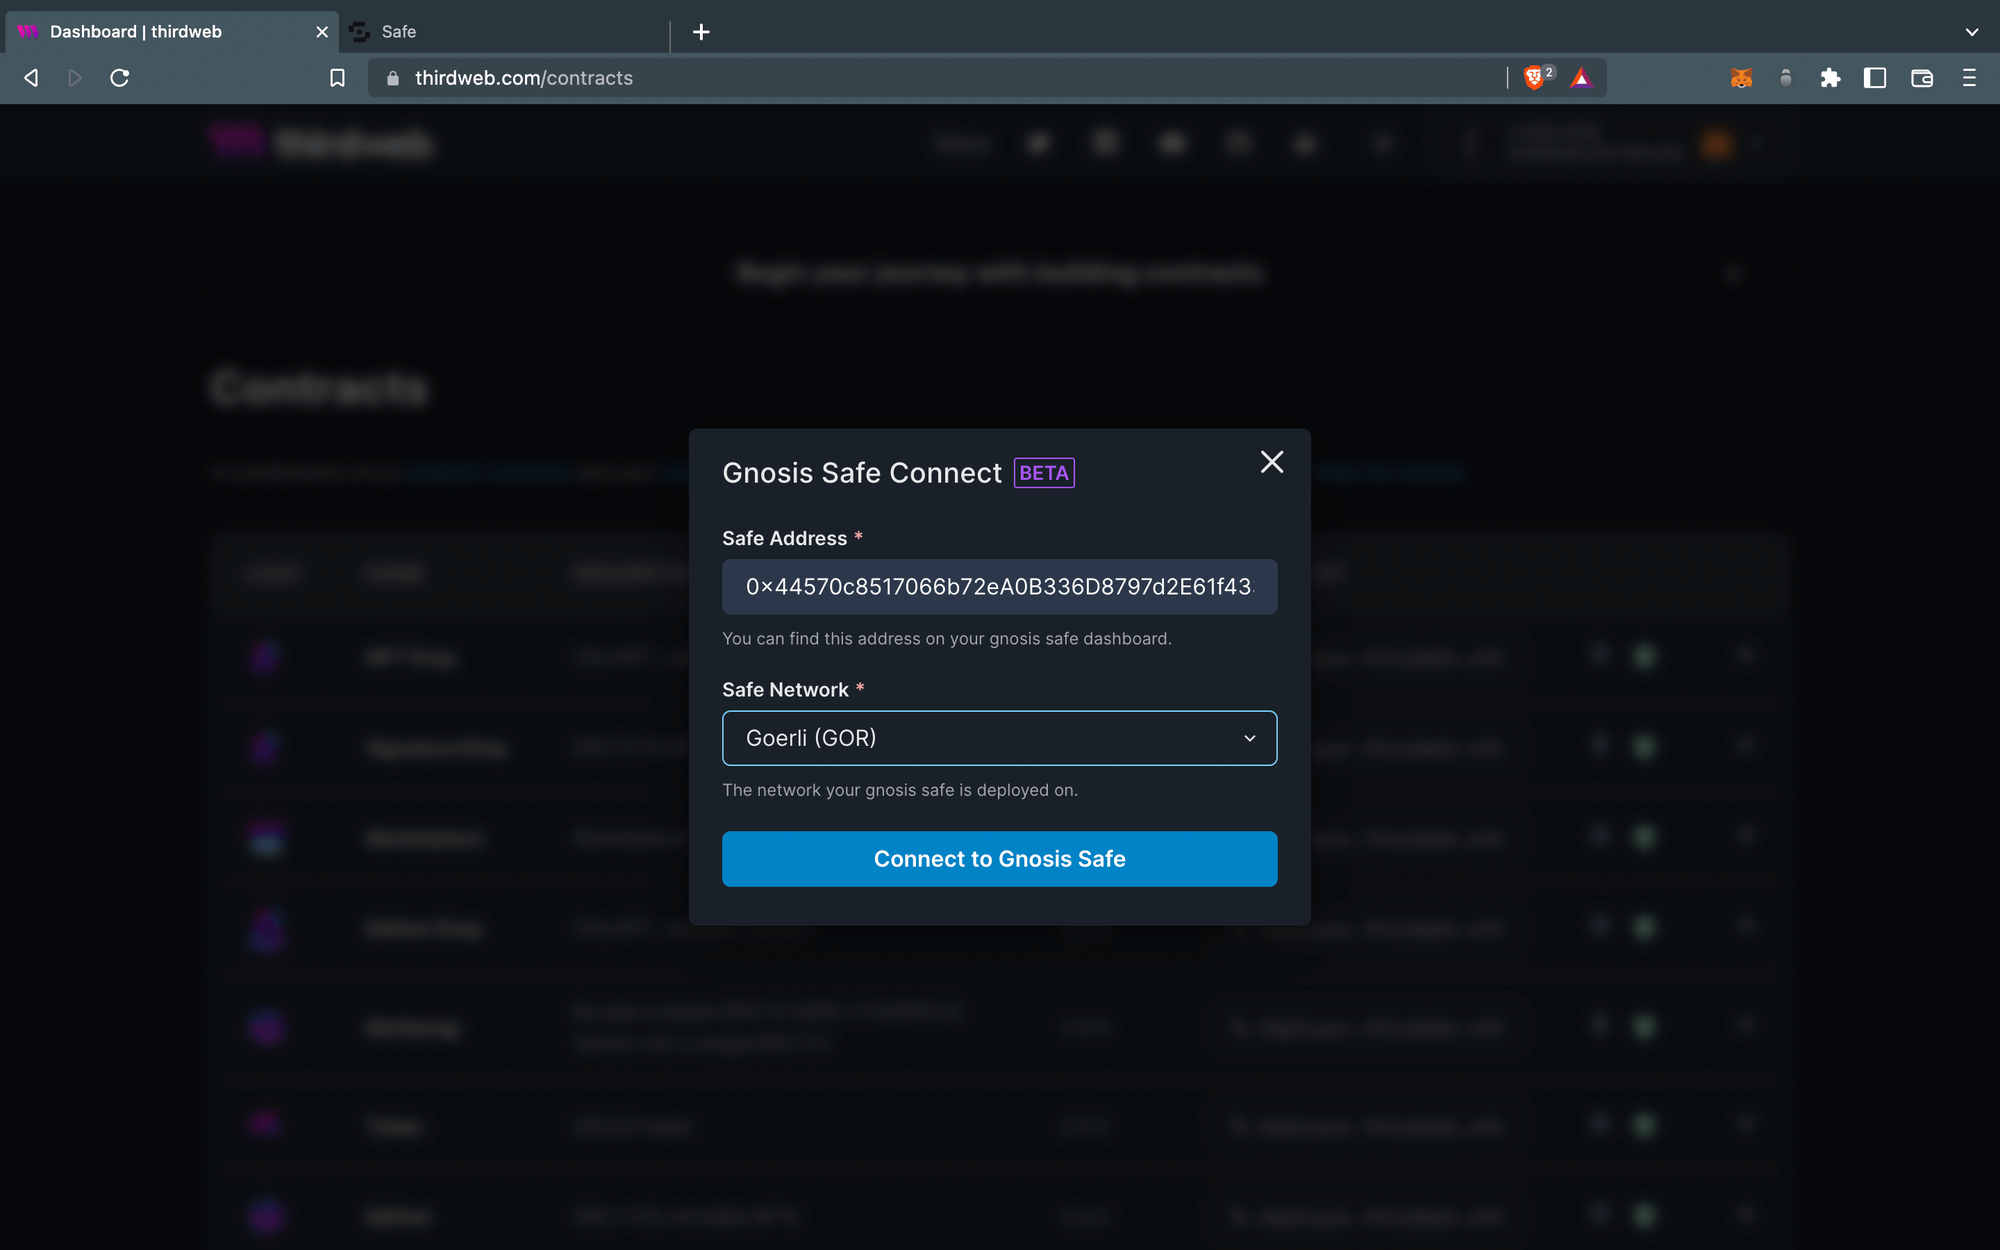
Next up, add your safe address and select the network your safe is deployed to, just like how it is shown in the image below.
Now that we have our safe connected to the dashboard, we can deploy any of the thirdweb pre-built contracts of our choice.
I will personally choose the NFT Drop as an example, but feel free to use any contract you wish to deploy.
Fill in the necessary parameters and click Deploy Now.
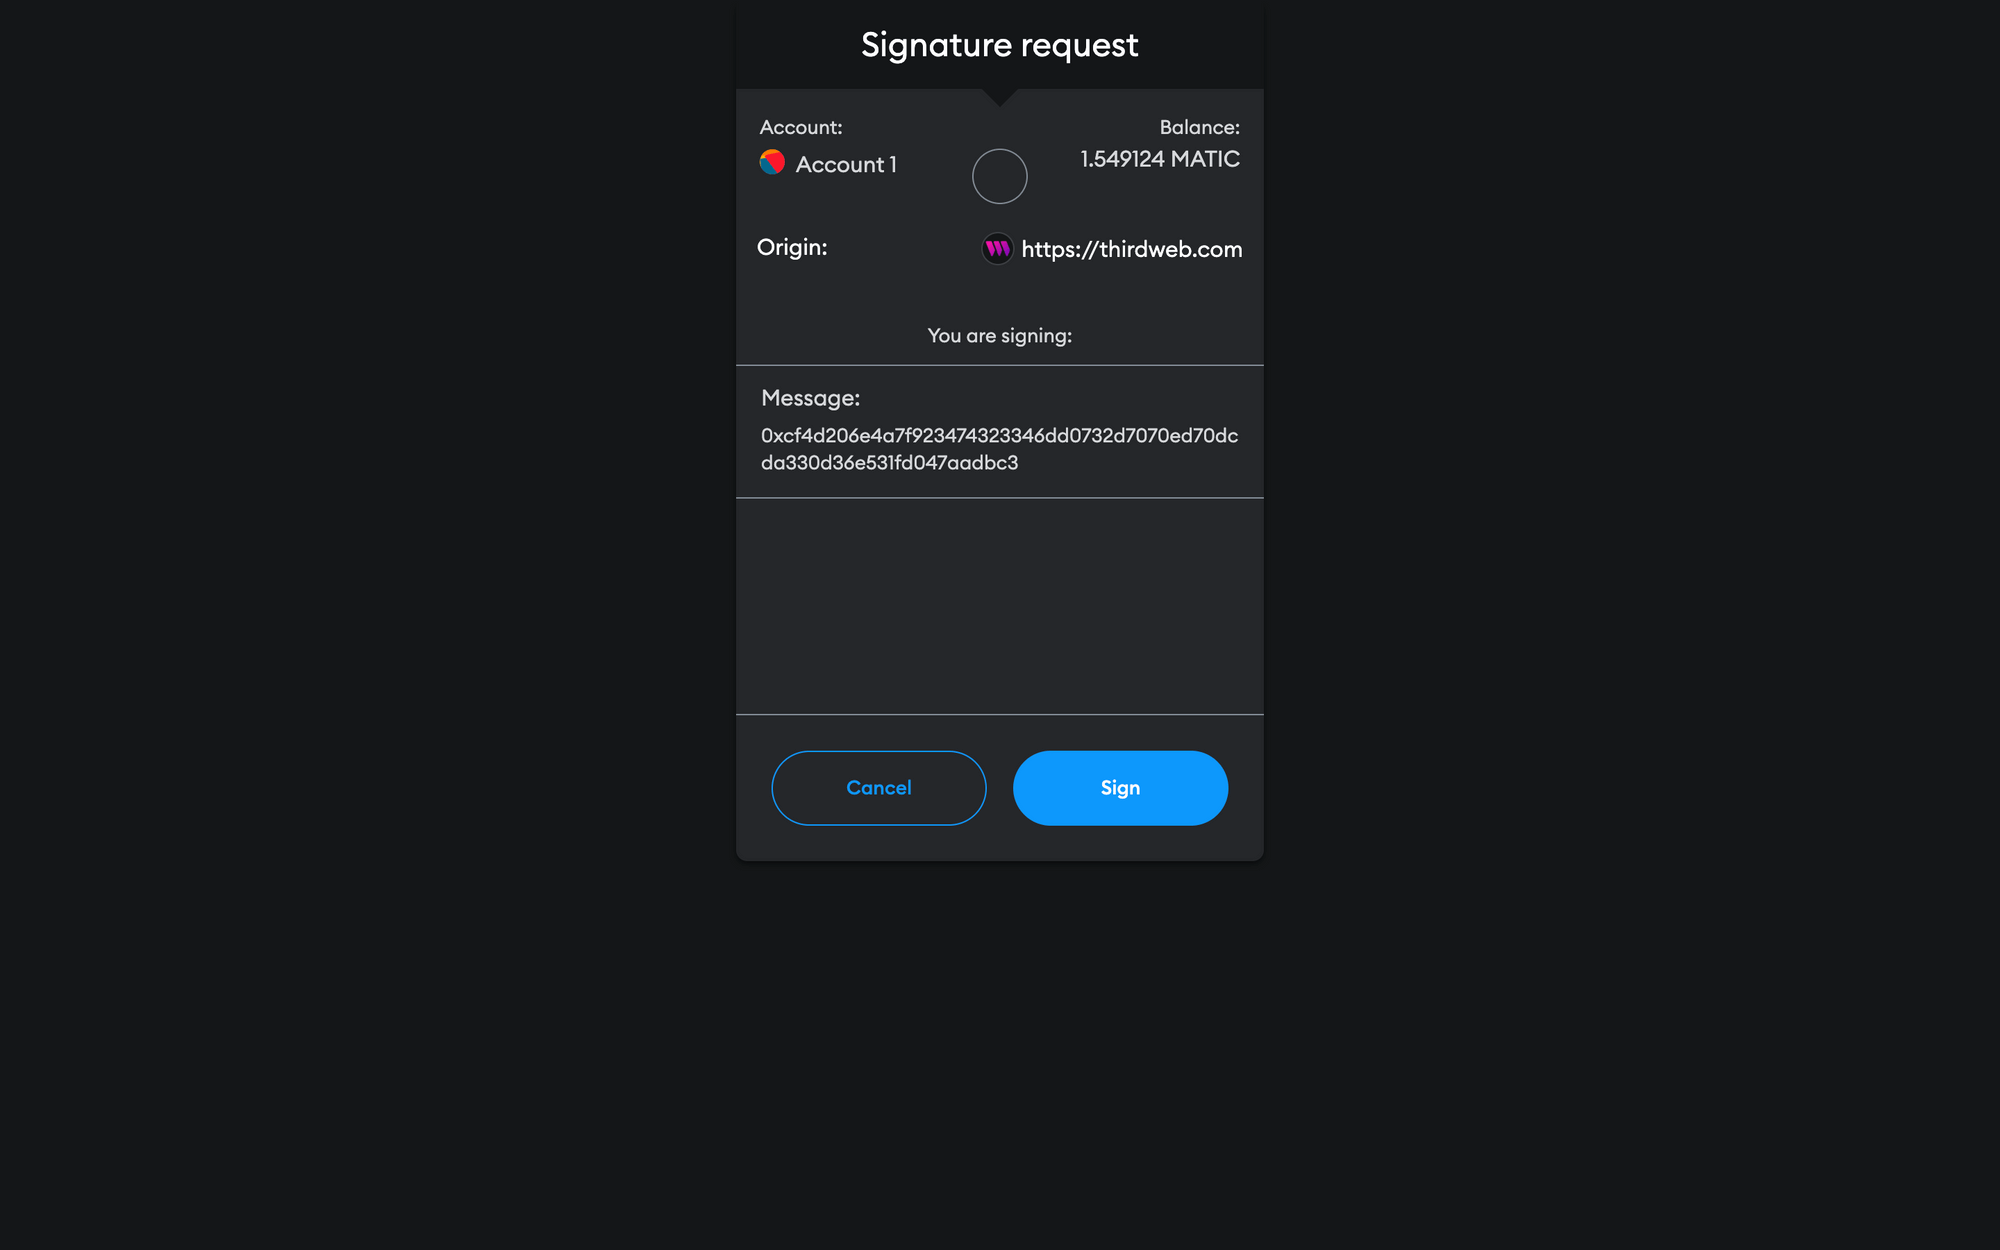
This is where the fun part starts! You should now be asked to sign a request and click Sign similar to the image below.
If you head over to your Safe, you will now see that only one wallet has approved this transaction; and in order for the transaction to be approved, it needs to be approved by the number of required wallets we configured in the Safe.
So go ahead and approve the transaction on the second account as well by logging into it on Safe, similar to the image below.
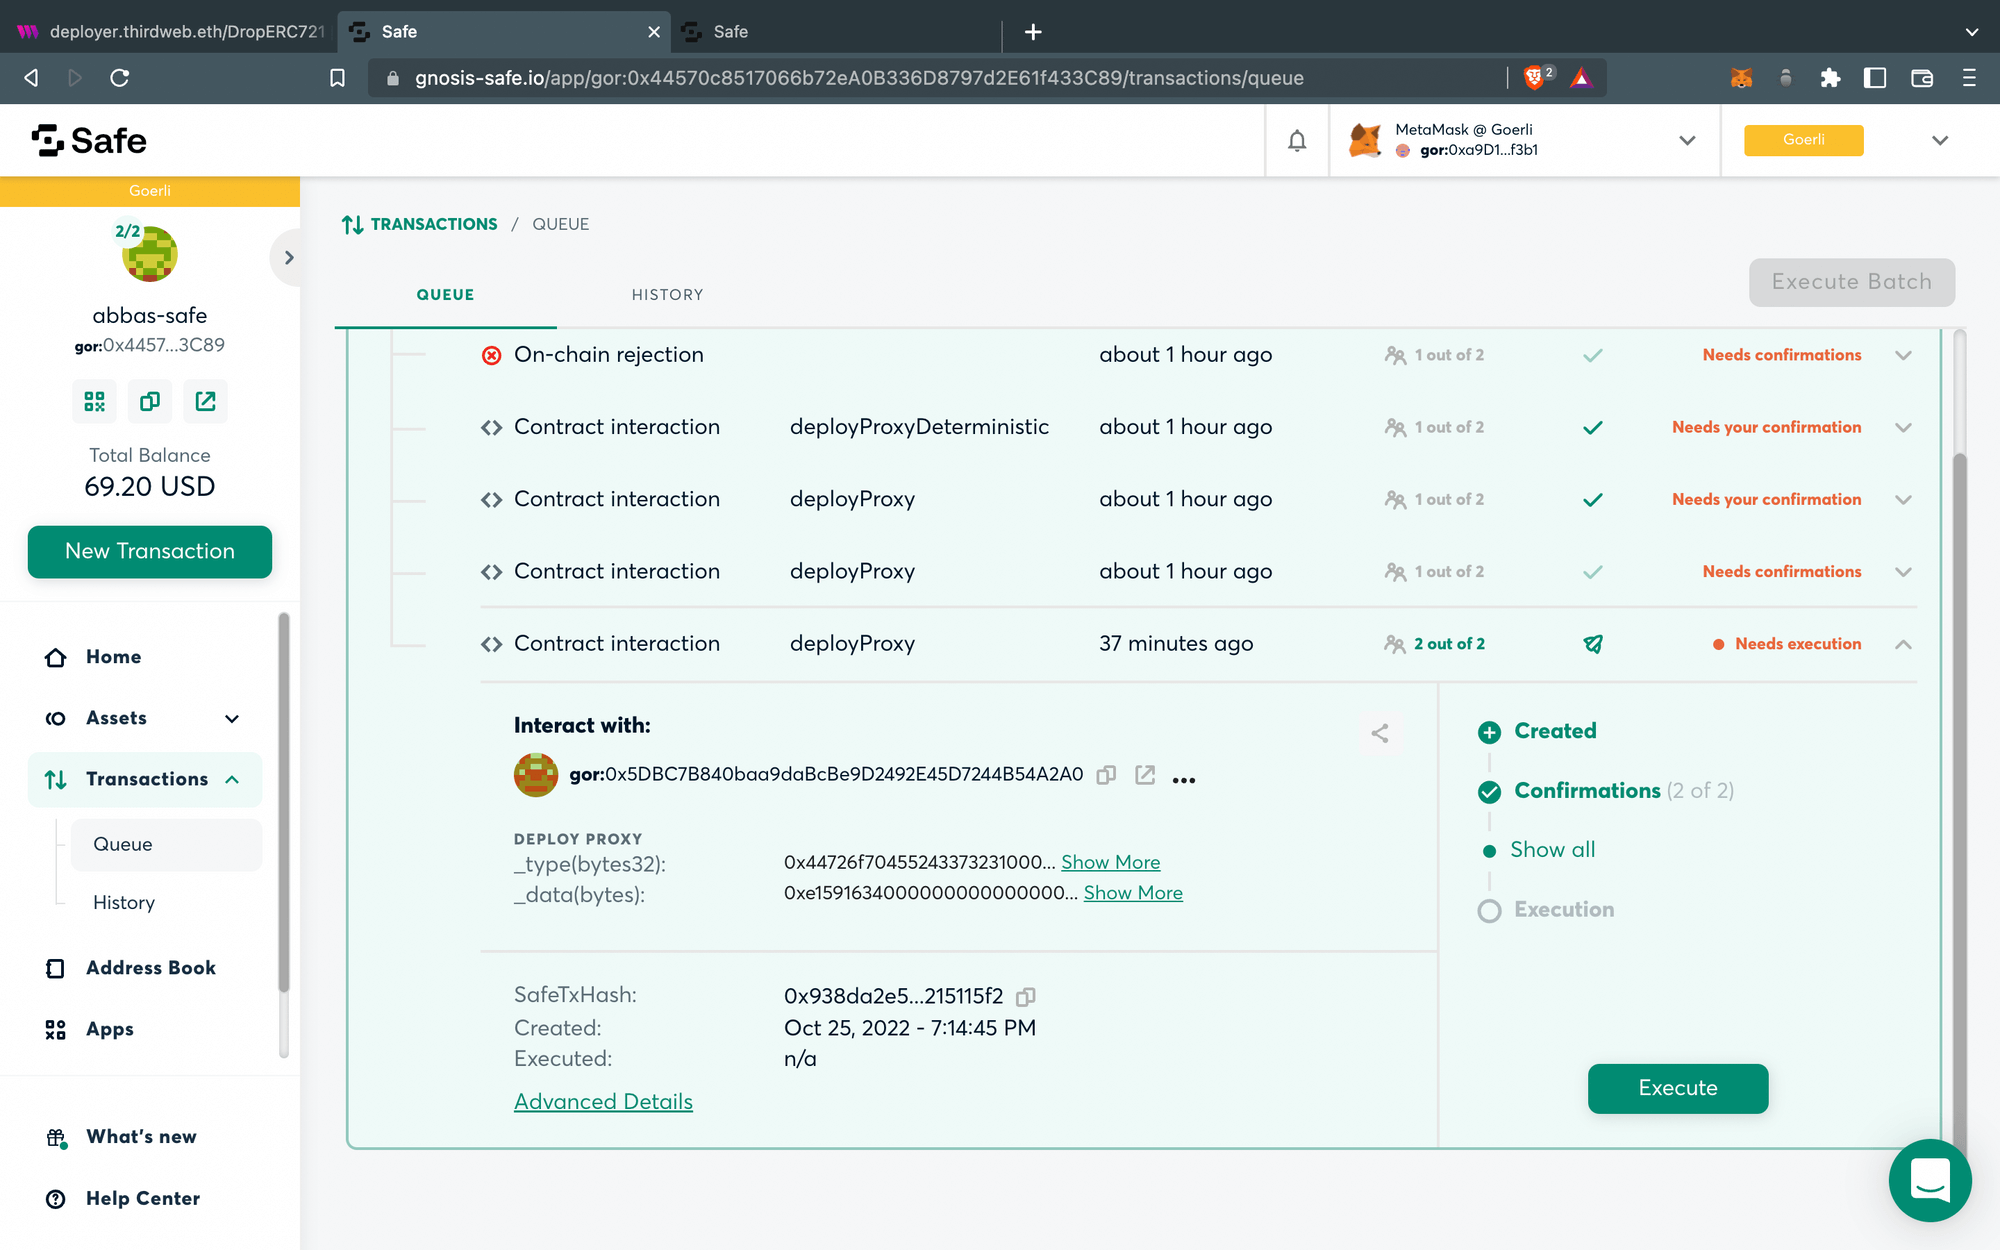
After both of the transactions are approved you should now be able to see your contract deployed on the dashboard like shown in the image below.
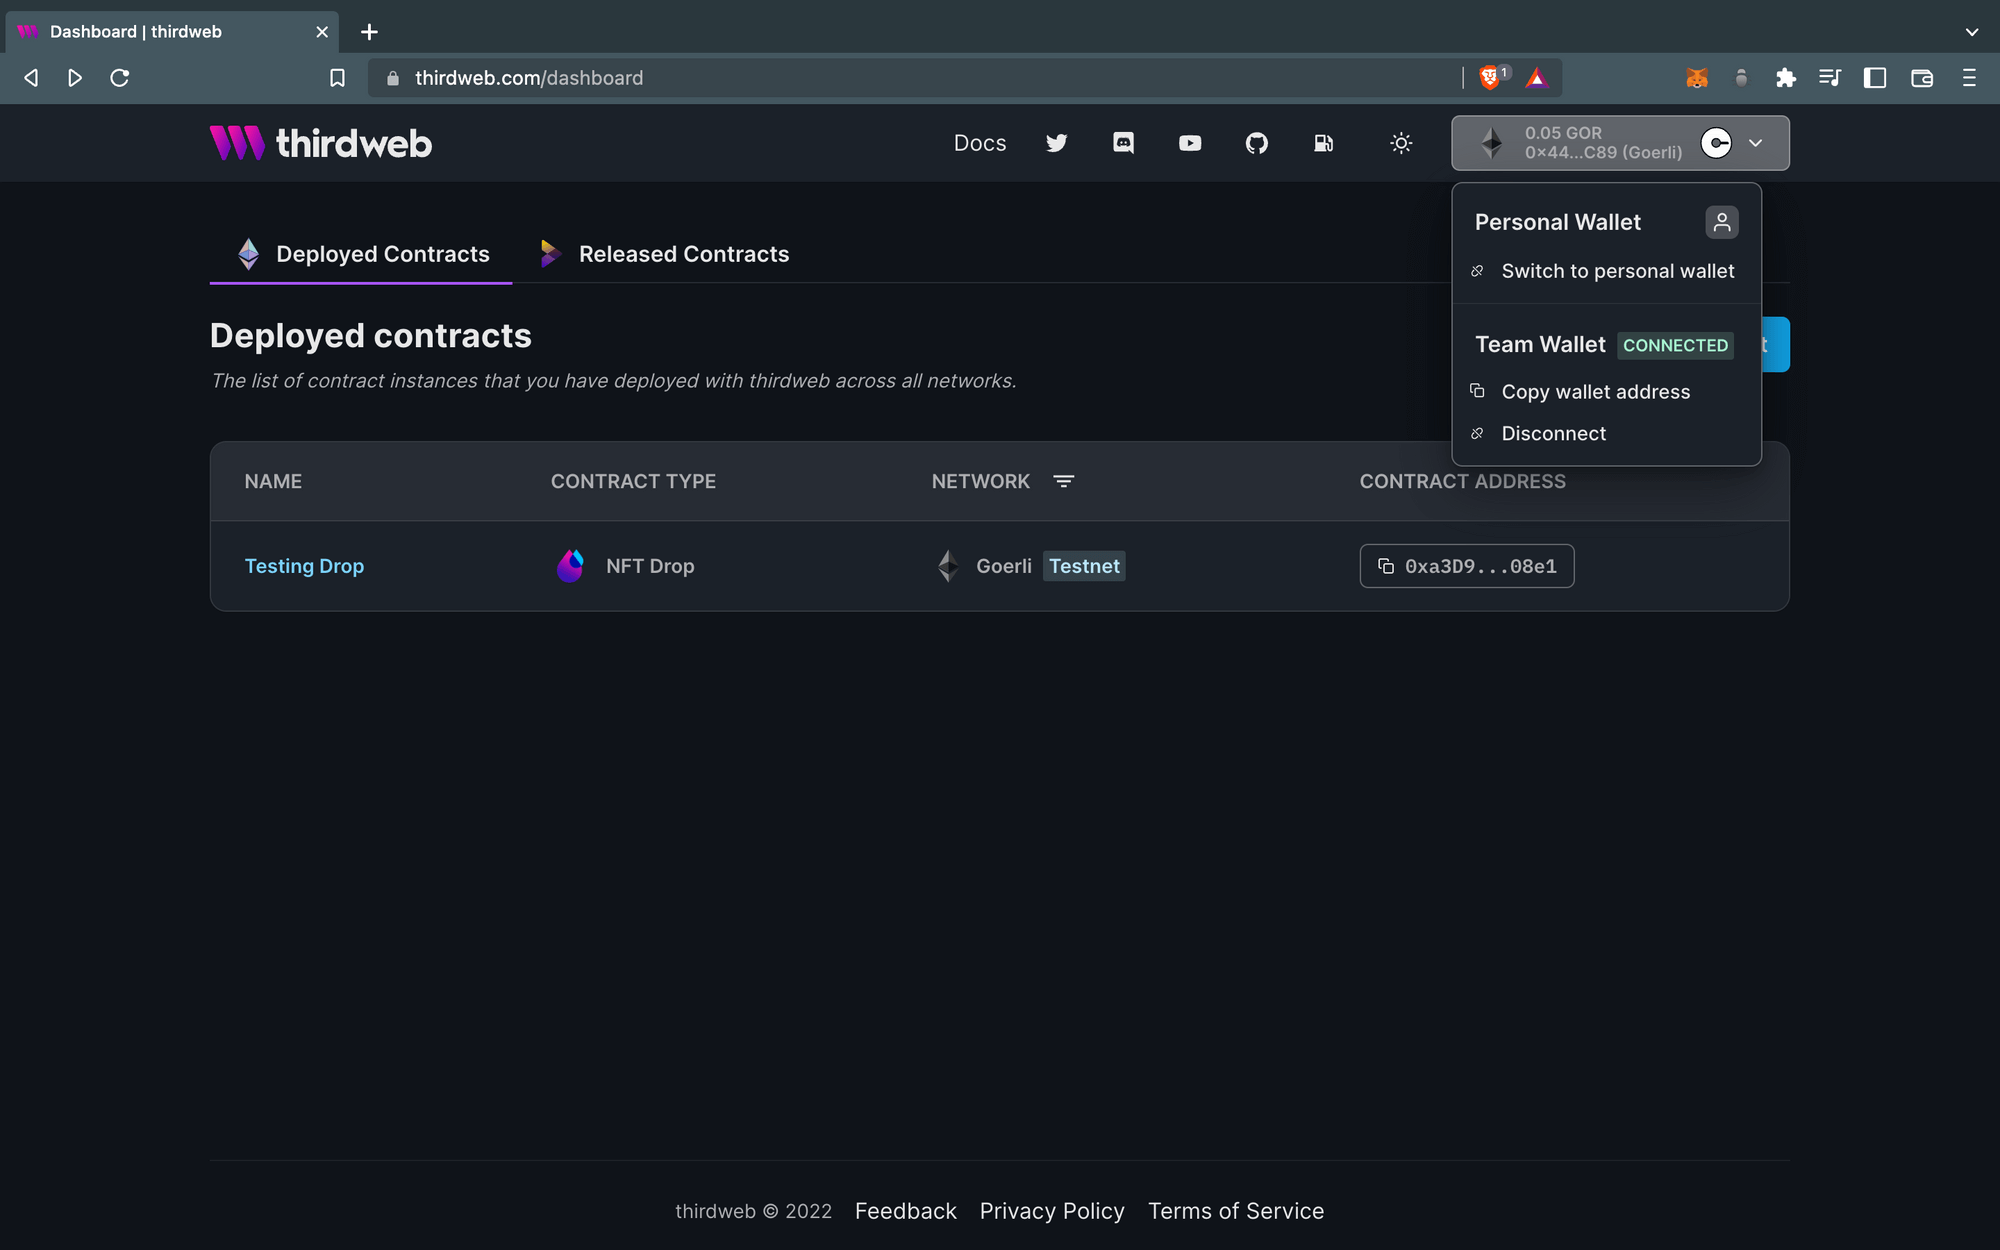
Congratulations!!! 🥳🎉 You have finally deployed your contract from the thirdweb dashboard using a multi-sig wallet and you can now interact with it as well.
Conclusion
In this guide, we learned how to deploy a smart contract via the dashboard using a multi-sig wallet like gnosis-safe and approved multiple transactions.
If you have any questions regarding this guide, feel free to reach out to us on our Discord.

