How to Set Up a Multi-Signature Wallet with Safe (prev. Gnosis Safe)

In this guide, we will learn how you can set up and create your multi-sig wallet with Safe (prev. Gnosis Safe) and the benefits and perks of using one.
Before we dive into the how, let's look at the what and why behind using a multi-sig wallet and Gnosis Safe.
What is Gnosis Safe?
Gnosis Safe is one of the highest-quality implementations of a smart contract wallet. Unlike a standard private key wallet, it uses a smart contract to control funds.
Gnosis safe allows you to create a smart contract wallet (a safe) with any amount of owner addresses, and allows you to choose the number of owners needed to authorize a transaction.
Why use Gnosis safe?
Gnosis safe is a multi-sig wallet, which means it will require multiple signatures to approve a transaction. This allows an individual to add more security to their personal funds on the blockchain.
Using a multi-sig approach adds a level of redundancy in the case of losing your private keys, as well as protects yourself from phishing attacks and hacks of your personal information.
Gnosis-safe is also useful in shared funding, such as having a treasury for a DAO or an investment club between friends. In these situations, members of the DAO can vote on certain proposals and use a 6-on-10 scheme, where at least 6 signatures are required to authorize the proposal.
Gnosis-safe is capable of holding your ERC-721 and ERC-20 tokens and also provides users with user-friendly UIs to keep track of everything without requiring any technical knowledge.
Alright, enough of explaining the what and why let's get right into the how.
How to create a Gnosis Safe
To get started head over to the Gnosis-safe website.
Click Open App and now you will be taken to the main landing page.
Now go ahead and connect any of the supported wallets, for this guide, I will be using MetaMask.
Now you need to choose a chain to deploy your Safe to, I will be using the Goerli Ethereum testnet for the purpose of the demo.
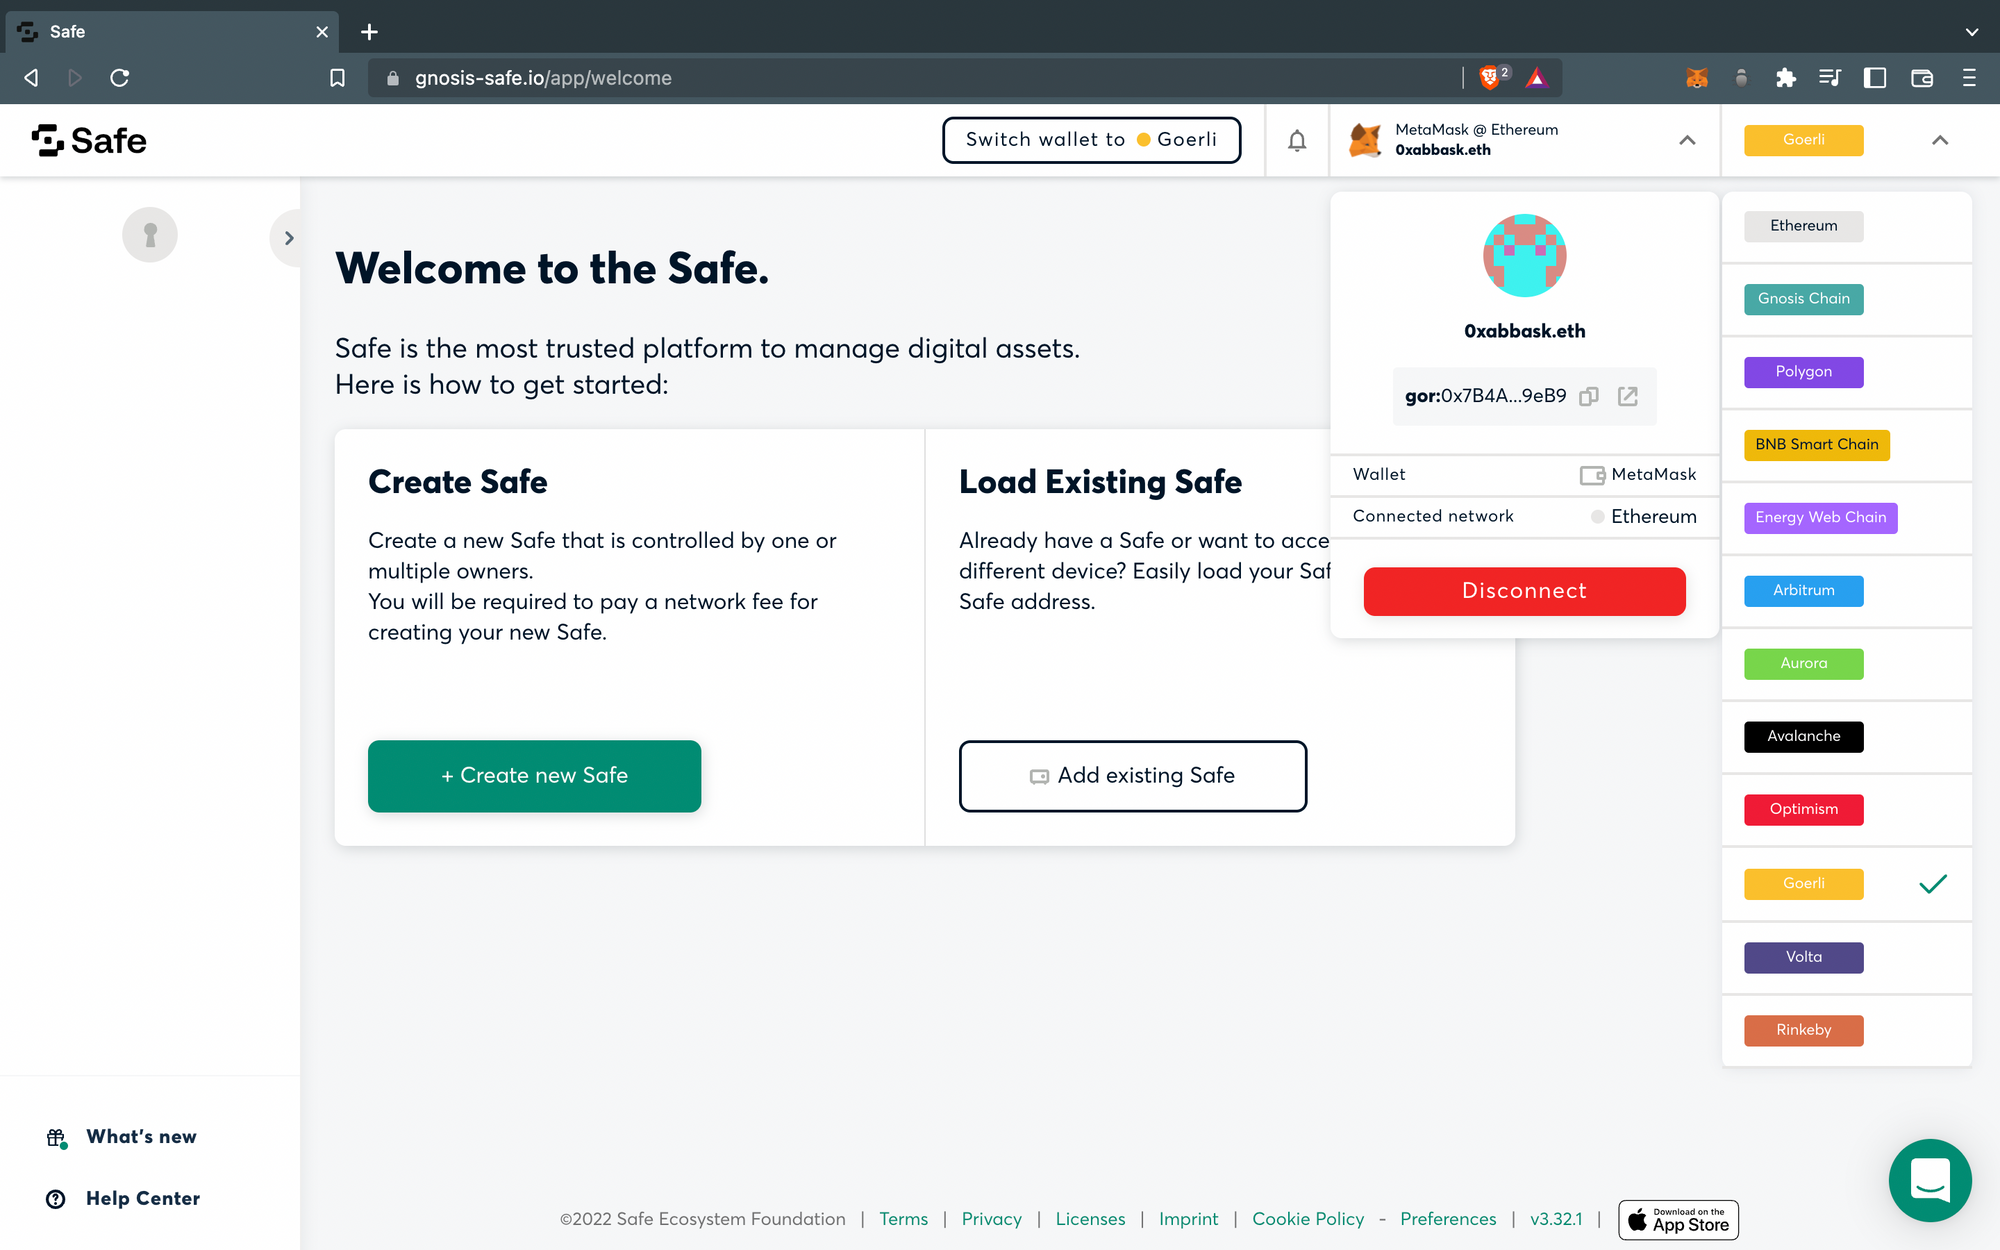
Considering you've selected your chain and connected your wallet the next step is to click on the green button Create new Safe.
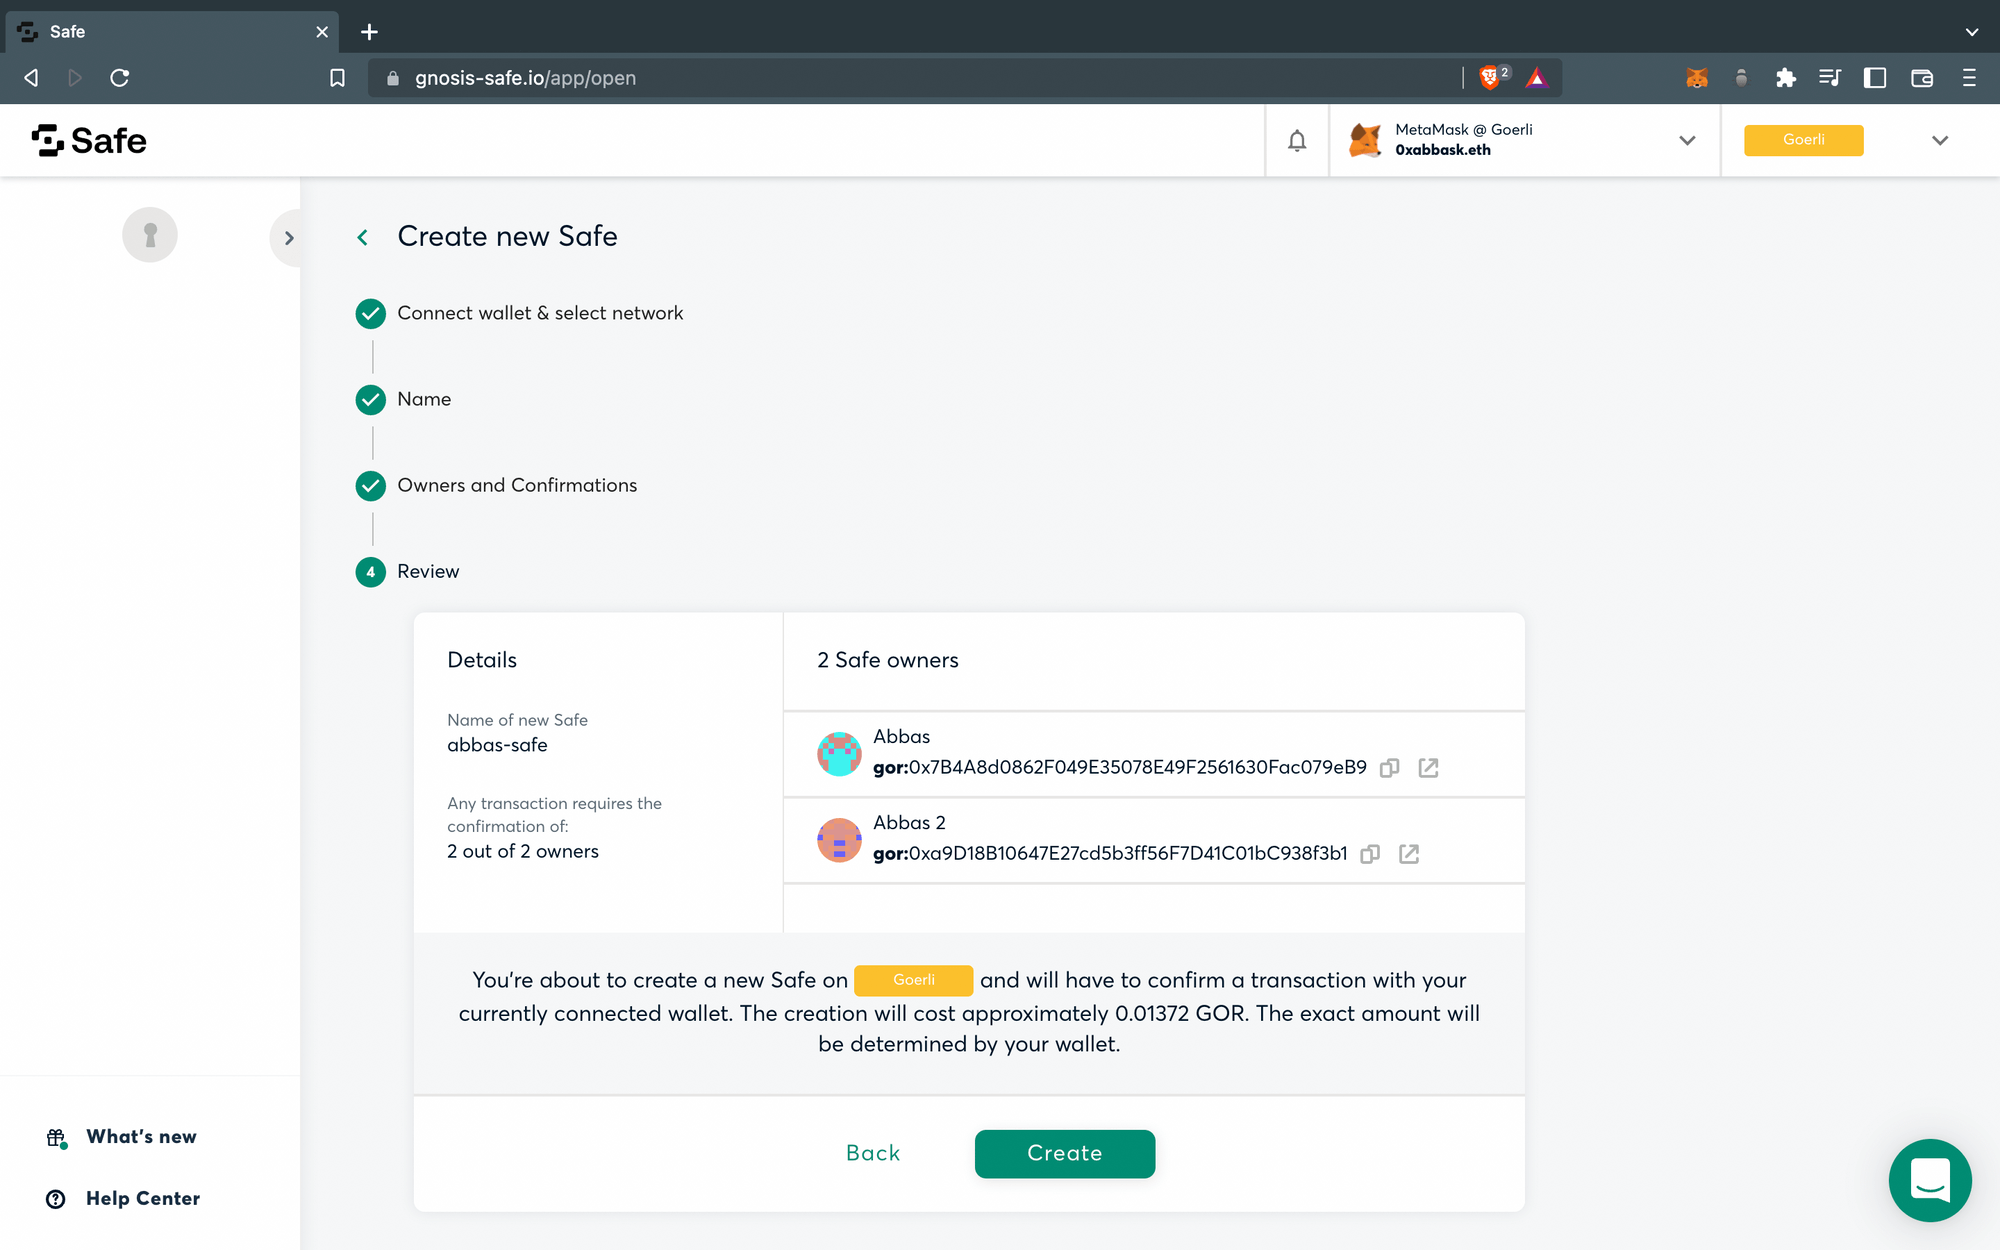
Next up, give your safe a name and add the owners of your safe as well as the number of confirmations required for any transaction to be approved. Click Create and approve the transaction which will deploy a smart contract and create your safe.
Refer to the image below if you run into any issues.
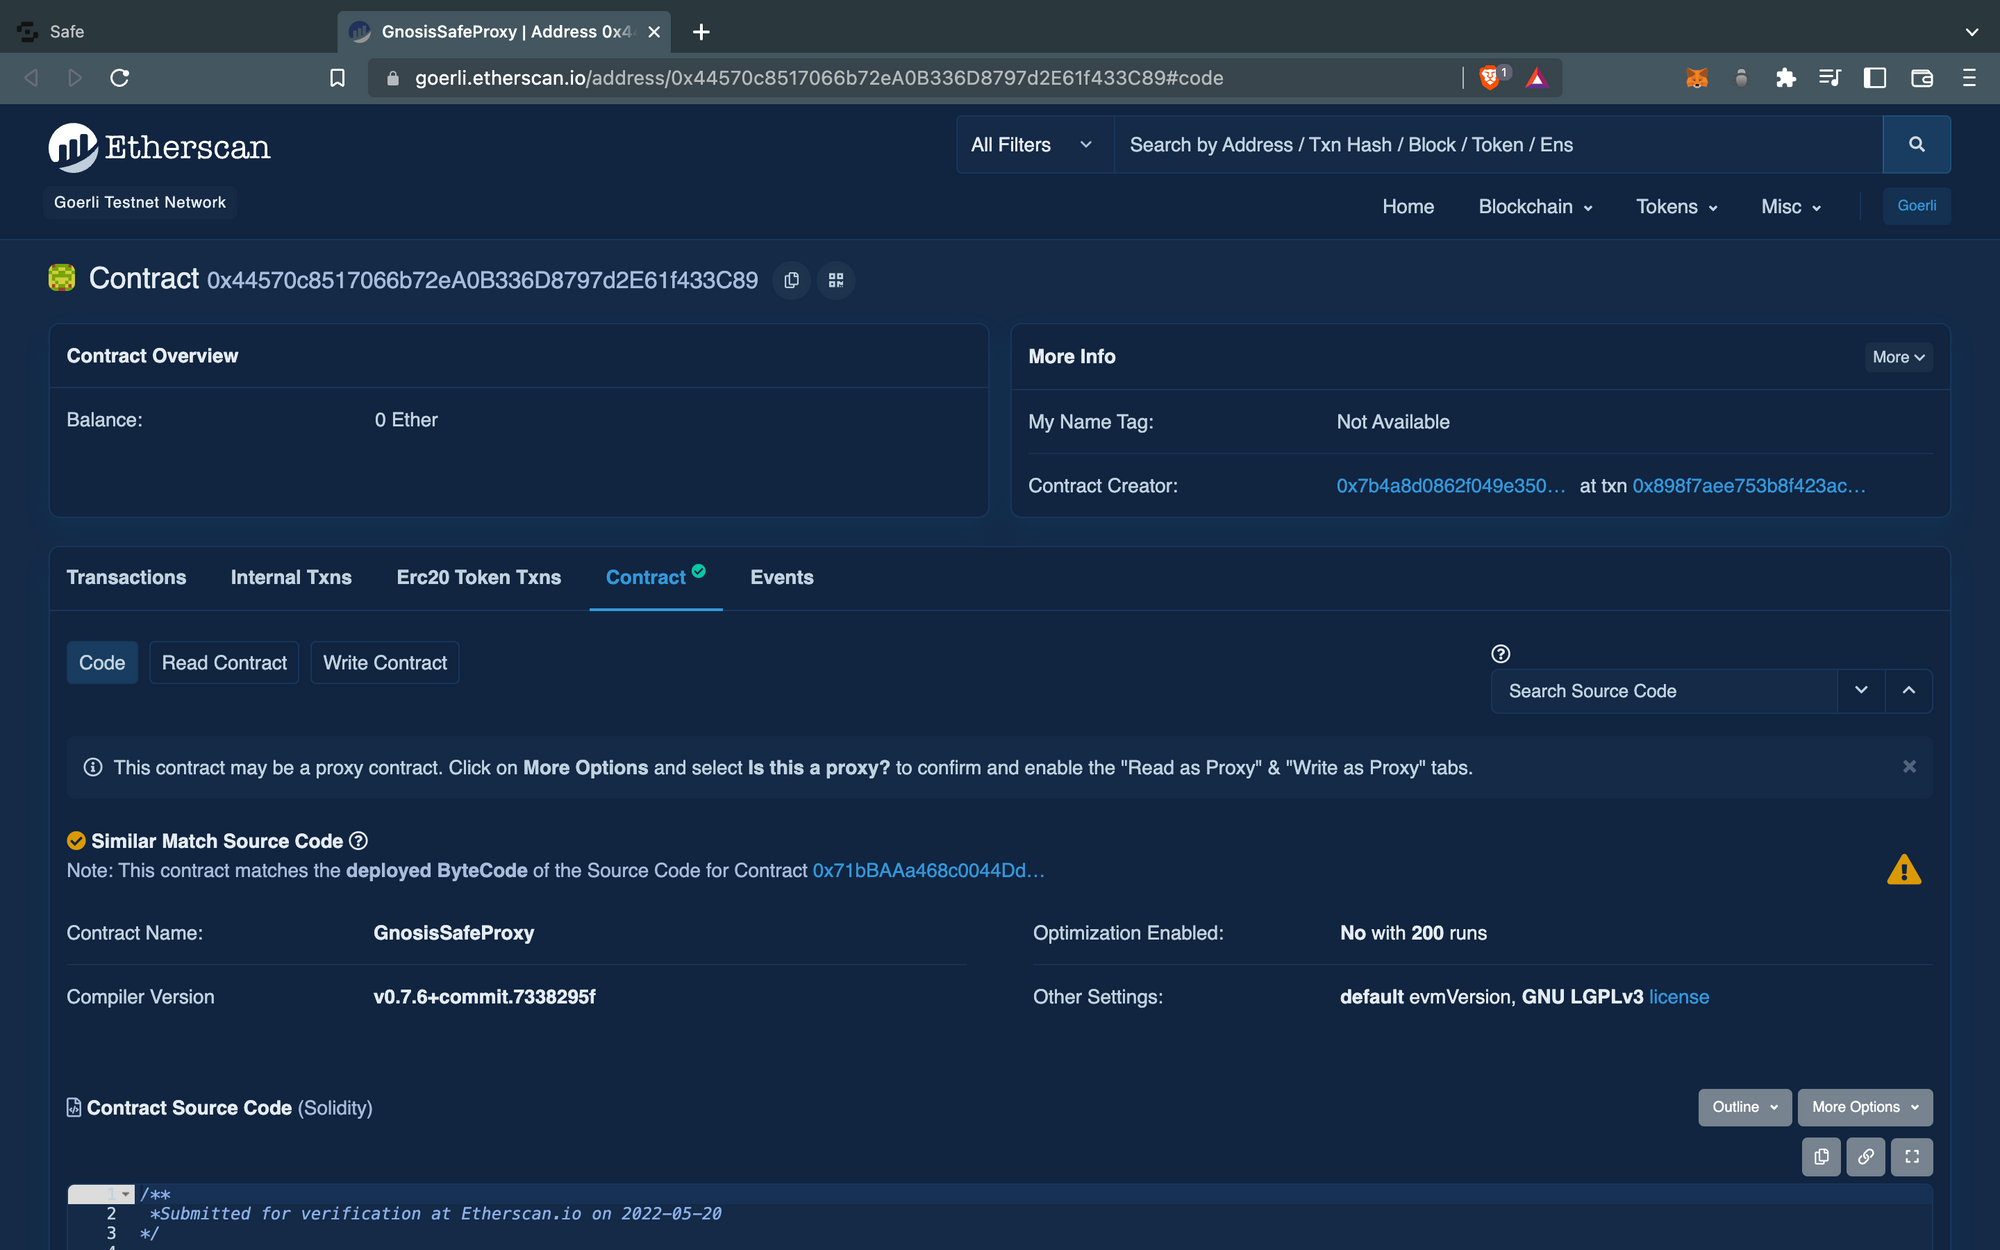
So now your safe exists as a smart contract on the goerli chain, and if you head over to Goerliscan and paste your safe's address and check the Contract section, you should be able to see the verified contract source code, ABI, and even the bytecode.
Since we just created this safe, It has no funds, So I will add some funds to this safe by transferring funds from another wallet of mine.
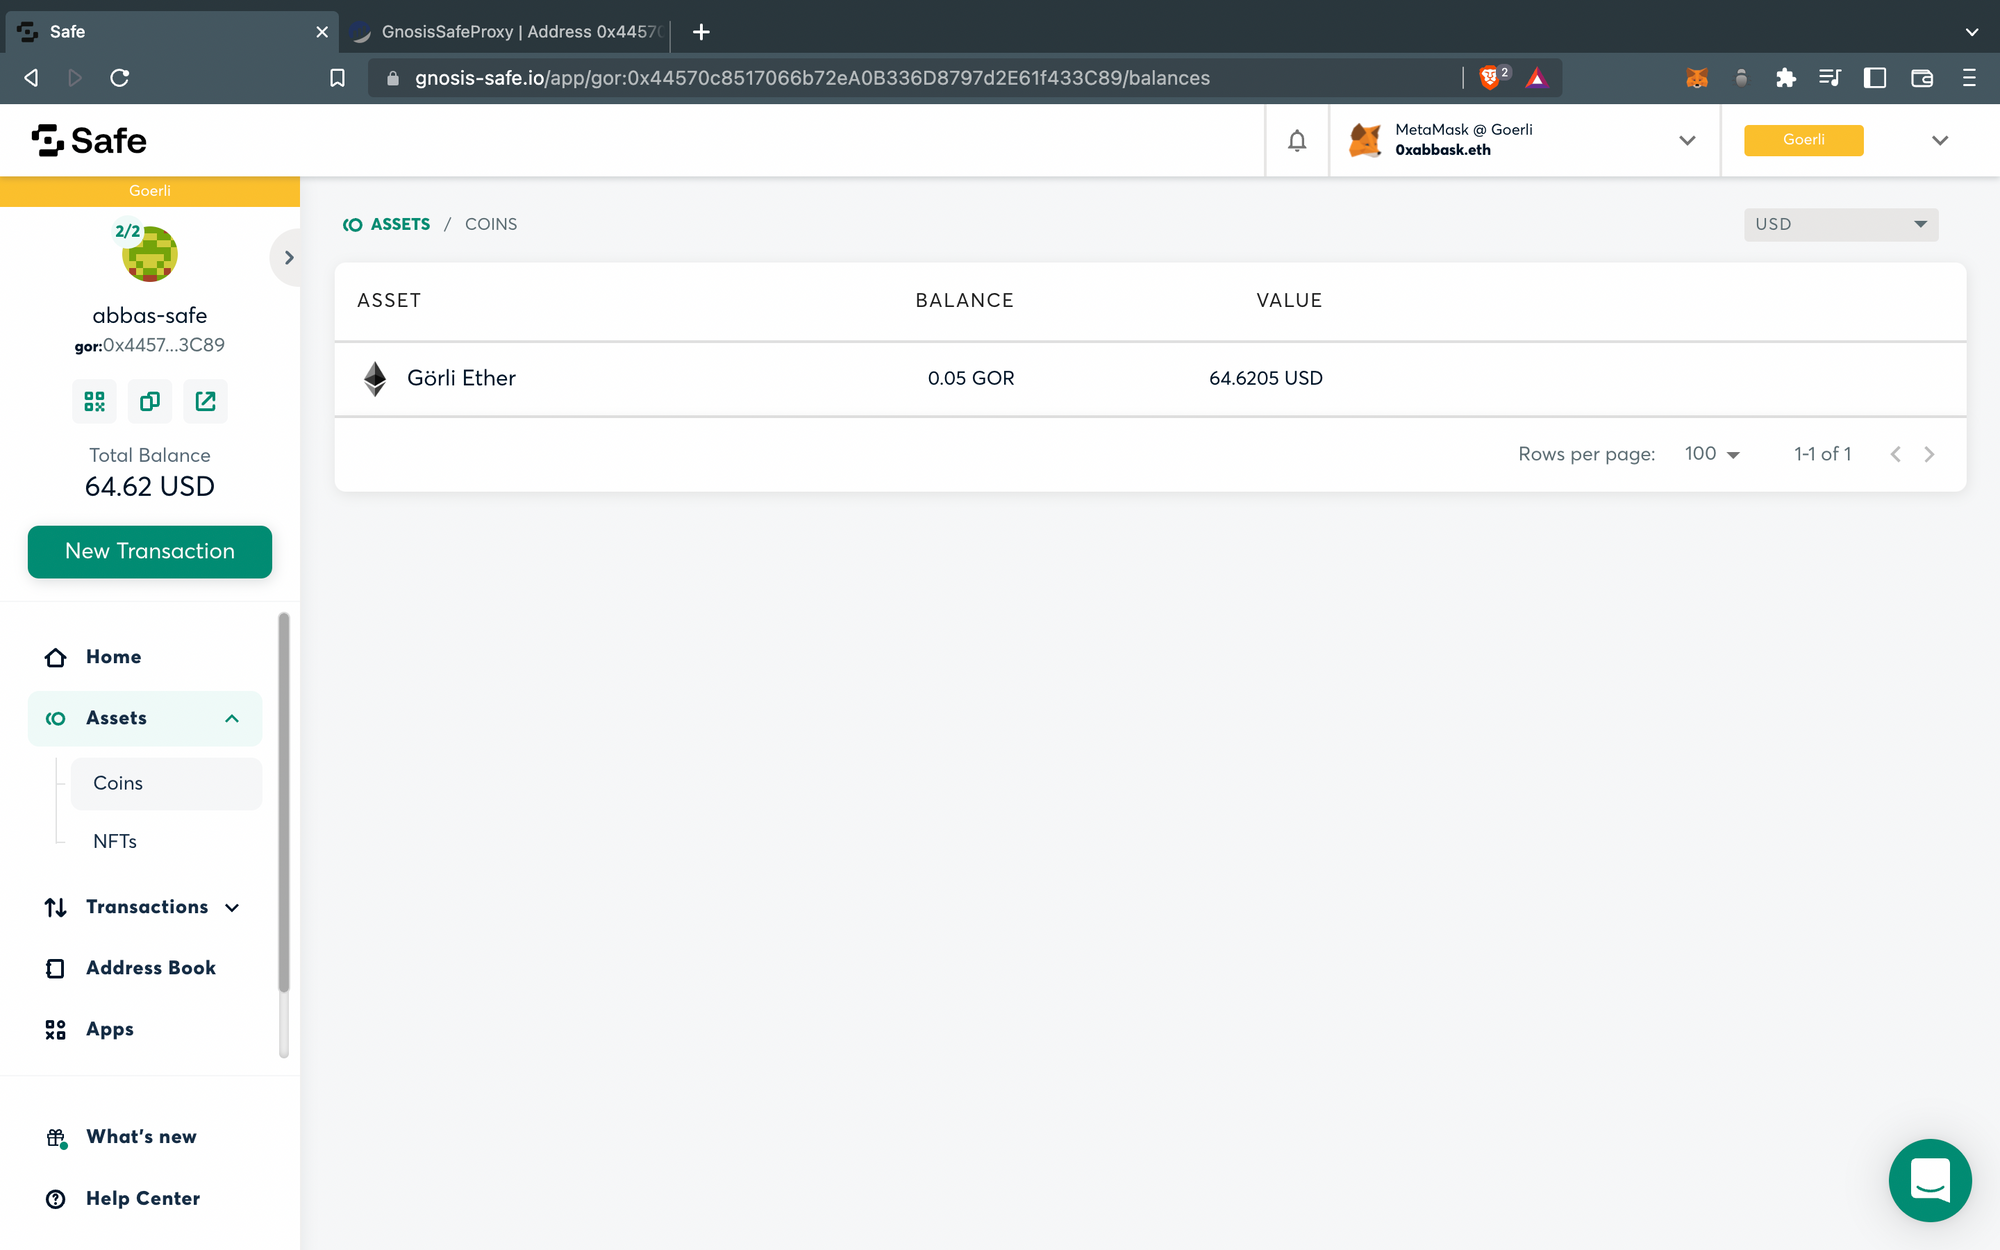
Now if you head over to the Assets -> Coins tab. You should be able to see your funds.
Conclusion
You finally created your gnosis-safe multi-sig wallet. If you run into any difficulties feel free to reach out to us on the discord server.