Deploying contracts to local blockchains using thirdweb

This guide will explore deploying your smart contracts (pre-built and custom) to a local blockchain for testing. We will also cover setting up a local blockchain with minimal configuration and getting unlimited test funds in your wallet. We recently released a feature where you can deploy any contract to any EVM chain, including local blockchains.
Dealing with testnets can be a tedious task. Some testnets have few faucets, and the available faucets give out minimal funds, insufficient for proper testing of your contract. A local blockchain solves that problem by issuing as many test funds as you want for testing. This workflow makes testing easier. These nodes are typically faster because of zero network activity- so your contracts will likely deploy in 1-2 seconds.
Now, let's create a local blockchain!
Creating a local blockchain
Spinning up a Hardhat node is one of the easiest ways to create a local blockchain. And one of the easiest ways to set up Hardhat is to use the thirdweb CLI. Run the following command in your terminal to create a Hardhat project quickly:
npx thirdweb@latest create contractThis command creates a smart contract. However, we will only deal with the Hardhat project that the command sets up for us. After running the command, you will get prompted to fill in fields regarding your project; use the following configuration to create the project:
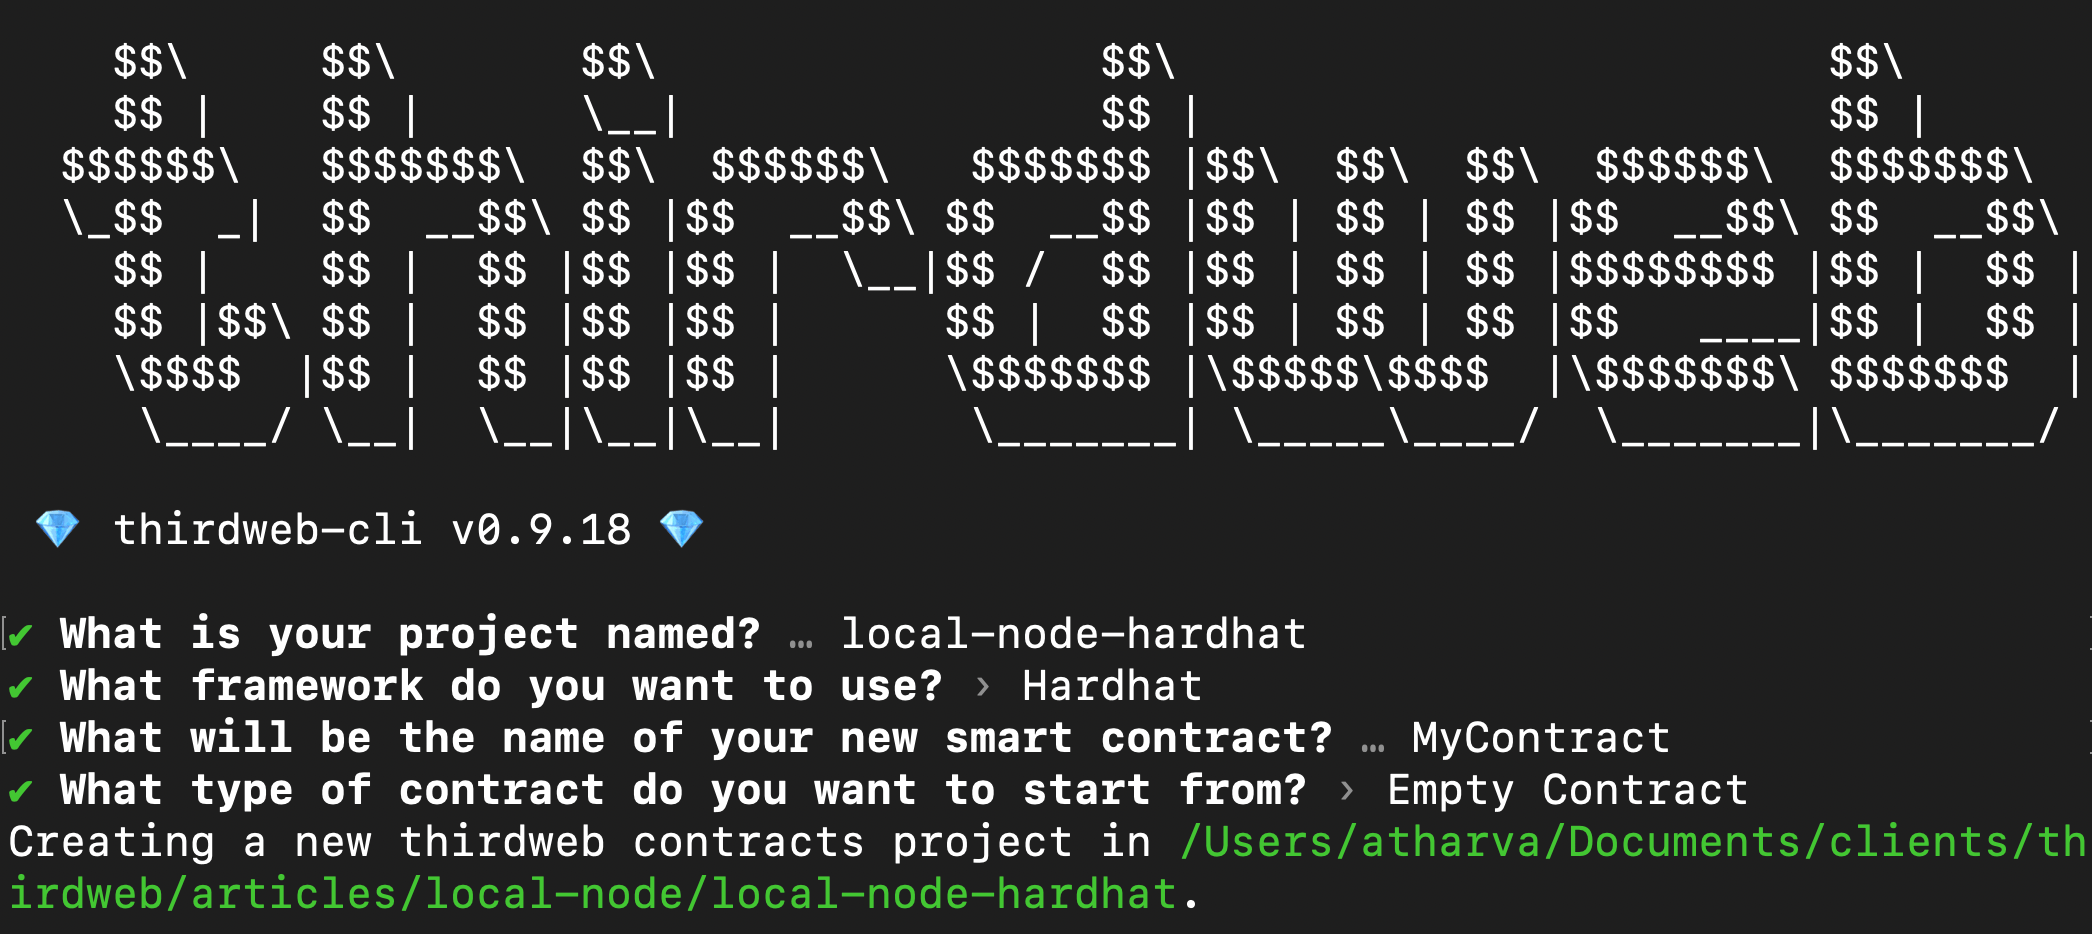
These settings should create your Hardhat project. Now, navigate to the project directory, and open the hardhat.config.js file to update some configuration.
/** @type import('hardhat/config').HardhatUserConfig */
module.exports = {
  solidity: {
    version: "0.8.9",
    settings: {
      optimizer: {
        enabled: true,
        runs: 200,
      },
    },
  },

  defaultNetwork: "running",

  networks: {
    hardhat: {
      chainId: 1337,
    },

    running: {
      url: "http://localhost:8545",
      chainId: 1337,
    },
  },
};
In the above configuration, we are configuring the default hardhat network to use chain ID 1337, which is defaulted for local nodes. Then, we create a configuration for a running network that points to the Hardhat network. We will be using this to add test funds to our wallet.
Now run the local blockchain using the following command:
npx hardhat node --network hardhatThis action will spin up the local blockchain, and you should see many private keys with default balances that you can use to access the nodes:
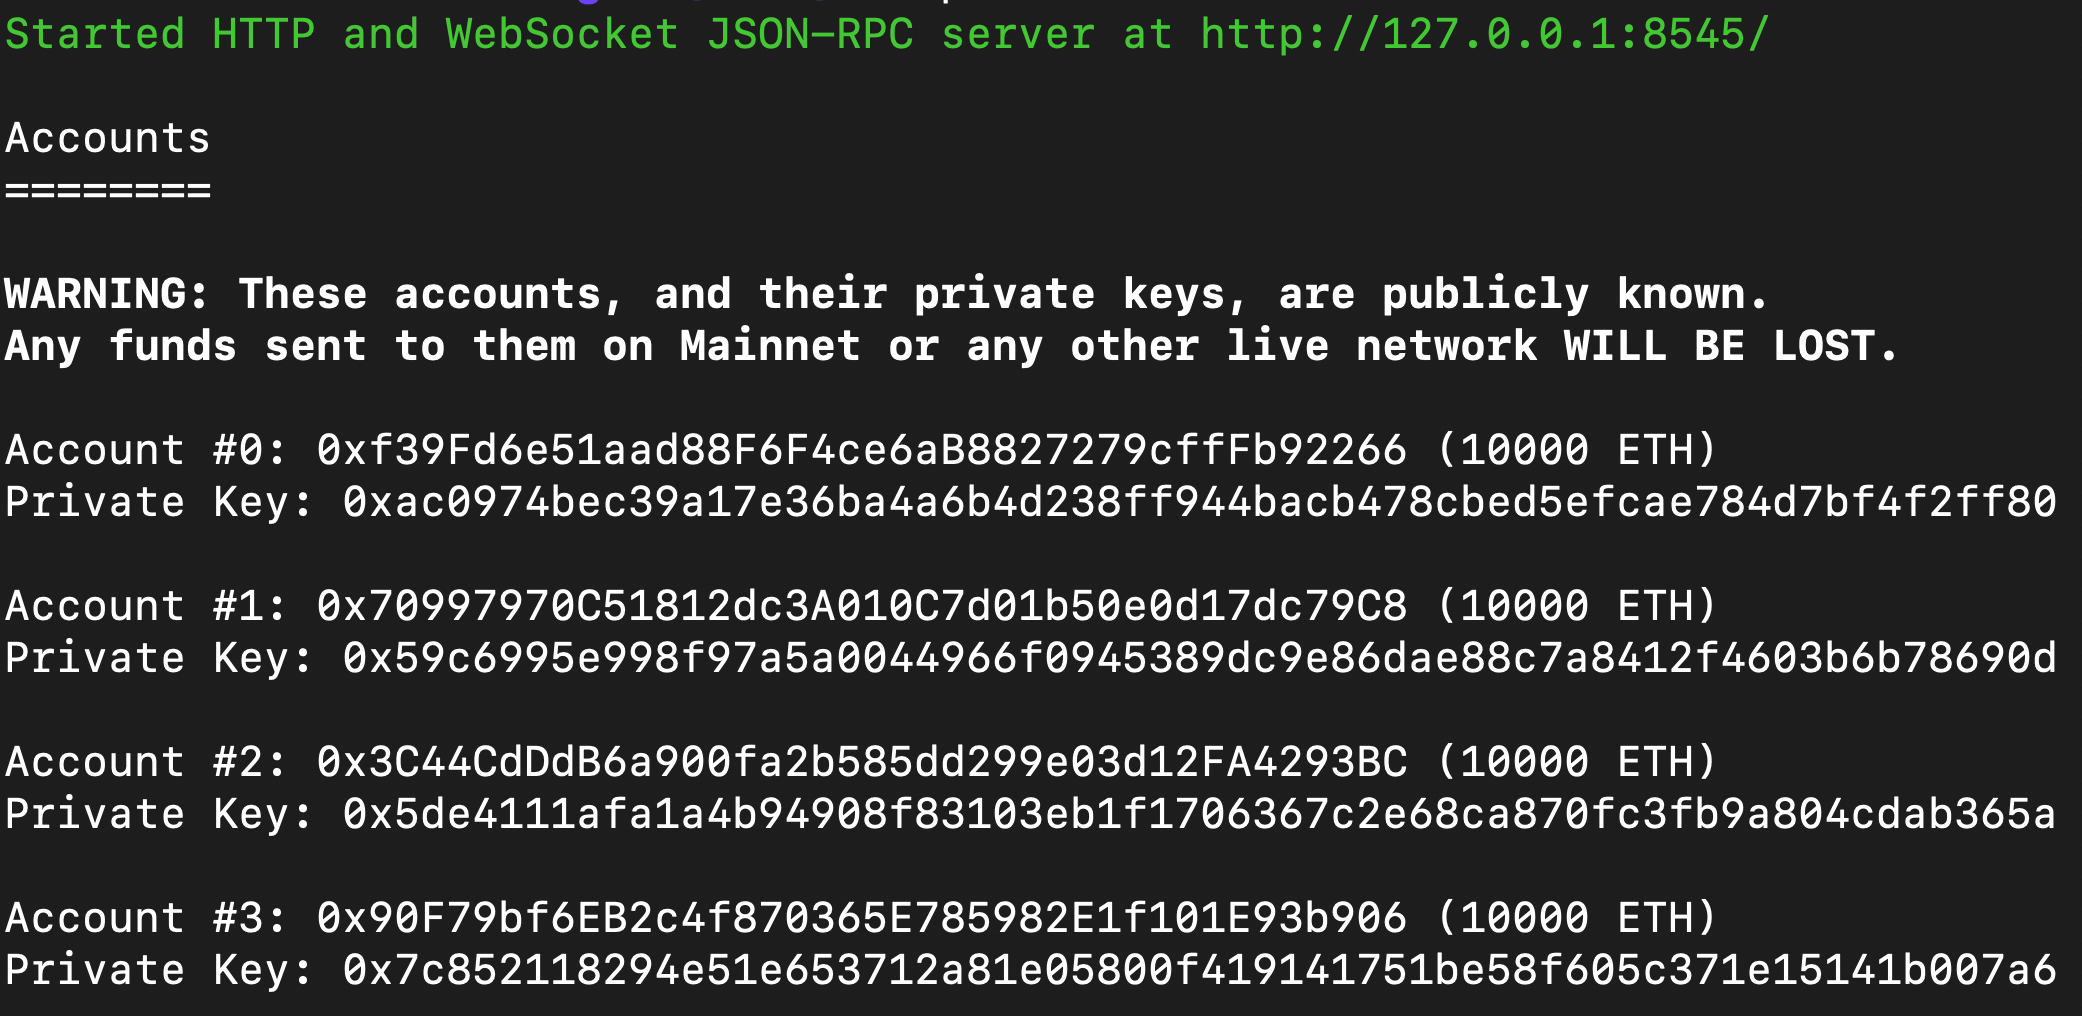
You can now add one of the private keys to your Metamask wallet to access the 10000 ETH of test funds allocated by Hardhat on your local blockchain.
Adding funds to your wallet
Now with your local blockchain created, you should add funds to your wallet rather than using the wallets provided by Hardhat. We will create a script to allocate funds to any wallet you specify. This script will enable you to use your wallets for testing on your local blockchain.
First, we must install Hardhat network helpers that allow us to interact with the local blockchain and perform tasks you cannot do on a production blockchain. Run the following command to install Hardhat network helpers:
yarn add @nomicfoundation/hardhat-network-helpersIn your Hardhat project directory, create a new folder called scripts, and within that folder, create a new file called init.js. Have the following contents in that file:
const helpers = require("@nomicfoundation/hardhat-network-helpers");

async function init() {
  const address = "0x8afD95653d67614F780EE8D0225C83b6287BDb5c";

  await helpers.setBalance(address, 1000 * 1e18);
}

init()
  .then(() => process.exit(0))
  .catch((error) => {
    console.error(error);
    process.exit(1);
  });
Remember to replace the address with the one you want to update the funds. You can also replace 1000 with any balance you want in the wallet.
Now, run the following command in the terminal to run the script and add the balance to your wallet:
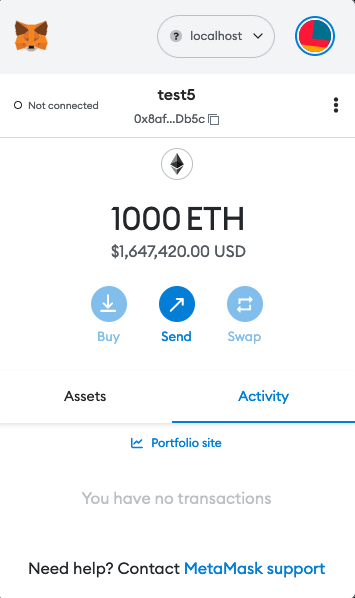
npx hardhat run ./scripts/init.jsNow, check your wallet. Remember to set the network to localhost. If you're using Metamask, it should be available in networks if you have enabled test networks.
You should now see your updated balance:
Deploying contracts to our local blockchain
Head to the thirdweb explore page. Here you should see a list of pre-built contracts made by thirdweb and contracts published by other smart contract developers:

Pick a smart contract you want to deploy. Let's pick the NFT Drop contract, for example. Click on Deploy Now. Make sure you're on the localhost network on your wallet.
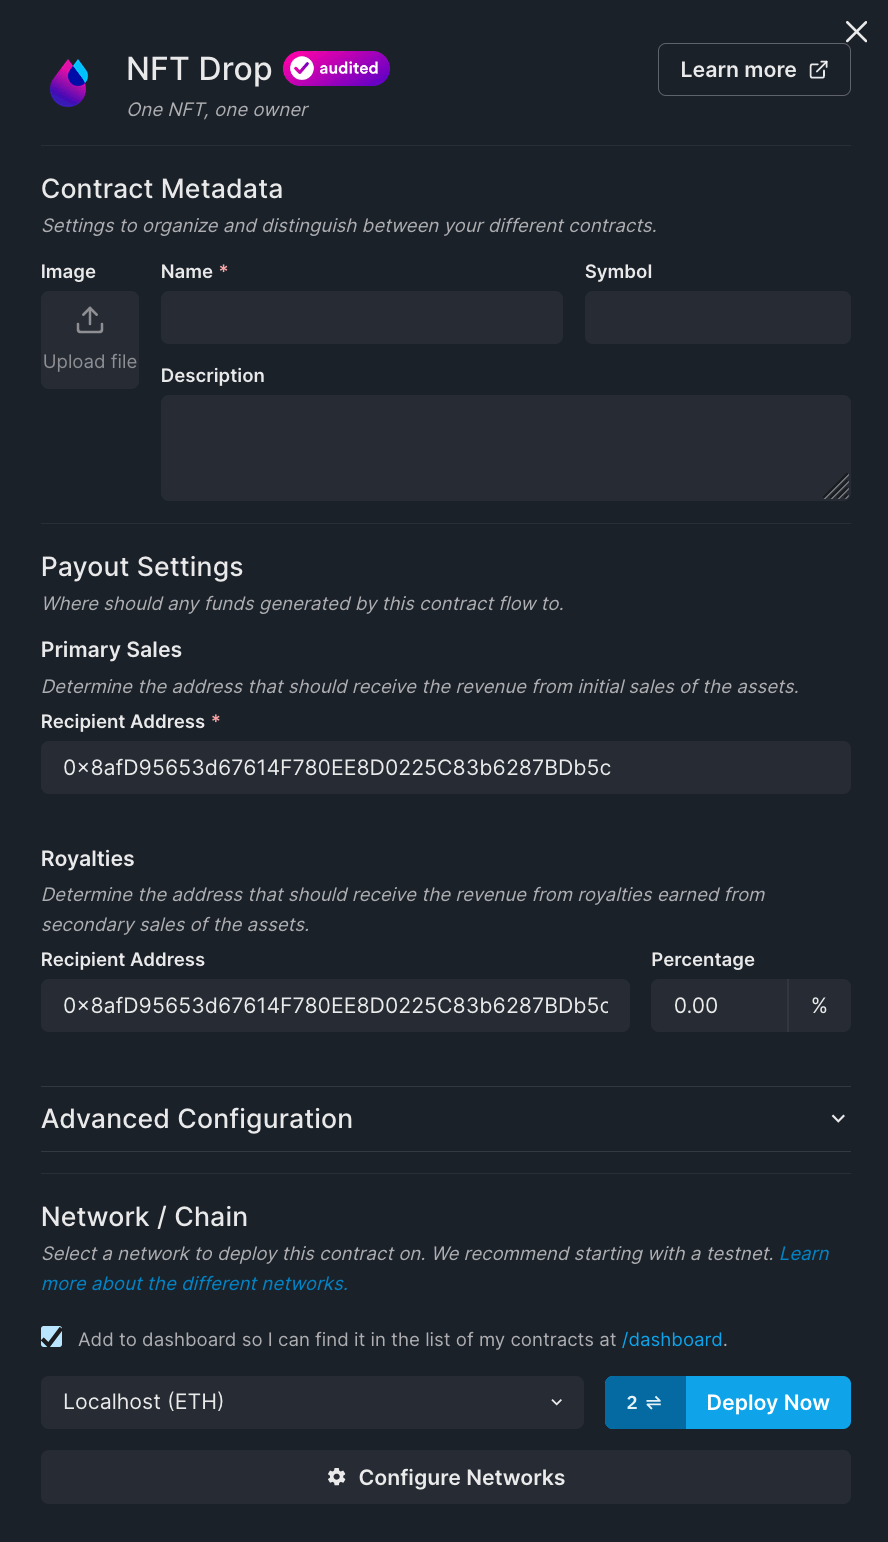
Enter all the necessary data, make sure your network is set to Localhost, and click on Deploy Now. Depending on whether you add the contract to the dashboard, you will be prompted to approve a few transactions.
You will notice that these transactions are very fast, as the network doesn't have any load and is best for testing.
After the successful deployment, you should be redirected to the dashboard for your chosen contract.

This is how we can deploy smart contracts on a local blockchain using thirdweb!
Conclusion
This article showed how to deploy smart contracts on a local blockchain using thirdweb's new any-EVM feature. This process will be helpful for developers who want to save time getting funds on faucets for testnets and instead work on actual development.
If you want to check the code for the Hardhat project created in this guide, feel free to check our GitHub repository associated with this guide.
If you have questions, please join the thirdweb Discord server to talk directly with the team.