How to Create An Open Edition NFT Drop
⚠️ Warning: This guide currently uses v4 of the Connect SDK. For v5 (latest) code snippets, please check out our documentation while this guide is being updated. ⚠️
In this guide, we'll show you how to create an open edition NFT drop, where any number of NFTs can be minted from your collection, but only a certain amount per wallet address.
We'll use our audited ERC1155 NFT drop smart contract to ensure our users have a flawless experience minting from our collection. Let's get started!
Creating An Open Edition Smart Contract
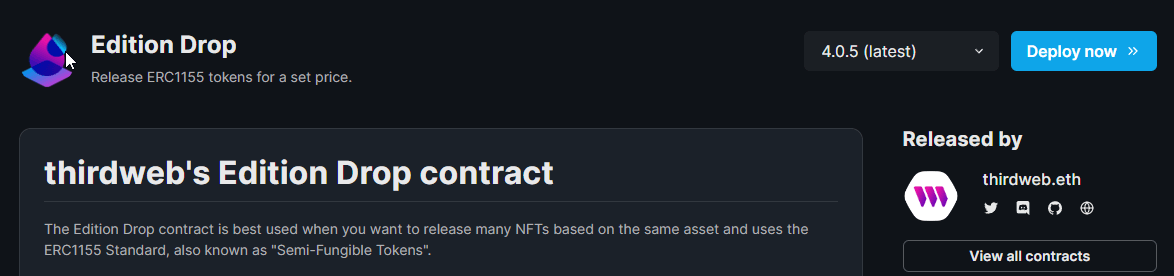
To get started, head to the Edition Drop smart contract on the dashboard:
The Edition Drop allows you to lazy-mint ERC-1155 NFTs, and define the conditions of how users can claim them, such as price, quantity, wallet limits, and more. Click Deploy now from this page to begin the deployment flow.
Populate the metadata of your smart contract; such as the image, symbol, name, and description. From this page, you can also define which wallet addresses will receive funds from the primary and secondary sales.

Learn more about how our contracts works with OpenSea royalty fees
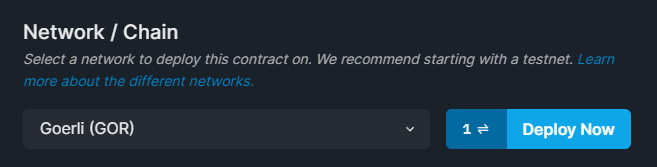
Finally, select the network you wish to deploy to, and click Deploy now!
Lazy Minting Edition NFTs
Once your smart contract is deployed, head to the NFTs tab on your contract's dashboard page, where you will be able to upload the metadata of your NFT(s).
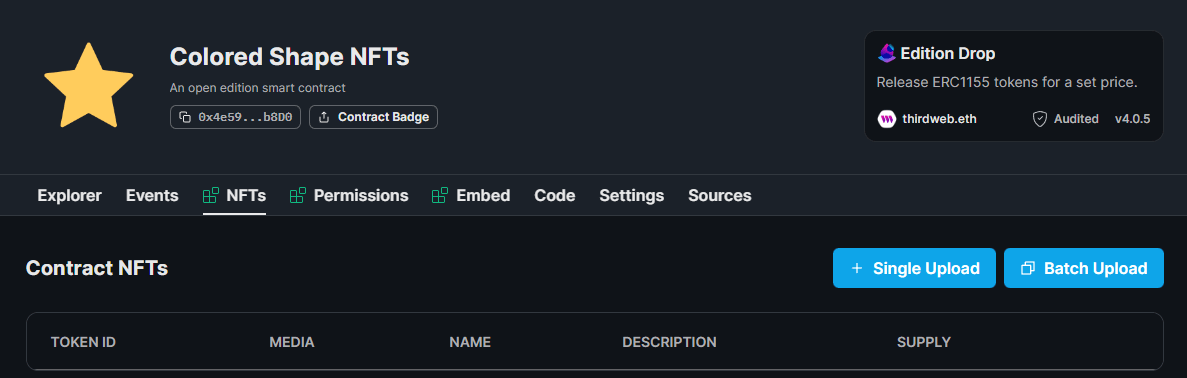
You can choose to batch upload multiple NFTs using a .csv or .json file or upload one NFT at a time. To keep it simple, we'll use the single upload option in this guide.
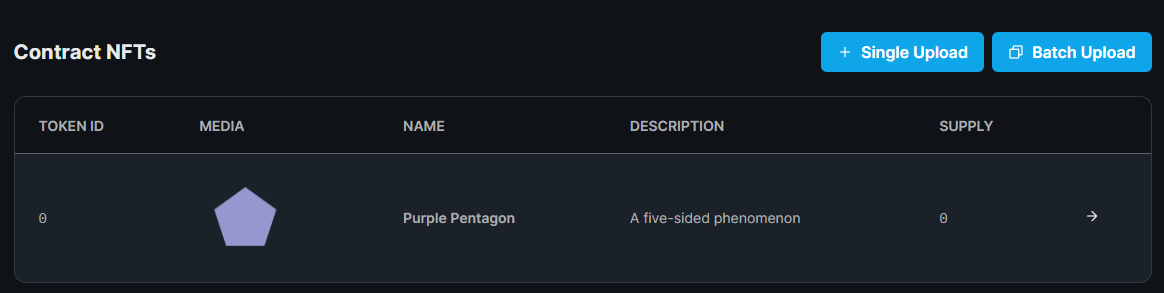
To do that, click the Single Upload button, define your NFT metadata, and click Lazy Mint NFT. The end result should look similar to this:
Defining Claim Conditions
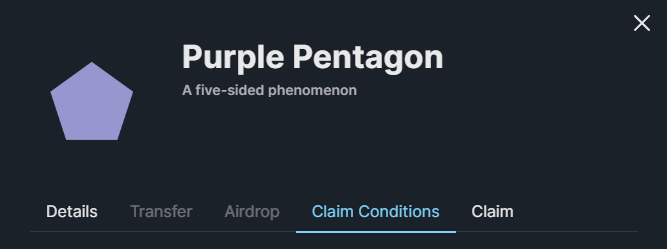
Now we're ready to outline how we want users to mint our NFTs, using claim conditions. Click on your NFT to open up the drawer, and select the Claim Conditions tab.
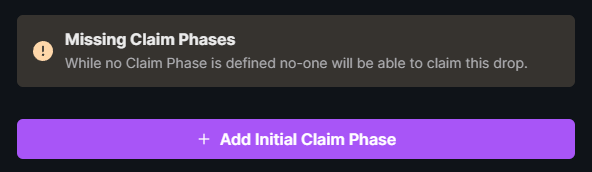
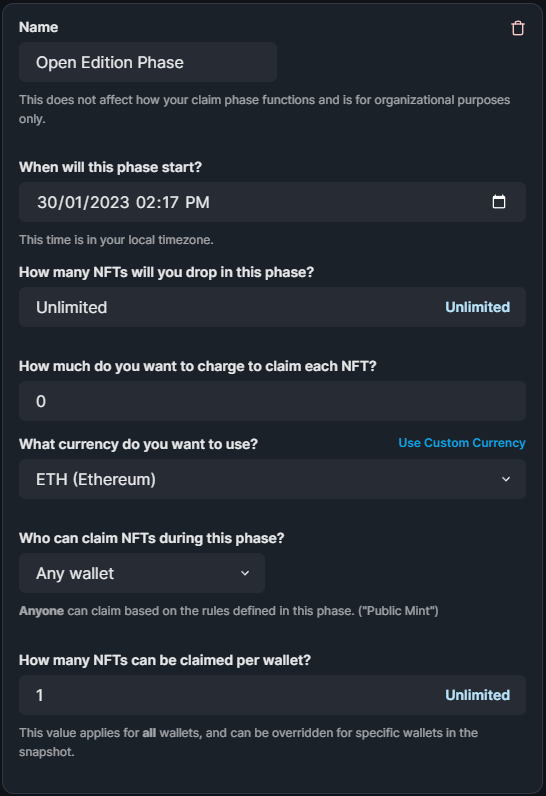
Click Add Initial Claim Phase to create a new set of criteria:
Here, we can define that we want our drop to be an open edition by specifying an unlimited quantity to be available for this NFT:

To add a restriction of how many NFTs can be claimed by each wallet, set the How many NFTs can be claimed per wallet? field to your desired number.

You can also configure other aspects of your claim conditions, such as the release date, price, currency, and an allowlist. Below is an example of a full claim phase definition:
Once you are ready, click Save claim phases to save your settings to the blockchain. If you want users to stop being able to mint NFTs, all you need to do is remove the claim phase to update your smart contract.
Create A Minting Application
There are several different options available for you when it comes to creating a website where users can connect their wallets and mint from the smart contract.
We'll first outline the no-code options available, and then finally show you how you can use our React SDK to create a fully customizable web application to interact with your smart contract.
Using the Claim Button
You can share your smart contract dashboard URL with your community and have them directly mint from it. This way, your users can head to the Sources tab to inspect the smart contract code directly if they choose to.
Using the Embed
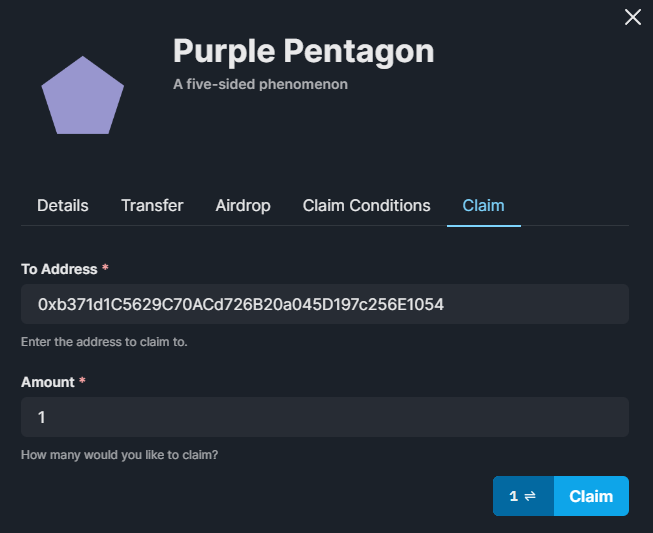
Your edition smart contract also comes with an embed hosted on IPFS you can share with your community. Head to the Embed tab to view a customizable preview specific to your smart contract that looks like this:
Creating A Web Application with the SDK
For a fully customizable web application, our React SDK comes fully equipped with wallet connection and NFT minting capabilities (and much more).
To get started, we'll use the edition-drop template with all of this functionality set up for us in a TypeScript and Next.js project.
Run the following command to set up your project:
npx thirdweb create app --template edition-drop Change directories into the project by running cd edition-drop and open it up in your text editor. On the pages/_app.tsx file, ensure to set your network to the one you deployed your smart contract to:
// This is the chainId your dApp will work on.
const activeChainId = ChainId.Goerli;
Next, on the pages/index.tsx file, add your smart contract address and token ID of the NFT you want users to mint:
// Put Your Edition Drop Contract address from the dashboard here
const myEditionDropContractAddress = "<smart-contract-address-here>";

// Put your token ID here
const tokenId = 0;
That's it! Now you can run npm run dev and visit http://localhost:3000/ to preview your application. Users will be able to connect their wallet and claim their NFTs:
You can use our guide on deploying your application to Vercel when you are ready to ship it to production below:

Wrapping Up
That's it! You've deployed an audited, gas-optimized open edition smart contract and built a simple minting application to allow your users to mint NFTs.
If you want to customize the application further, jump into our Portal's SDK section to learn about all of the features available when building React applications.
Got questions? Jump into our Discord to speak with our team directly!