How to Create a Web3 Creator Platform with a Web2 Backend


⚠️ Warning: This guide currently uses v4 of the Connect SDK. For v5 (latest) code snippets, please check out our documentation while this guide is being updated. ⚠️
In this guide, we'll show you how to create an application where users can Sign In With Ethereum to authenticate themselves, and interact with a web2 database from their connected wallet!
We'll show you how to:
- Add sign in with ethereum to your application
- Make server-side requests from an authenticated wallet
- Restrict access to what operations a wallet can perform in a web2 database.
Before we get started, below are some helpful resources where you can learn more about the tools we will use in this guide.
Let's get started.
Quick Note
This guide is designed to be backend-agnostic; meaning we're going to skim over the setup of the database and leave that up to you. If you want to follow along with my setup, please follow the steps outlined in the project source code!
Setup
I am going to use the Next.js Typescript starter template for this guide.
If you are following along with the guide, you can create a project with the template using the thirdweb CLI:
npx thirdweb create app --next --ts
If you already have a Next.js app you can simply follow these steps to get started:
Install @thirdweb-dev/react and @thirdweb-dev/sdk and ethers@5.
Add MetaMask authentication to the site. You can follow this guide to add metamask auth.
I have also setup a MongoDB Atlas cluster and prisma in the project. If you want to do the same you can set up the cluster yourself on MongoDB and you can have a look at the repository to see how I setup prisma.
Setting up Auth
Firstly, we need to install the thirdweb auth package:
npm i @thirdweb-dev/auth # npm

yarn add @thirdweb-dev/auth # yarn
Now, create a file called auth.config.ts and the following:
import { ThirdwebAuth } from "@thirdweb-dev/auth/next";
import { PrivateKeyWallet } from "@thirdweb-dev/auth/evm";

export const { ThirdwebAuthHandler, getUser } = ThirdwebAuth({
  domain: process.env.NEXT_PUBLIC_THIRDWEB_AUTH_DOMAIN as string,
  wallet: new PrivateKeyWallet(process.env.THIRDWEB_AUTH_PRIVATE_KEY || ""),
});- The domain is important since you don't want your users signing malicious signatures
- Create a new
.env.localfile and add a new variable namedADMIN_PRIVATE_KEY. Learn how to export your private key from your wallet. Using private keys as an env variable is vulnerable to attacks and is not the best practice. We are doing it in this guide for the sake of brevity, but we strongly recommend using a secret manager to store your private key.
To configure the auth api, create a new folder inside pages/api called auth and [...thirdweb].ts file inside it! Here we need to export the ThirdwebAuthHandler that we made!
import { ThirdwebAuthHandler } from "../../../auth.config";

export default ThirdwebAuthHandler();
This will catch all the API requests that go to /api/auth/.... Behind the scenes, this handles three routes: /login, /logout, and /user.
Finally, inside the _app.tsx file, add the authConfig prop to ThirdwebProvider:
<ThirdwebProvider
  activeChain={activeChain}
  authConfig={{
    authUrl: "/api/auth",
    domain: "example.org",
  }}
>
  <Component {...pageProps} />
</ThirdwebProvider>
Creating /create page
Creating the frontend
Now, we will allow users to connect their wallets and sign in! We are going to handle the auth and user creation part on a route called /create so, create a new file in the pages folder called create.tsx.
Firstly, let's allow users to connect their wallets to our site if they aren't connected:
const address = useAddress();

if (!address) {
  return (
    <div className={styles.container}>
      <ConnectWallet accentColor="#F213A4" />
    </div>
  );
}
If the user has connected their wallet but isn't signed in, we will show the sign-in button, allowing them to sign a message to prove they own the wallet they are claiming to be.
const login = useLogin();
const { user: thirdwebUser } = useUser();

if (!thirdwebUser) {
  return (
    <div className={styles.container}>
      <button onClick={() => login()}>Login</button>
    </div>
  );
}
Once the user is both connected and signed in, we will show the create user form!
return (
  <div className={styles.container}>
    <Header />
    <h2>Create User</h2>
    <form className={styles.form} onSubmit={handleSubmit}>
      <input
        placeholder="Name"
        value={name}
        onChange={(e) => setName(e.target.value)}
      />
      <input
        placeholder="Bio"
        value={bio}
        onChange={(e) => setBio(e.target.value)}
      />
      <input
        placeholder="Avatar"
        value={avatar}
        onChange={(e) => setAvatar(e.target.value)}
      />
      <button onClick={() => handleSubmit()}>Create</button>
    </form>
  </div>
);
As you can see we need a handleSubmit function and some states to allow users to submit this data to our backend:
const [name, setName] = useState("");
const [bio, setBio] = useState("");
const [avatar, setAvatar] = useState("");

const handleSubmit = async (e?: React.FormEvent<HTMLFormElement>) => {
  if (e) {
    e.preventDefault();
  }
  try {
    await fetch("/api/user", {
      method: "POST",
      body: JSON.stringify({ name, bio, avatar }),
    });

    router.push(`/user/${thirdwebUser.address}`);
  } catch (error) {
    // Handle your error here
  }
};
Creating API
We will now set up an API for the CRUD functionality.
So, create a new file in pages/api called user.ts and add the following code.
First, we get the currently authenticated wallet using getUser from the configuration file we set up earlier.
Once the user is authenticated, we can perform CRUD operations based on the user's wallet address.
import { NextApiRequest, NextApiResponse } from "next";
import { createUser, deleteUser, getUser, updateUser } from "../../prisma/user";

import { getUser as getUserThirdweb } from "../../auth.config";

const handler = async (req: NextApiRequest, res: NextApiResponse) => {
  const thirdwebUser = await getUserThirdweb(req);

  if (!thirdwebUser) {
    return res.status(401).json({ message: "Unauthorized" });
  }

  try {
    if (req.method === "GET") {
      const user = await getUser({ address: thirdwebUser.address });
      return res.status(200).json(user);
    } else if (req.method === "POST") {
      const { name, bio, avatar } = JSON.parse(req.body);

      if (!name || !bio) {
        return res.status(400).json({ message: "Missing fields" });
      }

      const user = await createUser({
        name,
        bio,
        avatar,
        address: thirdwebUser.address,
      });

      return res.json(user);
    } else if (req.method === "PUT") {
      const { ...updateData } = JSON.parse(req.body);

      const user = await updateUser(thirdwebUser.address, updateData);
      return res.json(user);
    } else if (req.method === "DELETE") {
      const user = await deleteUser(thirdwebUser.address);
      return res.json(user);
    }

    return res.status(405).json({ message: "Method not allowed" });
  } catch (error) {
    return res.status(500).json(error);
  }
};

export default handler;
With this setup, we perform a two step process:
- Check the currently authenticated wallet
- Perform an operation in our web2 database with the knowledge that this request is coming from the wallet address in step 1.
This allows us to restrict what actions we perform based on who is sending the request! For example, I can't update anybody elses profile, since my wallet address is sent as part of the updateUser function.
if (req.method === "PUT") {
  const { ...updateData } = JSON.parse(req.body);

  const user = await updateUser(thirdwebUser.address, updateData);
  return res.json(user);
}
Creating a Dynamic user page
Now that users can perform authenticated CRUD operations on our web2 database, let's create a dynamic profile page for each user.
From this page, we will also allow users to edit/delete their accounts if they own the account they're currently looking at.
So, create a new folder inside the pages folder called user, and within that folder, create a [address].tsx file; the [] around the file name means that this is a dynamic page.
Firstly we need the user details, which we can get on the server-side:
export const getServerSideProps: GetServerSideProps = async (context) => {
  const user = await getUser({ address: context?.params?.address as string });

  if (!user) {
    return {
      notFound: true,
    };
  }

  return {
    props: {
      user,
    },
  };
};
This will pass the user as a prop to the component, allowing us to render some details of the user we just loaded from the database:
import type { GetServerSideProps } from "next";
import { getUser } from "../../prisma/user";
import styles from "../../styles/Theme.module.css";

const Address = ({ user }) => {
  const shortenAddress = (address: string) => {
    return `${address.slice(0, 6)}...${address.slice(-4)}`;
  };

  return (
    <div className={styles.container}>
      <div>
        <img
          className={styles.avatar}
          src={user.avatar.length > 0 ? user.avatar : "/avatar.svg"}
          alt={user.name}
        />

        <p>{user.name}</p>

        <p>{user.bio}</p>
        <a
          href={`https://goerli.etherscan.io/address/${user.address}`}
          target="_blank"
          rel="noreferrer"
        >
          {shortenAddress(user.address)}
        </a>
      </div>
    </div>
  );
};

export default Address;
If you go to a dynamic page with an address with which a user exists you will be able to see the details of that user! Now we will check if the user is the owner of this account:
const { user: thirdwebUser } = useUser();
const owner = thirdwebUser?.address === user.address;
If owner is true, we can show an "edit" button on the UI; which will allow users to update their profile. So add this state and the button:
const [editing, setEditing] = useState(false);
<div>
  {owner && editing && (
    <button onClick={() => setEditing(false)}>Cancel</button>
  )}

  {owner && (
    <button onClick={handleEditClick}>{editing ? "Save" : "Edit"}</button>
  )}
</div>
We will also create a handleEditClick function:
const handleEditClick = async () => {
  if (editing) {
    try {
      await fetch("/api/user", {
        method: "PUT",
        body: JSON.stringify({ name, bio, avatar }),
      });
      setEditing(false);
      alert("Profile updated!");
    } catch (error) {
      alert("Error updating profile");
    }
  }

  if (!editing) {
    setEditing(true);
  }
};
As you can see we need 3 states for name, bio, and avatar:
const [name, setName] = useState(user.name);
const [bio, setBio] = useState(user.bio);
const [avatar, setAvatar] = useState(user.avatar);
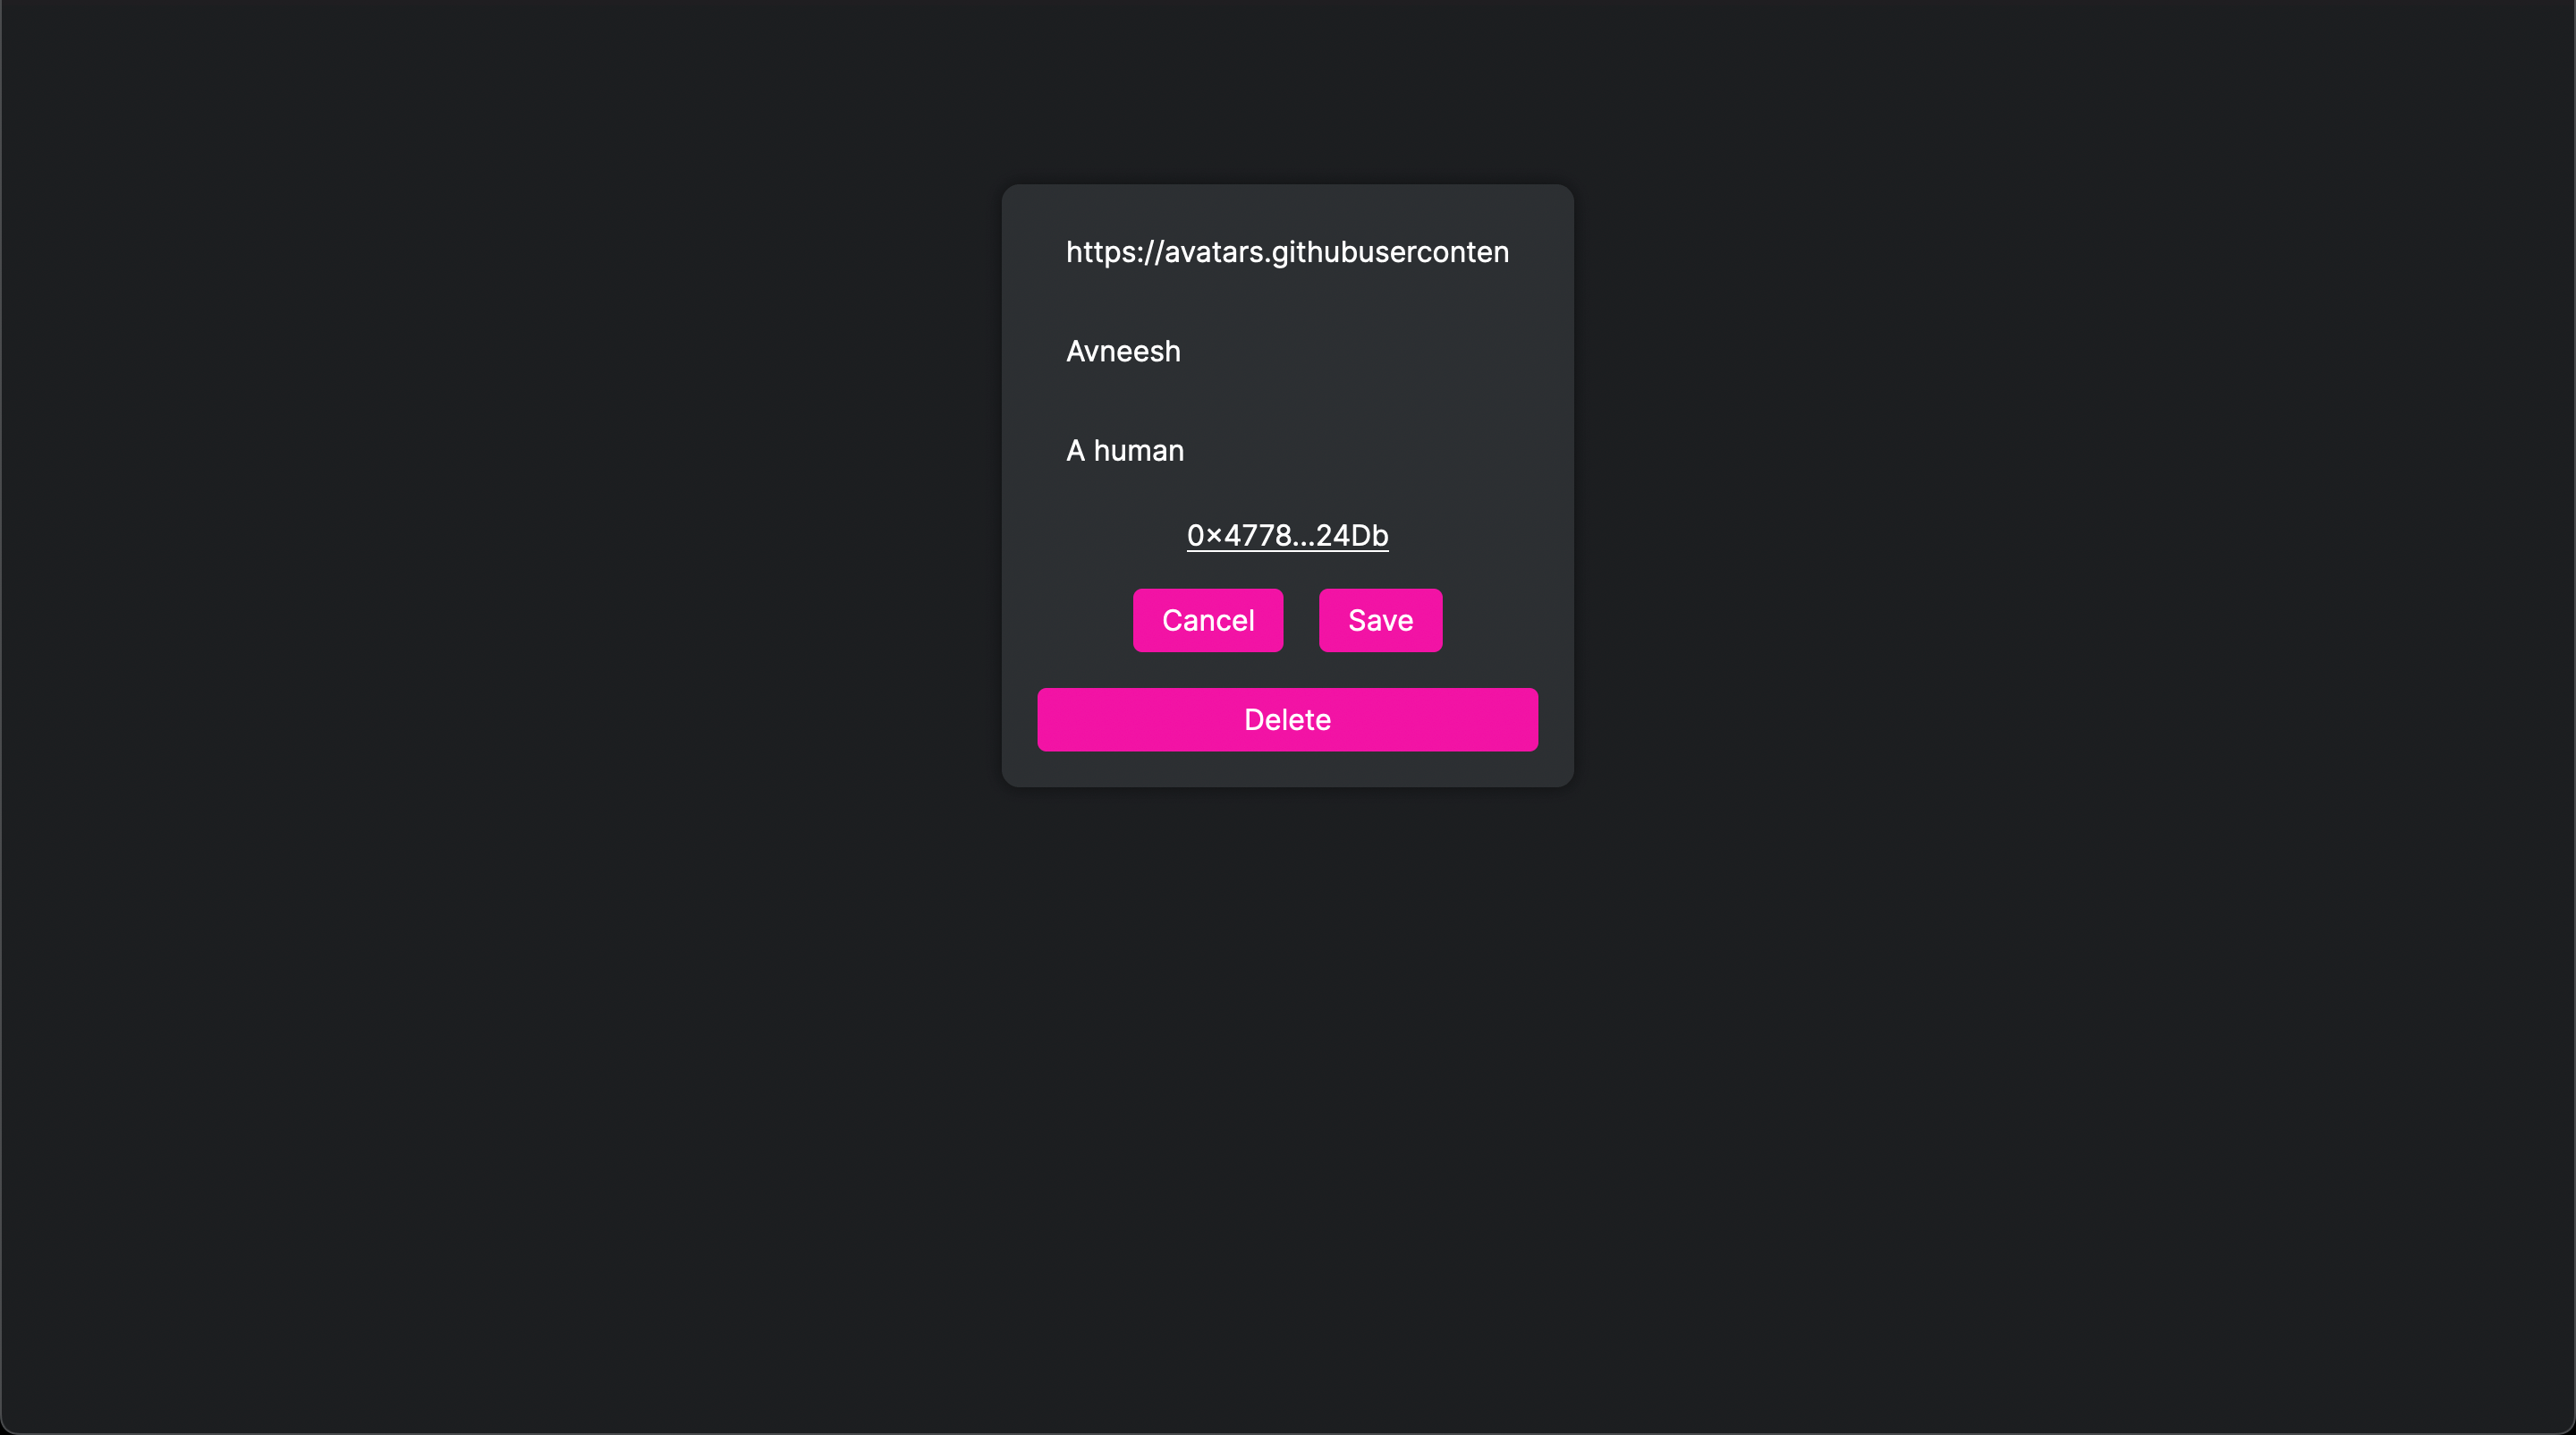
I am wrapping all the 3 details in a ternary individually and rendering a input based on the editing state but you can wrap it as a whole as well if you wish:
{
  editing ? (
    <input
      value={avatar}
      onChange={(e) => setAvatar(e.target.value)}
      placeholder="Avatar"
    />
  ) : (
    <img
      className={styles.avatar}
      src={user.avatar.length > 0 ? user.avatar : "/avatar.svg"}
      alt={user.name}
    />
  );
}

{
  editing ? (
    <input
      value={name}
      onChange={(e) => setName(e.target.value)}
      placeholder="Name"
    />
  ) : (
    <p>{user.name}</p>
  );
}
{
  editing ? (
    <input
      value={bio}
      onChange={(e) => setBio(e.target.value)}
      placeholder="Bio"
    />
  ) : (
    <p>{user.bio}</p>
  );
}
Finally, we will also add a delete acc button in a similar manner:
{
  owner && <button onClick={deleteAccount}>Delete</button>;
}
We also need the deleteAccount function:
const deleteAccount = async () => {
  try {
    await fetch("/api/user", {
      method: "DELETE",
    });
    alert("Account deleted");
    router.push("/");
  } catch (error) {
    alert("Error deleting account");
  }
};
If you now try out the app, everything works!
Conclusion
This guide taught us how to use thirdweb auth to connect web3 auth to a web2 backend by creating a fullstack web3 creator platform!
If you did as well, pat yourself on the back and share it with us on the thirdweb discord! If you want to take a look at the code, check out the GitHub Repository.