How to Create a MetaMask Wallet
In this guide, learn how to create a MetaMask wallet & get testnet ETH so you can start building on Ethereum. Learn more.
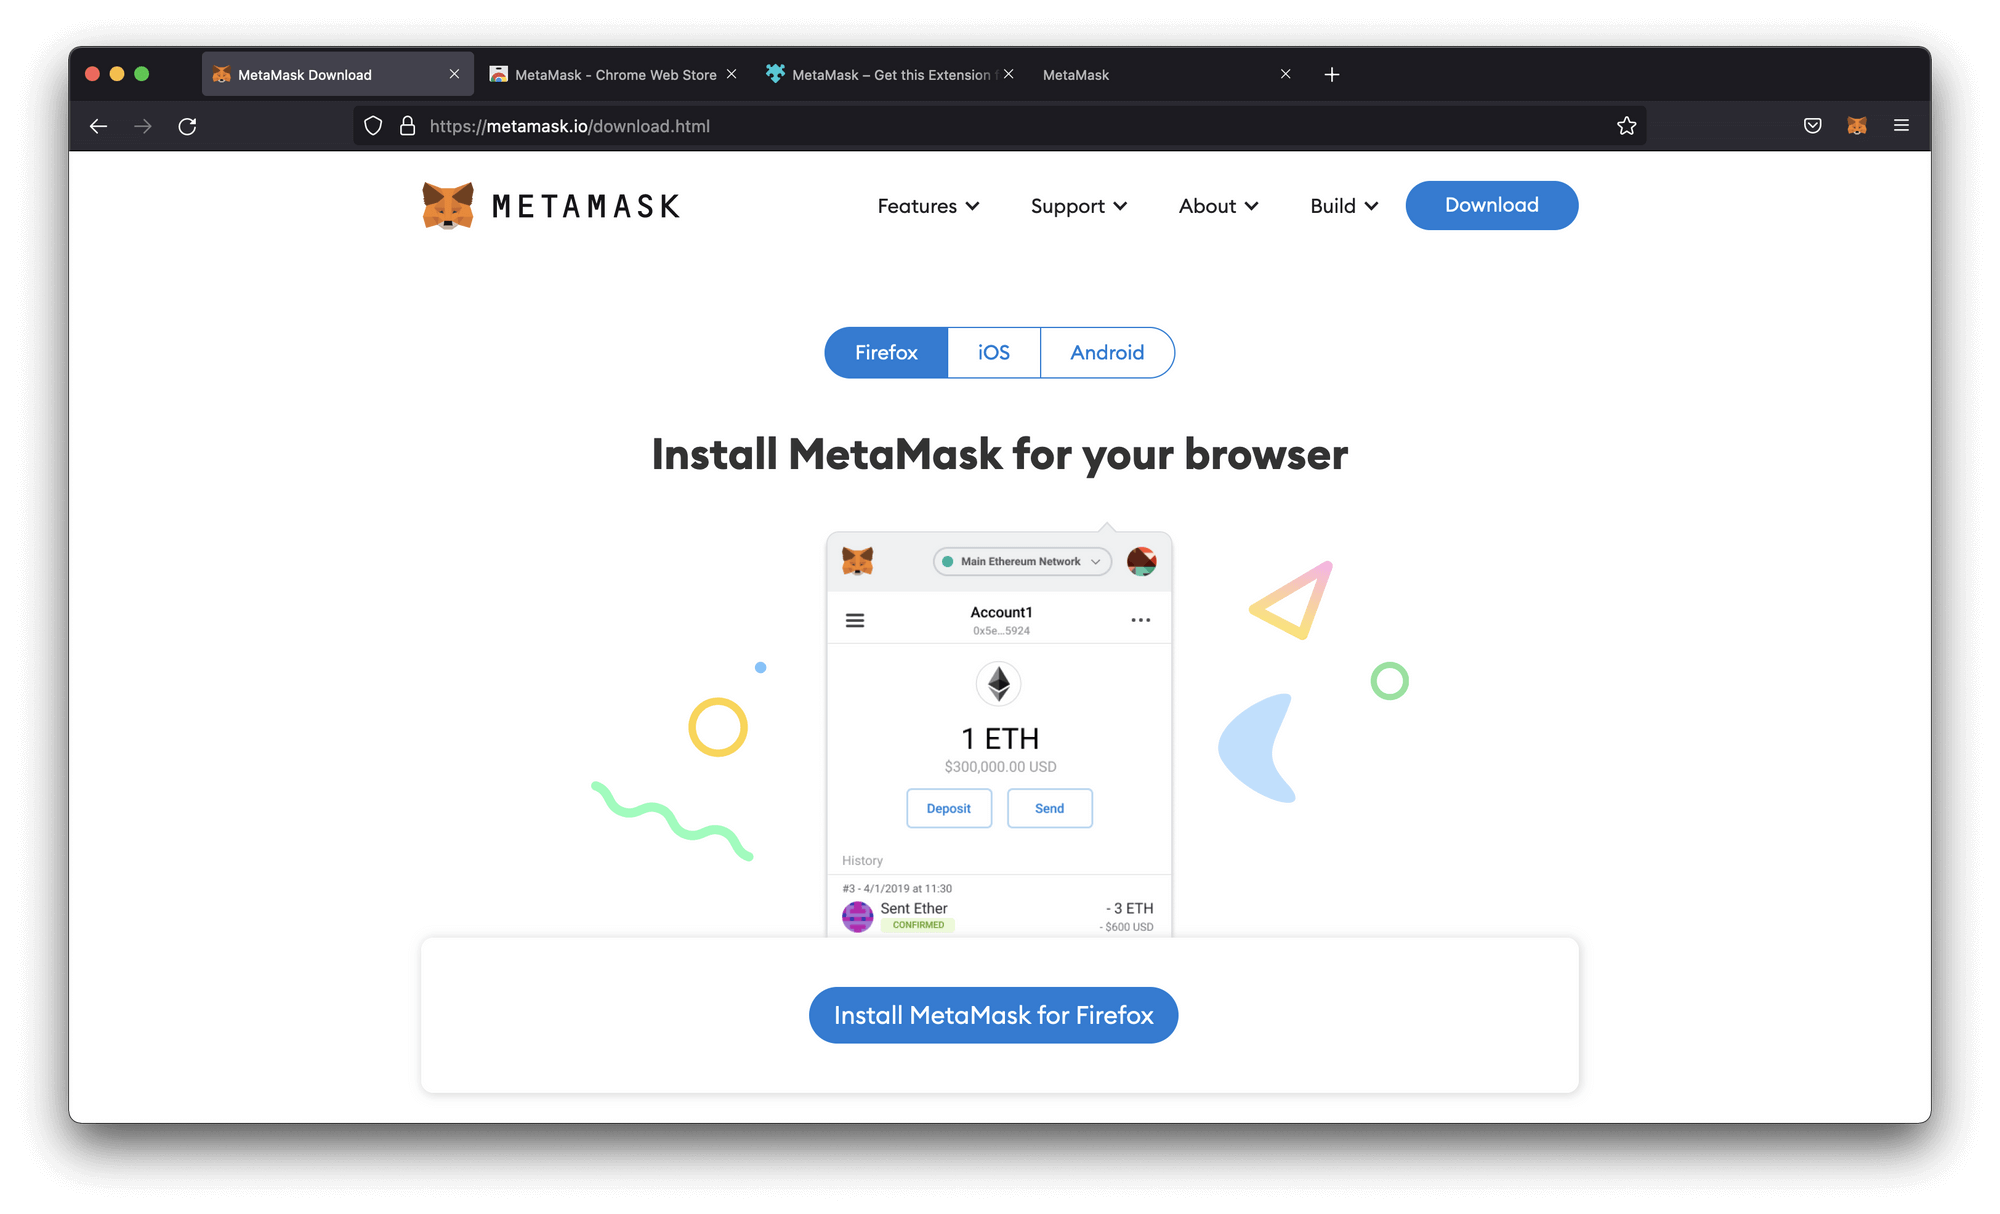
Head over to the MetaMask Website and download the browser extension.
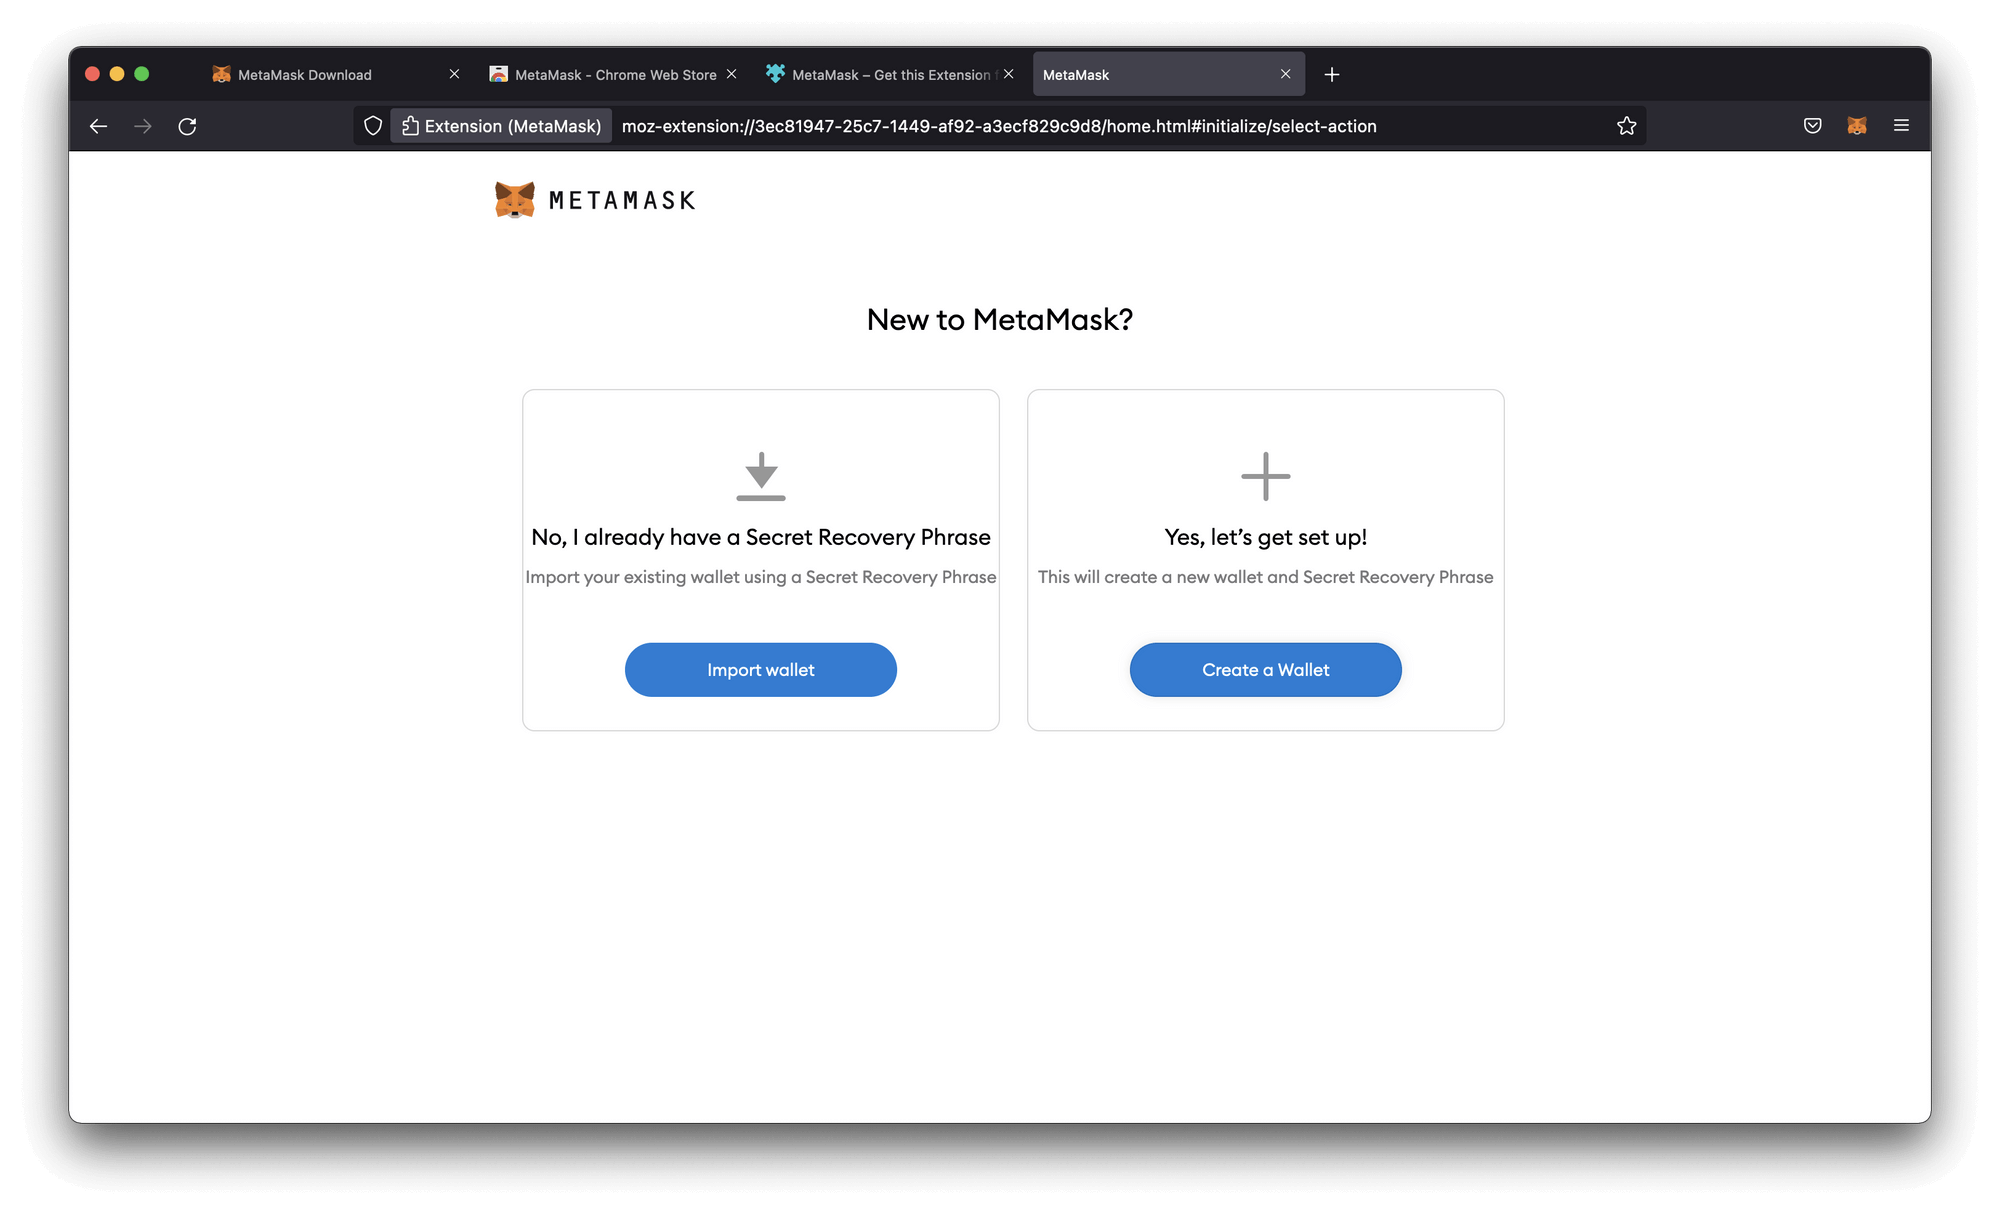
After downloading and installing MetaMask, the following screen should pop up.

You can either log in to your existing wallet with your Secret Recovery Phrase or create a new wallet. We'll go ahead and create a new wallet.
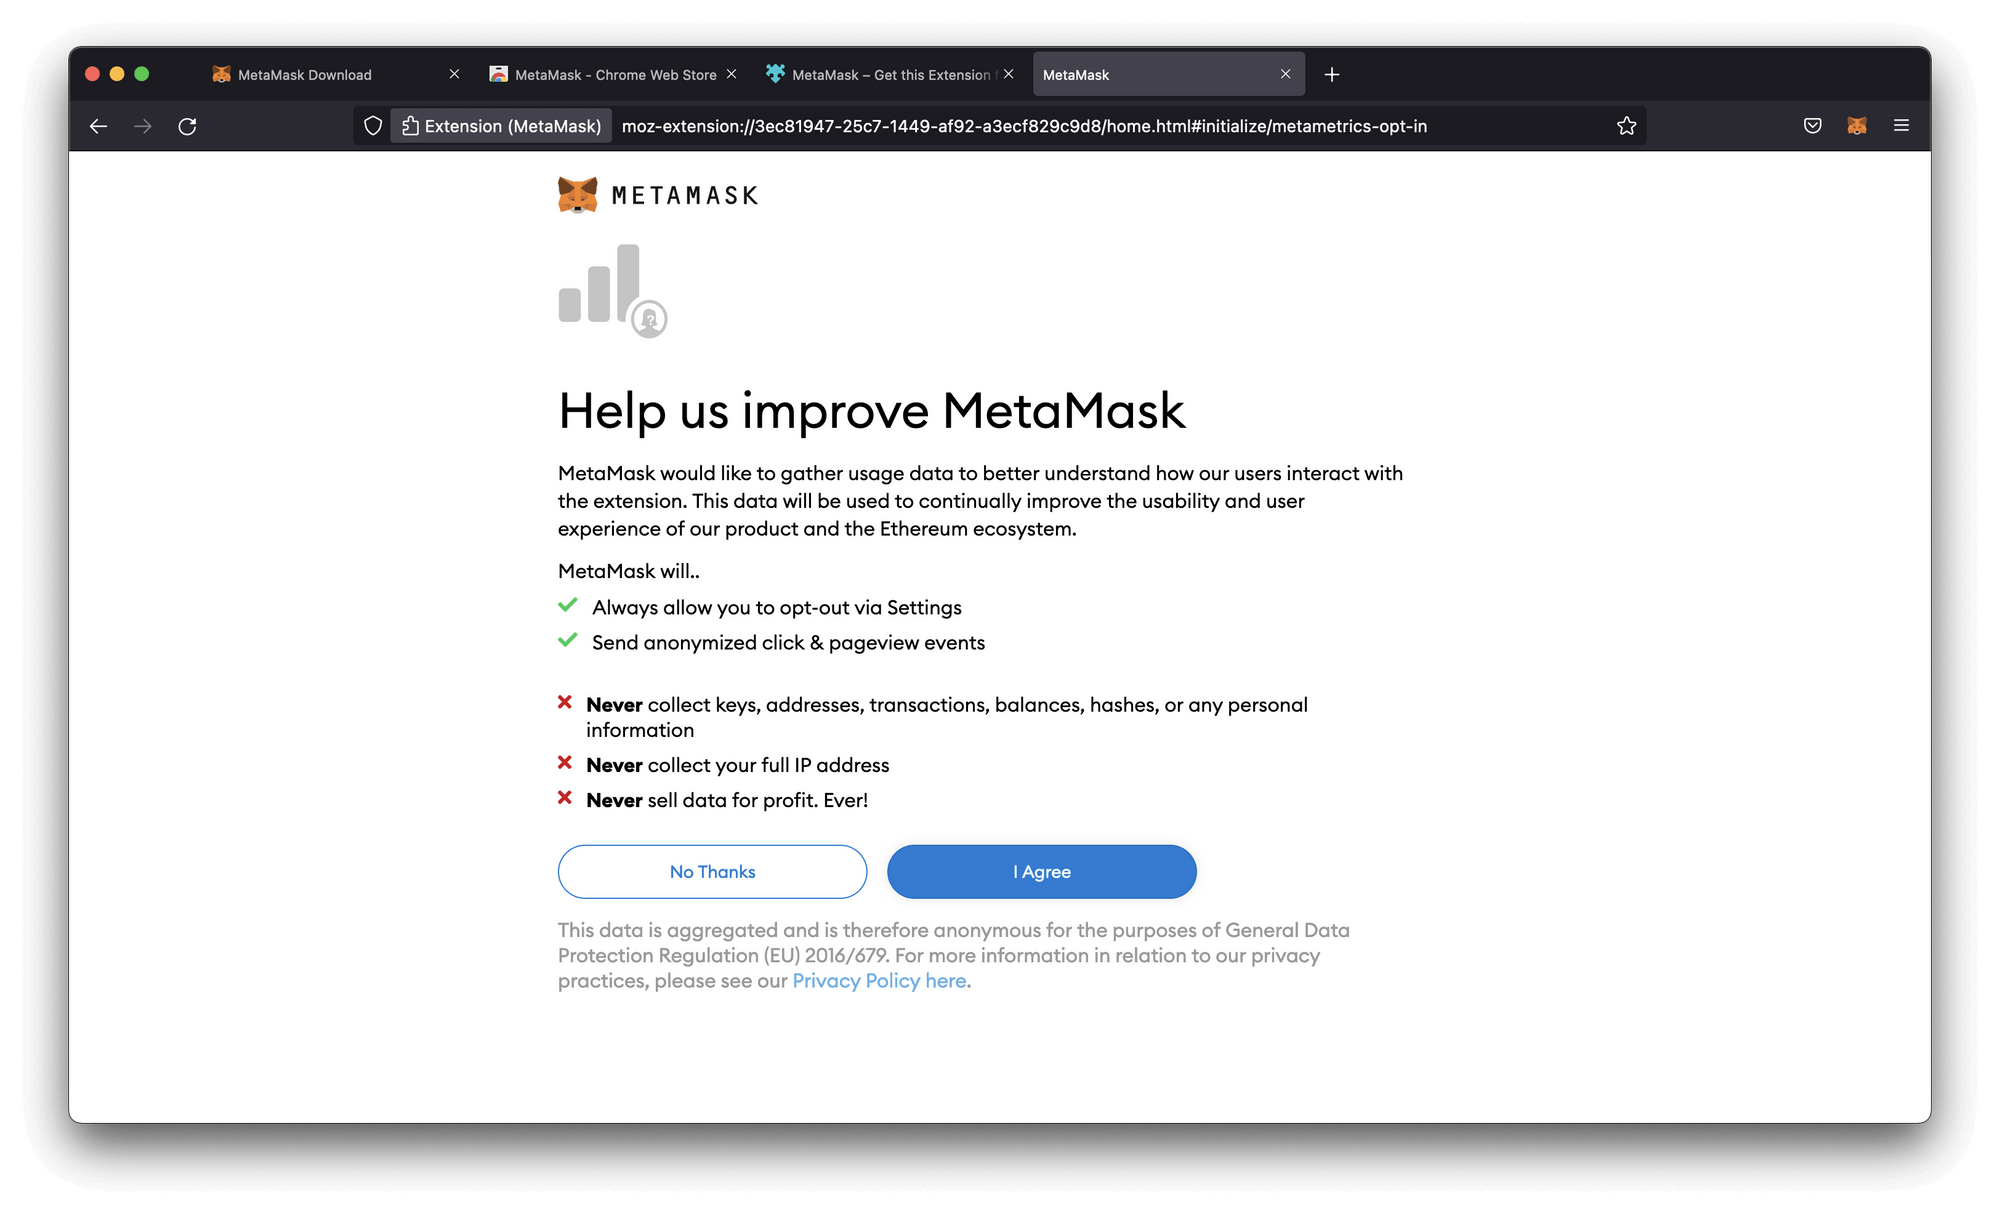
Choose whether you want to share data with MetaMask or not. Up to you...
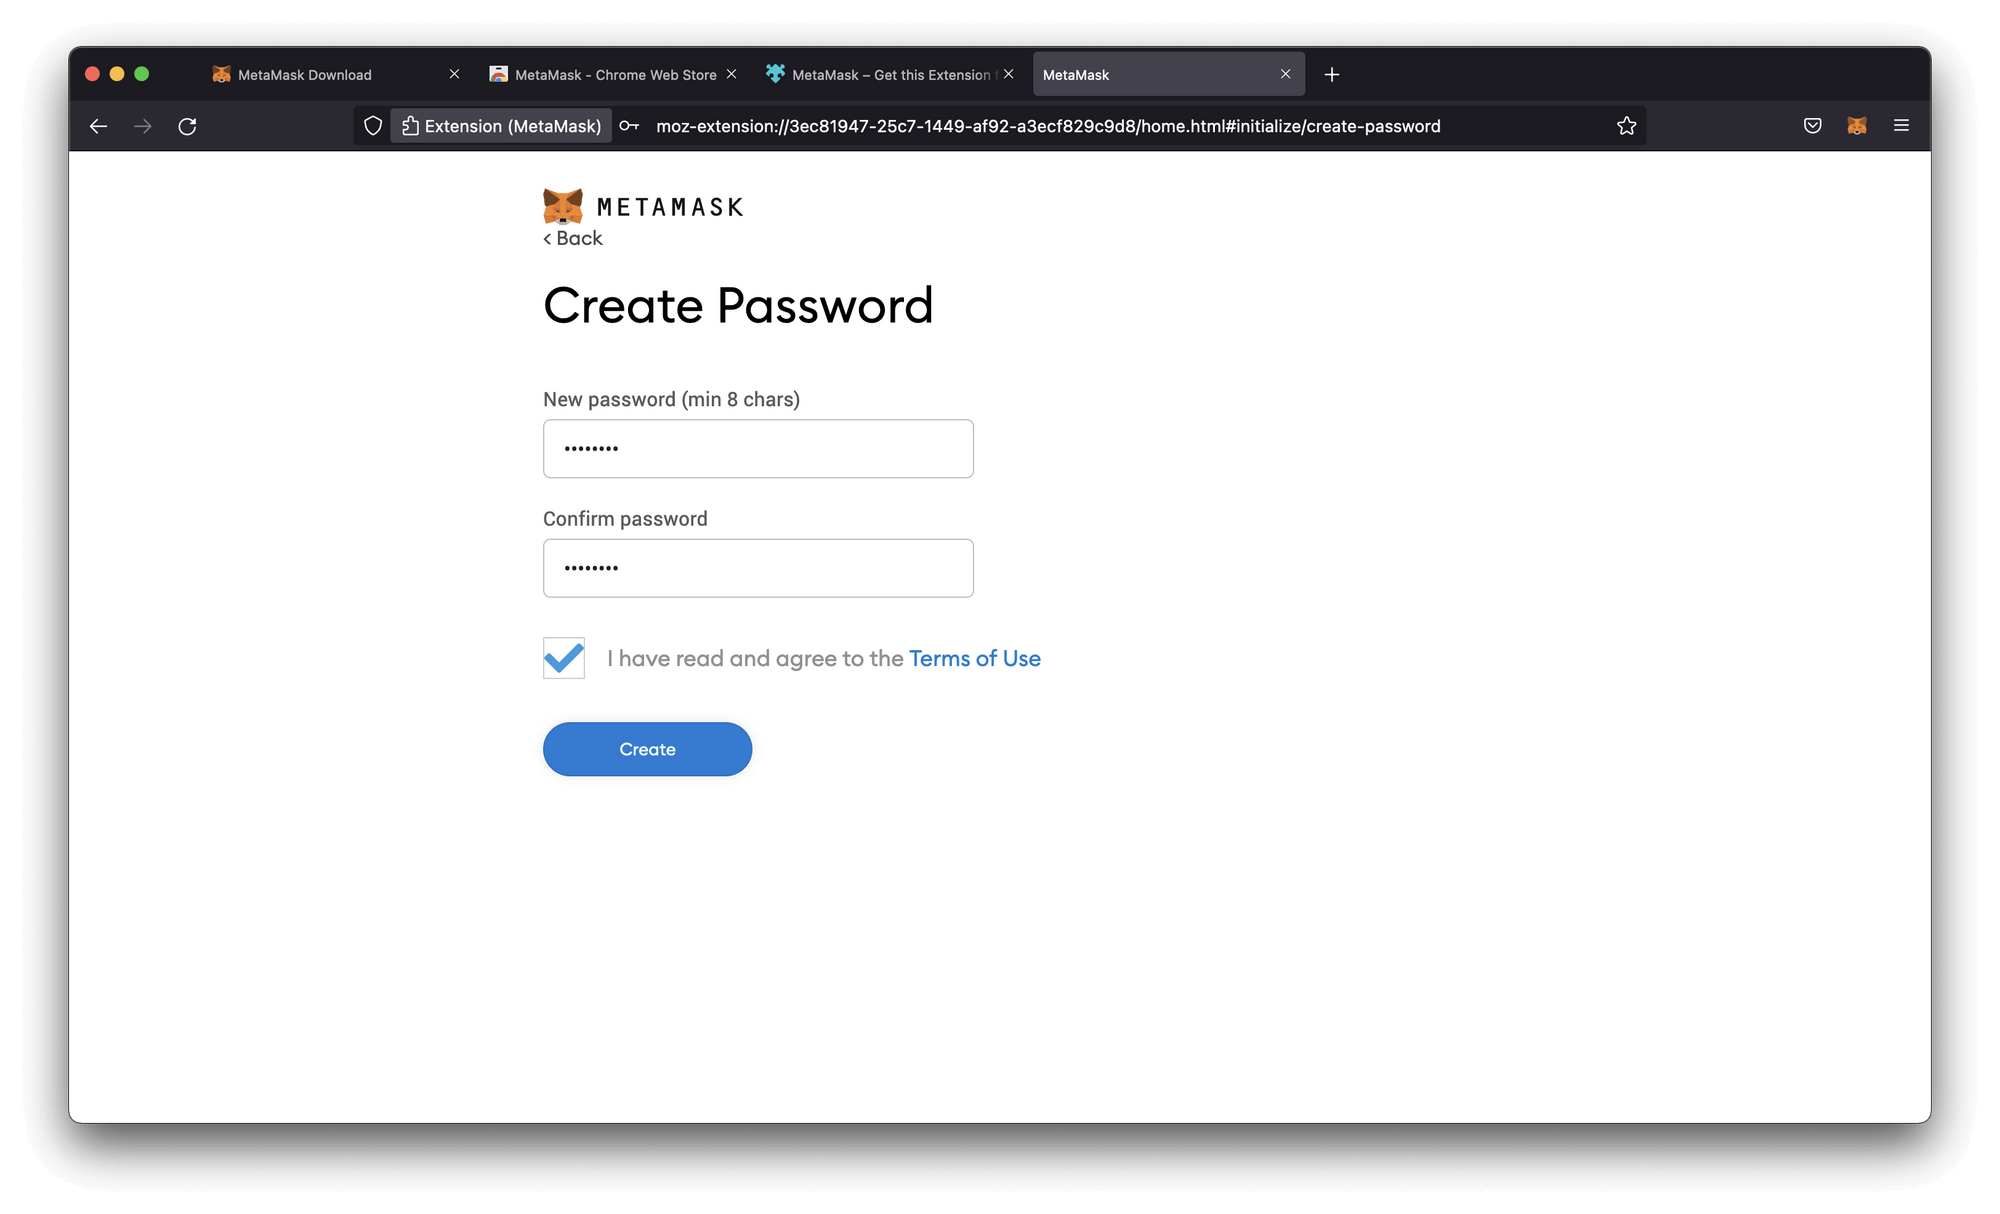
Create a password. The password should be a minimum of 8 characters. Make sure to add numbers, special signs and capital letters.
A Secret Recovery Phrase is the key to your wallet. Make sure you save your Secret Recovery Phrase properly.
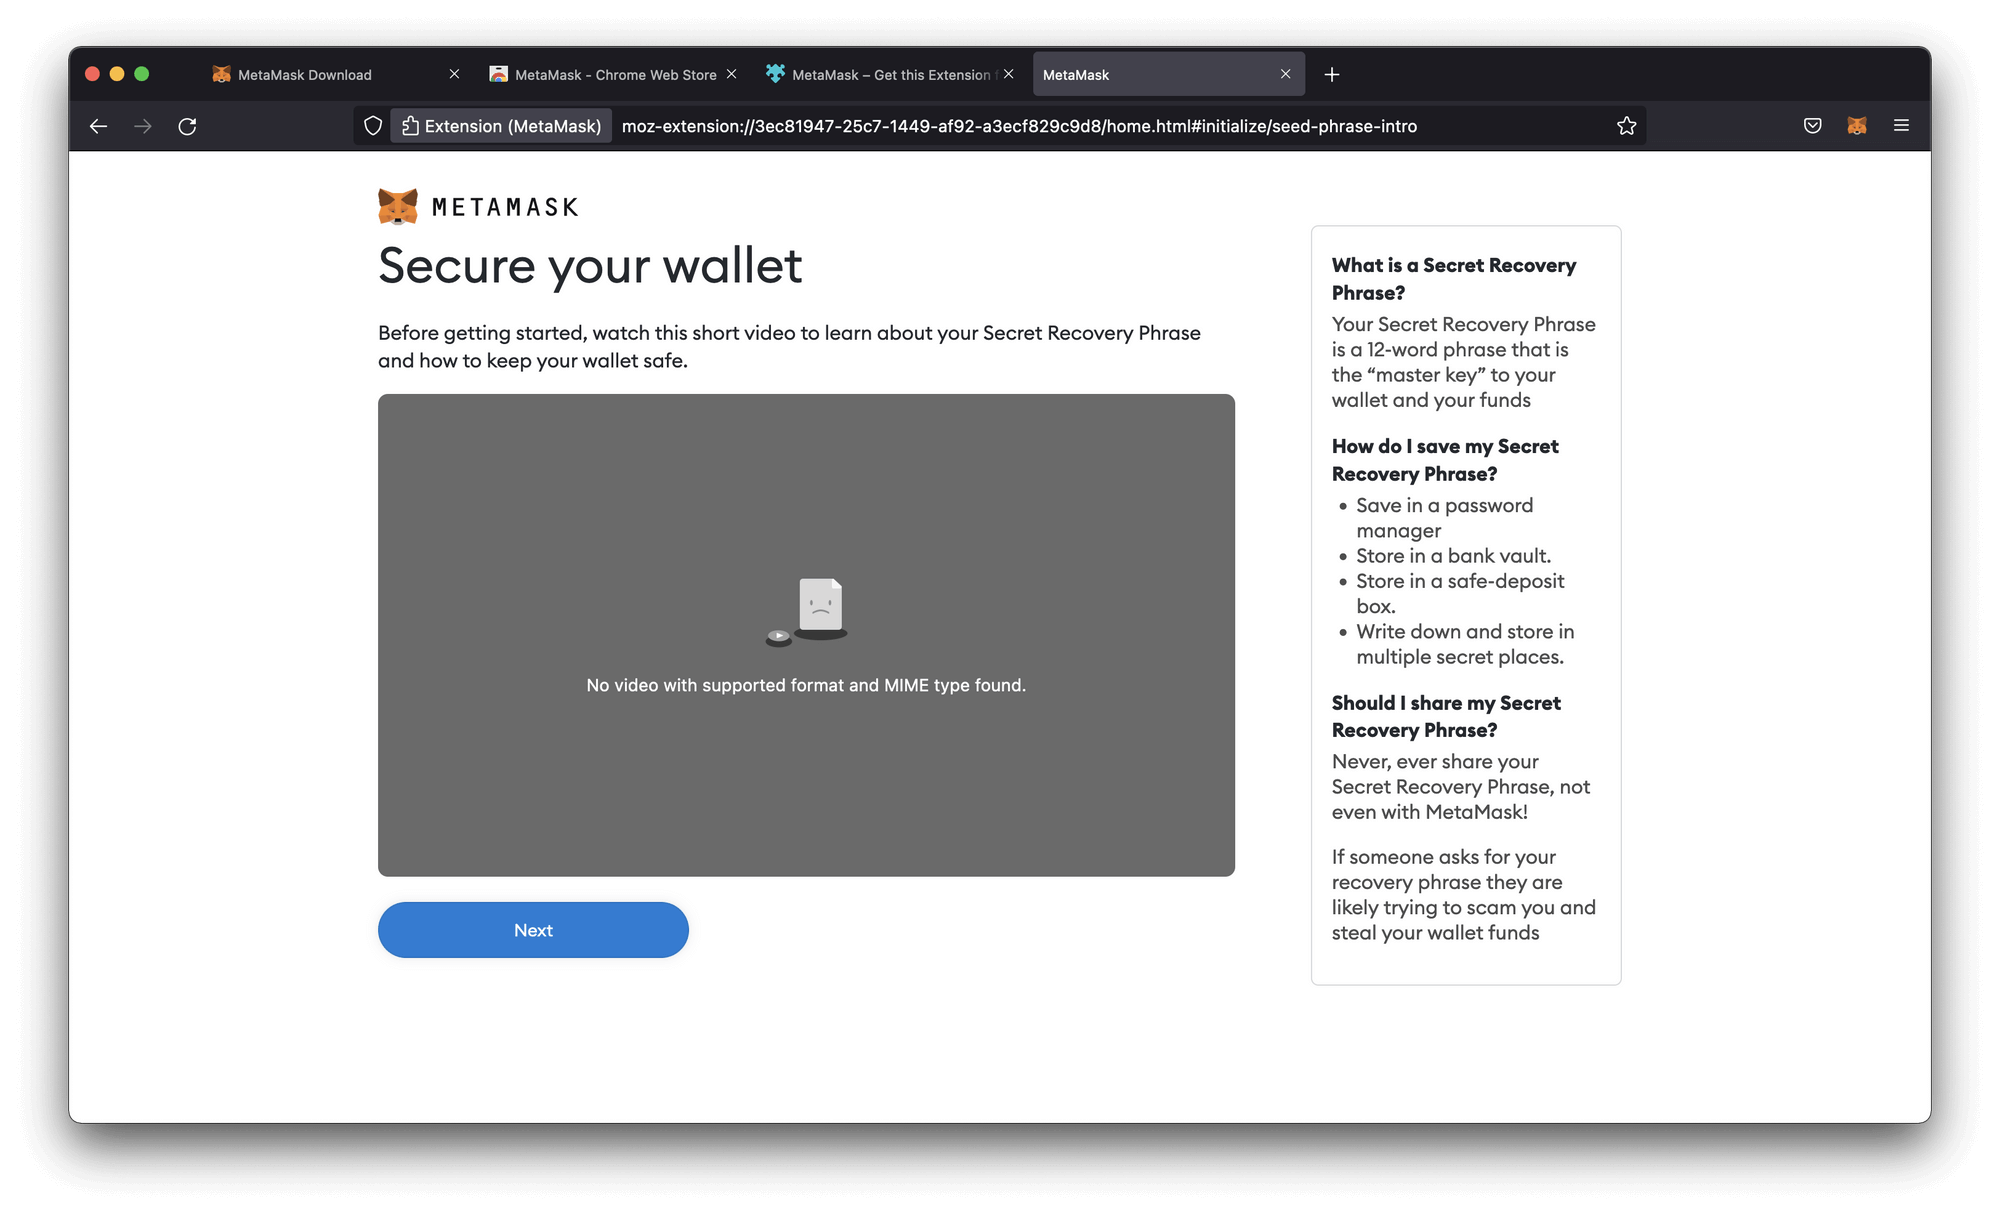
Here is an example of a Secret Recovery Phrase. This is not the same as your Private Key. The Secret Recovery Phrase is used to login to your wallet from any device, and the Private Key is used to interact with your wallet when developing applications (think of it as admin access)

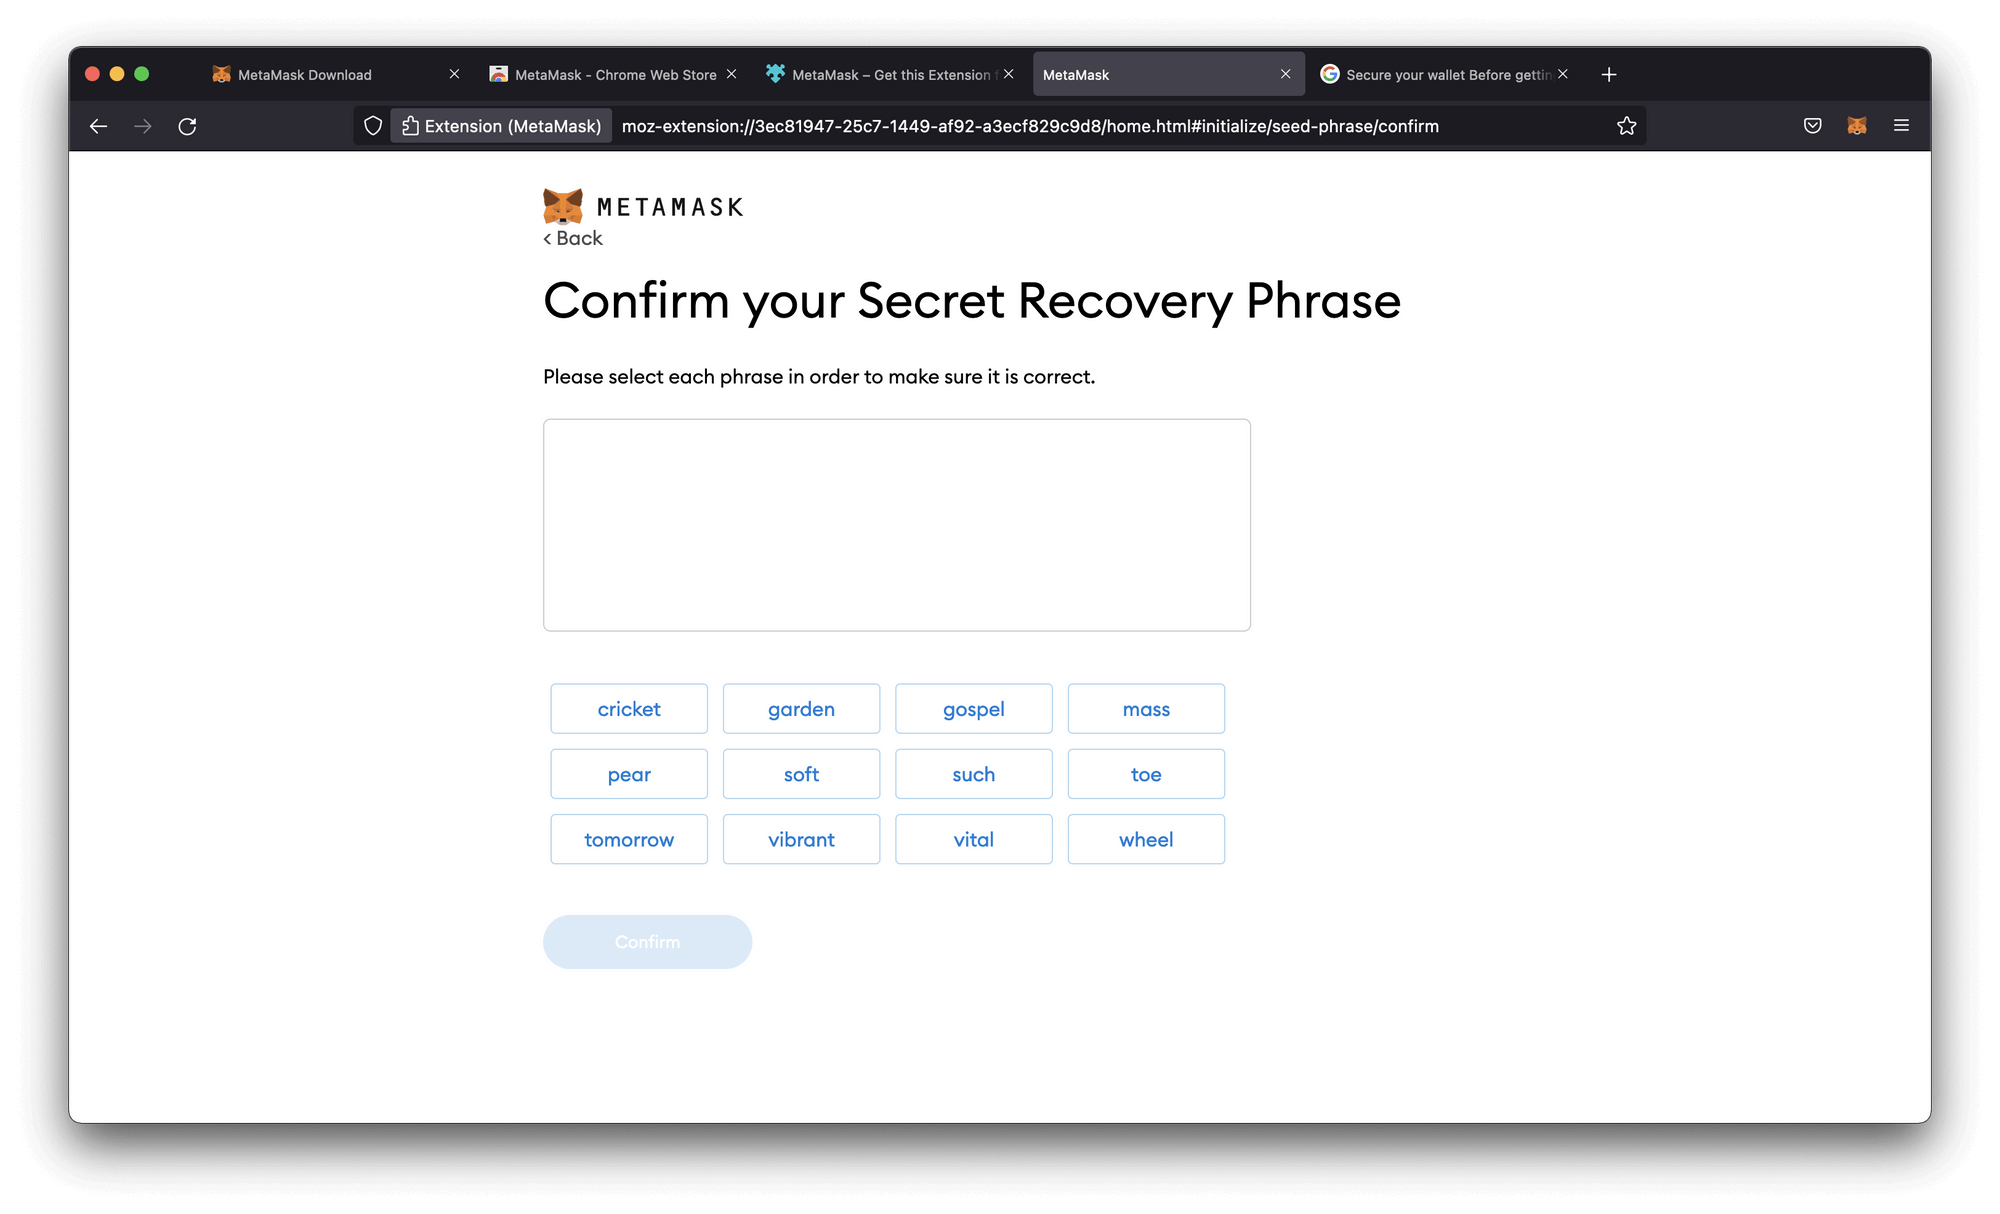
You will be asked to confirm your Secret Recovery Phrase. You need to pick the exact order as shown before.
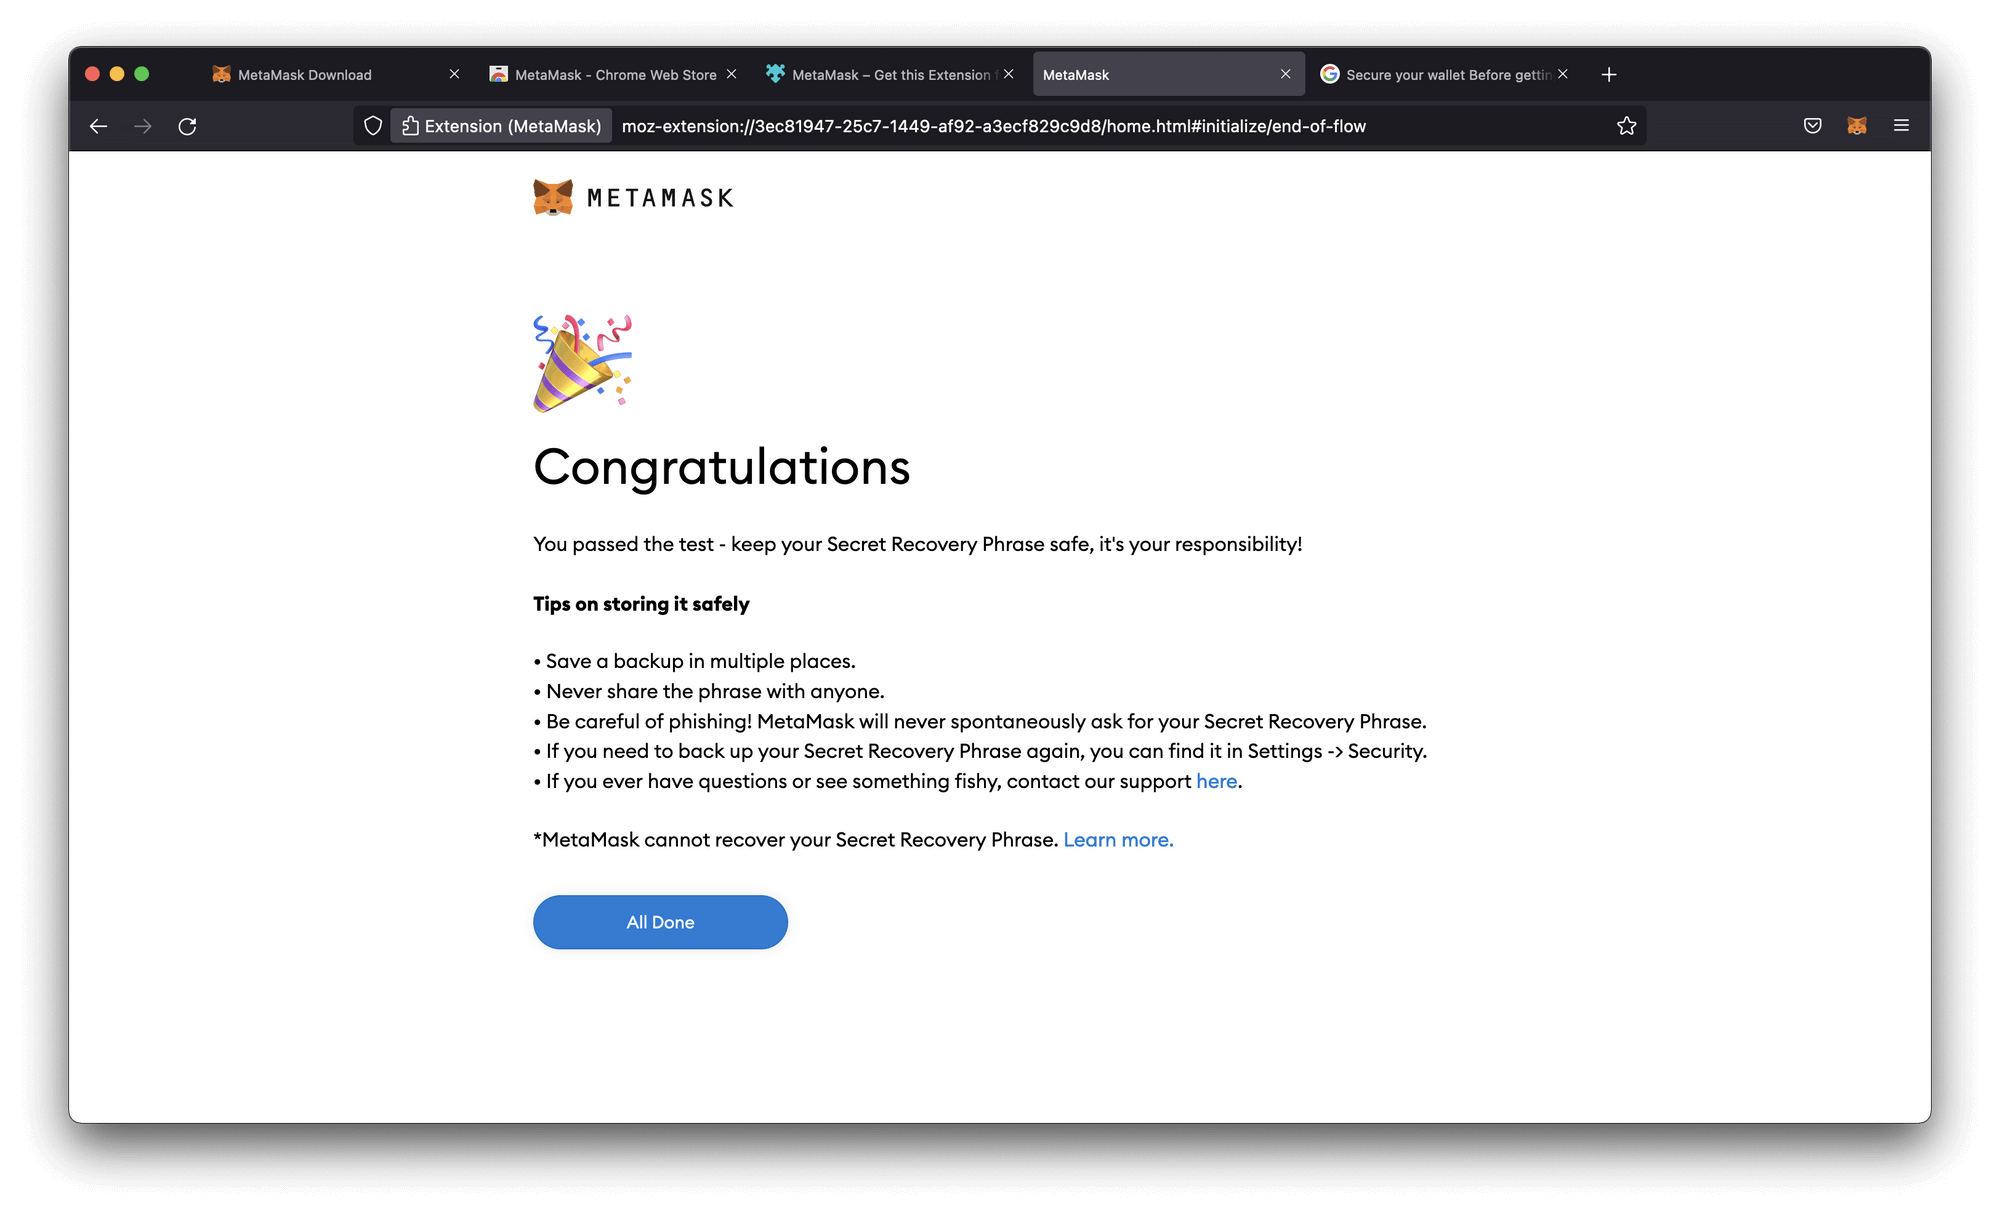
Congratulations! You created a wallet!
Export your private key
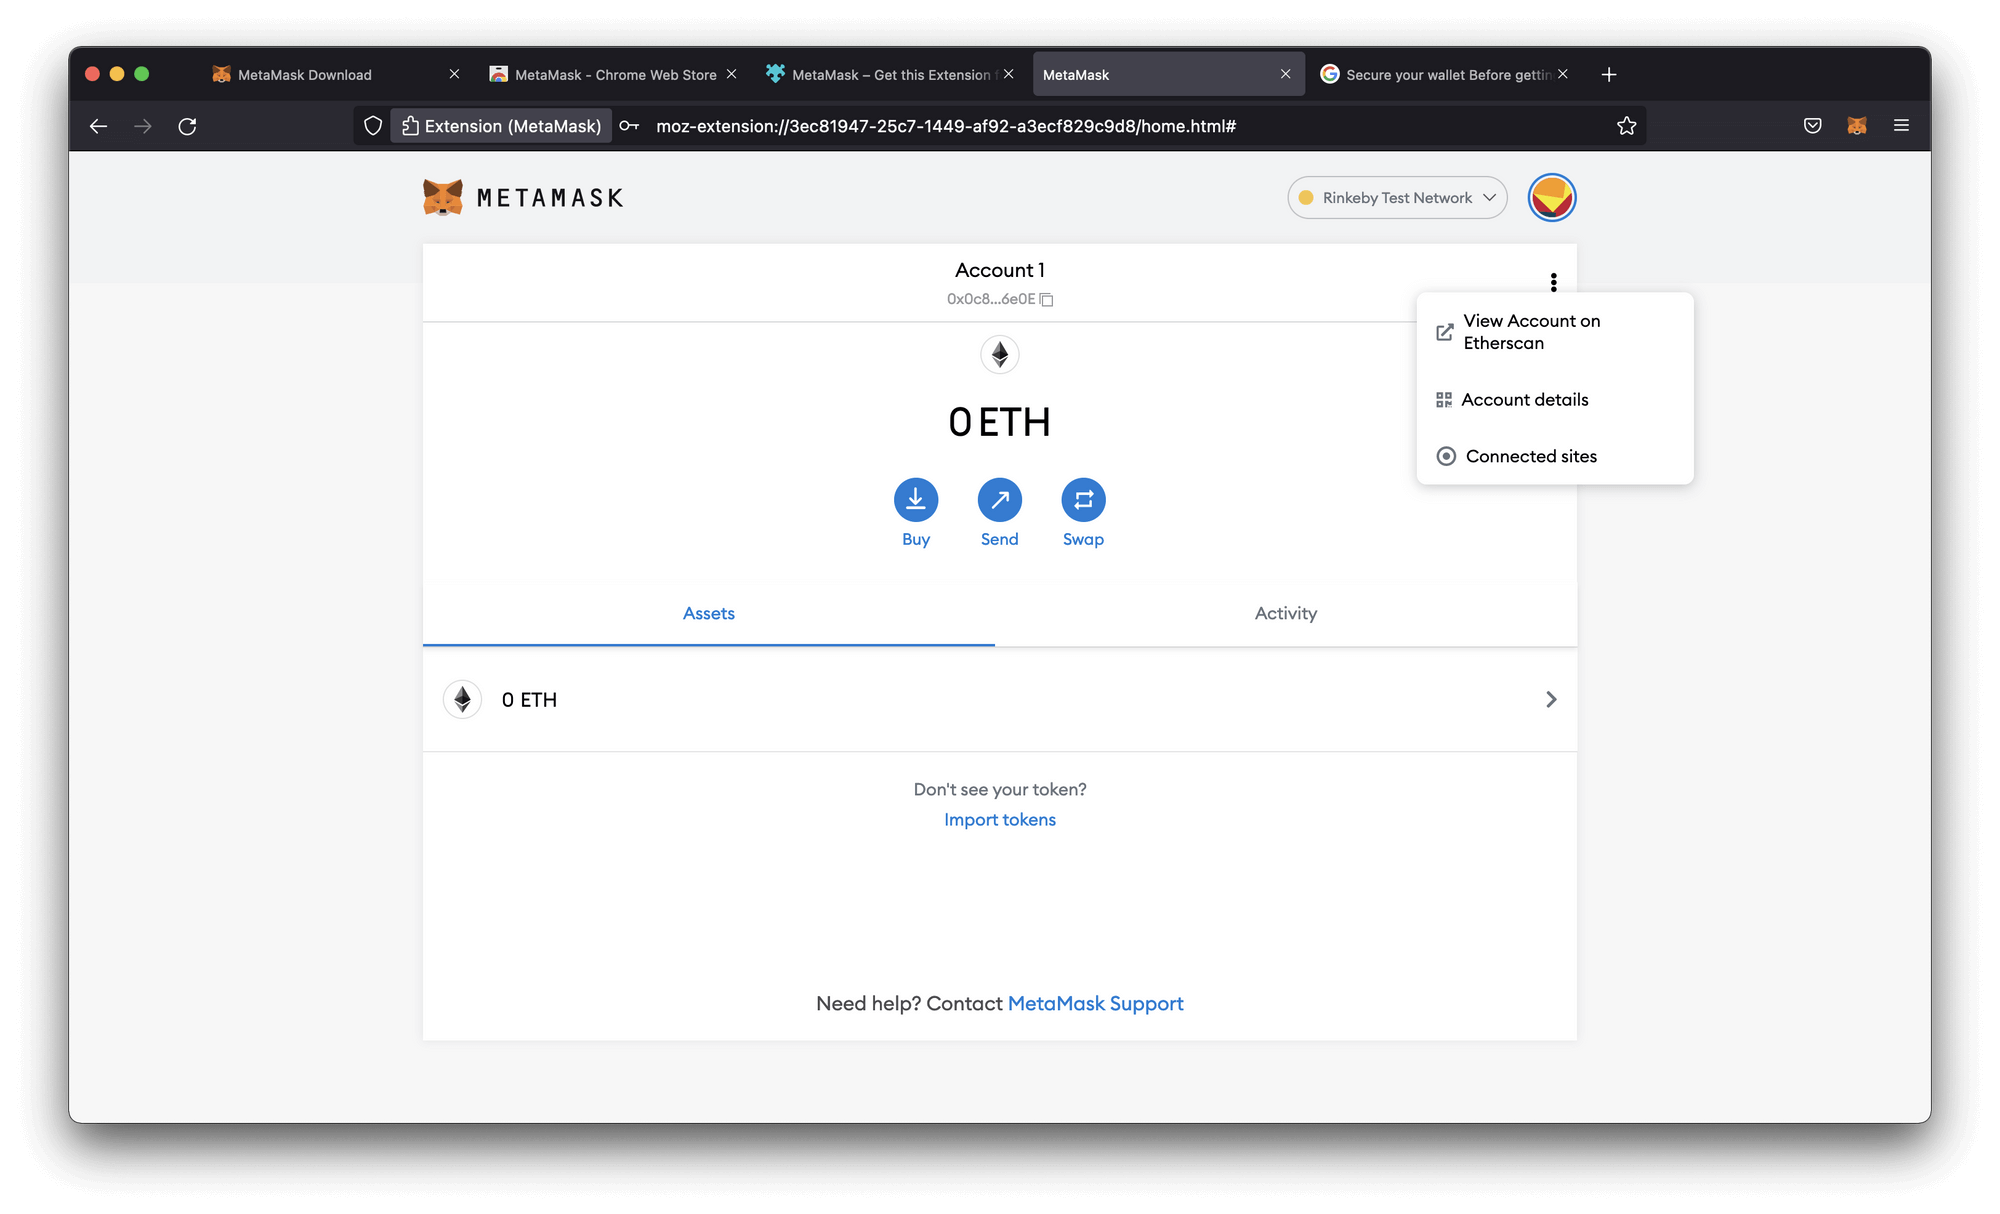
You should be logged in to MetaMask inside your browser. Head over to the top right corner and click on the three dots and then click on Account details
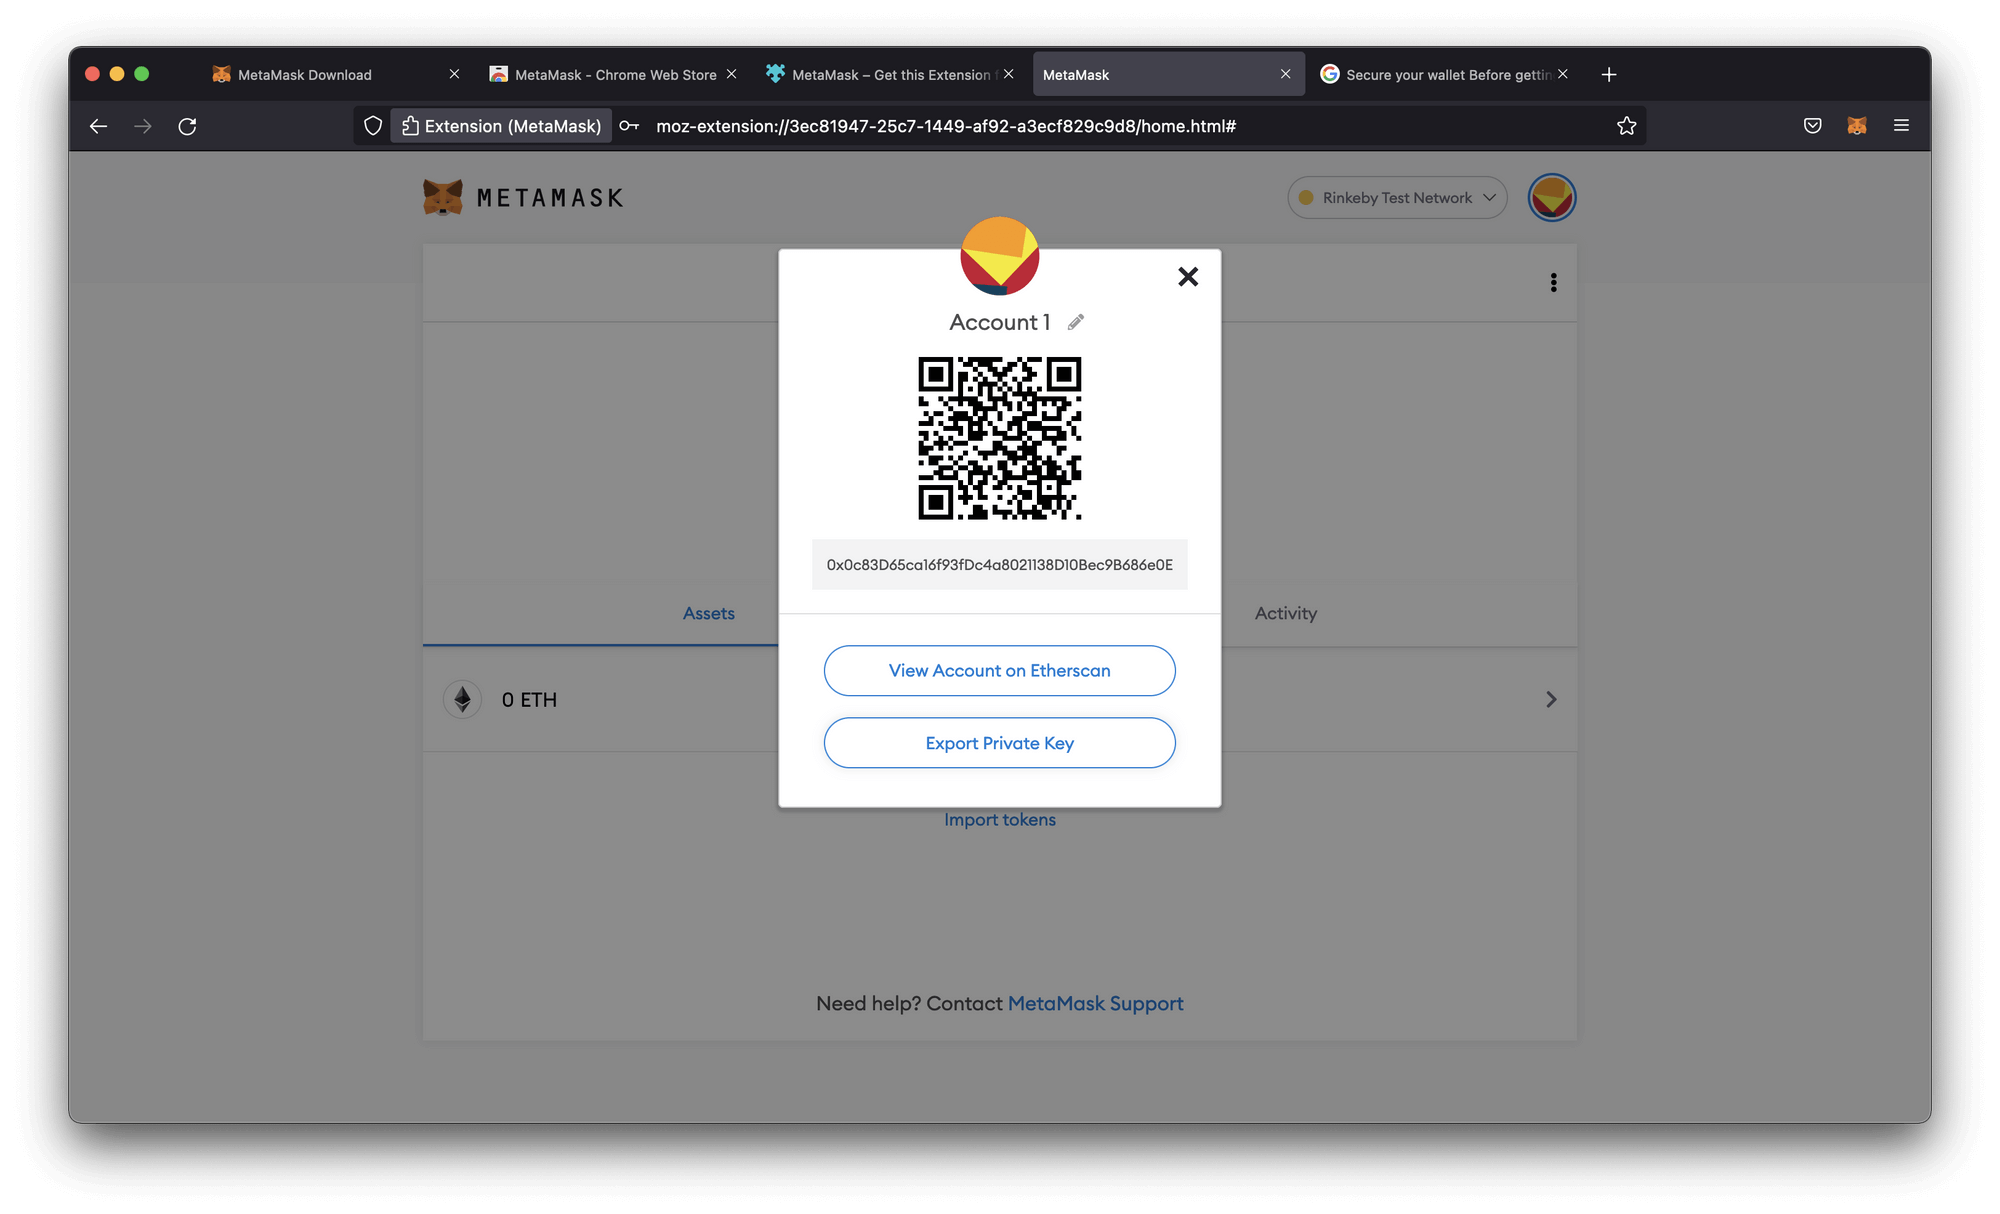
The following screen should pop up. Click on Export Private Key.
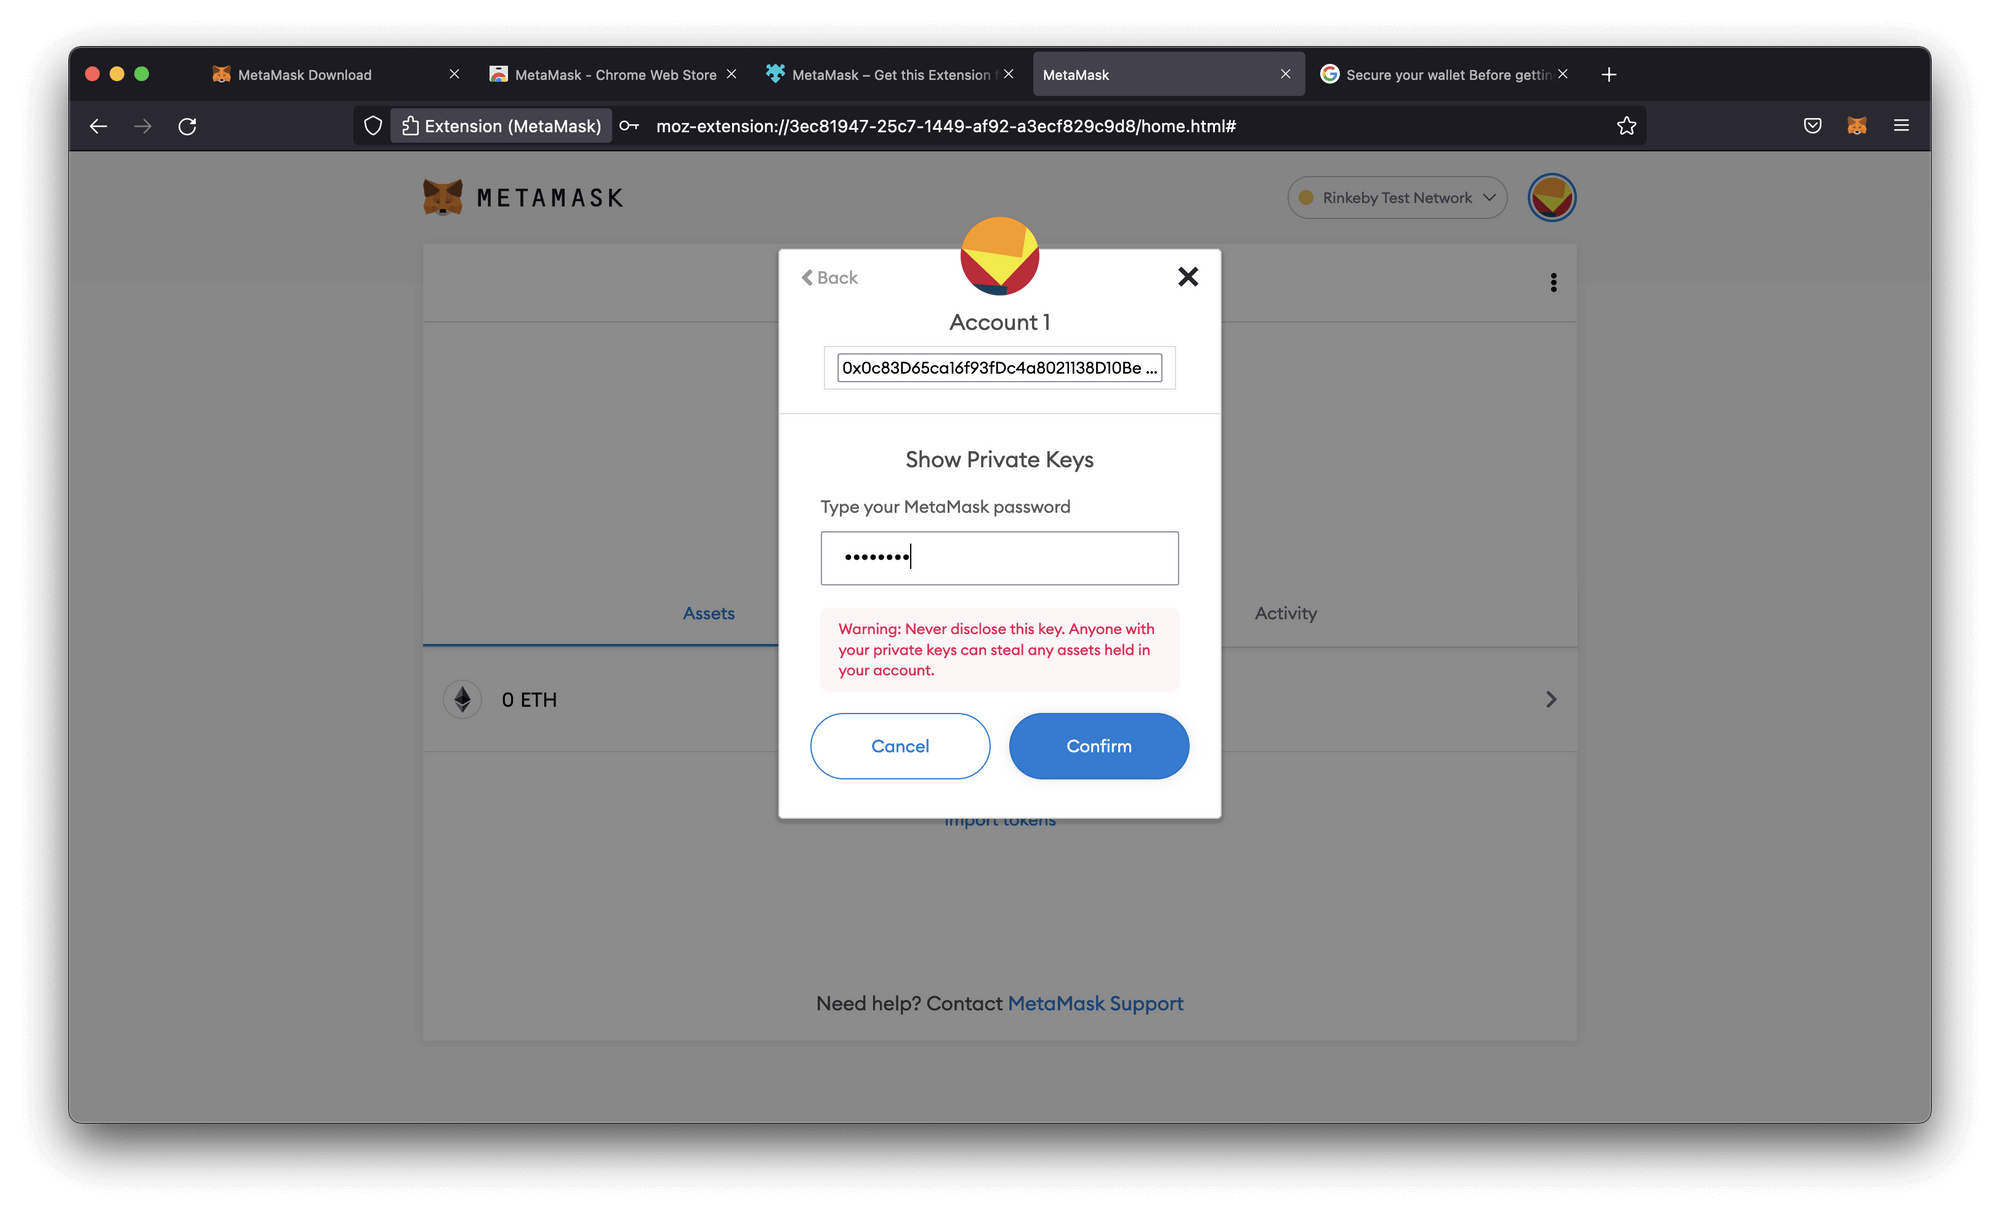
MetaMask will ask you for your password. Fill in your password and click Confirm.
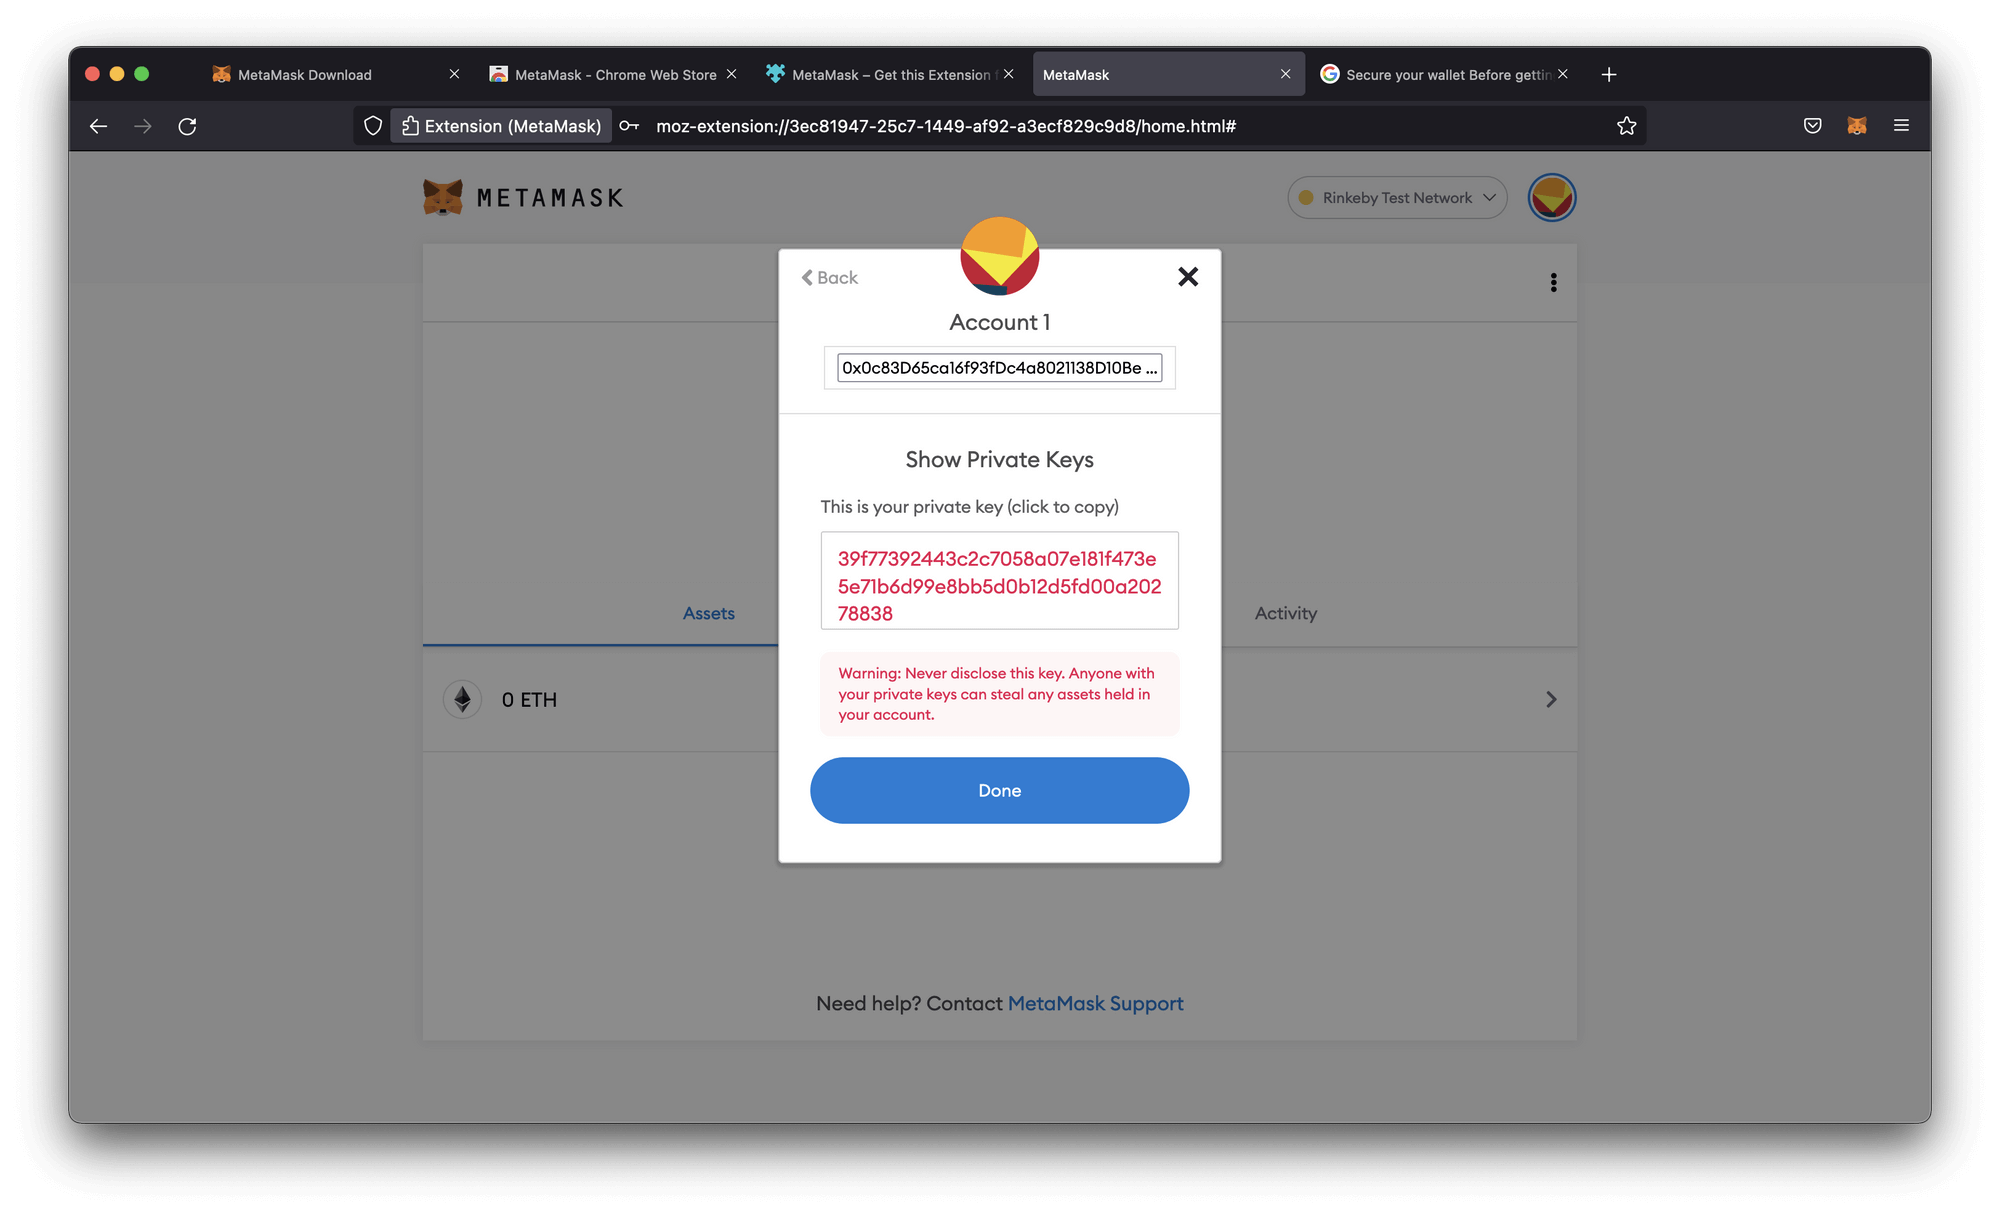
After filling in your password, your Private Key will be exposed. Be aware. Don't share your Private Key with anyone or else they can execute transactions from your wallet and access your funds.
Getting ETH on Goerli Testnet
To execute transactions we need ETH to pay for gas, but paying for ETH on mainnet is quite expensive! Luckily we can make use of so-called "testnets". Testnets are networks that operate and behave just like the mainnet.
So we can deploy our smart contracts on the testnet and test them before we deploy our smart contract.
Learn more about testnets on our Which Blockchain & Network Should I use guide.
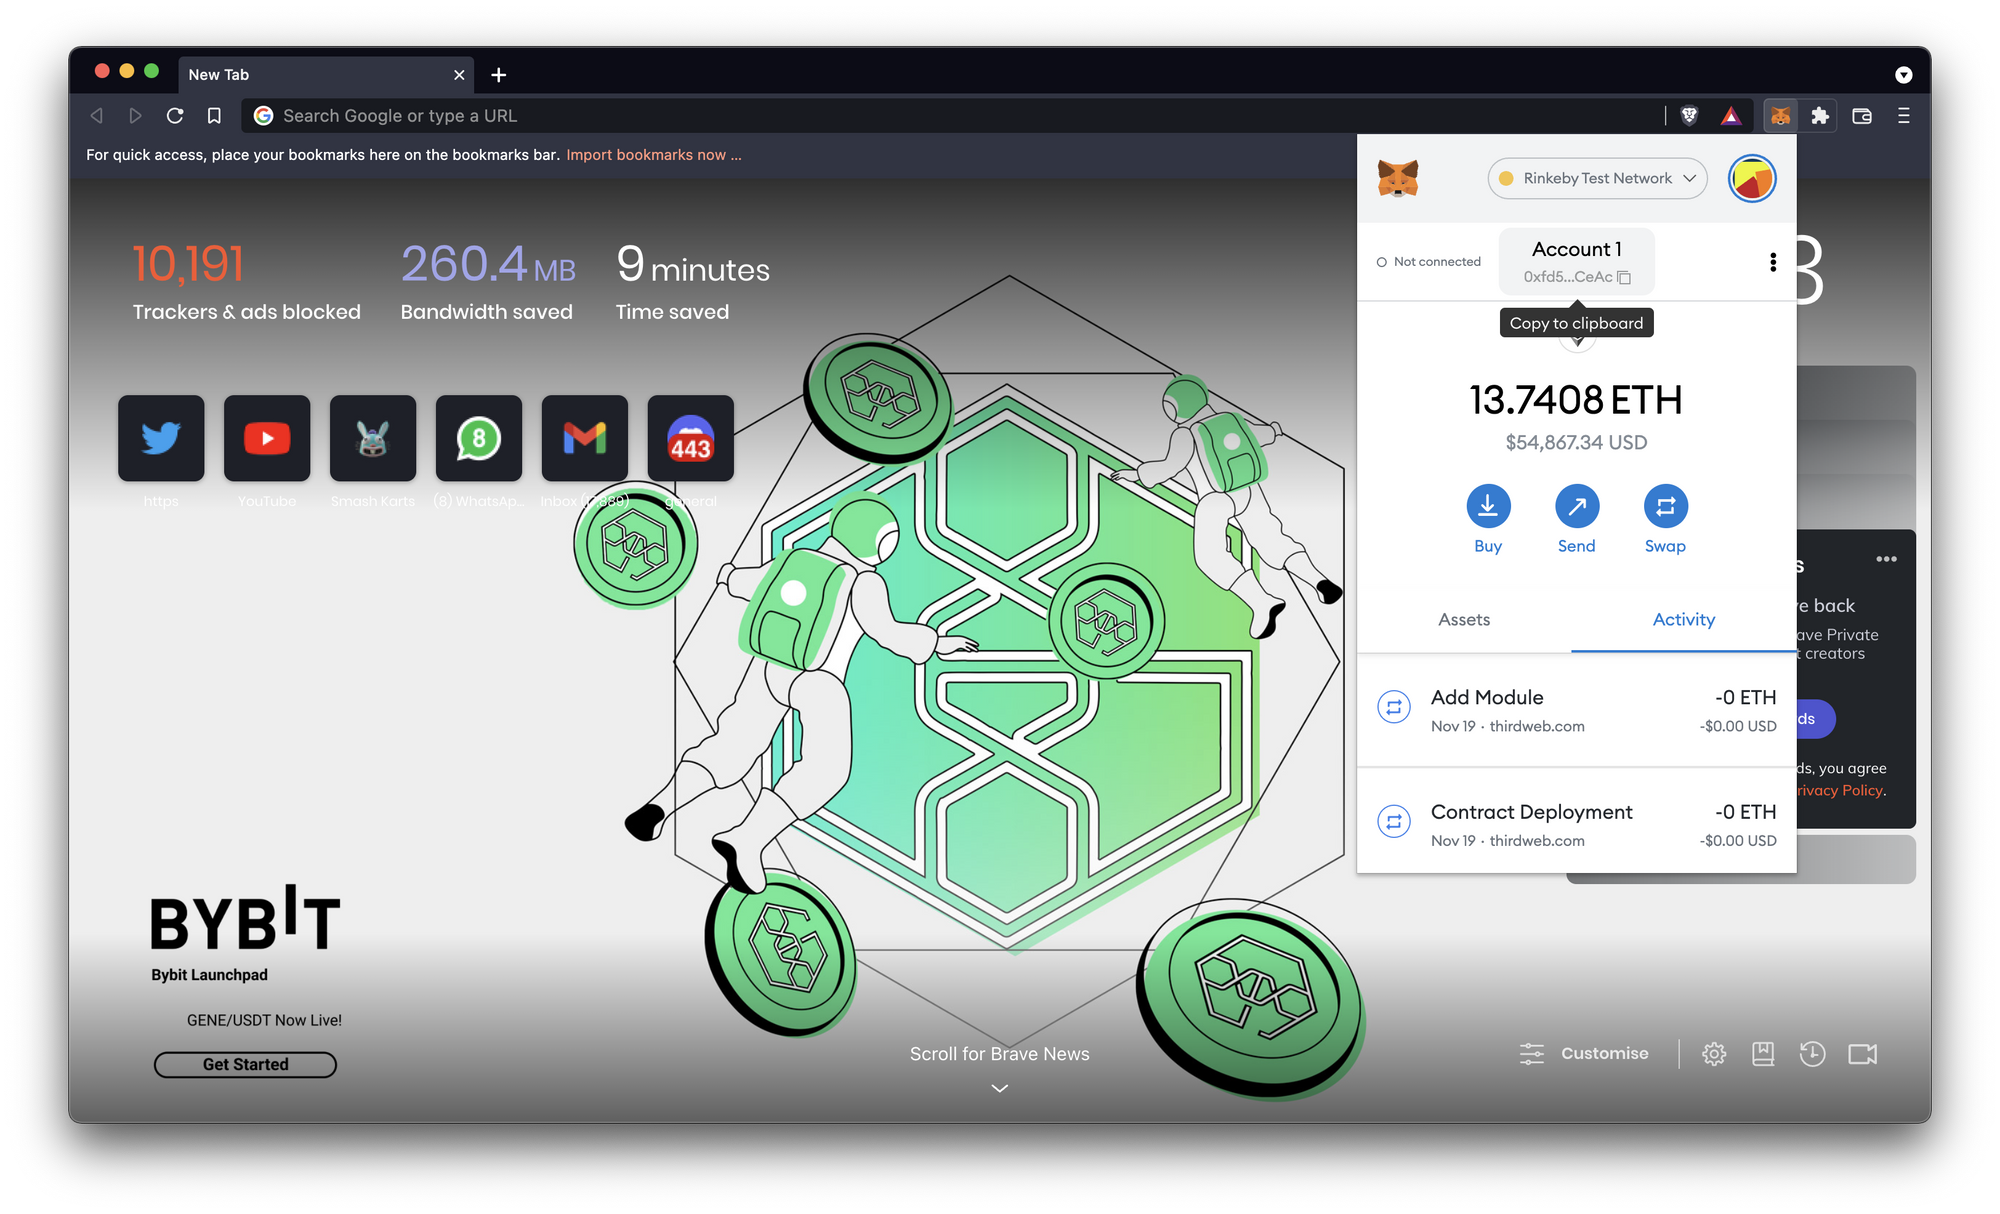
We can switch between networks inside our wallet by clicking the current network located at the top:
Head over to this Goerli Faucet and paste your wallet in the input field.
After a couple of minutes, you'll receive some free ETH so you can start developing your applications!