Build A Native Web3 Game (iOS, Android, Windows, Mac)
Learn how to create games with web3 functionality such as connecting to user wallets and minting NFTs using thirdweb's unity SDK.
In this guide, we'll show you how to build a mobile game on any native platform, such as iOS or Android using Unity and thirdweb's Unity SDK; part of our GamingKit to incorporate web3 capabilities such as connecting to user's wallets and minting NFTs into the gameplay.
Let's get started!
Creating A Web3 Unity Game
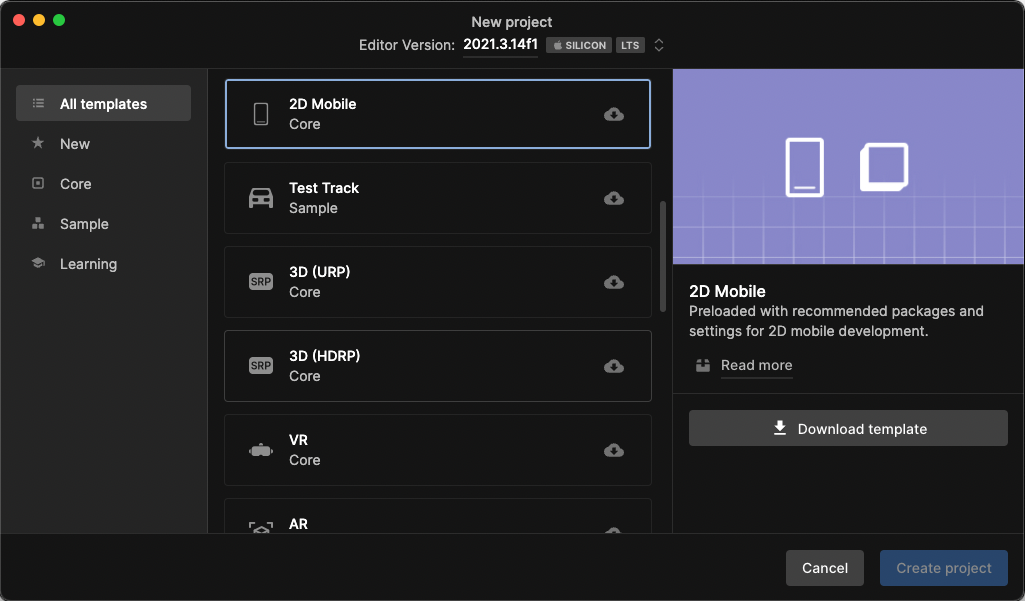
From within Unity Hub, create a new project to get started.
In this guide, we're going to use the 2D Mobile Unity template, but you can choose whatever is most relevant for you. Click Create Project to kick off the process.
Install the thirdweb Unity SDK
To power the web3 functionality of the game, we'll be using our Unity SDK.
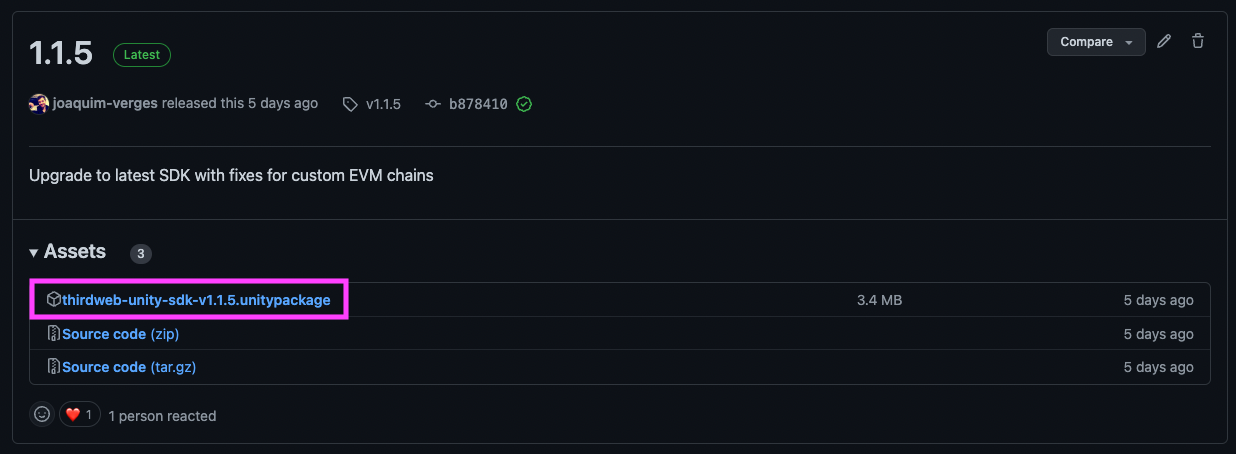
Head to the GitHub Releases page and download .unitypackage file from the latest version that is available.
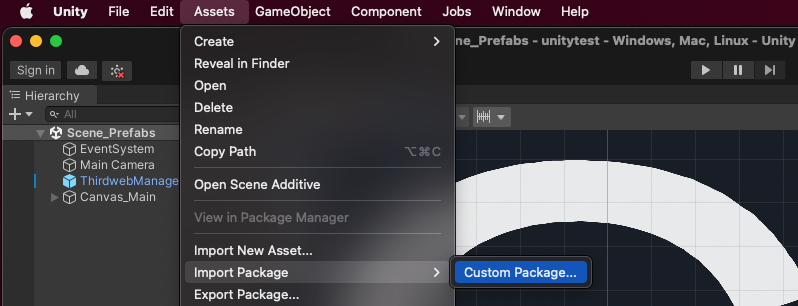
Add the package to your Unity project by clicking Assets > Import Package > Custom Package:
Leave the default files selected, and click Import:
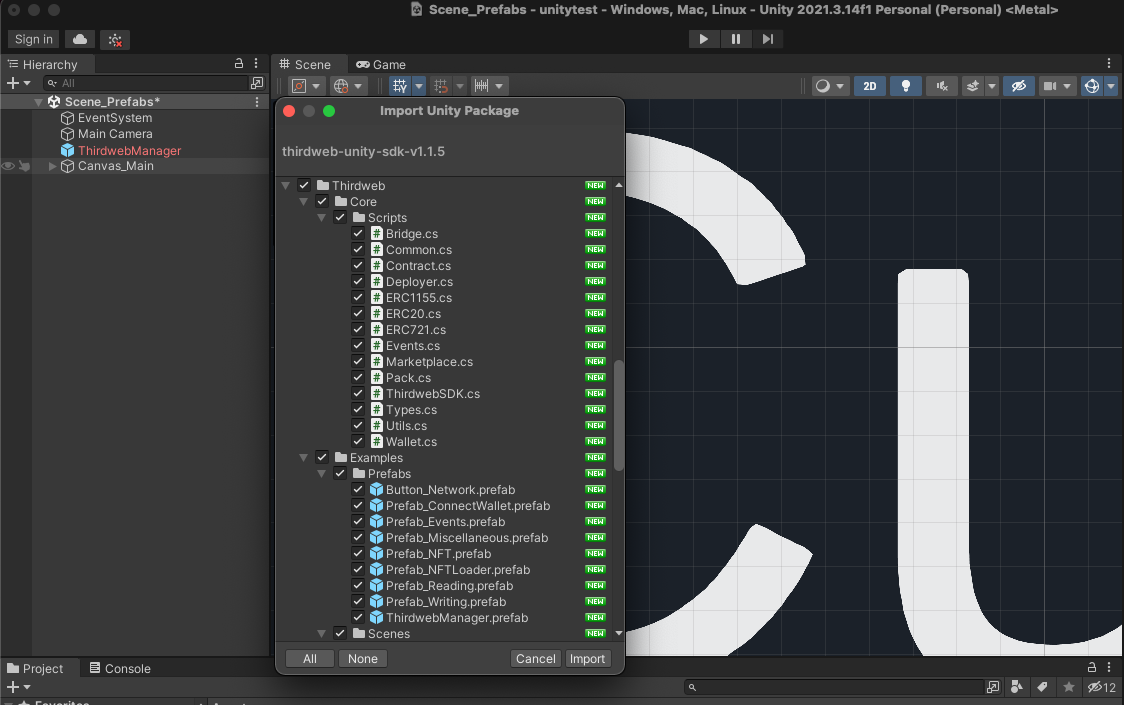
In your Project window now, you'll be able to see all of the resources that were imported:
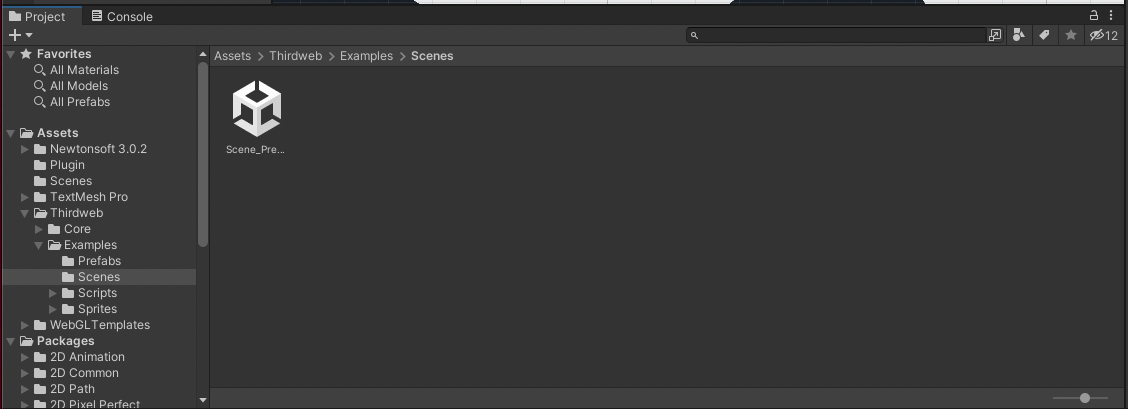
Now you’re ready to use the SDK!
Add A Connect Wallet Button In Unity
The Unity SDK comes with a ready-to-use Prefab to allow user's to connect their wallet to your game; the Native Connect Wallet Button Prefab.
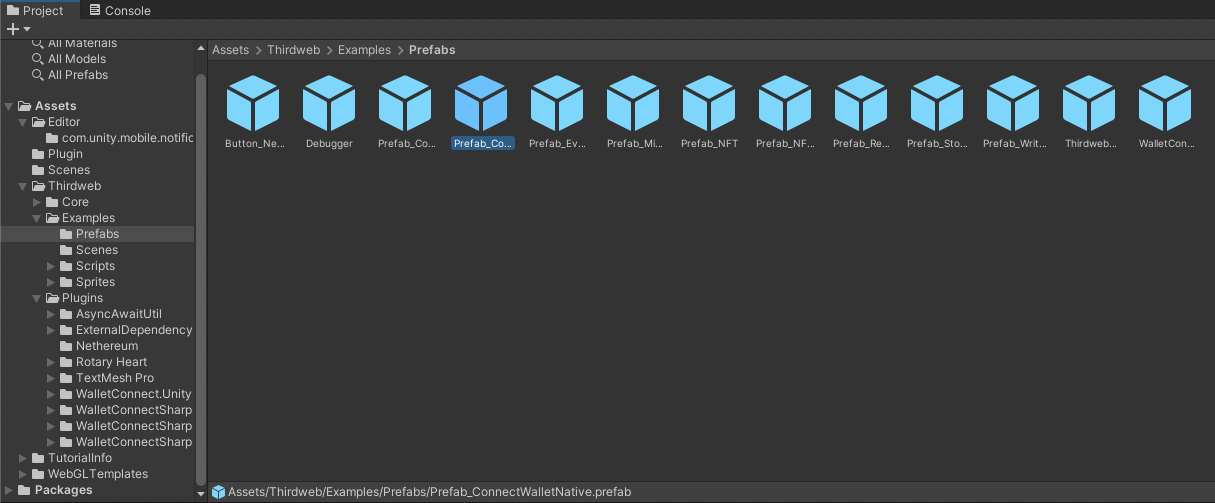
To support the usage of the ThirdwebSDK class by these prefabs, we first need to add the ThirdwebManager prefab to our scene, from the /Assets/Thirdweb/Examples/Prefabs directory.
Once you've added that, create a new Canvas in your scene, and drag the ConnectWalletNative prefab from the same directory into the Canvas.
Focus the camera onto the Canvas to view what the prefab looks like:
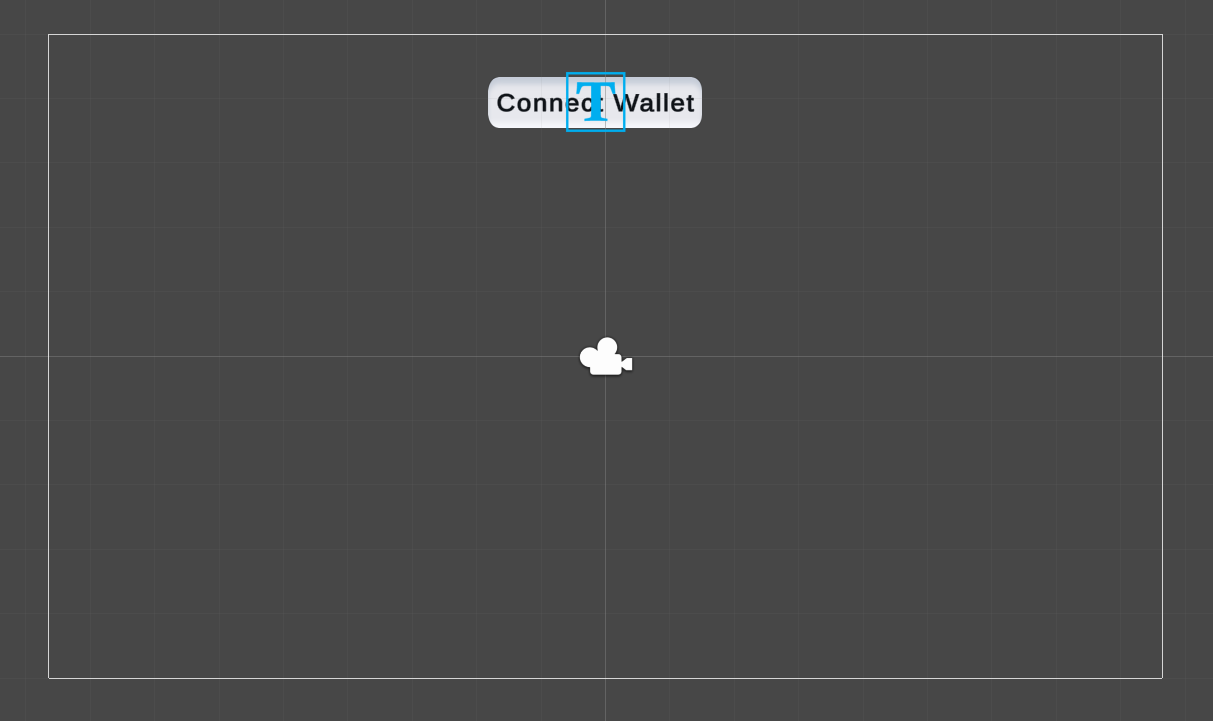
Now your scene should contain the following:
- The
ThirdwebManagerprefab - A canvas, containing the
ConnectWalletNativeprefab.
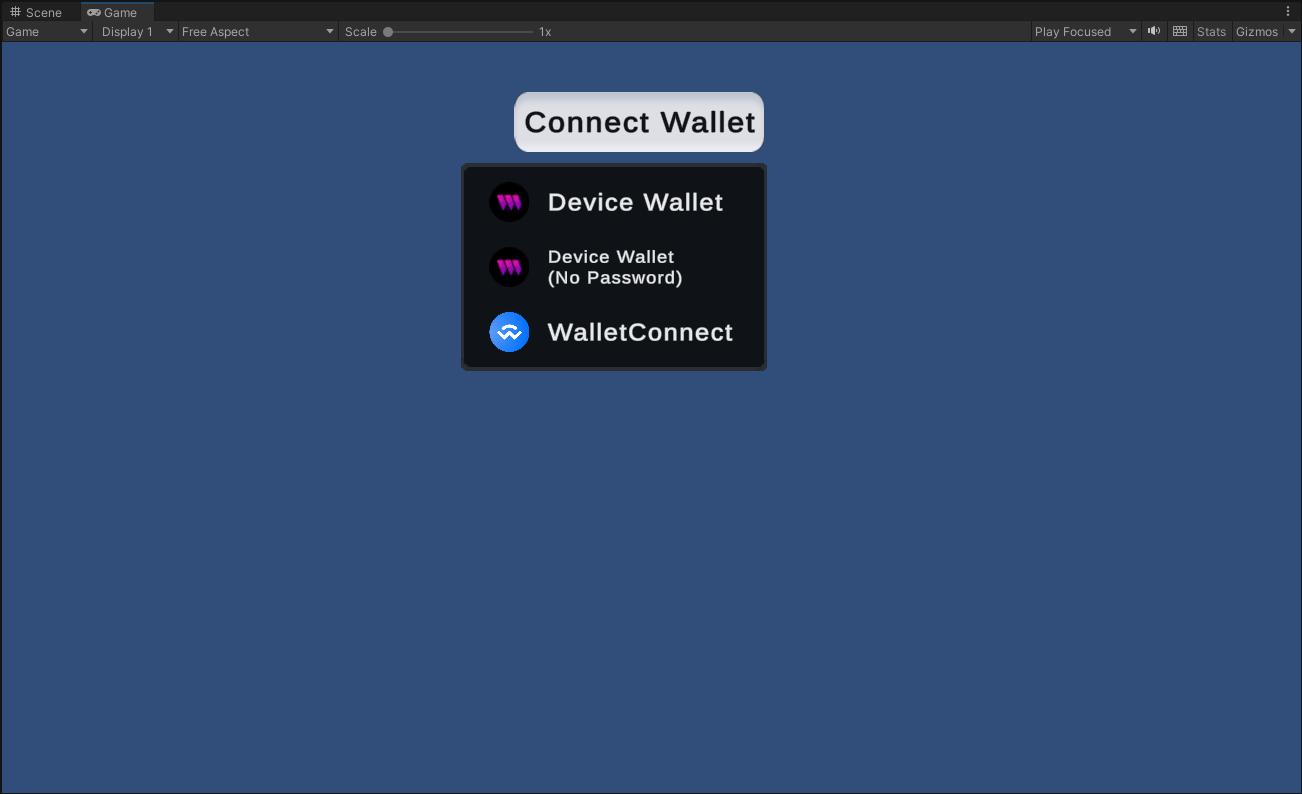
If we preview our game now, players can connect their wallet with three different methods, as defined in the prefab! Go ahead and try them out for yourself!
Mint NFTs In Unity
Now we have our players connected to the game, let's add some web3 functionality such as minting NFTs!
For the purpose of this guide, we'll use the ready-to-deploy NFT Drop smart contract. You can follow the guide below to learn how to deploy your own, if you don't already have one:
Using the ThirdwebSDK, we're going to use the connected wallet to mint an NFT from our smart contract, using the Claim function.
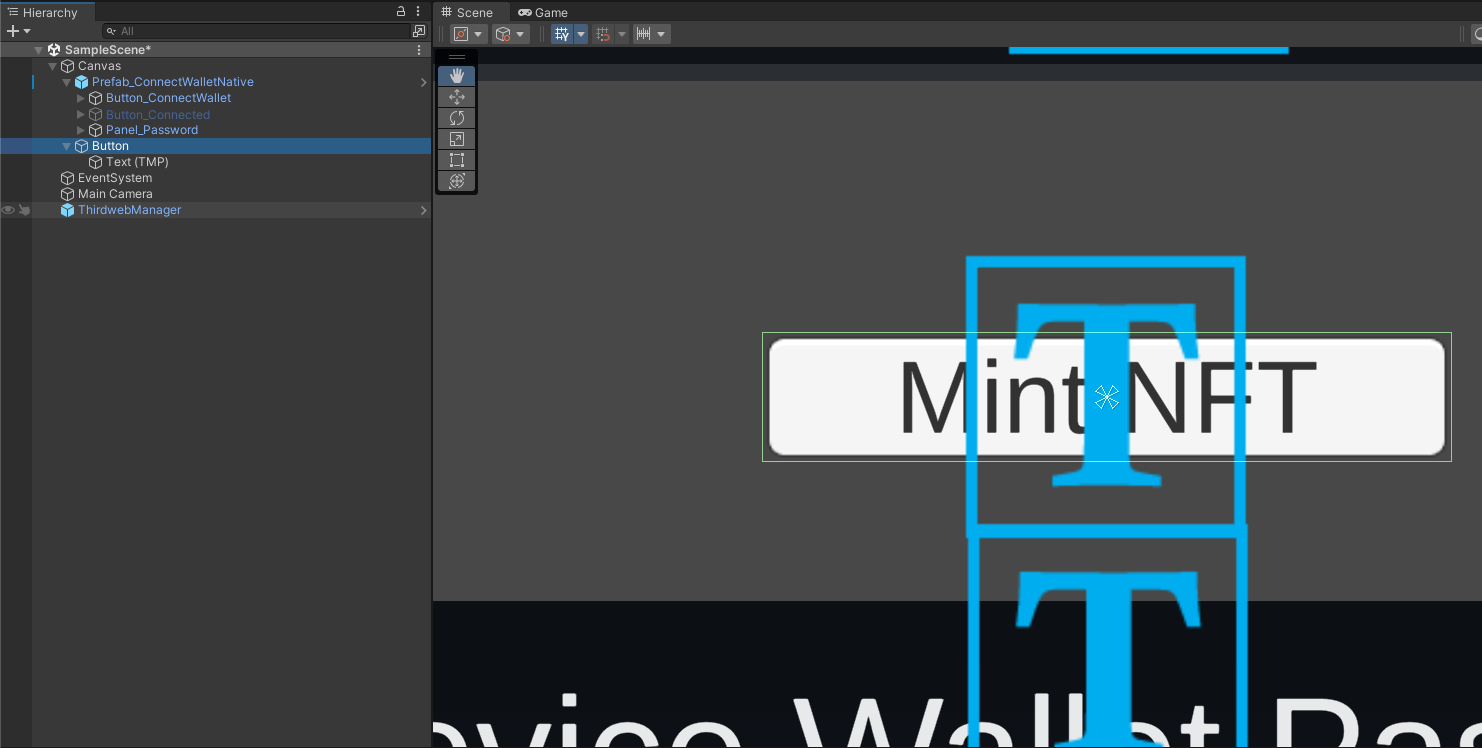
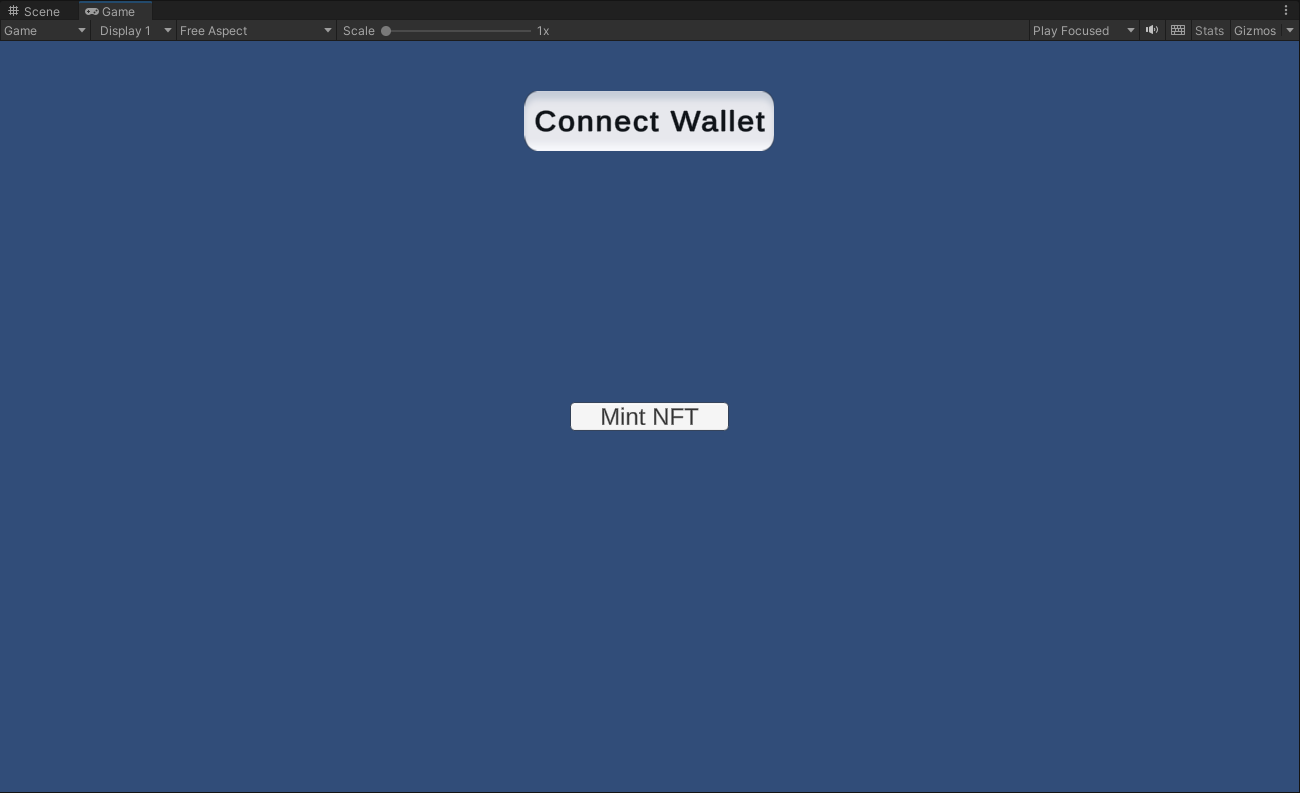
First, let's add another button to our canvas that a user can click to mint an NFT:
Create a new C# Script in your project and use the following code to connect to your smart contract and claim an NFT to the connected wallet:
using UnityEngine;
using Thirdweb;

public class MintNFT : MonoBehaviour
{
    public async void Claim()
    {
        Contract contract = ThirdwebManager.Instance.SDK.GetContract("0x-my-contract-address");
        await contract.ERC721.Claim(1);
    }
}
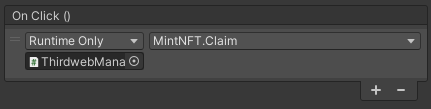
Attach this newly created script to the ThirdwebManager prefab in your scene, and then set the On Click of the "Mint NFT" button to call this Claim function:
Now if we run the game we can successfully allow the player to connect their wallet and mint an NFT!
To learn more about what functionality is available, check the Unity SDK documentation over on our portal:


Building Your Game
Now your game is ready to incorporate web3 functionality, let's see how we can build it for native platforms such as iOS, Android, and consoles!
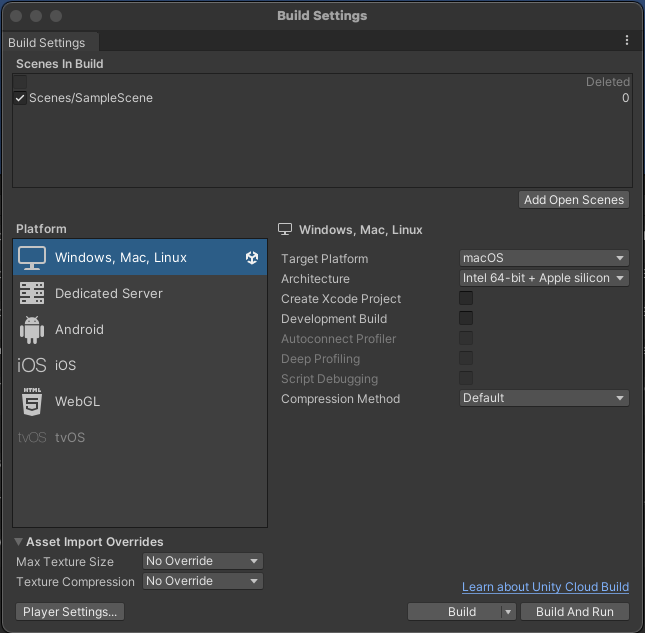
To open the build settings window, click File > Build Settings.
Click Add Open Scenes, and select the platform you want to build your game for. In this guide, we'll use the Windows, Mac, Linux option to run it on a Mac machine. Install any required modules you need, and click Switch Platform.
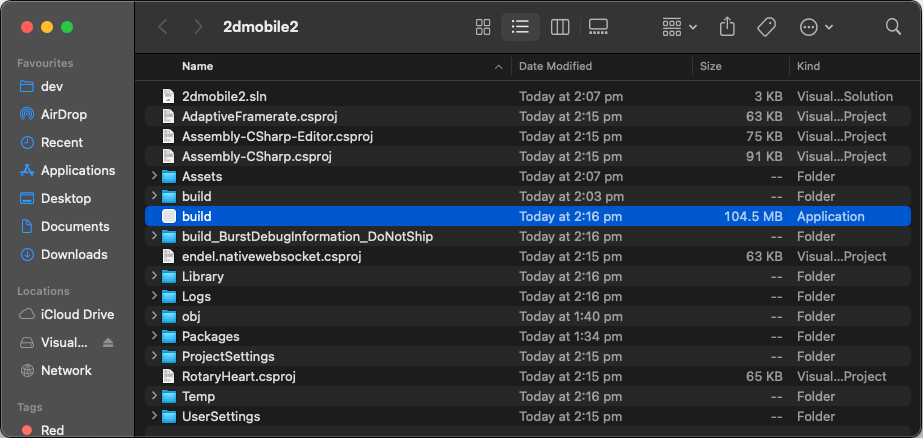
Once built, your game is ready to run on the device! On Mac, this gives us an application for us to run.
Wrapping Up
In this guide, you've learned how to add web3 functionality into your Unity game, and build it for a native platform such as iOS or Android.
If you have any questions jump into the thirdweb Discord and join 32,000+ other builders! Please let us know if you have any feature requests or guide requests here.