Create 3D Asset NFTs and Render them in Unity
In this guide, we'll show you how to:
- Deploy an NFT Collection to the blockchain
- Mint NFTs that store 3D assets such as an AssetBundle
- Render the NFTs inside a Unity game using GamingKit
Before we begin, we recommend you familiarize yourself with the basics of Unity and read the getting started guide below:
Let's get started!
How 3D Asset NFTs Work
NFTs commonly point to metadata containing an image file such as a .png or .jpeg file. However, IPFS and the NFTs that point to those IPFS URLs can store any file; including 3D models.
We will use an AssetBundle file type; which can contain contents such as models, textures, prefabs, or even entire scenes, that Unity can load at run time!
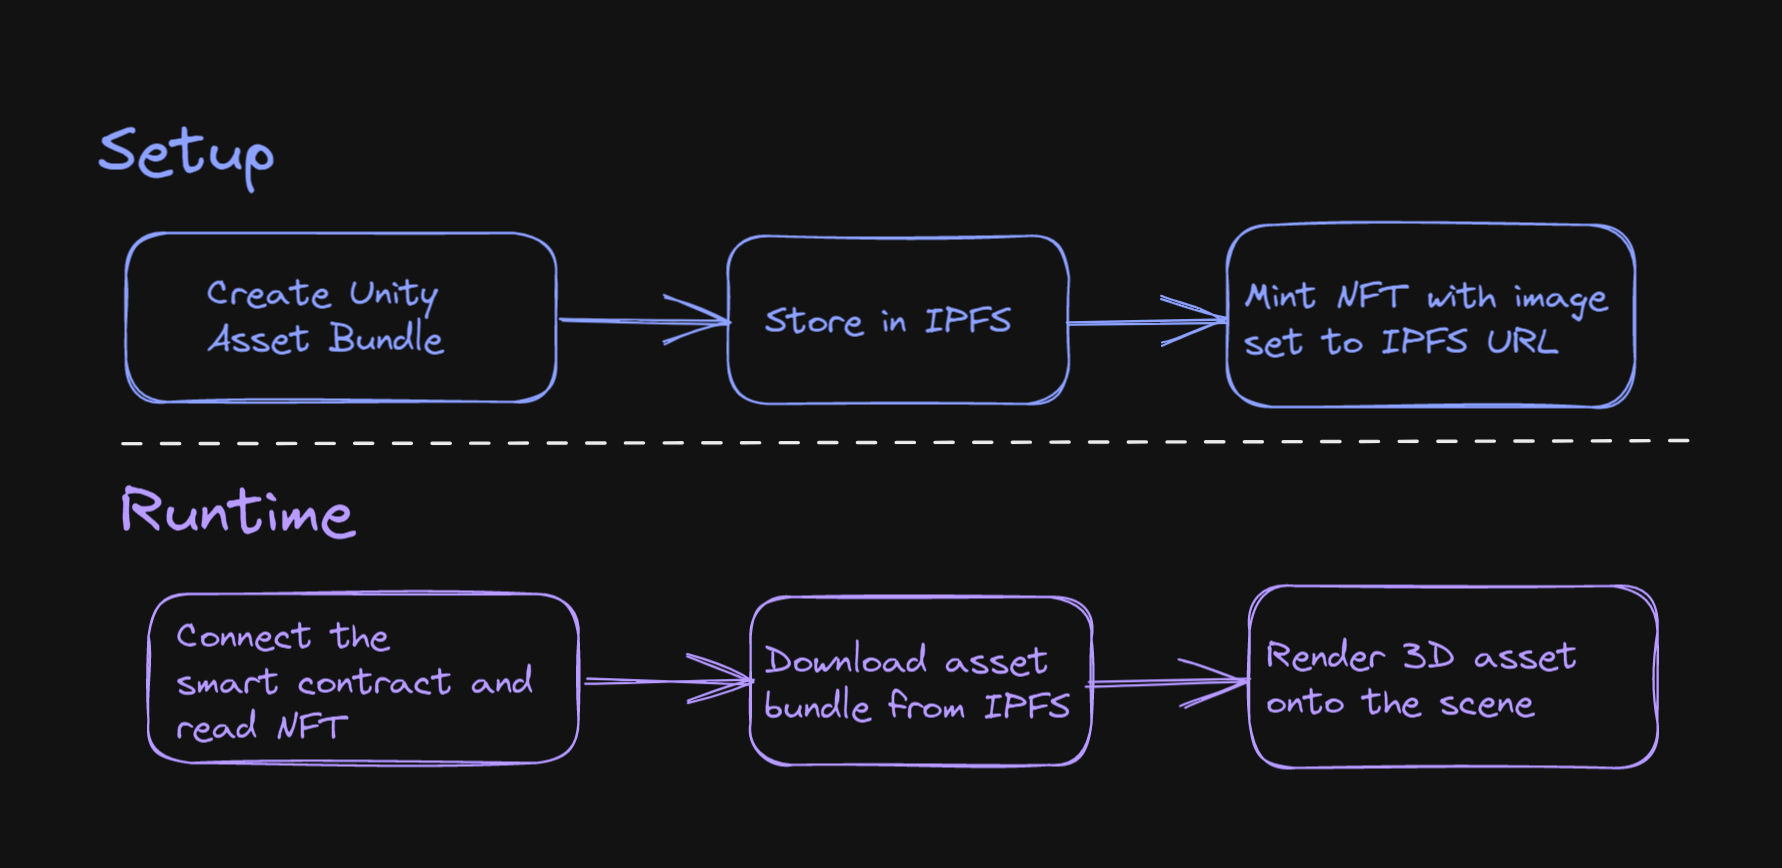
The general pattern we will use to achieve this is outlined below.
- Create a 3D asset in Unity.
- Upload that asset to IPFS in the form of an
AssetBundle. - Mint an NFT with the metadata pointing to the IPFS URL.
- Read the NFT and download the asset at run-time in our game.
Creating An Asset Bundle
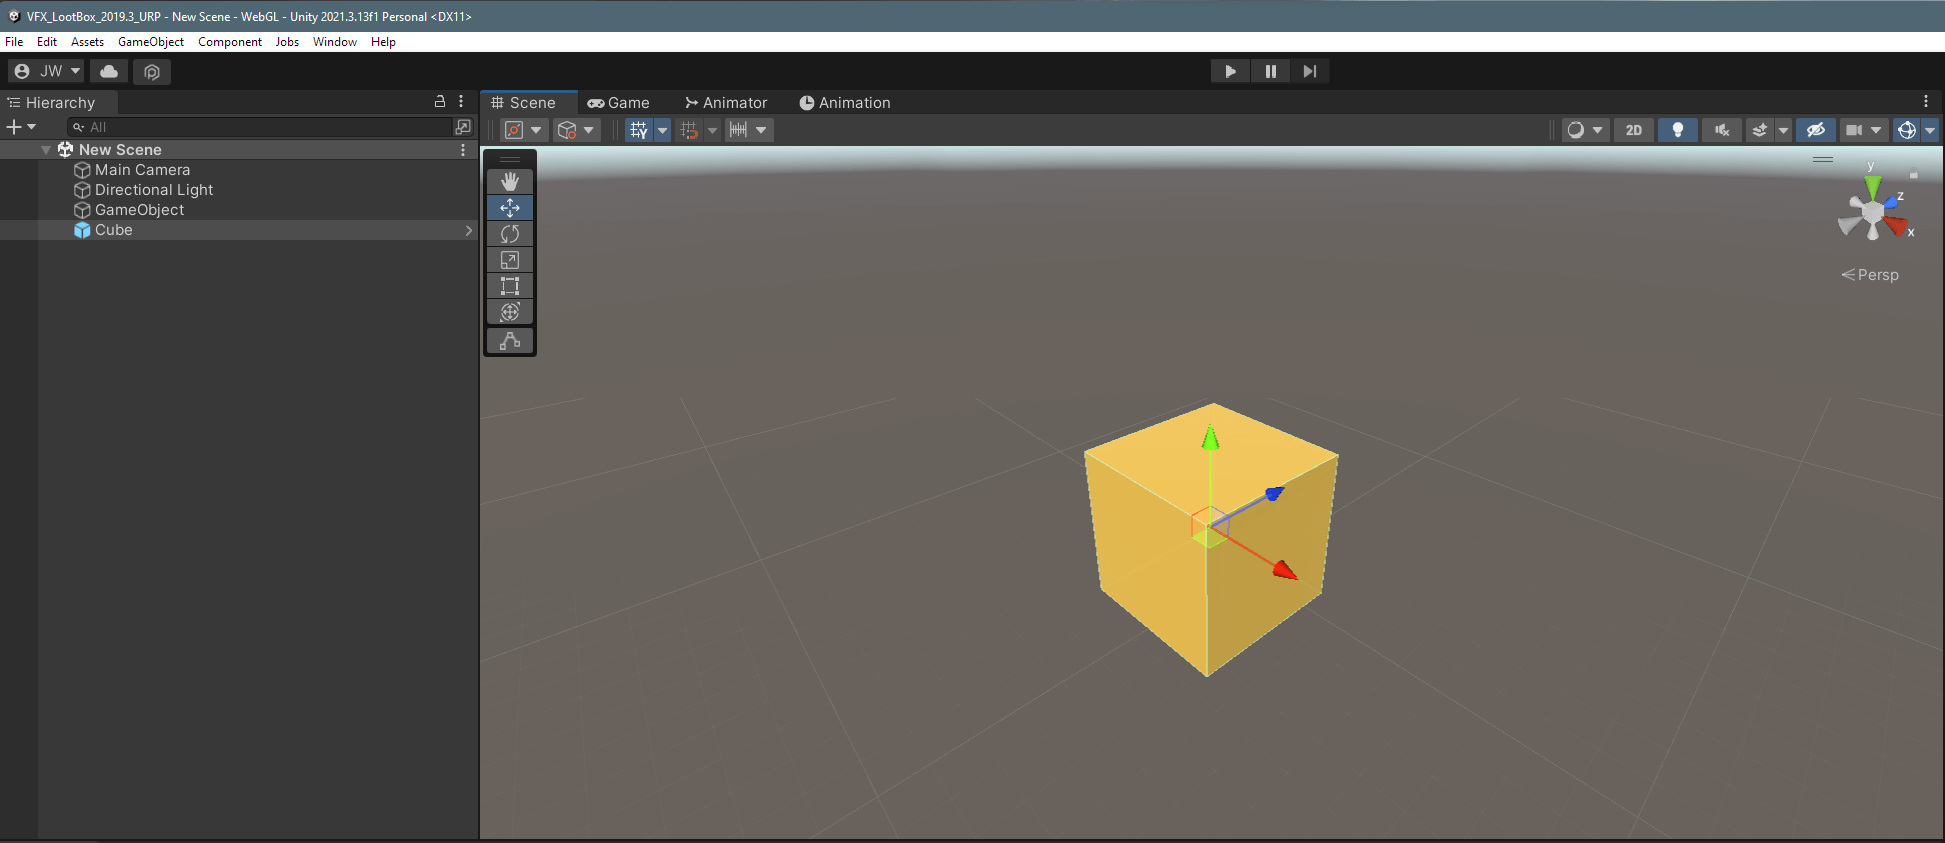
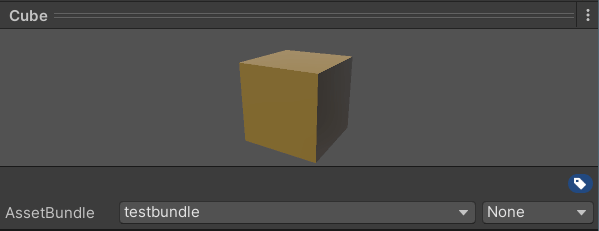
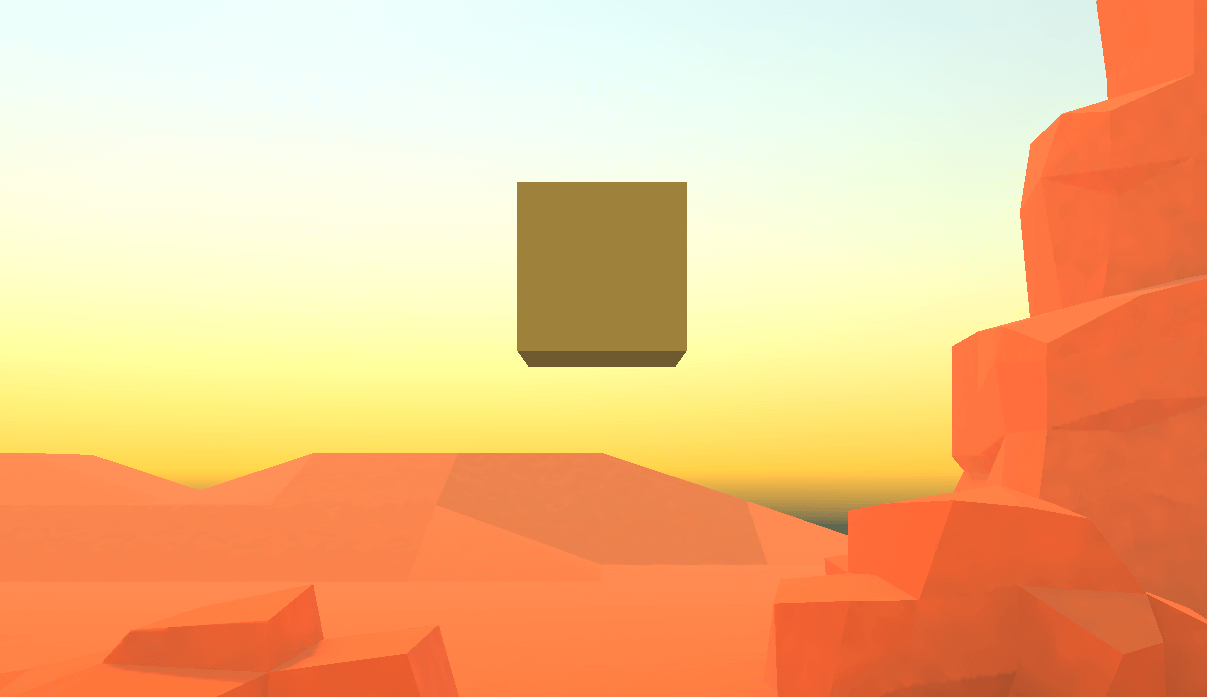
I've created a simple demo scene for this example. Our yellow cube represents our 3D asset; a model with a material attached.
Within the Assets folder, create a new C# Script called CreateAssetBundle.cs and populate it with the following code:
#if UNITY_EDITOR
using UnityEngine;
using UnityEditor;

public class CreateAssetBundle : MonoBehaviour
{
    [MenuItem("Assets/Build AssetBundles")]
    static void BuildBundles()
    {
        string assetBundleDirectory = "Assets/AssetBundles";

        if (!System.IO.Directory.Exists(assetBundleDirectory))
        {
            System.IO.Directory.CreateDirectory (assetBundleDirectory);
        }

        BuildPipeline
            .BuildAssetBundles(assetBundleDirectory,
            BuildAssetBundleOptions.None,
            BuildTarget.WebGL);
    }
}
#endif
In this script, we are adding a MenuItem that runs the BuildBundles method; which creates a new output directory for our compiled asset bundles.
You can learn more in-depth about what this script accomplishes from the Introduction to Asset Bundles tutorial.
Select Assets To Include
Before we run this script, we need to let Unity know which assets we want to include in our output.
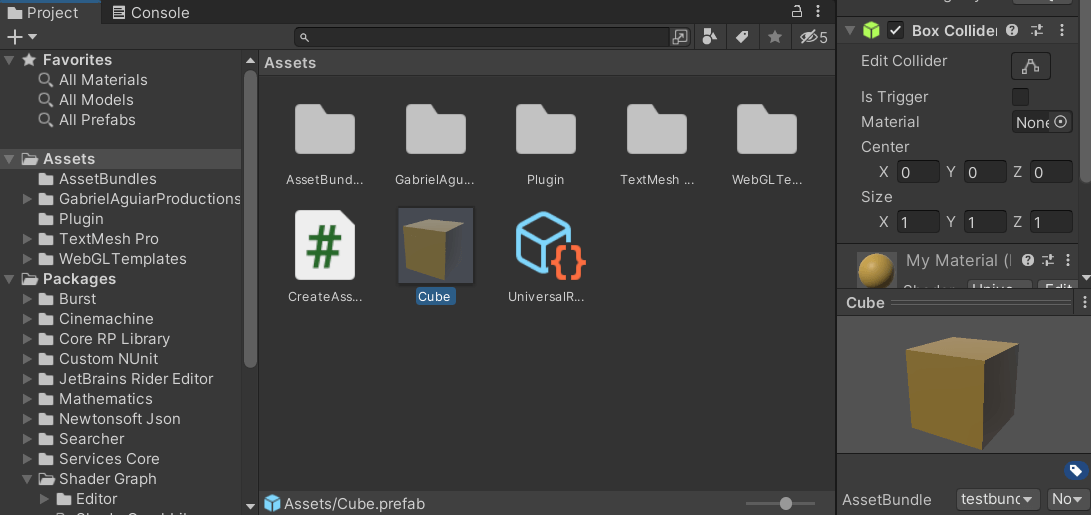
Create a prefab from your asset, and select your prefab from the Project window.
Add your asset to a new bundle from the bottom of the Inspector window. For example, I've added my cube to the testbundle AssetBundle.
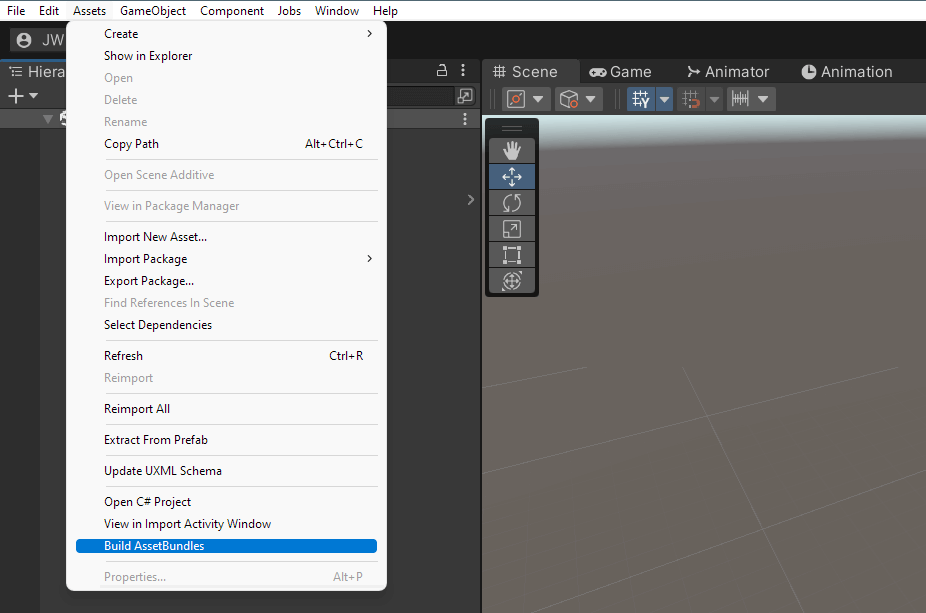
From the Assets menu, select Build AssetBundles which runs the script we created from the previous step.
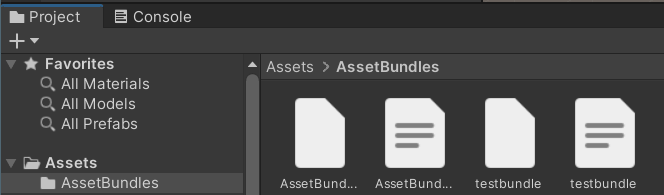
When the build is complete, you'll be able to see your asset bundle in the Project window under the Assets/AssetBundles directory:
Uploading Asset Bundles To IPFS
Now our asset bundle is ready for Unity to load at runtime. At this point, you can upload your asset bundle anywhere you like. We will be downloading it from the web at runtime in our game.
For this guide, we'll use IPFS to store our asset bundle and the CLI to upload it.
Open the AssetBundles directory from your terminal (use ls, cd, and pwd commands to confirm you are in the right location), and run the following command:
npx thirdweb@latest upload ./testbundleFor example, I navigated to the AssetBundles directory, confirmed this is where my testbundle file is located using ls, and uploaded the file to IPFS using the CLI:
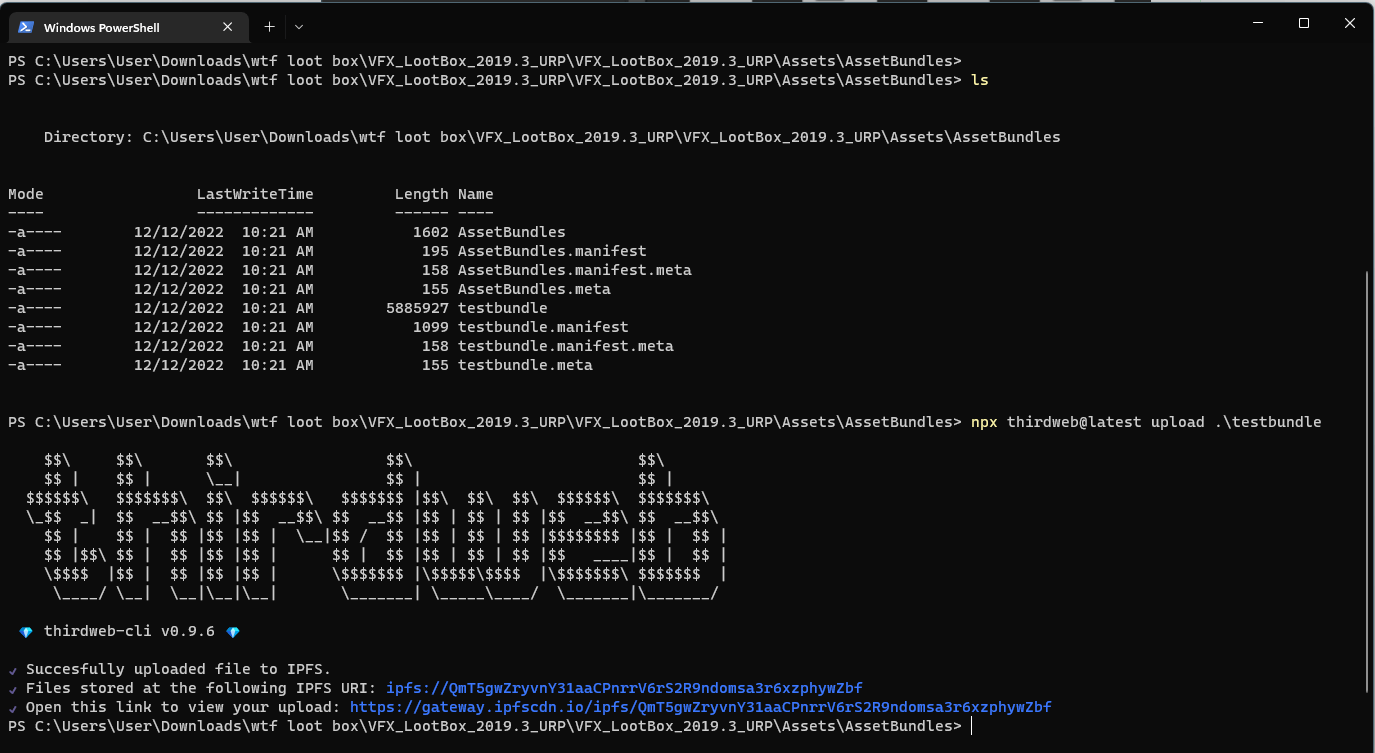
This uploads your AssetBundle to IPFS and prints the URL for you. Next, we'll mint an NFT that points to this URL using our SDK.
Creating the NFT Collection
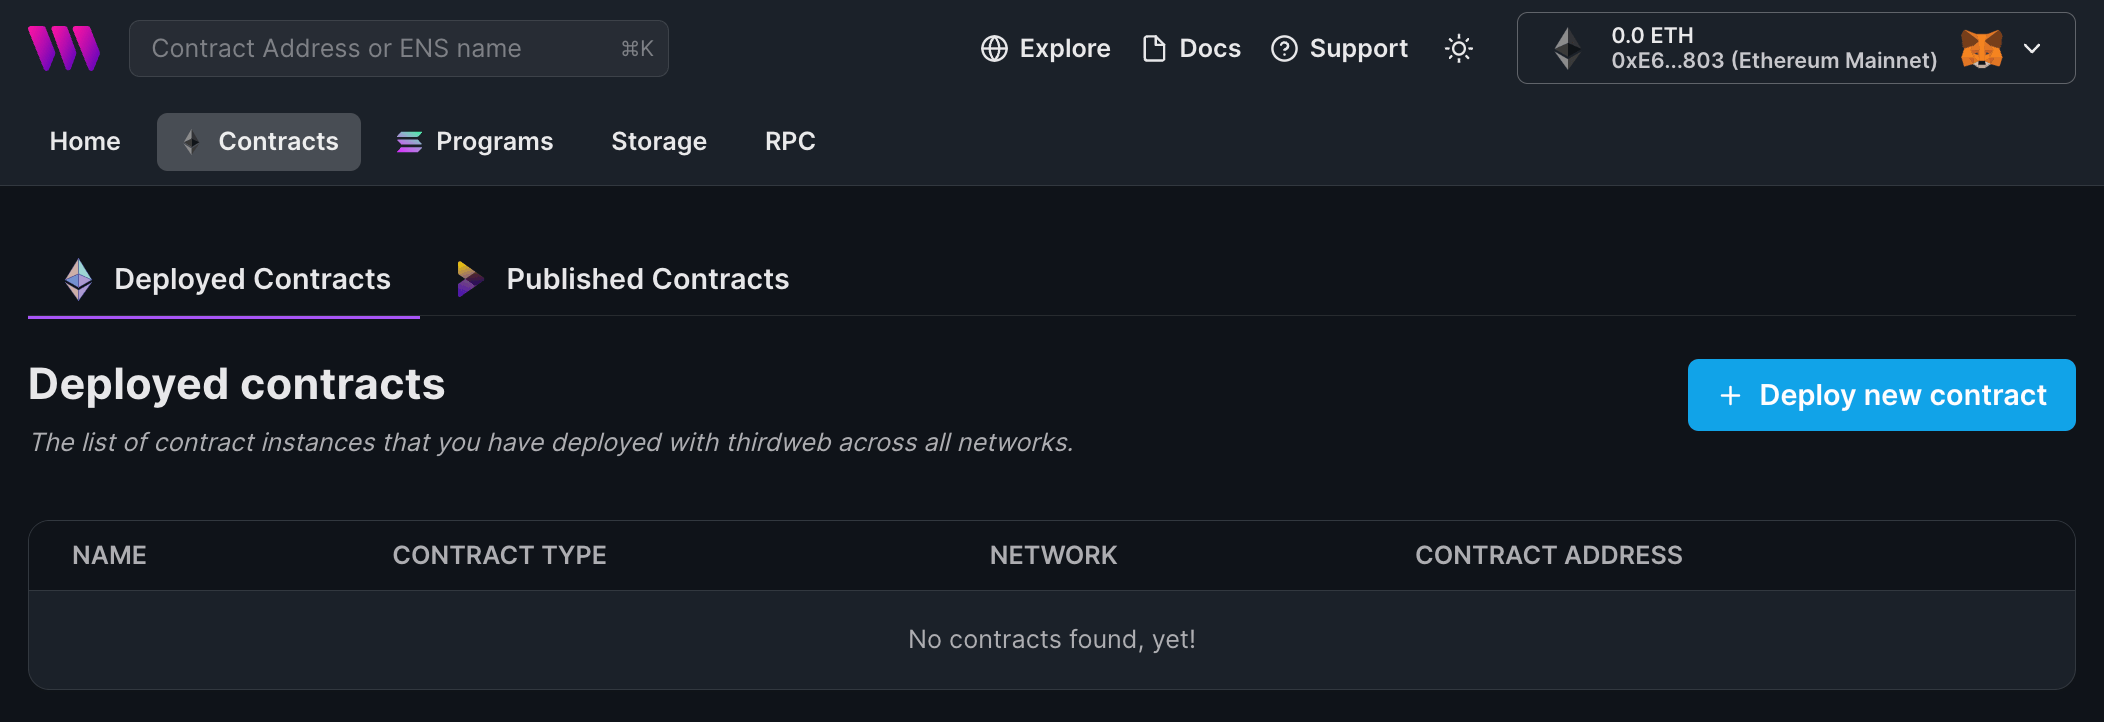
o begin, head to the Contracts page in your thirdweb Dashboard and hit "Deploy new contract":
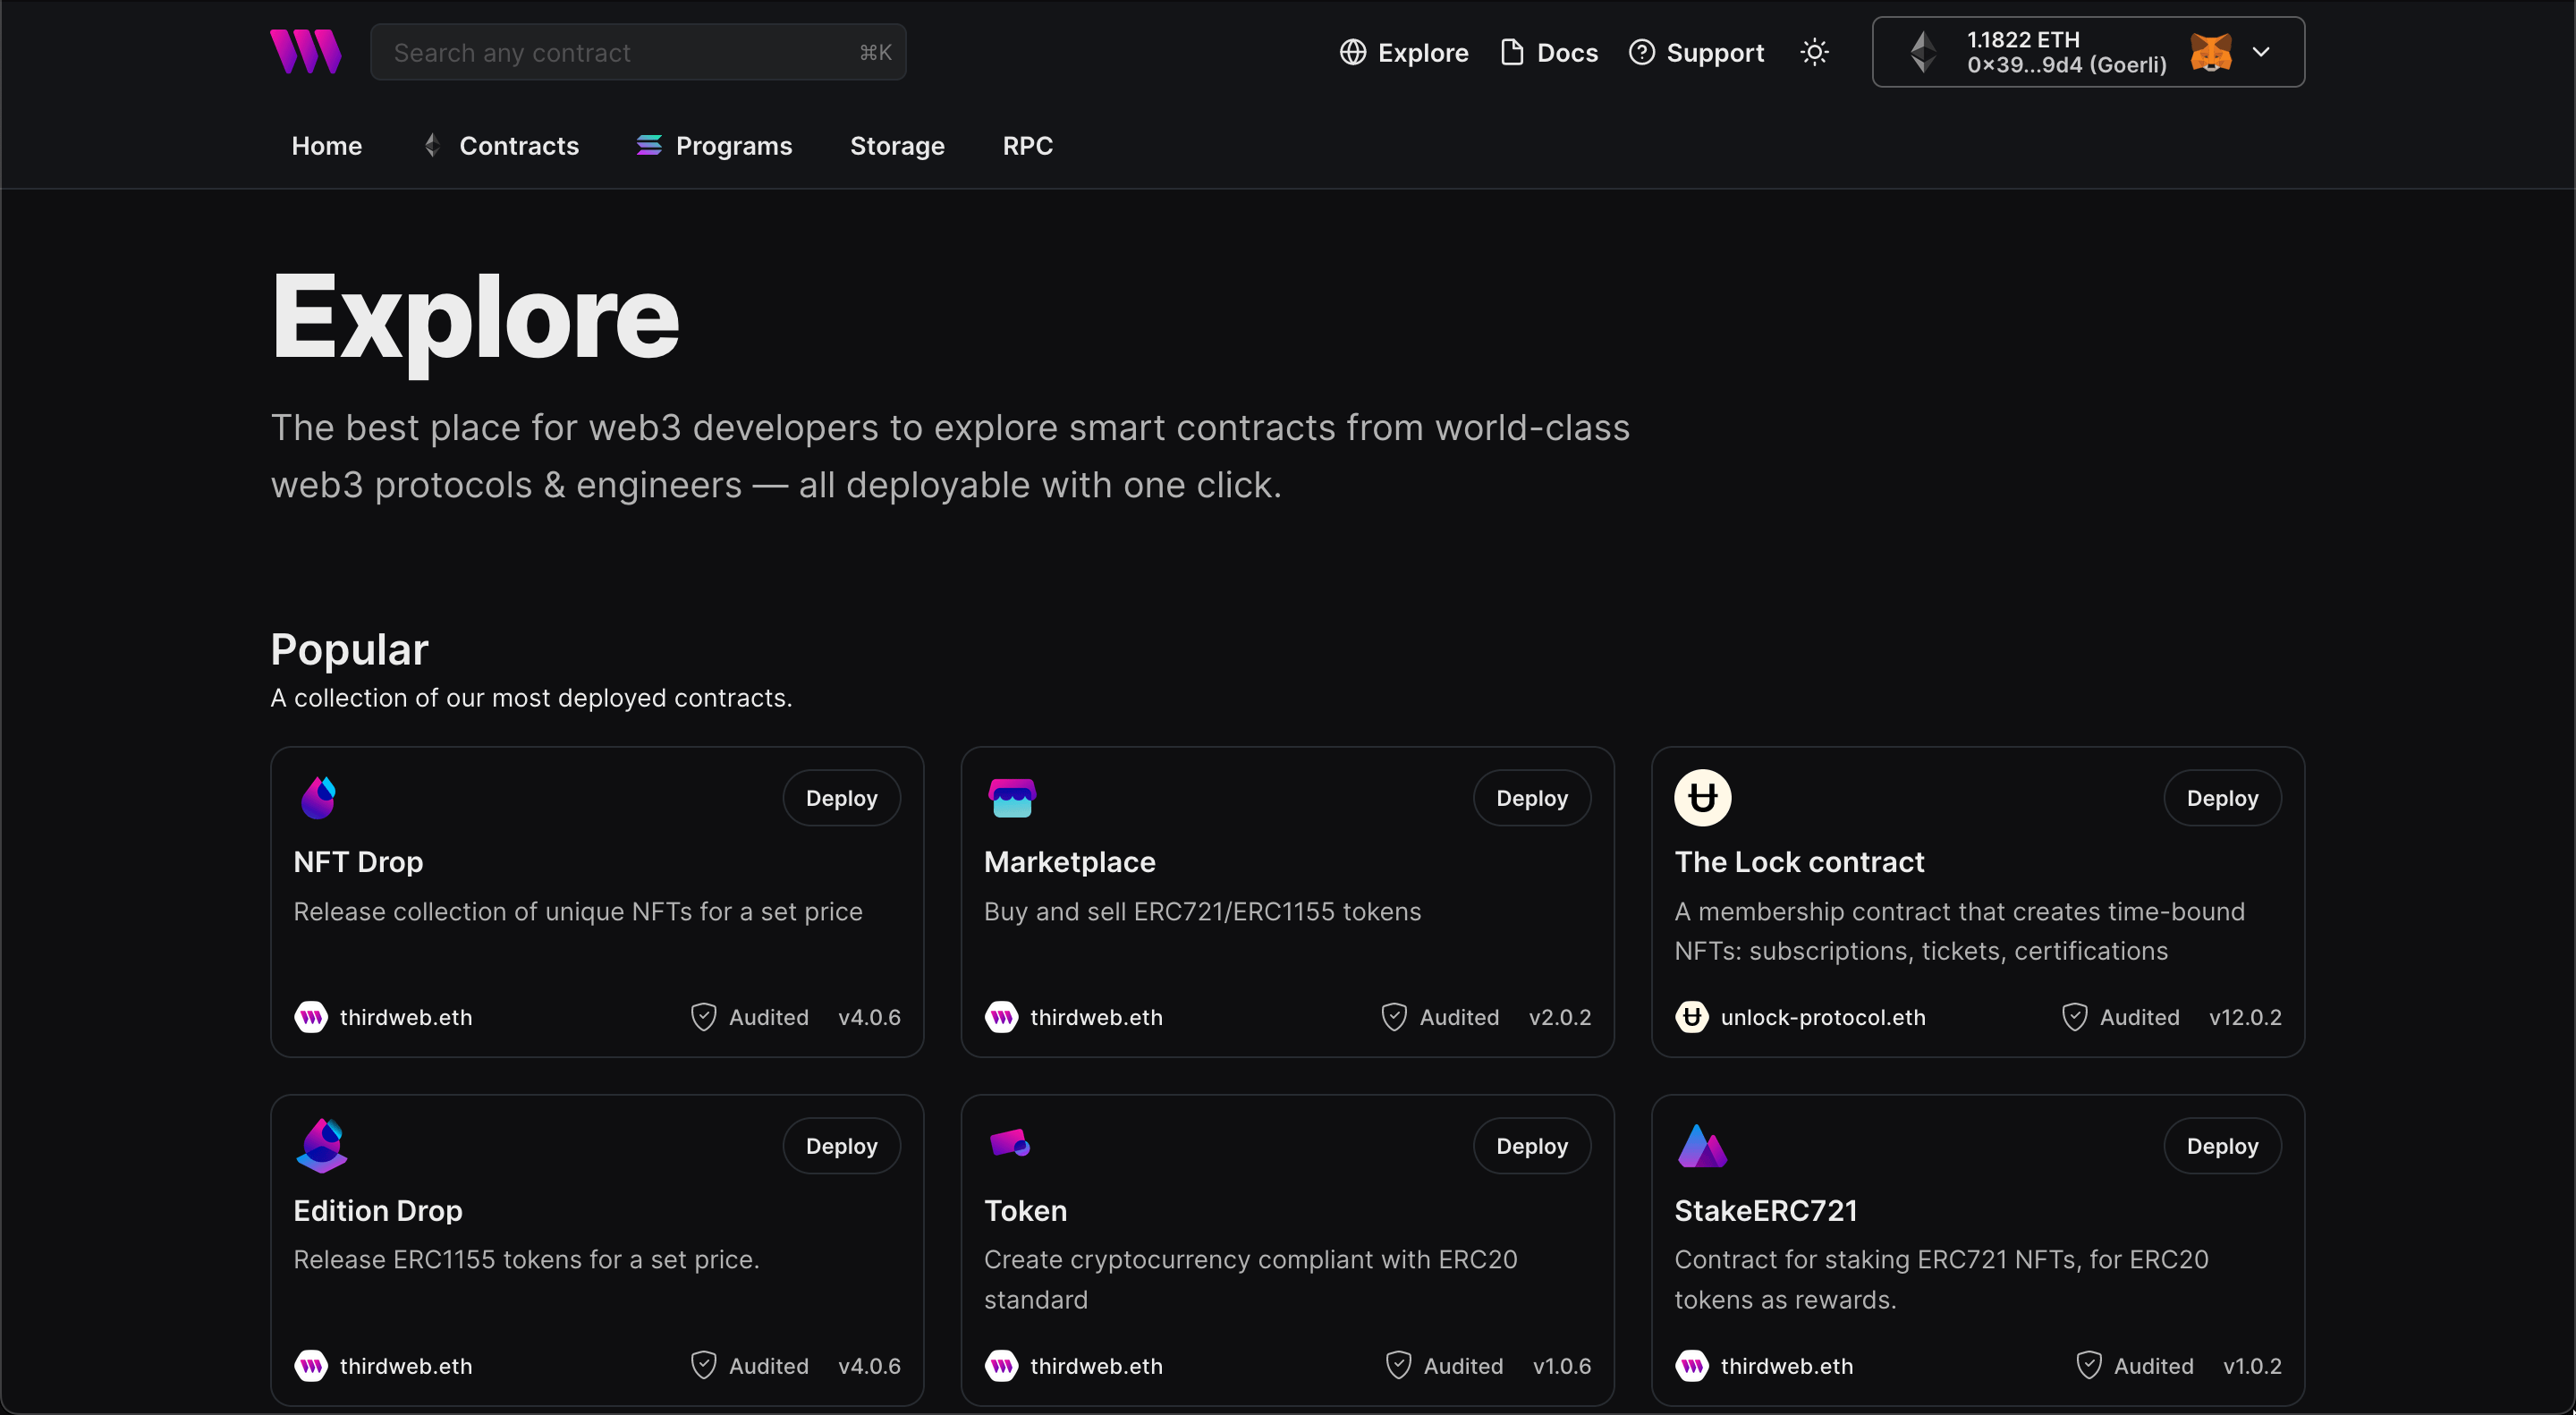
You will be taken to our Explore page — where you can browse smart contracts built by the top protocols in web3 and deploy them to the Base Goerli testnet in just a few clicks!
Note: You can also use the thirdweb CLI to set up a smart contract environment by running the below command from your terminal:
npx thirdweb create contractThis will take you through an easy-to-follow flow of steps for you to create your contract. Learn more about this in our CLI guide.
Otherwise, let's get back to Explore:
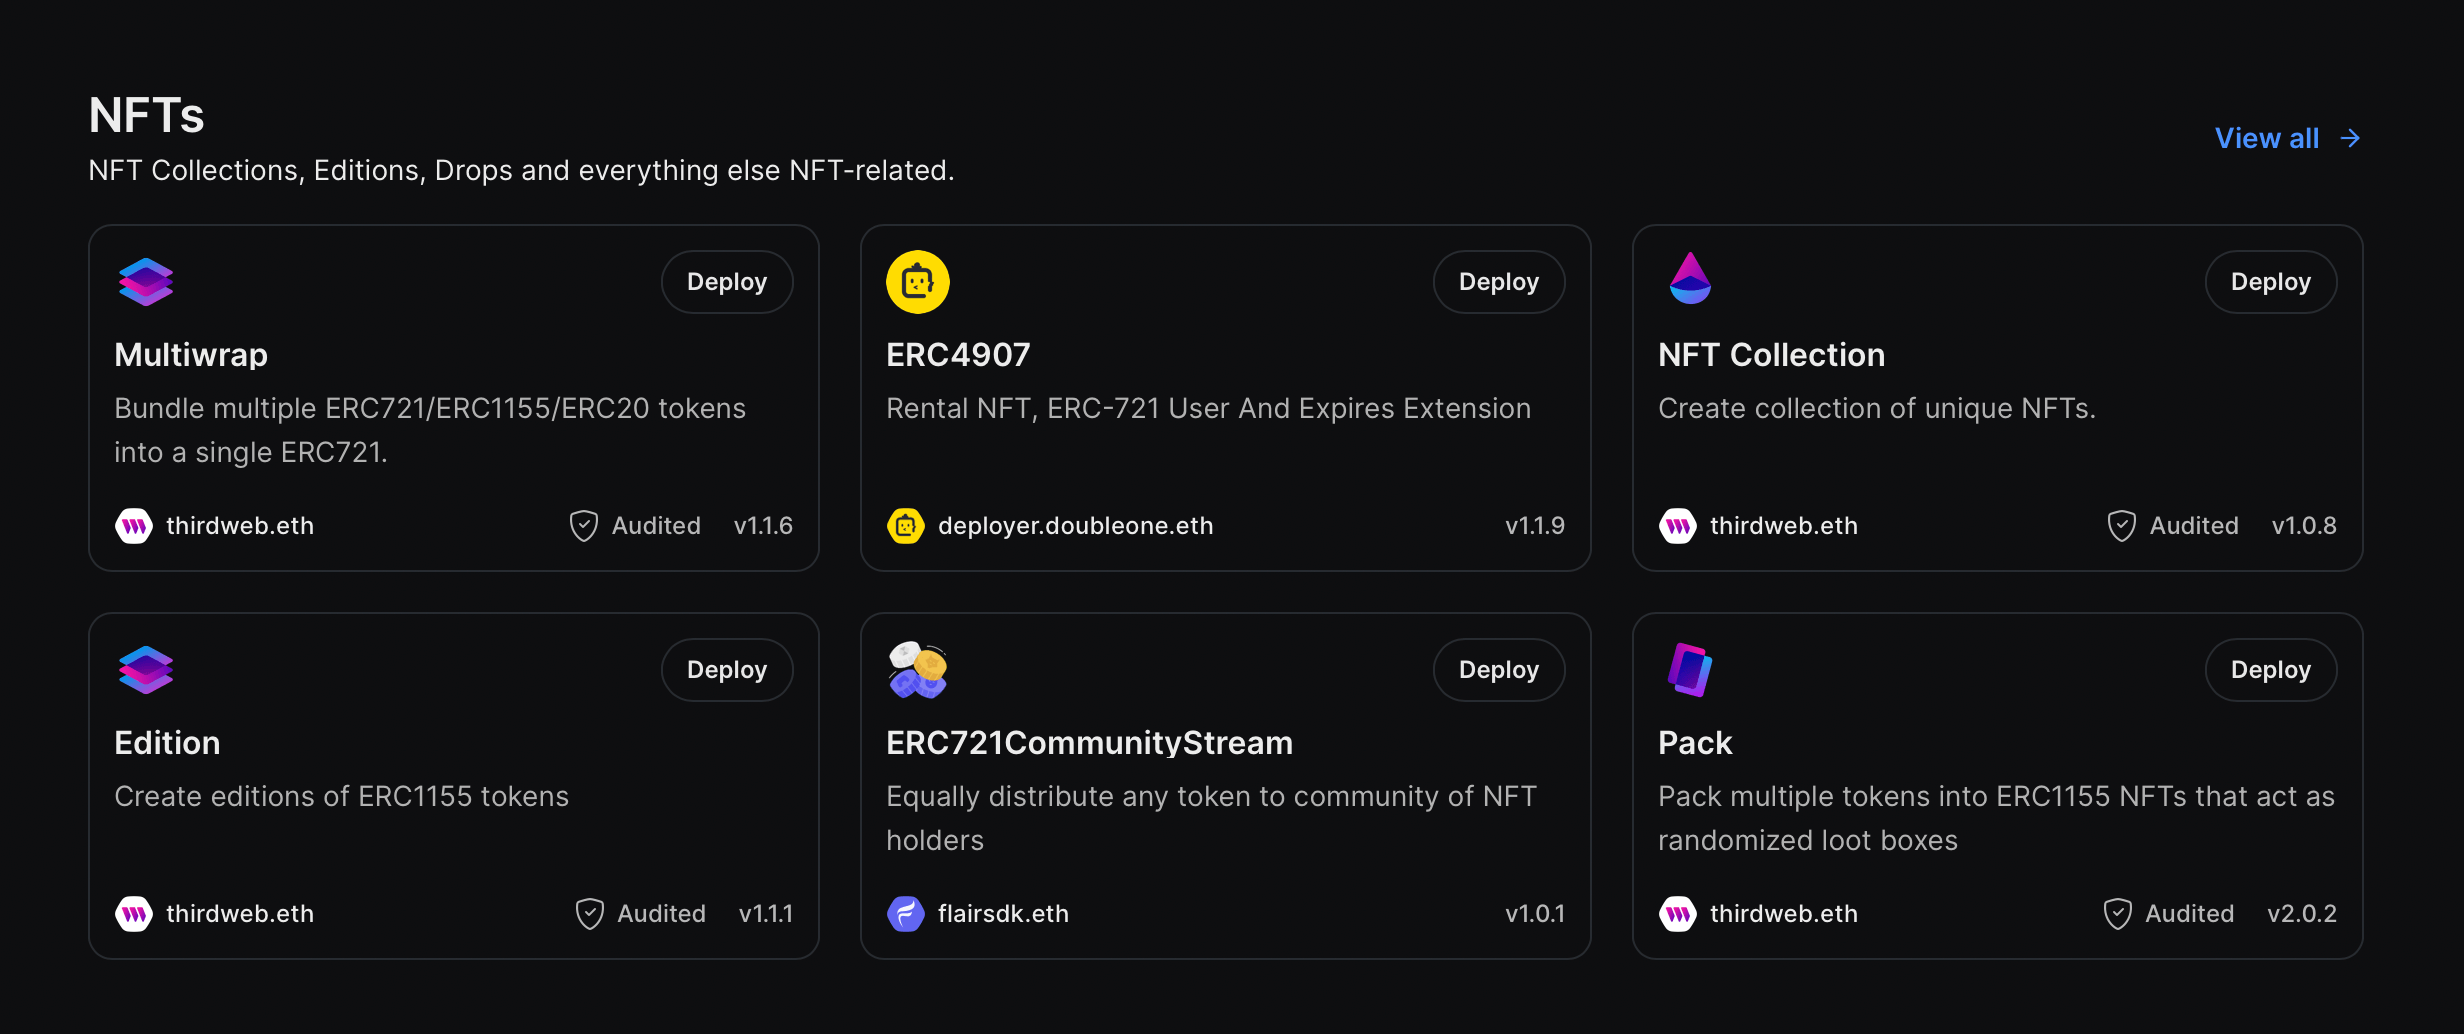
From the Explore page, select the NFT Collection smart contract:
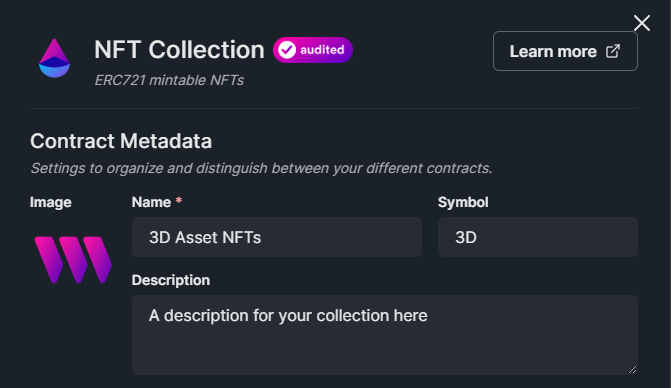
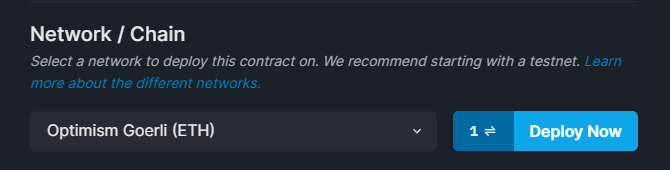
Setup the metadata for your smart contract, such as a name, description, and image, and symbol like so:
Select the network you wish to deploy to, and click Deploy Now:
Minting NFTs From the SDK
Use our template that uses the SDK to connect to the smart contract and mint an NFT. To use the template, run the command below:
npx thirdweb@latest create --template 3d-asset-nft-scriptFollow the steps of the README to mint your 3D asset NFT.
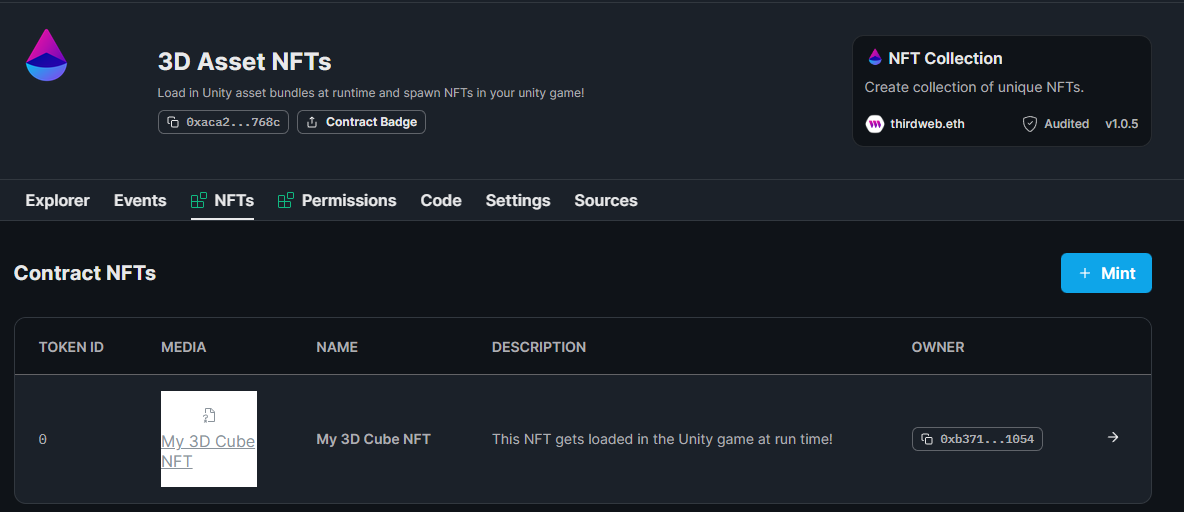
This script provides a simple way to connect to your smart contract and mint an NFT with the image field set to your 3D asset:
await collection.mint({
  name: "My 3D Cube NFT",
  description: "This NFT gets loaded in the Unity game at run time!",
  image: IPFS_URL,
});
Once you have successfully run the script, your dashboard will look like this:
Rendering NFTs In Unity
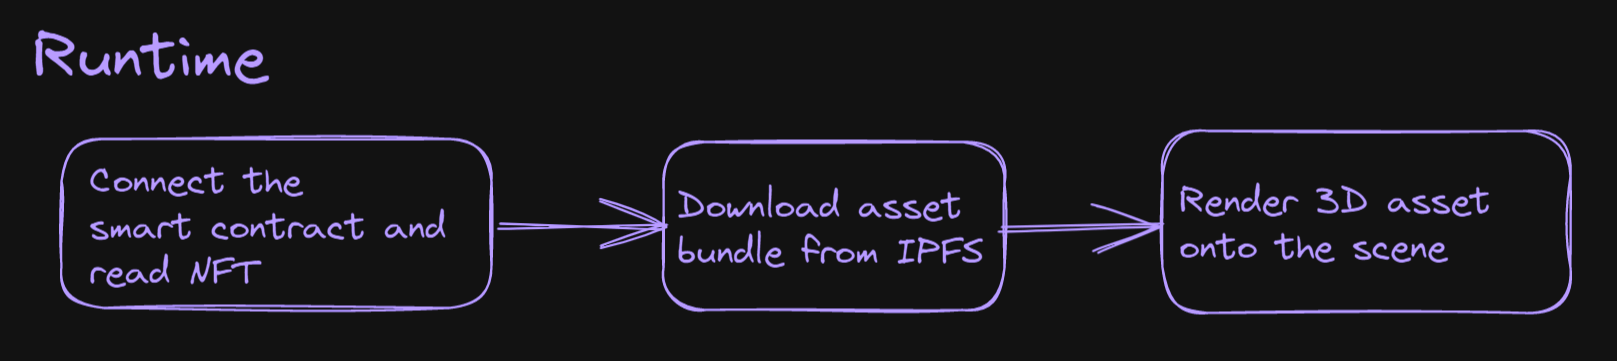
Now we've created the NFTs that point to our asset bundles. All that's left to do is download those asset bundles at runtime and render them onto the scene!
If you remember our diagram from earlier, we've done all the setup required to mint an NFT with a 3D asset. We're onto the runtime section now:
Create a new C# script in Unity within your Assets/Scripts folder called Web3.cs.
Let's break this script down into three sections:
- Setting up the SDK
- Loading the NFT from the smart contract
- Rendering the NFT onto the scene
Please make sure you have installed our Unity SDK before continuing.
Set Up the SDK
First, we need to instantiate the SDK onto the same network we deployed our smart contract to (for us, that's optimism-goerli).
We're also creating an assetBundleUrl variable that stores the URL of the asset bundle we're going to download (which comes from the NFT).
using System.Collections;
using System.Threading.Tasks;
using Thirdweb;
using UnityEngine;
using UnityEngine.Networking;

public class Web3 : MonoBehaviour
{
    private ThirdwebSDK sdk;
    private string assetBundleUrl;

    async void Start()
    {
        sdk = new ThirdwebSDK("optimism-goerli");
        await LoadNft();
        StartCoroutine(SpawnNft());
    }
}
Within the Start function, we're calling LoadNft and SpawnNft; these are the following two methods we will create.
Load the NFT from the Smart Contract
Now the SDK is setup, we can use it to start interacting with our smart contract:
async Task<string> LoadNft()
{
    var contract =
        sdk.GetContract("0xaca236B8569932eedBb2a5B958Ef22a81a6f768c");
    var nft = await contract.ERC721.Get("0");
    assetBundleUrl = nft.metadata.image;
    return assetBundleUrl;
}
Within this method, we connect to our smart contract and load the NFT of token ID 0. We get the image from that NFT's metadata and store it in the assetBundleUrl variable for later.
Render NFT in the Scene
Finally, we use UnityWebRequests to download the asset bundle from the URL we loaded from the nft.metadata.image field.
Once we have downloaded the asset, we call Instantiate to create an instance of that prefab onto the scene.
IEnumerator SpawnNft()
{
    // Define the prefab name of the asset you're instantiating here.
    string assetName = "Cube";

    // Request the asset bundle from the IPFS URL
    UnityWebRequest www =
        UnityWebRequestAssetBundle.GetAssetBundle(assetBundleUrl);
    yield return www.SendWebRequest();

    // Something failed with the request.
    if (www.result != UnityWebRequest.Result.Success)
    {
        Debug.Log("Network error");
        Debug.Log(www.error);
    }

    // Successfully downloaded the asset bundle, instantiate the prefab now.
    else
    {
        AssetBundle bundle = DownloadHandlerAssetBundle.GetContent(www);
        GameObject prefab = bundle.LoadAsset<GameObject>(assetName);
        GameObject instance =
            Instantiate(prefab, new Vector3(0, 3, 5), Quaternion.identity);

        // (Optional) - Configure the shader of your NFT as it renders.
        Material material = instance.GetComponent<Renderer>().material;
        material.shader = Shader.Find("Standard");
    }
}
Important: We have defined our assetName variable to be Cube; change this to the name of your prefab when you created the asset bundle (see example below):
When we build and run our game, we see the NFT appears on the scene:
Wrapping Up
That's it! 🎉In this guide, we've successfully:
- Deployed an ERC721 NFT collection to the blockchain
- Created a Unity AssetBundle with our 3D assets
- Minted an NFT that contains 3D asset metadata
- Rendered that NFT in a Unity scene at runtime
If you have any questions about this guide, jump into our Discord to speak with our team directly.