Allow Your NFT Holders To Mint NFTs In A Custom ERC20 Token

⚠️ Warning: This guide currently uses v4 of the Connect SDK. For v5 (latest) code snippets, please check out our documentation while this guide is being updated. ⚠️
In this guide, we'll show you how to create a drop with some special functionality for your NFT holders:
- All wallets claim NFTs at a regular price in the native currency (ETH).
- NFT holders claim the NFTs using your own custom-made ERC20 token!
Before we get started, below are some helpful resources where you can learn more about the tools we will use in this guide:
Let's get started.
Deploy An NFT Drop contract
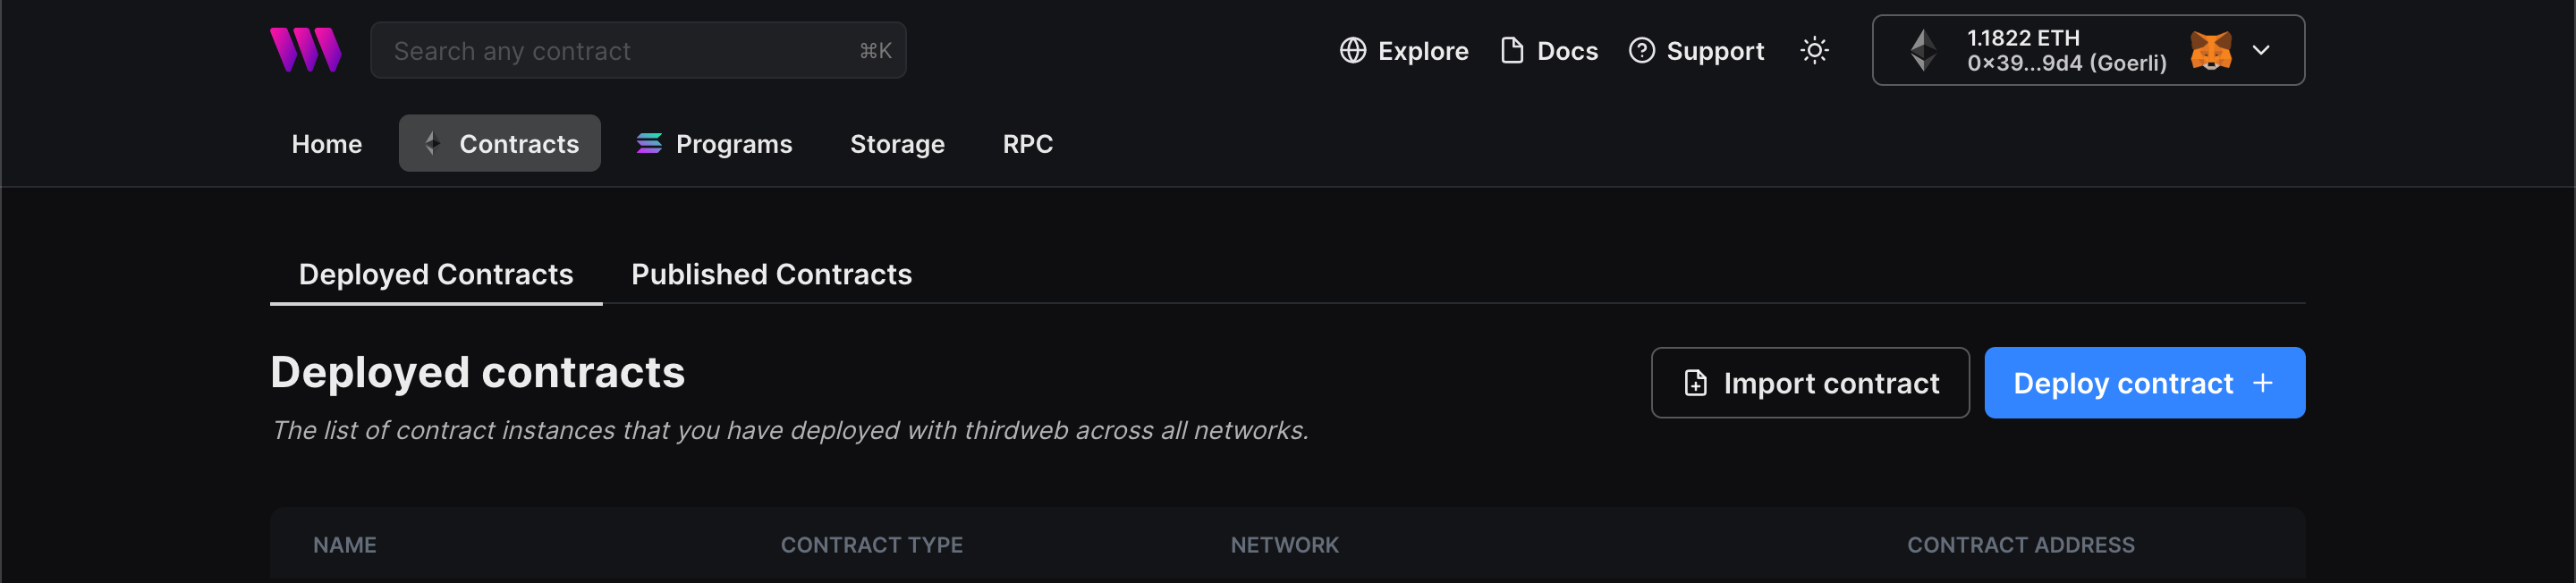
To begin, head to the Contracts page in your thirdweb Dashboard and hit "Deploy new contract":
You will be taken to our Explore page — where you can browse smart contracts built by the top protocols in web3 and deploy them in just a few clicks!
Note: You can also use the thirdweb CLI to set up a smart contract environment by running the below command from your terminal:
npx thirdweb create contractThis will take you through an easy-to-follow flow of steps for you to create your contract. Learn more about this in our CLI guide.
Otherwise, let's get back to Explore:
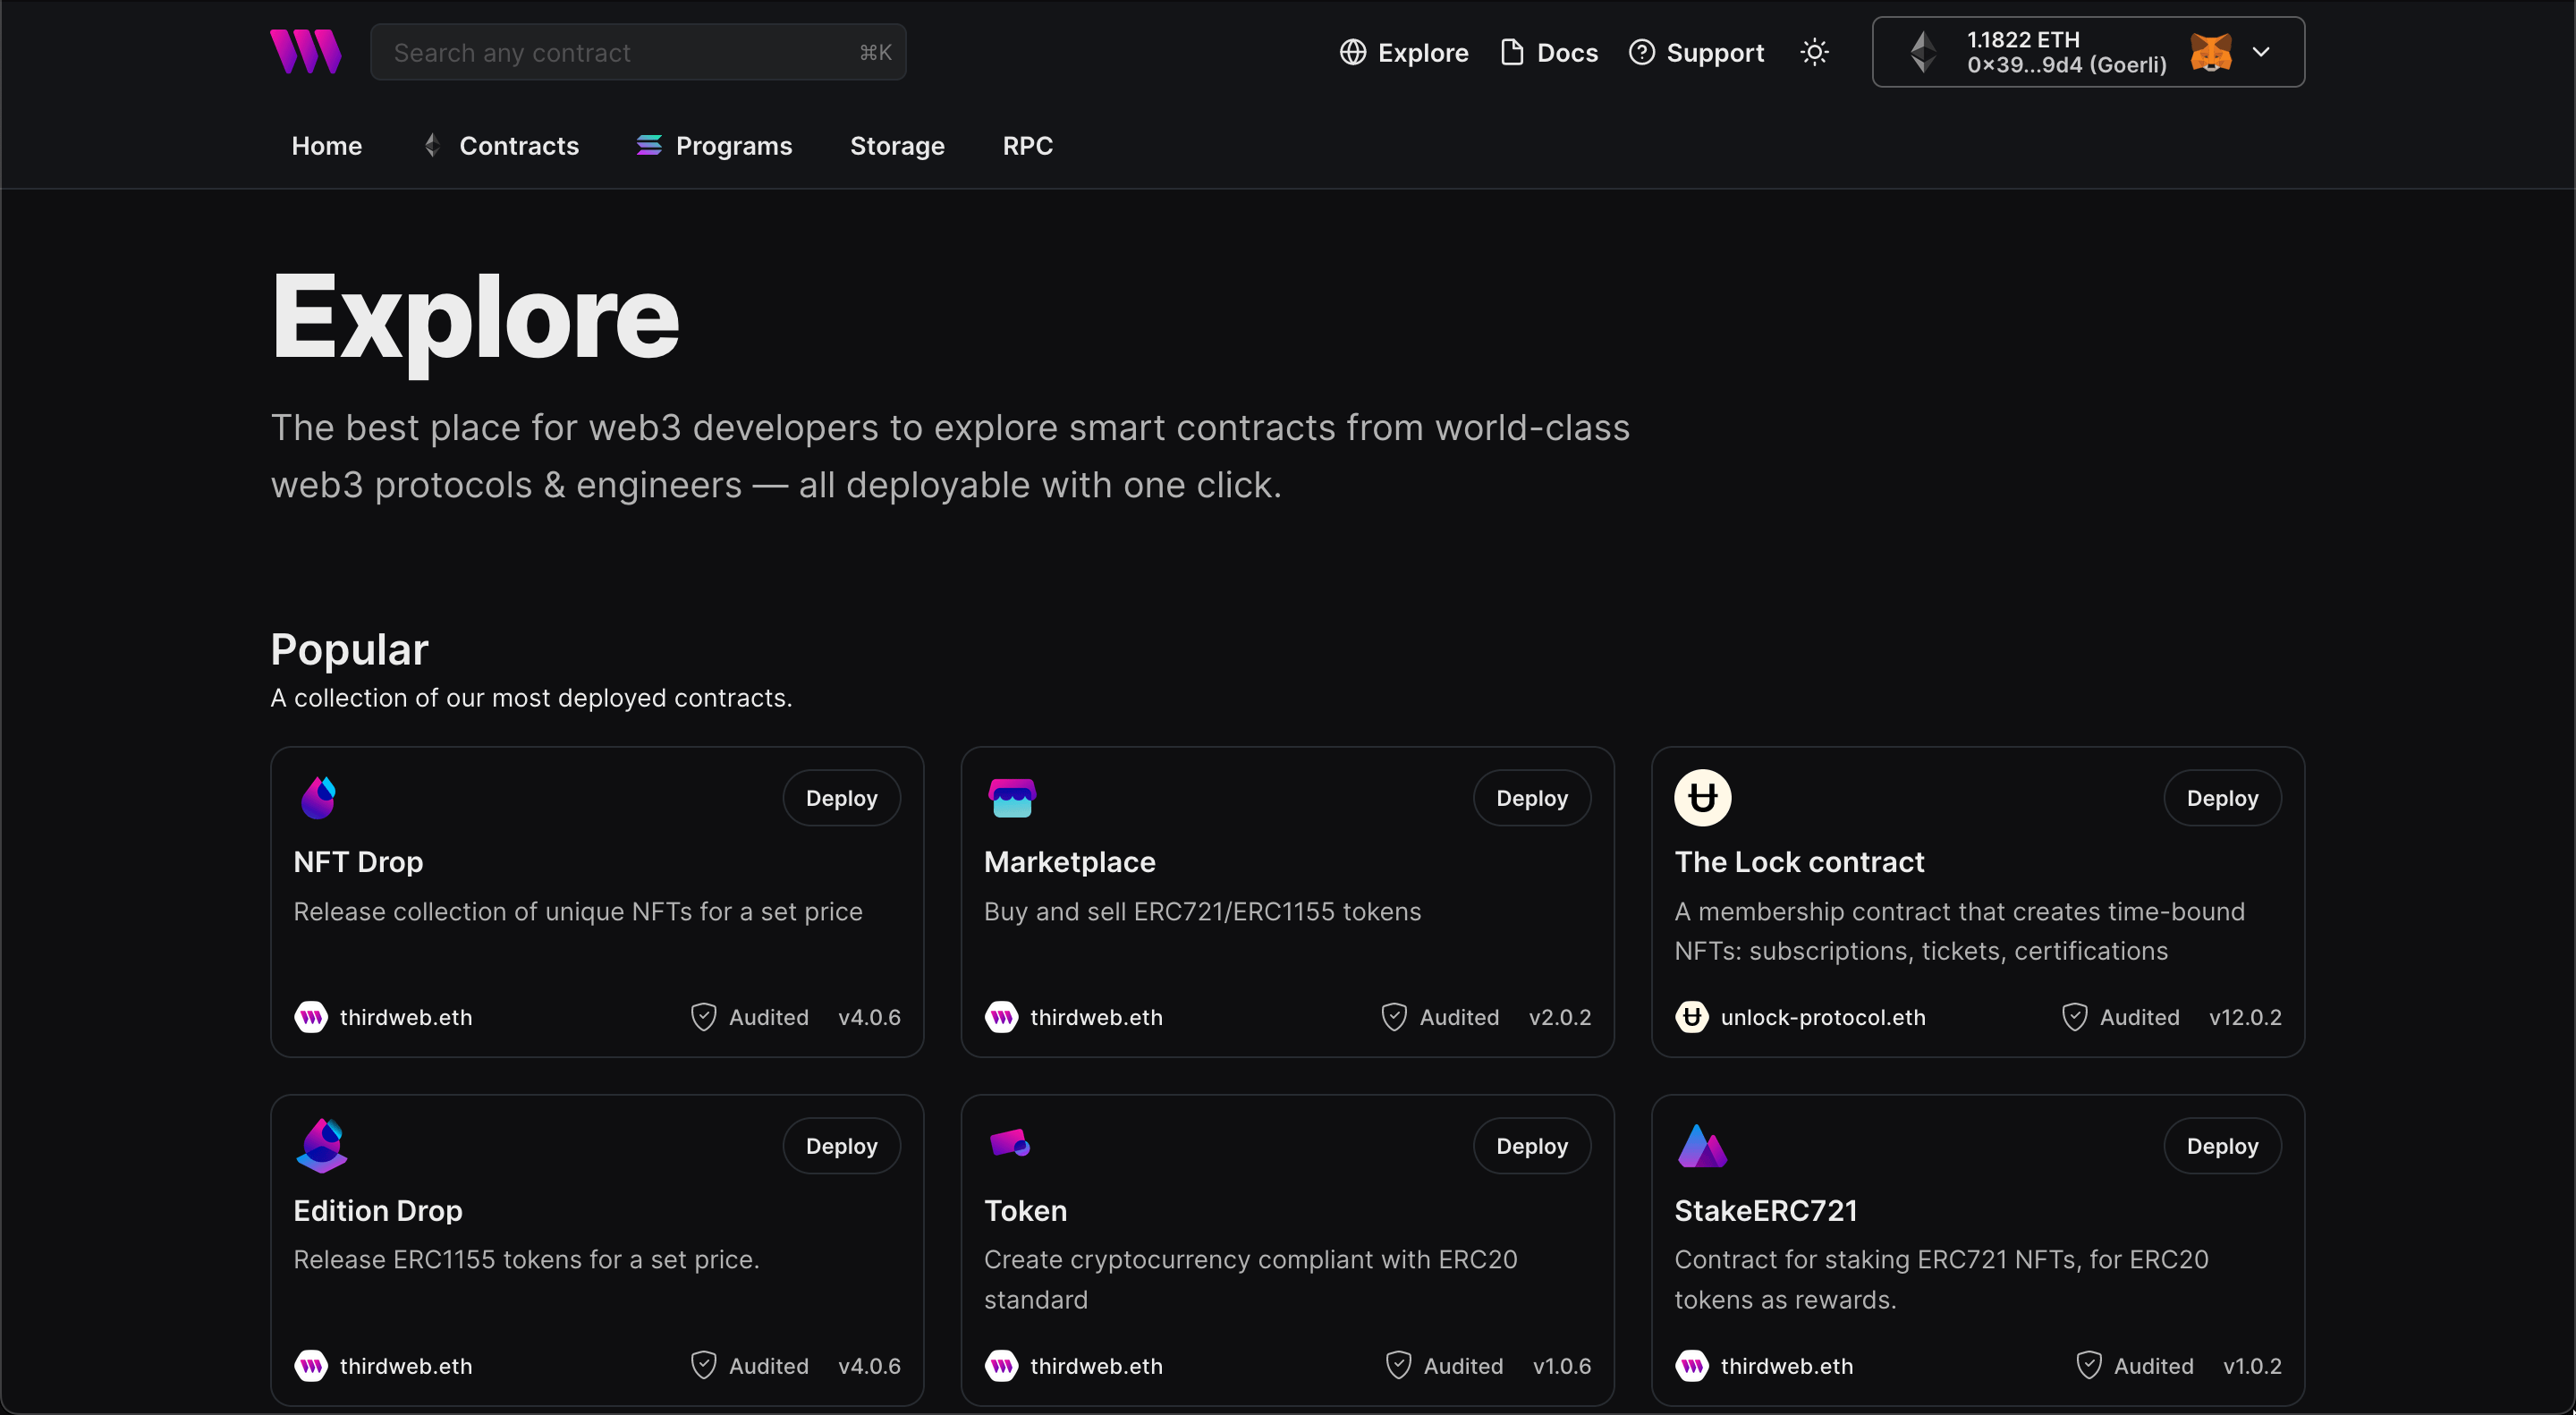
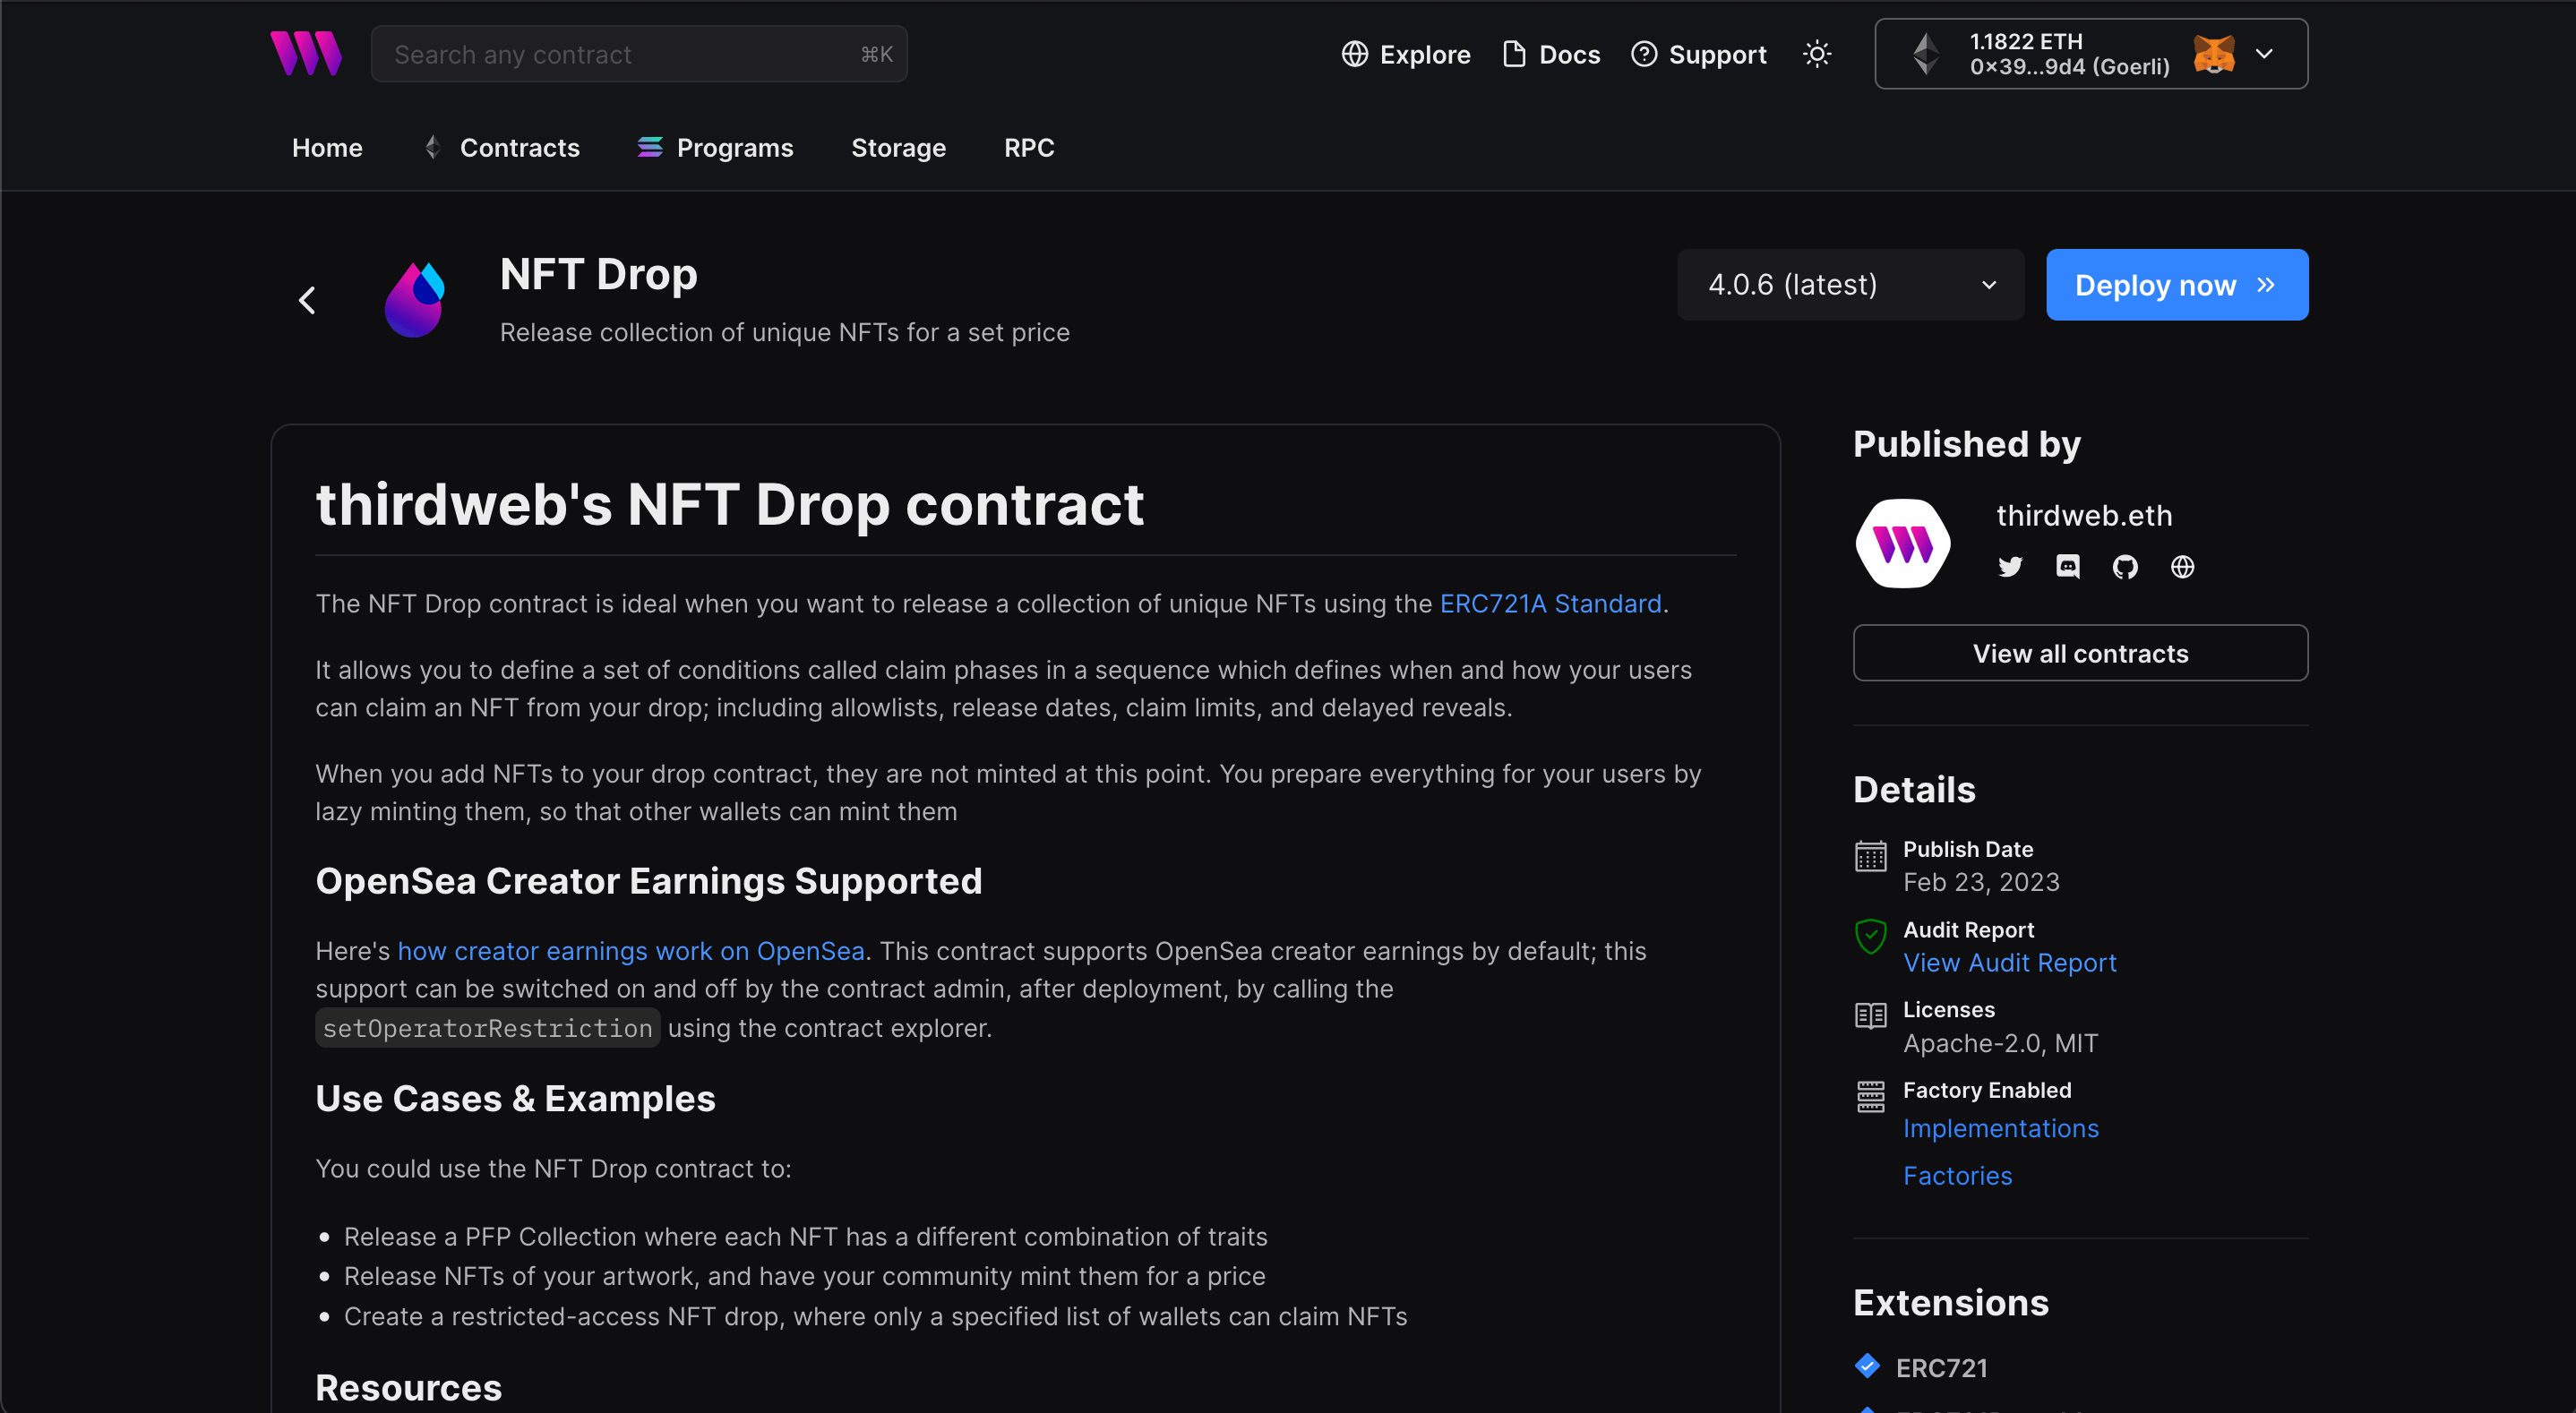
In here, select your smart contract of choice. For this guide, we're going to use the NFT Drop (ERC721) contract to create our NFT collection:
Set up your smart contract with an image, name, description, etc., and configure which wallet address will receive the funds from primary and secondary sales:

You can select any network you like, I am choosing Goerli.
Learn more about test networks
Lazy-Minting NFTs
Let's batch-upload some NFTs for the users to mint from our drop under those conditions.
Lazy minting is the process of uploading the metadata for your NFT(s) without minting them yet. We're going to lazy-mint the metadata for our NFTs so that other people can mint them!
For this guide, I will use the metadata from our Shapes batch upload example.
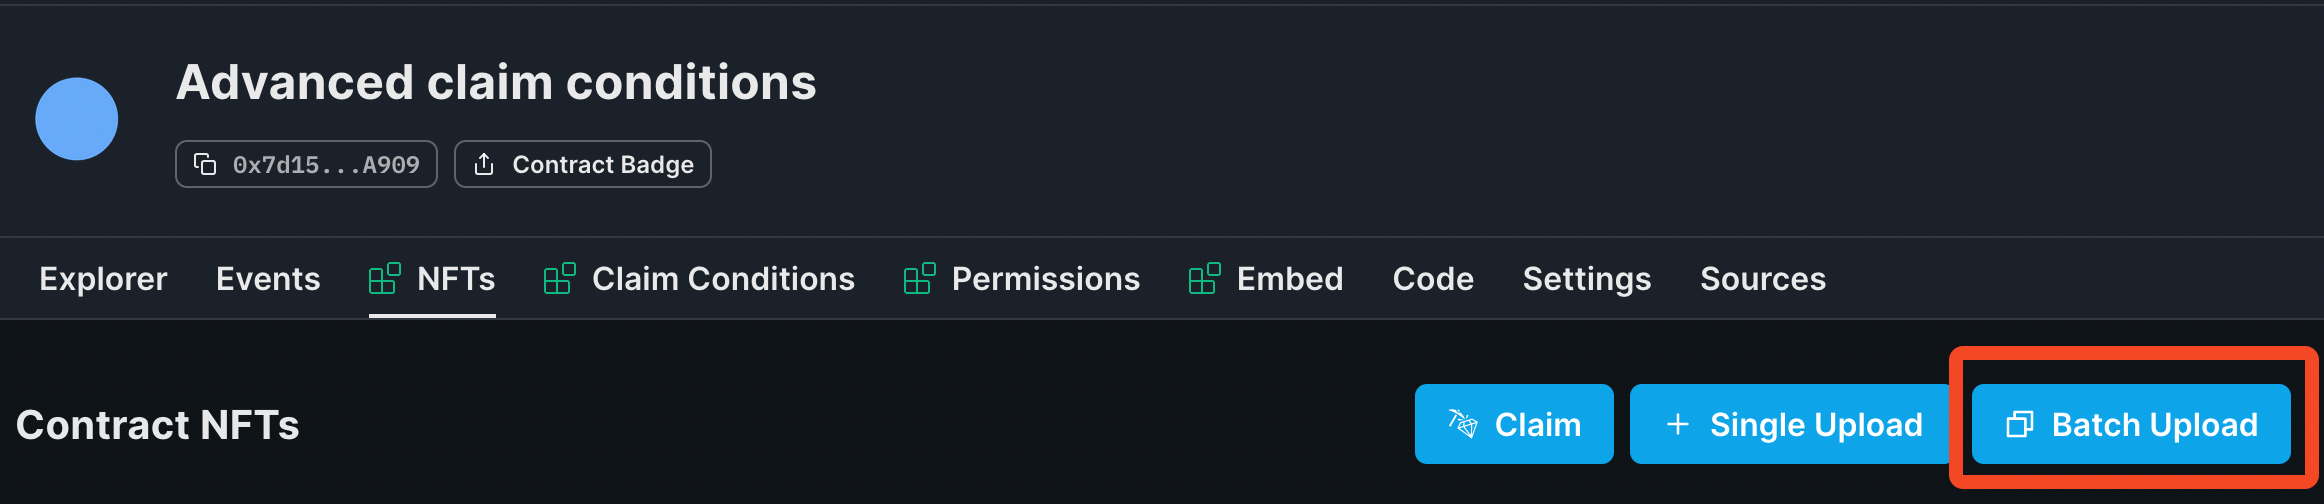
To batch upload and lazy mint your metadata, head to the NFTs tab and click on the Batch Upload button:
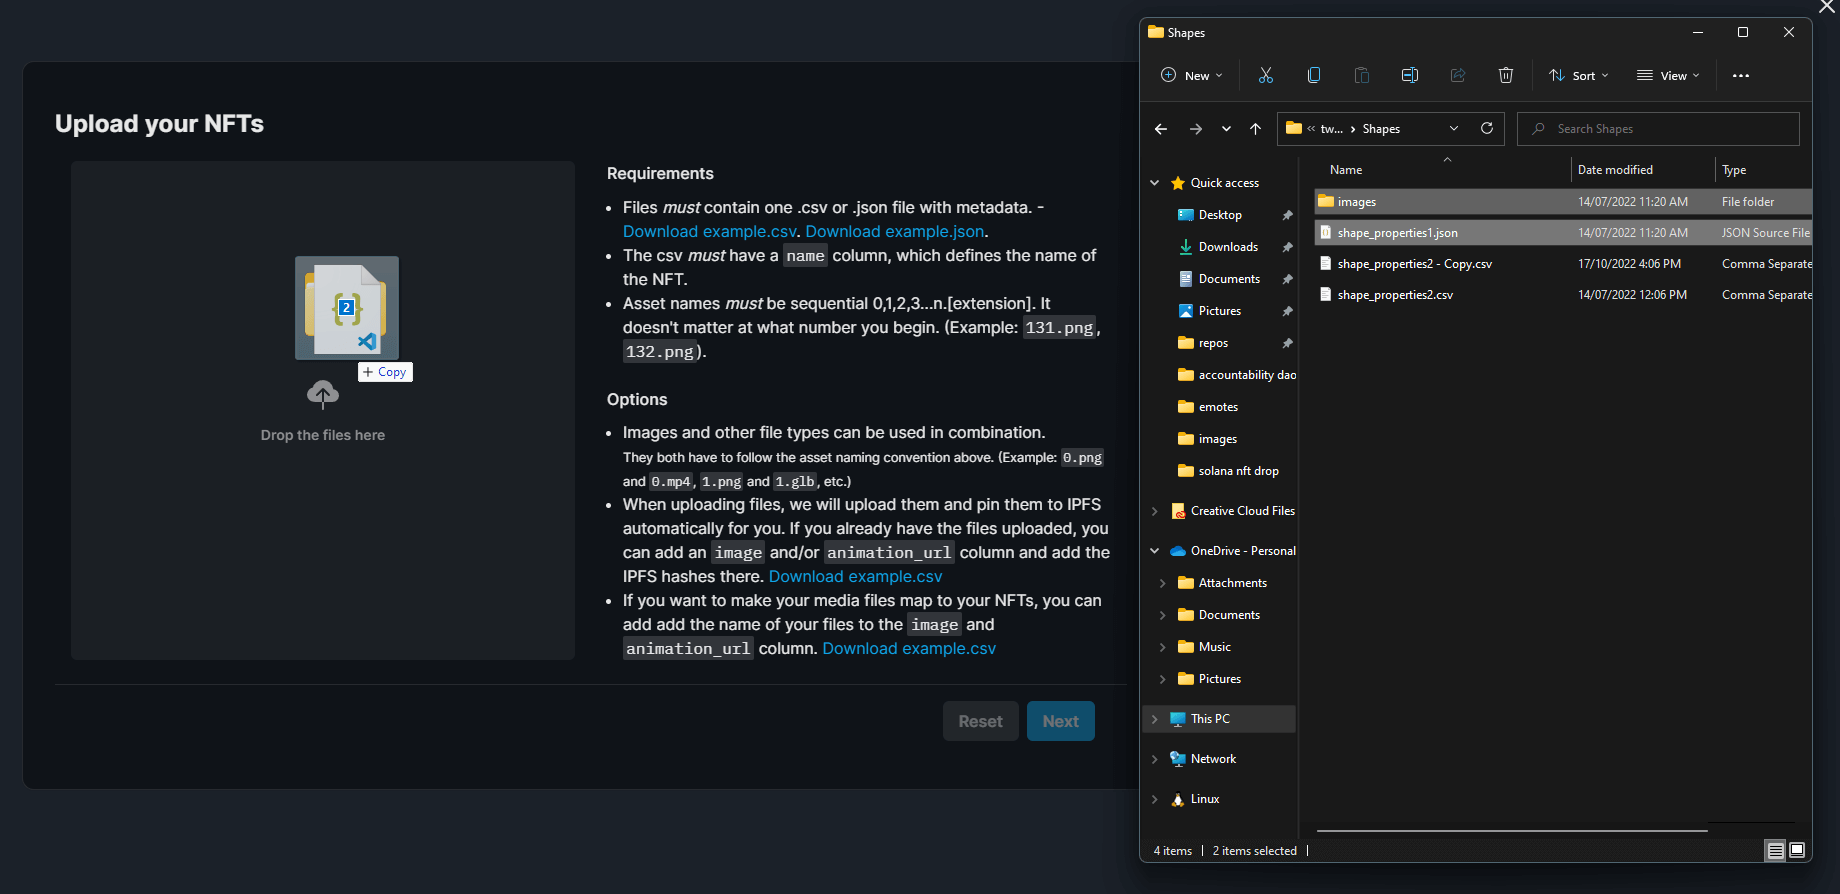
Drag and drop your images along with your metadata file(s) into the upload area:
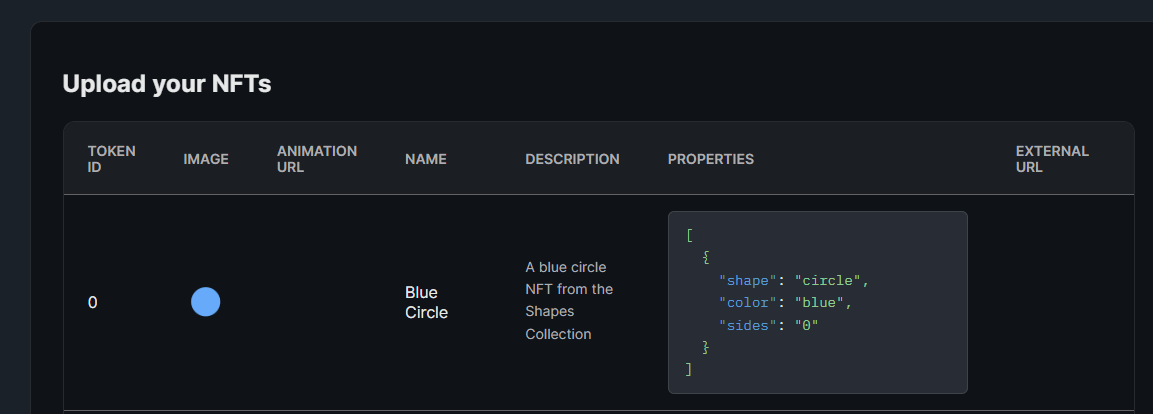
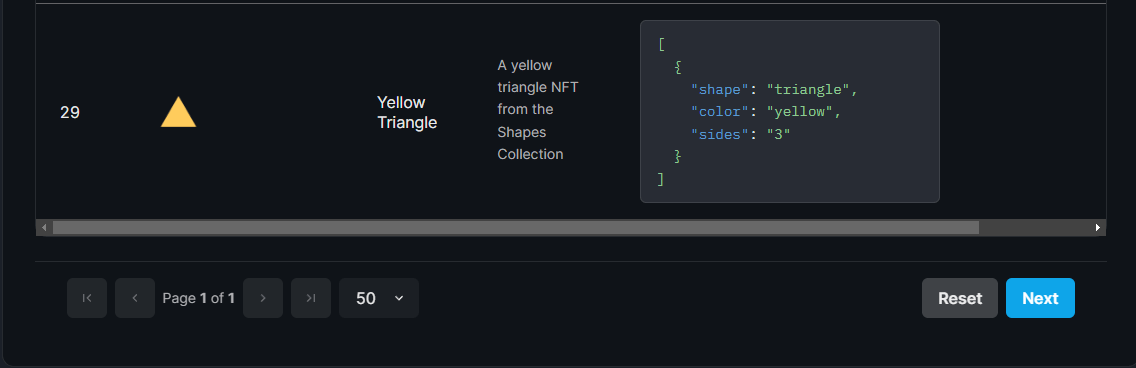
Here, you'll be able to preview your NFTs before lazy-minting them:
When you're ready, click Next!
Next, you'll be given the option to add a Delayed Reveal. To keep it simple, we'll select Reveal upon mint. You can follow our guide on Releasing An NFT Drop With Delayed Reveal if you choose to do so!
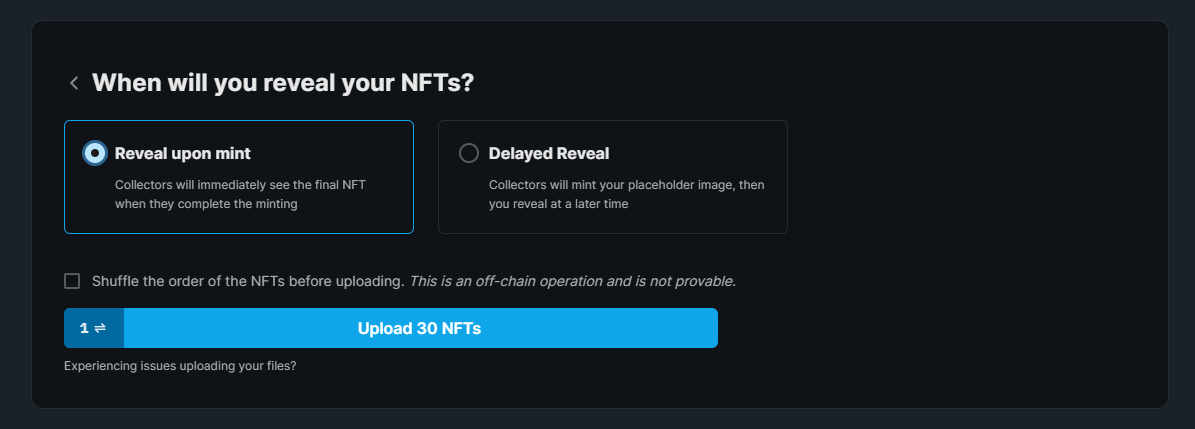
Finally, click Upload X NFTs and approve the Lazy Mint transaction.
In the background, your metadata is uploaded and pinned to IPFS, meaning your metadata is immutable and decentralized. Once the transaction goes through, your NFTs are ready to be minted!
Deploying a token
If you already have a token that you want to use, you can skip this step.
To begin, head to the Contracts page in your thirdweb Dashboard and hit "Deploy new contract":
You will be taken to our Explore page — where you can browse smart contracts built by the top protocols in web3 and deploy them in just a few clicks!
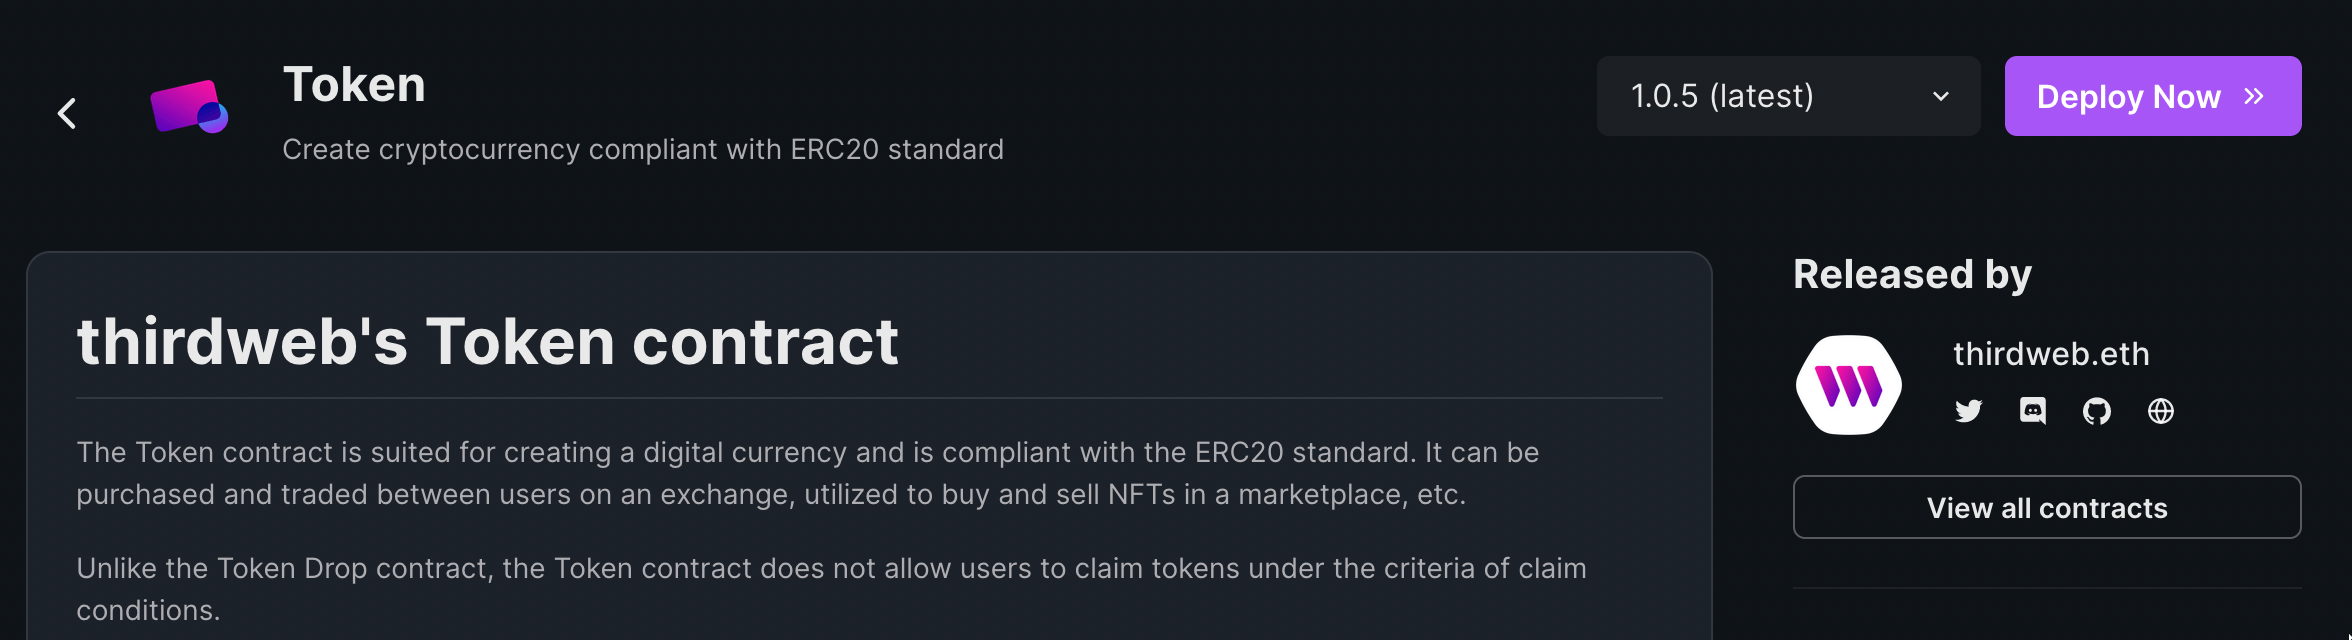
You will reach the Token, now click Deploy Now:
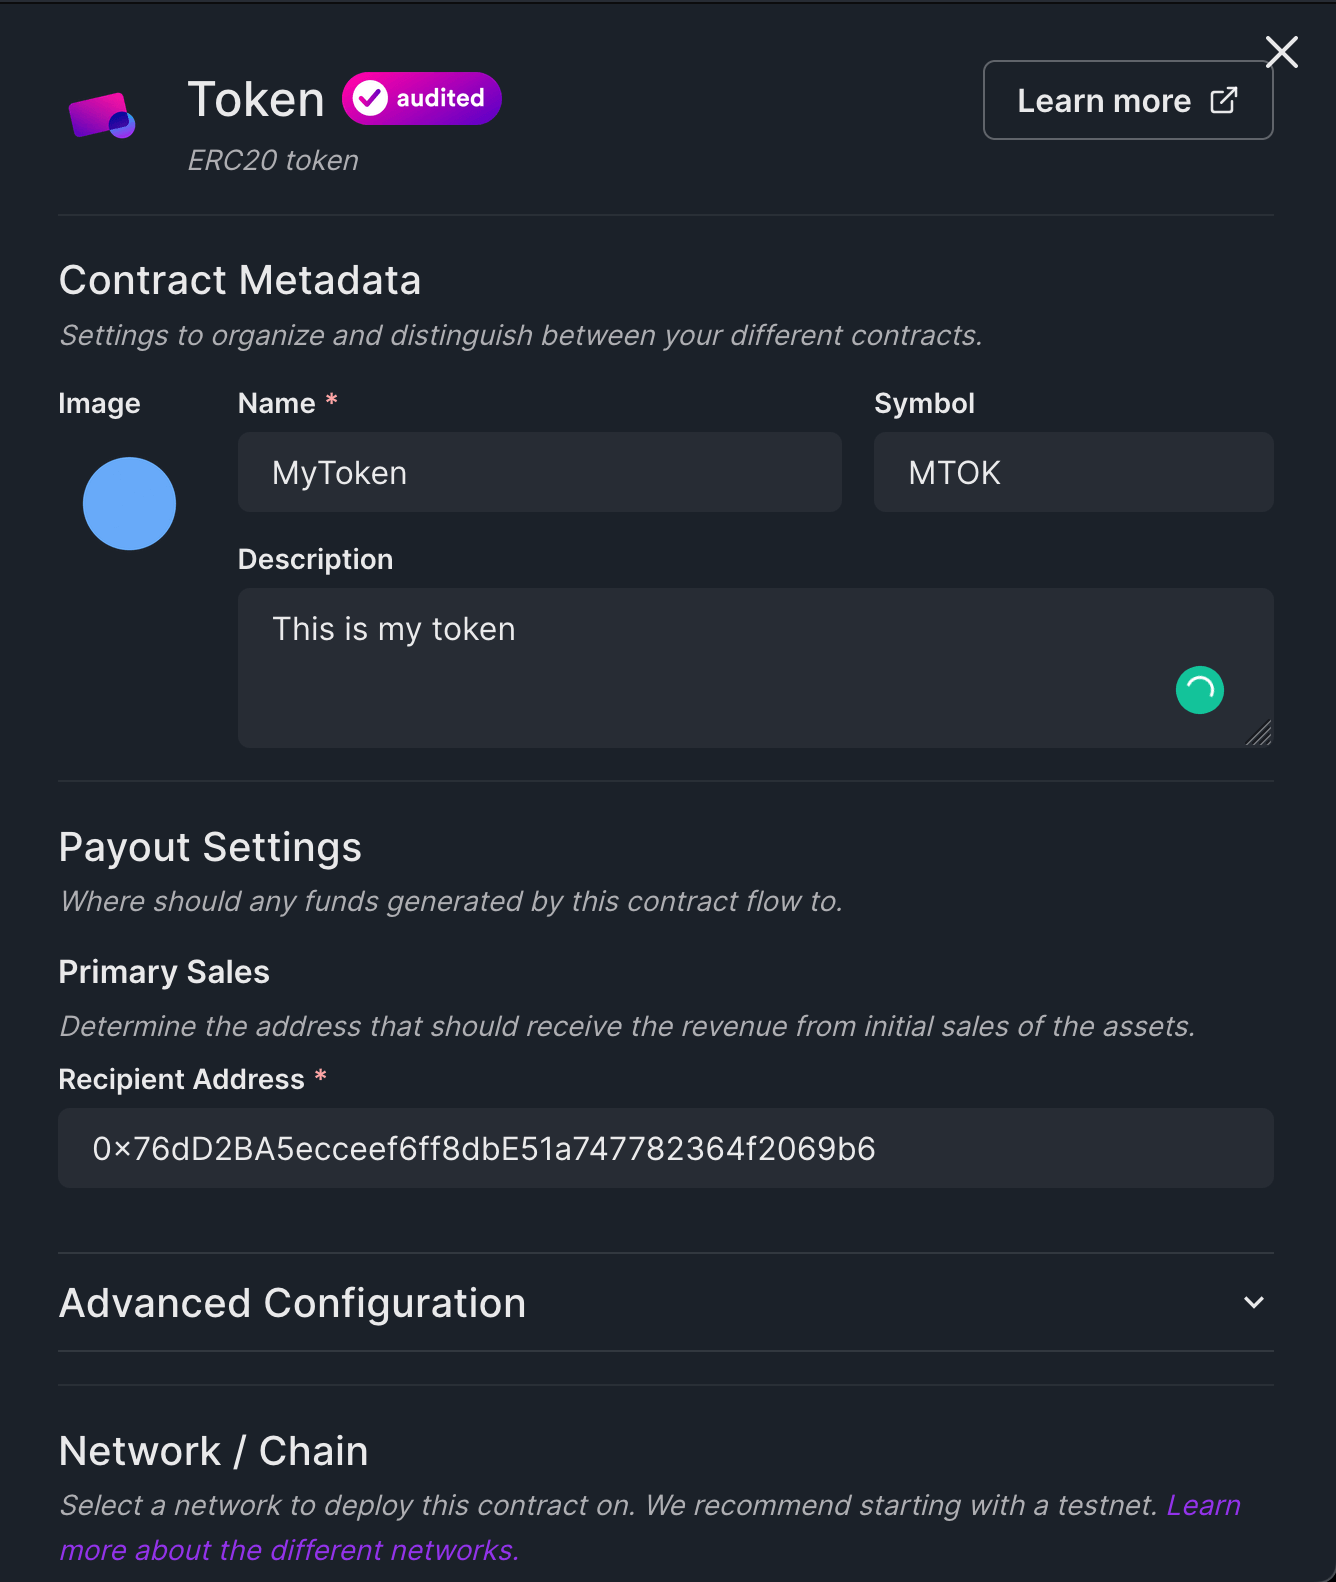
Here, you'll be taken to the page to populate the metadata of the token contract you're going to deploy.
Set up your smart contract with an image, name, description, etc., and configure which wallet address will receive the funds from primary sales:
Go to the Tokens tab and mint some tokens by clicking on the mint button.
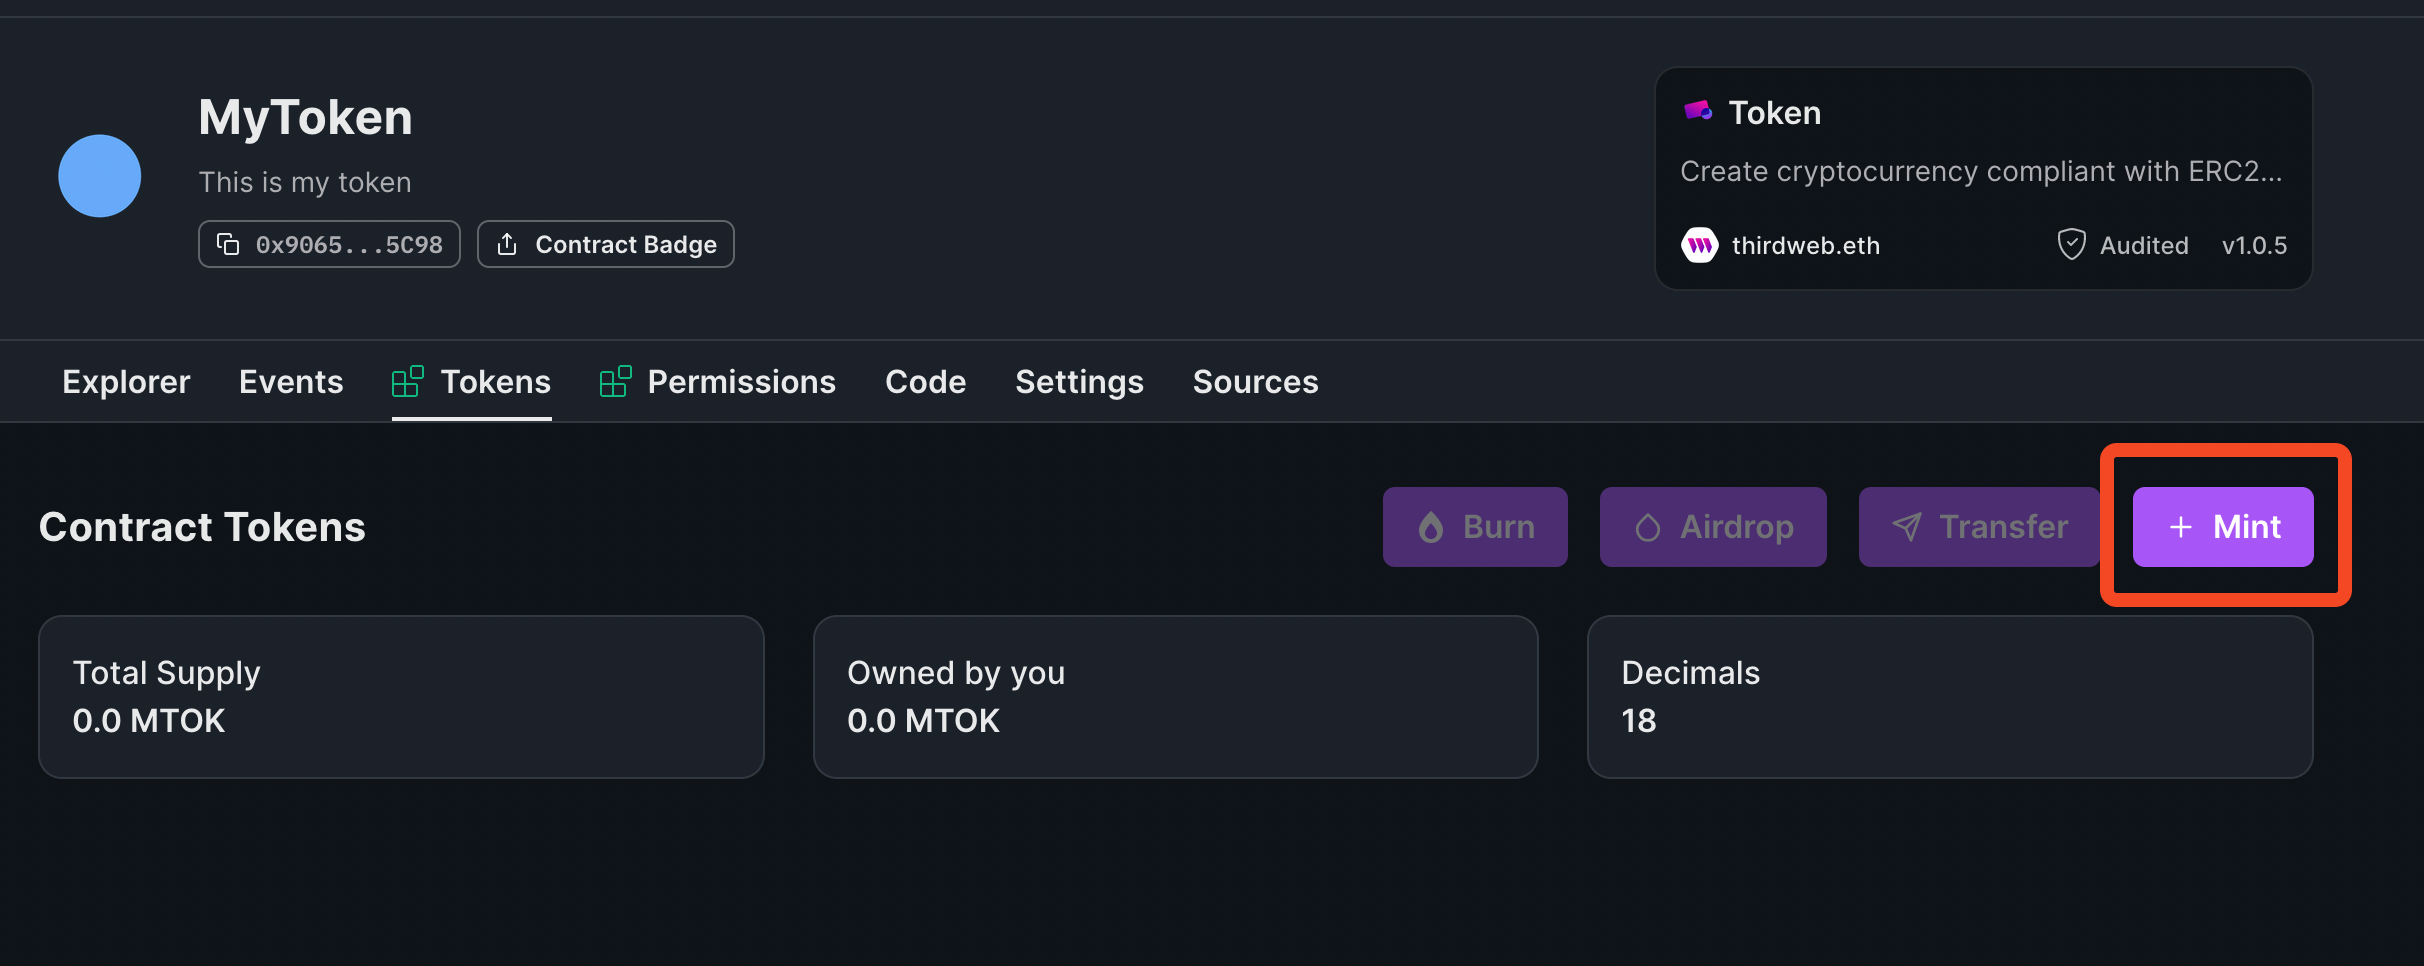
Now, you can distribute it in any way you want. For the sake of testing, I will send these tokens to my wallet which I am going to use later to claim these NFTs.
Getting NFT holders' addresses
We will need to get the address of all the holders in order to allow them to mint using our custom token! We are going to write the script in JavaScript, so initialize a new node.js project like this:
mkdir airdrop-nft

cd airdrop-nft

npm init -y
We will also add the required dependencies:
npm i @thirdweb-dev/sdk ethers@5 # npm

yarn add @thirdweb-dev/sdk ethers@5 # yarn
Now we can start writing our script, so create a new file called scripts/get-addresses.mjs and add the following:
import { ThirdwebSDK } from "@thirdweb-dev/sdk";
import fs from "fs";
import path from "path";

(async () => {
  const sdk = new ThirdwebSDK("goerli");
  // replace the addresses and amount with your own:
  const collectionAddress = "0x08d4CC2968cB82153Bb70229fDb40c78fDF825e8";
  const tokenAddress = "0x2D2DeDba9D45DDaCd938B9DA5b3ED6F7aA18b5C4";
  const tokenAmount = 1200;

  const contract = await sdk.getContract(collectionAddress);

  if (!contract) {
    return console.log("Contract not found");
  }

  // getting all the NFTs of the collection
  const nfts = await contract.erc721.getAll();

  if (!nfts) {
    return console.log("No NFTs found");
  }

  // creating a new array of addresses
  const csv = nfts.reduce((acc, nft) => {
    const address = nft.owner;
    const quantity = acc[address] ? acc[address] + 1 : 1;
    return { ...acc, [address]: quantity };
  }, {});

  // filtering the addressees
  const filteredCsv = Object.keys(csv).reduce((acc, key) => {
    if (key !== "0x0000000000000000000000000000000000000000") {
      return {
        ...acc,
        [key]: csv[key],
      };
    }
    return acc;
  }, {});

  // writing the addresses to a csv file
  const csvString =
    "address,maxClaimable,price,currencyAddress\r" +
    Object.entries(filteredCsv)
      .map(
        ([address, quantity]) =>
          `${address},${quantity},${tokenAmount},${tokenAddress}`
      )
      .join("\r");

  fs.writeFileSync(path.join(path.dirname("."), "snapshot.csv"), csvString);
  console.log("Generated snapshot.csv");
})();
Here, we first get all the NFTs of the collection, then we reduce it to create an array of the addresses with the quantity. Finally, we create a csv file with the address, quantity, tokenAmount and tokenAddress parameters.
Update the collectionAddress, tokenAddress, and the tokenAmount to the one that you want to use.
Finally, run the script like this:
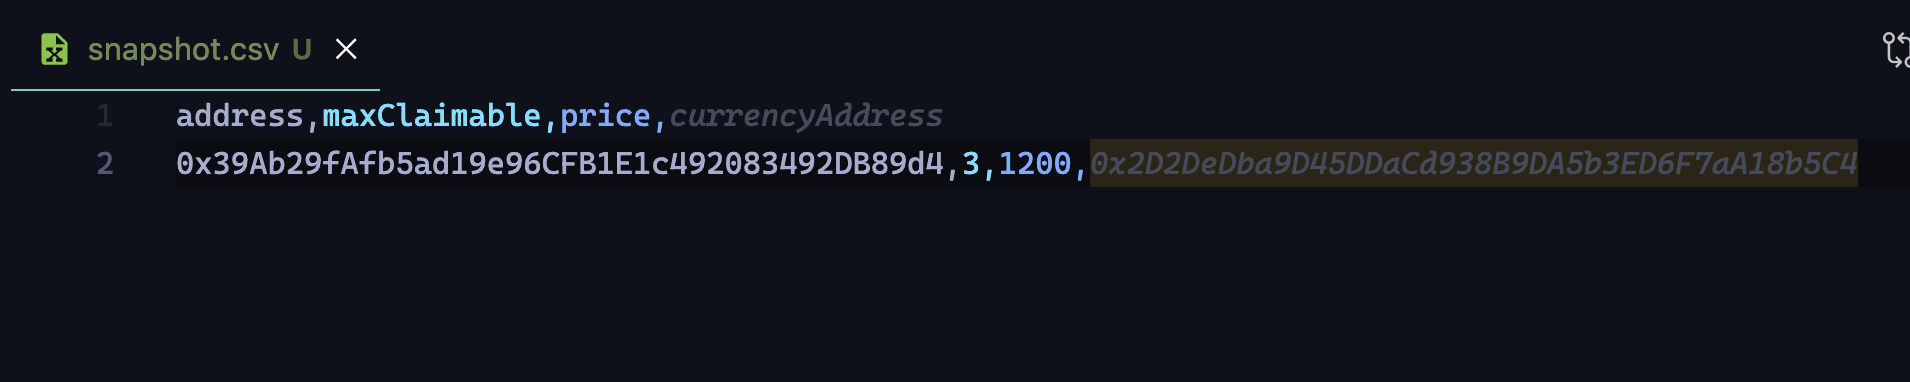
node scripts/get-addresses.mjsYou will now be able to see a new snapshot.csv file which will look something like this:
Set Up Claim Conditions
Claim conditions are the criteria that define who, when, and how users can claim an NFT from your drop; such as release dates, allowlists, and claim limits.
Go to the Claim conditions tab and click on Add Initial Claim Phase to get started.
In the claim phase, we set the default values for all wallets. You can change the details and charge whatever you want for the general public; such as 0.1 ETH.
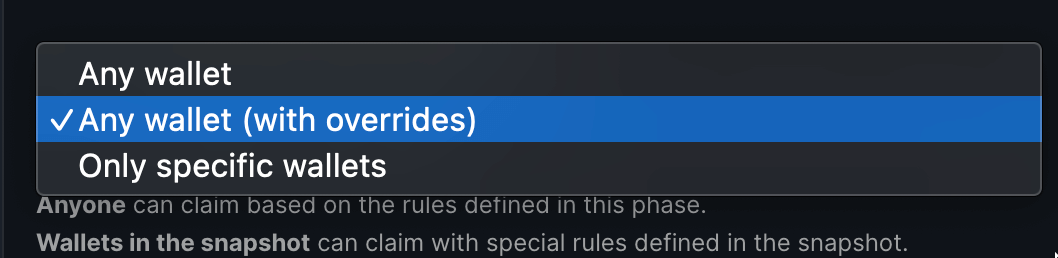
Next, select "Any wallet (with overrides)" in "Who can claim NFTs during this phase?" to upload the CSV file we generated containing our list of wallet addresses that can claim using our custom token:
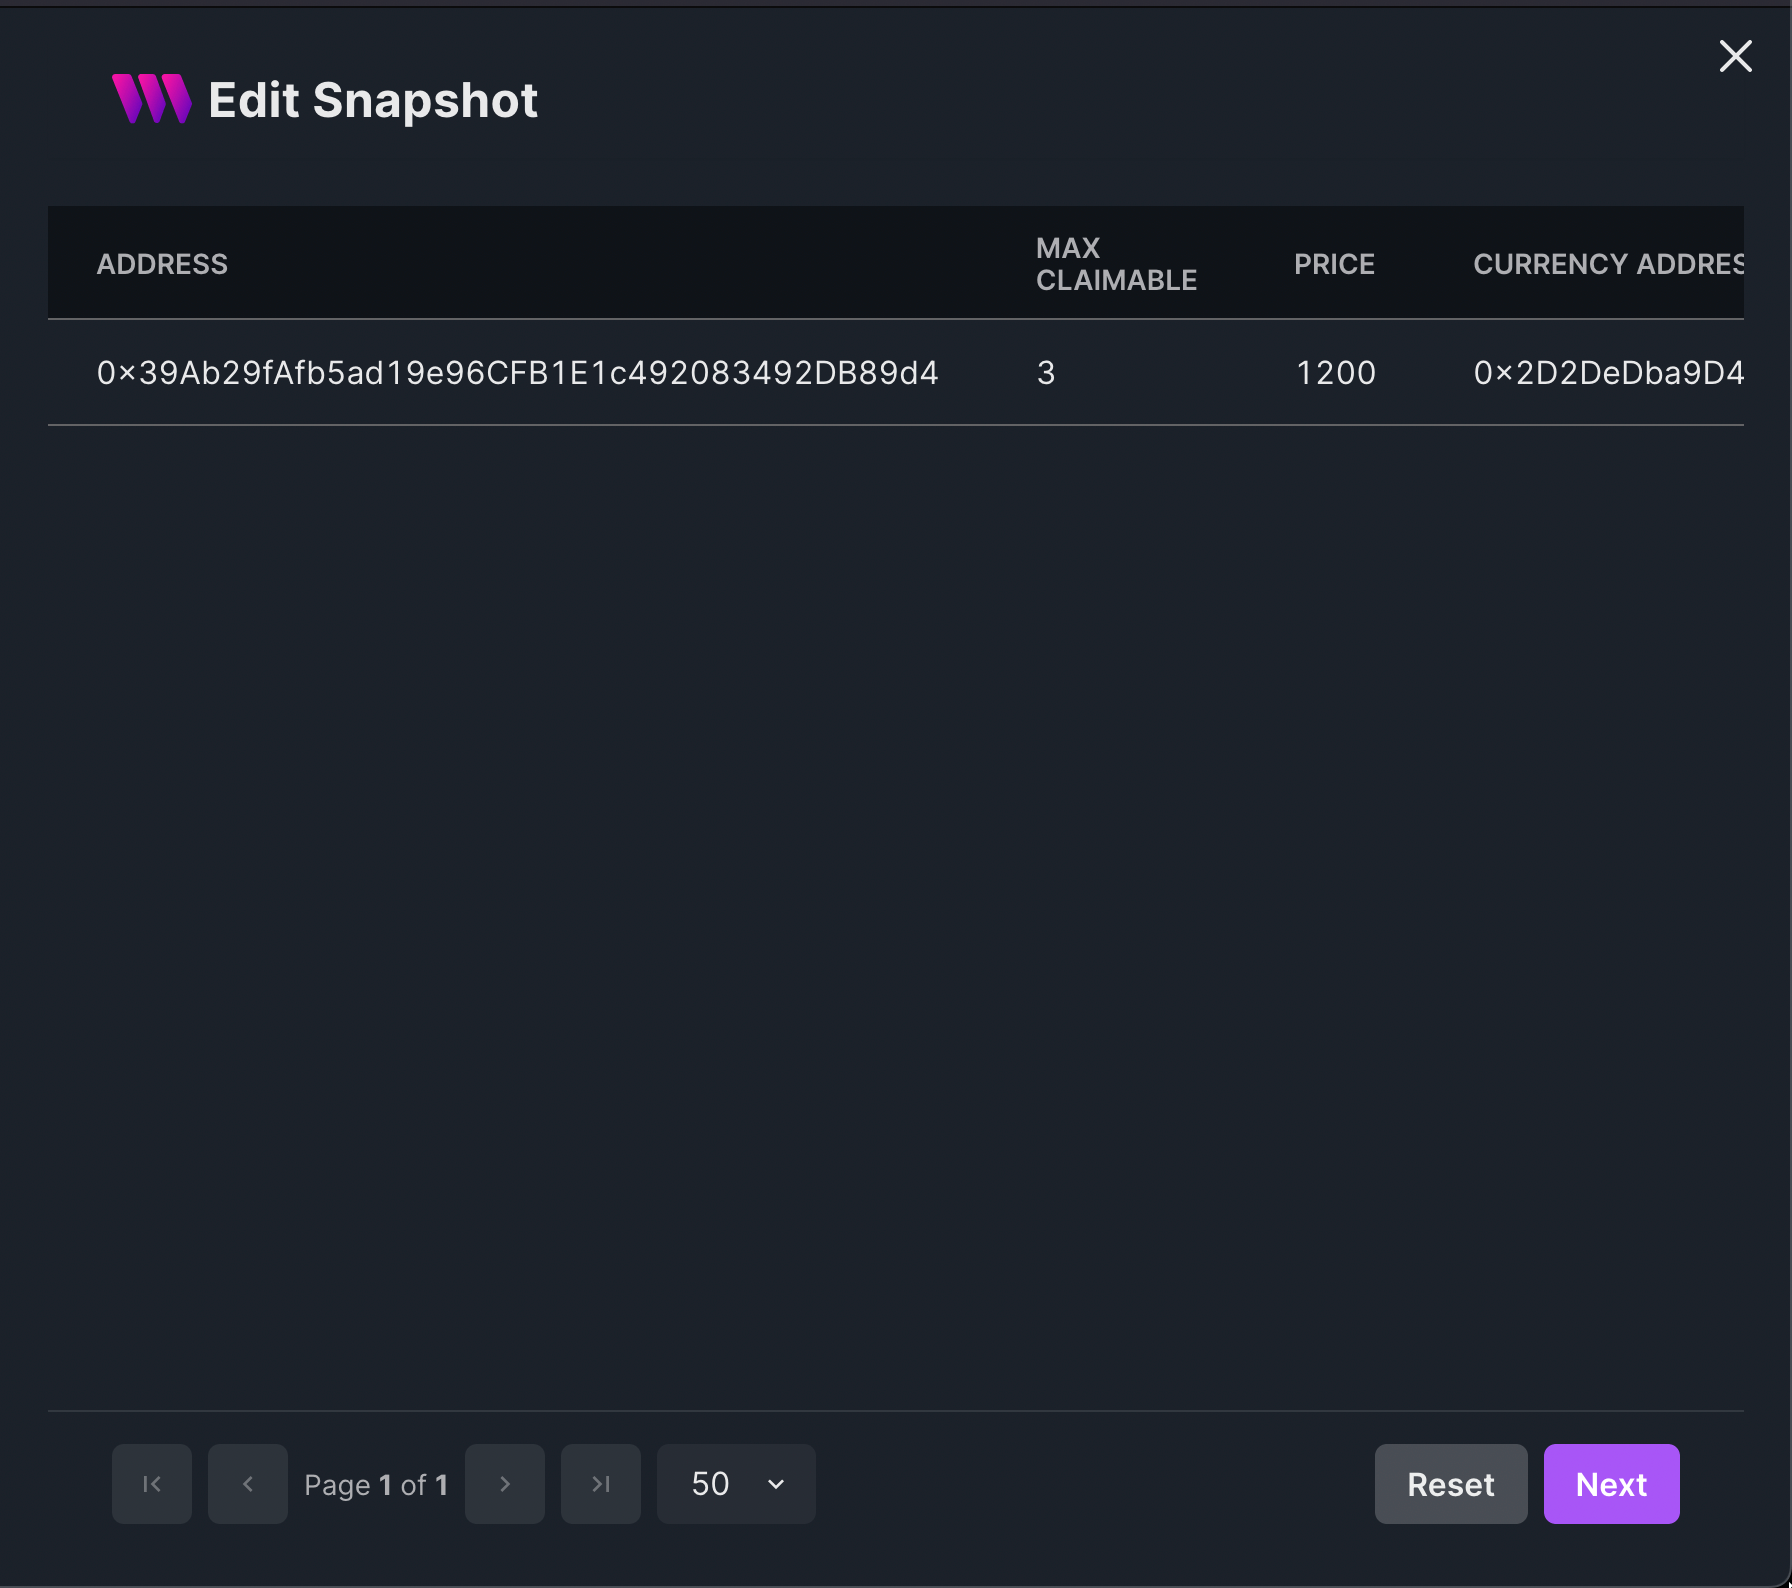
A drawer will open up, upload the CSV file that we just made using the script, and save your claim phase!
Testing the flow
Go to the embed tab and try out minting from a wallet that was in the snapshot once and once from a wallet that wasn't in the snapshot. You will see that now you have custom claim conditions for specific wallets, LFG!
Wallet not in overrides (pays using ETH):
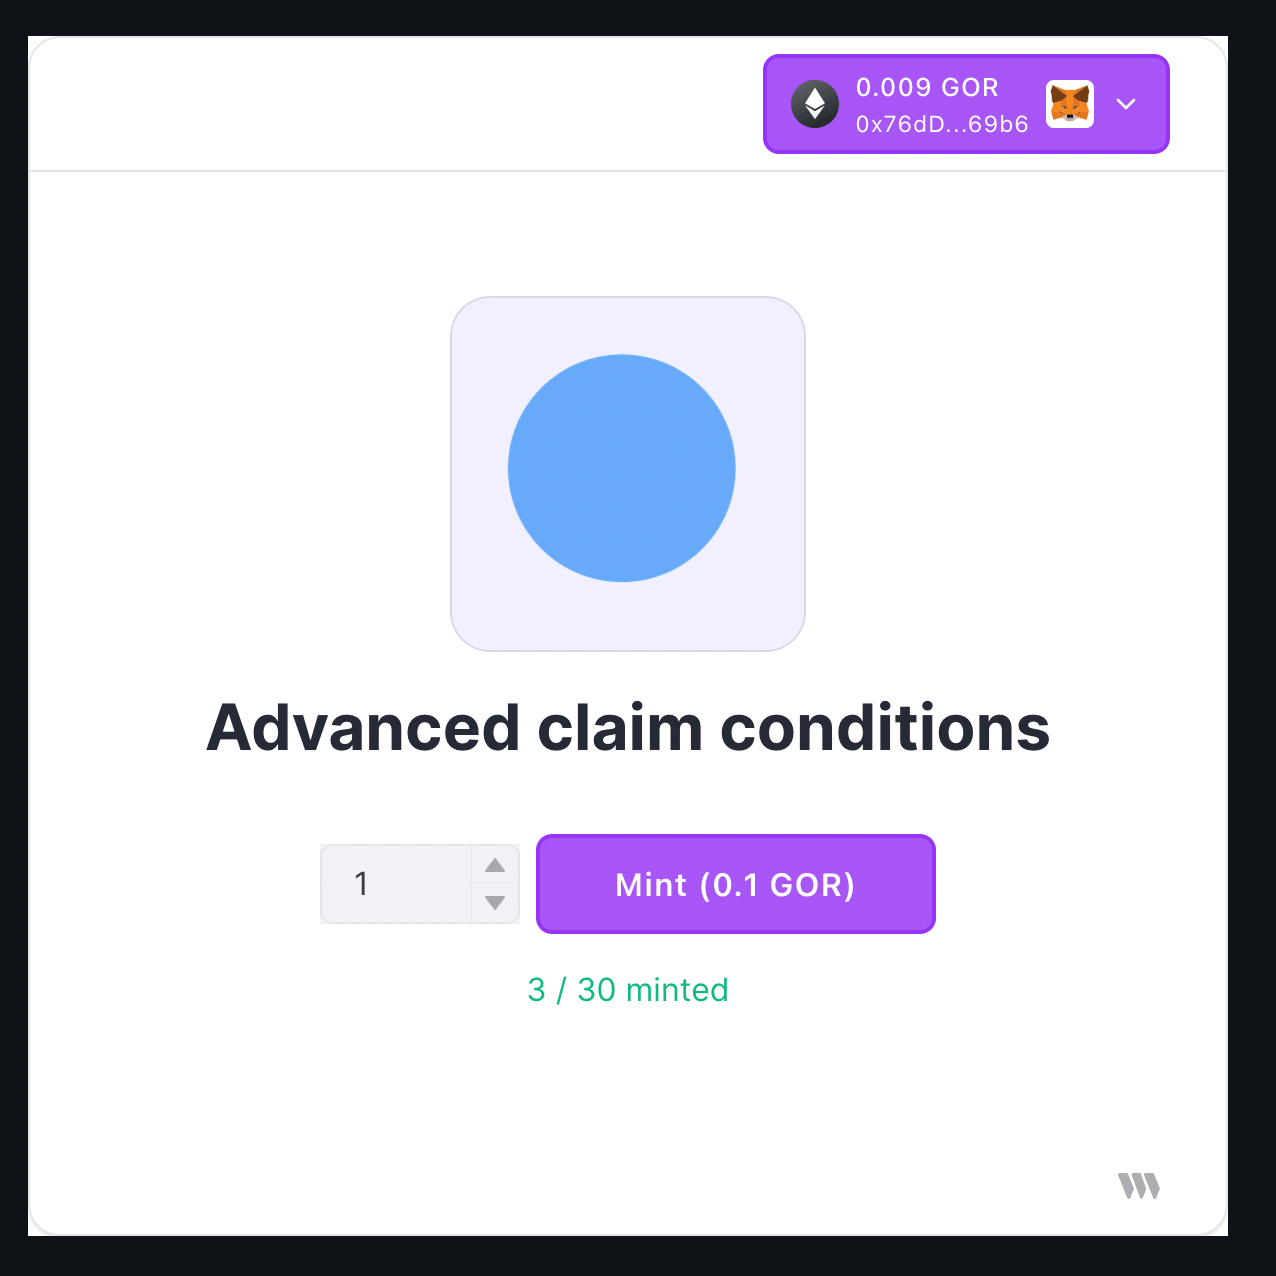
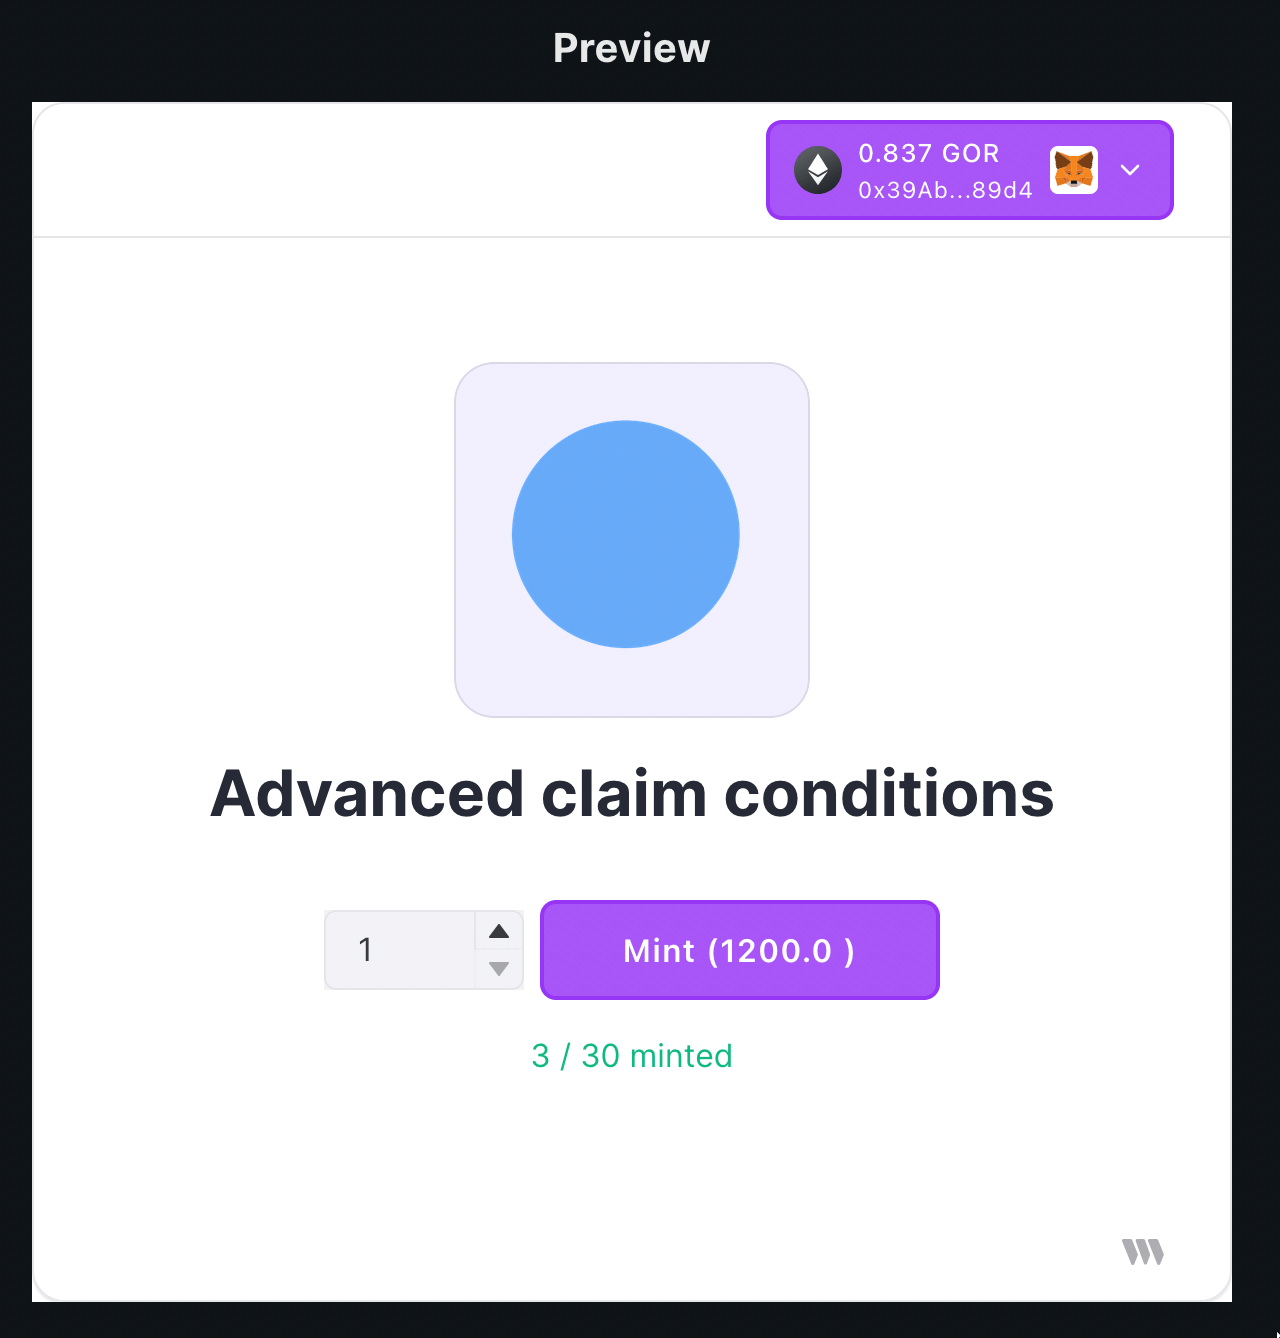
Wallet present in overrides (pays using our custom token):
Conclusion
This guide taught us how to allow holders of an NFT collection specific minting arguments.
If you did as well, pat yourself on the back and share it with us on the thirdweb discord! If you want to look at the code, check out the GitHub Repository.