Build Web3 Mobile Apps with React Native on Mode

Building web3 mobile apps on Mode has never been easier thanks to the powerful tooling of thirdweb's React Native SDK. In this guide, we'll walk through the process of creating a mobile web3 app for iOS or Android, on the Mode blockchain, that allows users to connect their wallets, read on-chain data, and execute transactions.
By the end of this guide, you'll have a fully functioning web3 mobile app built with React Native and Expo. Users will be able to:
- Connect their wallet using various web3 providers and wallets
- Read data from smart contracts
- Execute transactions and write data to the blockchain
- Utilize account abstraction for gasless transactions
Check out the full video tutorial here:
How to Build Web3 Mobile Apps with React Native and thirdweb
Prerequisites
Before we begin, make sure you have the following:
- A thirdweb account
- ETH testnet funds on Mode Testnet (Use thirdweb faucet below)

Step 1: Expo Starter Template
To get started quickly, we'll use thirdweb's React Native Expo starter template.
1. Open a terminal and run:
npx thirdweb create app- Name your project
- Then select 'React Native' as the framework
- Finally, open the project in the editor of your choice
Step 2: Set Up the thirdweb SDK
- Rename the
.env.examplefile to.env - Go to the thirdweb dashboard, create a new project, and copy the project's API key
- Paste the API key into the
.envfile:
EXPO_PUBLIC_THIRDWEB_CLIENT_ID=your-api-key- Navigate to your
app.jsonfile - Find
iosand add theextraPodssettings
"ios": {
  "supportTablets": true,
  "bundleIdentifier": "com.thirdweb.demo",
  "associationDomains": [
    "webcredentials:thirdweb.com",
    "applinks:thirdweb.com"
  ],
  "extraPods": [
    "name": "OpenSSL-Universal",
    "version": "3.3.2000"
  ]
}
Step 3: Connect a Wallet
One of the first things a user needs to do in a web3 app is connect their wallet. With thirdweb's React Native SDK, you can easily add wallet connection with the ConnectWallet component and define Mode as the network to connect to.
In Index.tsx , add the following code:
<ConnectButton
  client={client}
  chain={defineChain(34443)} //Defines Mode as the blockchain
/>
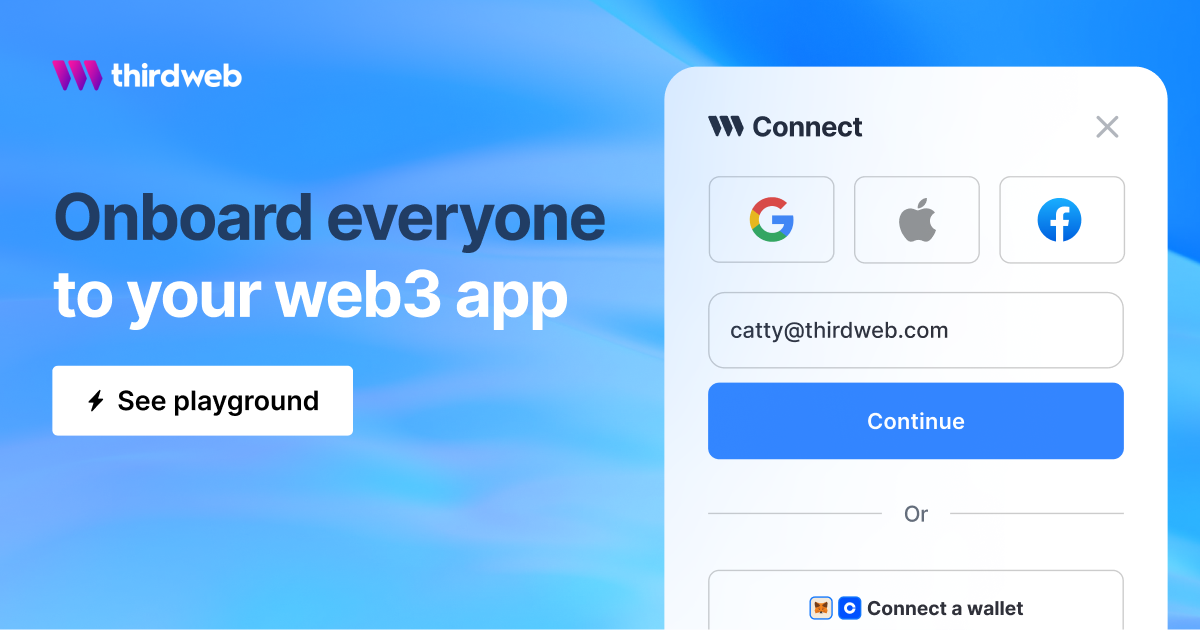
This will render a "Connect Wallet" button that opens a modal for users to select a wallet provider. This includes In-App Wallets from thirdweb too, allowing users to generate wallets via email, social login, or passkey.
In-App Wallets can create amazing user experience for your web3 mobile app allowing users to generate a wallet in app instead of having to toggle back and forth between wallet apps on their devices to confirm transaction.
To demo and visually customize your ConnectButton component try it out in our playground. Use the visual editor to get your ConnectButton just right and simply copy the code snippet over to your project.

Step 4: Read On-Chain Data
Now that we have a connected wallet, let's read some data from a smart contract using the getContract and useReadContract hooks.
- First lets create a wrapper for our contract using
getContract
const contract = getContract({
  client: client,
  chain: defineChain(34443) //Define Mode as blockchain
  address: <contract_address>
  abi?: <optional_contract_abi>
})- Now, we can read data and call read function from our contract. With thirdweb's React Native SDK we can do this one of two ways. In the examples we'll get the total supply of an ERC-20 token:
- Defining the read method we want to call from our contract.
const { data, isLoading } = useReadContract({
  contract,
  method: "function totalSupply() view returns (uint256)",
  params: [],
});- Use thirdweb's extensions for standardized contracts (ERC-20, ERC-721, etc.)
const { data, isLoading } = useReadContract(
  totalSupply,
  {
    contract
  }
);- You can then render the data in your component:
<Text>Total Supply: {isLoading ? "Loading..." : data?.toString()}</Text>Step 5: Execute Transactions
In addition to reading data, we can also execute transactions on the blockchain using the useSendAndConfirmTransaction hook.
- First lets create a wrapper for our contract using
getContract
const contract = getContract({
  client: client,
  chain: defineChain(34443) //Define Mode as blockchain
  address: <contract_address>
  abi?: <optional_contract_abi>
})- Now, we can write/execute data and call write functions from our contract. With thirdweb's React Native SDK we can do this one of two ways. In the examples we'll mint an ERC-20 token:
- Defining the write function we want to execute from our contract. We'll need to prepare a contract call and then execute it with
useSendAndConfirmTransaction
const { sendMutation: sendTransaction } = useSendAndConfirmTransaction();

const mint = async () => {
  const transaction = prepareContractCall({
    contract,
    method: "function mintTo(address to, uint256 amount)",
    params: [to, amount],
  });

  sendTransaction(transaction);
}- Use thirdweb's extensions for standardized contracts (ERC-20, ERC-721, etc.)
const { sendMutation: sendTransaction } = useSendAndConfirmTransaction();

const mint = async () => {
  sendTransaction(
    mintTo({
      contract: contract,
      quantity: amount,
      to: <address>
    })
  )
}
Step 6: Gasless Transactions with Account Abstraction
One of the powerful features of thirdweb is account abstraction, which allows for gasless transactions. This means users can interact with your app without needing to have native funds in their wallet for gas fees.
To enable gasless transactions, you need to configure the accountAbstraction option in the ConnectButton component:
<ConnectButton
  client={client}
  accountAbstraction={{
    chain: defineChain(34443) //Define Mode as blockchain
    sponsorGas: true
  }}
/>
Here, we're specifying that we want to use accountAbstraction with Smart Wallets with gasless set to true. This will allow users to sign transactions without needing to pay for gas.
Step 7: Testing the App
To test your React Native app, you can use the Expo development tools.
- Prebuild the app (only needed once):
npx expo prebuild- Run the development build on iOS or Android
- iOS:
npx expo run:ios - Android:
npx expo run:android
Once the app is running, you can test out the wallet connection, data reading, and transaction execution flows.
Conclusion
And that's it! With thirdweb's React Native SDK, you can build powerful web3 mobile apps on Mode with ease. The SDK provides a seamless developer experience, allowing you to focus on creating great user experiences without worrying about the complexities of web3 integrations.
Some key benefits of using thirdweb's React Native SDK include:
- Easy wallet connection and management with the
ConnectButtoncomponent - Seamless reading of onchain data using hooks like
useReadContract - Executing transactions with the
useSendTransactionoruseSendAndConfirmTransactionhooks - Gasless transactions with account abstraction and Smart Wallets, providing a better UX for your users
To learn more about the thirdweb React Native SDK, check out the official documentation. You can also explore the example projects on GitHub for more inspiration and code samples.
Happy building!


