How to Build a Web3 LINE Mini App
Create blockchain-powered mini apps for Line's 196M+ users using thirdweb's tools. This guide shows how to build a gasless token reward system within Line Messenger.
In this tutorial, we'll walk through the process of building a web3 LINE mini game using thirdweb's SDK. The game will be a simple rock paper scissors game where users can connect their wallet, play the game, and earn tokens for winning.
By the end of this guide, you will have a fully functioning web3 LINE mini game that allows users to:
- Connect their wallet by signing in with an email
- Play rock paper scissors against the computer
- Claim token prizes for winning games
- View their token balance and wallet address
Checkout the Video Tutorial Here
Prerequisites
- Line Developer Account
- thirdweb client ID
- Testnet funds on Kaia Chain
- Basic React knowledge
- Follow all region restrictions from LINE
Step 1: Create a Line Provider
The first step is to create a Line Business ID account in order to log into the LINE Developer Console. This can be done with just an email.
- Create a Line Business ID Account
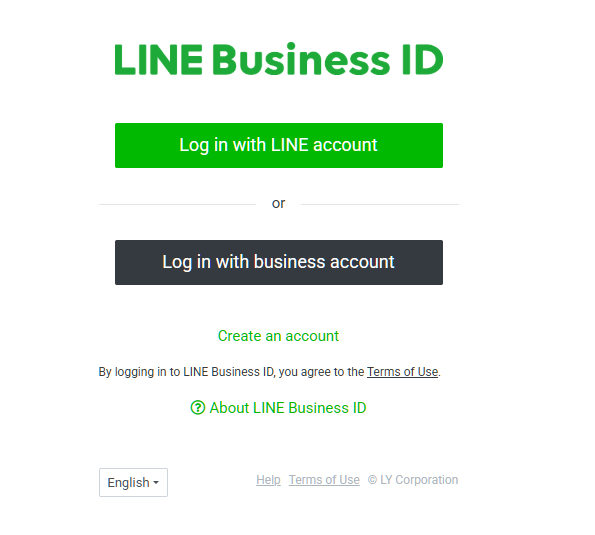
- Login to the LINE Developer Console with your Business ID
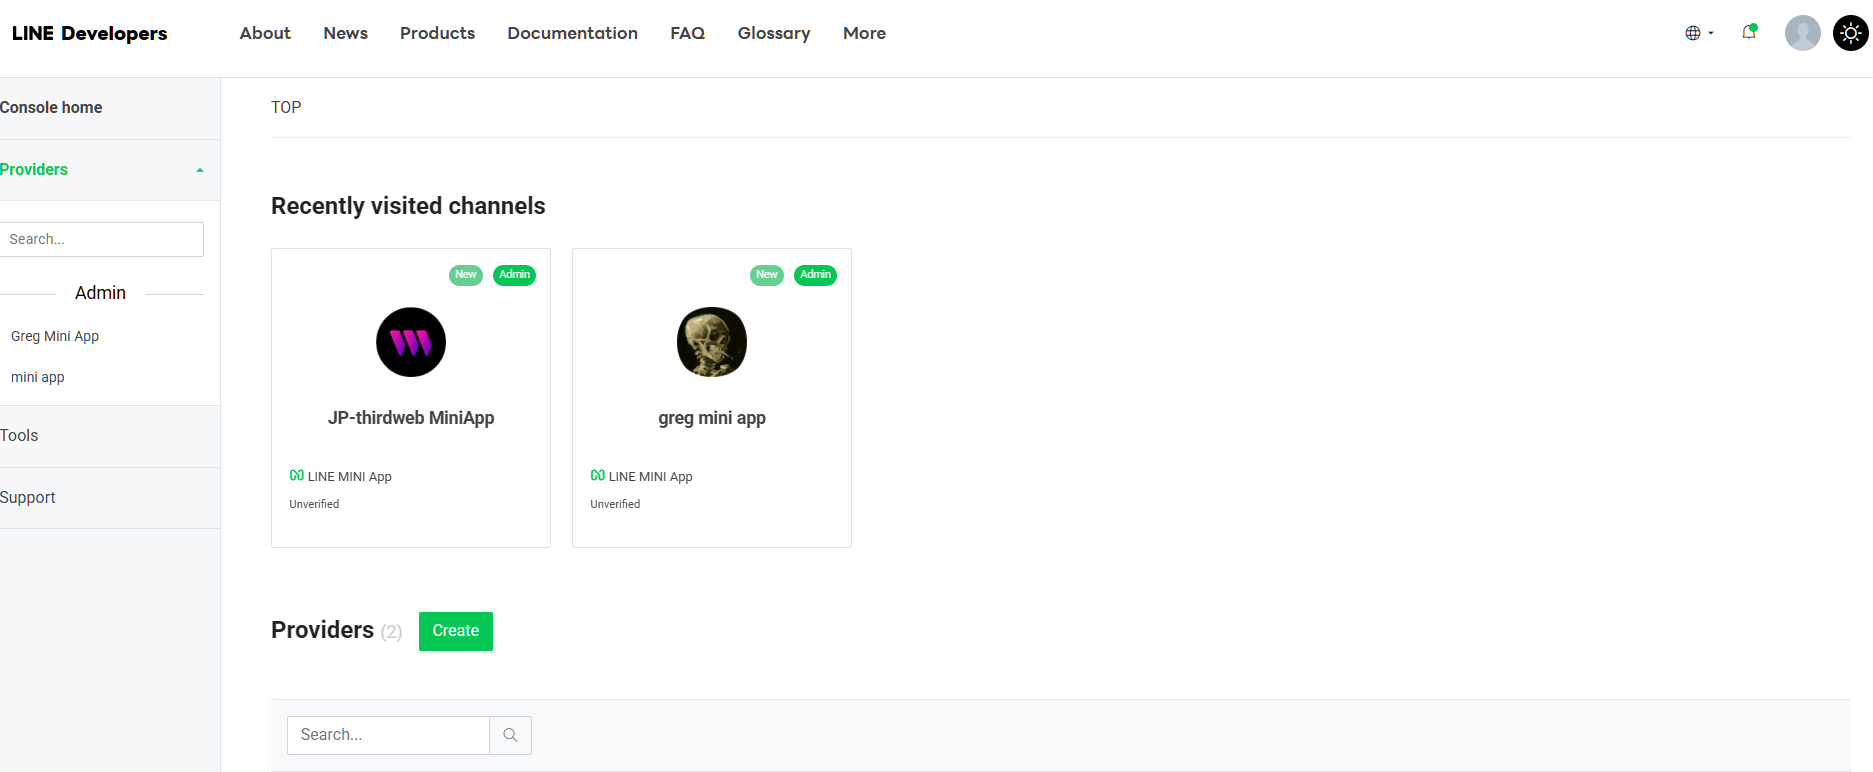
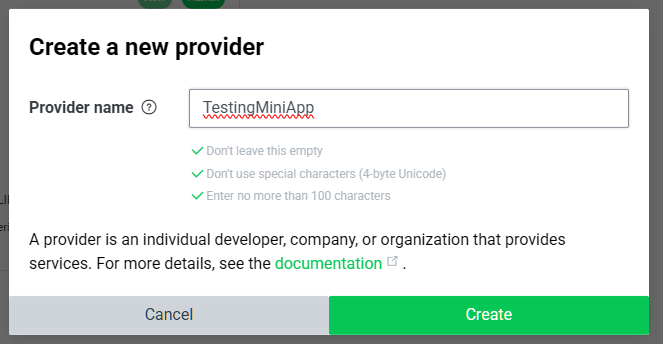
- In the providers section click on Create
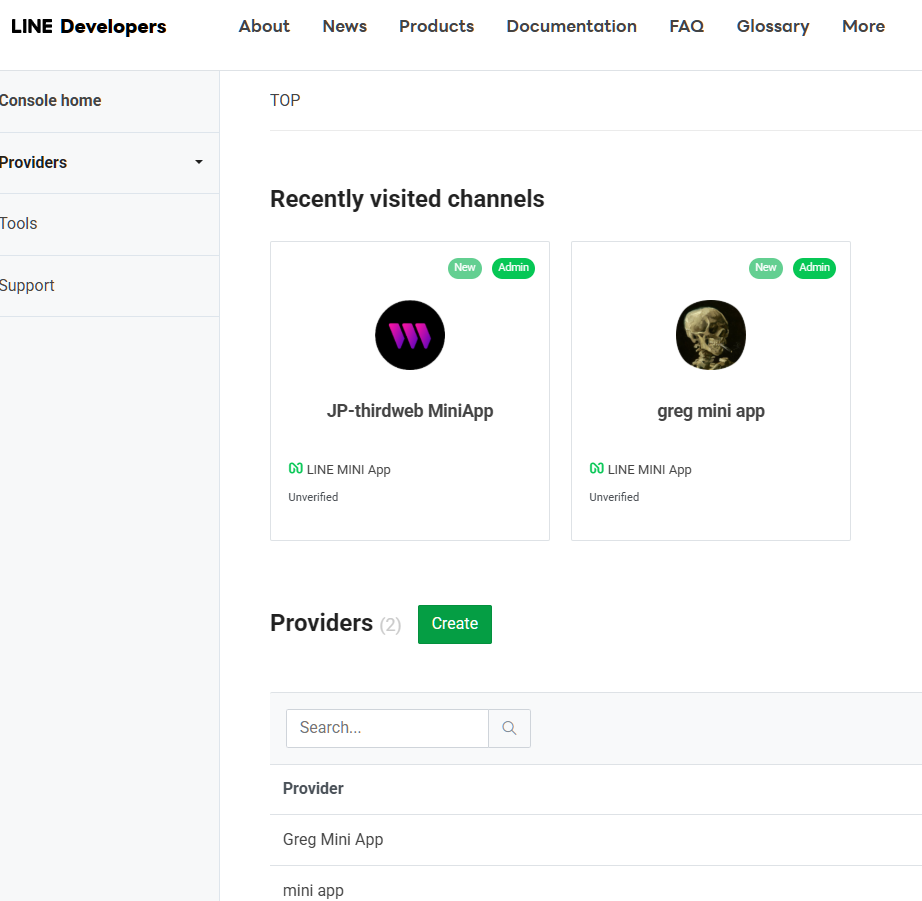
- Name your Provider and click on Create
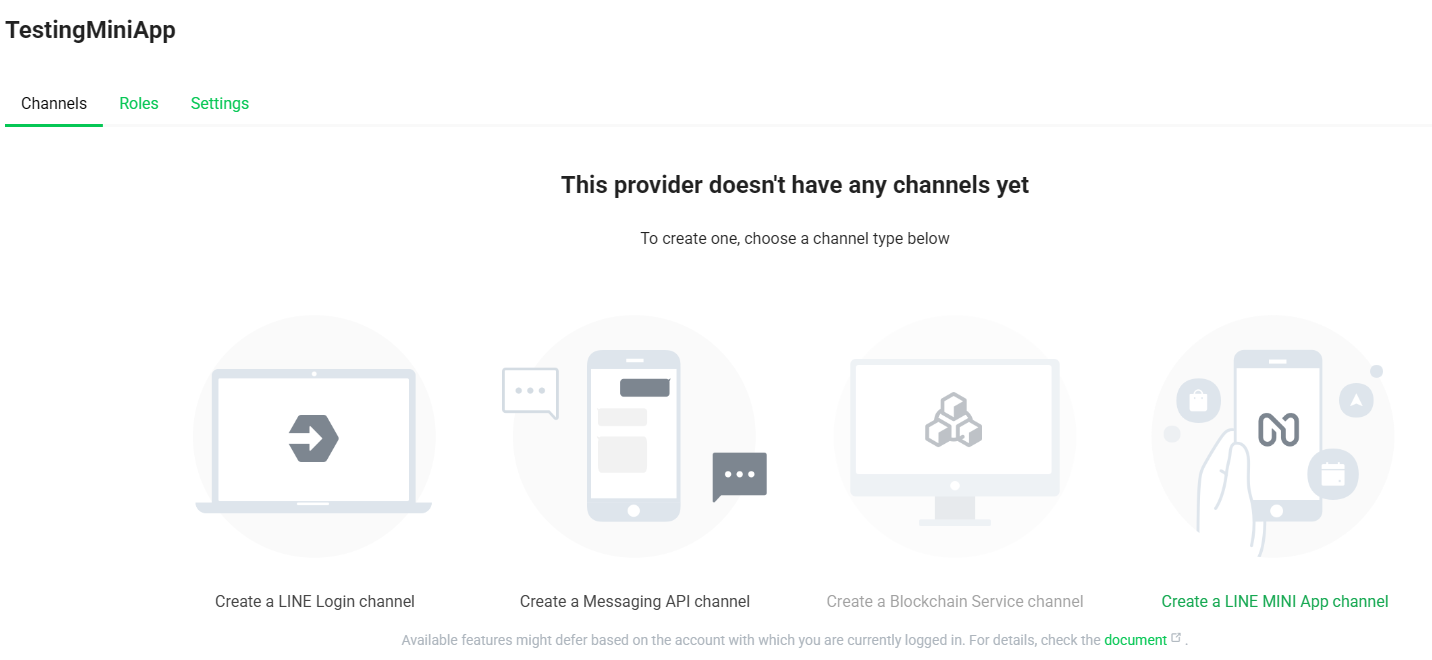
Step 2: Create a Line Mini App Channel
Now, let’s create a Line Mini App Channel that will act as your mini app!
- Once your Provider is created click on Create a LINE MINI App Channel
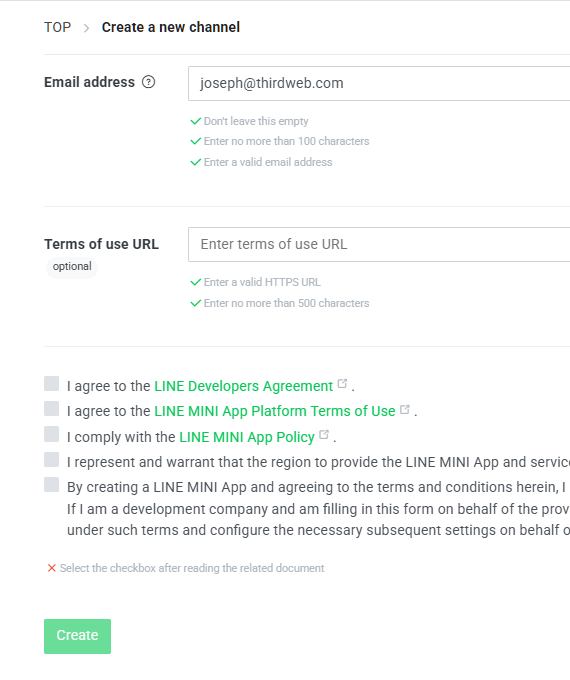
- Fill in any necessary information such as which region you would like this channel to be available in, profile info, channel name, etc.
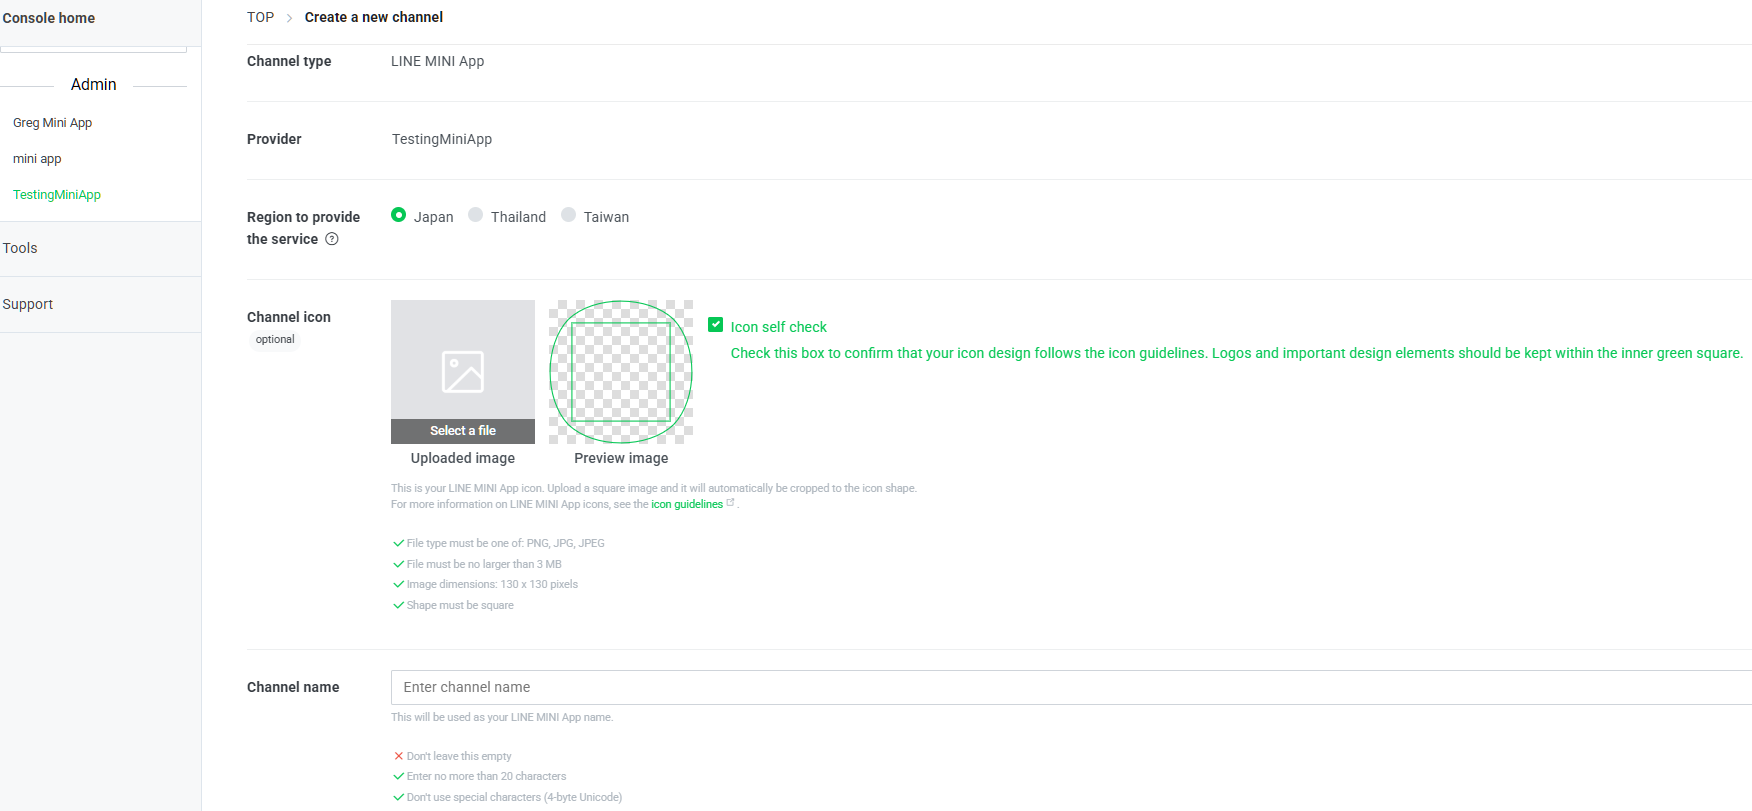
- Click on Create when done
- Once your MiniApp is created you will be shown a screen containing your mini apps information. The important info for development will be in the Web app settings tab.

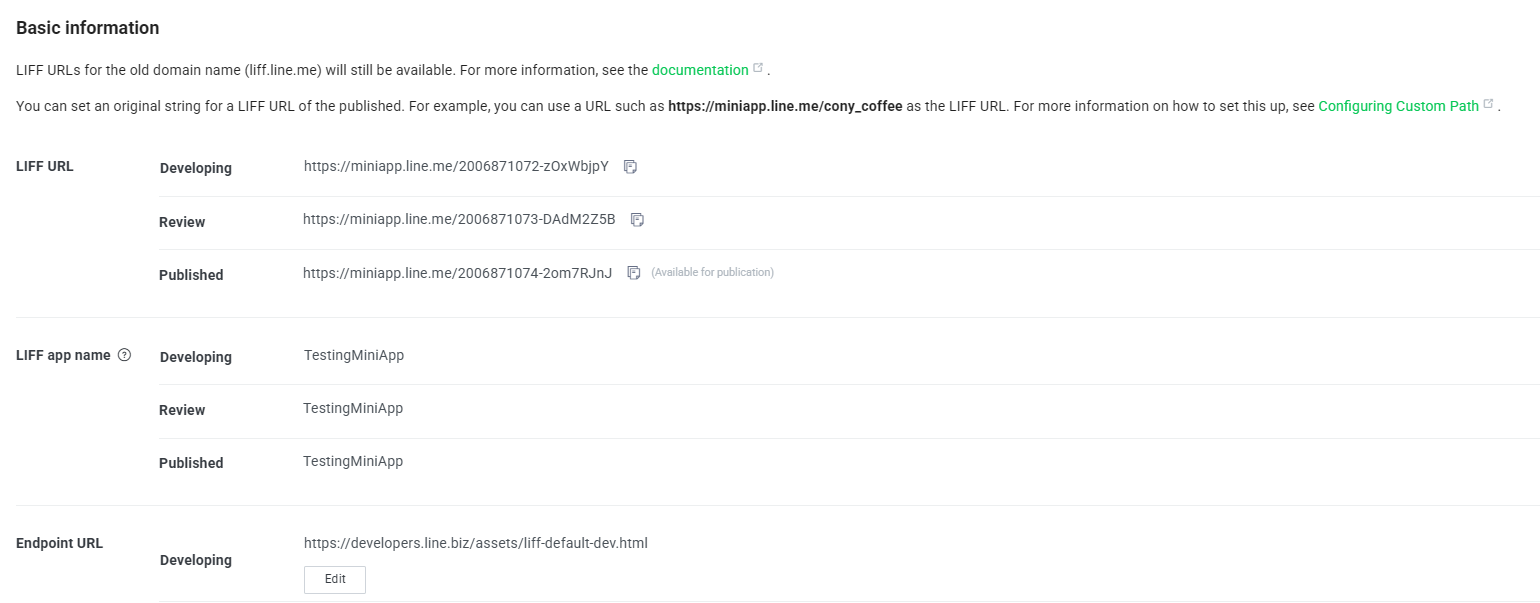
- Is this section you will see a Basic Information. For developing it is important to take note of the following:
LIFF URL: This will be used to identify your mini-app. Pay special attention to the section after line.me/ as this is your LIFF ID.
Endpoint URL: This is where your application will point to. Once you have your webapp running you can update this to point to your webapp
Step 3: Set up the Next.js React Project
Its time to setup your Next.js project for our mini game and web app.
- Open your terminal and run:
npx thirdweb create
- Choose a project name and select
Next.jsas the framework. - Change into the project directory:
cd project-name - Open your project in your code editor
Step 4: Configure the Web App as a Line Mini App
Now, we will configure our web app to be opened as a LINE mini app when opened through the LINE app.
- Install the
@line/liffpackage either through yarn or npm
npm install @line/liff
or
yard add @line/liff
2. Open the layout.tsx file in your project
- Designate the file as a
use clientat the top of the file. - Import the liff package
import liff from '@line/liff'; // DIRECT IMPORT of liff
- Initialize the LIFF client through a use effect
- Create a tracker for the LIFF state
const [isLiffReady, setIsLiffReady] = useState(false); // Track LIFF readiness
b. Load your liffID from your .env file. Remember this is taken from your LINE developer console.
const liffId = process.env.NEXT_PUBLIC_TEMPLATE_LINE_LIFF!; //USE YOUR LIFF ID
c. Use a useEffect to inititialize the LIFF client.
useEffect(() => {
    // Only initialize LIFF on the client-side
    if (typeof window !== 'undefined') {
      const initializeLiff = async () => {
        try {
          await liff.init({ liffId: liffId });
          console.log('LIFF initialized successfully!');
          setIsLiffReady(true); // Set state to indicate LIFF is ready
        } catch (error) {
          console.error('LIFF initialization failed', error);
        }
      };

      initializeLiff();
    }
  }, [liffId]);
d. Wrap your <ThirdwebProvider> with the Liff Client Status
return (
    <html lang="en">
      <body className={inter.className}>
        {isLiffReady ? (
          <ThirdwebProvider>{children}</ThirdwebProvider>
        ) : (
          <div>Loading LIFF...</div> // Or a better loading indicator
        )}
      </body>
    </html>
  );
e. At this point we have our web app running, but we need to provide the URL to LINE so it knows where to open our mini app.
Since we're just running the web app locally, we need a way to create a public URL that tunnels to our localhost URL. We can use a tool like ngrok for this.
1. Install ngrok (If you don't have it installed already)
2. In a new terminal window, run: ngrok http http://localhost:<port number>
3. Copy the forwarding address provided (e.g. https://1a2b-3c4d-5e6f-7g8h-9i0j.ngrok.io)
4. Head back to the LINE developer console and provide this address as the Endpoint URL in the Developing section

Step 5: Install and setup thirdweb
Now that we have our mini app setup, let's start building our app with thirdweb so we can connect a wallet and interact with contracts onchain.
- In your project install thirdweb
npm install thirdweb
or
yard add thirdweb
- Create a
.envfile in the root directory and add yourprocess.env.NEXT_PUBLIC_TEMPLATE_CLIENT_ID(Provide a thirdweb client ID. Don't have one, learn how to create one here.) - Add your
NEXT_PUBLIC_TEMPLATE_LINE_LIFFin your.envfile as well
Step 6: Add a Connect Wallet Button
Let's add a connect wallet button using the ConnectButton component from thirdweb. We'll configure it to only allow users to connect with email and connect a Smart Wallet (Account Abstraction) so user doesn't have to pay for gas and we can sponsor it with a paymaster.
- Create a components folder and file for your game. Example in repo in a RockPaperScissors game.
- In the game file add the ConnectButton component. Provide it your client, configure the wallet to only email with In-App wallets, and configure accountAbstraction to allow sponsorGas:
<ConnectButton
    client={client}
    accountAbstraction={{
        chain: defineChain(1001),//Your chain, this example uses kairos testnet
        sponsorGas: true
    }}
    wallets={[
        inAppWallet({
            auth: {
                options:[ "email" ]
            }
        })
    ]}
/>
Now when a user clicks the connect button in our mini app, they'll be prompted to enter their email to sign in. thirdweb will generate a wallet for them and use that as an EOA wallet to a Smart Wallet.
Step 7: Create the Game Component
Next, let's build out our game that we want to show our user once they have signed in and connected a wallet.
- Build your own game in the game component file we created above or you can copy the Rock, Paper, Scissors game we created here:
https://github.com/thirdweb-example/LINE-Mini-App
The next step is to create the token contract that will allow us to mint tokens to the user's wallet when they win.
Step 8: Create the Token Contract
Now that we have our game set up to claim tokens, we need to create the token contract that will mint the tokens to the user's wallet.
- Go to the thirdweb dashboard , then to the "Contracts" tab, and click "Deploy Contract" in the top right corner.
- Choose the "Token Drop" contract, which is a claimable ERC20 token contract.
thirdweb: The complete web3 development platform - Give your token a name (e.g. "Rock Paper Scissors Token"), symbol (e.g. "RPS"), and optional description and image.
- Select the chain you wish to deploy on. In this example we use Kaia’s Kairos Testnet.
- Scroll down and click "Deploy Now", confirm the gas, and sign the request to add the contract to your dashboard.
- Once deployed, click "View Contract" to go to the contract dashboard.
- Go to the "Claim Conditions" tab and set up a public claim where anyone can claim any amount of tokens.
Step 9: Interact with the Token Contract in the App
Now that our token contract is deployed, let's interact with it in our app to allow users to claim tokens when they win.
- In your game component let's first get our token contract we just deployed:
const contract = getContract({
  client: client,
  chain: defineChain(1001),
  address: "<YOUR_TOKEN_CONTRACT_ADDRESS OR pull from .env file>"
});
- Next we can create a
TransactionButtonto show when a user is allowed to claim a prize. This will execute theclaimTofunction from the contract and claim tokens to the user's wallet
<TransactionButton
  transaction={() => claimTo({
      contract: contract,
      to: account.address,
      quantity: "10"
  })}
  onTransactionConfirmed={() => {
      alert('Prize claimed!')
  }}
>Claim Prize</TransactionButton>
Step 10: Display Token Balance
The final step is to display the user's token balance next to their wallet address.
- In your game file, let's first get the balance of the token from the user's wallet:
const { data: tokenbalance } = useReadContract(
    getBalance,
    {
        contract: contract,
        address: account?.address!
    }
)
- Now we can display that balance in our game for the user to see
<p>Balance: {tokenBalance?.displayValue}</p>
Conclusion
And there you have it! We've built a fully functional web3 mini game as a LINE mini app using thirdweb. Users can:
- Connect their wallet by signing in with email (no gas required with Account Abstraction)
- Play rock paper scissors against the computer
- Claim token prizes when they win (no gas required)
- View their token balance and wallet address
By leveraging thirdweb's powerful SDK, we were able to easily implement wallet authentication, account abstraction for gasless transactions, and seamless interaction with our token contract.
The mini app works smoothly on both desktop and mobile versions of LINE, providing an engaging and user-friendly experience.
Feel free to customize and expand upon this game to make it your own! You can change the game mechanics, add new features, or even create additional mini games.
I hope you found this tutorial helpful and informative. If you have any questions or need further assistance, please refer to the thirdweb documentation or reach out at thirdweb.com/support.
Happy building with thirdweb!