Distribute NFTs on a Shopify Store
⚠️ Warning: This guide currently uses v4 of the Connect SDK. For v5 (latest) code snippets, please check out our documentation while this guide is being updated. ⚠️
In this guide, we'll show you how you can sell digital assets as NFTs using Shopify and thirdweb. By the end, users will be able to enter their wallet address as a custom field of your Shopify product and purchase the NFT using FIAT currency.
Note: Merchants who are using thirdweb for distributing NFTs via Shopify need approval from Shopify to sell NFTs. Learn More or contact blockchain@shopify.com for more info.Application Design
We'll be using a server-side application to mint NFTs to the wallet address the user specifies. An overview of the application design can be found below:
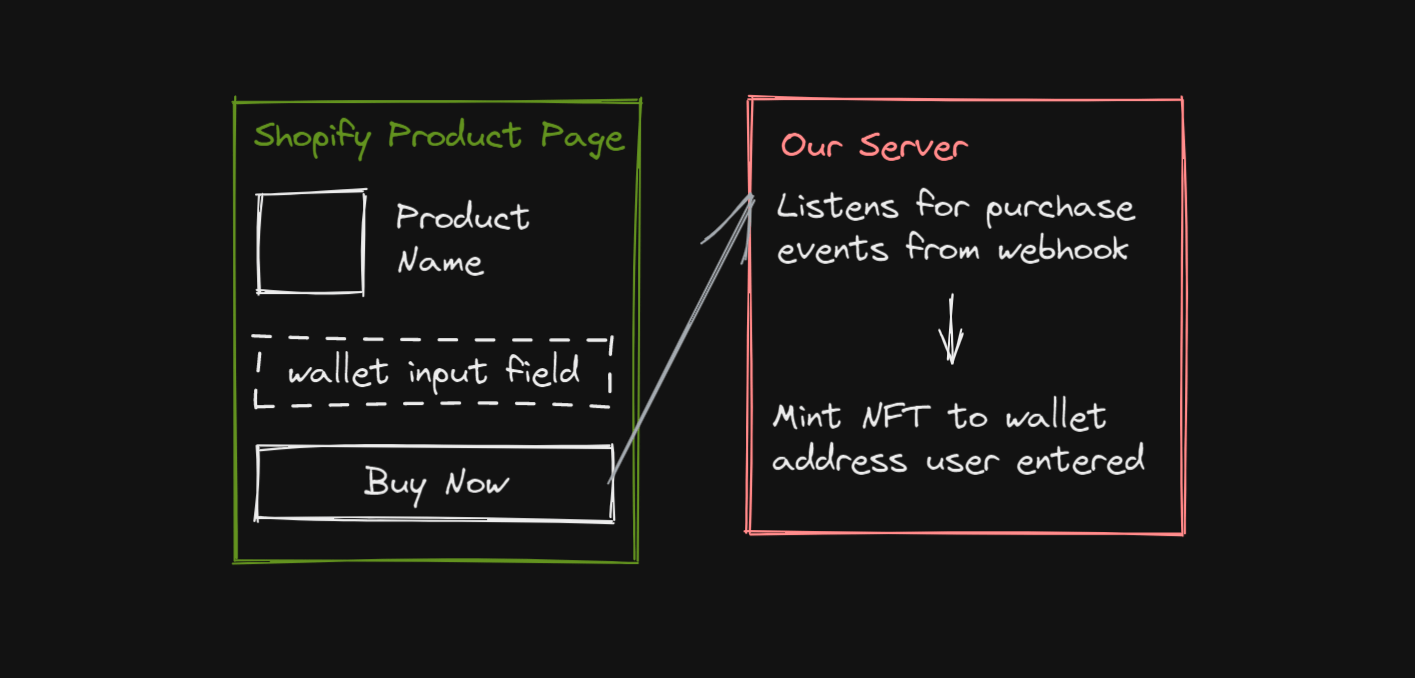
We'll first add a custom field to our product pages on Shopify to allow users to enter their wallet addresses. For each product, we'll upload the same metadata that we did for our NFTs; as well as the same supply for each NFT. This way, we'll have a Shopify product for each NFT that we want users to be able to mint.
Users will be able to purchase the "product" from Shopify, using FIAT currency. When this happens, our application running on a server will be informed of a new purchase, at which point it will read the user's wallet address and mint the NFT to their wallet.
Let's get into it!
Creating the NFT Collection
We'll be using thirdweb's prebuilt contracts to build our NFT collection. In this guide, we'll be using the NFT Collection contract which supports ERC-721 NFTs.
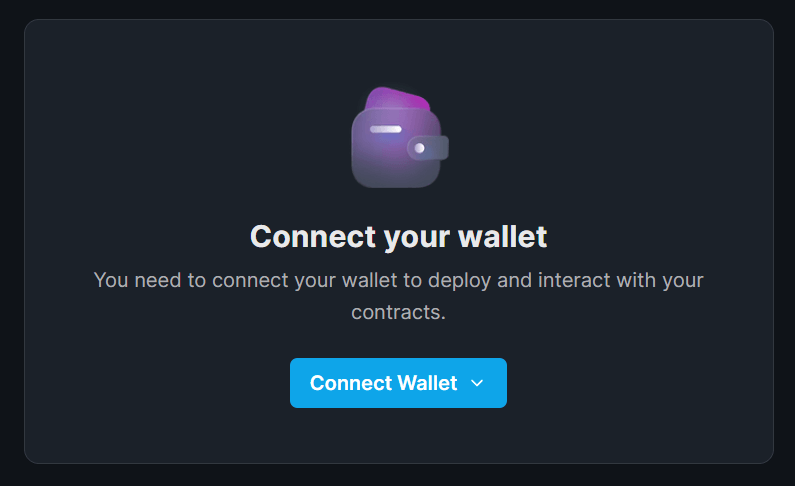
Head to the thirdweb dashboard and connect your wallet.
Click Deploy New Contract and select the NFT Collection contract. Here, you can configure the metadata of the smart contract itself:

Great! Now we're ready to build out our server application and start minting NFTs!
Creating the Server
We'll be building out our application in Node.js. So let's initialize a new Node project:
npm init -y
Next, let's install both the thirdweb SDK and Shopify SDK as well as some additional packages we'll be using on our server.
npm install @shopify/shopify-api @thirdweb-dev/sdk crypto dotenv ethers@5 express raw-body
Create a new file called index.js at the root of your project, where we'll write the core logic to listen for Shopify purchase events and mint NFTs.
const express = require("express");
const app = express();
const getRawBody = require("raw-body");
const crypto = require("crypto");
require("dotenv").config();
const secretKey = process.env.SHOPIFY_SECRET_KEY;

// Listen for requests to the /webhooks/orders/create route
app.post("/webhooks/orders/create", async (req, res) => {
  console.log("Order event received!");

  // Below, we're verifying the webhook was sent from Shopify and not a potential attacker
  // Learn more here: https://shopify.dev/apps/webhooks/configuration/https#step-5-verify-the-webhook
  const hmac = req.get("X-Shopify-Hmac-Sha256");
  const body = await getRawBody(req);
  const hash = crypto
    .createHmac("sha256", secretKey)
    .update(body, "utf8", "hex")
    .digest("base64");

  // Compare our hash to Shopify's hash
  if (hash === hmac) {
    res.sendStatus(200);
  } else {
    res.sendStatus(403);
  }
});

app.listen(3000, () => console.log("Example app listening on port 3000!"));
Within this file, we're doing the following:
- Listening for requests coming into the
/webhooks/orders/createpath - When a request comes in, we ensure the request is from Shopify using the webhook's signature (to avoid fake requests being sent to our endpoint).
Let's see how we can create the actual webhook from Shopify now.
Setting Up Shopify
If you don't already have one, you can follow Shopify's General checklist for starting a new Shopify Store to get started.
We'll assume you've already got a store for the purpose of this guide.
Creating A Webhook
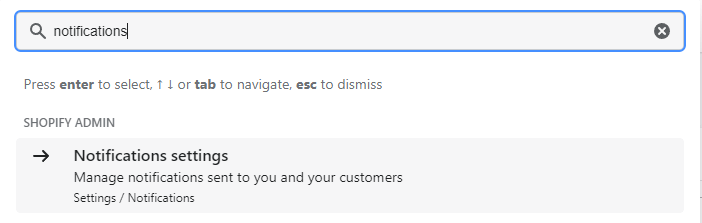
Once your store is setup, you're ready to create a webhook. Head to Notification Settings:
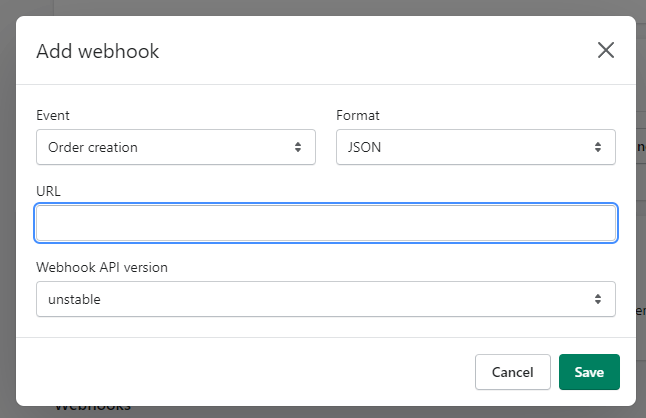
Head down to the Webhooks section and click Create Webhook:
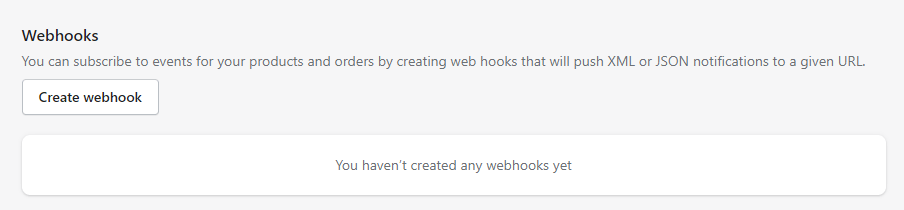
To create a Shopify webhook, we need to provide a URL to send the notifications to:
In a production application, you can host your server on any cloud platform, such as:
For local testing, you can use a library called localtunnel that exposes your localhost server to a public URL.
Minting NFTs
Firstly, let's set up our environment variables to use within our server in a .env file:
ADMIN_PRIVATE_KEY=xxx # The Private key of a wallet that has mint permissions in your NFT collection contract
NFT_COLLECTION_ADDRESS=xxx  # The Smart contract address of your NFT Collection
SHOPIFY_SECRET_KEY=xxx # Your Shopify Signature Key (Outlined below)
SHOPIFY_SITE_URL=xxx # Your Shopify site URL  - e.g. xxx.myshopify.com
SHOPIFY_ACCESS_TOKEN=xxx # Your Shopify Access Token (Outlined below)
Getting Your Shopify Access Token
We'll be using the Shopify API to interact with our store programmatically. In order to do so, we need to generate an access token to connect to our store.
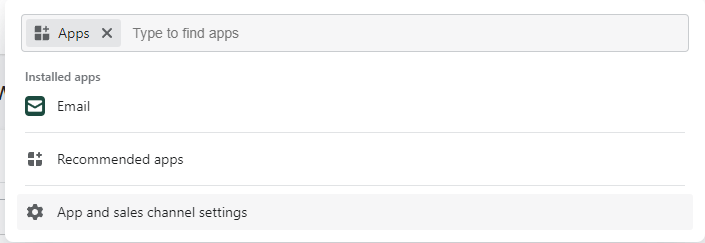
Create and install an admin application in our store by clicking Apps and selecting Apps and sales channel settings:
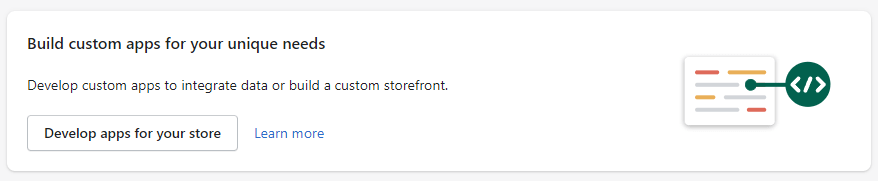
Click Develop Apps for your store to build a new app:
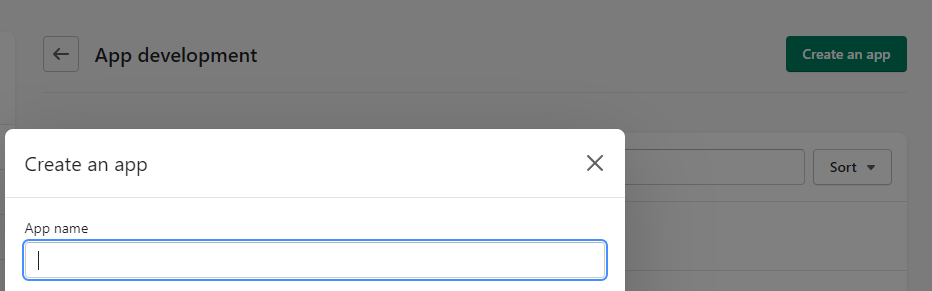
Click Create an app, and any information you choose for your application:
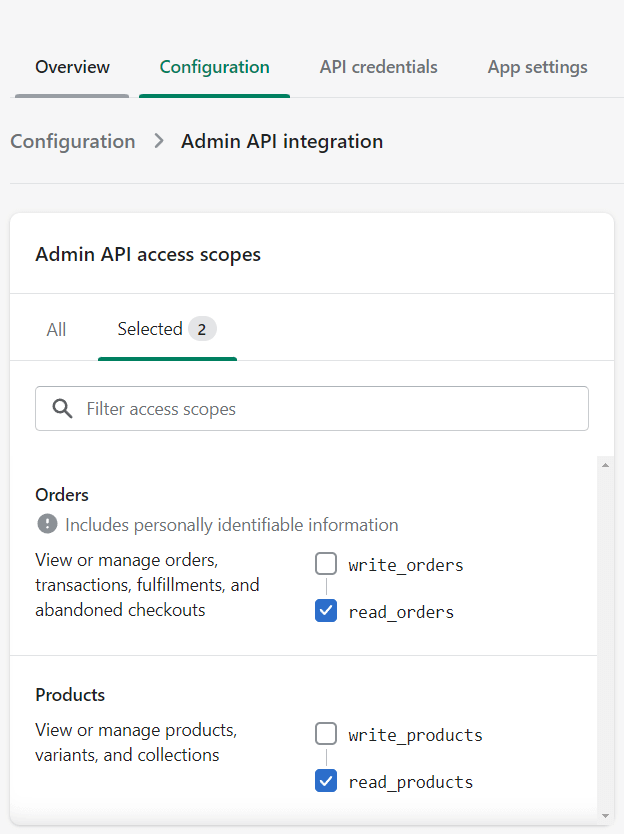
From the Configuration tab, click Configure on the Admin API integration and add the following scopes to your application:
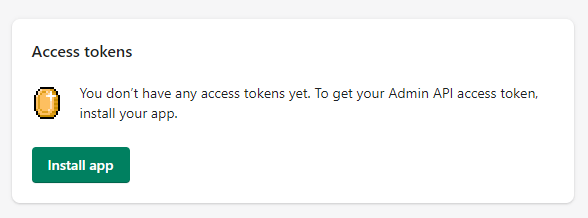
Next, from the API Credentials tab, install the app we just created into your store:
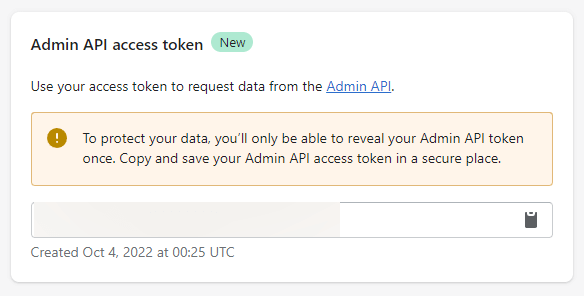
Then, copy your Admin API Access token:
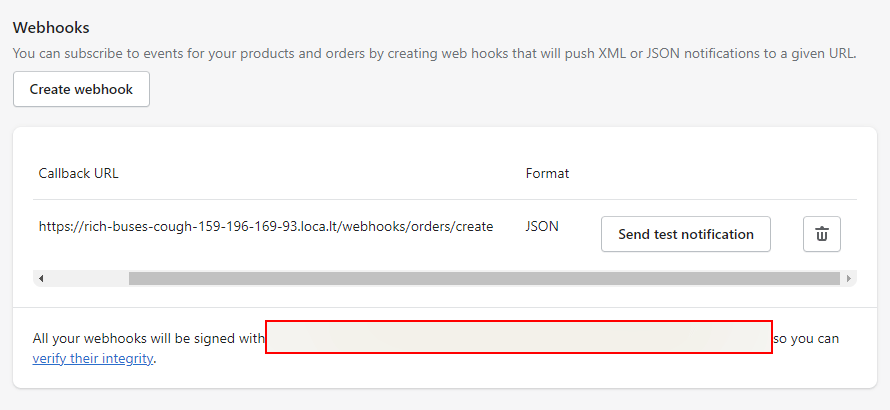
Getting Your Shopify Secret Key
You can find the secret key beneath where you created your Webhook in Shopify:
Back in our index.js, we first need to import the thirdweb and Shopify SDKs:
const { ThirdwebSDK } = require("@thirdweb-dev/sdk");
const { Shopify, DataType } = require("@shopify/shopify-api");
Then, inside of the hash === hmac block, we're going to iterate over each item the user purchased and mint the NFT to them:
// Compare our hash to Shopify's hash
  if (hash === hmac) {
    // Create a new client for the specified shop.
    const client = new Shopify.Clients.Rest(
      SHOPIFY_SITE_URL,
      SHOPIFY_ACCESS_TOKEN
    );

    const shopifyOrderId = req.get("X-Shopify-Order-Id");

    const response = await client.get({
      type: DataType.JSON,
      path: `/admin/api/2022-07/orders/${shopifyOrderId}.json`,
    });

    const itemsPurchased = response.body.order.line_items;

    const sdk = ThirdwebSDK.fromPrivateKey(
      // Learn more about securely accessing your private key: https://portal.thirdweb.com/sdk/set-up-the-sdk/securing-your-private-key
      ADMIN_PRIVATE_KEY,
      "goerli"
    );

    const nftCollection = await sdk.getEdition(NFT_COLLECTION_ADDRESS);

    // For each item purchased, mint the wallet address an NFT
    for (const item of itemsPurchased) {
      // Grab the information of the product ordered
      const productQuery = await client.get({
        type: DataType.JSON,
        path: `/admin/api/2022-07/products/${item.product_id}.json`,
      });

      // Set the metadata for the NFT to the product information
      const metadata = {
        name: productQuery.body.product.title,
        description: productQuery.body.product.body_html,
        image: productQuery.body.product.image.src,
      };

      // Mint the NFT
      const minted = await nftCollection.mintTo("<todo>", {
        metadata: metadata,
        supply: item.quantity,
      });

      console.log("Successfully minted NFTs!", minted);
    }
You'll notice in the above code, we're calling mintTo with an address of <todo>; that's because we need to add a custom field for users to enter their wallet address on our Shopify product pages.
Custom Wallet Address Field
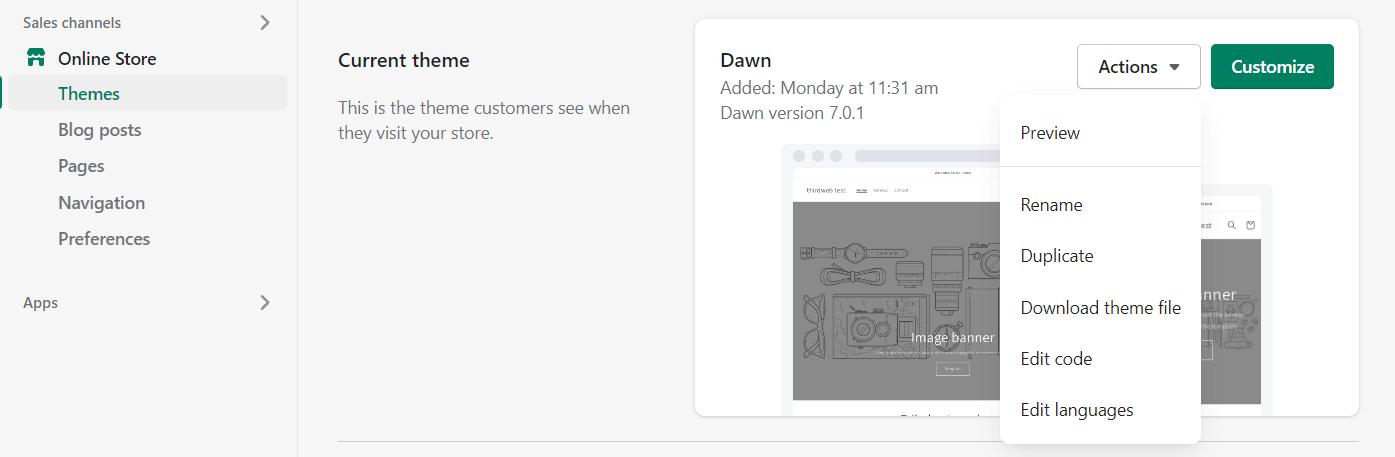
Head to Themes under Sales Channels in the Shopify Admin sidebar.
Click Actions > Edit Code:
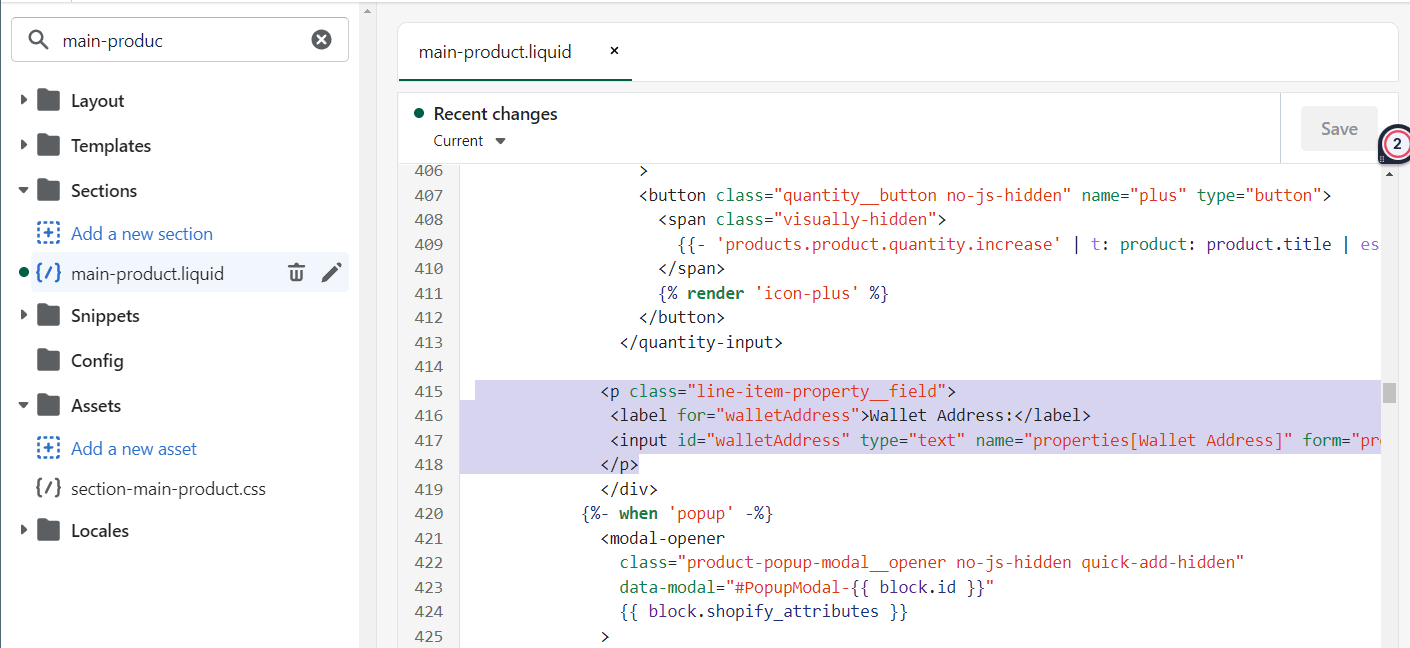
Edit the main-product.liquid file to include the below snippet:
<p class="line-item-property__field">
  <label for="walletAddress">Wallet Address:</label>
  <input id="walletAddress" type="text" name="properties[Wallet Address]" form="product-form-{{ section.id }}">
</p>
Your file should now look like this, remember to hit Save:
Now back in our index.js file, let's modify our placeholder todo logic with the following:
      const walletAddress = response.body.order.properties.find(
        (p) => p.name === "Wallet Address"
      ).value;

      // Mint the NFT
      const minted = await nftCollection.mintTo(walletAddress, metadata)
That's it! We're now ready to test out our store.
Testing Transactions
You can follow the Guide to Enabling Test Transactions to configure test transactions on your store.
Using one of the fake credit cards that Shopify provides in test mode, you can order a product from your store:
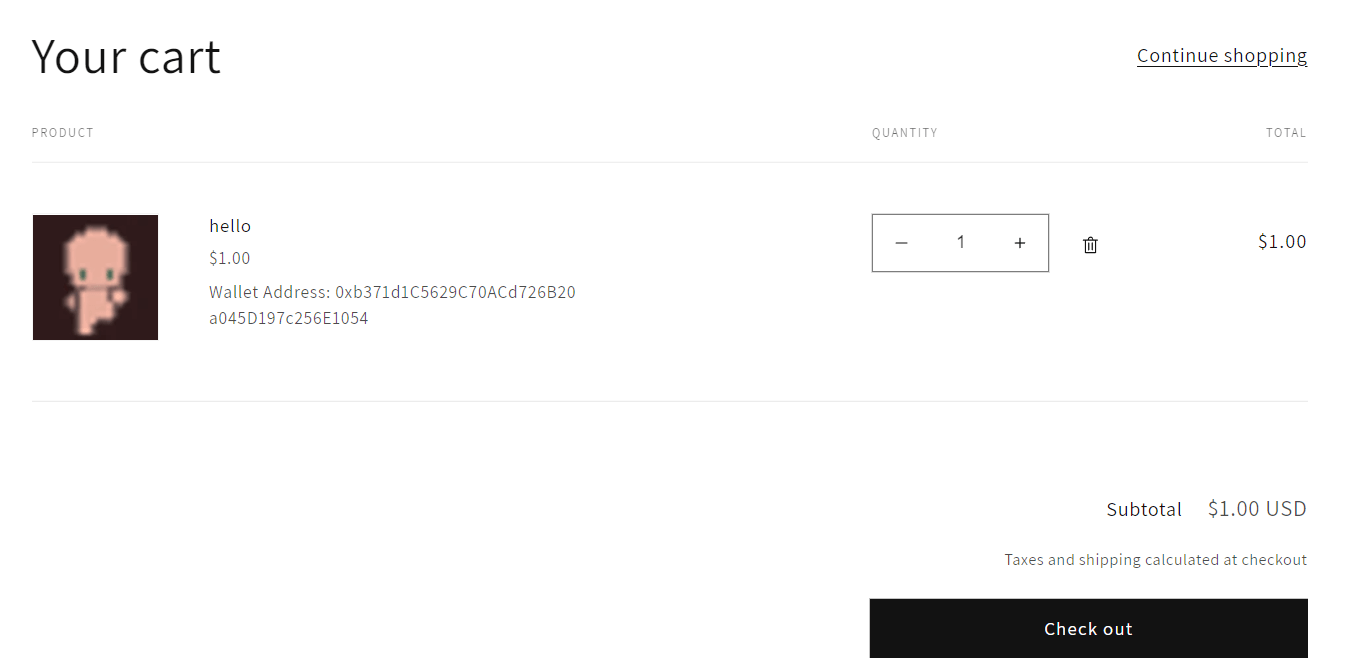
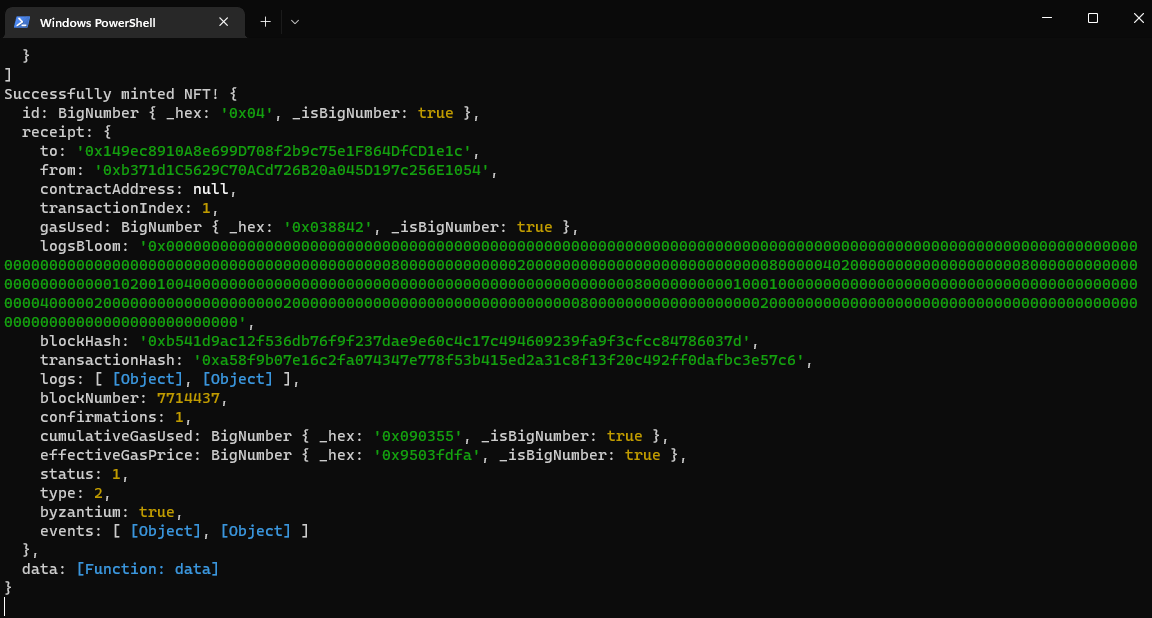
Once your purchase is processed, the webhook event is fired and caught by our server, which successfully mints the NFT to the user. It uses the information of the product as the metadata of the NFT.
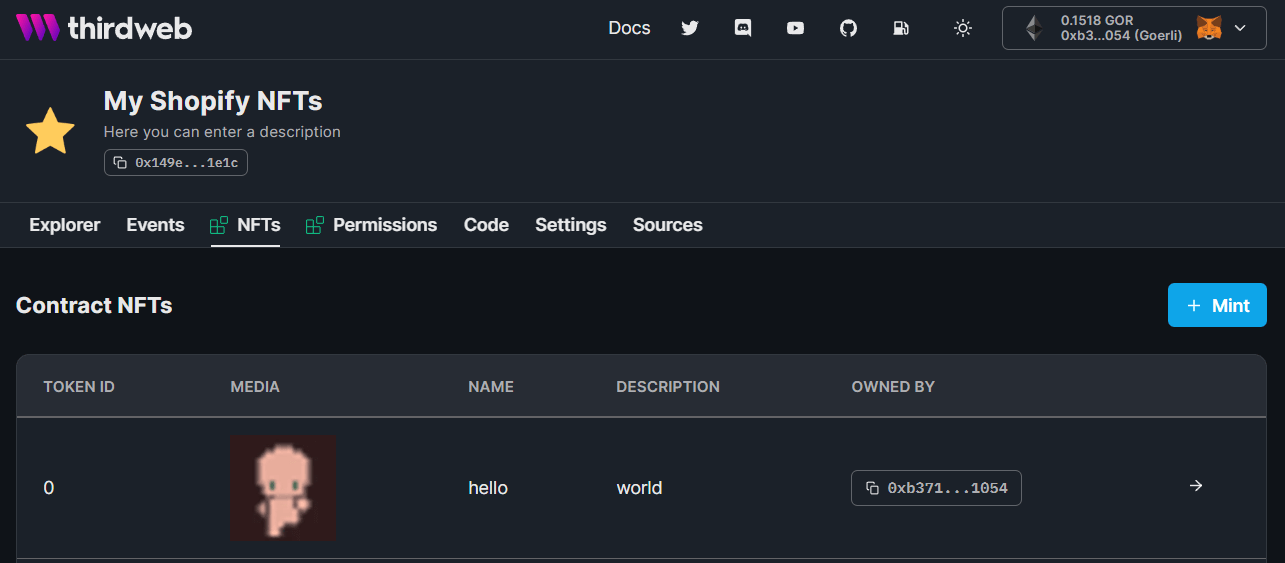
We can also see the NFT has been minted to the user on the dashboard:
Conclusion
By utilizing Shopify's webhooks, we've set up a Node.js server that mints an NFT with the metadata of the product(s) the user purchased to their wallet! This way, whenever a user purchases a product on Shopify, we send them an NFT!
If you got stuck along the way, jump into our Discord channel to speak directly with our team!