Sell Your NFT in Multiple Currencies at the Same Time

⚠️ Warning: This guide currently uses v4 of the Connect SDK. For v5 (latest) code snippets, please check out our documentation while this guide is being updated. ⚠️
In this guide, we'll show you how to create an ERC1155 drop where users can pay with multiple currencies using signature minting, Next.js, and the Web3 SDK.
Sounds cool, right!? Let's get started.
Setup
I am going to use the Next typescript starter template of thirdweb for this guide.
You can get started with the thirdweb CLI:
npx thirdweb create --next --ts
By default the network in _app.tsx is Mainnet, we need to change it to Mumbai:
import type { AppProps } from "next/app";
import { ChainId, ThirdwebProvider } from "@thirdweb-dev/react";

// This is the chainId your dApp will work on.
const activeChainId = ChainId.Mumbai;

function MyApp({ Component, pageProps }: AppProps) {
  return (
    <ThirdwebProvider desiredChainId={activeChainId}>
      <Component {...pageProps} />
    </ThirdwebProvider>
  );
}

export default MyApp;
Creating an edition and NFT
We also need to create an edition and an NFT inside of the edition to be able to mint them to the users.
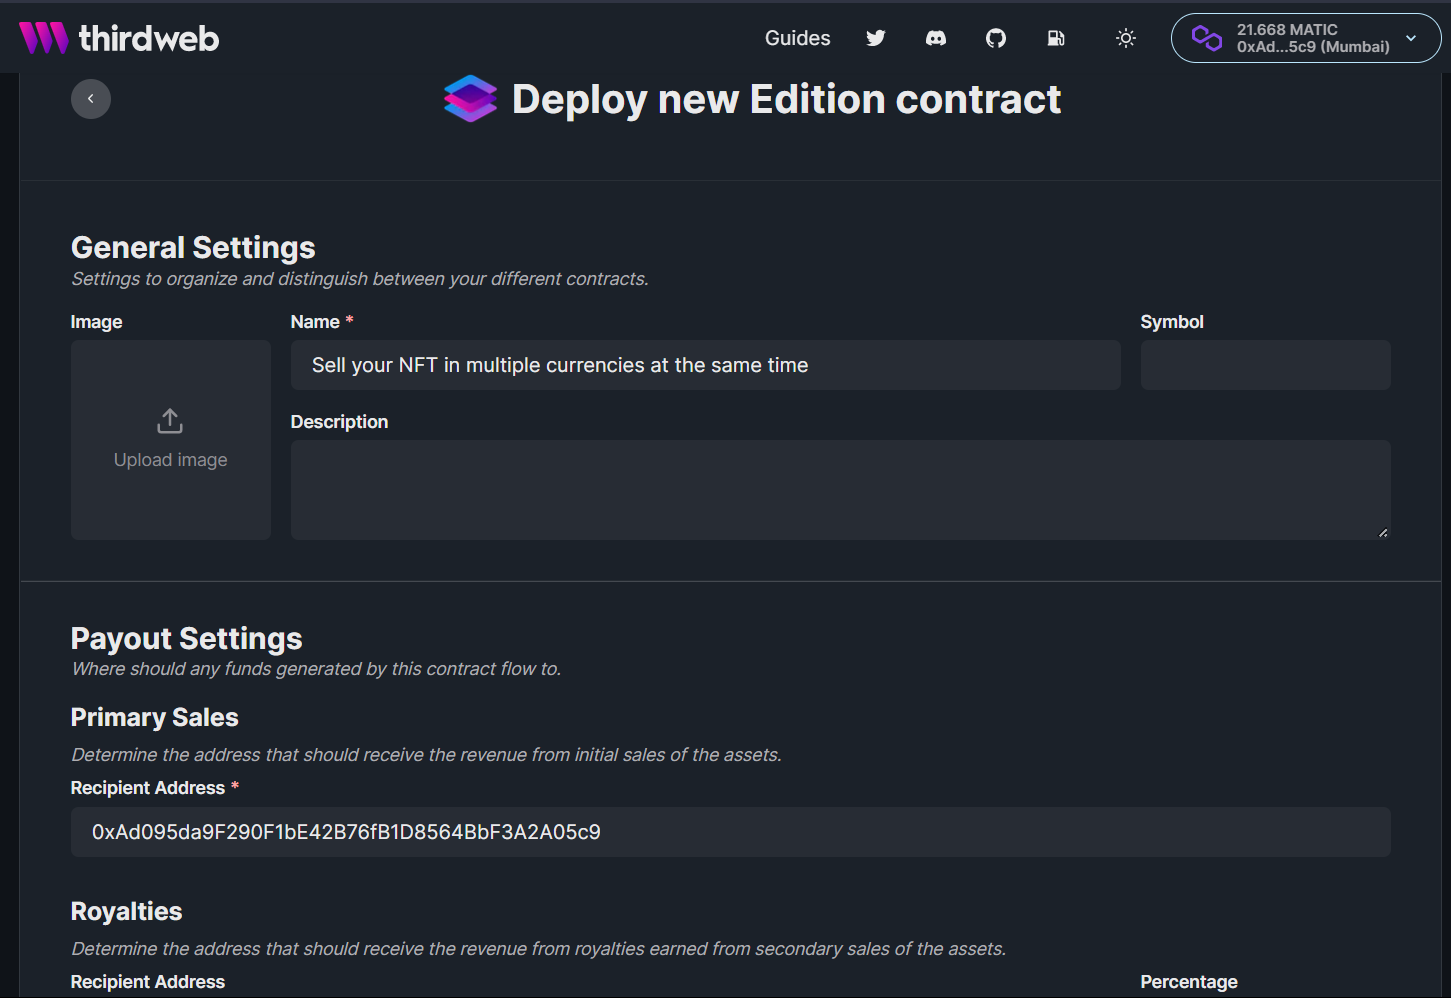
So, go to the thirdweb dashboard and create an edition contract on the Mumbai (MATIC) network.
Fill out the details and deploy the contract!
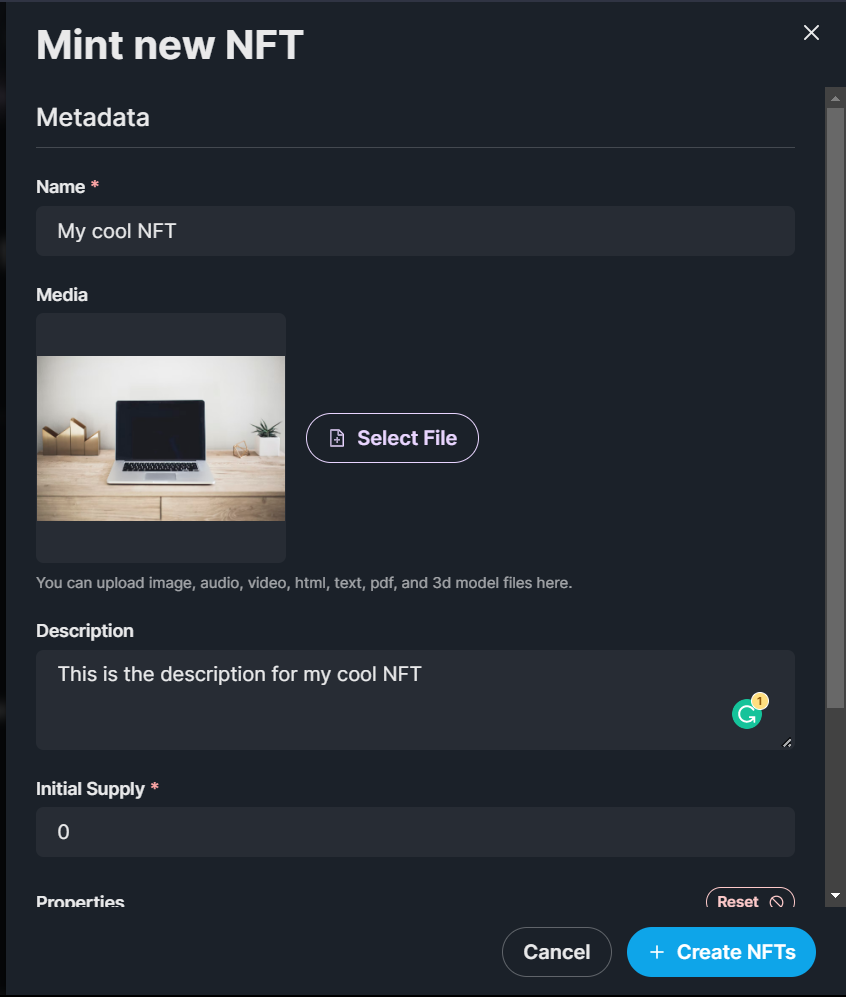
Now, let's create and mint a new NFT inside of it. Fill out the details and make sure to set the initial supply to 0.
Building the NFT card
I am going to create a simple card to display the NFT, which will have the name, and description of the NFT. A dropdown to be able to change the currency and a button to mint the NFT! At this point, your pages/index.tsx file should look something like this:
import { useAddress, useDisconnect, useMetamask } from "@thirdweb-dev/react";
import type { NextPage } from "next";

const Home: NextPage = () => {
  const address = useAddress();
  const connectWithMetamask = useMetamask();
  const disconnectWallet = useDisconnect();

  return (
    <div>
      {address ? (
        <>
          <button onClick={disconnectWallet}>Disconnect Wallet</button>
          <p>Your address: {address}</p>
        </>
      ) : (
        <button onClick={connectWithMetamask}>Connect with Metamask</button>
      )}
    </div>
  );
};

export default Home;
Instead of showing the disconnect Wallet button and wallet address, we will now show the card instead. So, replace everything inside the fragment (<>) with the following:
<div>
  <img
    src={nft.image.replace("ipfs://", "https://ipfs.thirdweb.com/ipfs/")}
    alt={nft.name}
    width="200px"
    height="100%"
  />
  <div>
    <p>Name: {nft.name}</p>
    <p>Description: {nft.description}</p>
    <select>
      {nft.tokens.map((token) => (
        <option key={token.name} value={token.name}>
          {token.name}
        </option>
      ))}
    </select>
    <button onClick={() => {}}>Mint</button>
  </div>
</div>
You might be wondering where are we getting the NFT object, we are going to create a new file and store the NFT object there to keep our code clean.
So, create a new file nft.ts and add this:
import { NATIVE_TOKEN_ADDRESS } from "@thirdweb-dev/sdk";

export const nft = {
  name: "My cool NFT",
  description: "This is the description for my cool NFT",
  image: "ipfs://QmRdoPRtfb6MHLQgsBsC5WVDAf7BZijykYUefEmt6UrTTn/0.png",
  id: "0",
  tokens: [
    {
      name: "MATIC",
      address: NATIVE_TOKEN_ADDRESS,
      price: 5,
    },
    {
      name: "USDC",
      address: "0xe11A86849d99F524cAC3E7A0Ec1241828e332C62",
      price: 7,
    },
  ],
};
Here, we are creating and exporting a new nft object with some properties like name, description, image, etc.
The tokens array will contain the different currencies using which we can mint the NFTs.
You need to specify a name, address, and price for the token here. We are getting the NATIVE_TOKEN_ADDRESS from the thirdweb package.
Finally, import nft from this file in index.tsx:
import { nft } from "../nft";
If you now go to http://localhost:3000/ you will be able to see a card like this:
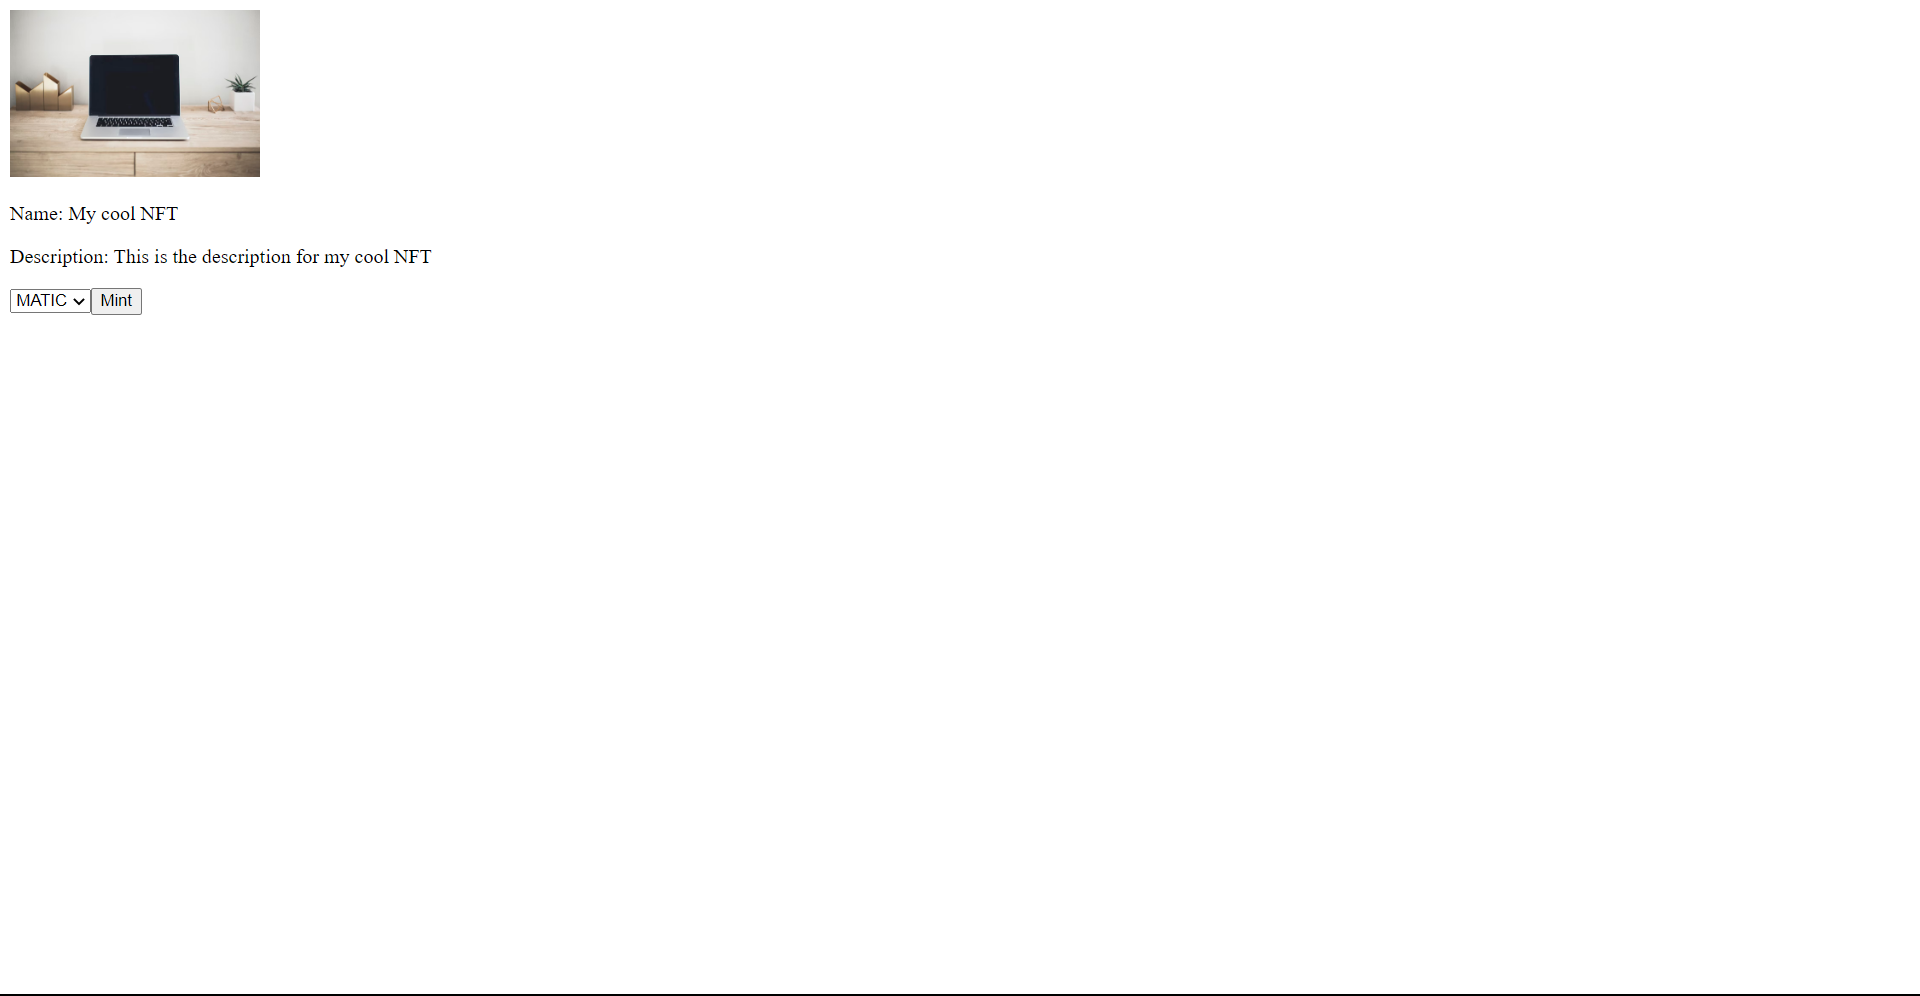
I haven't styled this so it doesn't look that beautiful but feel free to customize it for use and make it beautiful ;)!
Storing the currency
We need to store the currency which the user has selected. So, we will create a new state and change it every time the value of the dropdown changes. To do this use the useState hook and pass in the initial value as "MATIC".
const [tokenName, setTokenName] = useState("MATIC");
For updating it inside the onChange event we will use the setTokenName function.
<select onChange={(e) => setTokenName(e.target.value)}>
  {nft.tokens.map((token) => (
    <option key={token.name} value={token.name}>
      {token.name}
    </option>
  ))}
</select>
This will now update the currency so we can use it in the minting process.
Creating an api for generating the signature
Inside the pages folder, create a new folder api and generate-mint-sig.ts inside it. We will create our whole api for generating the mint signature here!
Let's start by building a basic api.
import type { NextApiRequest, NextApiResponse } from "next";

const generateMintSignature = async (
  req: NextApiRequest,
  res: NextApiResponse,
) => {
  res.send("Gm wagmi");
};

export default generateMintSignature;
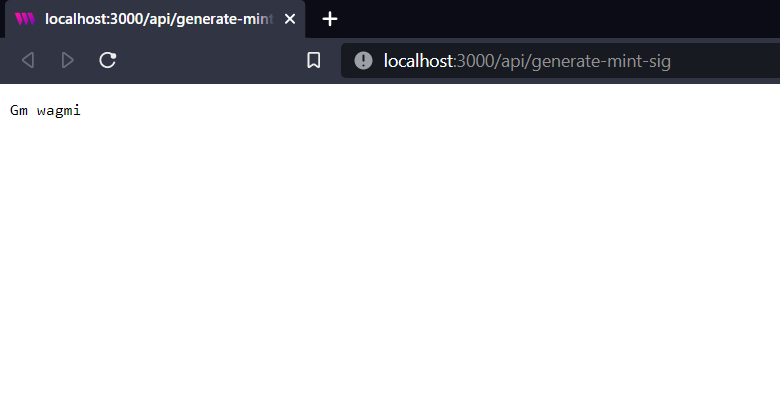
This creates a basic api for us, if you now go to the api/generate-mint-sig endpoint you will get a response of Gm wagmi.
Let's now initialize the SDK!
const sdk = ThirdwebSDK.fromPrivateKey(
  // Learn more about securely accessing your private key: https://portal.thirdweb.com/web3-sdk/set-up-the-sdk/securing-your-private-key
  "<your-private-key-here>",
  "mumbai",
);
Ensure you store and access your private key securely.
- Never commit any file that may contain your private key to your source control.
Learn more about securely accessing your private key.
Let's see how to get this private key value.
Getting the wallet private key
In your metamask wallet, click on the three dots, then click account details. You will see an option to export private key there. Export your private key and paste it into the PRIVATE_KEY variable.
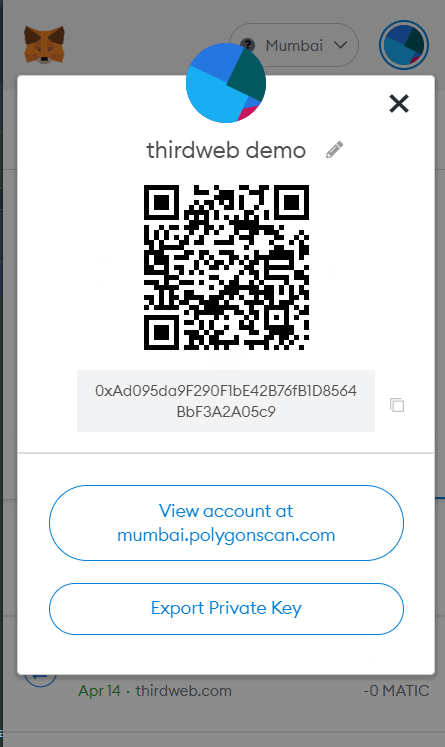
This will give full access to your wallet to make sure to keep it secret!
We also need to import ThirdwebSDK:
import { ThirdwebSDK } from "@thirdweb-dev/sdk";
Generating the signature for mint
From the frontend we will get the tokenName, tokenId, and the address of the person we are going to mint the NFT to. I am only getting these parameters to make sure that people can't manipulate the data. So, get these parameters from the response body:
const { tokenId, address, tokenName } = JSON.parse(req.body);
We also need access to the edition functions, so get the edition like this:
const edition = sdk.getEdition("YOUR_EDITION_ADDRESS");
We can now use this to generate a mint signature. So, add in this try/catch block:
try {
  const signedPayload = await edition.signature.generateFromTokenId({
    tokenId: tokenId,
    quantity: "1",
    metadata: "",
    to: address,
    currencyAddress: token?.address,
    price: token?.price,
  });

  res.status(200).json({
    signedPayload: signedPayload,
  });
} catch (err) {
  console.log(err);
  res.status(500).json({
    error: err,
  });
}
In this block we are using the edition.signature.generate function provided by thirdweb to create a custom signature for all the user's transactions. We are passing in the tokenId, quantity, metadata, to, currencyAddress, and price of the NFT. If it was successful we will return the signedPayload to the frontend otherwise the error will be returned.
You also need to remove the res.send("Gm wagmi") code block 🥺.
Right now you would be getting an error because we haven't yet added the token so we will create a new variable for getting the token the user is going to use to pay with:
const getToken = (tokenName: string) => {
  return nft.tokens.find((t) => t.name === tokenName);
};

const token = getToken(tokenName) ? getToken(tokenName) : getToken("MATIC");
In this variable, we are getting the token from the nft.tokens array. If someone passes a token that is not on the list we will use the MATIC token.
We also need to import nft:
import { nft } from "../../nft";
The final api/generate-mint-sig.ts should look like this:
import { ThirdwebSDK } from "@thirdweb-dev/sdk";
import type { NextApiRequest, NextApiResponse } from "next";
import { nft } from "../../nft";

const generateMintSignature = async (
  req: NextApiRequest,
  res: NextApiResponse,
) => {
  const { tokenId, address, tokenName } = JSON.parse(req.body);

  const sdk = ThirdwebSDK.fromPrivateKey(
    // Learn more about securely accessing your private key: https://portal.thirdweb.com/web3-sdk/set-up-the-sdk/securing-your-private-key
    "<your-private-key-here>",
    "mumbai",
  );

  const edition = sdk.getEdition("0x4ebCf39BCeEA3C9790605BF292B4a2b8811C93eD");

  const getToken = (tokenName: string) => {
    return nft.tokens.find((t) => t.name === tokenName);
  };

  const token = getToken(tokenName) ? getToken(tokenName) : getToken("MATIC");

  try {
    const signedPayload = await edition.signature.generateFromTokenId({
      tokenId: tokenId,
      quantity: "1",
      to: address,
      currencyAddress: token?.address,
      price: token?.price,
    });

    res.status(200).json({
      signedPayload: signedPayload,
    });
  } catch (err) {
    console.log(err);
    res.status(500).json({
      error: err,
    });
  }
};

export default generateMintSignature;
Calling the api from the frontend
Let's now use the api in our frontend! Create a new function in index.tsx like this:
const mintWithSignature = async (tokenId: string) => {
  const signedPayloadReq = await fetch(`/api/generate-mint-sig`, {
    method: "POST",
    body: JSON.stringify({ tokenName, tokenId, address }),
  });

  const signedPayload = (await signedPayloadReq.json()).signedPayload;

  try {
    const nft = await edition?.signature.mint(signedPayload);
    return nft;
  } catch (e) {
    console.error(e);
    return null;
  }
};
We need to use the useEdition hook to access the edition contract here like this:
const edition = useEdition("0x4ebCf39BCeEA3C9790605BF292B4a2b8811C93eD");
We need to import this hook as well-
import { useAddress, useEdition, useMetamask } from "@thirdweb-dev/react";
Now, attach this function to the mint button-
<button onClick={() => mintWithSignature(nft.id)}>Mint</button>
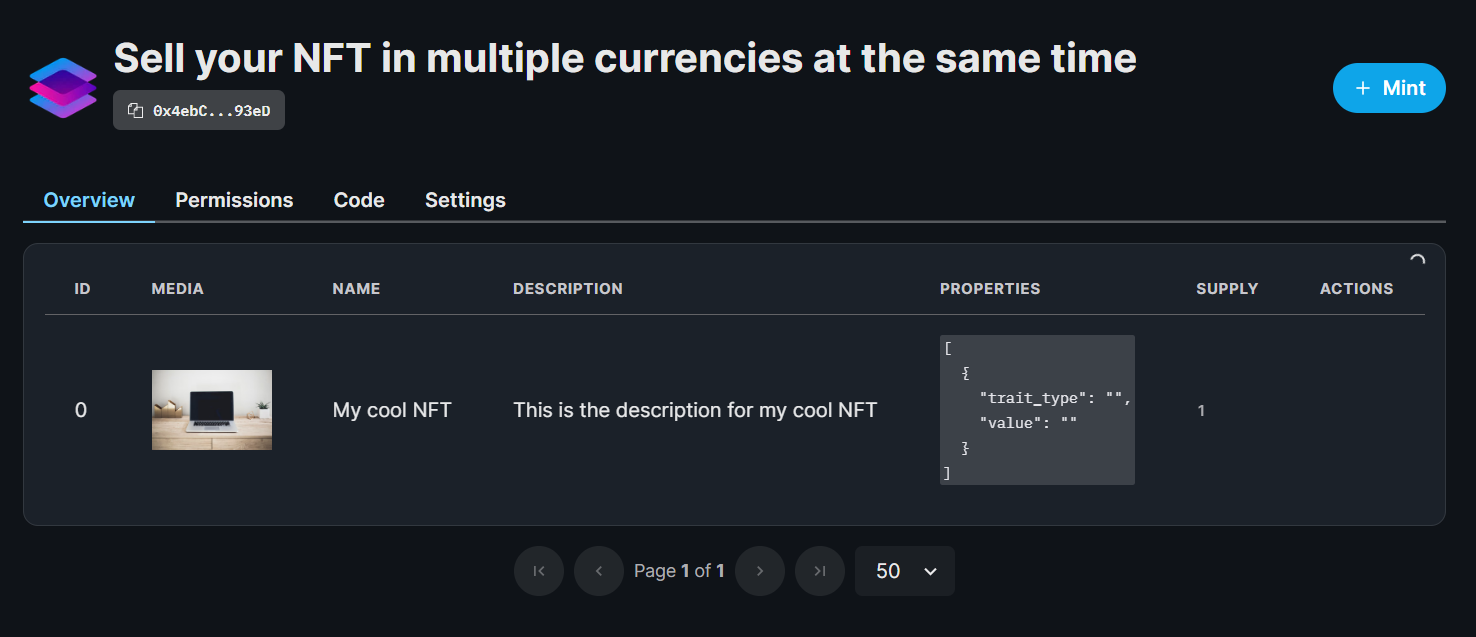
If you try to mint the NFT now it works! 🎉
On the dashboard too, you would be able to see the supply increase.
Conclusion
Hope you were able to sell your NFT for various tokens! If you want to have a look at the code, check out this repo.