Create an NFT Drop with Centralized Metadata

⚠️ Warning: This guide currently uses v4 of the Connect SDK. For v5 (latest) code snippets, please check out our documentation while this guide is being updated. ⚠️
This guide will show you how to create and deploy an NFT Drop smart contract where you can update the NFT metadata at any time.
Let's get started!
Risks of Having Centralized Metadata
In this guide, we're going to show you how to create NFTs with centralized metadata. This means you have full control over the metadata for any of the NFTs within the collection, even if you're not the owner of that NFT.
The web3 ecosystem is typically decentralized, with decentralized storage options utilized for NFT metadata; such as IPFS.
If your metadata server goes down at any point, your NFT metadata will also be down for this period. There are some important trade-offs to be considered here.
Depending on your project, this guide may not be a suitable approach.
Setup The Project
First, let's create a folder to create our project and cd into it:
mkdir centralized-metadata
cd centralized-metadata
We will use Node.js to write and run a script that will deploy our smart contract! So, initialize an empty node project:
npm init -y
Now, we'll install the SDK:
npm i @thirdweb-dev/sdk dotenv # npm

yarn add @thirdweb-dev/sdk dotenv # yarn
Creating Centralized Metadata
First, we need a way of storing the metadata. Since we want to be able to update the metadata, IPFS isn't an ideal solution for us. We need to use a service that allows us to store JSON metadata that we can update.
You can use any service that you choose, but in this guide, we're going to use My JSON Server as a simple example.
In your Node.js project, create a new db.json file in the root of the folder, and add your NFT metadata in this format:
{
  "nfts": [
    {
      "id": 0,
      "name": "Blue Circle",
      "description": "A blue circle NFT from the Shapes Collection",
      "image": "https://gateway.ipfscdn.io/ipfs/QmXXjx3aJCs9W9mN35Aade6etSoceqMk8ykkasbB87MaLt/0.png"
    },
    {
      "id": 1,
      "name": "Green Circle",
      "description": "A green circle NFT from the Shapes Collection",
      "image": "https://gateway.ipfscdn.io/ipfs/QmXXjx3aJCs9W9mN35Aade6etSoceqMk8ykkasbB87MaLt/1.png"
    }
  ]
}
Once done, create a new public GitHub repository and push this folder to GitHub.
We first need to create a .gitignore file and add .env and node_modules in it:
node_modules
.env
Then, run these commands
git init
git add .
git commit -m "initial commit"
git branch -M main
git remote add origin <YOUR_REPO_URL_HERE>
git push -u origin main
The way My JSON Server works is by hosting your GitHub files at a publicly accessible URL.
For example, if you go to https://my-json-server.typicode.com/<your_username>/<your_repo_name>/nfts/0, you can see that your data is now here automatically, no setup required:
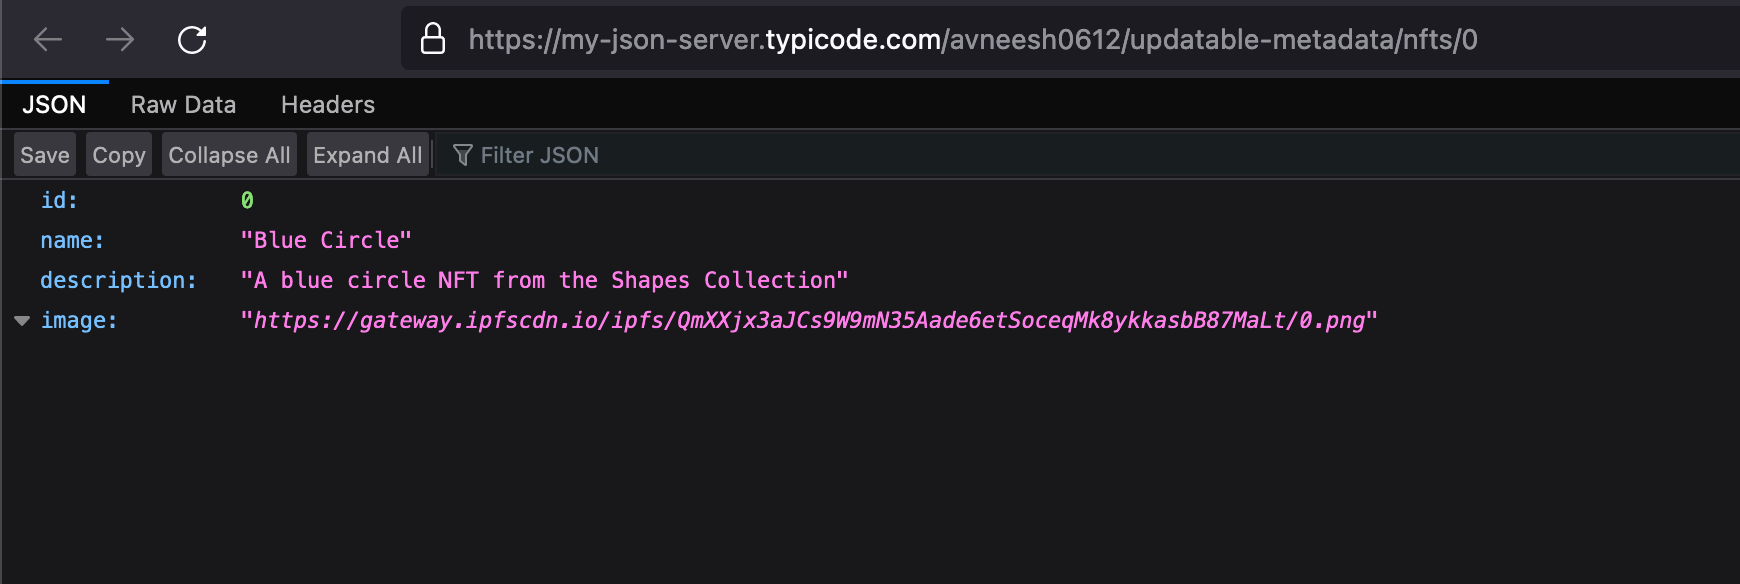
You can update this data anytime by updating the JSON file and pushing your changes to your GitHub repository.
Creating an NFT drop
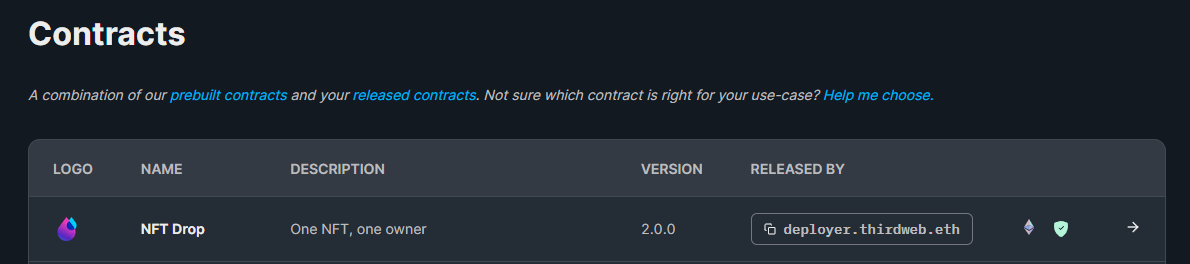
Now we've got our metadata ready, head to the dashboard and click on Deploy new contract.
From the prebuilt contracts, select the NFT Drop contract:
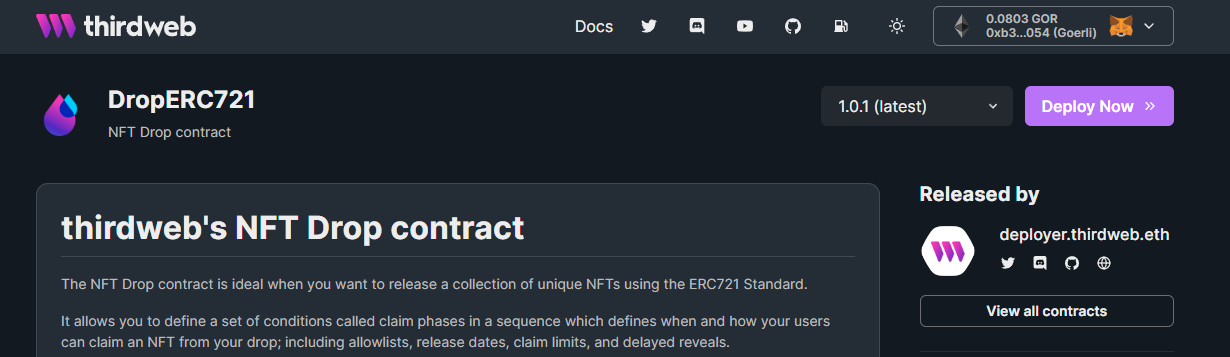
Click Deploy Now:
Here, you'll be taken to the page to populate the metadata of the NFT Drop contract you're going to deploy.
Set up your smart contract with an image, name, description, etc., and configure which wallet address will receive the funds from primary and secondary sales:
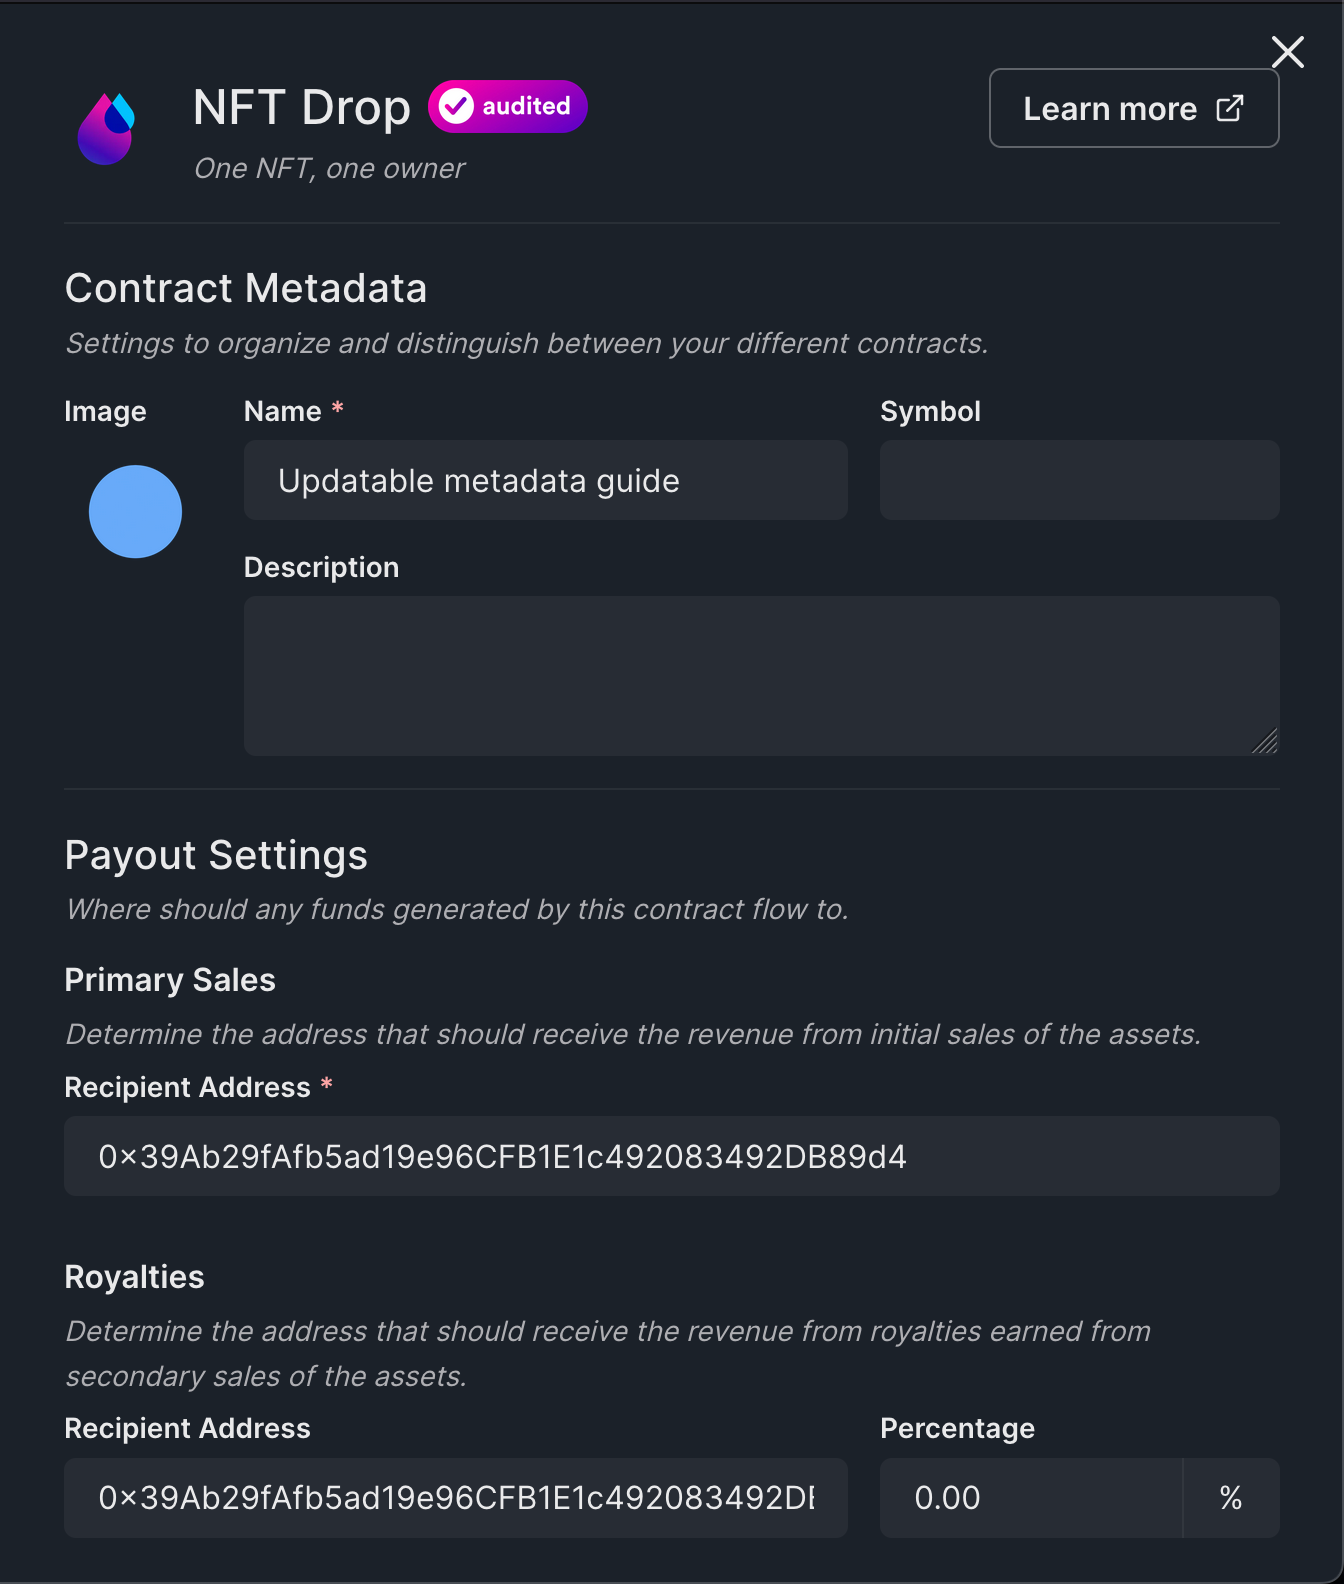
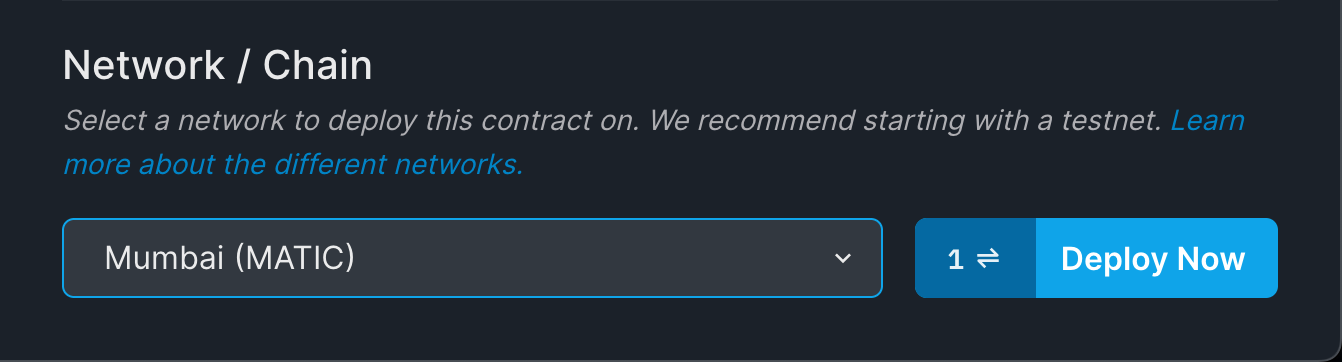
I am using the Polygon testnet Mumbai, but you can choose any network you prefer.
When you're ready, click Deploy Now!
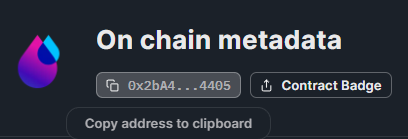
Once deployed, you will be redirected to your contract page.
We need the contract address so copy that and we will use it later:
Lazy-Minting NFTs
Now that we have got everything set up, it is time to use the SDK to lazy mint our NFTs with our metadata.
To get started, create a new file called upload-nfts.mjs in a scripts folder of the same project you were working on earlier.
We need to initialize the SDK with the private key of our wallet.
Below, I'm using environment variables to store my private key, but this is not the recommended best practice for production. Learn how to securely store your private key using a secret manager as we suggest.
import { ThirdwebSDK } from "@thirdweb-dev/sdk";
import { config } from "dotenv";

config();

const sdk = ThirdwebSDK.fromPrivateKey(process.env.PRIVATE_KEY, "mumbai");.gitignore file.- Add .env to your .gitignore fileIf you push your private key to GitHub, your wallet will be drained!Then, we'll connect to our NFT drop contract, and use the createBatch function to lazy-mint our NFTs using our metadata URLs:
(async () => {
  const drop = await sdk.getContract(
    "YOUR_DROP_ADDRESS",
    "nft-drop"
  );

  try {
    await drop.createBatch([
      "https://my-json-server.typicode.com/jarrodwatts/centralized-nft-metadata/nfts/0",
      "https://my-json-server.typicode.com/jarrodwatts/centralized-nft-metadata/nfts/1",
    ]);
    console.log("uploaded all nfts");
  } catch (error) {
    console.log(error);
  }
})();
"YOUR_DROP_ADDRESS" with your smart contract address, and replace the metadata URLs with your own.Now, it's the moment of truth! Run the script using the command below:
node scripts/upload-nfts.mjsWait for a second for the script to run 🥁 🥁 anddd it works!

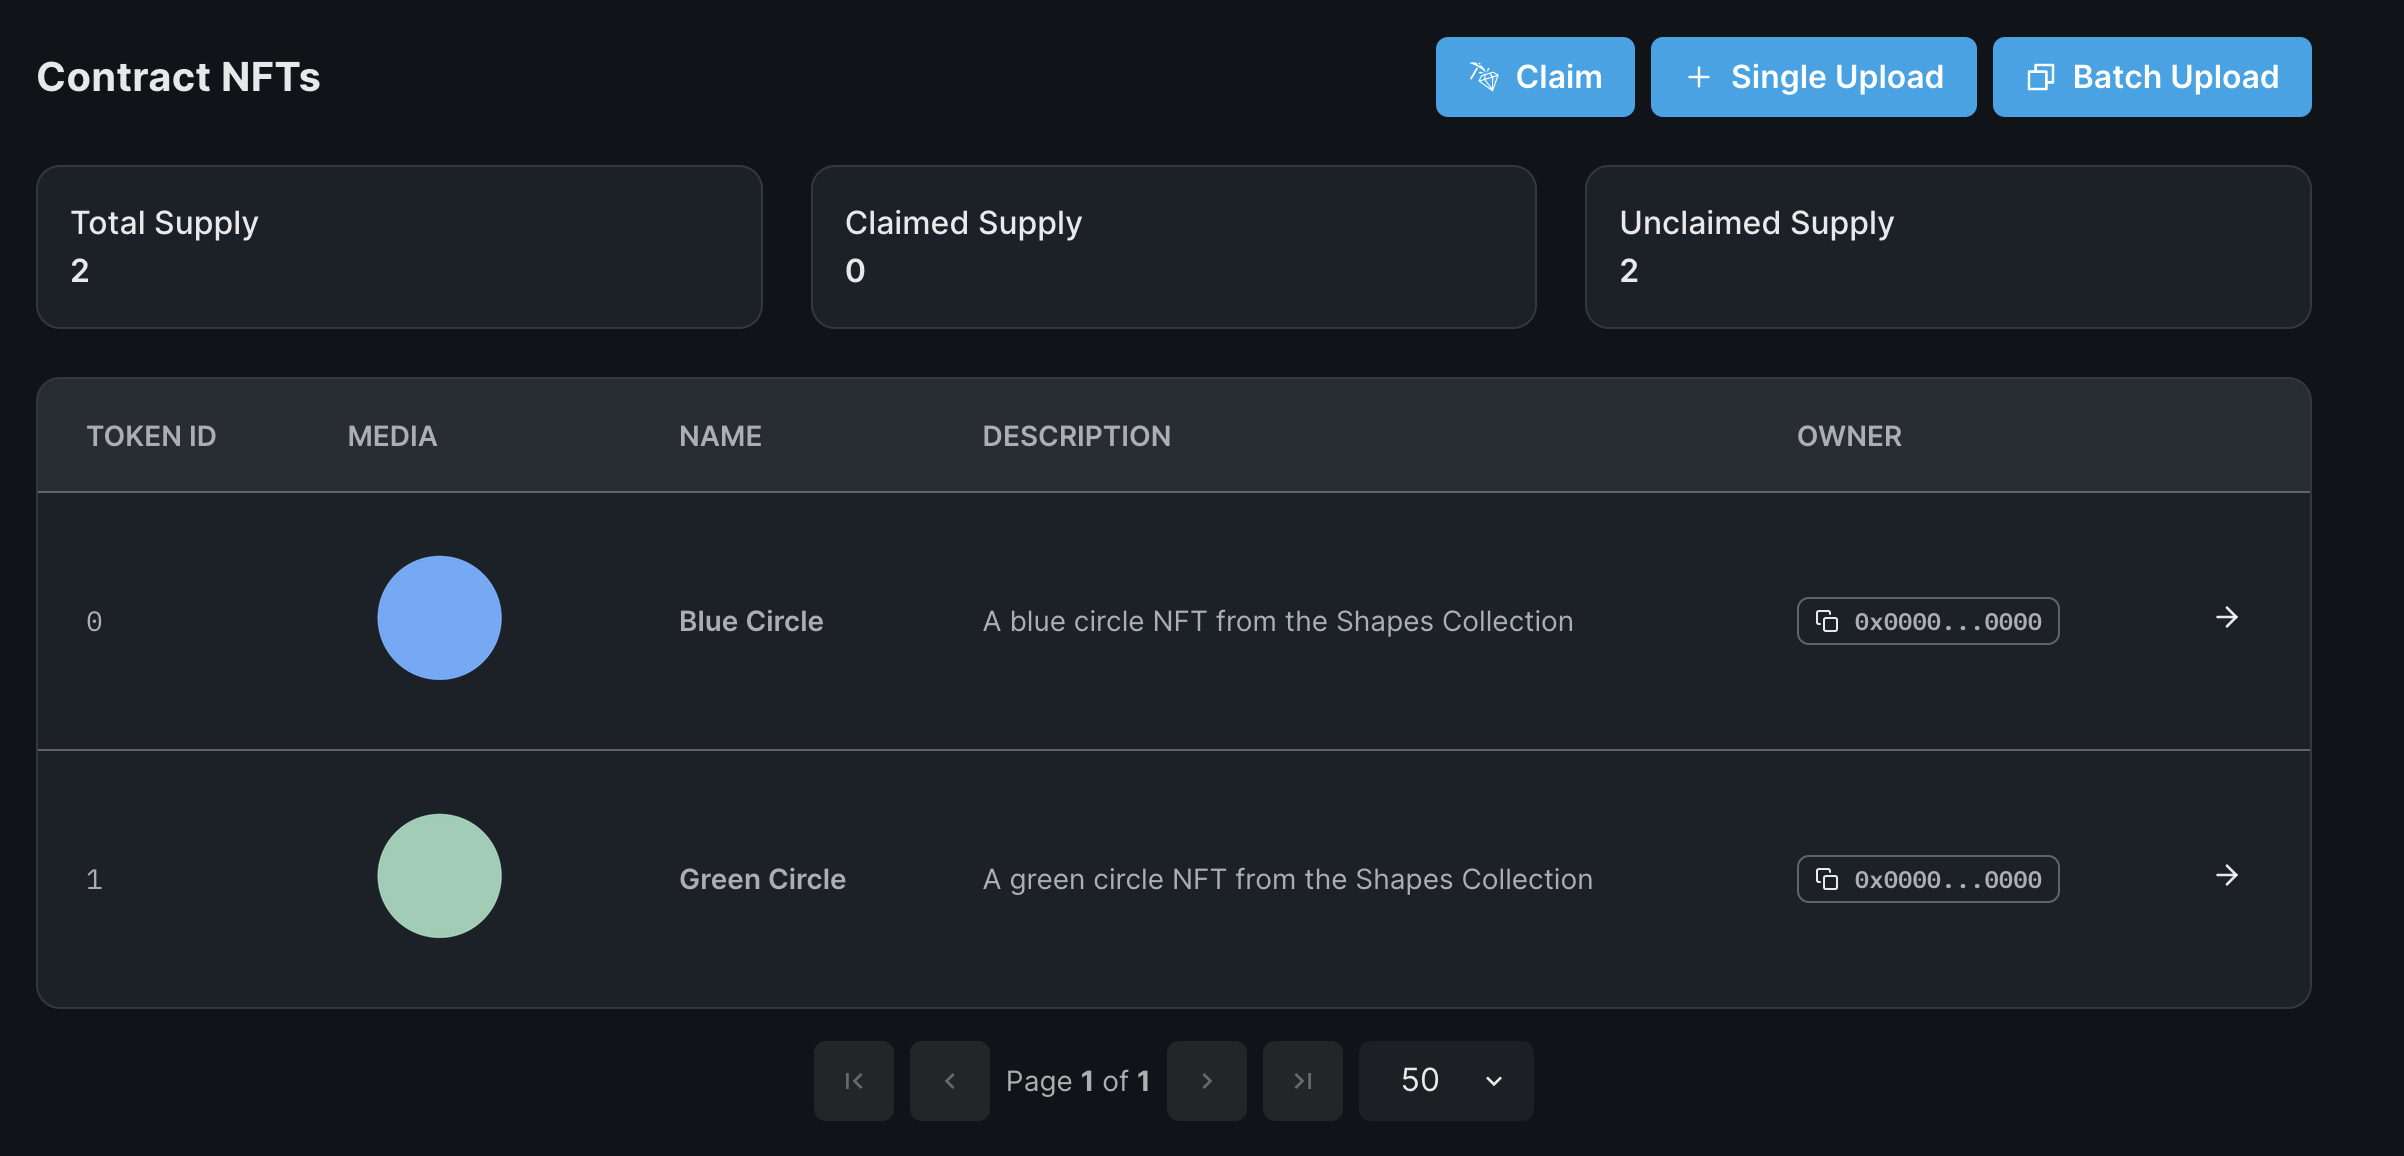
If you go back to the dashboard you will be able to see your NFTs:
If you want to update the metadata just update the db.json file and push the file to GitHub. Then, if you wait for 2-3 minutes your NFTs metadata will be updated 🎉
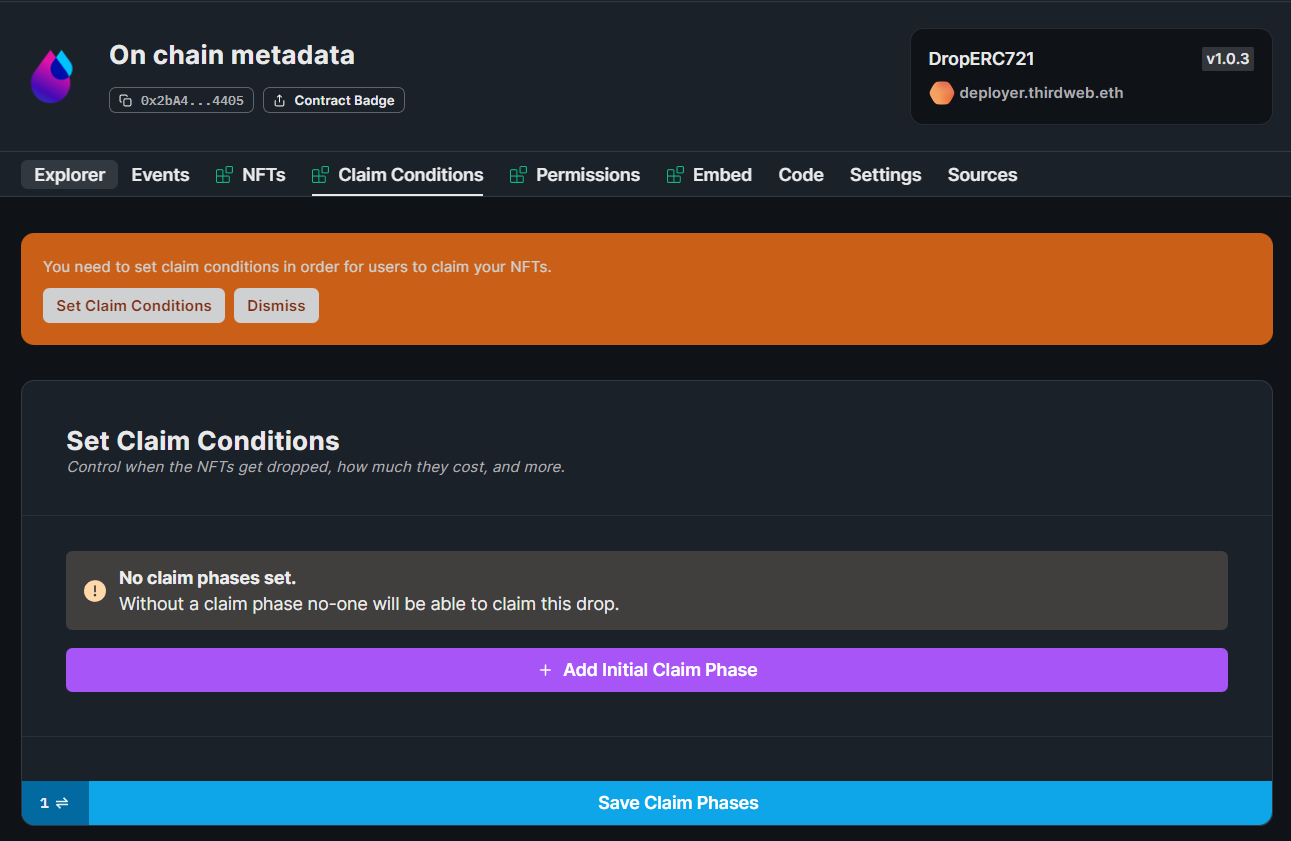
To release/drop your NFTs, head to the claim conditions tab, or follow our guide on how to Release an NFT Drop with an Allowlist and Multiple Claim Phases:
Conclusion
This guide taught us how to create an NFT drop with centralized metadata.
If you did as well, pat yourself on the back and share it with us on the thirdweb discord! If you want to take a look at the code, check out the GitHub Repository.