Build a Loyalty Program using the Loyalty Card Contract

⚠️ Warning: This guide currently uses v4 of the Connect SDK. For v5 (latest) code snippets, please check out our documentation while this guide is being updated. ⚠️
This guide will tell you everything you need to know about the new Loyalty Card contract; later in the guide, we will also see it in action in a next.js app where users can generate and cancel their loyalty cards, and we will also build an admin dashboard for the admins to update and revoke the loyalty cards!
Let's get started!
View the source code for this guide here:
 thirdweb-example
What is the Loyalty Card contract?
The Loyalty Card contract is intended for the use of launching loyalty programs. Each NFT represents a loyalty card, and the NFT's metadata contains the loyalty card's information. It is pretty similar to our prebuilt NFT Collection ERC721 contract but it has some additional functions to manage the cards better.
There is a cancel function for the owner of the NFT, so they can cancel their card, which burns the NFT.
The revoke and update functions allow admins to revoke a user's card and update the NFT metadata to make it more/less valuable based on the users' loyalty status. The cards are issued to users via signature minting.
Since the admin has some extra control over the NFTs of users, this contract is not ideal for most collections but rather collections that represent a loyalty program such as a membership or subscription.
Deploy the Loyalty Card Contract
To begin, head to the Contracts page in your thirdweb Dashboard and hit Deploy Contract:
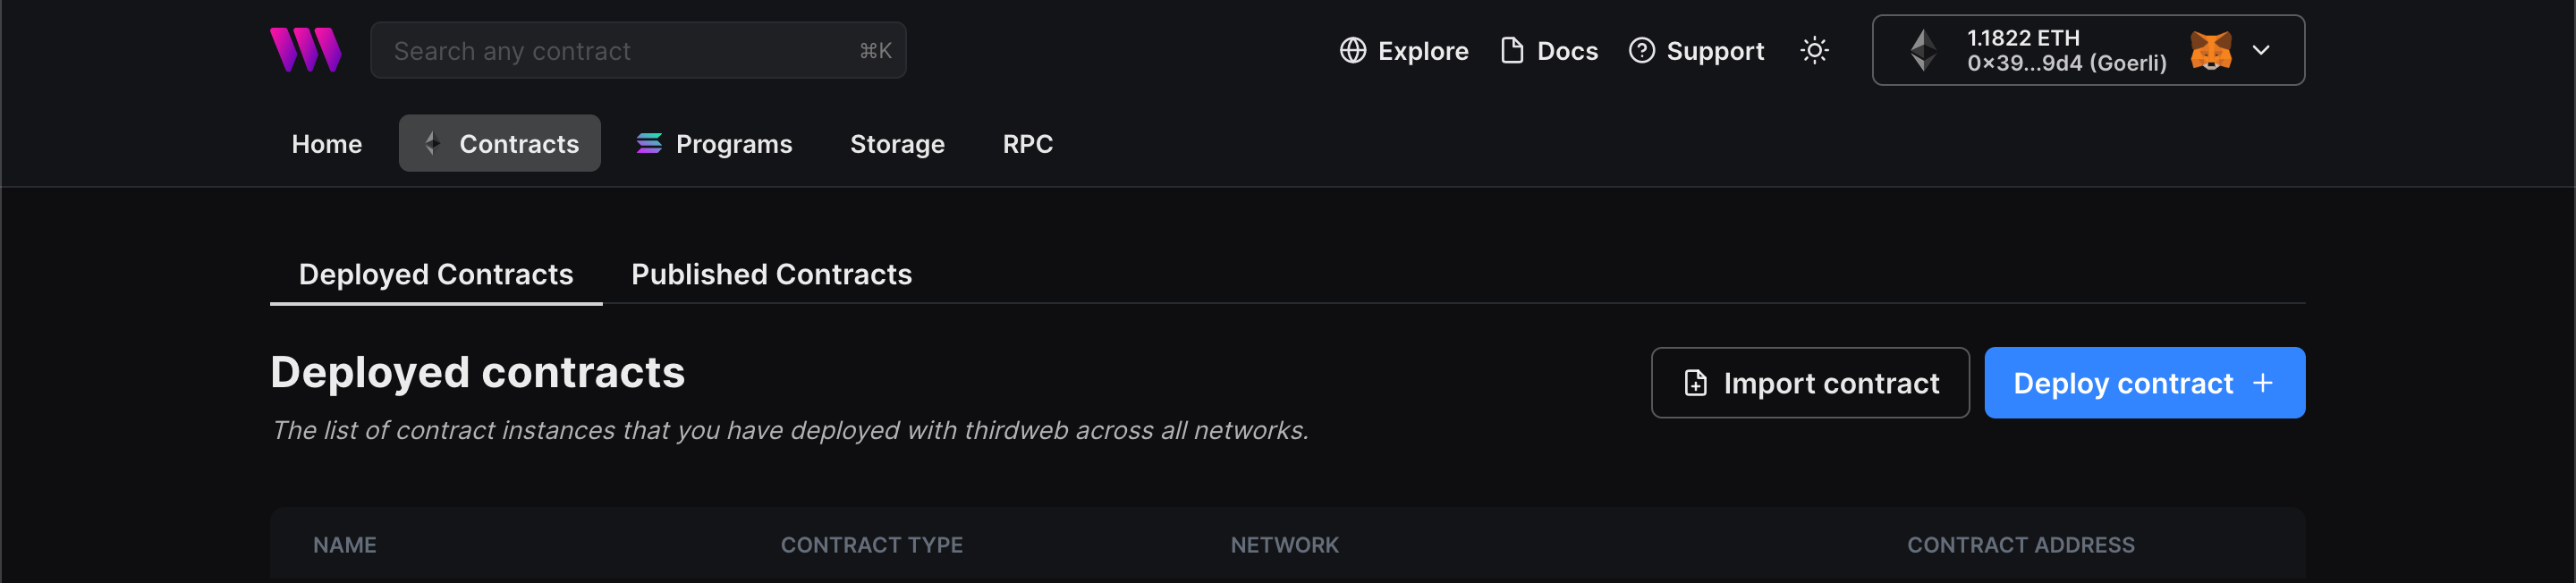
You will be taken to the thirdweb Explore page — where you can browse smart contracts built by the top protocols in Web3 and deploy them in just a few clicks!
Note: You can also use the thirdweb CLI to set up a smart contract project to create your own contracts by running the below command from your terminal:
npx thirdweb create contractThis will take you through an easy-to-follow flow of steps for you to create your contract. Learn more about this in our CLI guide.
Otherwise, let's get back to Explore:

Here, select the Loyalty Card contract. It will take you to the following page:

Once you are on this page, click Deploy Now, and you should see a drawer slide in from the right. Fill in the contract parameters here:
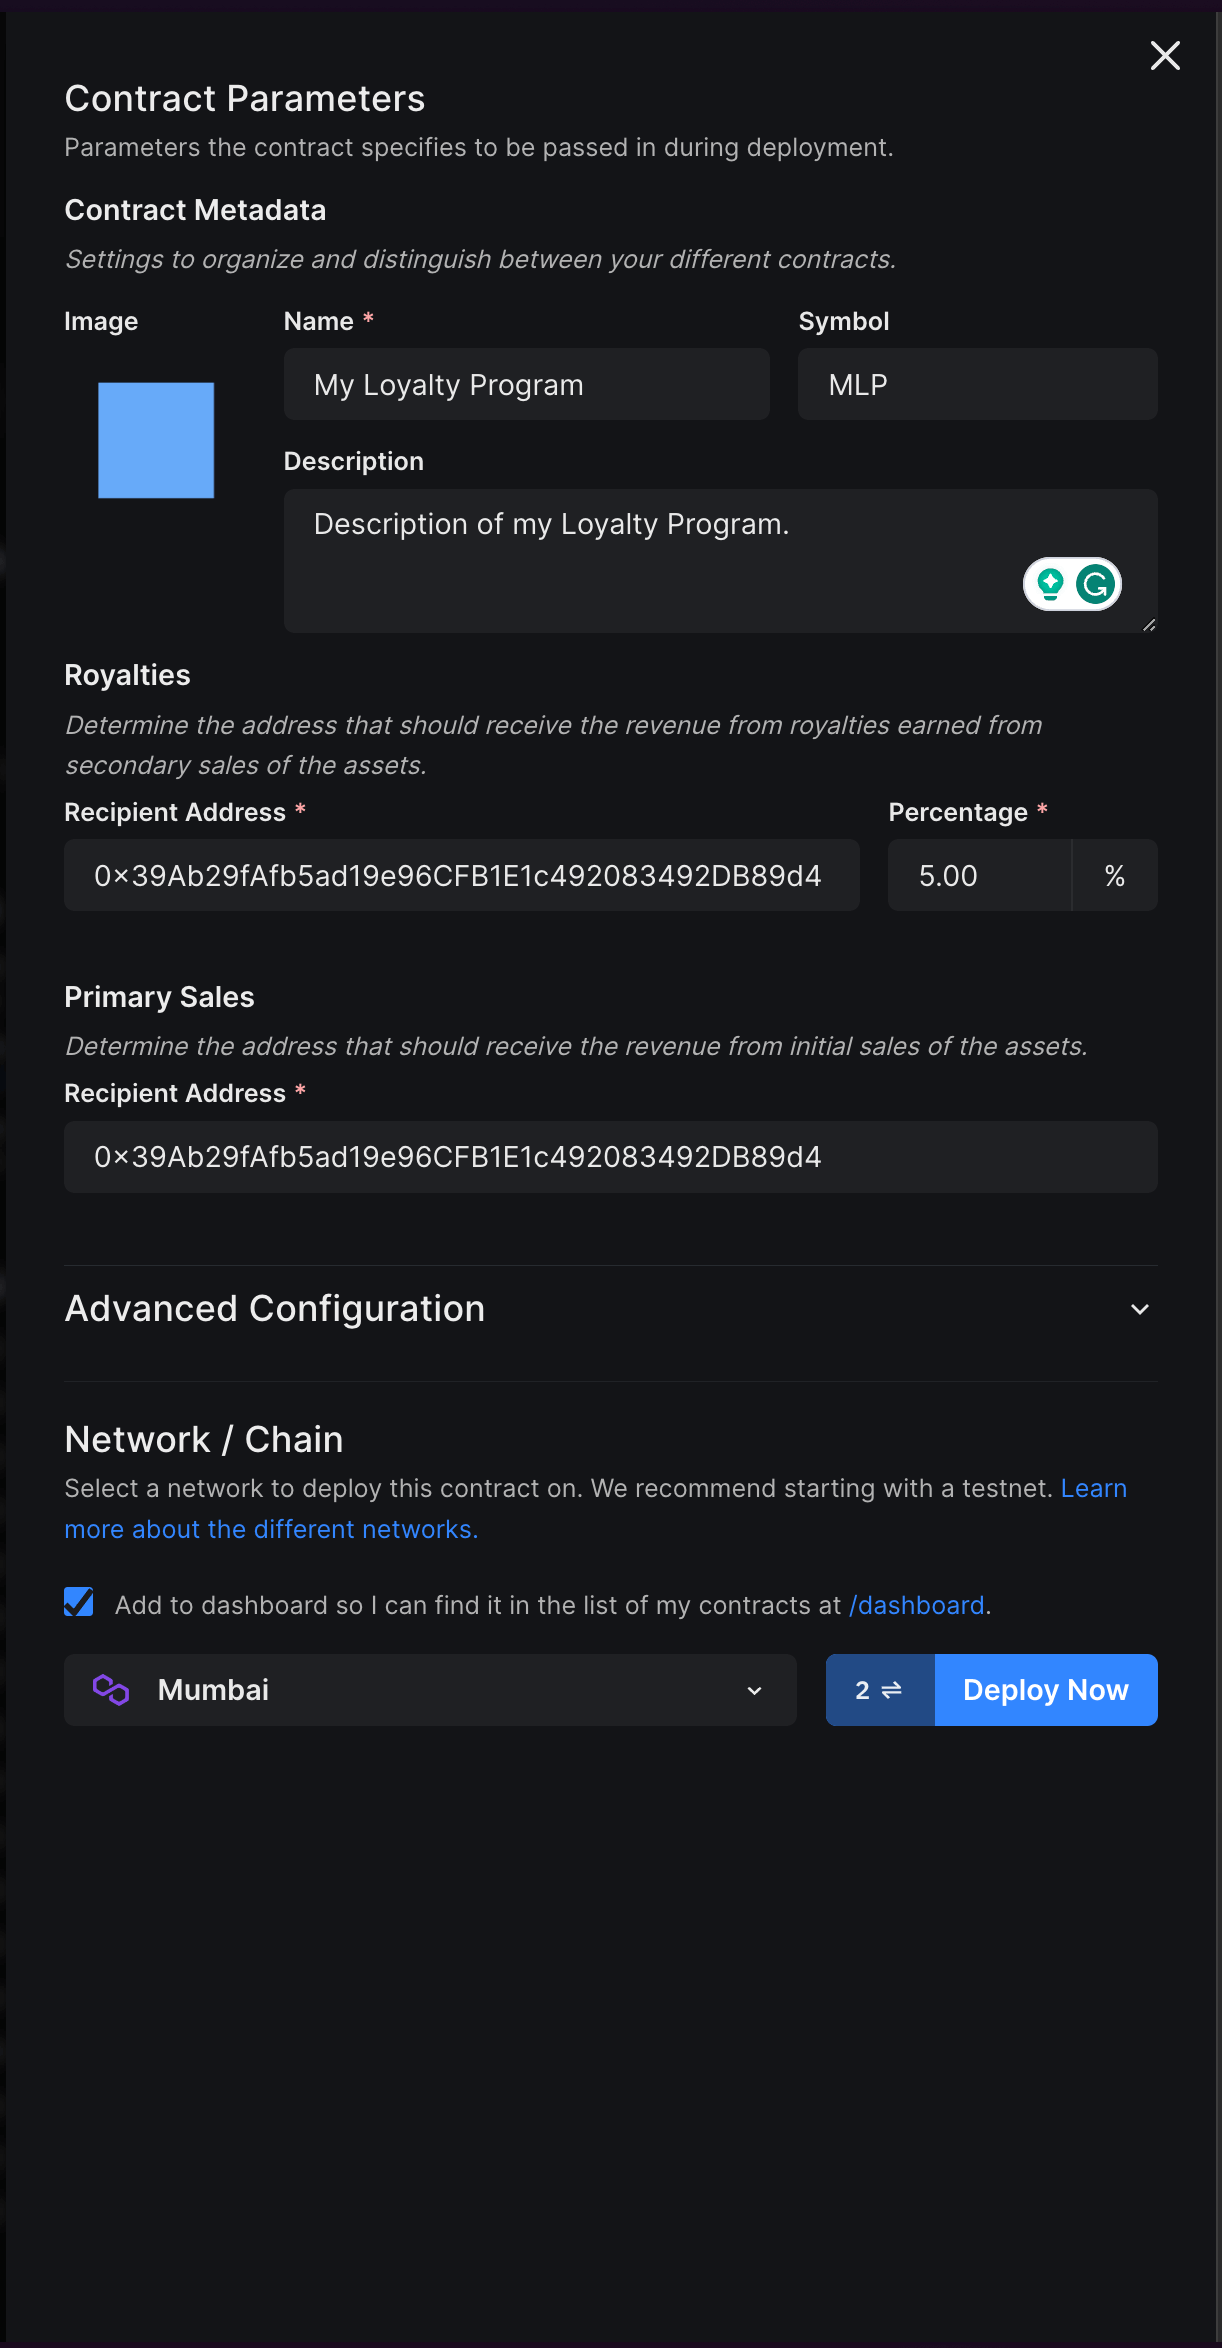
Finally, select the network/chain you want to deploy to and hit Deploy Now. This will trigger two transactions in your wallet that you will need to confirm:
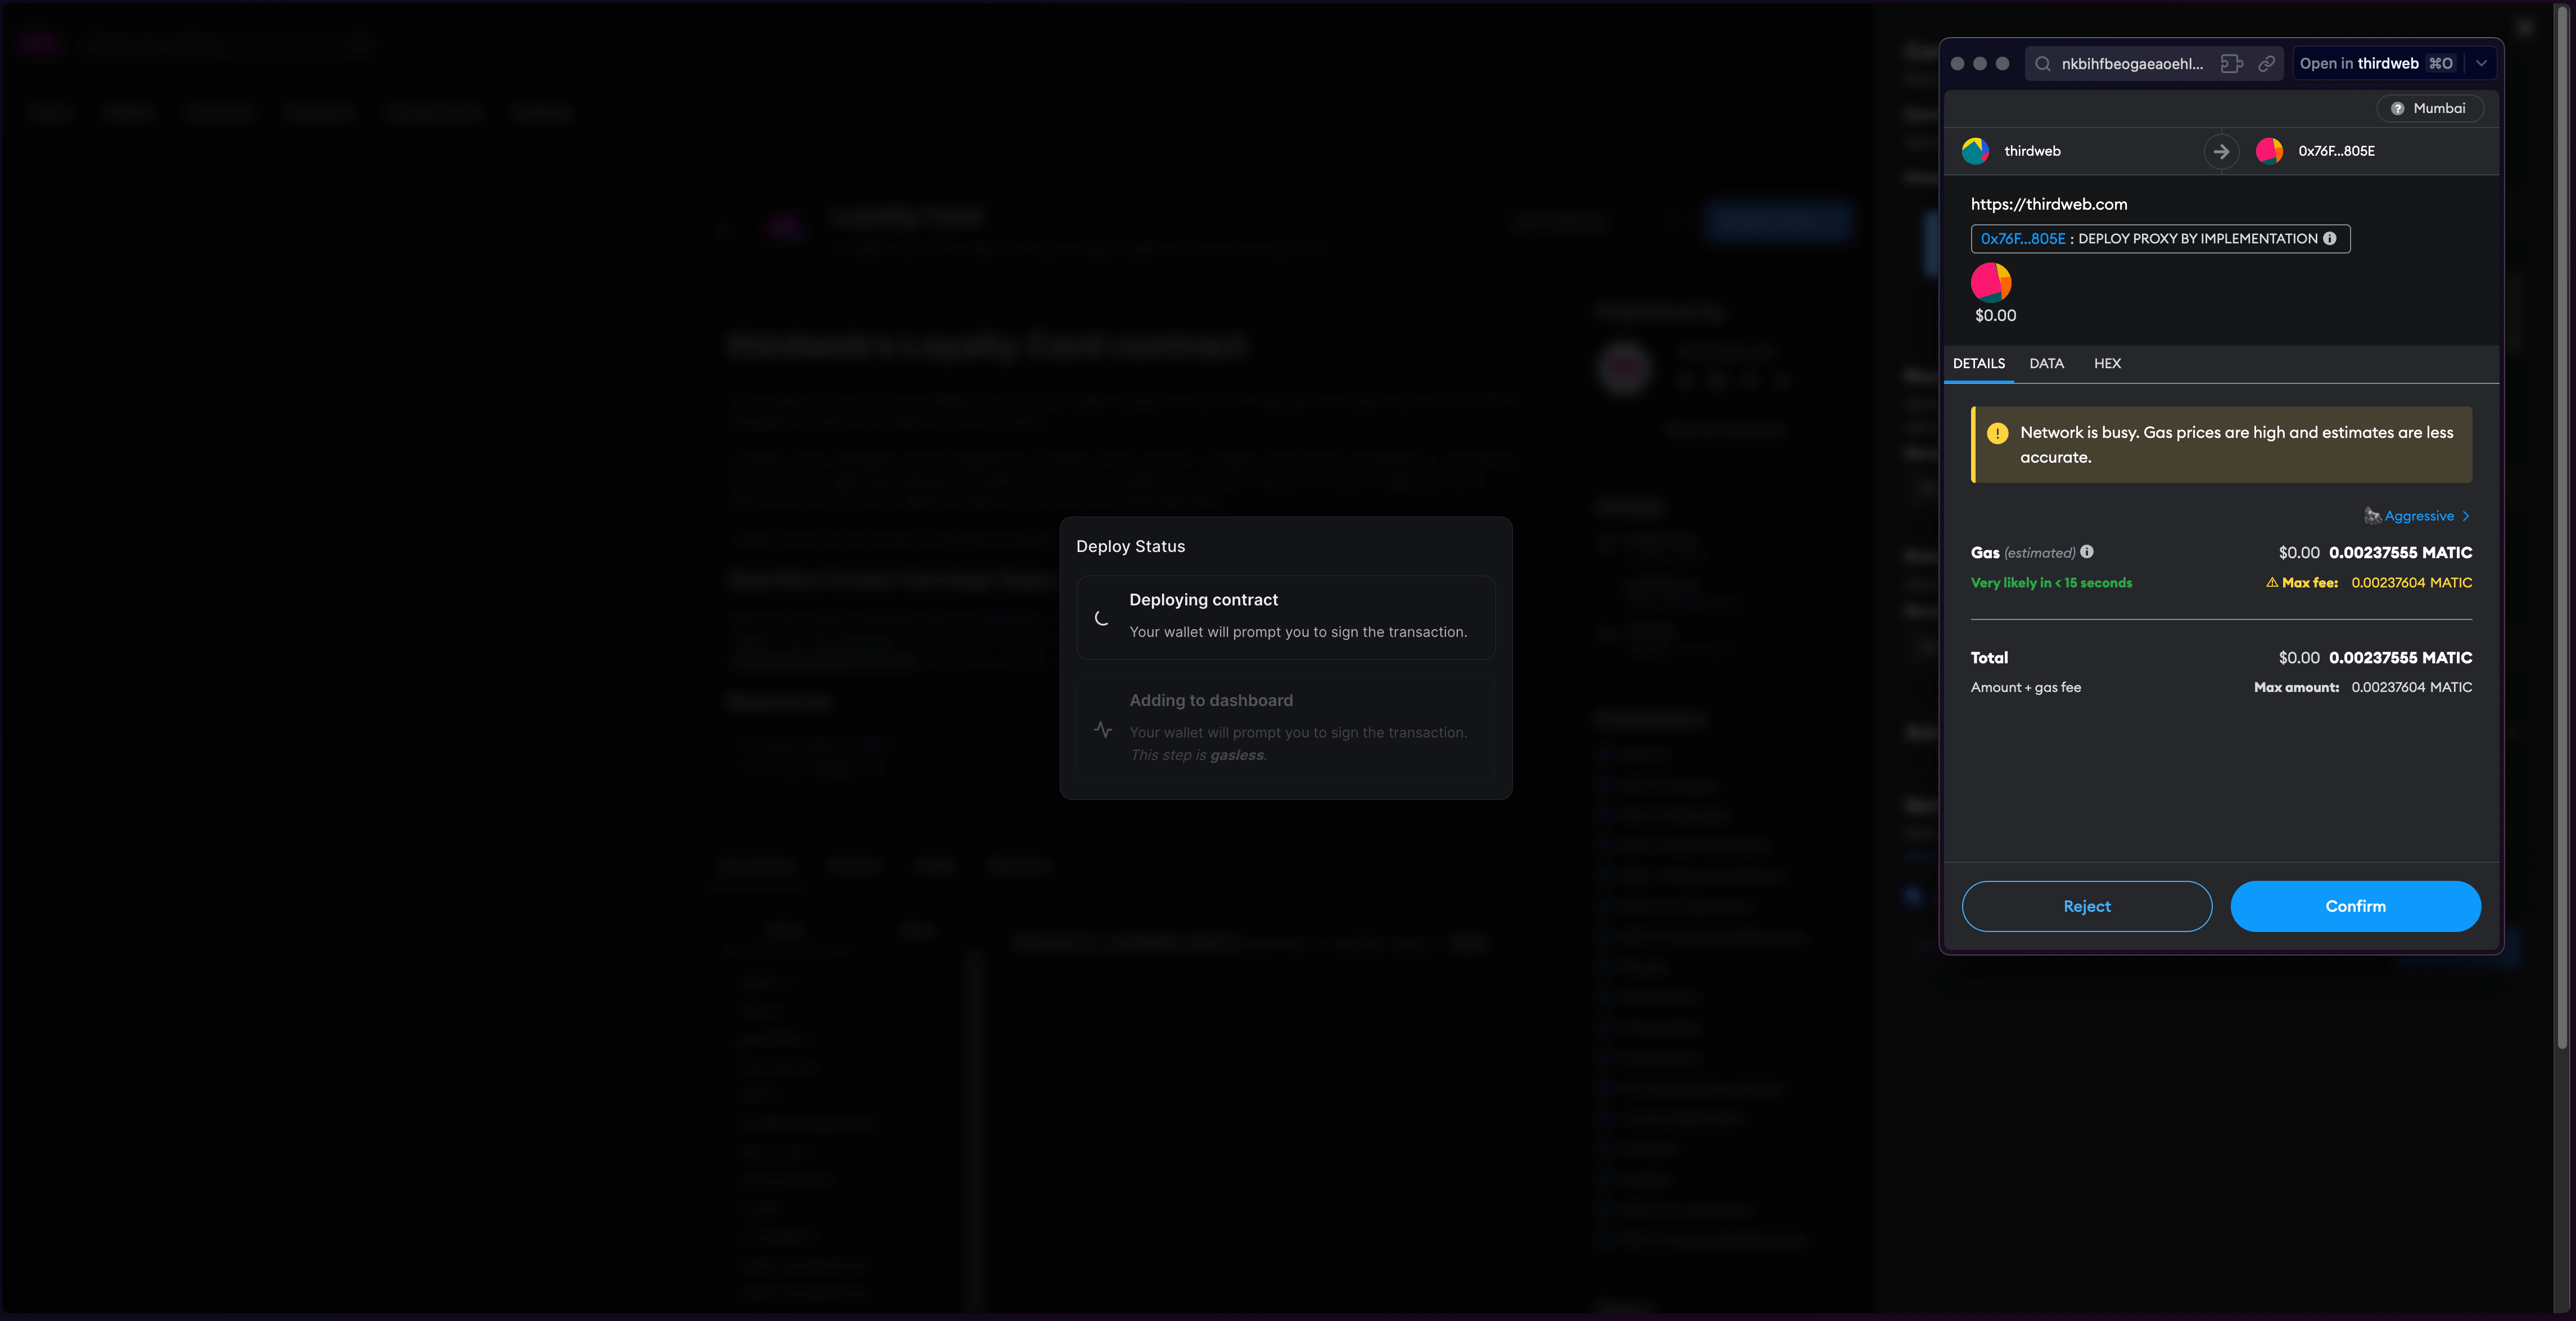
Once the transactions go through, you will be able to see the dashboard for your contract:
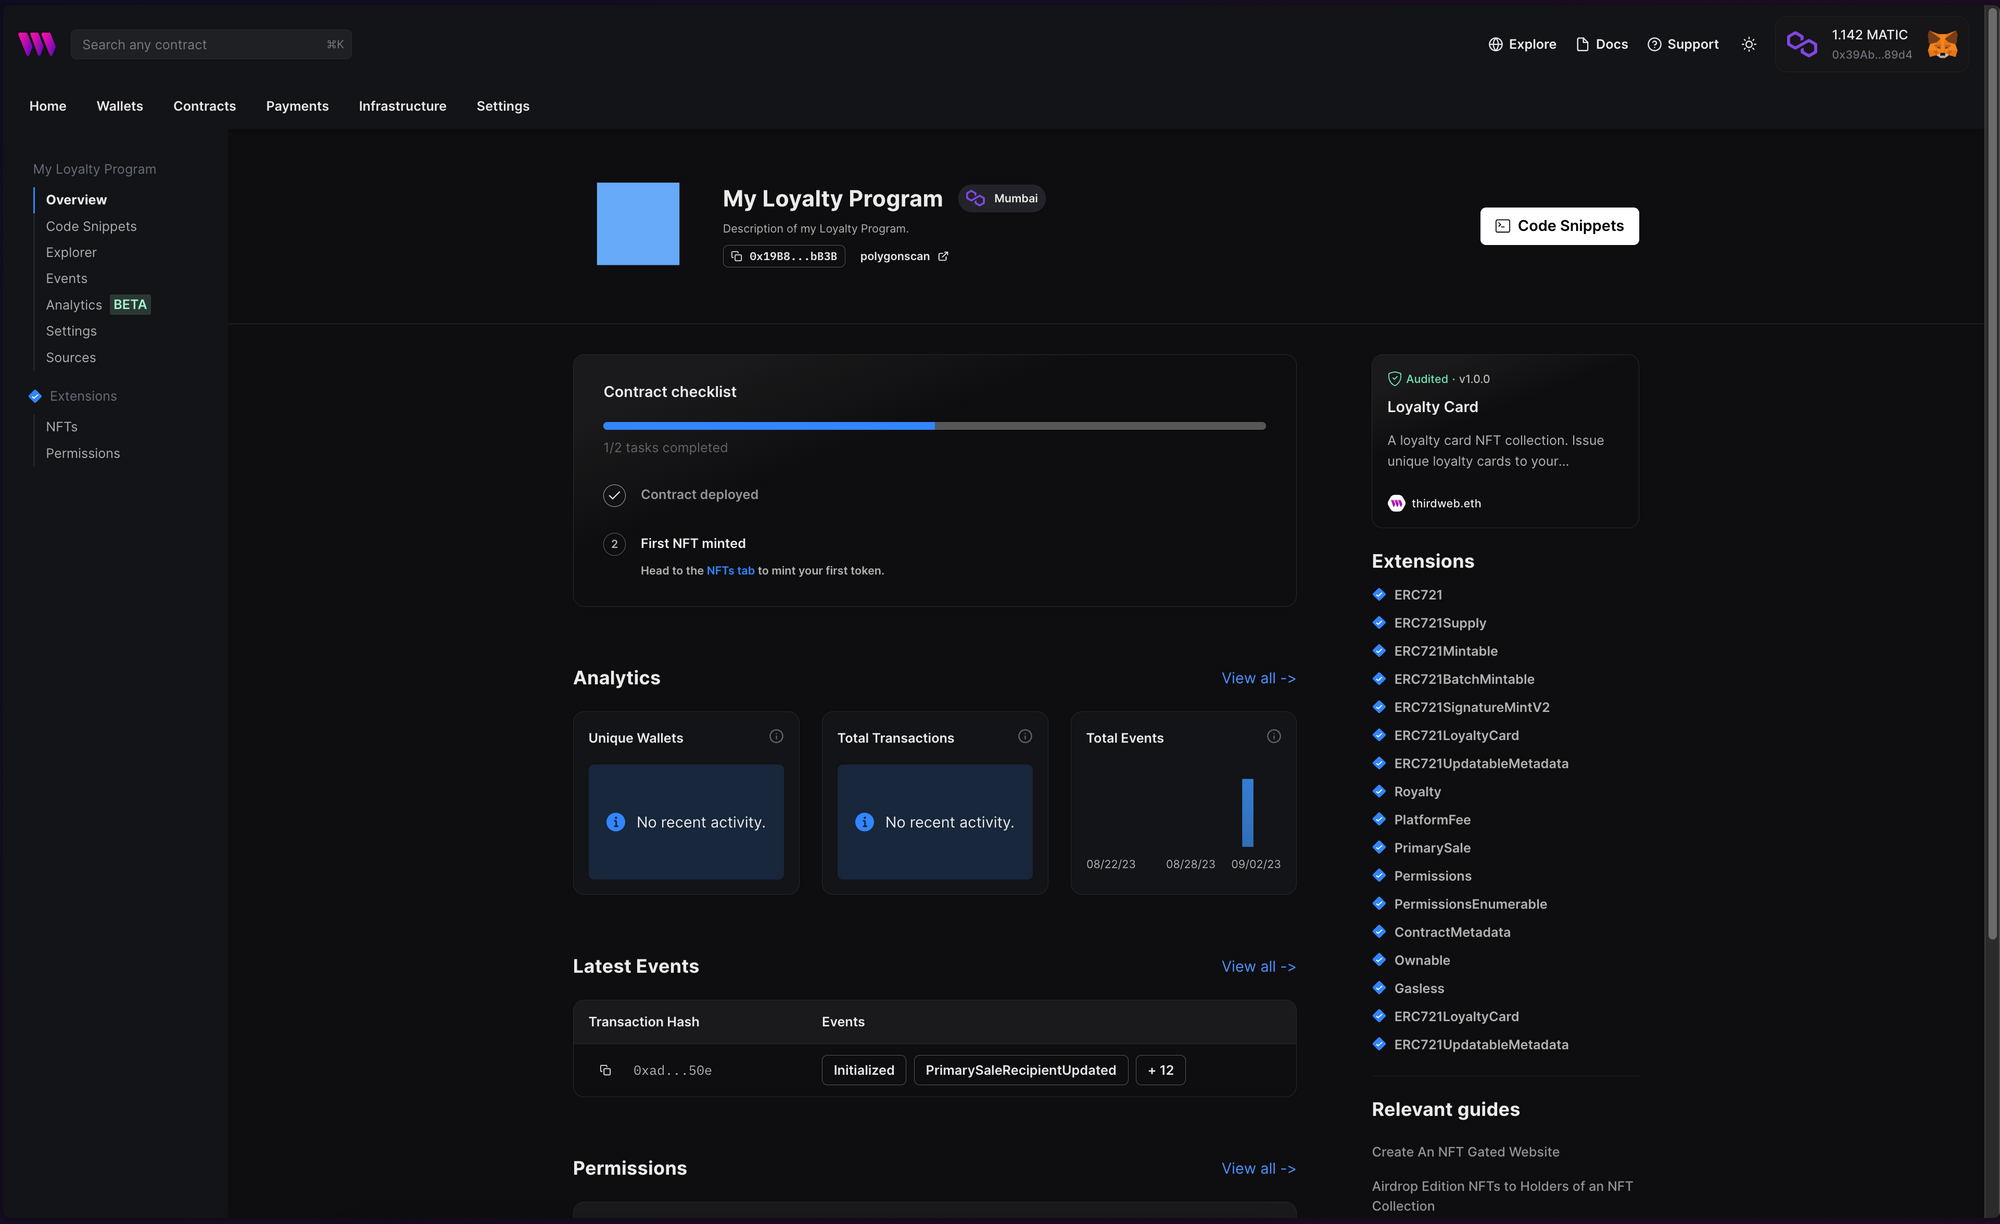
We don't have to do anything else with the contract for now. Let's use the contract in a Next.js app!
Creating the Next.js App
Now, let's create a web app where users can:
- Generate new loyalty cards
- View their loyalty cards/cancel them
And admins can:
- View all the loyalty cards present
- Revoke cards from users
- Update the metadata of the loyalty cards
Using the thirdweb CLI, create a new Next.js & TypeScript project with the React SDK preconfigured for you using the following command:
npx thirdweb create app --next --tsTo use an API key with the React SDK, pass the clientId to the ThirdwebProvider. The template already comes with the client ID, so you can create a new .env.local file and add the clientId and the secretKey (which we will be using shortly) with the following names:
NEXT_PUBLIC_TEMPLATE_CLIENT_ID=
TW_SECRET_KEY=
Now, add a wallet private key as well:
WALLET_PRIVATE_KEY=<your-private-key>Next, we need to update the chain that our app works on. Go into _app.tsx and change the activeChain variable to the chain that you deployed your contract to. In my case, it is Mumbai:
// This is the chainId your dApp will work on.
const activeChain = "mumbai";
Since we are going to need the contract address in multiple places, create a new consts.ts file and add the contract address:
export const CONTRACT_ADDRESS = "0x19B8e6c26C5d278905449bF447f98d133392bB3B";
Creating the backend
The backend of our app will generate signatures, using signature minting, with some metadata that the user's wallet can use to mint a card. So, create a new file named generate-sig.ts in the pages/api folder and the basic structure of the API. We are only going to allow post requests to this API, so if it isn't a post req, we send out an error:
import type { NextApiRequest, NextApiResponse } from "next";

const handler = async (req: NextApiRequest, res: NextApiResponse) => {
  if (req.method !== "POST") {
    return res.status(405).json({ error: "Method not allowed" });
  }
};

export default handler;
Below this, add a try-catch block where we initialize the thirdweb SDK using the secret key and the wallet private key:
  try {
    const sdk = ThirdwebSDK.fromPrivateKey(
      process.env.WALLET_PRIVATE_KEY!,
      "mumbai",
      {
        secretKey: process.env.TW_SECRET_KEY!,
      }
    );
  } catch (error) {
    console.error(error);
    return res.status(500).json({ error: "Internal server error" });
  }
Then, we need to access the contract:
const contract = await sdk.getContract(CONTRACT_ADDRESS);
I am using the variable from the consts.ts file we created earlier in the guide. You can import it like this:
import { CONTRACT_ADDRESS } from "../../consts";
Now, we get the address from the request body and create a signature payload using it:
const address = req.body.address;

const payload: PayloadToSign721withQuantity = {
  to: address,
  metadata: {
    name: "My loyalty card",
    description: "Some loyalty card description. Too lazy to write one.",
    image:
      "https://15065ae3c21e0bff07eaf80b713a6ef0.ipfscdn.io/ipfs/bafybeie2mhmbriq4ndtl3i7enkovlm6njycdutobw4jczixdbfoensranm/blue_square.png",
    attributes: [
      {
        trait_type: "color",
        value: "blue",
      },
      {
        trait_type: "points",
        value: 100,
      },
    ],
  },
};
The PayloadToSign721withQuantity is the type of payload that we need to pass, we will import this from the TypeScript SDK. Feel free to check the other properties that you can pass in the metadata and change the values of the ones here.
Finally, we use the contract.erc721.signature.generate function to generate the signature and return it:
const signedPayload = await contract.erc721.signature.generate(payload);

return res.status(200).json({ signedPayload });
Your final API should look similar to this:
import { PayloadToSign721withQuantity, ThirdwebSDK } from "@thirdweb-dev/sdk";
import type { NextApiRequest, NextApiResponse } from "next";
import { CONTRACT_ADDRESS } from "../../consts";

const handler = async (req: NextApiRequest, res: NextApiResponse) => {
  if (req.method !== "POST") {
    return res.status(405).json({ error: "Method not allowed" });
  }

  try {
    const sdk = ThirdwebSDK.fromPrivateKey(
      process.env.WALLET_PRIVATE_KEY!,
      "mumbai",
      {
        secretKey: process.env.TW_SECRET_KEY!,
      }
    );

    const contract = await sdk.getContract(CONTRACT_ADDRESS);

    const address = req.body.address;

    const payload: PayloadToSign721withQuantity = {
      to: address,
      metadata: {
        name: "My loyalty card",
        description: "Some loyalty card description. Too lazy to write one.",
        image:
          "https://15065ae3c21e0bff07eaf80b713a6ef0.ipfscdn.io/ipfs/bafybeie2mhmbriq4ndtl3i7enkovlm6njycdutobw4jczixdbfoensranm/blue_square.png",
        attributes: [
          {
            trait_type: "color",
            value: "blue",
          },
          {
            trait_type: "points",
            value: 100,
          },
        ],
      },
    };

    const signedPayload = await contract.erc721.signature.generate(payload);

    return res.status(200).json({ signedPayload });
  } catch (error) {
    console.error(error);
    return res.status(500).json({ error: "Internal server error" });
  }
};

export default handler;
Creating the user frontend
Let's now build the front end for a common user! To build this head over to pages/index.tsx. Firstly, delete everything inside the main since we are not going to need it:
import styles from "../styles/Home.module.css";
import { NextPage } from "next";

const Home: NextPage = () => {
  return <main className={styles.main}></main>;
};

export default Home;
We will now add a Web3Button inside the main tag like this:
<Web3Button action={() => generate()} contractAddress={CONTRACT_ADDRESS}>
  Generate NFT
</Web3Button>
As you can see, we are using an external generate function that has not been created yet. We will create that now!
  const generate = async () => {
    try {
      const res = await fetch("/api/generate-sig", {
        method: "POST",
        headers: {
          "Content-Type": "application/json",
        },
        body: JSON.stringify({
          address,
        }),
      });

      const data = await res.json();

      await contract?.erc721.signature.mint(data.signedPayload);
      alert("NFT minted!");
    } catch (err) {
      console.error(err);
    }
  };
The generate function makes a post request to the API we created earlier and then uses the generated signature to mint the NFT, prompting the user to confirm a transaction!
We also need to add the useContract hook to access our contract:
const { contract } = useContract(CONTRACT_ADDRESS);If you go ahead and try to mint a loyalty card, it should work!
Now, let's go ahead and display the user's cards. Firstly, we will add the hooks we need to obtain the connected user's address and their owned NFTs:
const address = useAddress();
const { data: nfts, isLoading, isError } = useOwnedNFTs(contract, address);
Now, let's map through the NFTs and render them. Since we are going to need to render the NFTs in various places, I am going to create an NFTCard component:
{nfts && (
    <div className={styles.nfts}>
      {nfts.map((nft) => (
        <NFTCard nft={nft} key={nft.metadata.id} />
      ))}
    </div>
)}
Let's then create a new file named NFTCard.tsx in the components folder and add the following:
import { NFT, ThirdwebNftMedia, Web3Button } from "@thirdweb-dev/react";
import Image from "next/image";
import { type FC } from "react";
import { CONTRACT_ADDRESS } from "../consts";
import styles from "../styles/Home.module.css";

interface NFTProps {
  nft: NFT;
}

export const NFTCard: FC<NFTProps> = ({ nft }) => {
  const id = nft.metadata.id;

  return (
    <div key={nft.metadata.id} className={styles.nft}>
      {nft.metadata.image ? (
        <ThirdwebNftMedia metadata={nft.metadata} />
      ) : (
        <Image
          src="https://t3.ftcdn.net/jpg/02/48/42/64/360_F_248426448_NVKLywWqArG2ADUxDq6QprtIzsF82dMF.jpg"
          alt=""
          width="360"
          height="200"
          style={{
            objectFit: "contain",
          }}
        />
      )}
      <h1>{nft.metadata.name}</h1>
      <p>{nft.metadata.description}</p>

      {nft.metadata.attributes && (
        <ul>
          {/* @ts-ignore */}
          {nft.metadata.attributes.map((attribute) => (
            <li key={attribute.trait_type}>
              <strong>{attribute.trait_type}:</strong> {attribute.value}
            </li>
          ))}
        </ul>
      )}

      <Web3Button
        action={(contract) => contract.erc721.cancel(id)}
        contractAddress={CONTRACT_ADDRESS}
      >
        Cancel
      </Web3Button>
    </div>
  );
};
This will create a simple NFT card that renders the metadata of the NFT, using the thirdweb ThirdwebNFTMedia renderer and has a cancel button that calls the contract.erc721.cancel function, which cancels/burns the NFT.
I have also added some basic styling for the NFTs. You can copy them/change them as you like:
.nfts {
  display: grid;
  grid-template-columns: repeat(3, 1fr);
  grid-gap: 24px;
  width: 100%;
  margin-top: 3rem;
}

.nft {
  display: flex;
  flex-direction: column;
  align-items: center;
  justify-content: center;
  margin: 0 auto;
  padding: 1rem;
  border: 1px solid #eaeaea;
  border-radius: 10px;
  width: fit-content;
}
It will render an NFT like this:
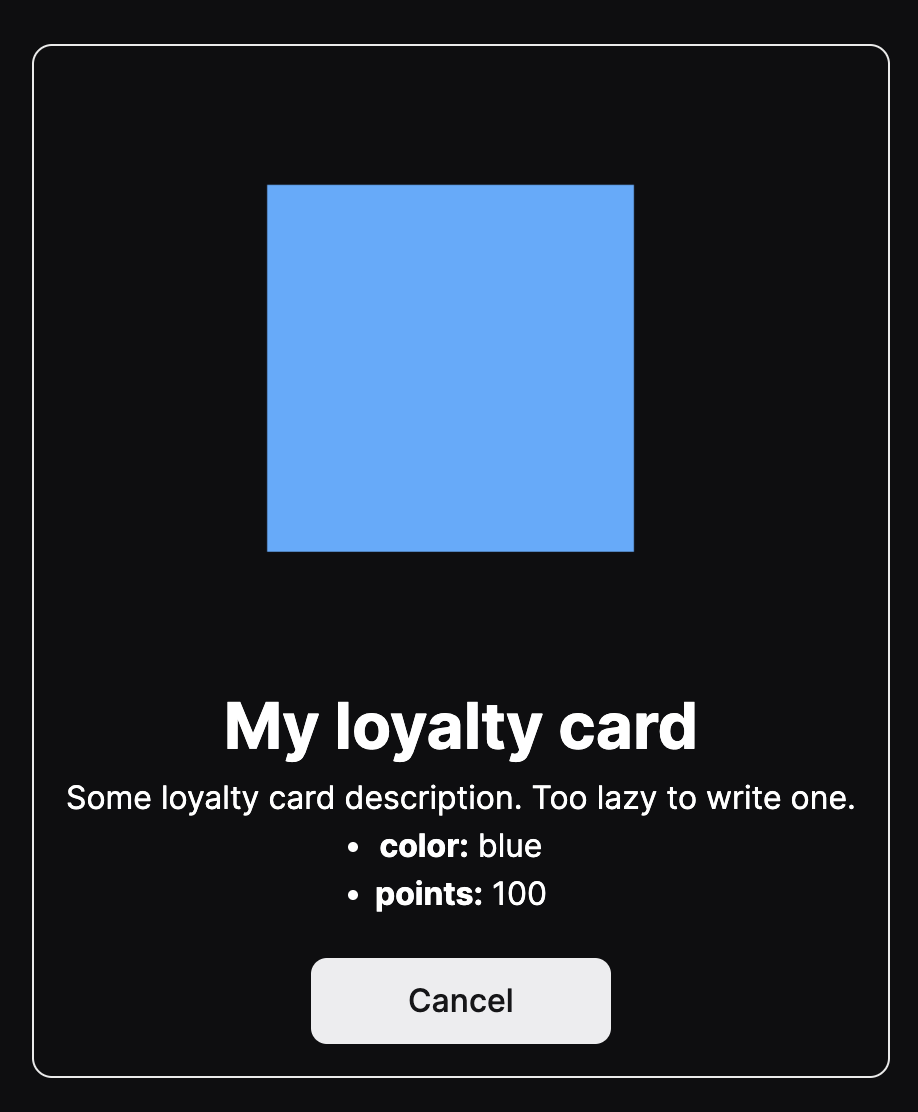
That's it for the user side. Feel free to go above and beyond for the use case, but for the sake of simplicity of the guide, we have kept it simple!
Building the Admin Dashboard
Let's go ahead and build the admin dashboard! For that, create a new file admin.tsx in the pages folder. We will add the basic structure here as well:
import styles from "../styles/Home.module.css";
import { NextPage } from "next";

const Admin: NextPage = () => {
  return <main className={styles.main}></main>;
};

export default Admin;
Then, instead of useOwnedNFTs that we used on the home page, we will use useNFTs which gets all the NFTs of the contract:
const { contract } = useContract(CONTRACT_ADDRESS);
const { data: nfts, isLoading, isError } = useNFTs(contract);
We can then reuse the NFTCard again to render the cards on the contract:
  {nfts && (
        <div className={styles.nfts}>
          {nfts.map((nft) => (
            <NFTCard nft={nft} key={nft.metadata.id} adminView={true} />
          ))}
        </div>
      )}
If you notice, we have added another property called adminView, which also needs to be added in the NFTCard component, so let's add this logic! Firstly, we will add it to the type and accept it as a prop:
interface NFTProps {
  nft: NFT;
  adminView?: boolean;
}

export const NFTCard: FC<NFTProps> = ({ nft, adminView }) => {
Then, we will add a condition to check whether adminView is enabled. If it is, then we need to render some extra information and a revoke button; otherwise, a simple cancel button:
     {adminView ? (
        <>
          <p>
            <strong>Token ID:</strong> {nft.metadata.id}
          </p>
          <p>Owner: {nft.owner}</p>
          {nft.owner !== "0x0000000000000000000000000000000000000000" && (
            <Web3Button
              action={(contract) => contract.erc721.revoke(id)}
              contractAddress={CONTRACT_ADDRESS}
            >
              Revoke
            </Web3Button>
          )}
        </>
      ) : (
        <Web3Button
          action={(contract) => contract.erc721.cancel(id)}
          contractAddress={CONTRACT_ADDRESS}
        >
          Cancel
        </Web3Button>
      )}
Next, let's add the ability to edit the points property of a loyalty card.
For that, first, add two useState hooks to store the new points value and the editing state:
const [points, setPoints] = useState(0);
const [isEditing, setIsEditing] = useState(false);
Next, add the edit functionality below the revoke button:
  {isEditing ? (
            <>
              <input
                type="number"
                value={points}
                onChange={(e) => setPoints(Number(e.target.value))}
              />
              <Web3Button
                action={() => update()}
                contractAddress={CONTRACT_ADDRESS}
              >
                Update
              </Web3Button>
            </>
          ) : (
            <button
              onClick={() => setIsEditing(true)}
              className={styles.button}
            >
              Edit
            </button>
          )}
Here, we are checking if isEditing is true. If it is, then we show an input and an update Web3Button, which calls an update function (we will be writing that next). Otherwise, a simple button to change the editing state.
Next, let's add the update function so that the admin can update the points when in edit mode:
const { contract } = useContract(CONTRACT_ADDRESS);
const update = async () => {
try {
const metadata = {
...nft.metadata,
attributes: [
// @ts-ignore
...nft.metadata.attributes.filter(
// @ts-ignore
(attribute) => attribute.trait_type !== "points"
),
{
trait_type: "points",
value: points,
},
],
};
await contract?.erc721.update(nft.metadata.id, metadata);
} catch (err) {
console.error(err);
} finally {
setIsEditing(false);
}
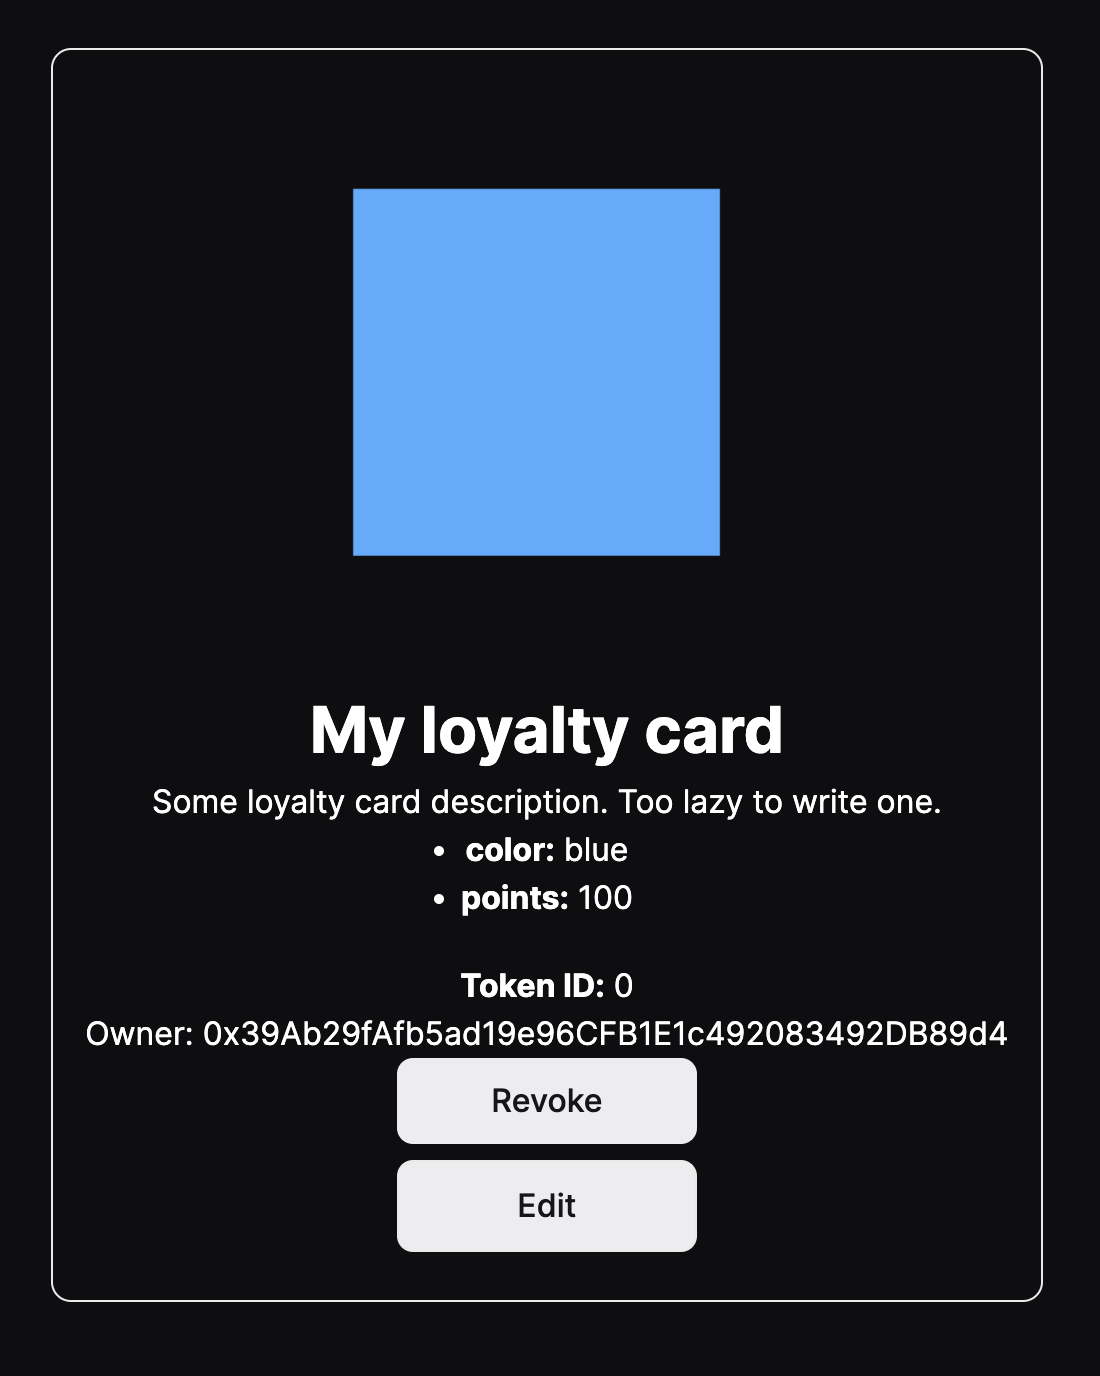
};Here, I am just changing the card points and keeping the other metadata the same as before, but you can add more inputs in the same manner to update the other metadata as well.
If you check the admin page, you will be able to see an NFT card similar to this:
Wrapping up
This guide taught us how to deploy a loyalty card contract, build a user frontend to generate and cancel the card, and an admin dashboard to revoke and edit users' cards.
You learned a lot. Now pat yourself on the back and share your amazing apps with us on the thirdweb discord!
Need help?
For support, join the official thirdweb Discord server or share your thoughts on our feedback board.