Integrating Smart Wallet in a React App

⚠️ Warning: This guide currently uses v4 of the Connect SDK. For v5 (latest) code snippets, please check out our documentation while this guide is being updated. ⚠️
This guide will show you how to create a react app where users can connect their smart wallets to your front end!
What is a smart contract wallet?
A smart contract wallet is a type of non-custodial web3 wallet that uses smart contracts to operate and manage assets. By adding logic to the smart contract's code, smart contract wallets unlock powerful new features:
- Multi-sig recoverable wallets.
- Multiple signers.
- Invisible transactions.
- Batched transactions.
To learn more about smart contract wallets, check out the documentation:


Deploy the Smart Wallet Contract
To begin, head to the Contracts page in your thirdweb Dashboard and hit Deploy Contract:

You will be taken to the thirdweb Explore page — where you can browse smart contracts built by the top protocols in Web3 and deploy them in just a few clicks!
Note: You can also use the thirdweb CLI to set up a smart contract project to create your own contracts by running the below command from your terminal:
npx thirdweb create contractThis will take you through an easy-to-follow flow of steps for you to create your contract. Learn more about this in our CLI guide.
Otherwise, let's get back to Explore:
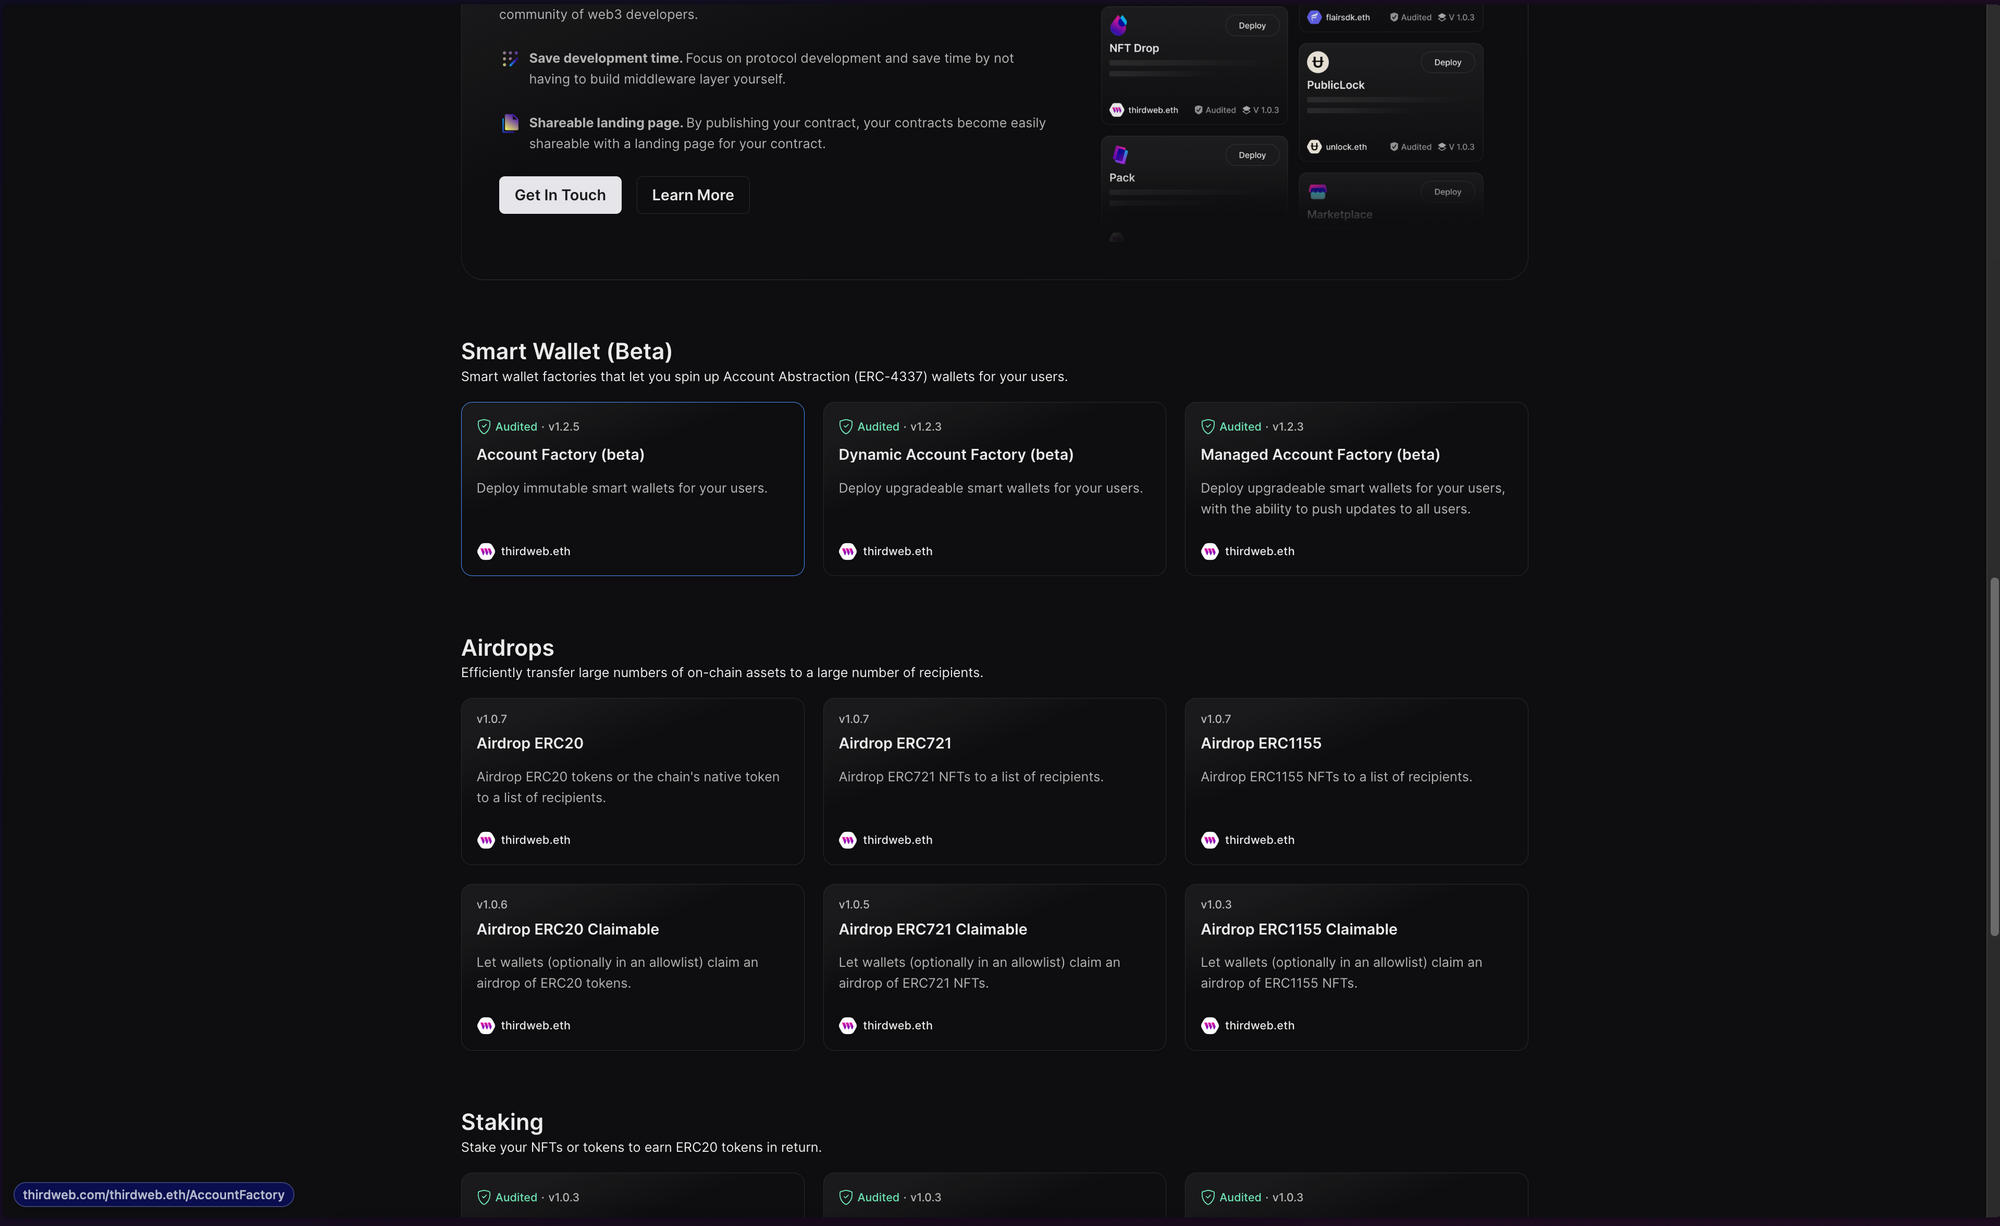
Select one of the Smart Wallet contracts based on your requirements. I am going with the Account Factory (Beta) contract for this guide. Clicking on it will take you to the following page:
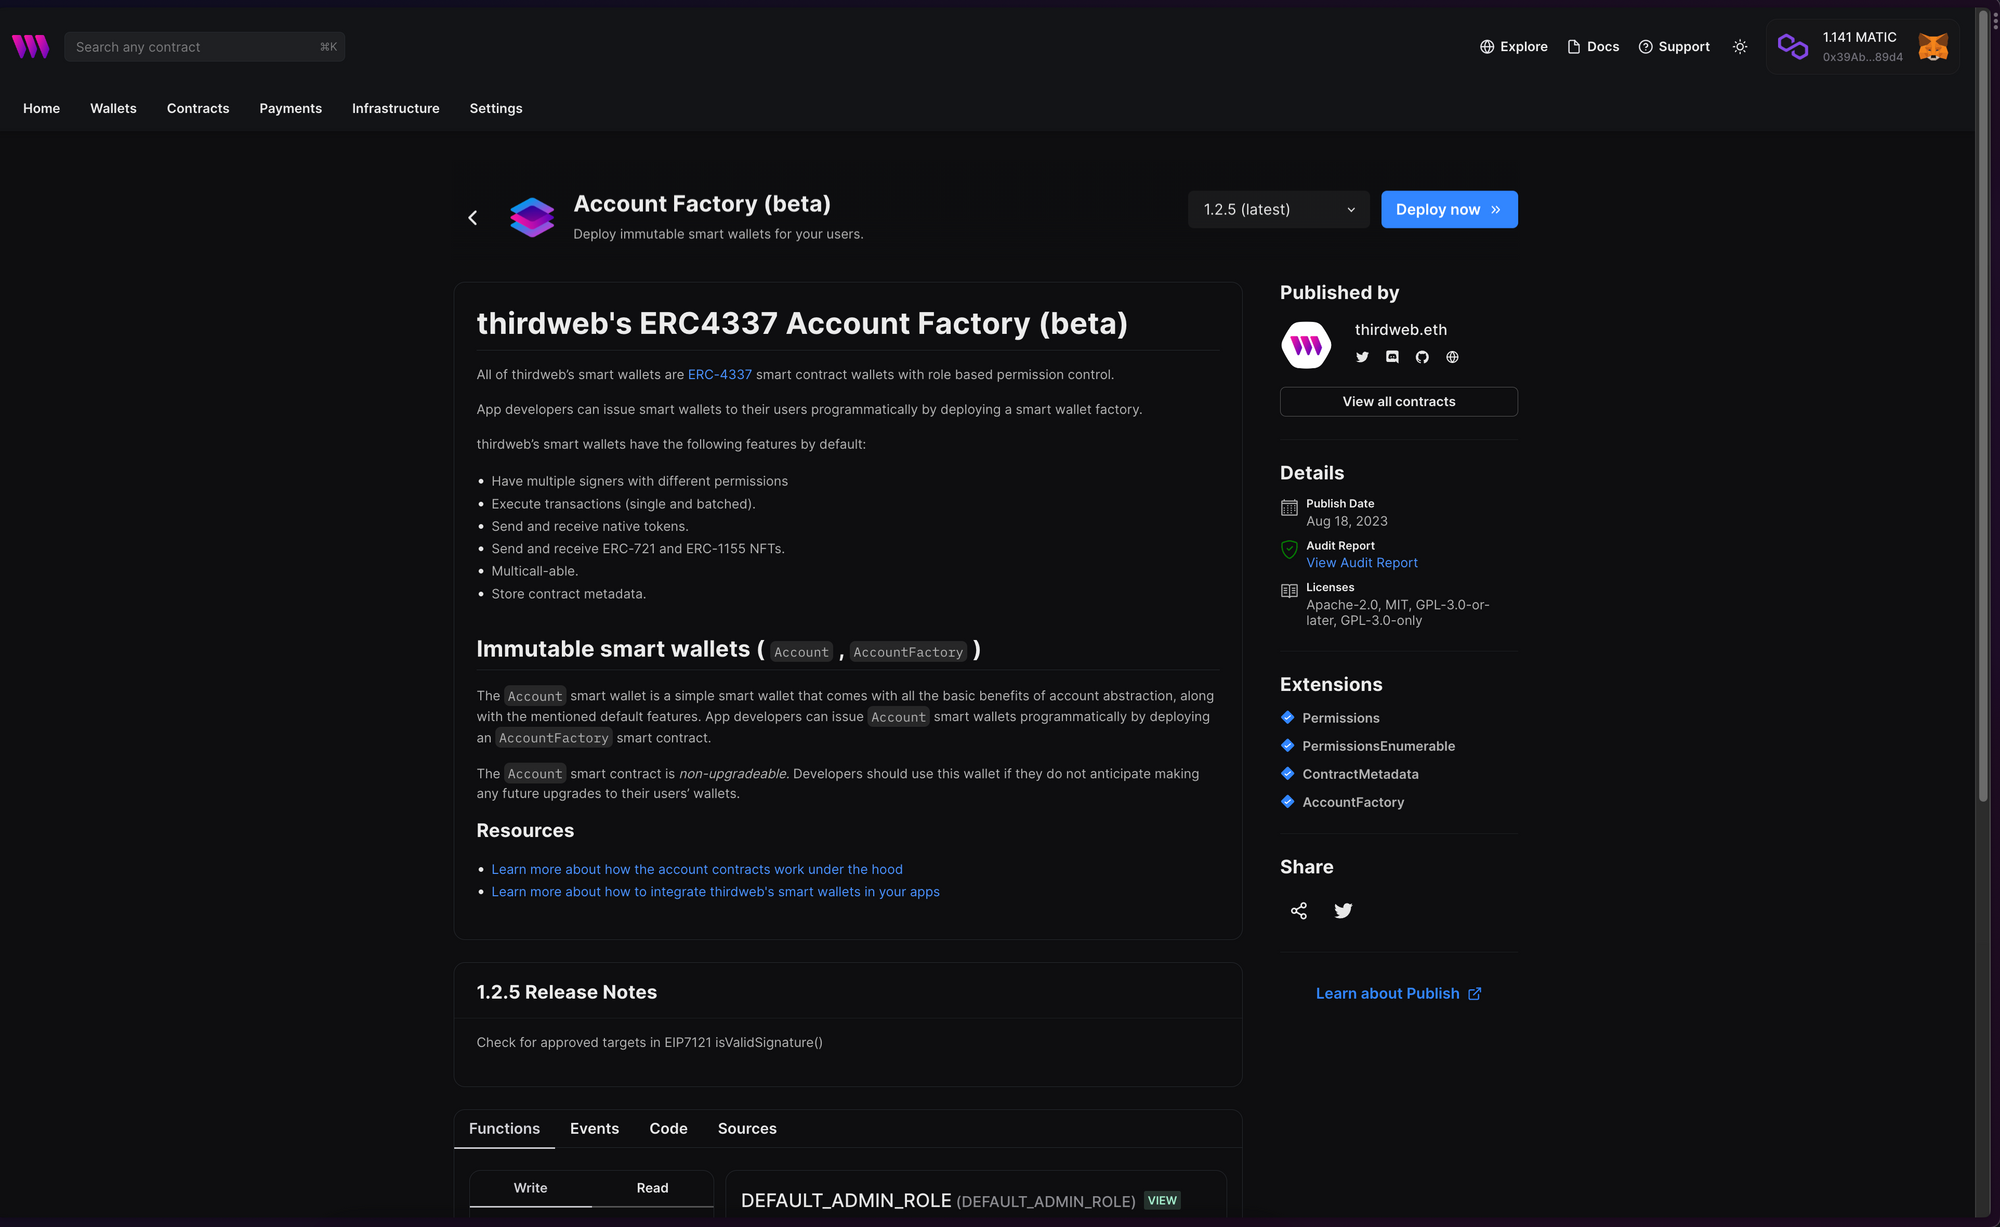
Once you are on this page, click Deploy Now, and you should see a drawer slide in from the right. You can change the advanced configuration here if you want.
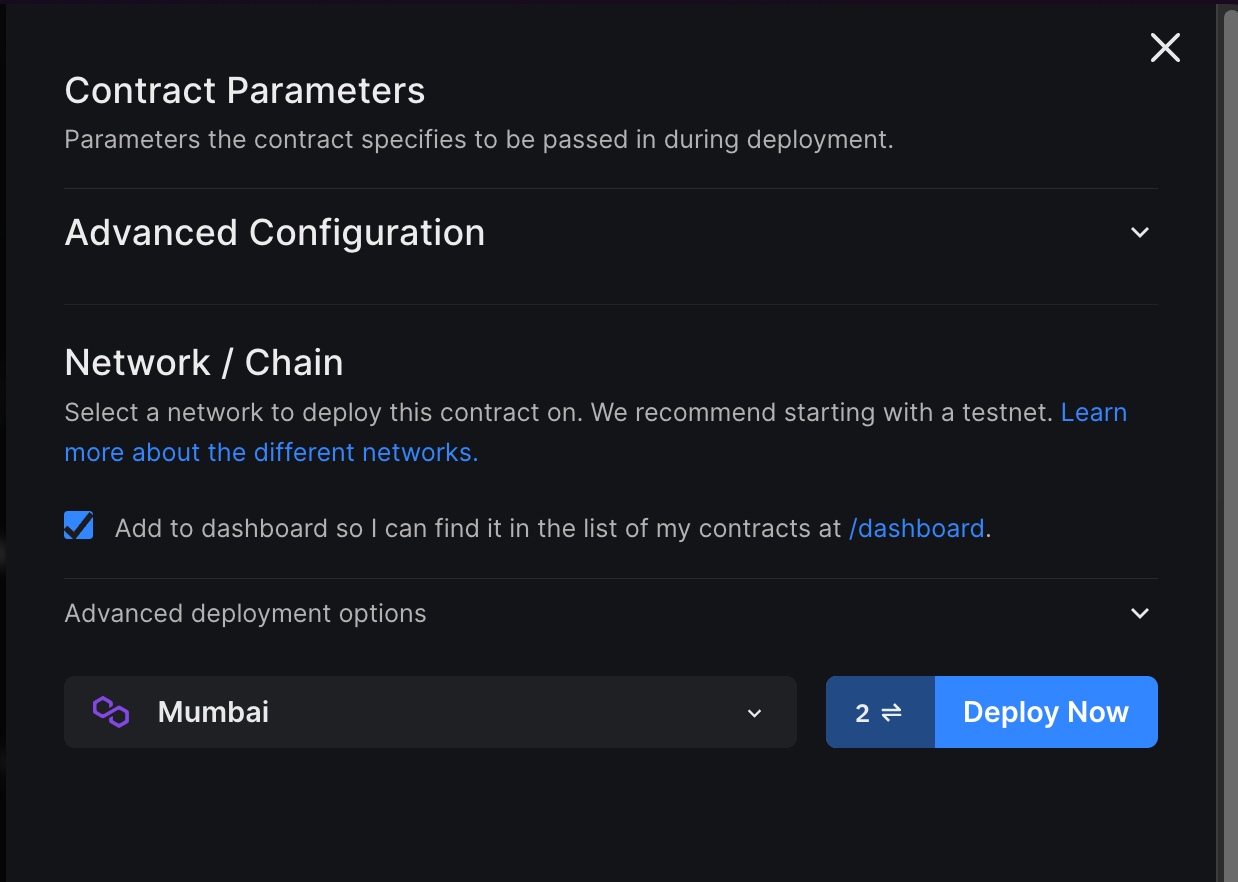
Finally, select the network/chain you want to deploy to and hit Deploy Now. This will trigger two transactions in your wallet that you will need to confirm:
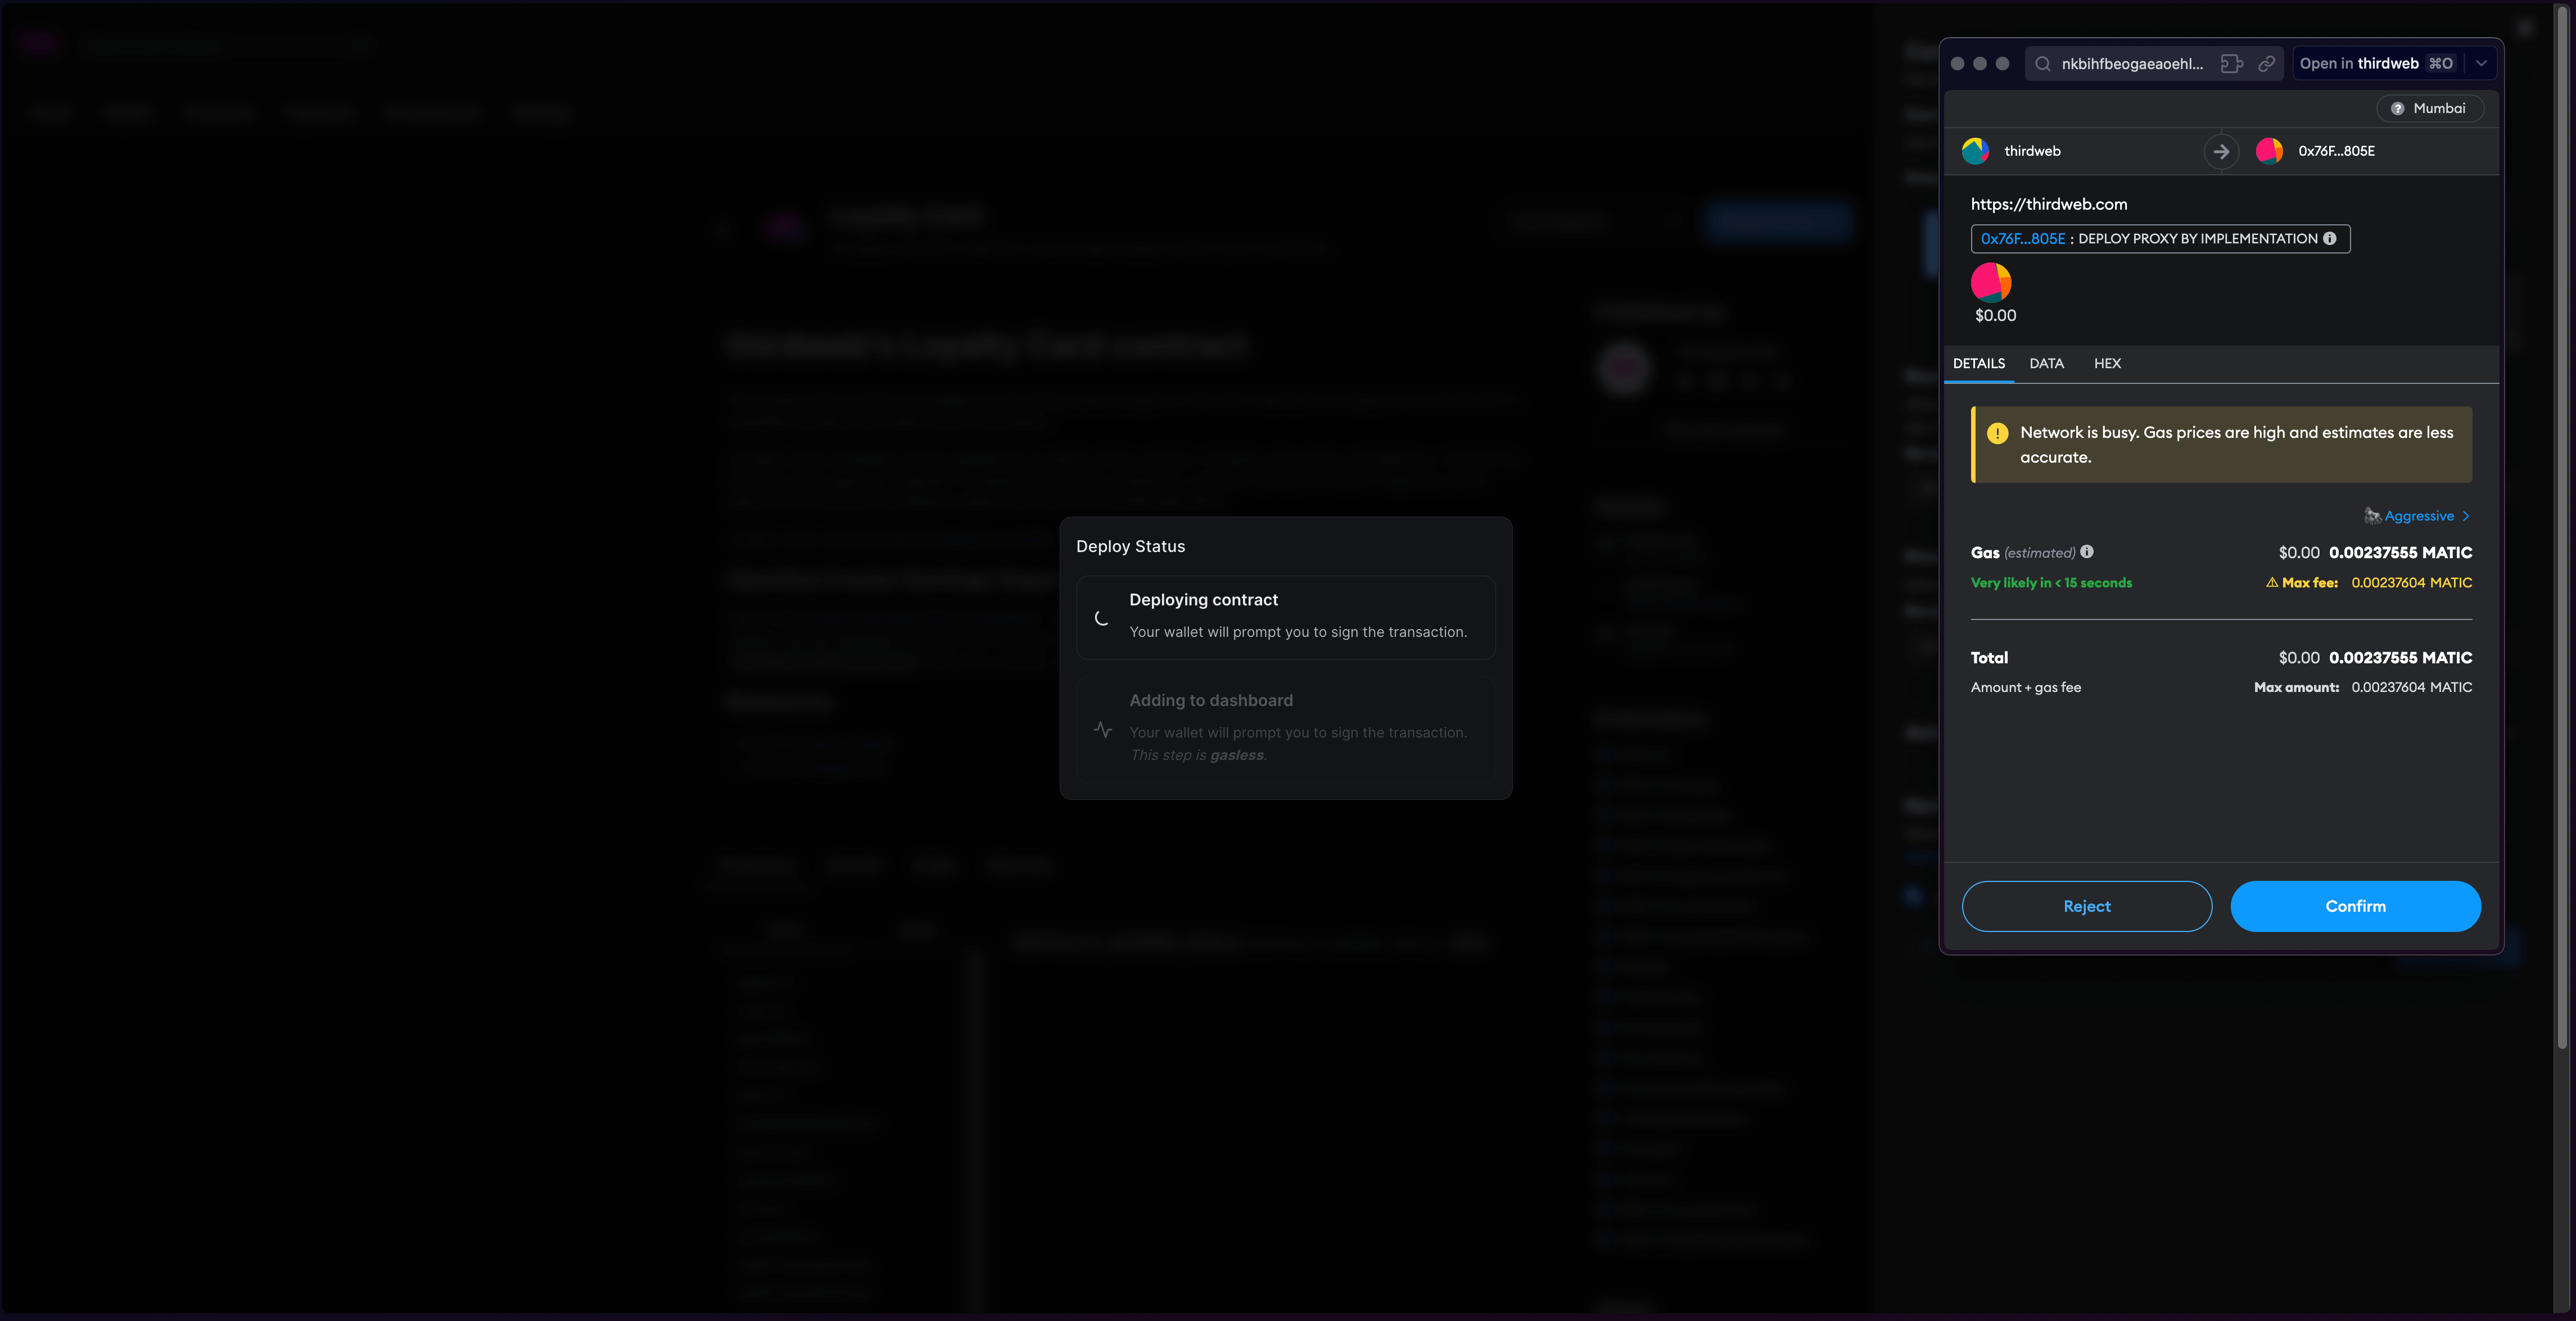
Once the transactions go through, you will be able to see the dashboard for your contract:
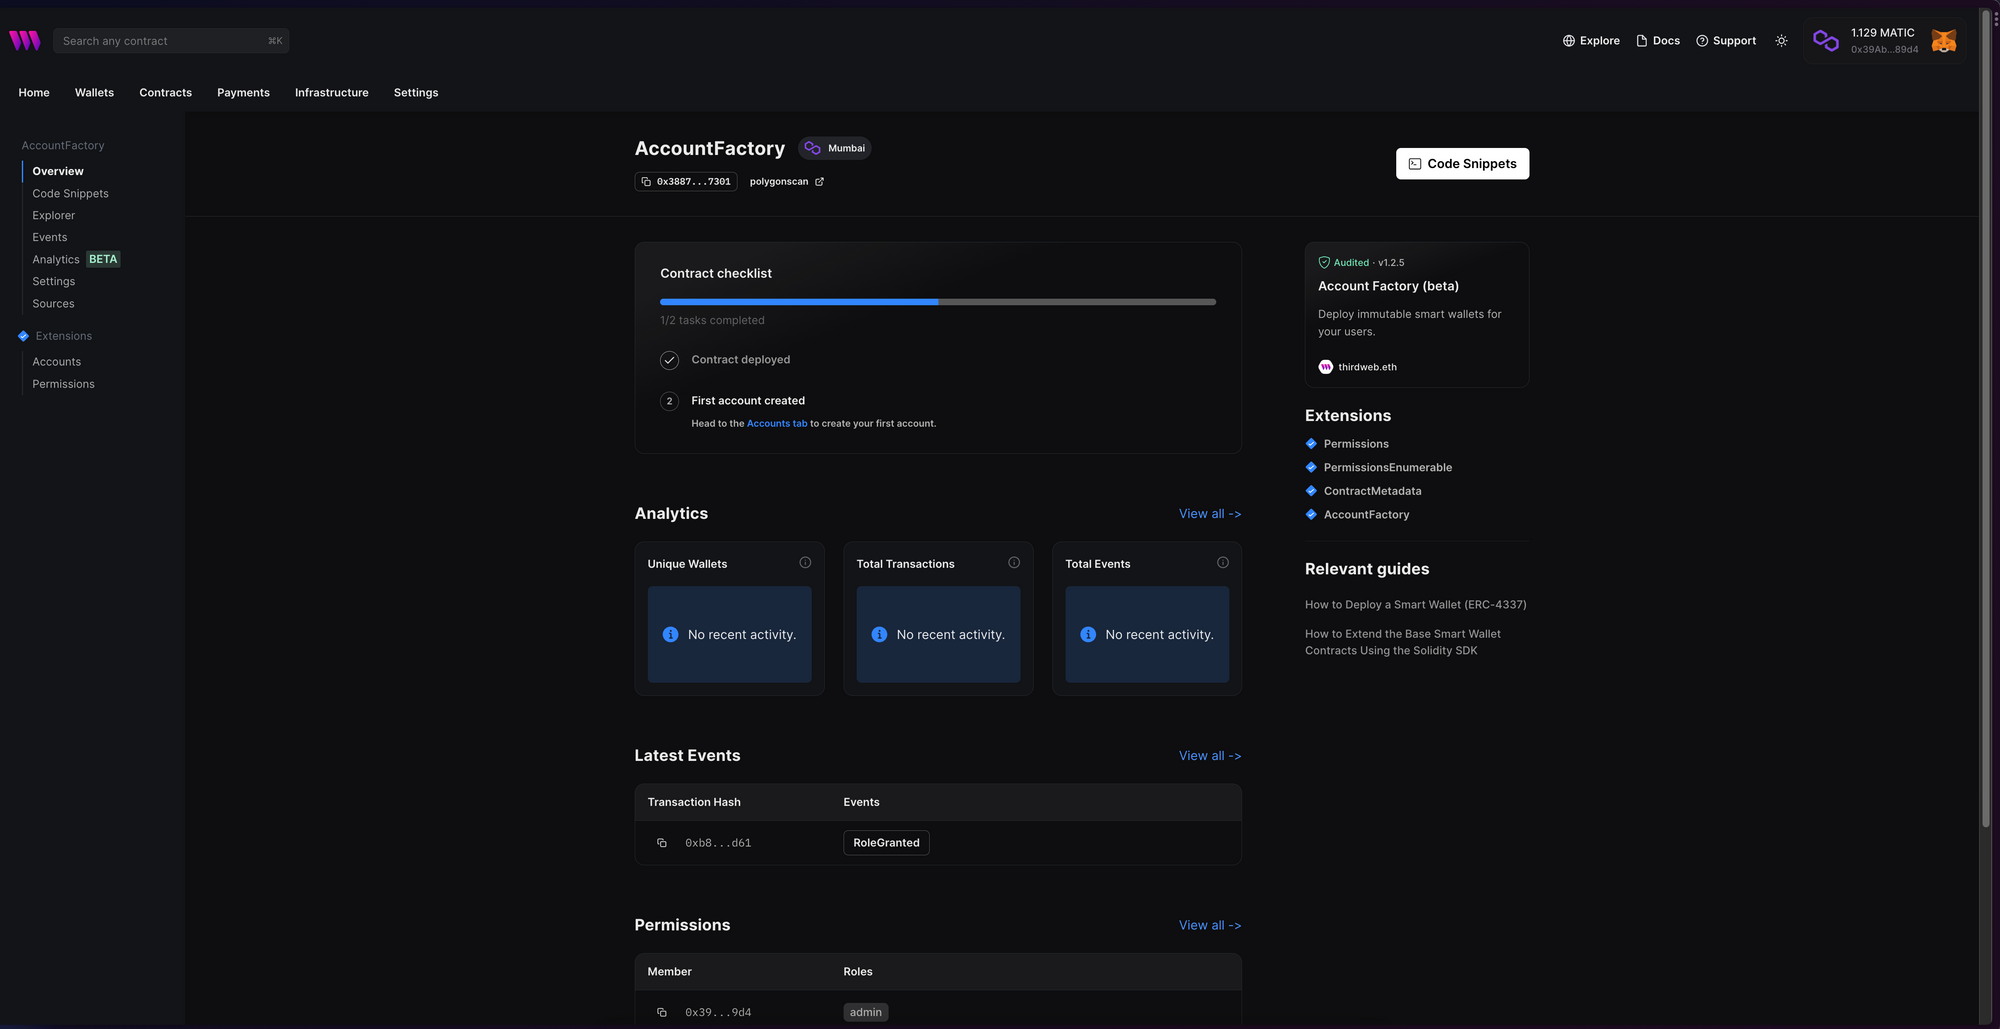
We don't have to do anything else with the contract for now. Let's use the contract in a Vite app!
Creating the Vite App
Before we begin, you can access the complete source code for this template on GitHub.
Using the thirdweb CLI, create a new Vite & TypeScript project with the React SDK preconfigured for you using the following command:
npx thirdweb create app --vite --tsTo use an API key with the React SDK, pass the clientId to the ThirdwebProvider. Create a new .env file and add the clientId:
VITE_TEMPLATE_CLIENT_ID=Next, we need to update the chain that our contract is deployed on. Open main.tsx and change the activeChain variable to the chain that you deployed your contract to. In this case, it is Mumbai:
// This is the chainId your dApp will work on.
const activeChain = "mumbai";
There are two ways for your users to connect their smart wallets:
- Using the pre-built
ConnectWalletcomponent. - Using the
useConnecthook and a custom UI.
Let's go through both!
Connect Wallet
To use the pre-built UI component to connect your users to your app using smart wallet, we need to pass a smartWallet as a supportedWallet to the ThirdwebProvider. First, let's set up our configuration for the smart wallet. In main.tsx add the following:
export const smartWalletConfig = smartWallet({
  factoryAddress: "your-factory-address",
  gasless: true,
  personalWallets: [localWallet()],
});
You can change the configuration based on your requirements, but for this demo, we will enable gasless transactions and use a local wallet as the personal wallet. You can learn more about the configuration on our portal.
Pass the configuration to the provider:
<ThirdwebProvider
      clientId={import.meta.env.VITE_TEMPLATE_CLIENT_ID}
      activeChain={activeChain}
      supportedWallets={[smartWalletConfig]}
    >
      <App />
    </ThirdwebProvider>
Now, import the ConnectWallet component from the React package and add it to your app:
import { ConnectWallet } from "@thirdweb/react";

function App() {
  return (
    <div className="App">
      <ConnectWallet />
    </div>
  );
}
Since we already added Smart Wallet as a supported wallet, it will automatically be used in the ConnectWallet component to connect users to your app. Clicking on the connect button will show a popup:
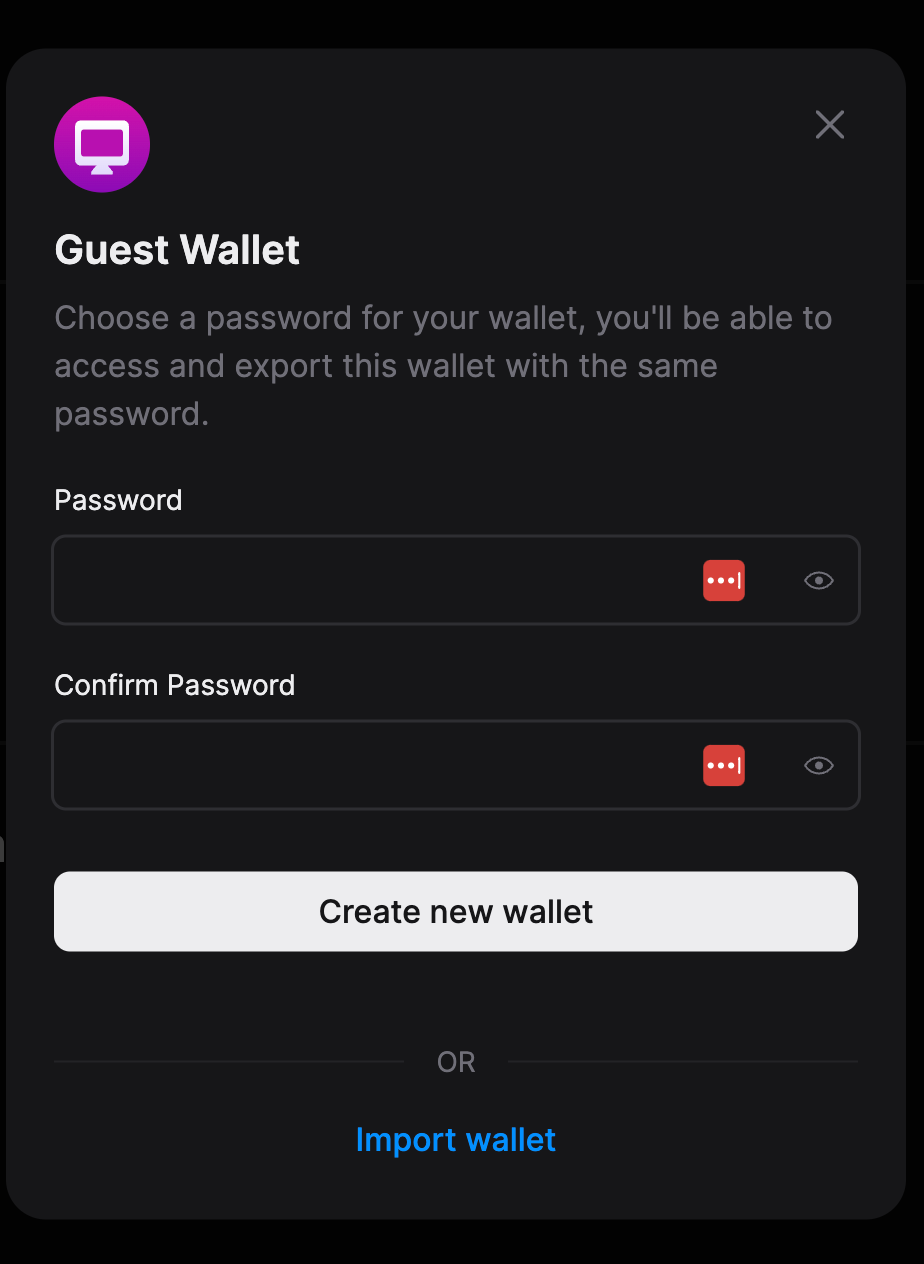
You can now create a new wallet with a password or import a previously created wallet. This will create a smart wallet for you and connect it to the application:
Custom UI
Now let's create our own UI using the useConnect hook.
Create a new component connect.tsx in the components folder and add the structure of a component:
export const ConnectComponent = () => {
  return <></>;
};
Firstly, we will use the useAddress hook to get the address of the connected wallet and check if the user is connected:
const address = useAddress();
We can now use it like this:
return address ? (
    <h3>
      Connected as:
      <br />{" "}
      <a
        href={`https://thirdweb.com/${activeChain.chainId}/${address}/account`}
        target="_blank"
      >
        {address}
      </a>
    </h3>
  ) : (
    <></>
  );
Here, we are checking if there is an address and then rendering the address with a link; otherwise, it does nothing. Now, let's create the logic of connecting the wallet using a custom UI.
Using useState, store the inputted password:
const [password, setPassword] = useState("");
If the address isn't present we can now show an input and button log in:
<>
  <input
    className="input"
    type="password"
    placeholder="Enter Password"
    onChange={(e) => setPassword(e.target.value)}
  />
  <button className="button" onClick={loadLocalWalletAndConnect}>
    Log in
  </button>
</>
As you can see, we are missing the loadLocalWalletAndConnect function, so let's create that:
const loadLocalWalletAndConnect = async () => {
    if (!password) {
      alert("Please enter a password");
      return;
    }
    try {
      const personalWallet = new LocalWallet({
        chain: Mumbai,
      });
      await personalWallet.loadOrCreate({
        strategy: "encryptedJson",
        password: password,
      });
      await connect(smartWalletConfig, {
        personalWallet: personalWallet,
      });
    } catch (e) {
      alert((e as any).message);
    }
  };
This creates an instance of a LocalWallet class and uses the loadOrCreate function to get the wallet, and finally connects the wallet using the useConnect hook which you need to add:
const connect = useConnect();The final code should look like this:
import { Mumbai } from "@thirdweb-dev/chains";
import { useAddress, useConnect } from "@thirdweb-dev/react";
import { LocalWallet } from "@thirdweb-dev/wallets";
import { activeChain, smartWalletConfig } from "../main";
import { useState } from "react";

export const ConnectComponent = () => {
  const connect = useConnect();
  const address = useAddress();
  const [password, setPassword] = useState("");

  const loadLocalWalletAndConnect = async () => {
    if (!password) {
      alert("Please enter a password");
      return;
    }
    try {
      const personalWallet = new LocalWallet({
        chain: Mumbai,
      });
      await personalWallet.loadOrCreate({
        strategy: "encryptedJson",
        password: password,
      });
      await connect(smartWalletConfig, {
        personalWallet: personalWallet,
      });
    } catch (e) {
      alert((e as any).message);
    }
  };

  return address ? (
    <h3>
      Connected as:
      <br />{" "}
      <a
        href={`https://thirdweb.com/${activeChain.chainId}/${address}/account`}
        target="_blank"
      >
        {address}
      </a>
    </h3>
  ) : (
    <>
      <input
        className="input"
        type="password"
        placeholder="Enter Password"
        onChange={(e) => setPassword(e.target.value)}
      />
      <button className="button" onClick={loadLocalWalletAndConnect}>
        Log in
      </button>
    </>
  );
};
You can now go ahead and add this component to your App.tsx file!
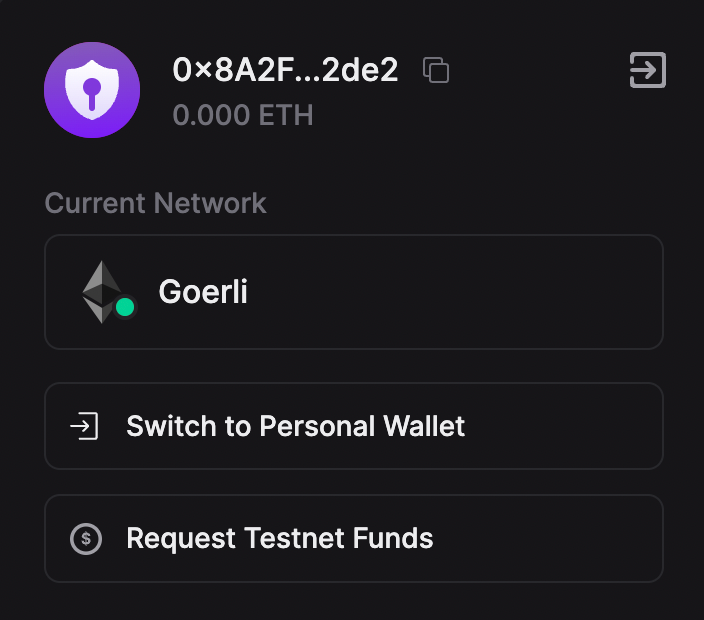
When running this app, you will see the following:

Go ahead and fill in your password, and you will see that it shows the address of your smart wallet!

Wrapping up
In this guide, we learned how to connect users to a React app using two methods:
- With a pre-built UI component
- With a custom UI component
Take a look at the GitHub Repository for the full source code!
You learned a lot. Now pat yourself on the back and share your amazing apps with us on the thirdweb discord!
Need help?
For support, join the official thirdweb Discord server or share your thoughts on our feedback board.