How to verify a Custom Contract on Etherscan using the dashboard

⚠️ Warning: This guide currently uses v4 of the Connect SDK. For v5 (latest) code snippets, please check out our documentation while this guide is being updated. ⚠️
Verifying your smart contracts allows you to add trust and transparency to the information flow of the smart contract. It enables developers to take full advantage of the tooling that relies on the source code. It also helps contribute to the trustlessness of the entire ecosystem.
In this guide, we will learn how you can verify your own custom smart contracts on Etherscan using the thirdweb dashboard.
We will use ERC721Base smart contract for this guide, So we can inherit a base contract and add some custom logic.
Before we start, look through the tools and resources we will use for this guide.
Let's get Started!
Creating the Project
To create and set up the project, we will use the thirdweb CLI to generate a new hardhat/Forge project! So, run this command:
npx thirdweb@latest create contractWhen it prompts for the type of contract you want to start from, you need to select either an empty contract or an NFT Contract that will set up everything for you.

Creating the Smart Contract
If you chose the empty contract, create a new file inside the contracts directory called Contract.sol, import the base contract extension and make your contract inherit it.
// SPDX-License-Identifier: MIT
pragma solidity ^0.8.0;

import "@thirdweb-dev/contracts/base/ERC721Base.sol";

contract MyNFT is ERC721Base {

      constructor(
        string memory _name,
        string memory _symbol,
        address _royaltyRecipient,
        uint128 _royaltyBps
    )
        ERC721Base(
            _name,
            _symbol,
            _royaltyRecipient,
            _royaltyBps
        )
    {}

}
Deploy your contract. There are many ways of achieving this- I recommend thirdweb deploy
After your smart contract is deployed, you will be taken to a dashboard that consists of different tabs with different functionalities.
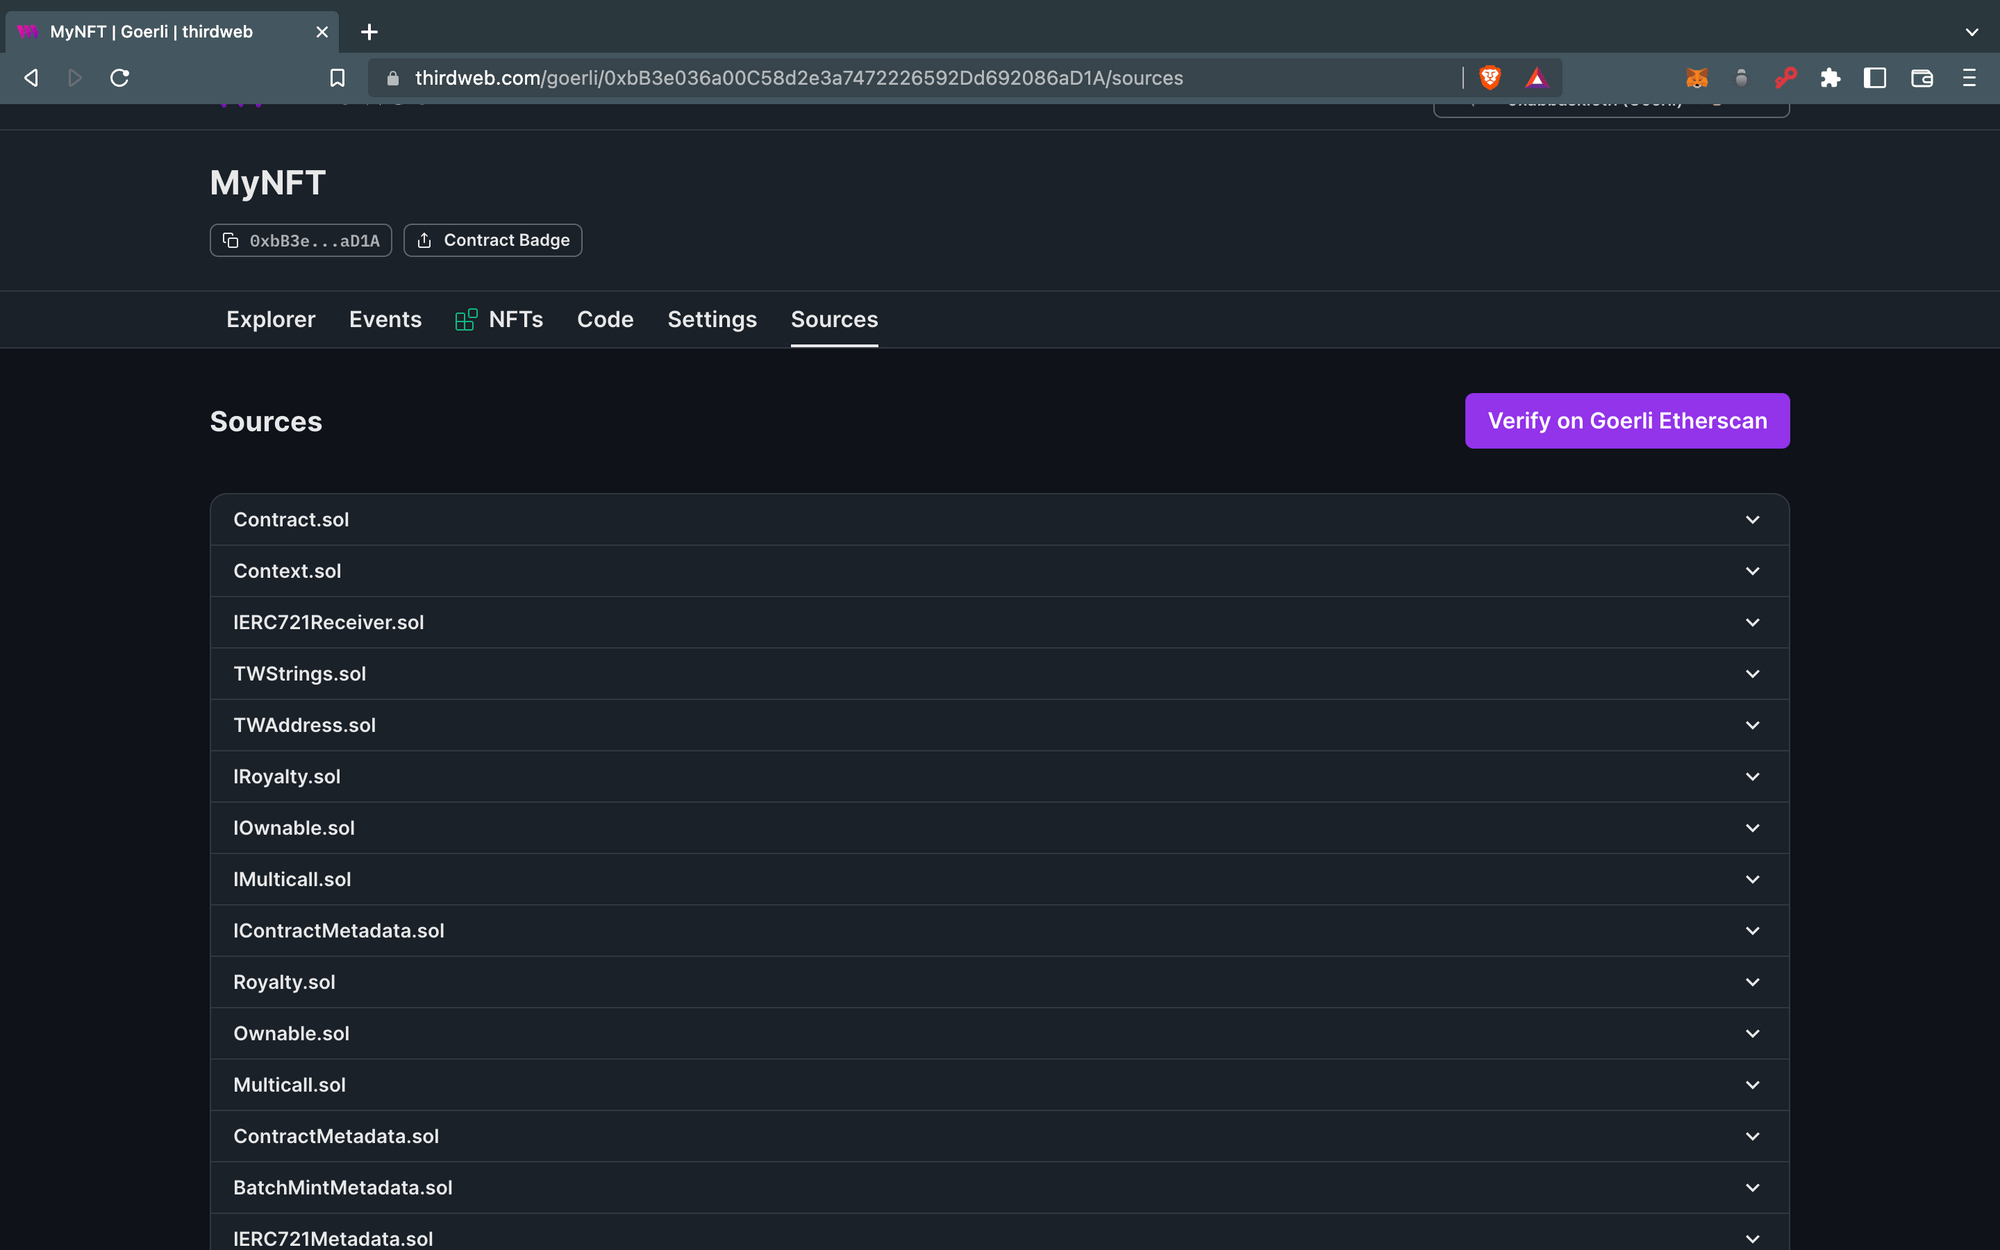
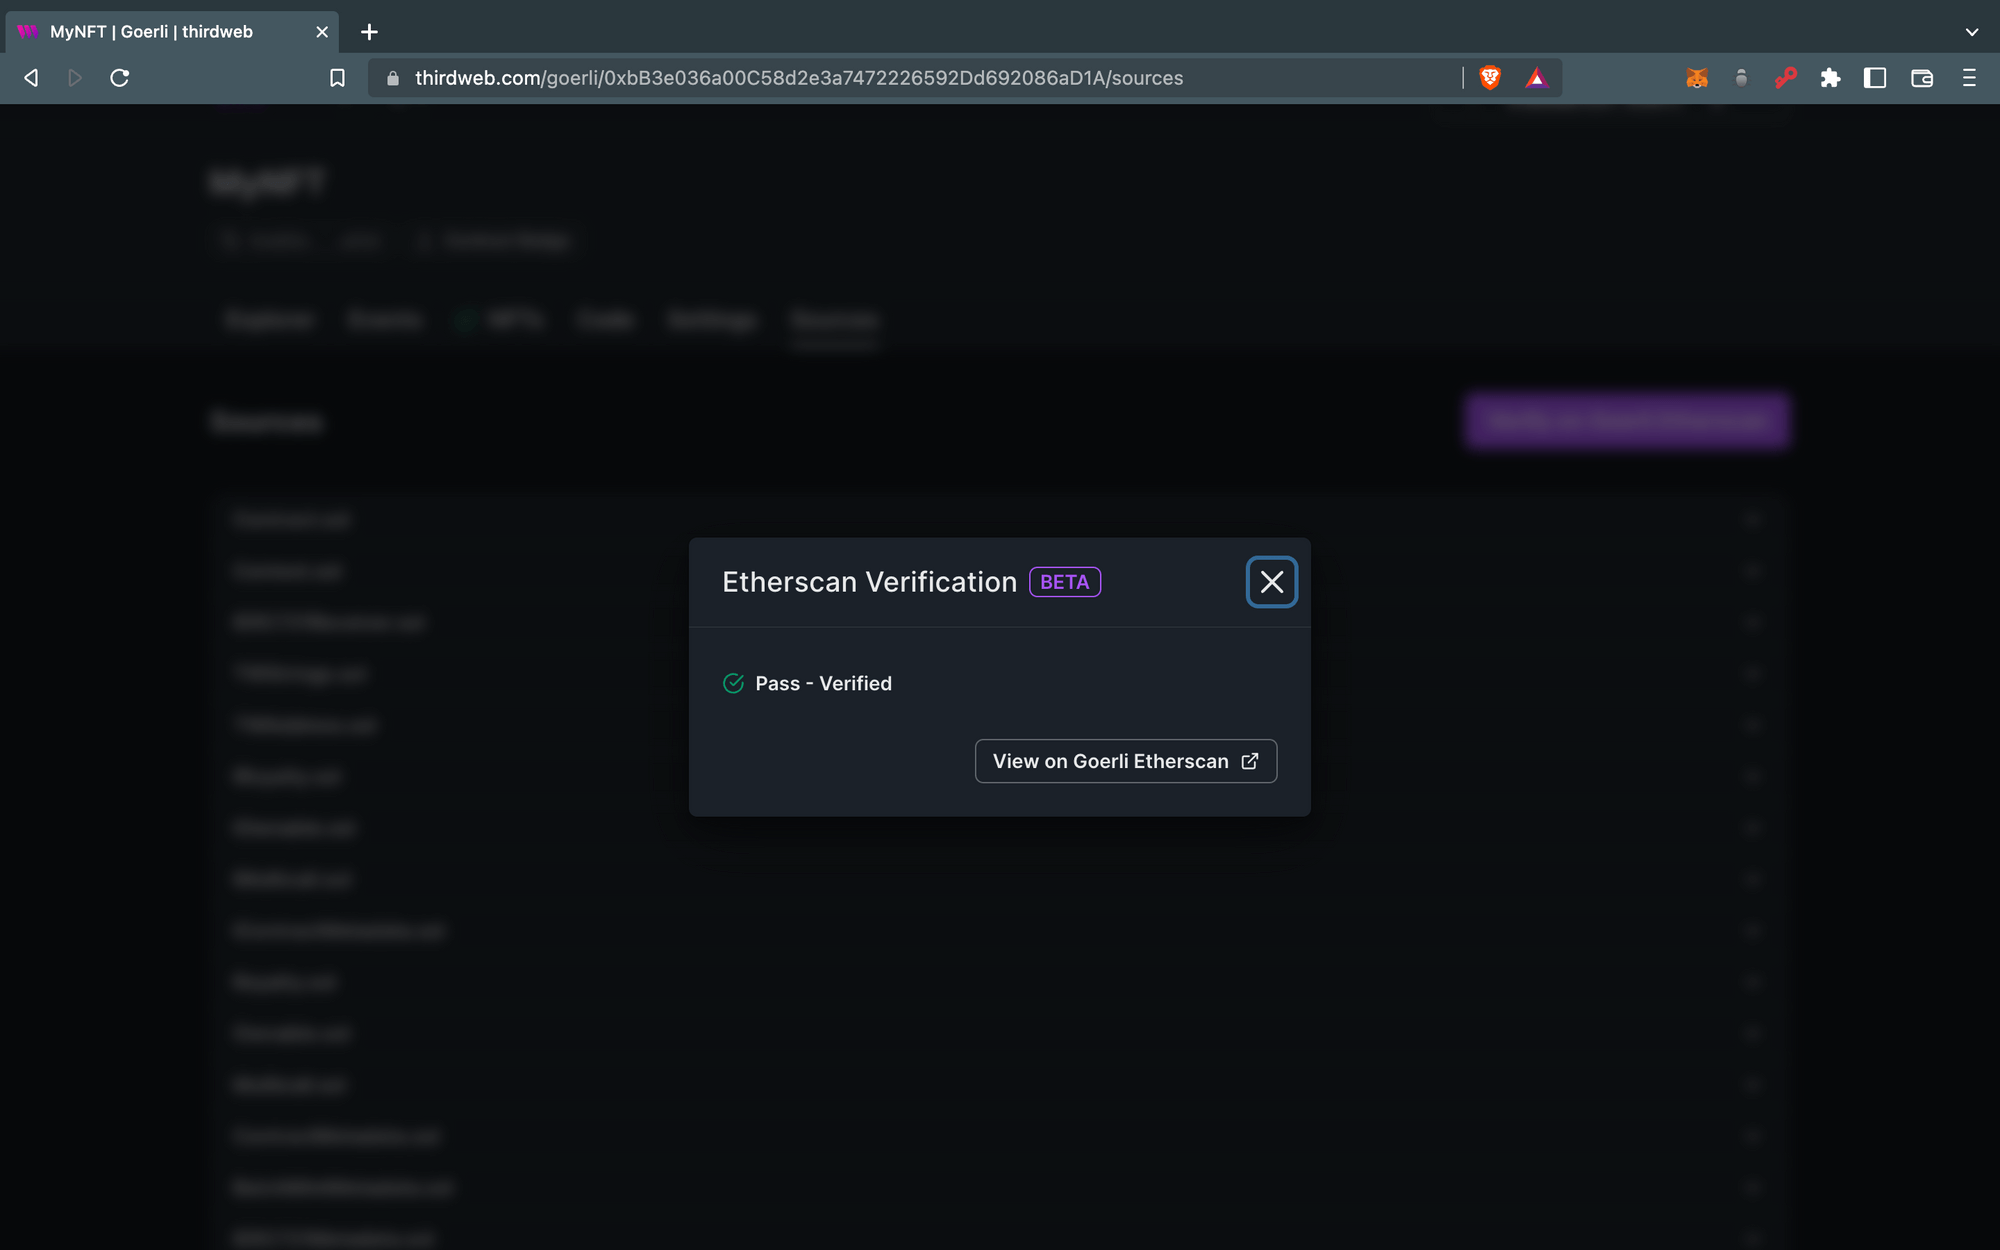
Since we want to verify our smart contract, navigate to the Sources tab and Click the Verify on Goerli Etherscan button to verify your smart contract.


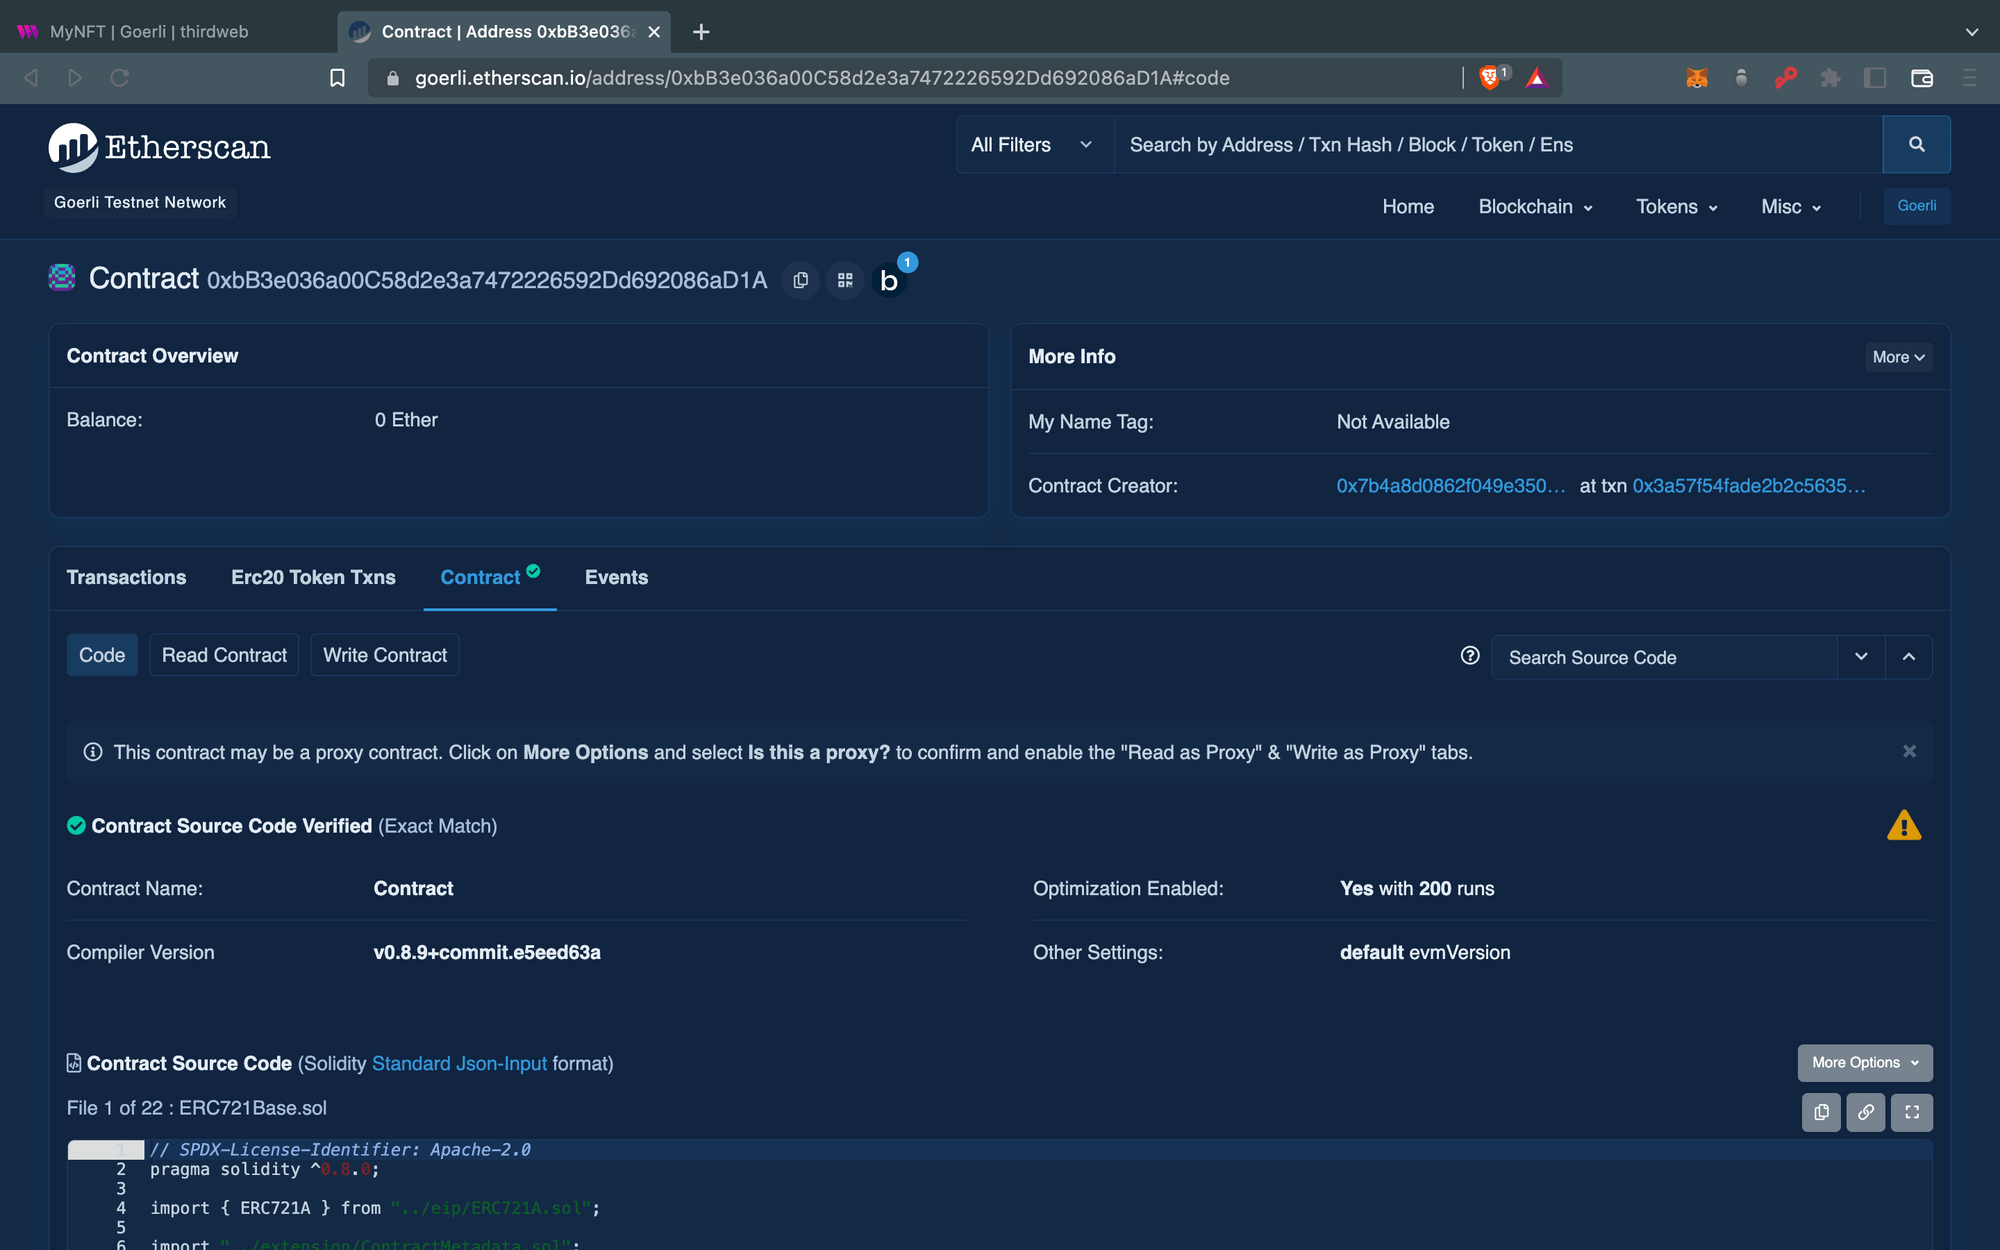
If you click View on Goerli Etherscan, you will see your smart contract is verified.

Congratulations! You have learned how to verify your smart contract with one single click using the thirdweb dashboard!
If you run into any issues while following this guide, feel free to contact us on the thirdweb discord.

