Getting Started with Paper Wallet

In this guide, you'll learn how to allow users to create wallets within your app, with friendly onboarding options like email and social log-ins, using Paper Wallet — which also offers wallet recoverability & enhanced security.
This guide will show you how to integrate Paper Wallet into a frontend Next.js website using thirdweb.
We'll walk through the following:
- Introduction to Paper Wallet
- How to add connect wallet with Paper
- Integrating gasless transactions in your dApp
Let's get started!
What is Paper Wallet?
The Paper Embedded Wallet, created by Paper, is a secure wallet solution that allows users to create wallets using various login options such as email and social login. This wallet offers recoverability and other safety features, making it a valuable tool for various applications, particularly those targeted towards individuals on-boarding to decentralized apps for the first time.
How to add Connect Wallet with Paper
Getting paper API keys
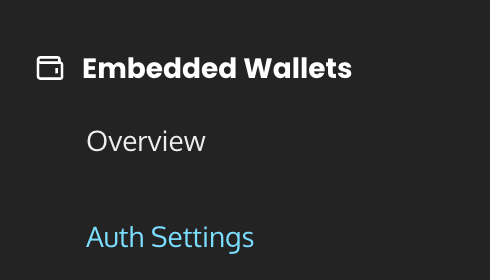
We need to create a paper account to get some API keys that we can use in our dapp. So, head over to the developer dashboard and sign in. Once you sign in, you will see auth settings under the Embedded Wallets section.
Here, give your app a name and add http://localhost:3000 as "Allowlisted Domains" for testing purposes but make sure to update it later when your app is ready for production.

Now, copy the API key given below since we are going to need it for later use:

Creating a new Next.js app
Before we begin, you can access the complete source code for this template on GitHub.
Using the thirdweb CLI, create a new Next.js & TypeScript project with the React SDK preconfigured for you using the following command:
npx thirdweb create app --next --tsOnce the app is created head over to _app.tsx and we will need to configure paperWallet in the list of supported wallets. So, pass it in an array like this:
<ThirdwebProvider
  activeChain={activeChain}
  clientId={process.env.TW_CLIENT_ID}
  supportedWallets={[
    paperWallet({
      paperClientId: process.env.PAPER_CLIENT_ID,
    }),
  ]}
>
  <Component {...pageProps} />
</ThirdwebProvider>To use a thirdweb API key with the React SDK, pass the
clientId to the ThirdwebProvider.You will also need to pass a Paper API key the
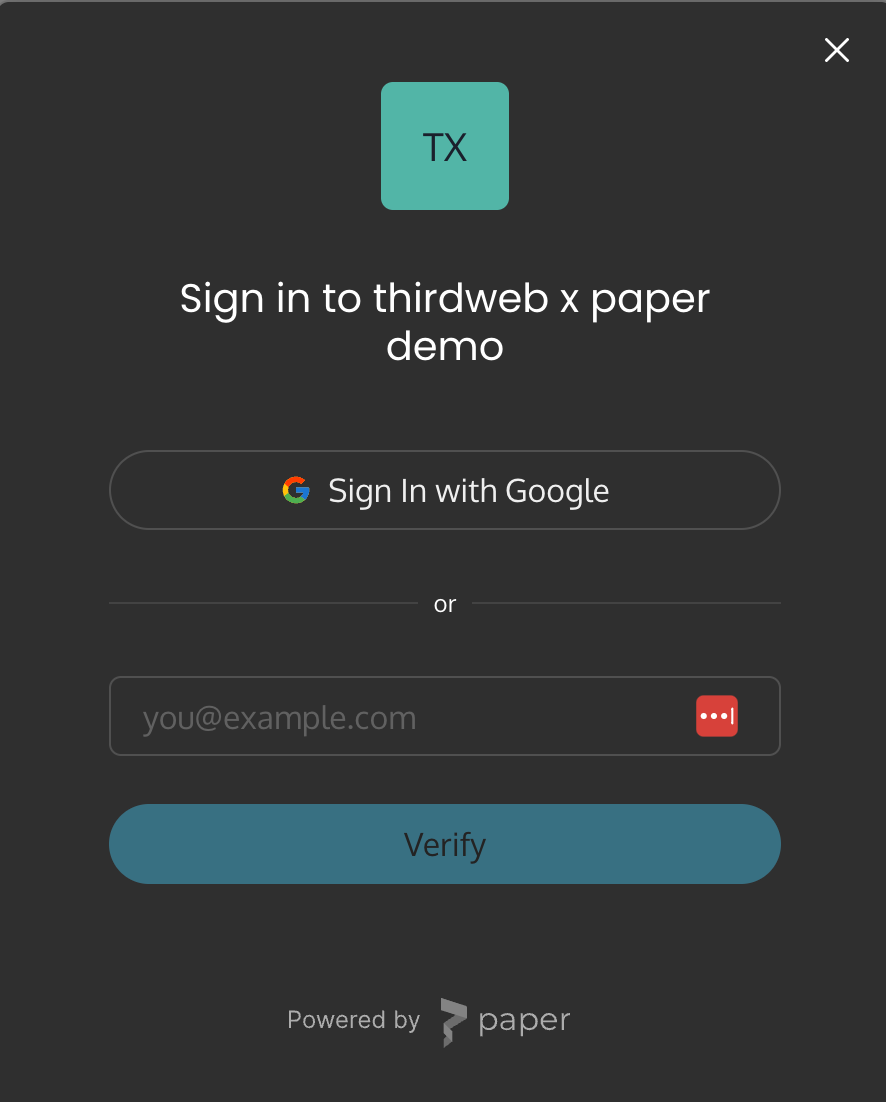
paperWallet object.If you now head over to your website and try the connect wallet button you will be able to see the paper embedded wallet sign in modal:
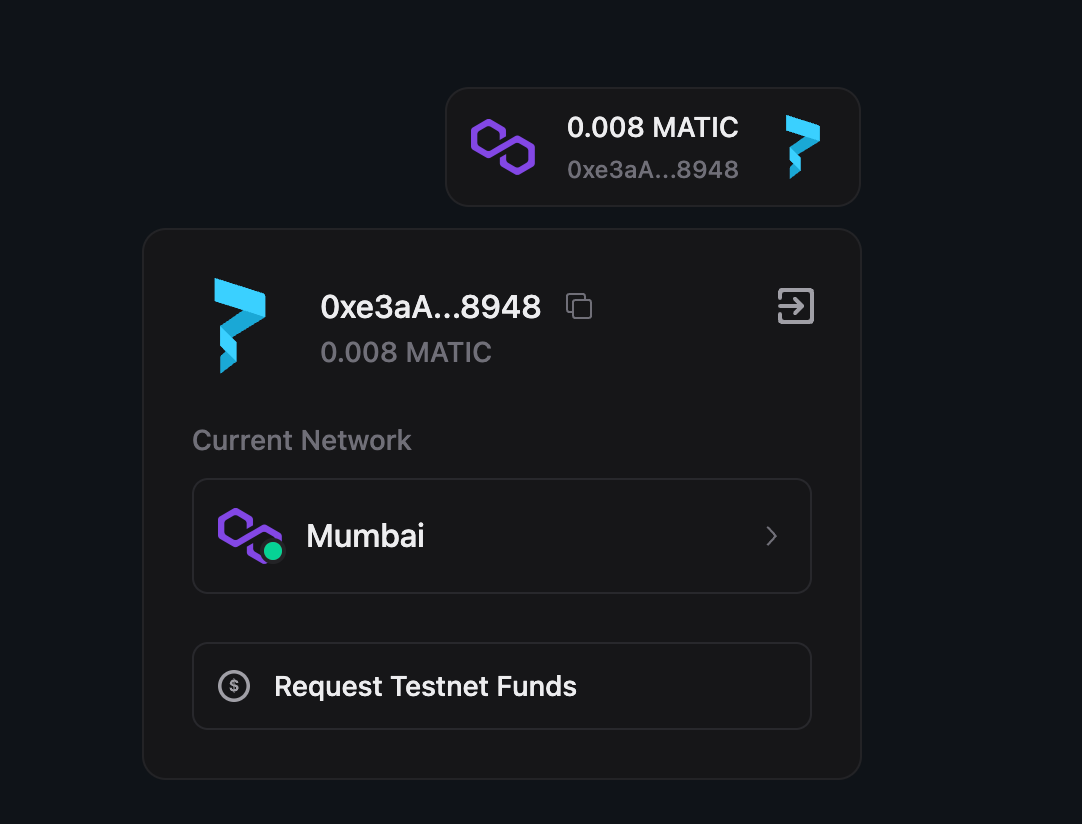
You can go ahead and create an account for yourself and you will see that a new wallet has been created for you:
Let's now go ahead and add gasless NFT claiming functionality to our dapp.
Adding gasless NFT claiming
We will need an NFT Drop for this, so you will need an NFT Drop contract. This step is entirely optional since you might need some other functionality in your app!
You can learn how to do that using this guide. This guide shows how to deploy to Ethereum but you can deploy to any network you want.
For using gasless functionality you can either use biconomy or openzeppelin defender. You can get the keys for biconomy by following the steps in this guide and this one for openzeppelin.
Once you have got your keys, you can add it to the provider like this:
<ThirdwebProvider
  activeChain={activeChain}
  clientId: process.env.TW_CLIENT_ID
  supportedWallets={[
    paperWallet({
      paperClientId: process.env.PAPER_CLIENT_ID,
    }),
  ]}
  sdkOptions={{
    gasless: {
      openzeppelin: {
        relayerUrl:
          "https://api.defender.openzeppelin.com/autotasks/8ab1e1c2-e31b-4c3e-9018-d32b6472e146/runs/webhook/50fa10c3-04cc-4b7d-a92e-9208496bb323/BA3XnELUkSqhDhRZ7nMSt2",
      },
    },
  }}
>
  <Component {...pageProps} />
</ThirdwebProvider>
I have used Openzeppelin here, but you can use Biconomy in a similar way as well.
Finally, let's add a web3button to add NFT claiming in pages/index.tsx:
<Web3Button
  contractAddress="YOUR_NFT_DROP_ADDRESS"
  action={async (contract) => {
    try {
      const tx = await contract.erc721.claim(1);
      console.log(tx);
      alert("Claimed!");
    } catch (e) {
      console.log(e);
    }
  }}
  theme="dark"
>
  Claim
</Web3Button>
If you now try claiming an NFT, you will get the "Claimed!" alert.
Go to your NFT drop dashboard and see that a new NFT has been claimed to the wallet!

Wrapping up
This guide taught us how to create a dApp where users can easily create wallets using web2 sign-in, and allow them to claim NFTs without having to pay any gas!
You learned a lot, now pat yourself on the back and share your amazing apps with us on the thirdweb discord! If you want to look at the code, check out the GitHub Repository.
Need help?
For support, join the official thirdweb Discord server or share your thoughts on our feedback board.