Interact with Any Smart Contract in the SDK using ABIs

⚠️ Warning: This guide currently uses v4 of the Connect SDK. For v5 (latest) code snippets, please check out our documentation while this guide is being updated. ⚠️
Imagine you absolutely love thirdweb SDK, and you would now like to use the same easy-to-use SDK with a contract that's already deployed on the blockchain.
The SDK allows you to interact with any smart contract even if it wasn't deployed using thirdweb; by just passing in the contract ABI along with the address.
In this article, we will look at two ways you can interact with smart contracts already deployed on the blockchain using thirdweb.
Let's get started!
Preparation
As an example, we will interact with the WEENUS token contract deployed on the Goerli testnet, but you can use any smart contract to interact with.
The first thing we need to do is grab the ABI for the smart contract. We can do that by heading to the code tab on Etherscan, where you'll find the ABI for the contract:

Copy the ABI for the contract in the Contract tab. We'll store this ABI value as a variable in our application/script project.
If you don't already have a thirdweb app, you can create one with the following command:
npx thirdweb@latest create app
Inside your application, create a new file called contract.js or .ts and add the following code:
export const contractAddress = (contract address here);
export const contractAbi = (contract abi here)
Remember to replace the contract address and ABI from the above code snippet if you're planning to use a smart contract other than that from this tutorial.
For example, mine looks like this:

Now we've got the ABI and contract address, we're ready to start interacting with our contract.
Using the React SDK
If you are in a React-based environment, you can take advantage of the thirdweb React SDK to easily create a button that interacts with smart contracts.
Web3Button can be used to render a button on the screen which directly interacts with a function on the smart contract:
import { Web3Button } from "@thirdweb-dev/react";
import { contractAddress, contractAbi } from "../contract";

const Home = () => {
  return (
    <Web3Button
      contractAddress={contractAddress}
      contractAbi={contractAbi}
      // Call the name of your smart contract function
      action={(contract) => contract.call("drip")}
    >
      Call Contract Function
    </Web3Button>
  );
};

export default Home;
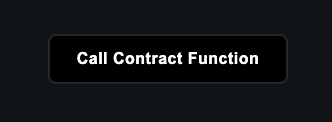
This will render a button that looks like this:

Finally, ensure your ThirdwebProvider is set to the same network that your contract is deployed to:
// If you're in Next.js this is the _app.js file
// If you're in Create-React-App, this is the Index.js file

// This is the chainId your dApp will work on.
const activeChainId = ChainId.Goerli;

function MyApp({ Component, pageProps }: AppProps) {
  return (
    <ThirdwebProvider desiredChainId={activeChainId}>
      <Component {...pageProps} />
    </ThirdwebProvider>
  );
}
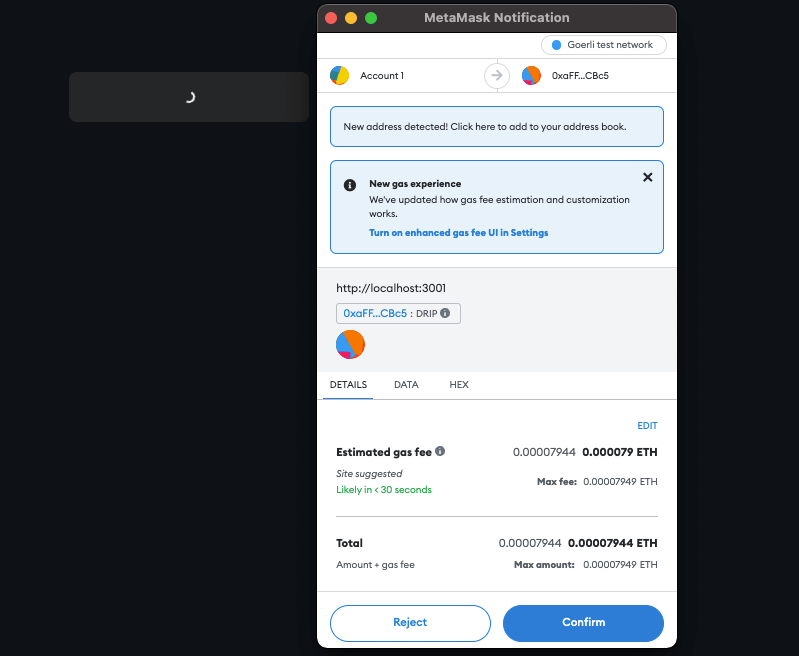
Run your application by running npm run dev, and when you click the button, you should receive a prompt from your wallet to authorize the transaction:

Using the TypeScript SDK
Using the core SDK to interact with smart contracts can be the best option when you're running the code on a server or in non-React environments. To do so, we need to initialize the SDK first.
You can either initialize the SDK in read-only mode or read-write mode; depending on whether or not you need to execute transactions.
// Read-only mode - no need of private key
const sdk = new ThirdwebSDK("goerli");

// Write mode - can interact with payable functions
const sdk = ThirdwebSDK.fromPrivateKey(
  // Learn more about securely accessing your private key: https://portal.thirdweb.com/sdk/set-up-the-sdk/securing-your-private-key
  "<your-private-key-here>",
  "goerli", // configure this to your network
);
NEVER expose your private key, or share it with anybody. Learn how to secure your private key with a secret manager.
Once you have initialized the SDK, you can use it to get the contract using its address and ABI:
const contract = await sdk.getContractFromAbi(contractAddress, contractAbi);
Now you can use contract to interact with all functions of the smart contract. Let's use the drip() function to get some test tokens and print out our balance on the console.
await contract.call("drip");
console.log("Drip requested");
const balance = await contract.call("balanceOf", await sdk.wallet.getAddress());
console.log(`Updated balance ${balance / 1e18}`);
Now, if you run the script, you will see an output similar to the following:

If you run the script repeatedly, you will see the number go up by 1000 each time. This contract isn't deployed on thirdweb yet you can easily access the contract using thirdweb's easy-to-use SDK.
Conclusion
If you already deployed a contract using Remix IDE, Hardhat or some other tool, you should still be able to interact with the contract using thirdweb SDK.
One advantage of using thirdweb deploy to deploy your contracts on the blockchain is that you don't need to paste in your ABI whenever you want to interact with the contract; thirdweb handles all the hard work and fetches the ABI for you!
If you feel that you have some questions, feel free to join thirdweb Discord server and we will be happy to help you.

