Deploy a Smart Contract on Optimism
This guide will show you how to deploy any smart contract to the Optimism network.
By the end, you'll learn how to create a simple NFT Drop smart contract, deploy it to the Optimism Goerli testnet, and mint an NFT on the smart contract.
Let's get started!
What is Optimism?
Optimism is an L2 blockchain designed for Ethereum developers. Its compatibility with Ethereum software makes it easy for developers to scale their applications on Optimism without surprises. Additionally, Optimism is significantly cheaper and faster than Ethereum, allowing for increased efficiency and faster processing times. These features make Optimism a valuable addition to the blockchain ecosystem, driving innovation and progress in this exciting field.
Create a smart contract on Optimism
To begin, head to the Contracts page in your thirdweb Dashboard and hit "Deploy new contract":

You will be taken to our Explore page — where you can browse smart contracts built by the top protocols in web3 and deploy them in just a few clicks!
Note: You can also use the thirdweb CLI to set up a smart contract environment by running the below command from your terminal:
npx thirdweb create contractThis will take you through an easy-to-follow flow of steps for you to create your contract. Learn more about this in our CLI guide.
Otherwise, let's get back to Explore:
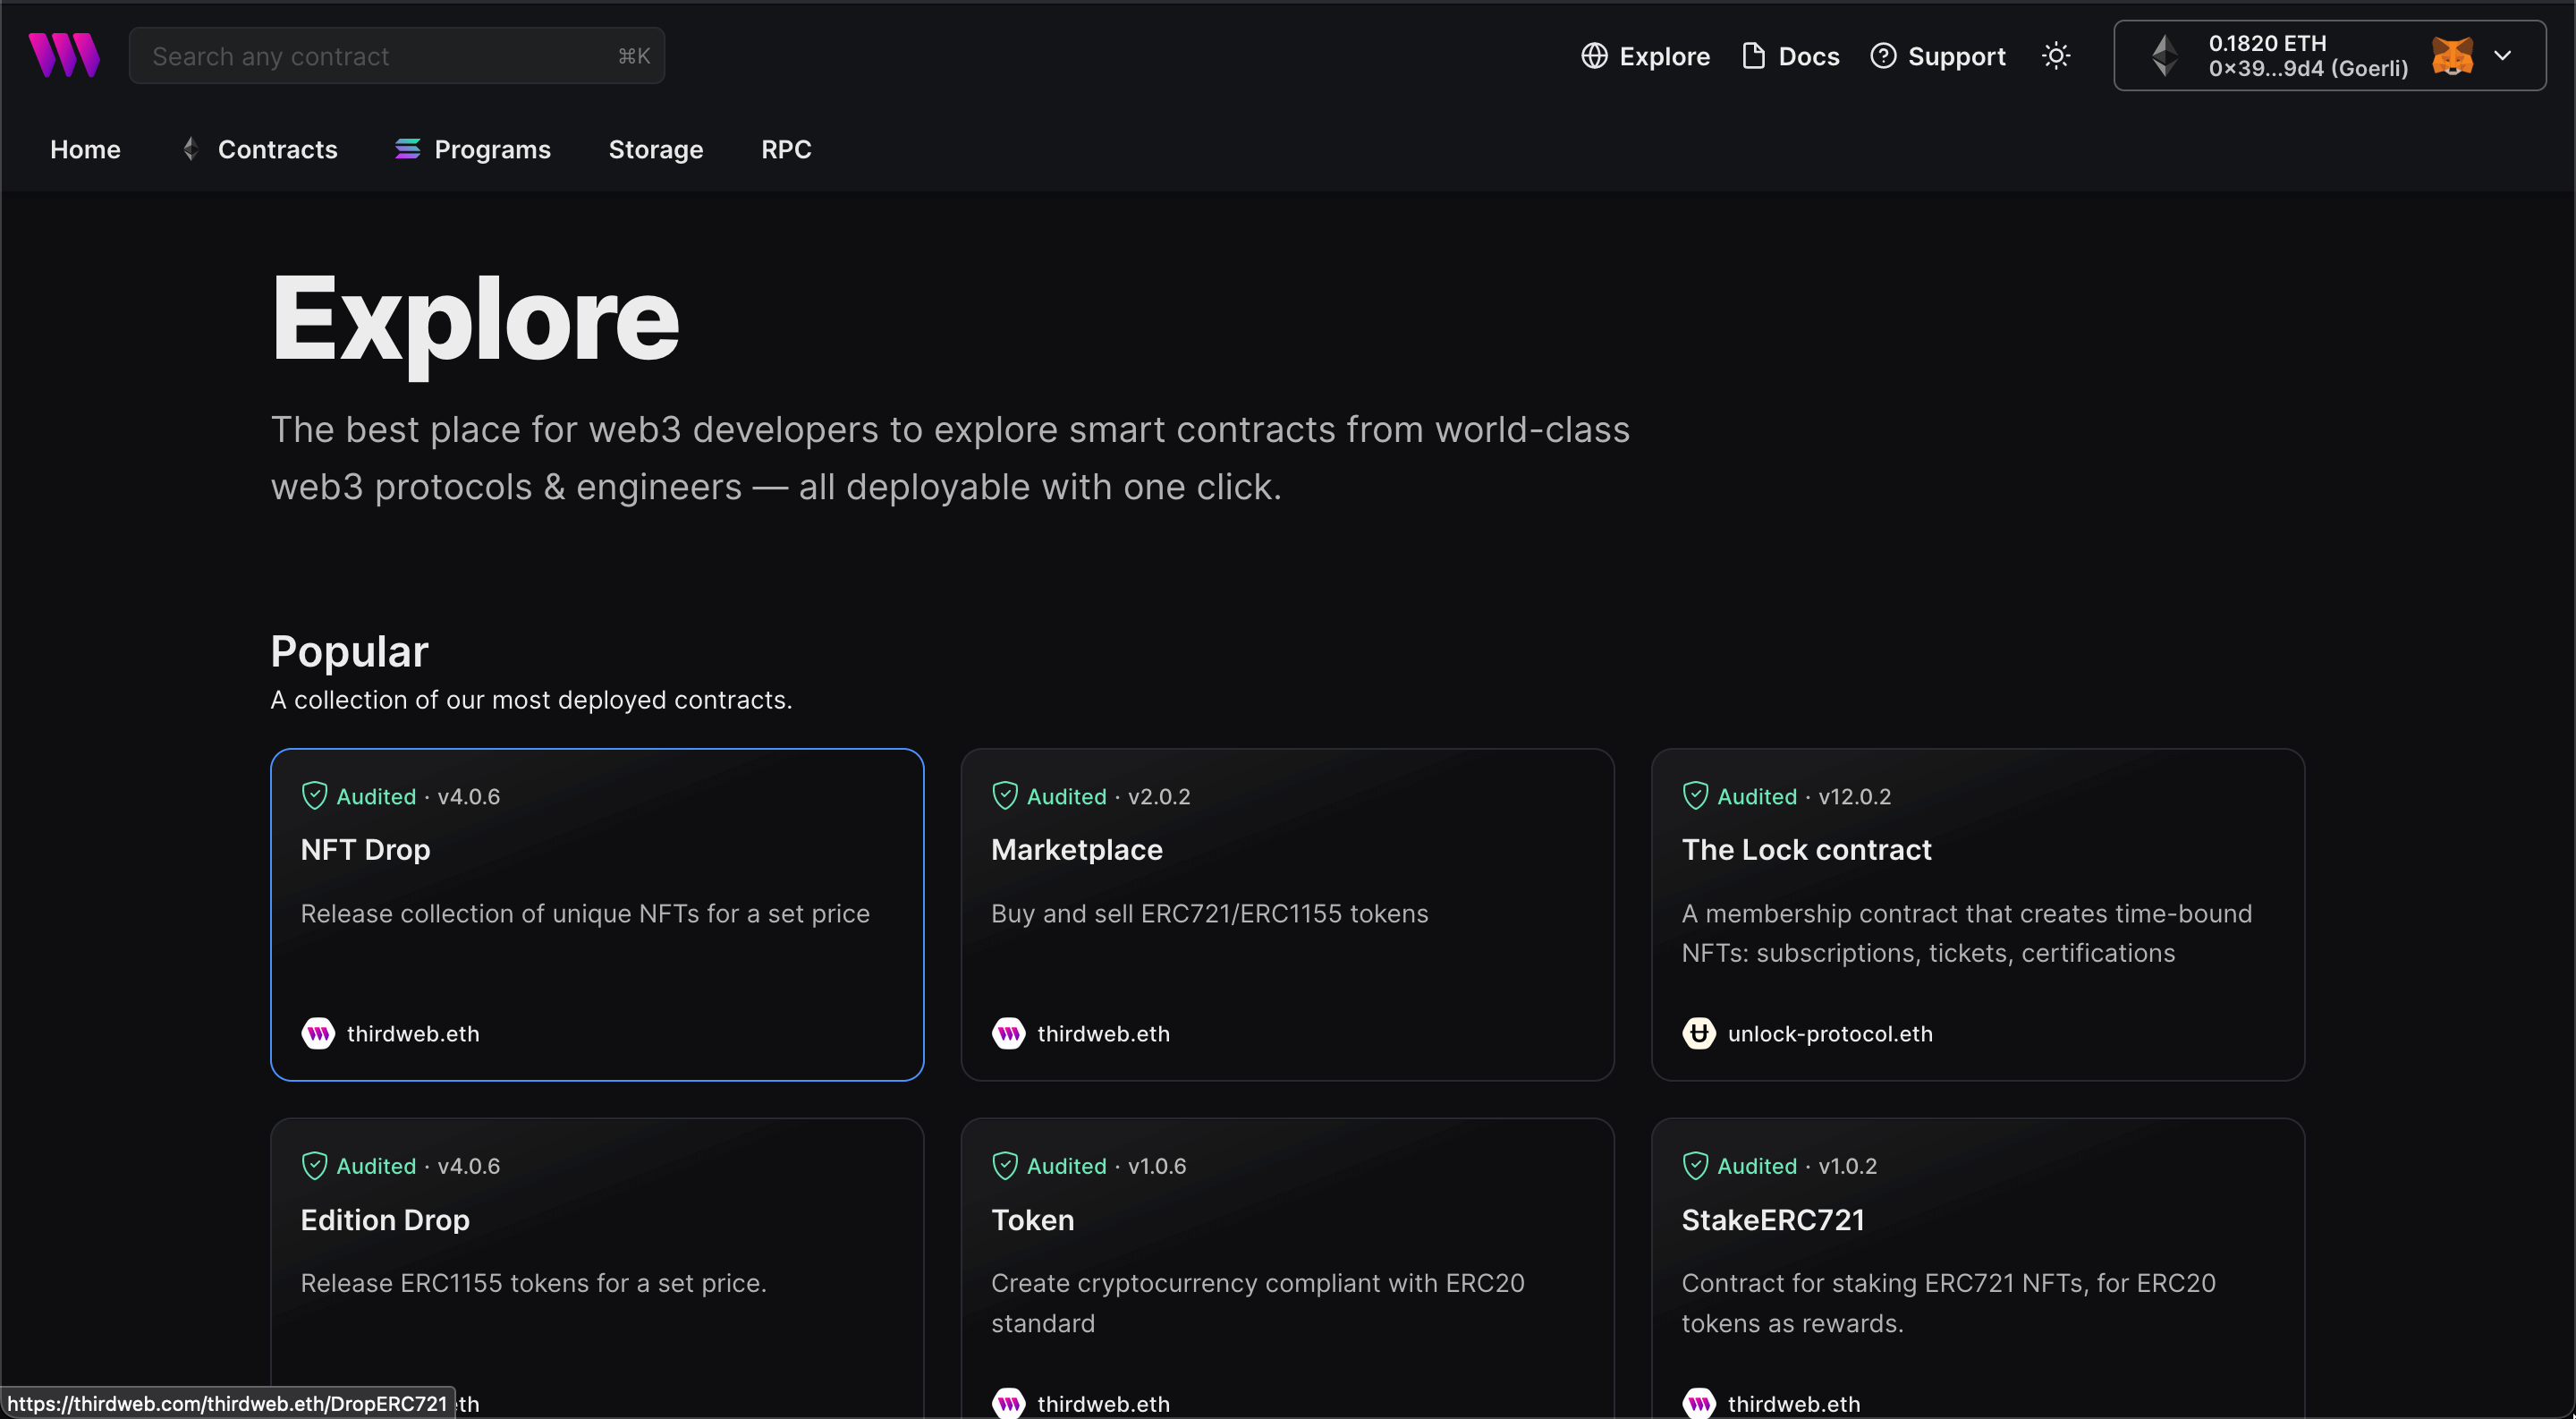
Here, select your smart contract of choice. For this guide, we're going to use the NFT Drop (ERC721) contract to create our NFT collection:
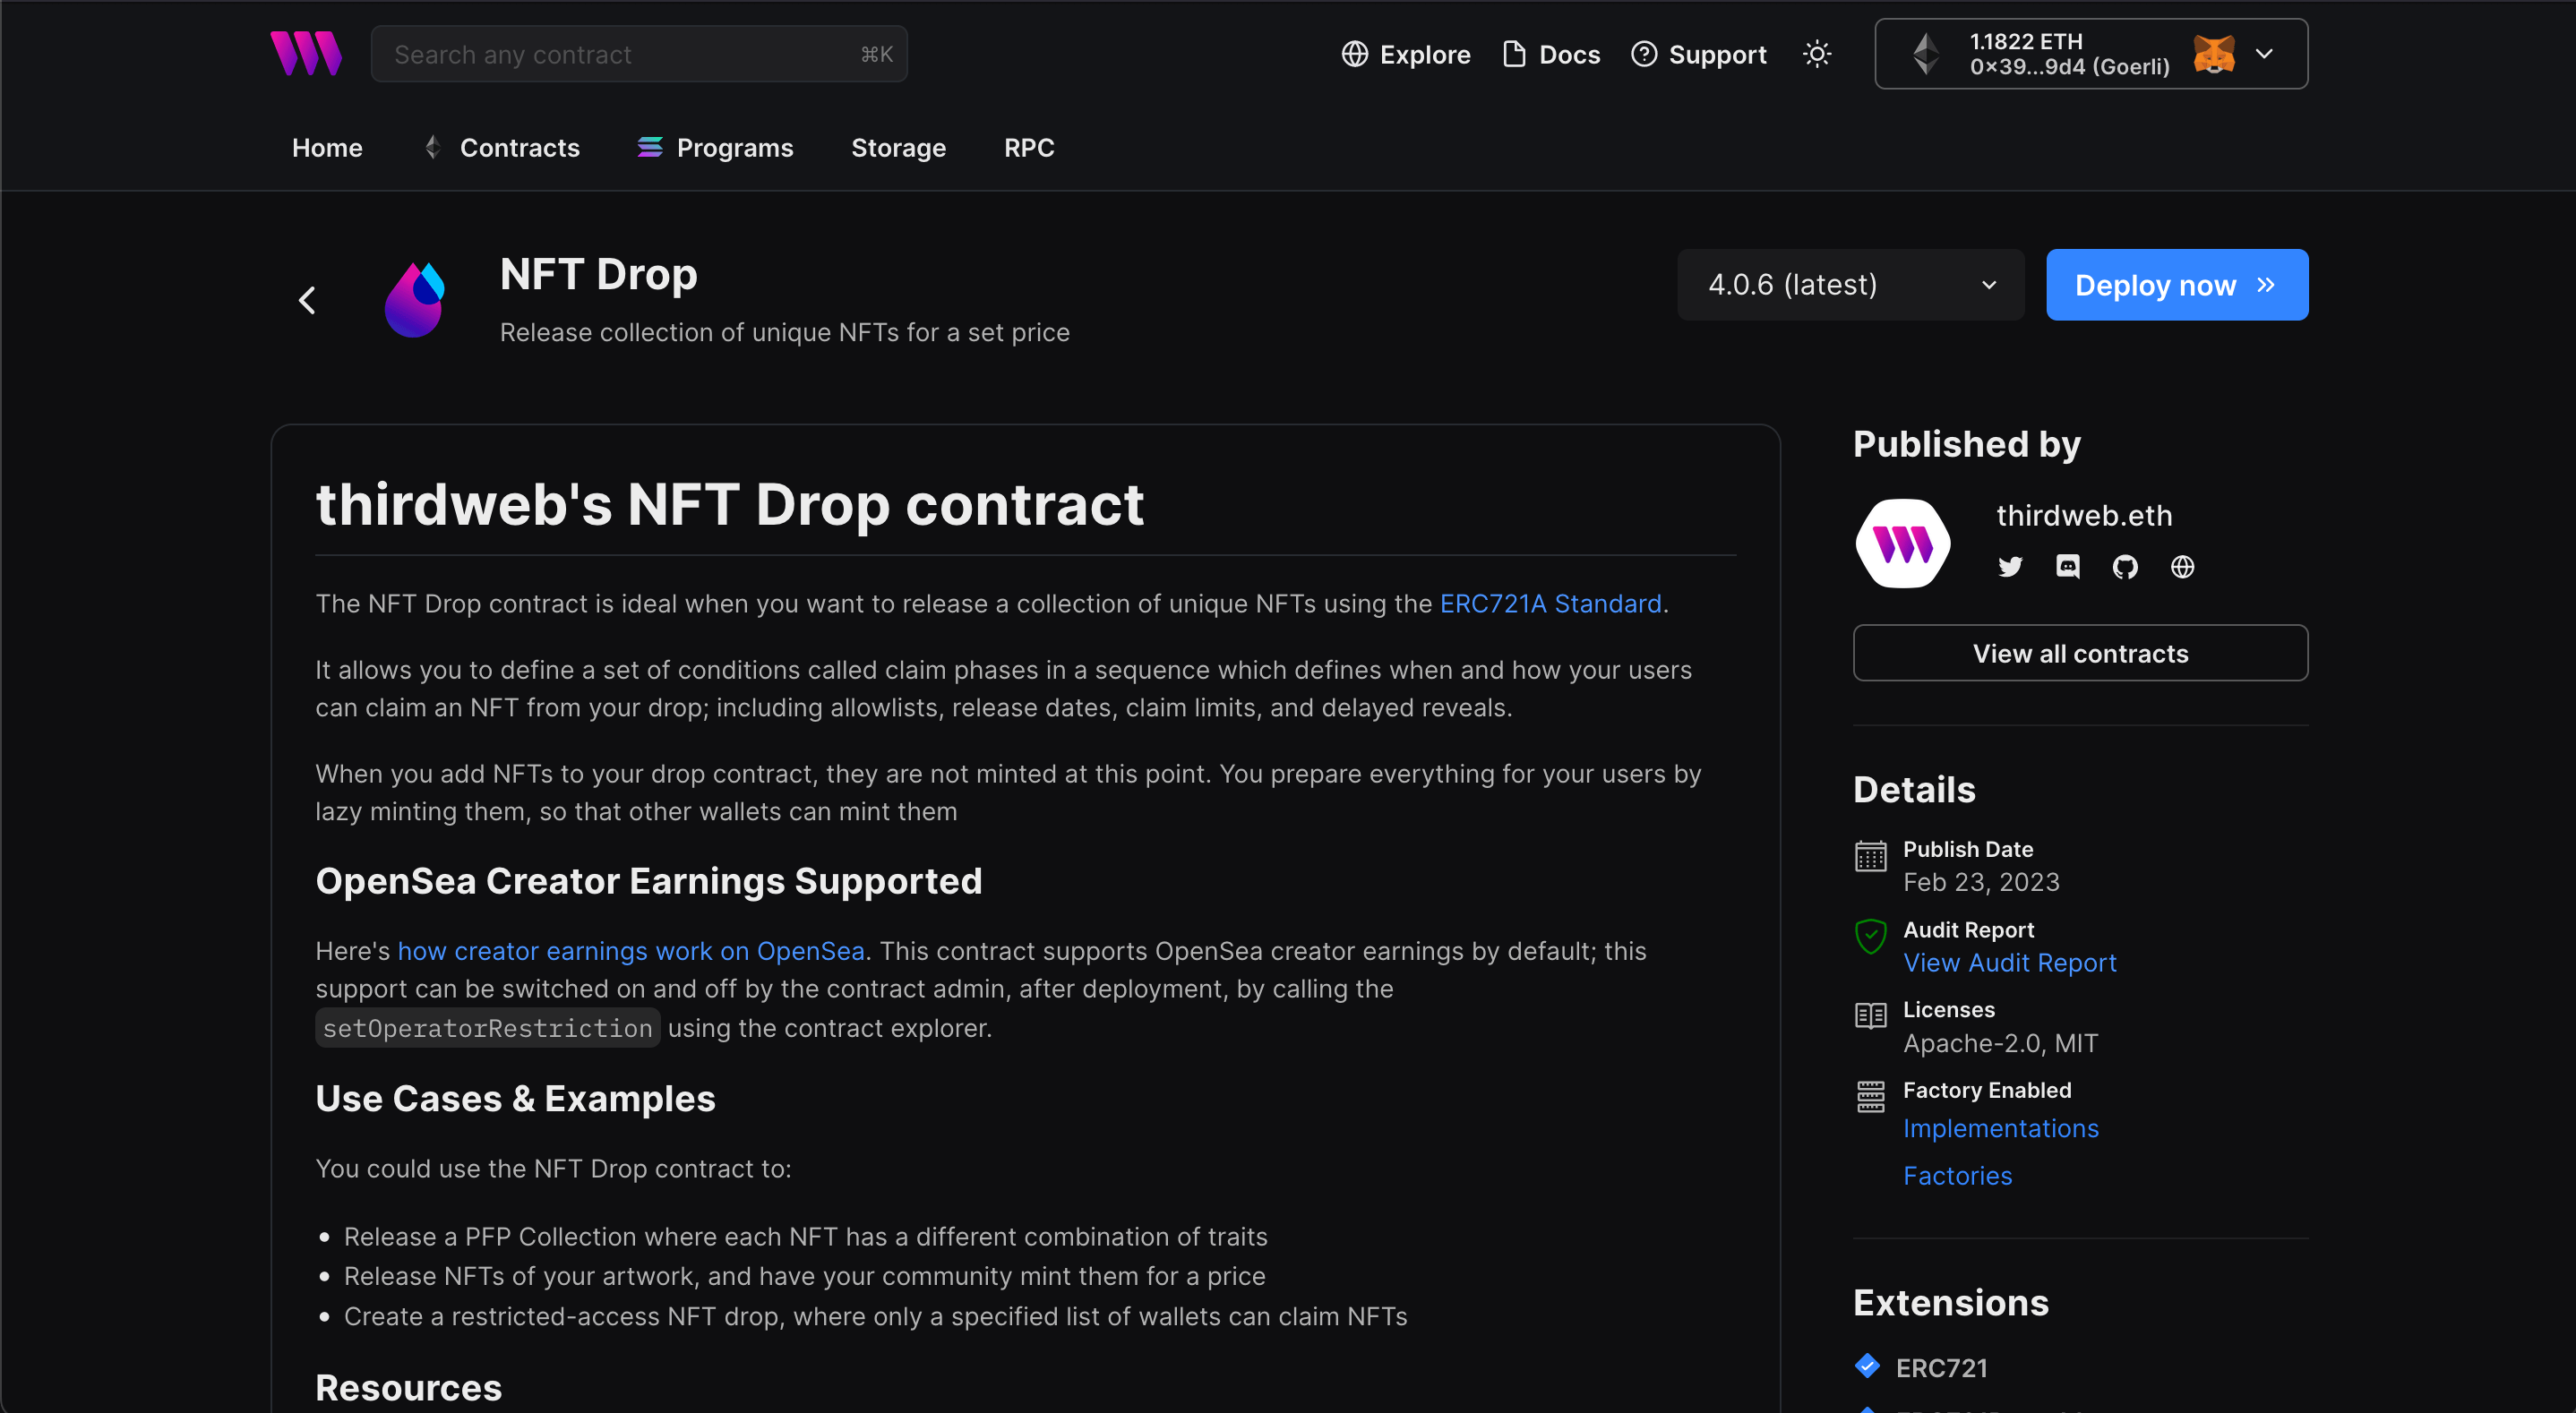
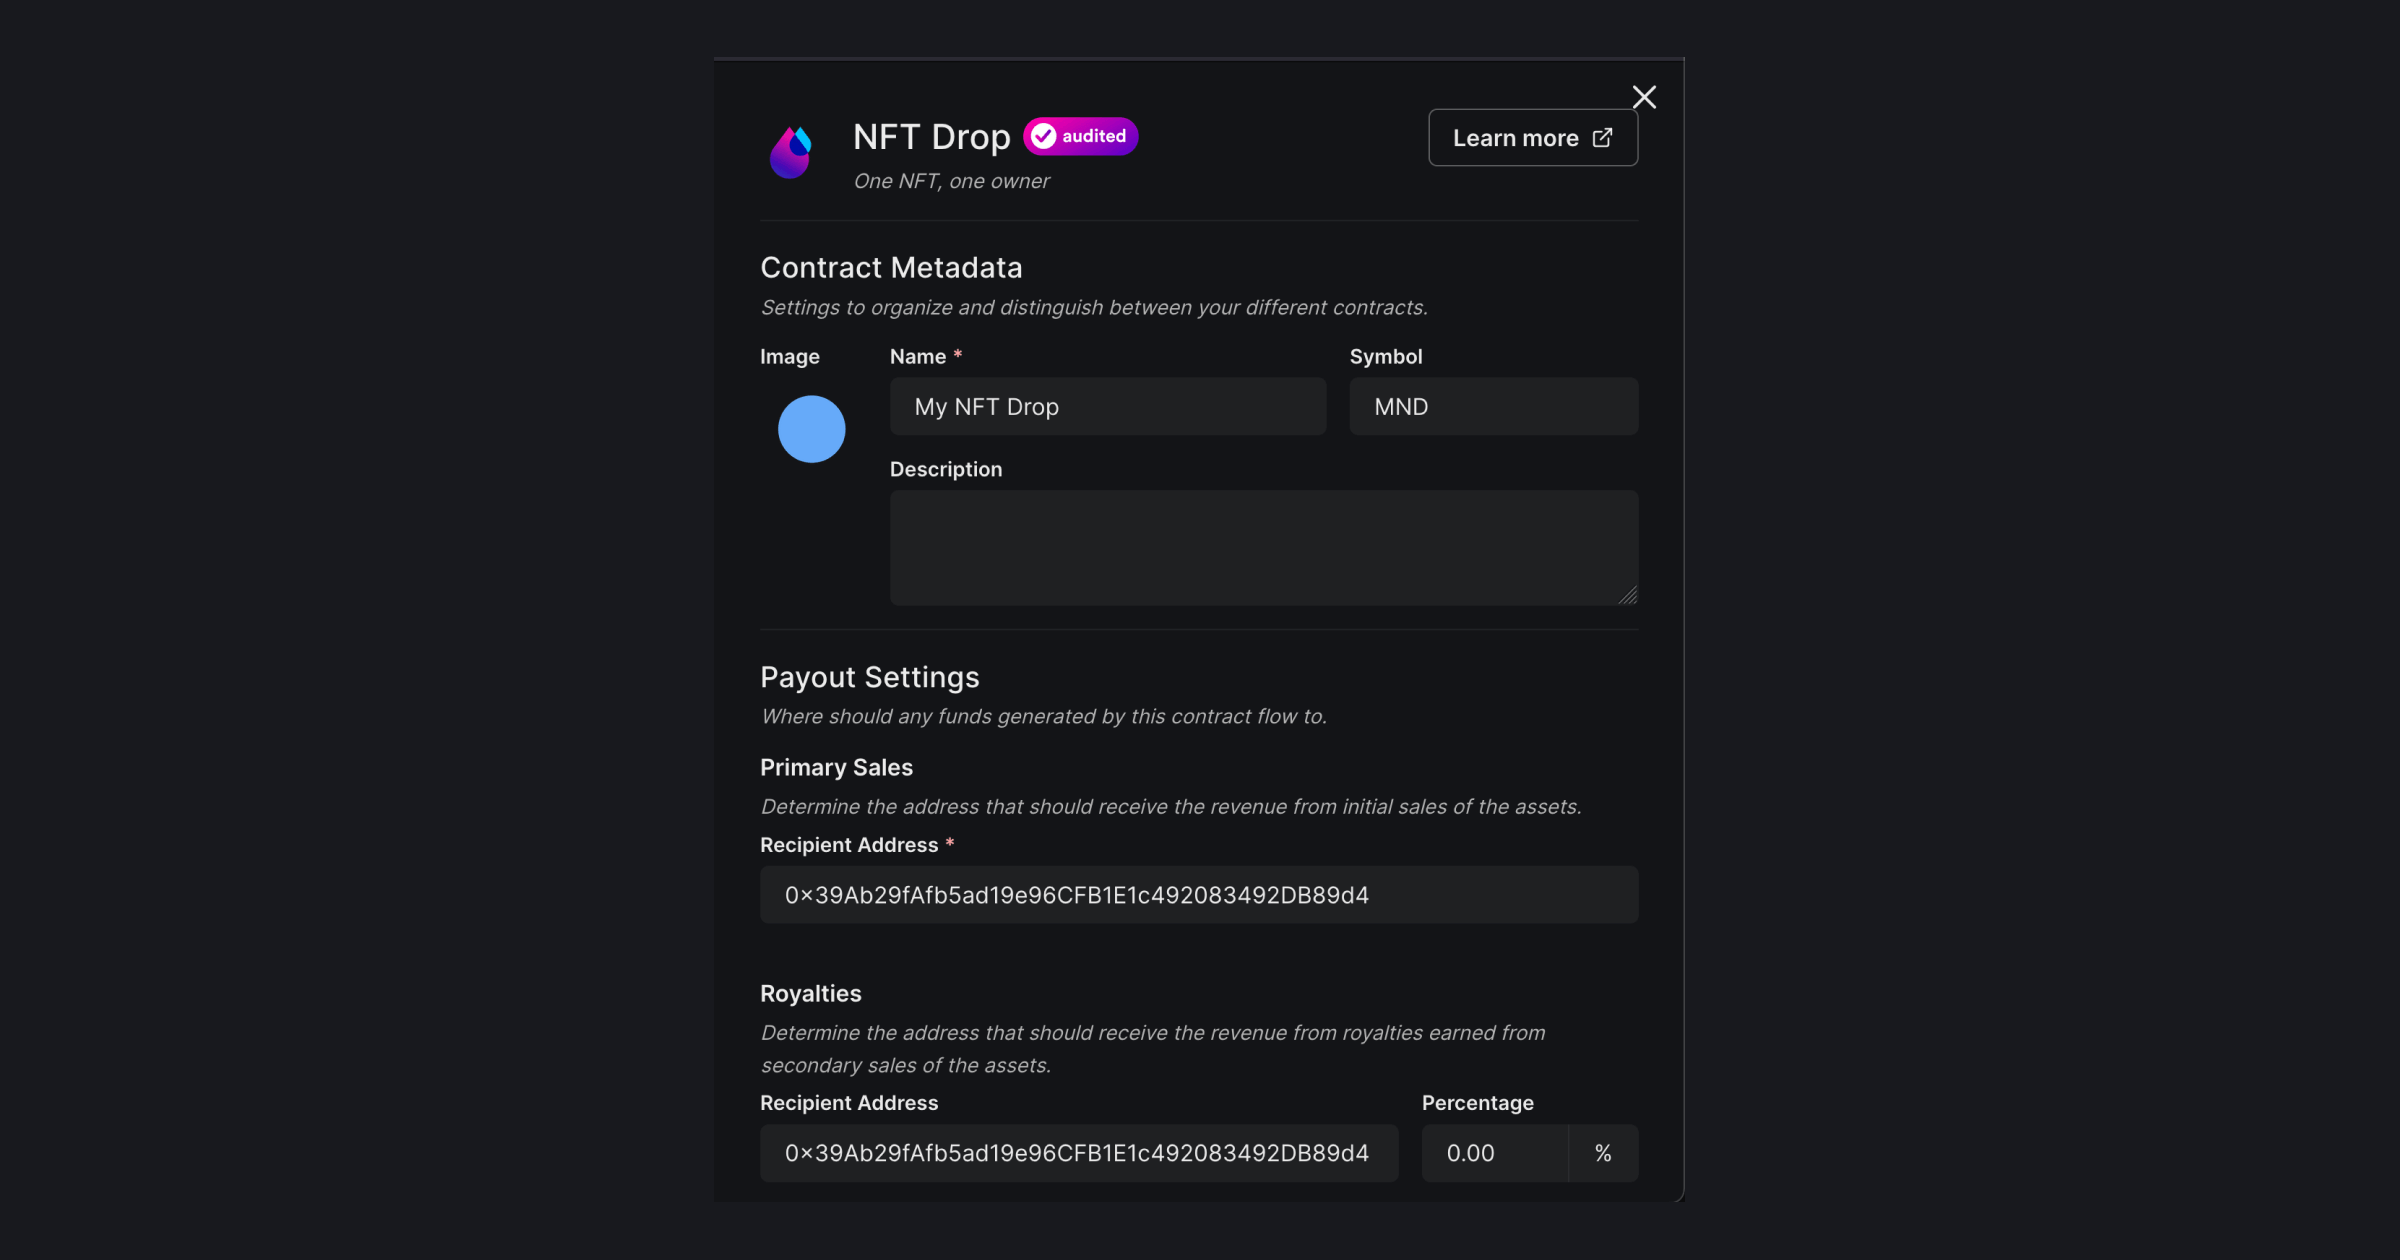
Set up your smart contract with an image, name, description, etc., and configure which wallet address will receive the funds from primary and secondary sales:
In the network/chain section select Optimism or Optimism Goerli (testnet) as you wish. For the sake of this guide, I am going to use Optimism Goerli
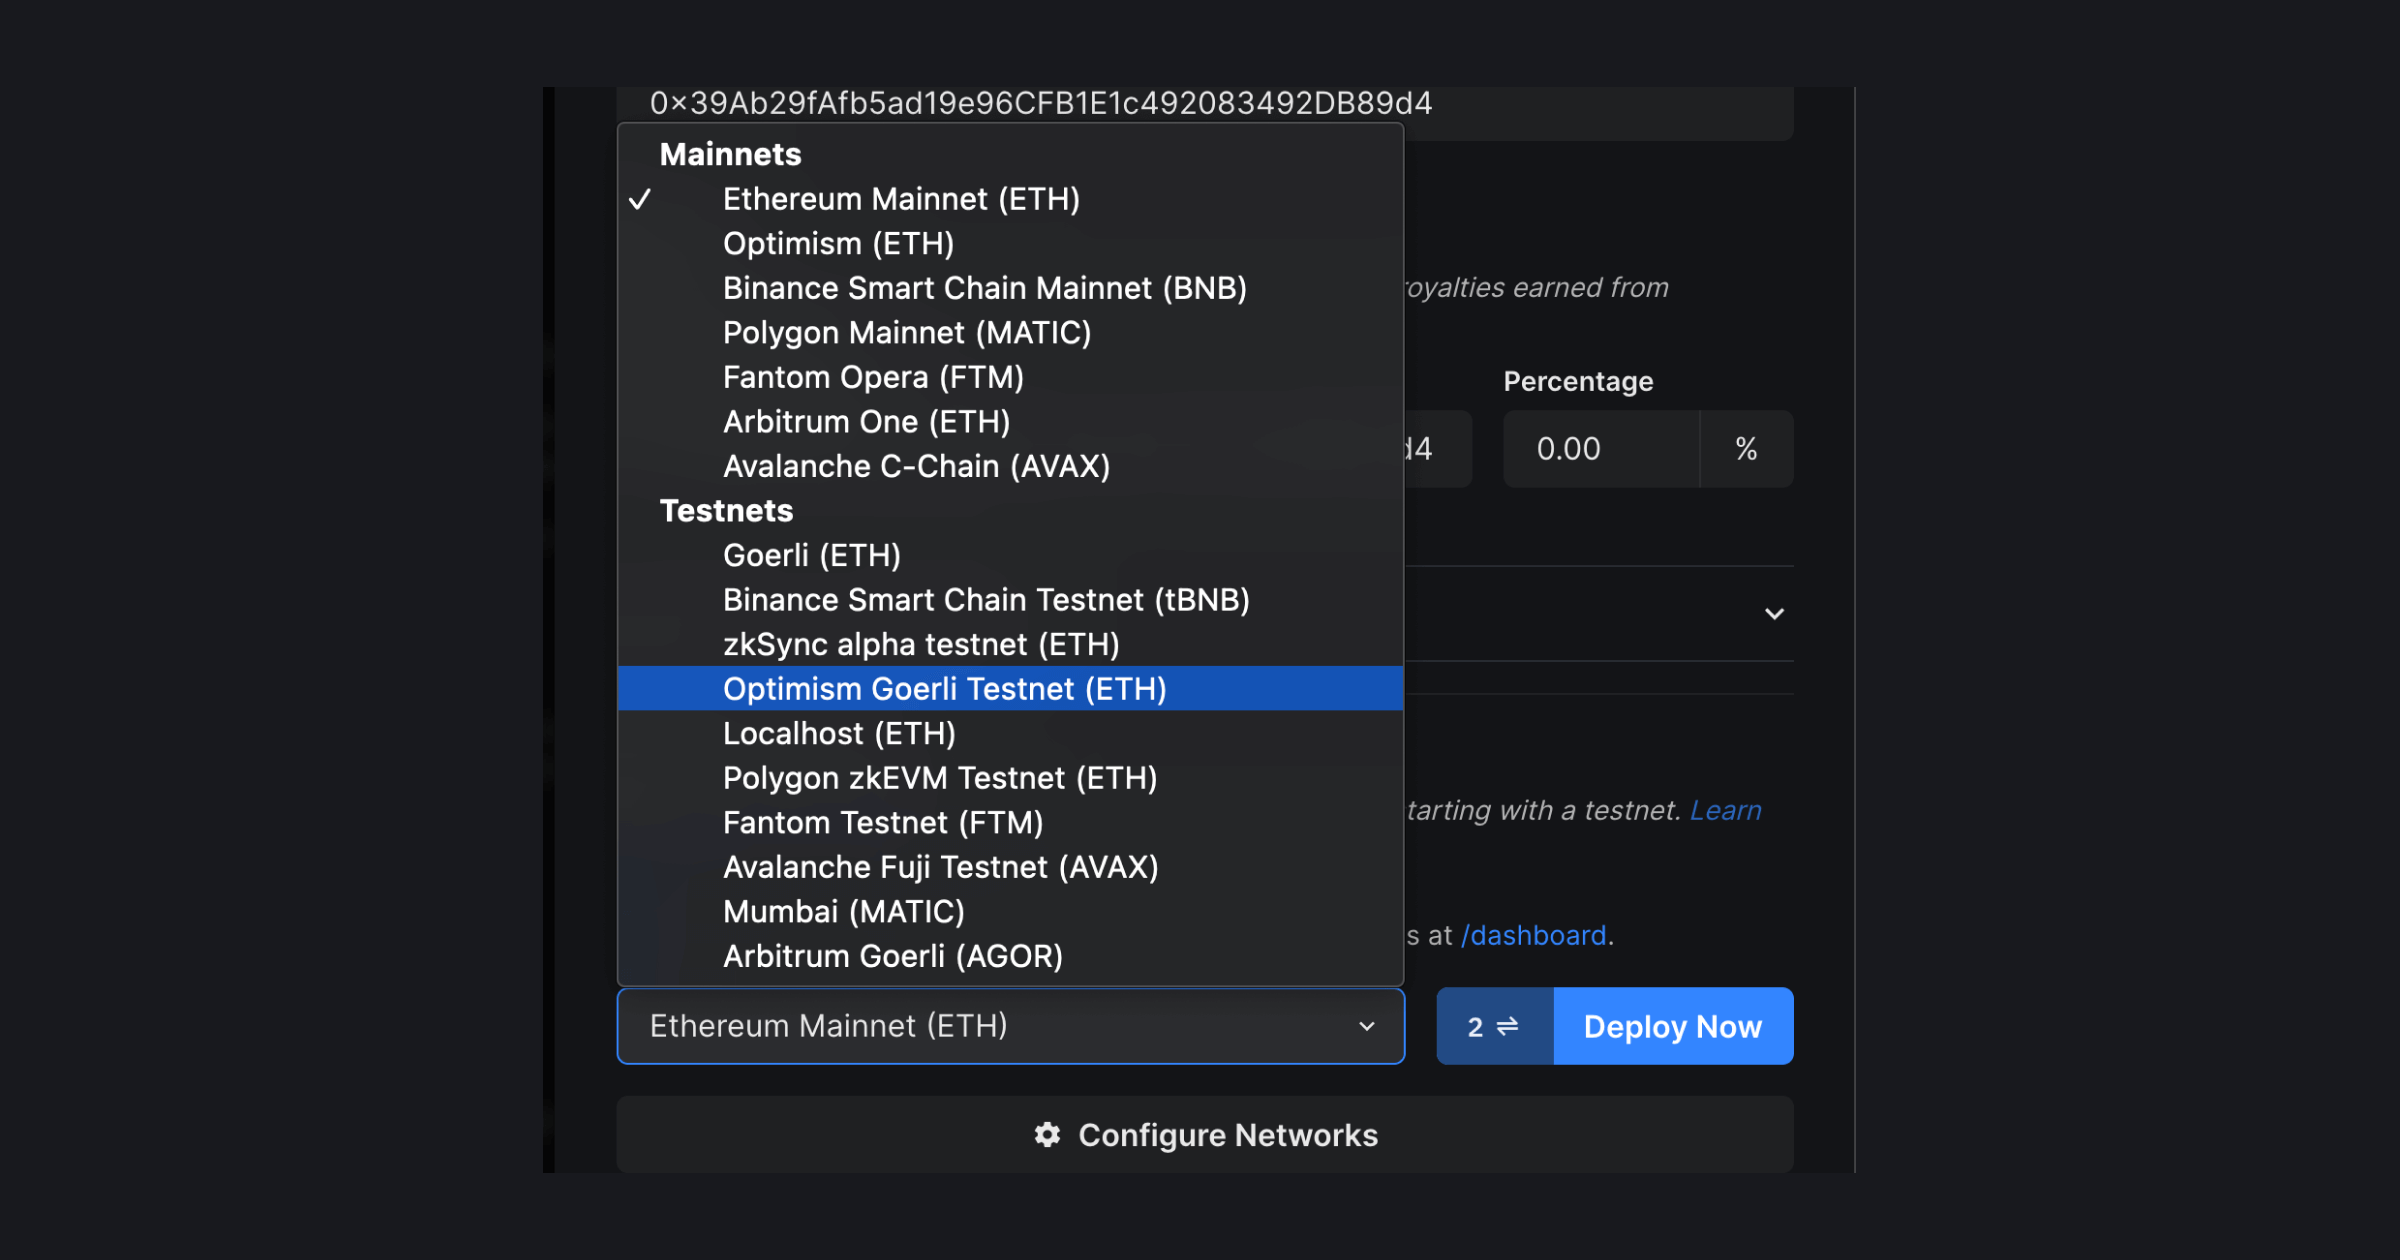
Once you have selected the network, click on deploy now. It will prompt you to switch your network to Optimism Goerli.
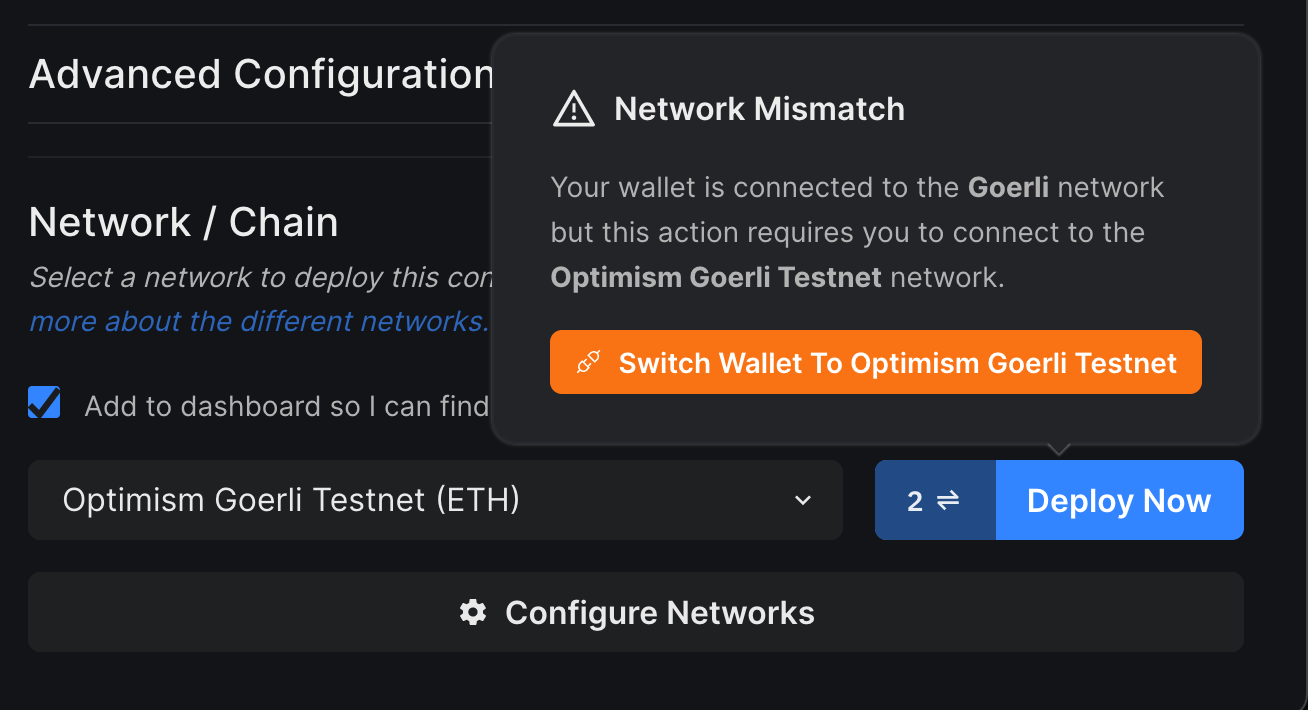
Click on the switch Wallet button and if you don't already have the network in your wallet it will prompt you to add the network and then switch to the network:
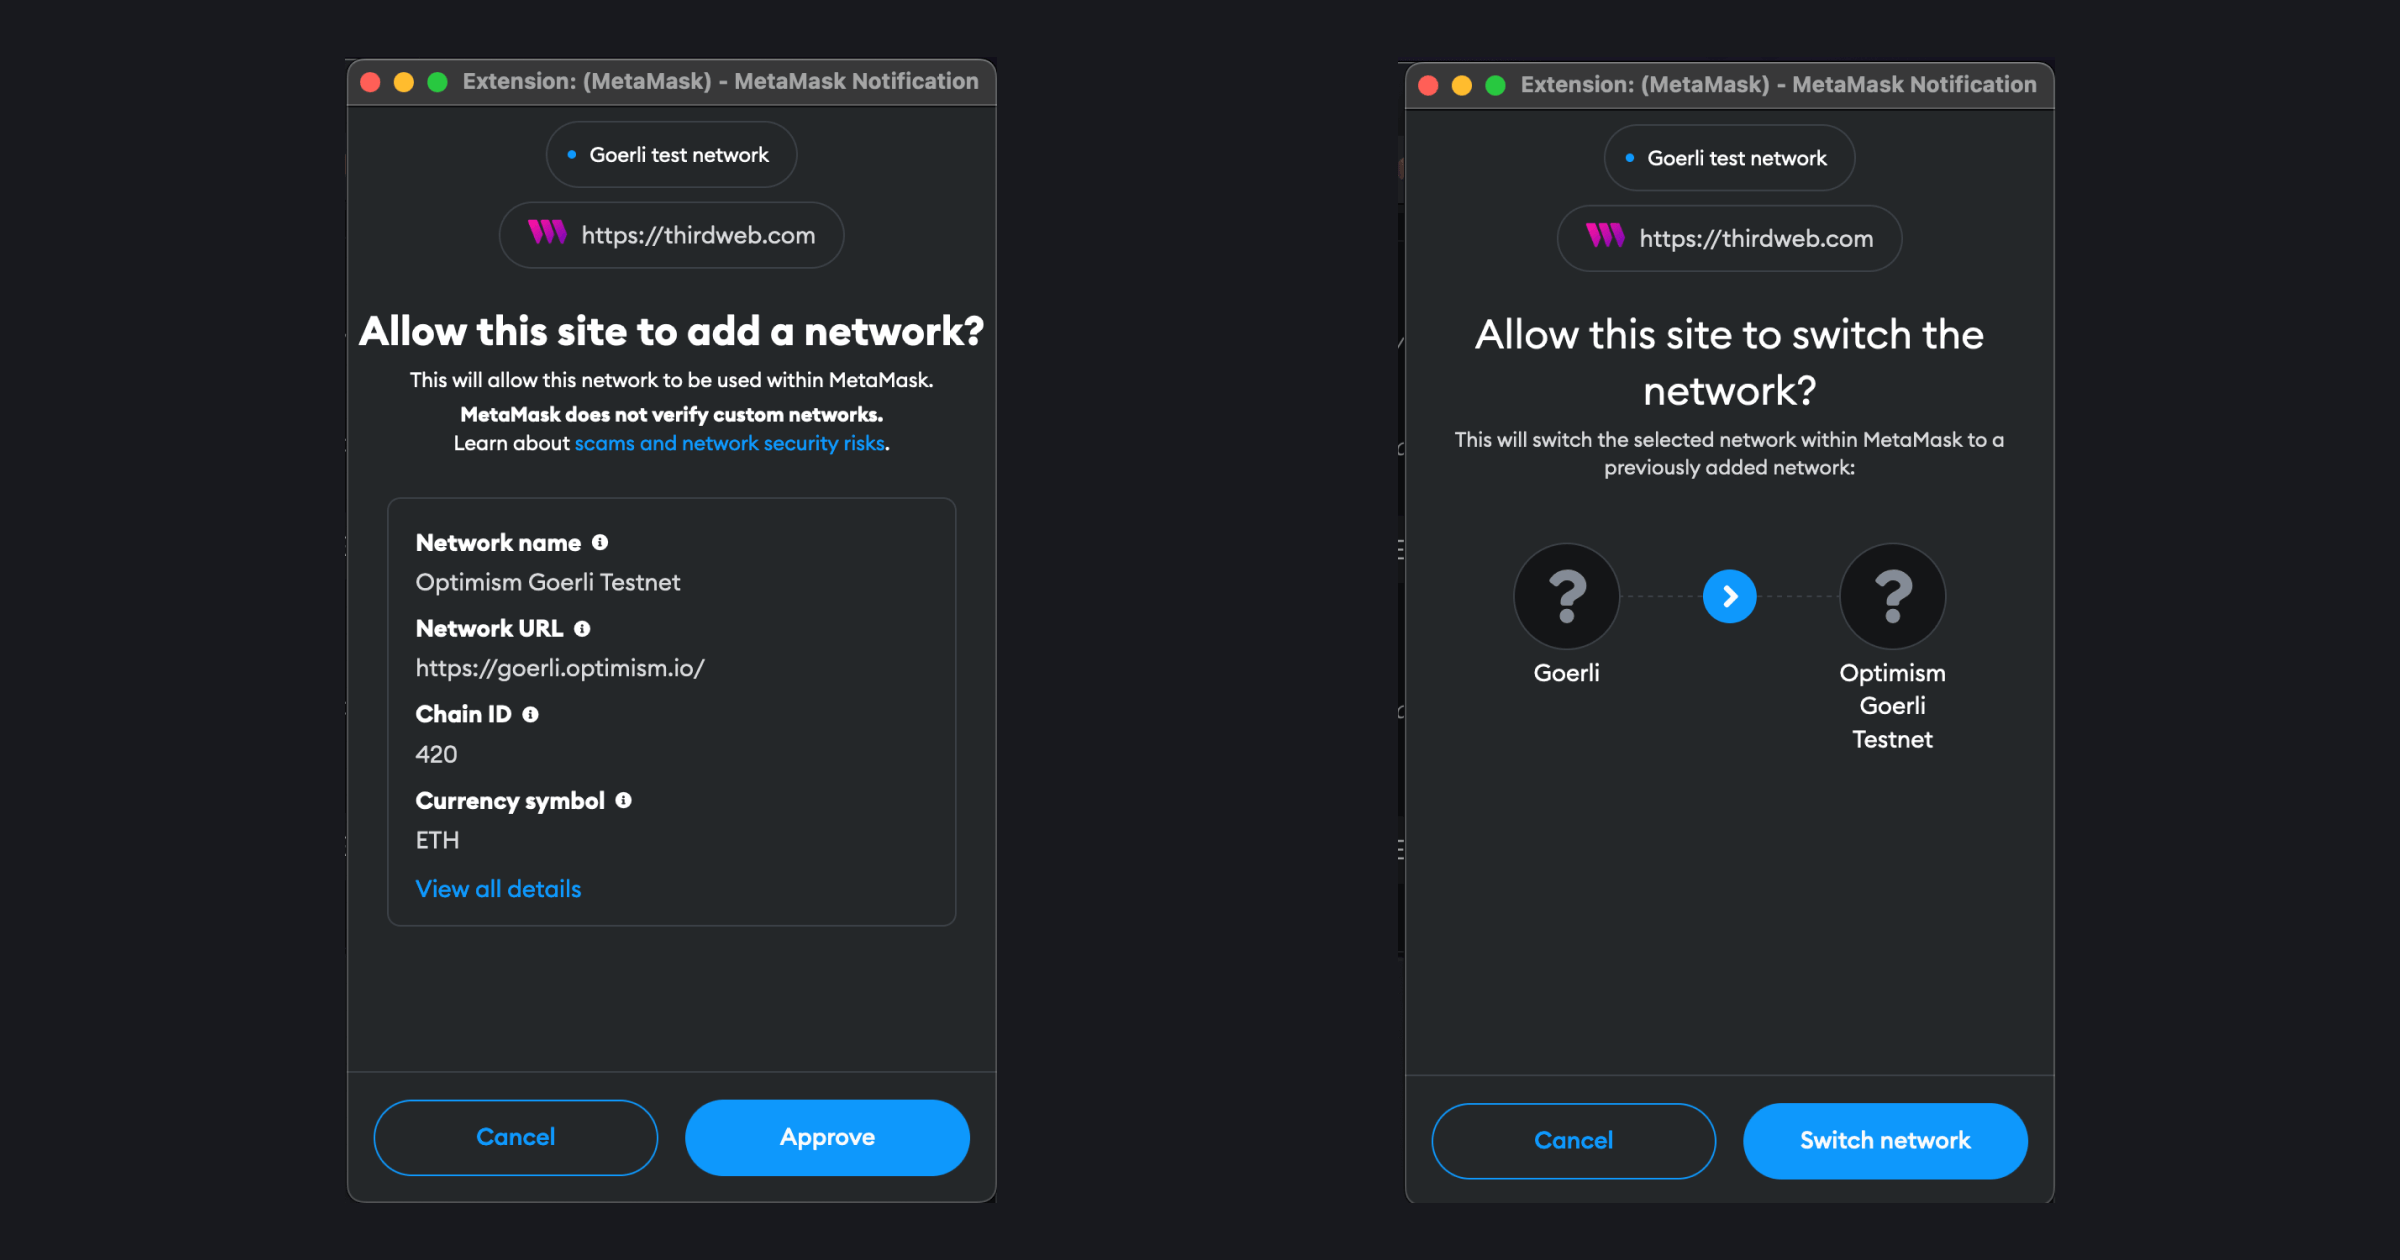
Now let's deploy the smart contract on the Optimism Goerli testnet! But before that, we need testnet funds.
Get Optimism Goerli ETH testnet funds in your wallet
To get testnet funds and use the Optimism Goerli network, there are two options:
- Get Optimism Goerli ETH directly from Paradigm faucet (recommended) or from Coinbase's Faucet if you have a Coinbase wallet.
- Bridge regular Goerli ETH to Optimism Goerli ETH through the Optmism Bridge if you have some)
Option 1: Get Optimism Goerli ETH directly from Paradigm's Faucet
The easiest option to get Optimism Goerli ETH into your wallet is to do it directly from the Paradigm Faucet! For this head over to the Paradigm faucet.
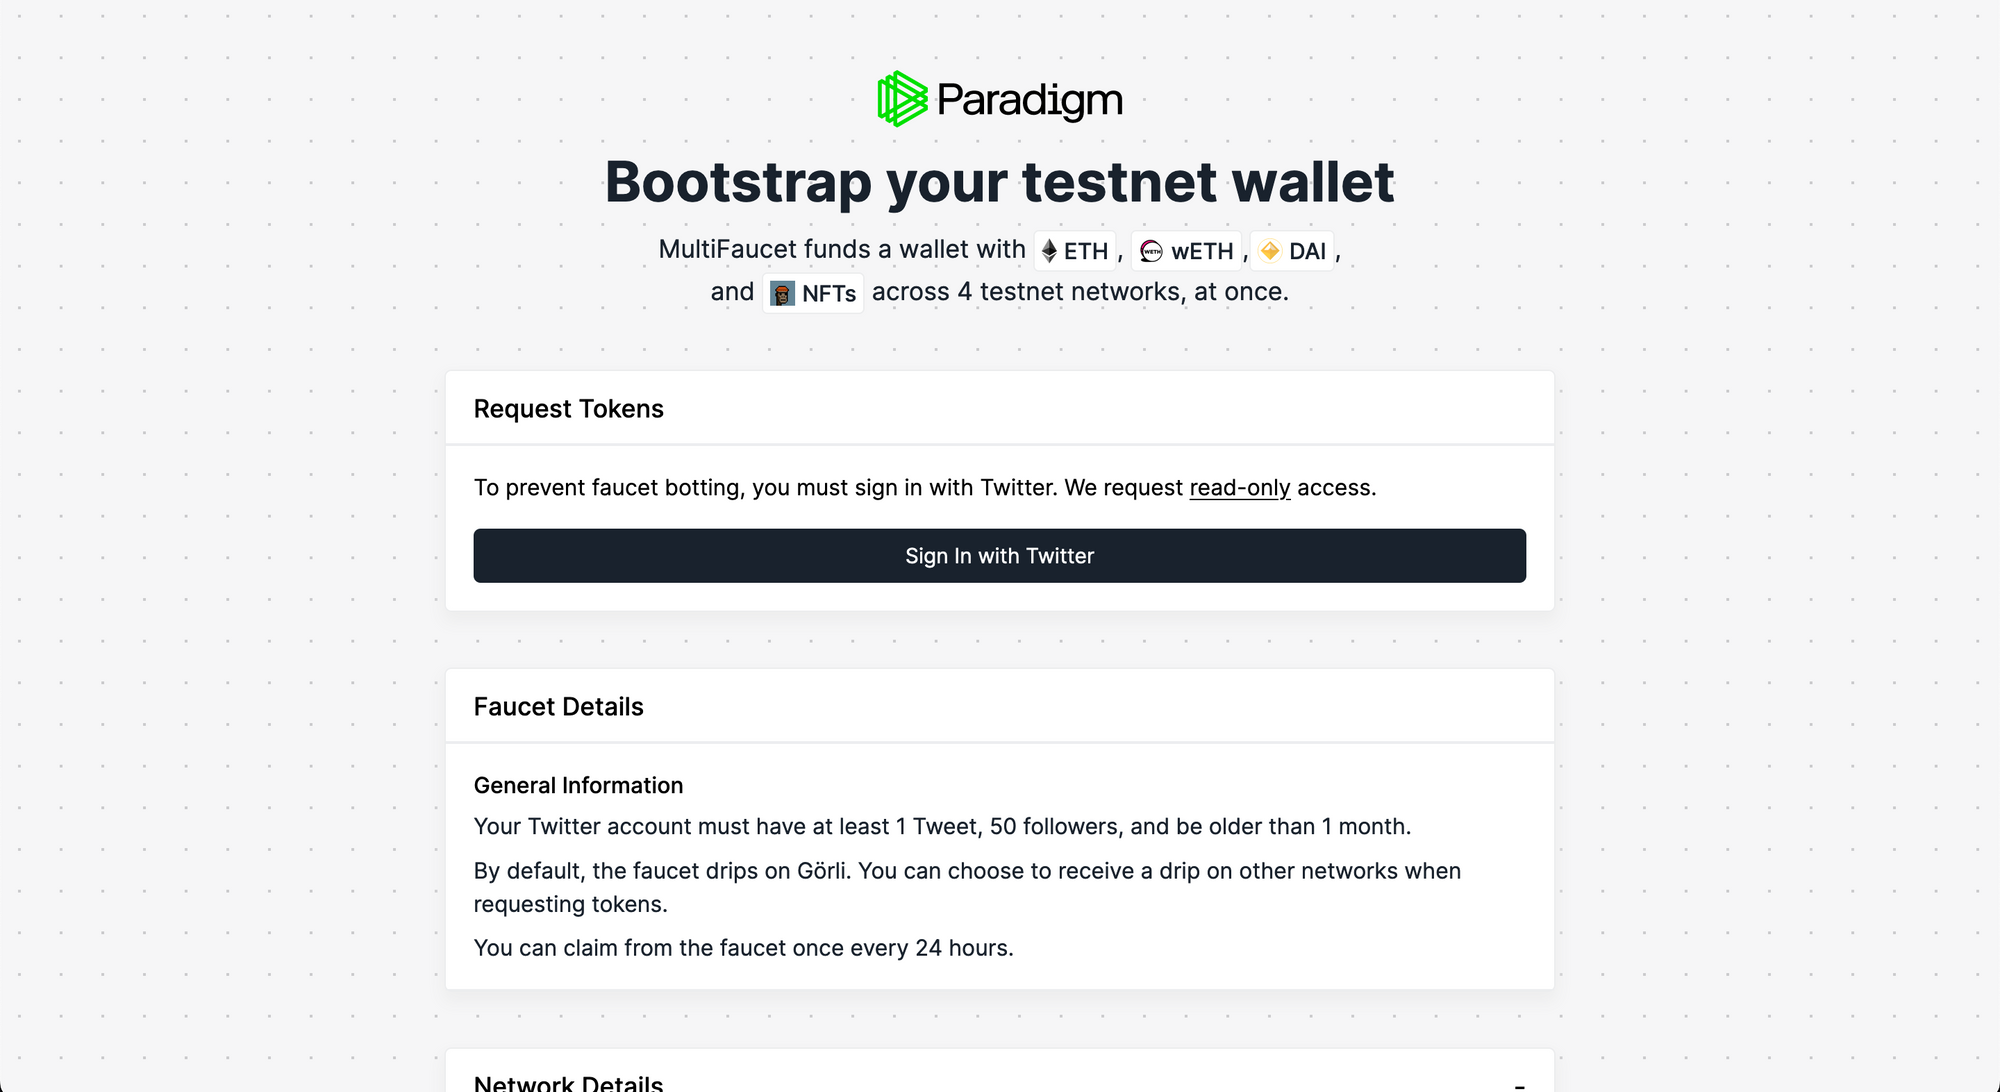
You need to Sign in with Twitter for this and make sure you meet the criteria mentioned on the website otherwise you can use the Coinbase faucet or Bridge from regular Goerli to Optimism Goerli.
Once you have signed in using twitter, you will be able to enter your address and claim. Make sure to tick the Drip on additional networks checkbox
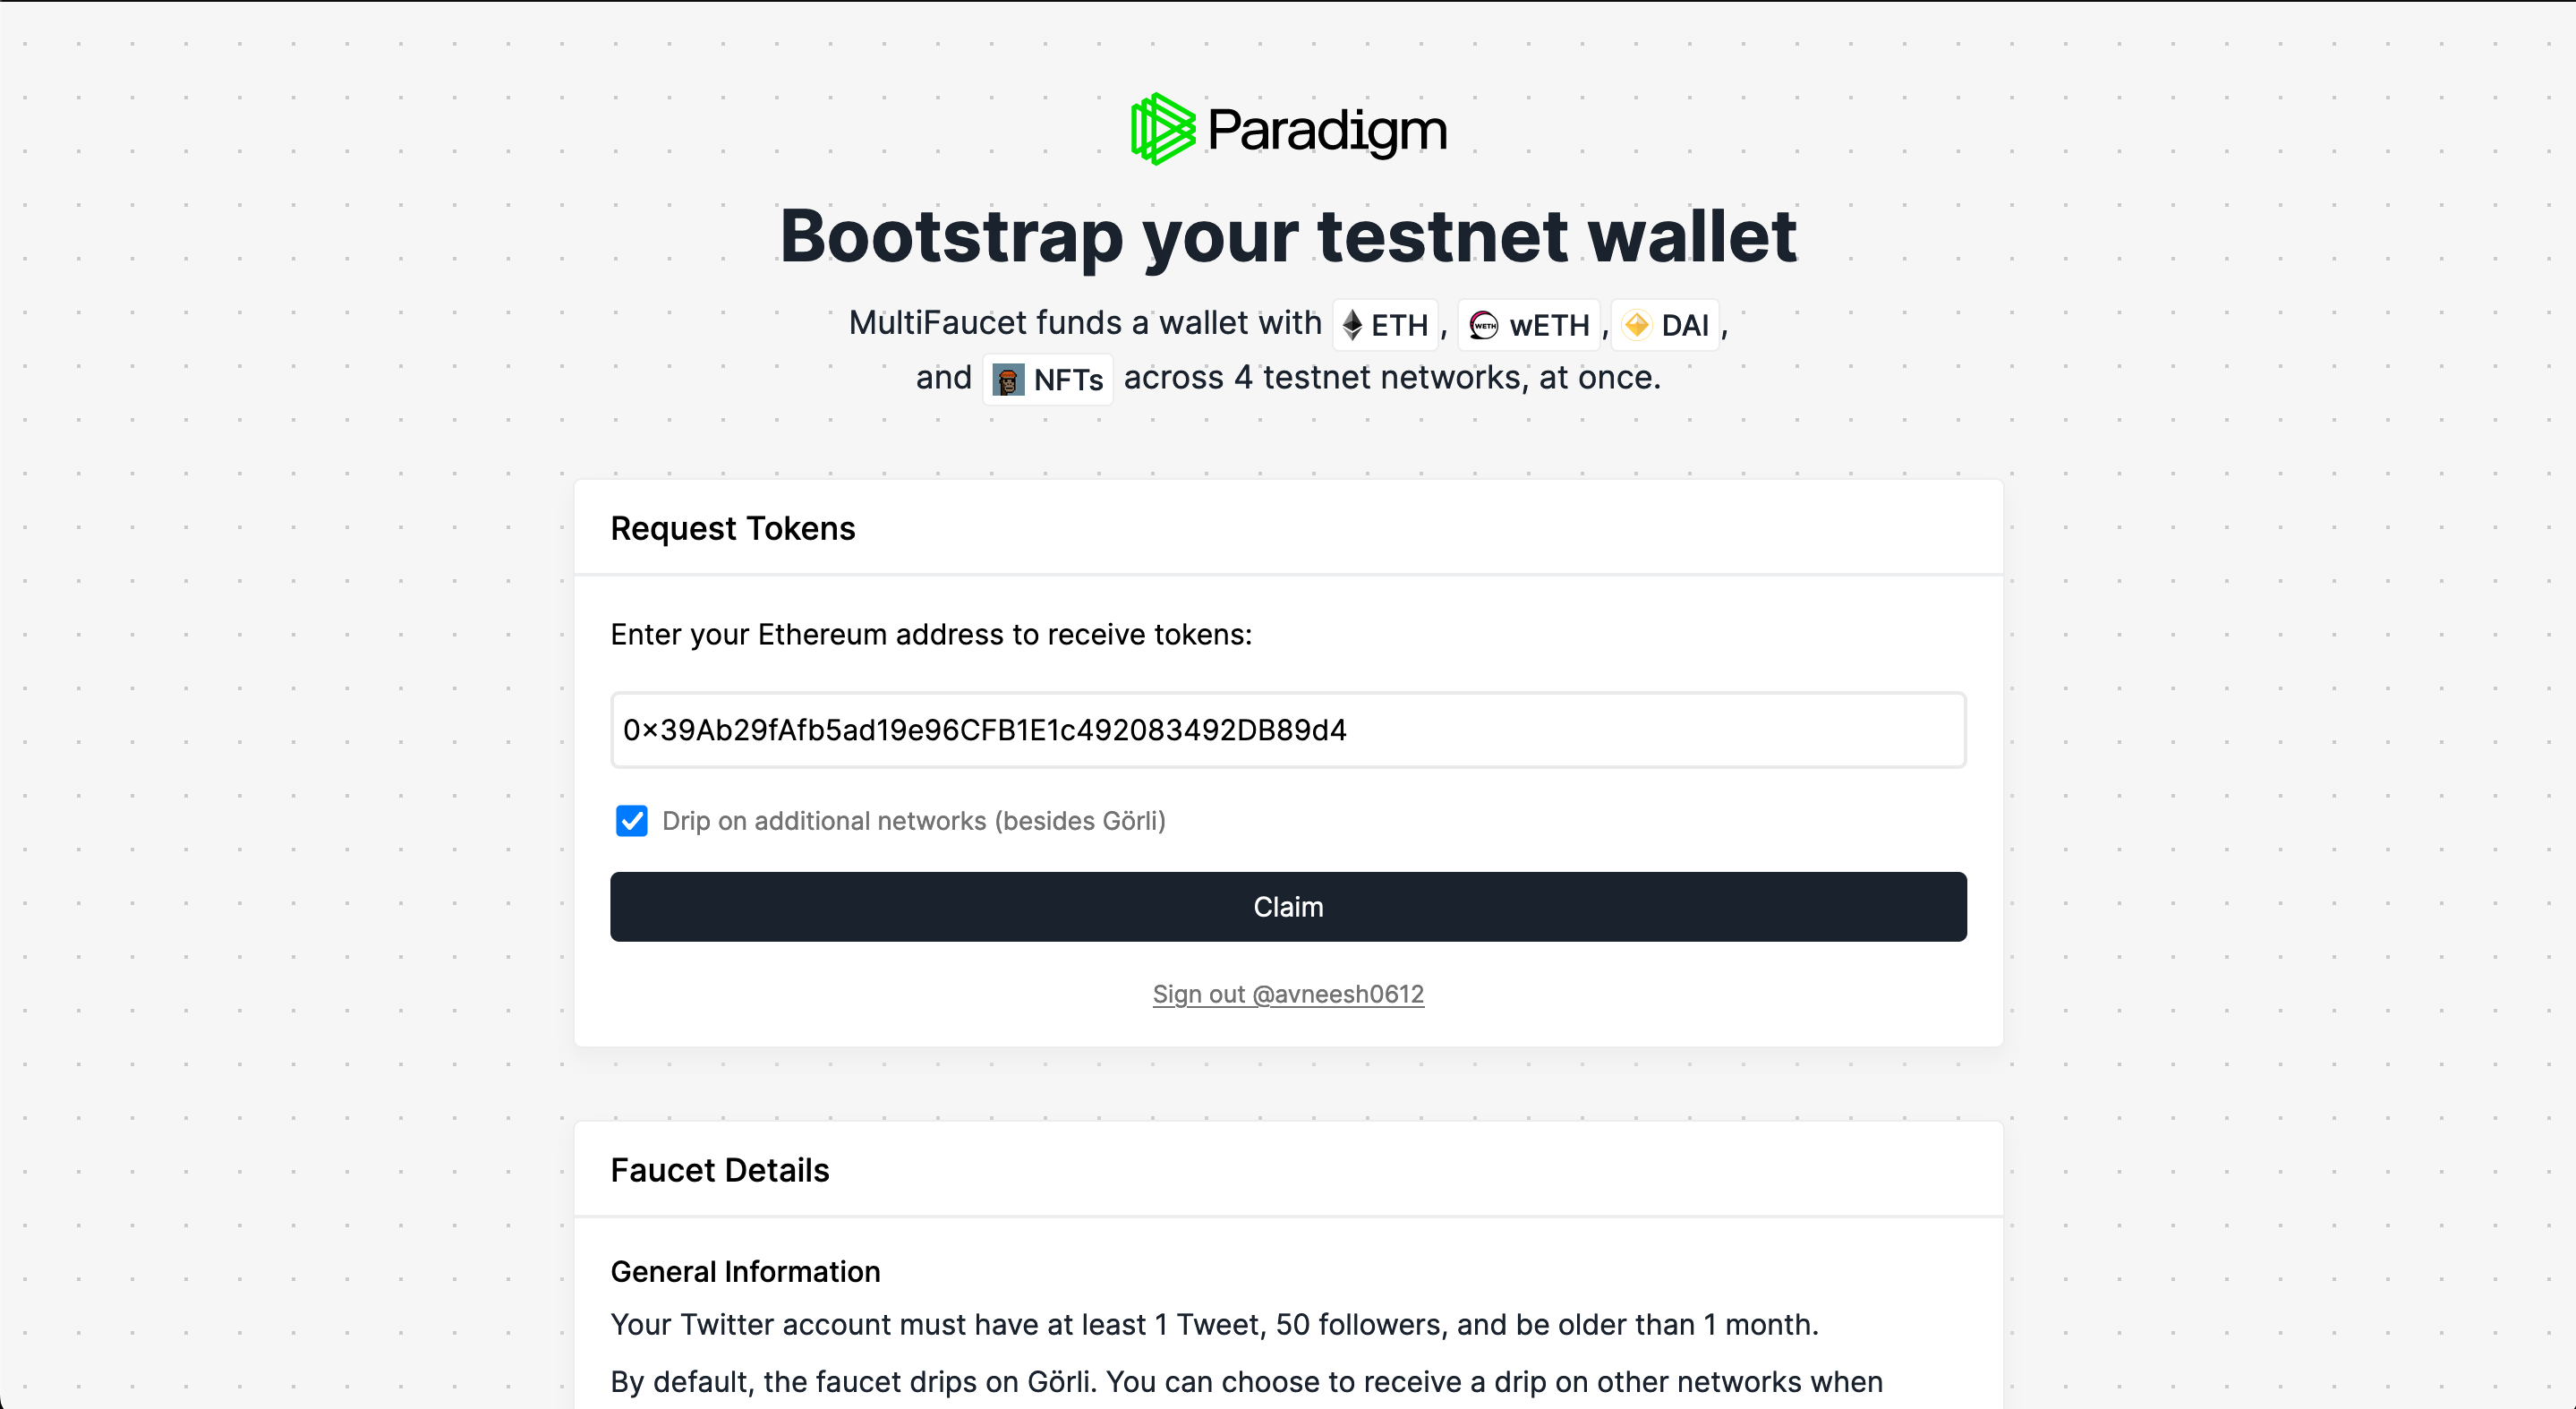
Once you have completed this process, you will have testnet funds in your wallet on the Optimism Goerli testnet, meaning you're now ready to deploy your smart contract! You can skip Option 2 and go directly to the next section
Option 2: Bridge Goerli ETH to Optimism Goerli ETH through the Optimism Bridge
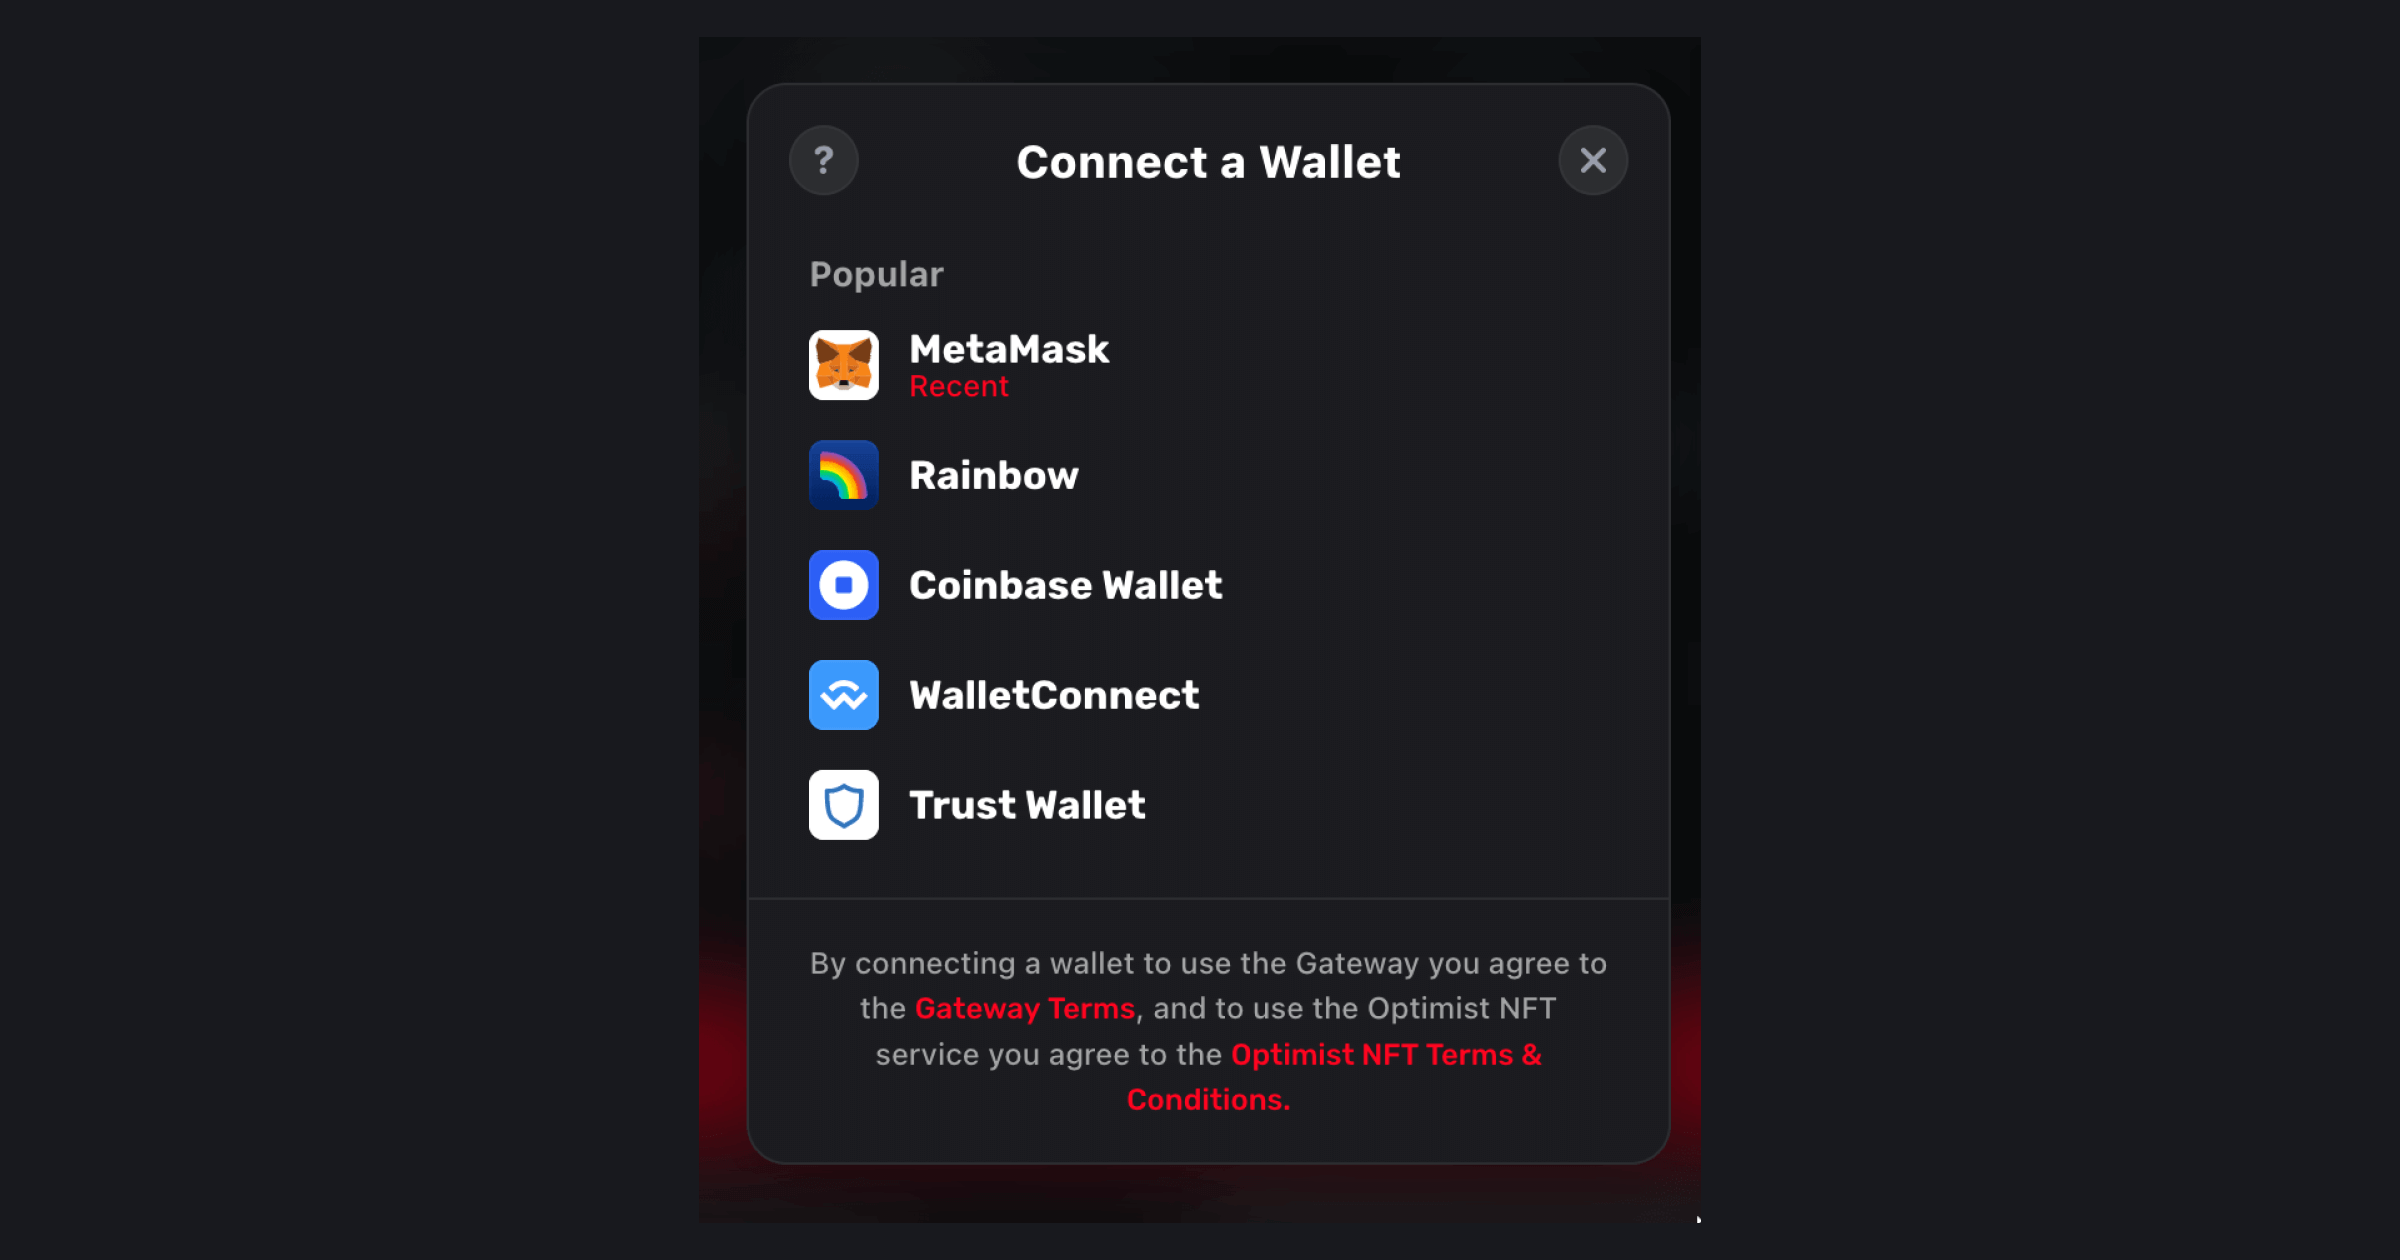
Head over to the Optimism Bridge and connect your wallet of choice. Since you're most likely going through this flow because you don't have a Coinbase Wallet, we're using MetaMask wallet here:
Now, select the quantity and switch your wallet to goerli:
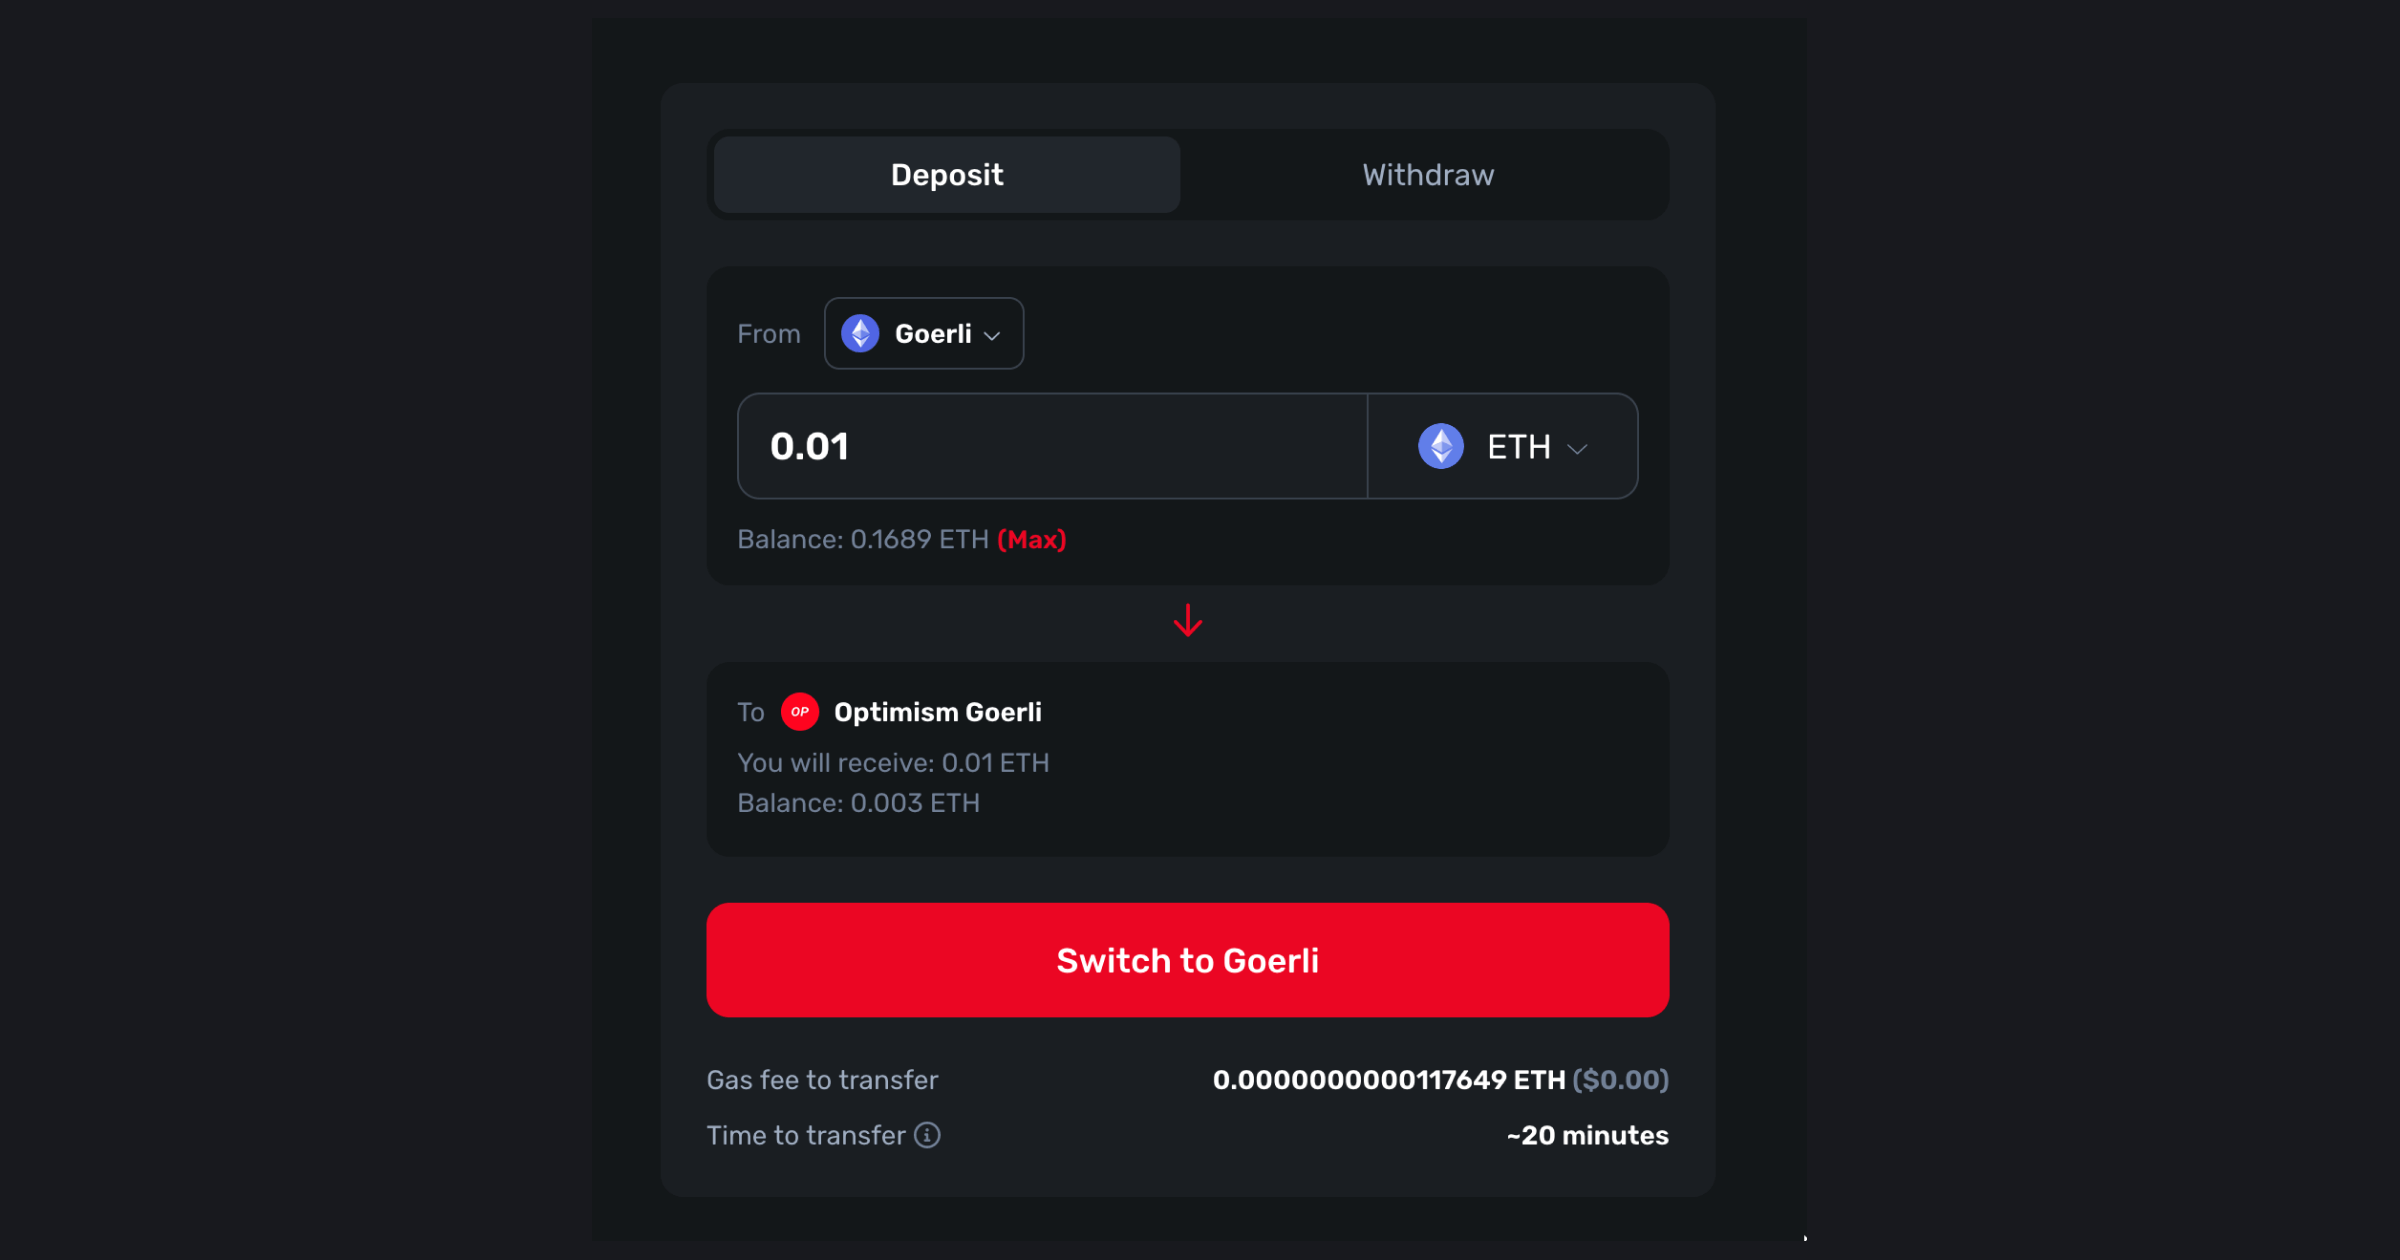
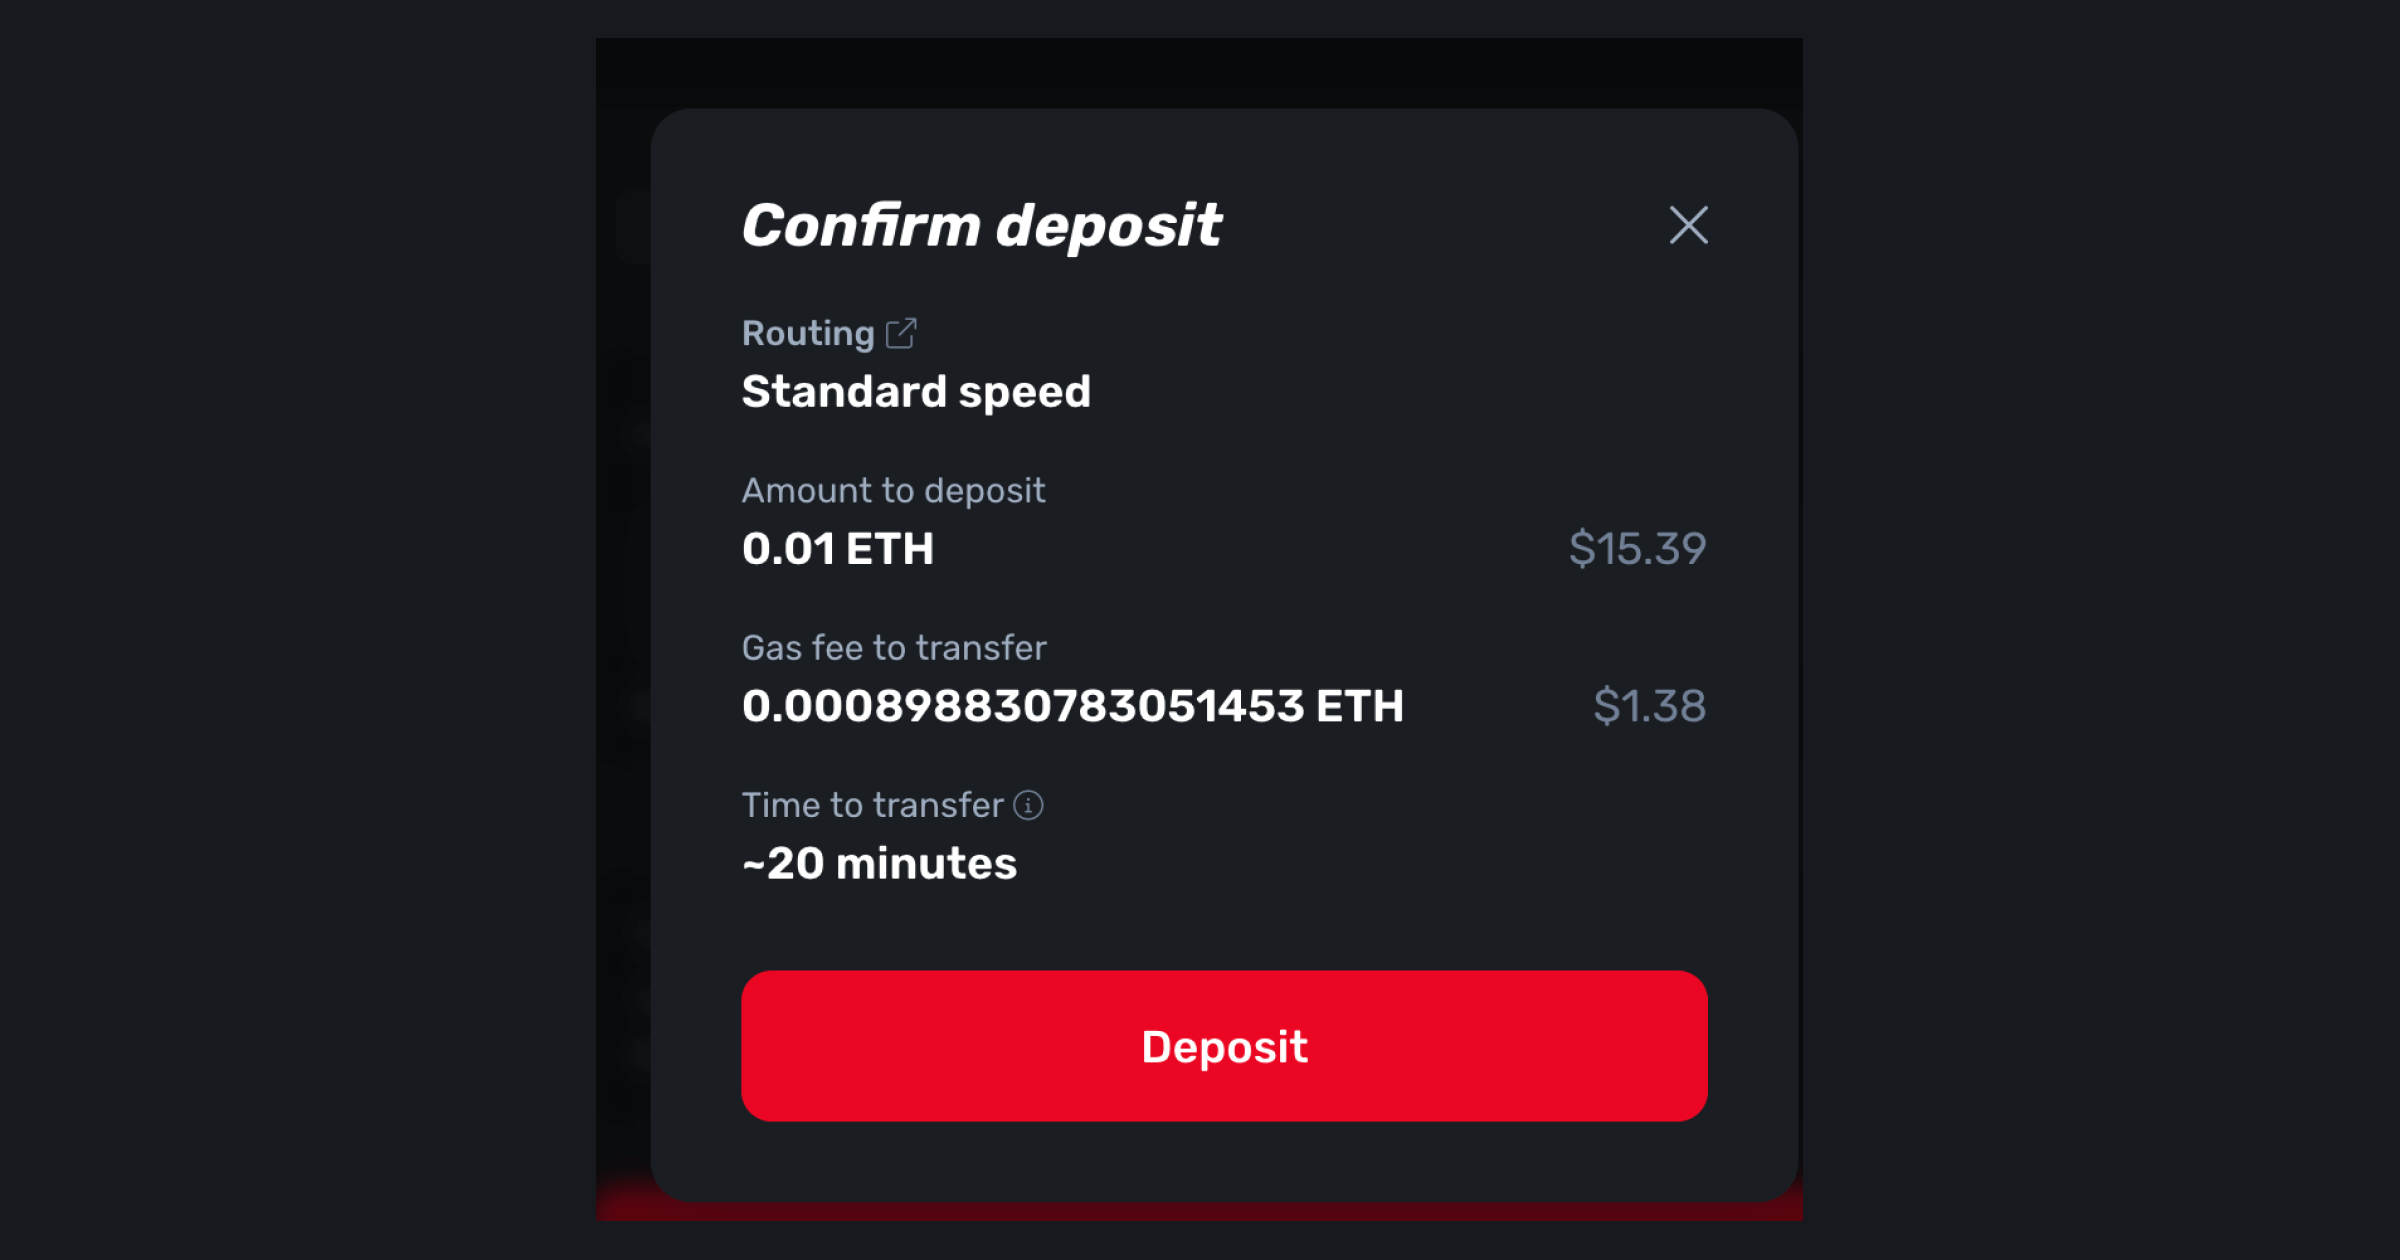
Finally, review the transaction and click on deposit:
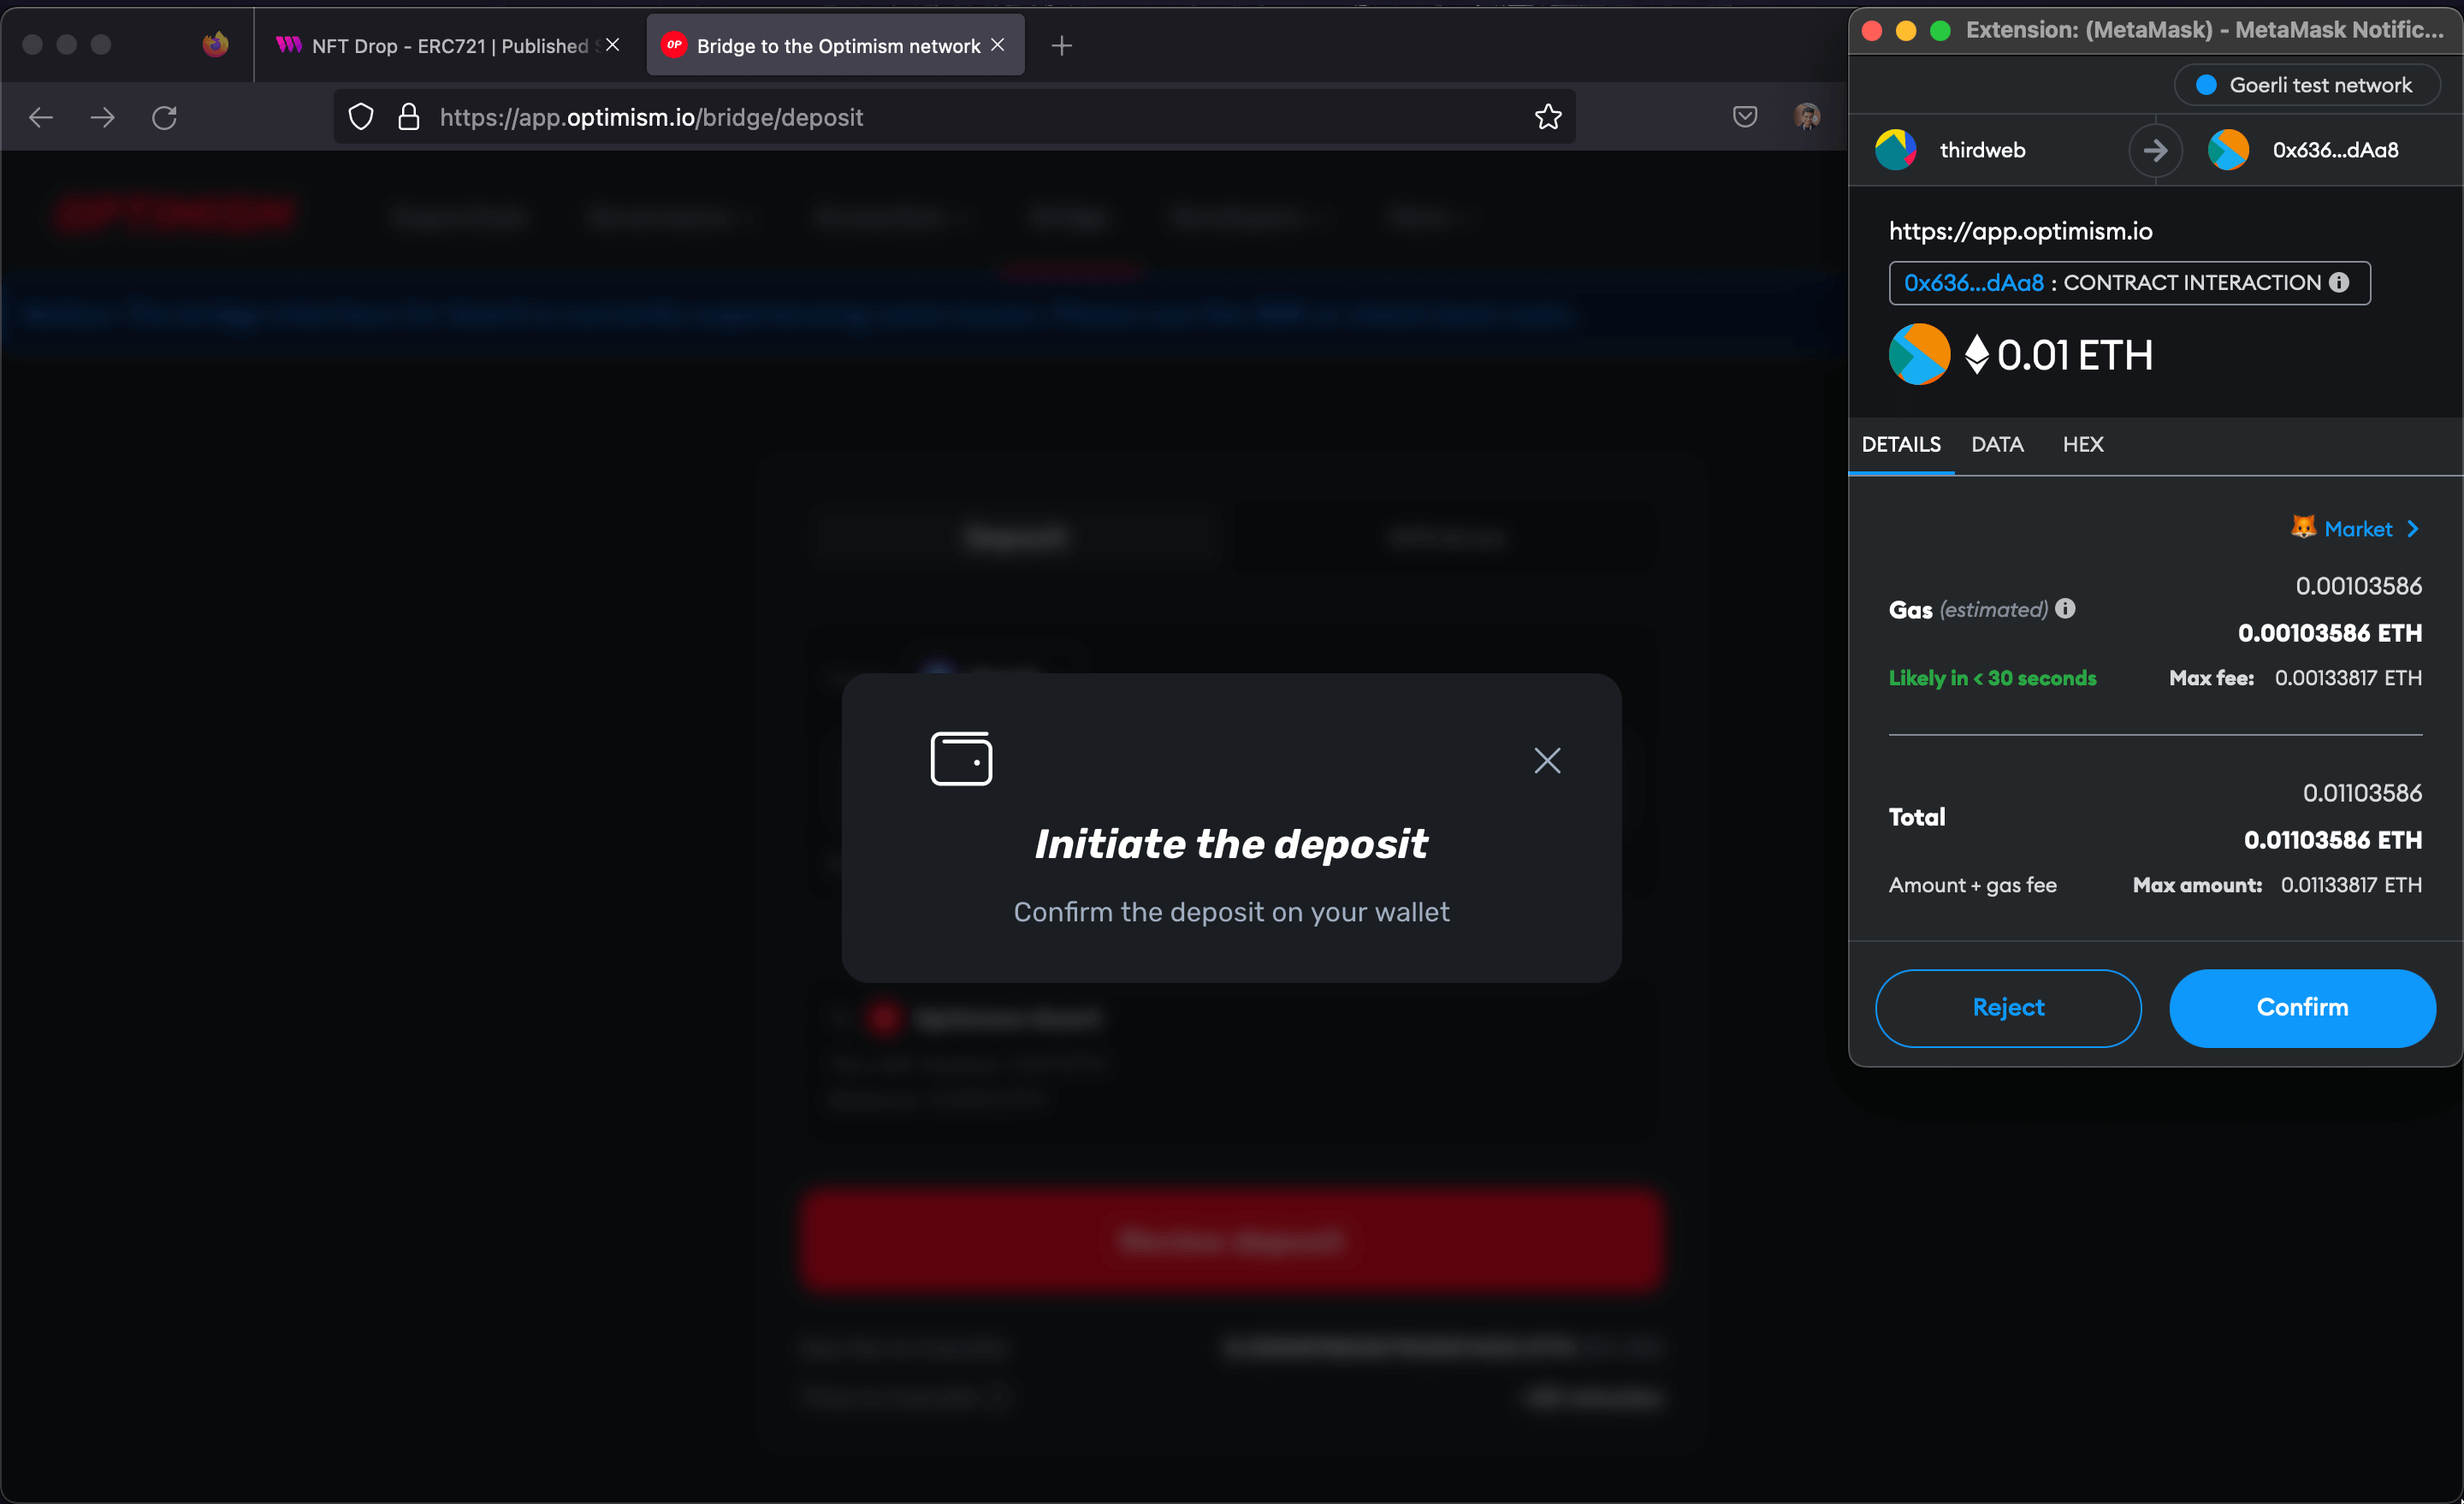
It will open up a transaction confirmation on metamask. Click on approve
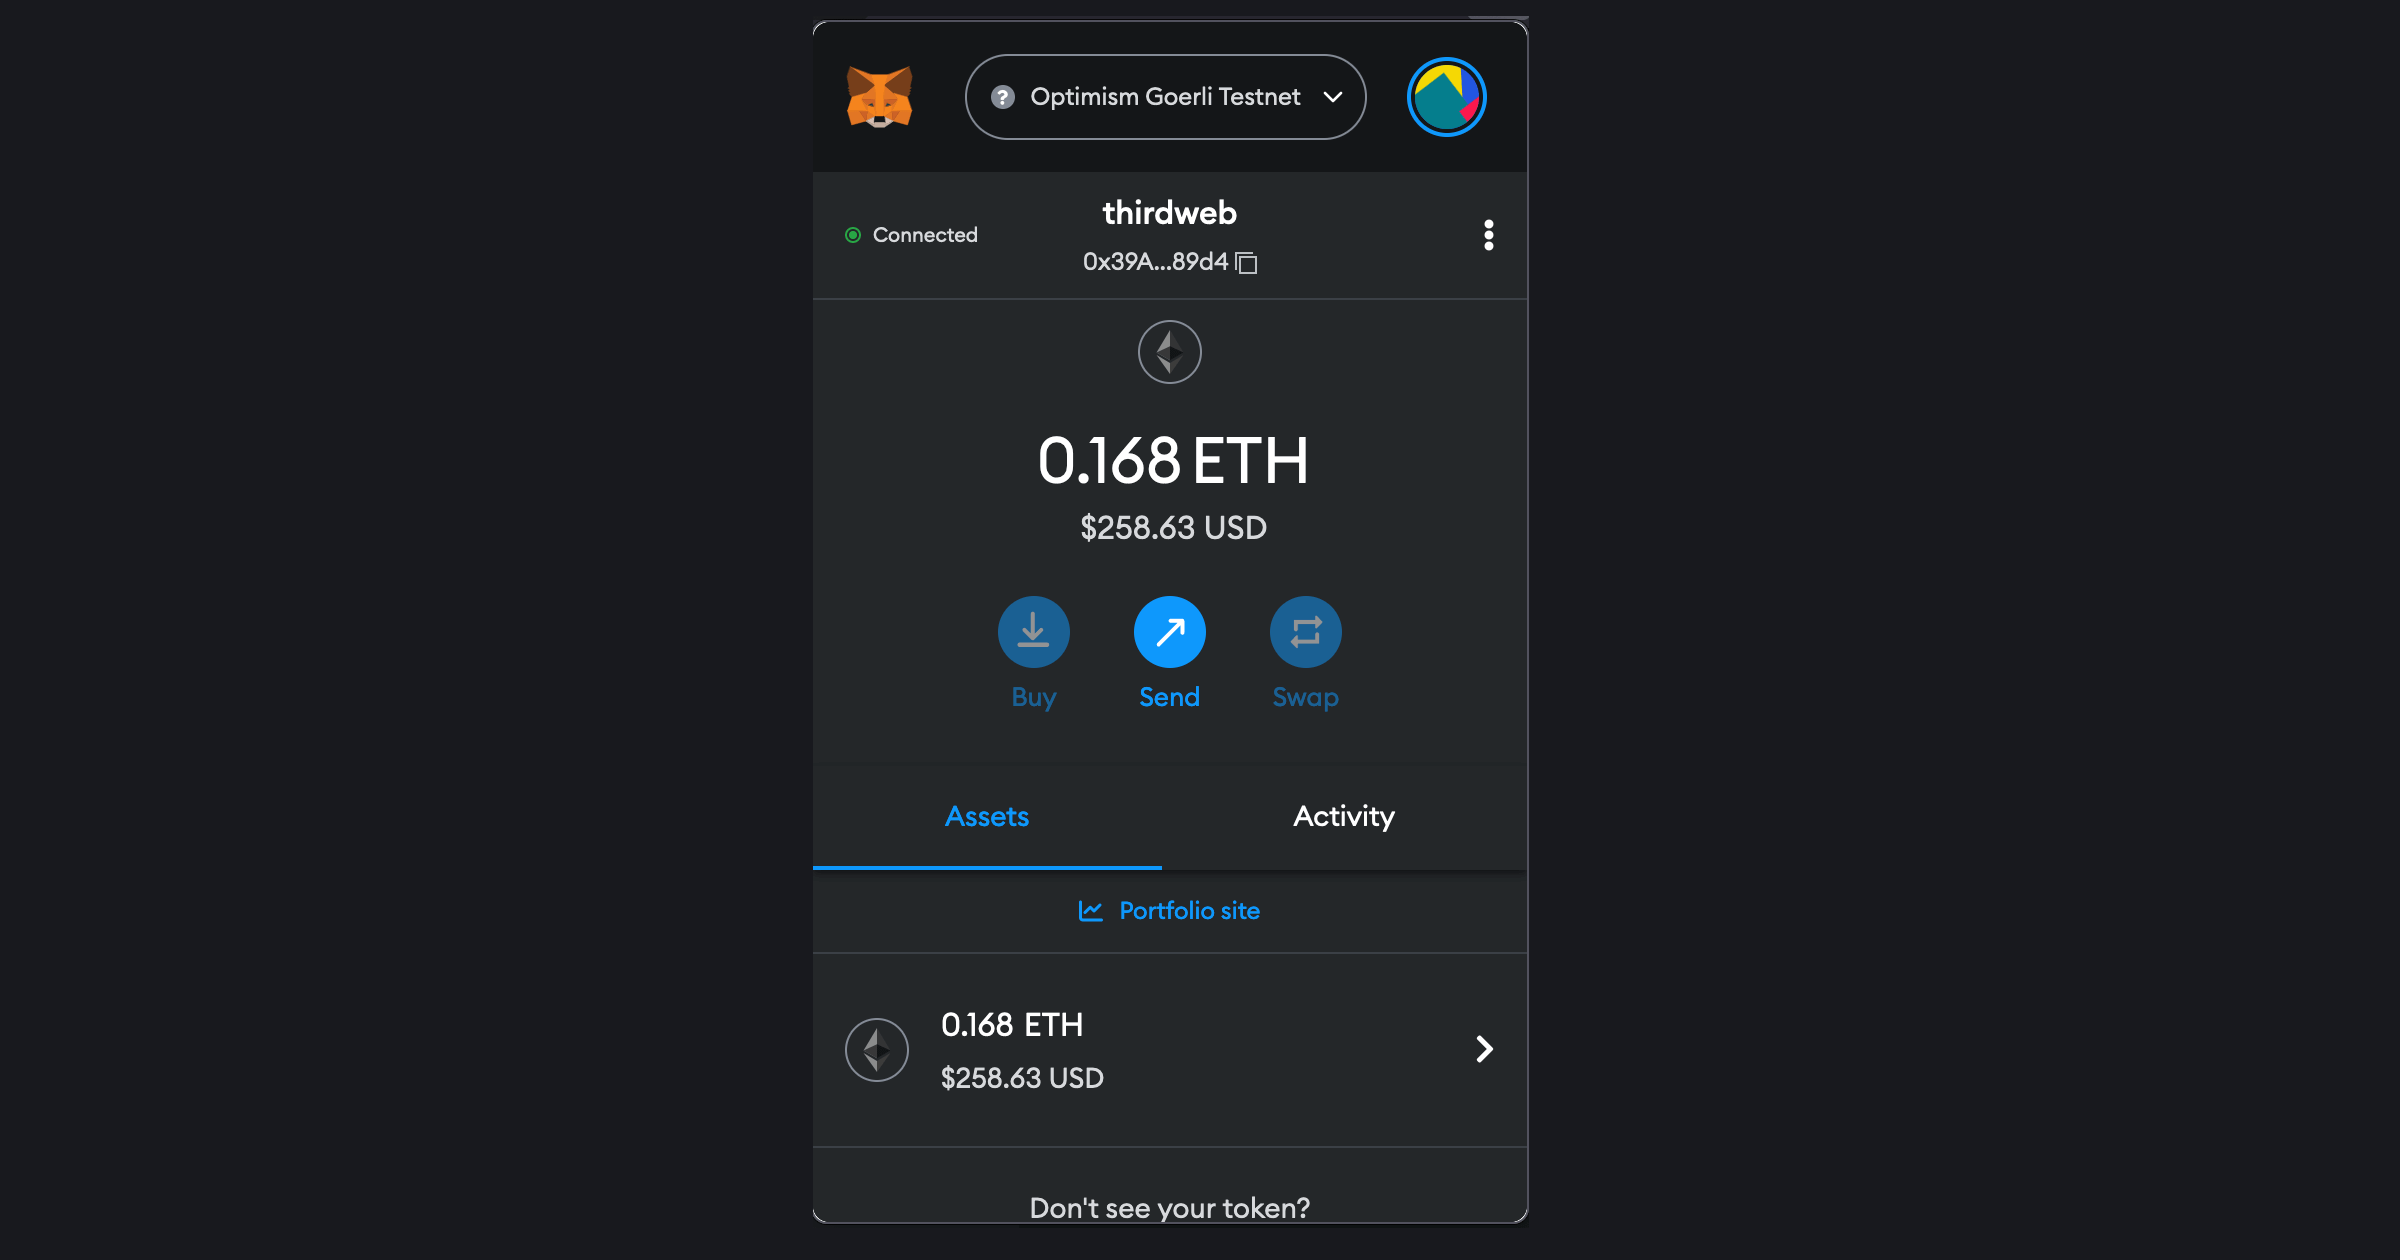
Once the transaction completes you will see the funds in your wallet:
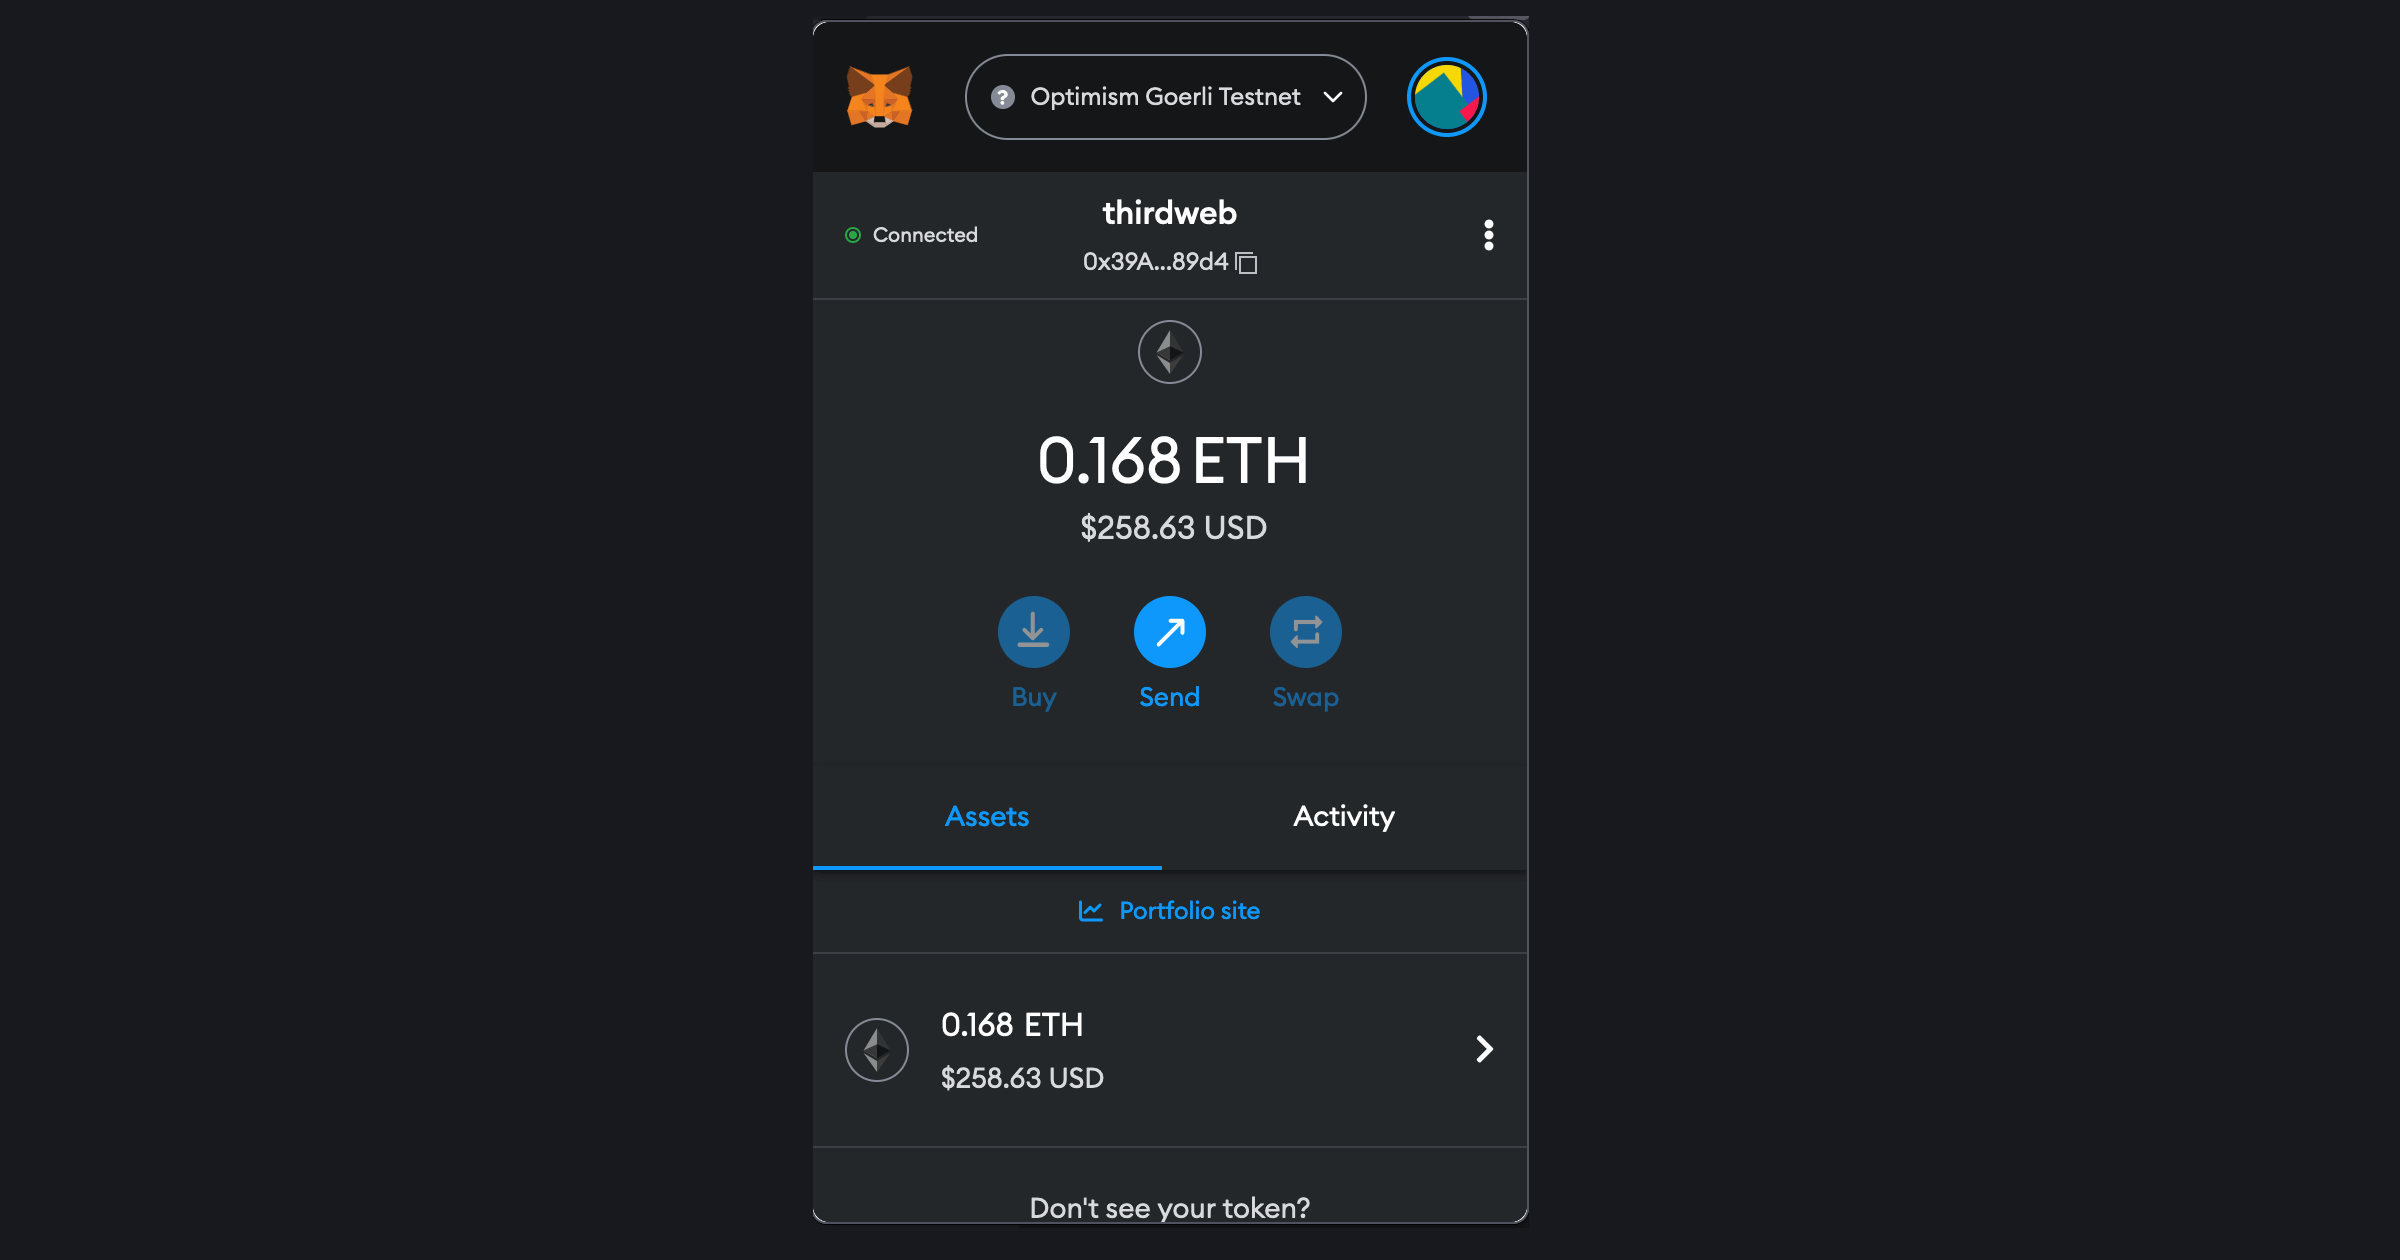
Once you have completed this process, you will have testnet funds in your wallet on the Optimism Goerli testnet, meaning you're now ready to deploy your smart contract!
Deploying the contract on Optimism
Now that you have your testnet ETH, let's go back to the thirdweb Dashboard where we were building our NFT Drop contract.
We have already filled out the metadata so click on "Deploy Now" after selecting the chain. It will prompt a transaction, you have to approve that.
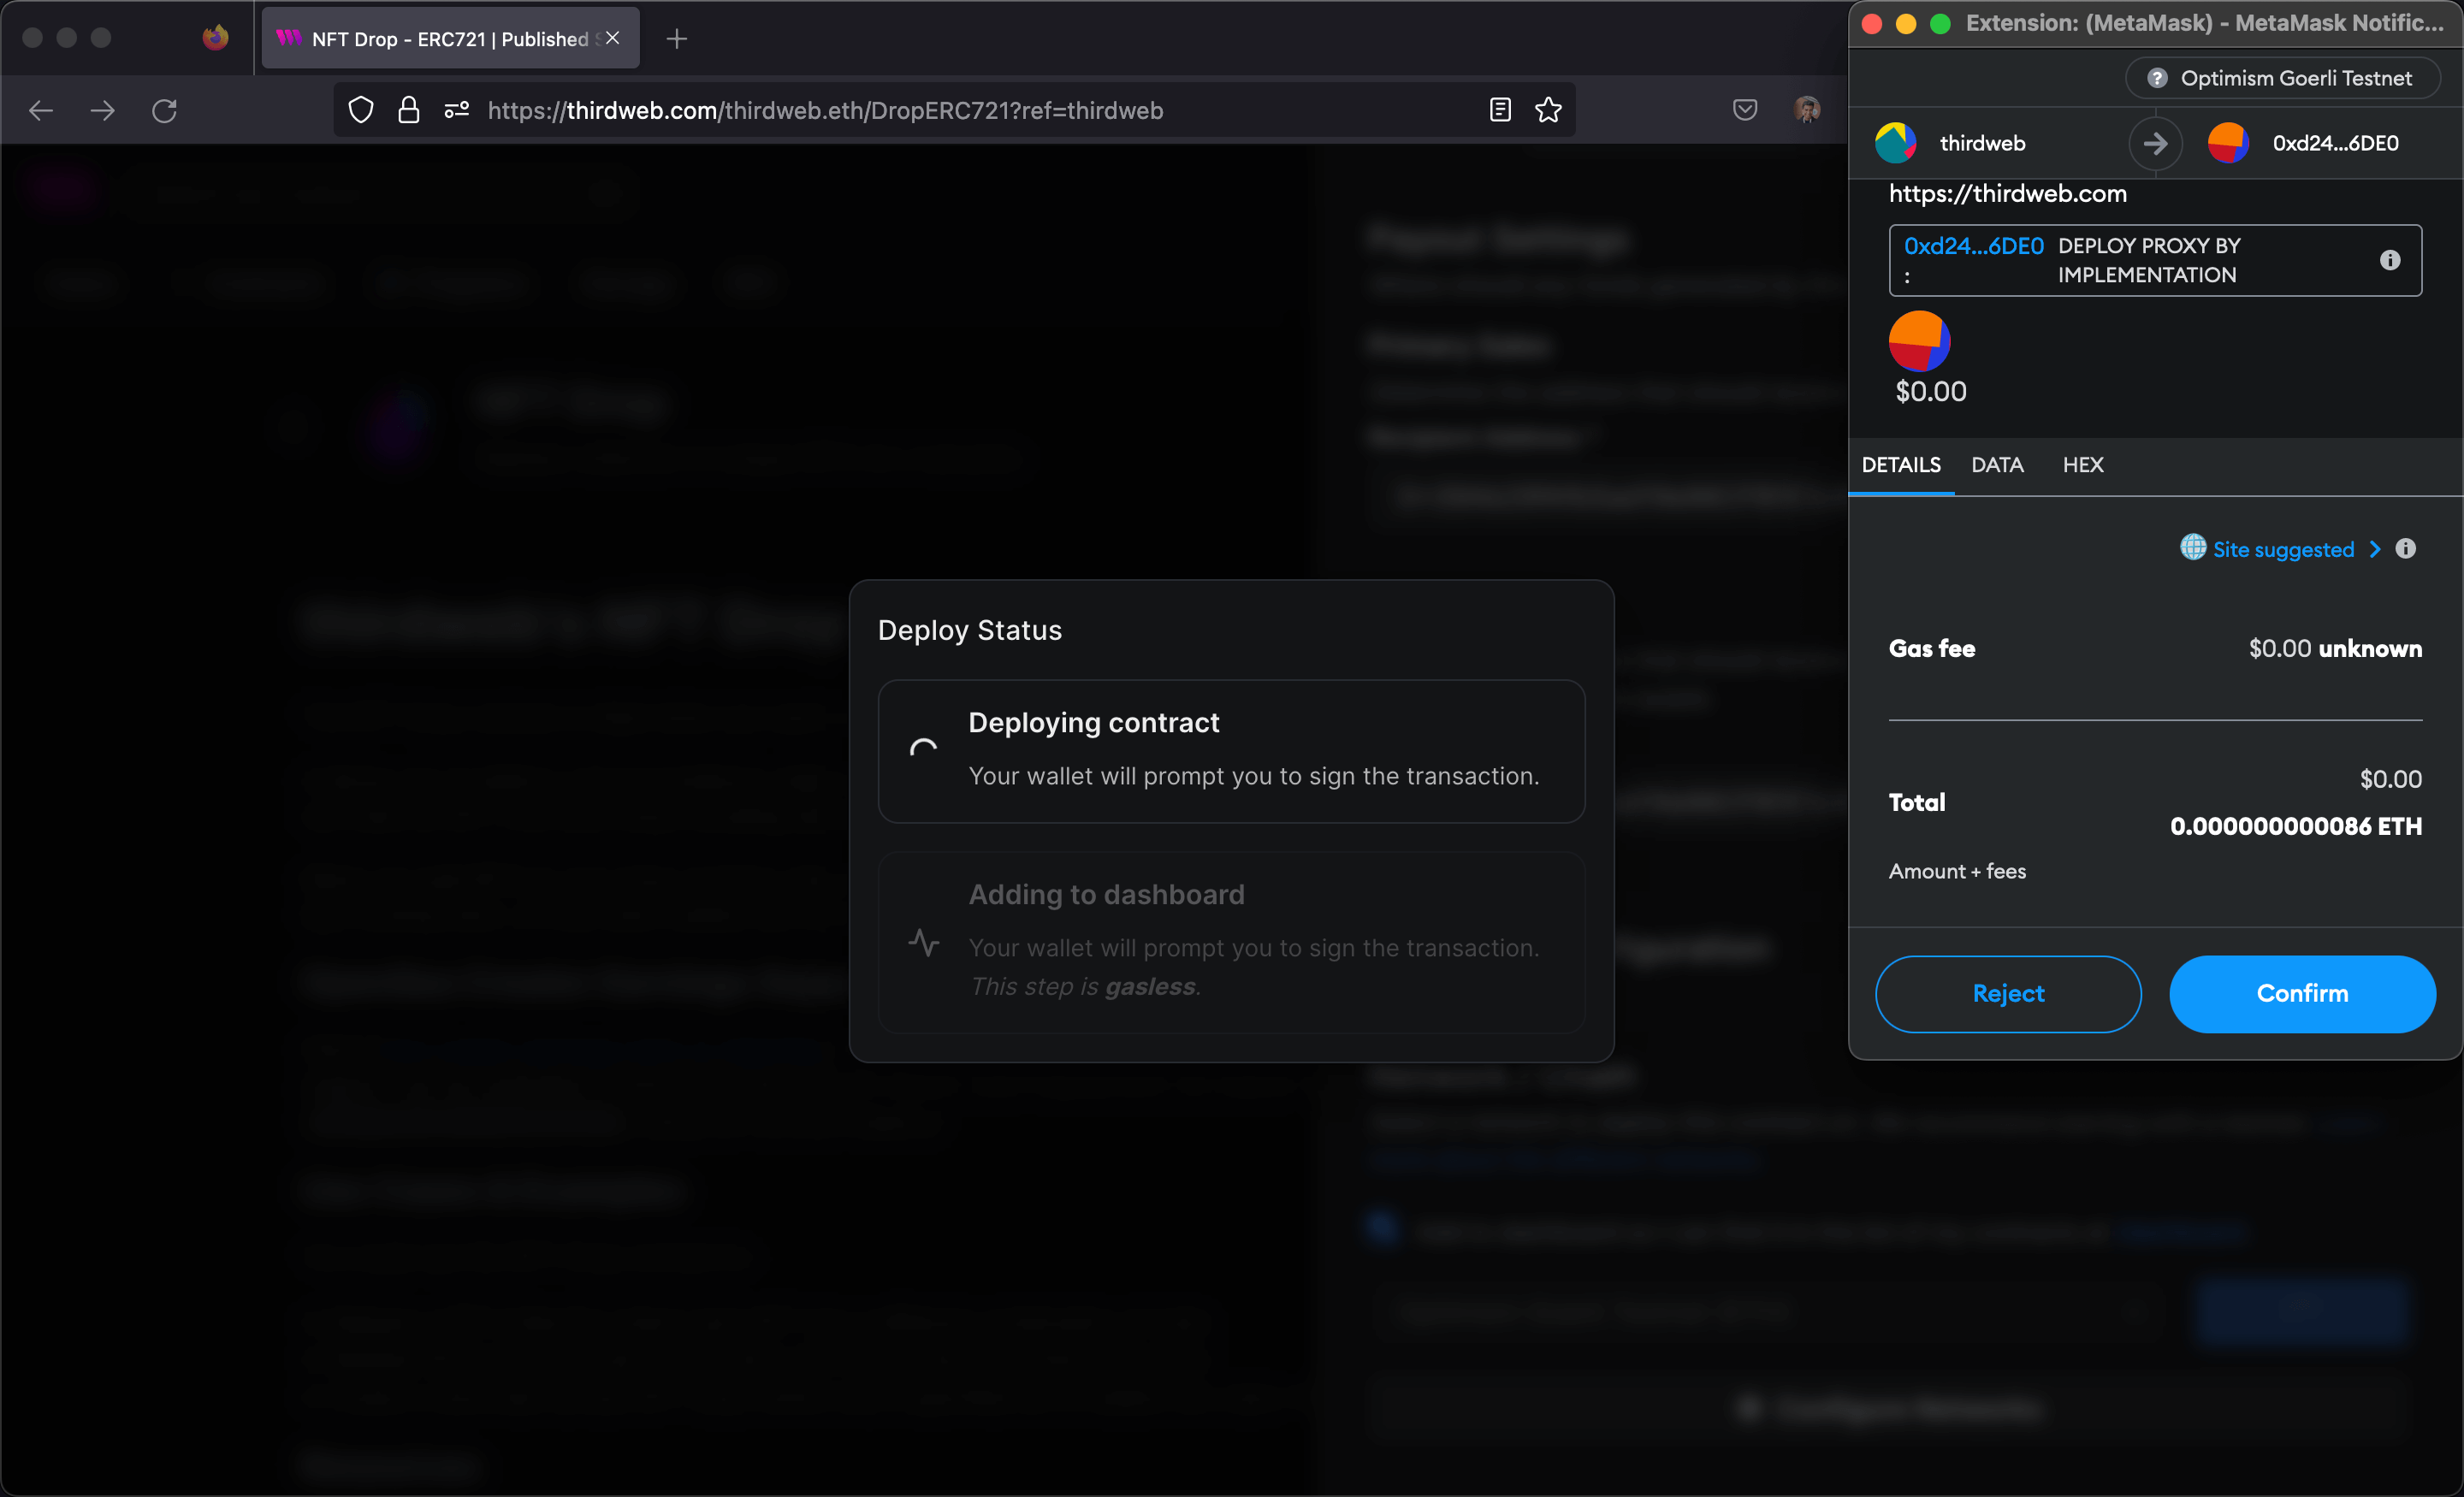
And you're done! You have just deployed to the Optimism Goerli testnet.
Calling Smart Contract Functions
Let's see how we can use the smart contract by calling some functions on it, such as minting an NFT into our collection!
From the Explorer tab, you can view all of the available functions on your smart contract and execute them directly from your connected wallet:
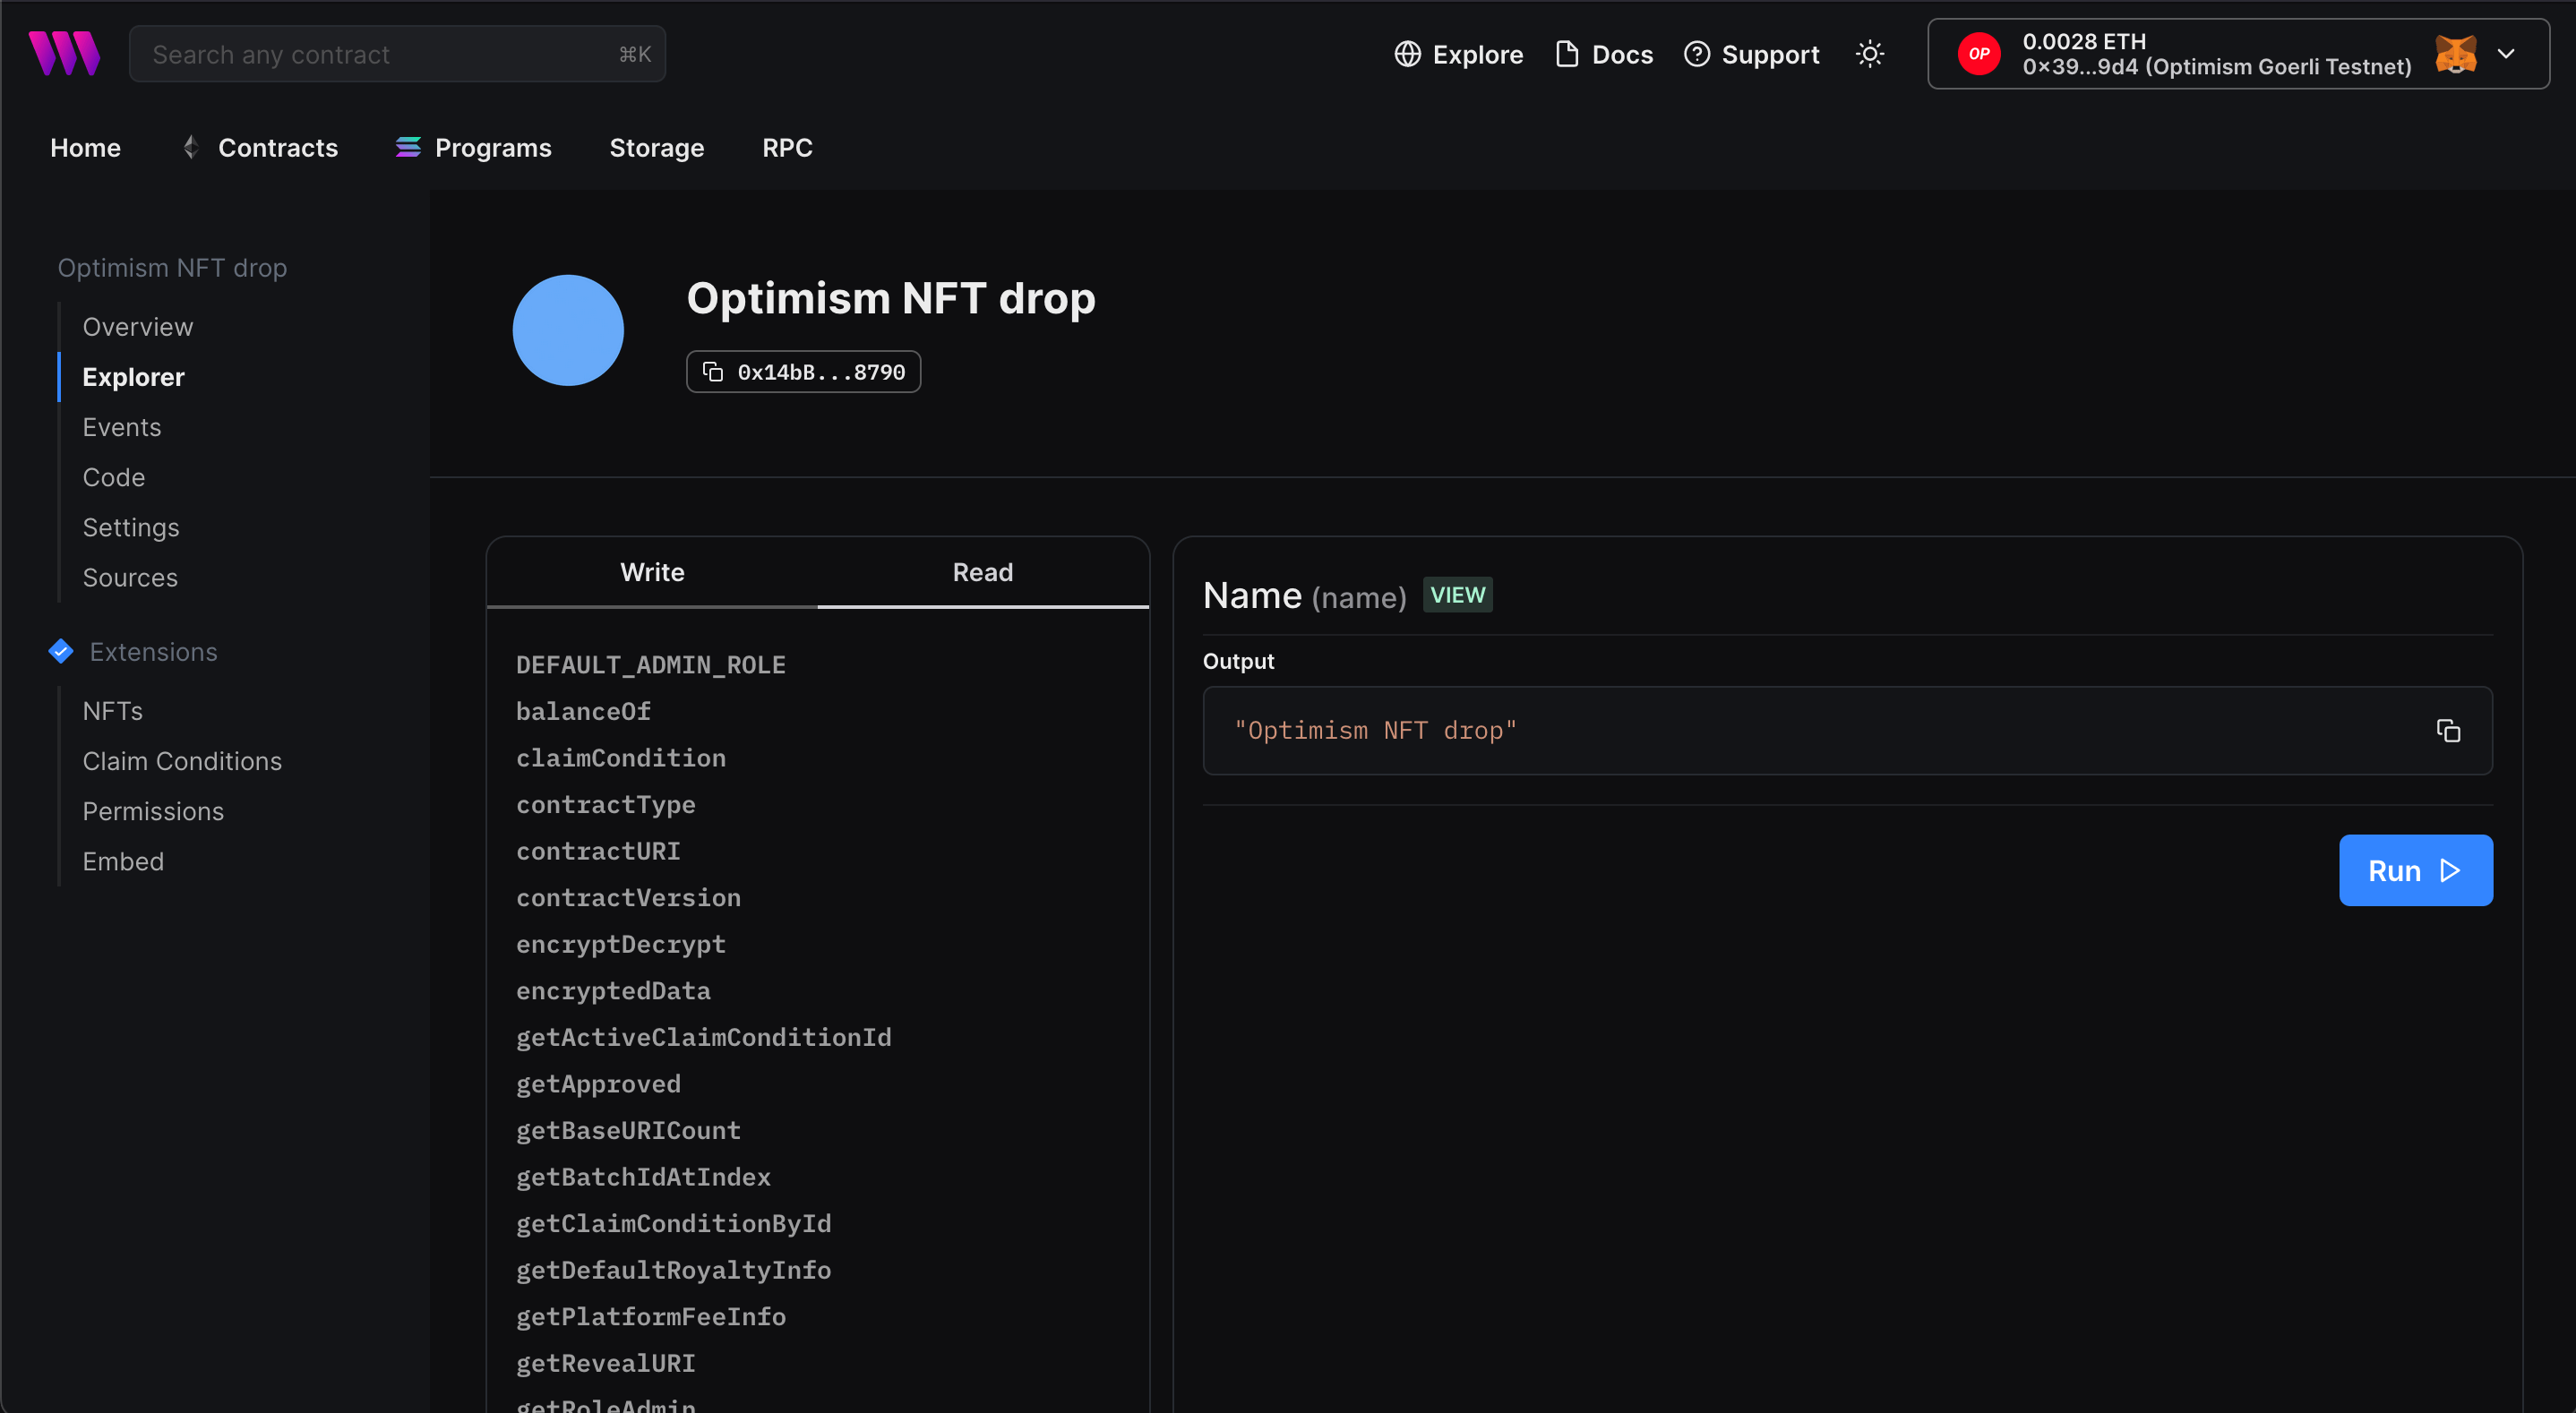
Setting Up Our NFT Collection
In our example, we created an NFT drop smart contract, so we'll quickly set it up and mint our first NFT by performing the following steps:
- Lazy mint a batch of NFTs.
- Configuring our claim conditions.
- Mint an NFT from the drop!
Once we've set up our NFTs, we can click the Claim button in the NFTs tab to mint our first NFT, and voilà! We just minted an NFT on the Optimism testnet!

What's Next?
Now that you've deployed your smart contract, you can use our SDK to build a web3 application! Where users can connect their wallets and interact with the functions of your smart contracts. Learn more from our guide below:
Wrapping up
In this guide, you've learned how to create a simple NFT Drop smart contract, deploy it to the Optimism Goerli testnet, and mint an NFT on the smart contract. We hope it was helpful!
If you have any questions jump into the thirdweb Discord and join 32,000+ other builders! And if you're looking to build on Optimism and want to learn more about how to do that with thirdweb's tools, reach out to the team directly. Please let us know if you have any feature requests or guide requests here.

