Deploy a Smart Contract on Binance Smart Chain (BNB)

This guide will show you how to deploy any smart contract to the BNB Chain.
By the end, you'll learn how to create a simple Edition Drop smart contract, deploy it to the Binance Smart Chain Testnet, and mint an NFT on the smart contract.
Let's get started!
What is Binance Smart Chain (BNB)?
BNB Smart Chain (BSC) is the blockchain component of the BNB Chain ecosystem that is equipped with smart contract functionality and compatibility with the Ethereum Virtual Machine (EVM) and is used for developing various kinds of decentralized applications. The design goal of BSC was to leave the high throughput of Beacon Chain intact while introducing smart contracts into the BNB Chain ecosystem. Being EVM-compatible, other than easy portability, BSC enjoys support from the rich universe of Ethereum tools and dApps
Create a smart contract on Binance Smart Chain (BNB)
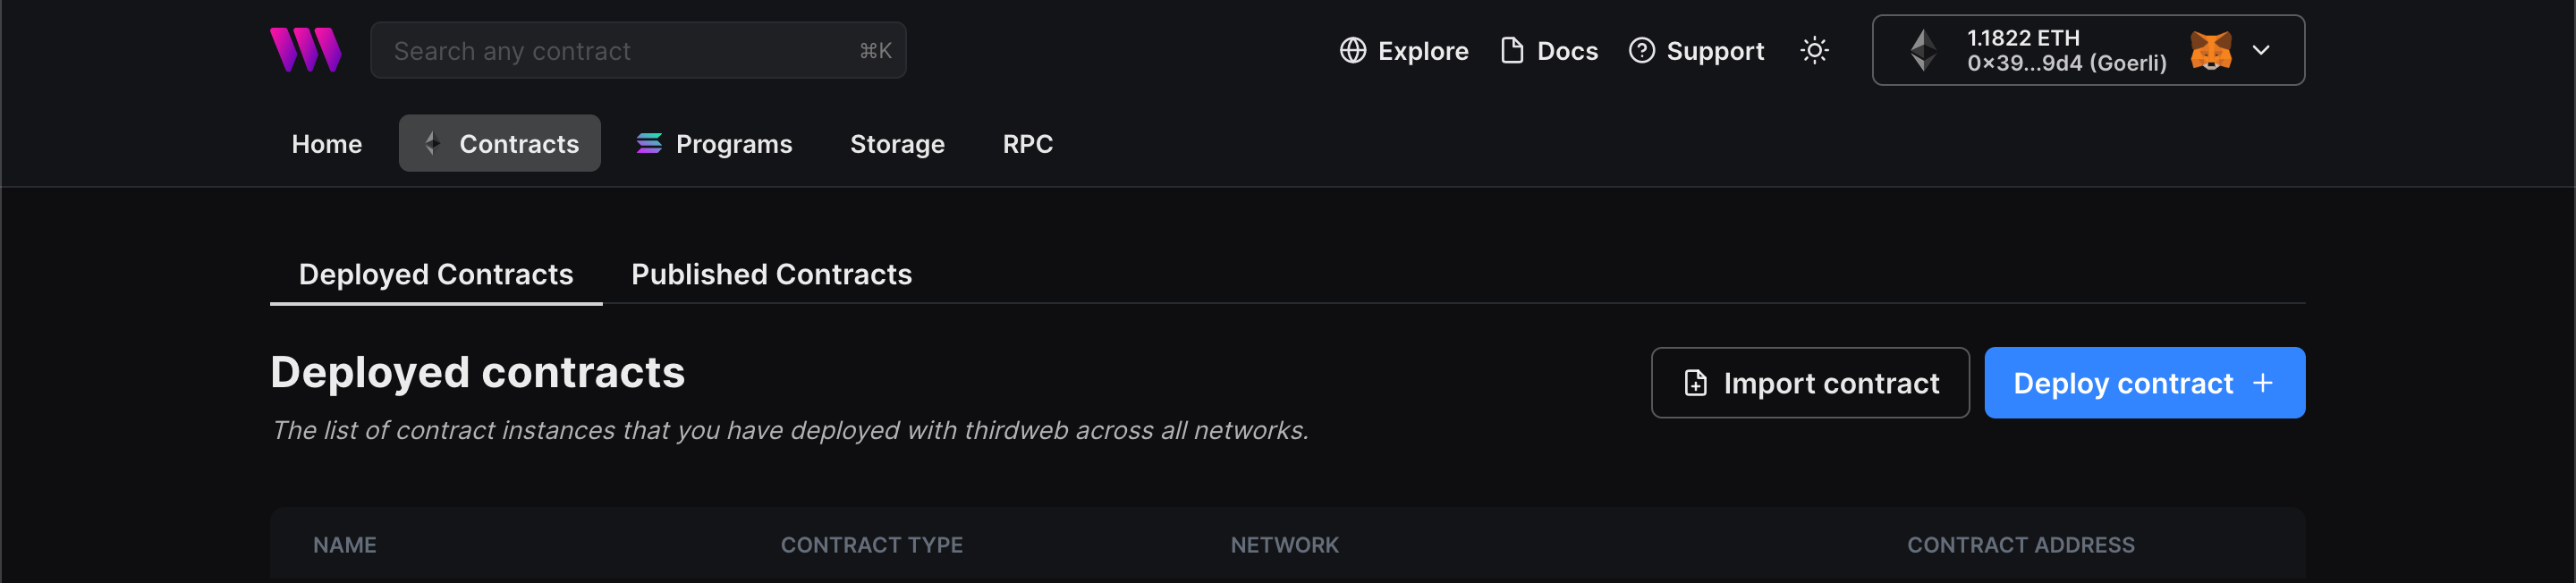
To begin, head to the Contracts page in your thirdweb Dashboard and hit "Deploy new contract":
You will be taken to our Explore page — where you can browse smart contracts built by the top protocols in web3 and deploy them in just a few clicks!
Note: You can also use the thirdweb CLI to set up a smart contract environment by running the below command from your terminal:
npx thirdweb create contractThis will take you through an easy-to-follow flow of steps for you to create your contract. Learn more about this in our CLI guide.
Otherwise, let's get back to Explore:

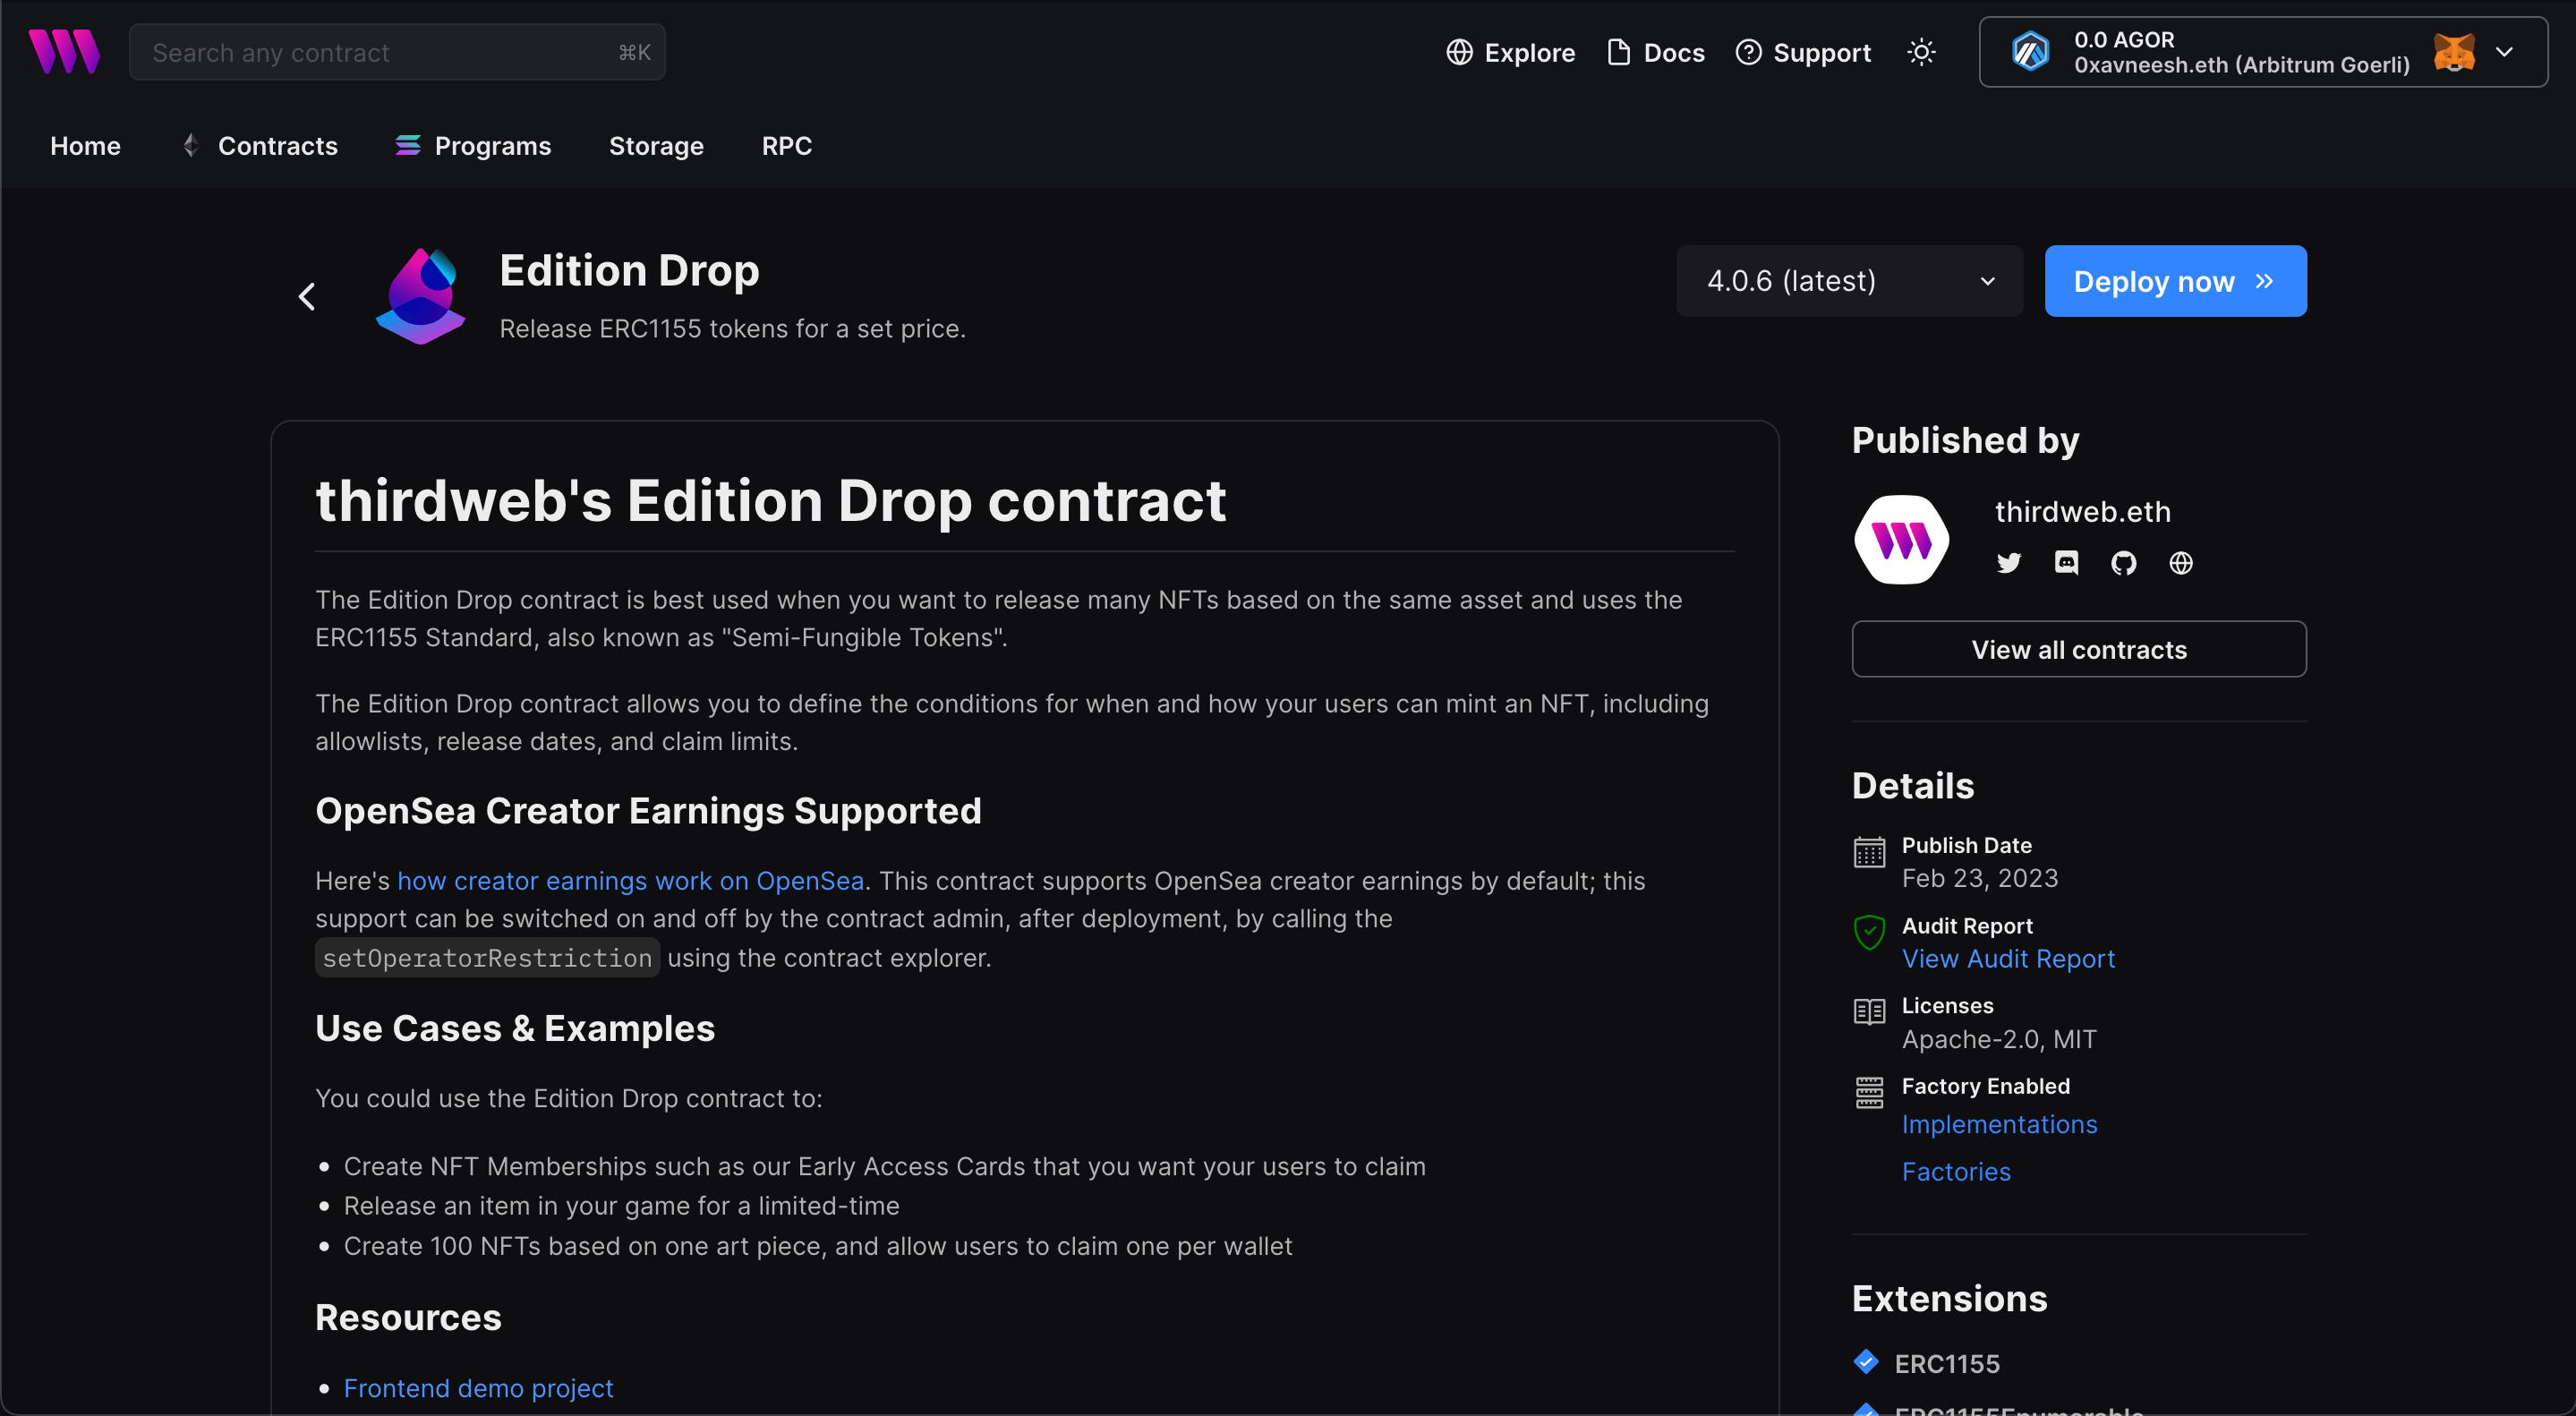
Here, select your smart contract of choice. For this guide, we're going to use the Edition Drop (ERC1155) contract to create our NFT collection:
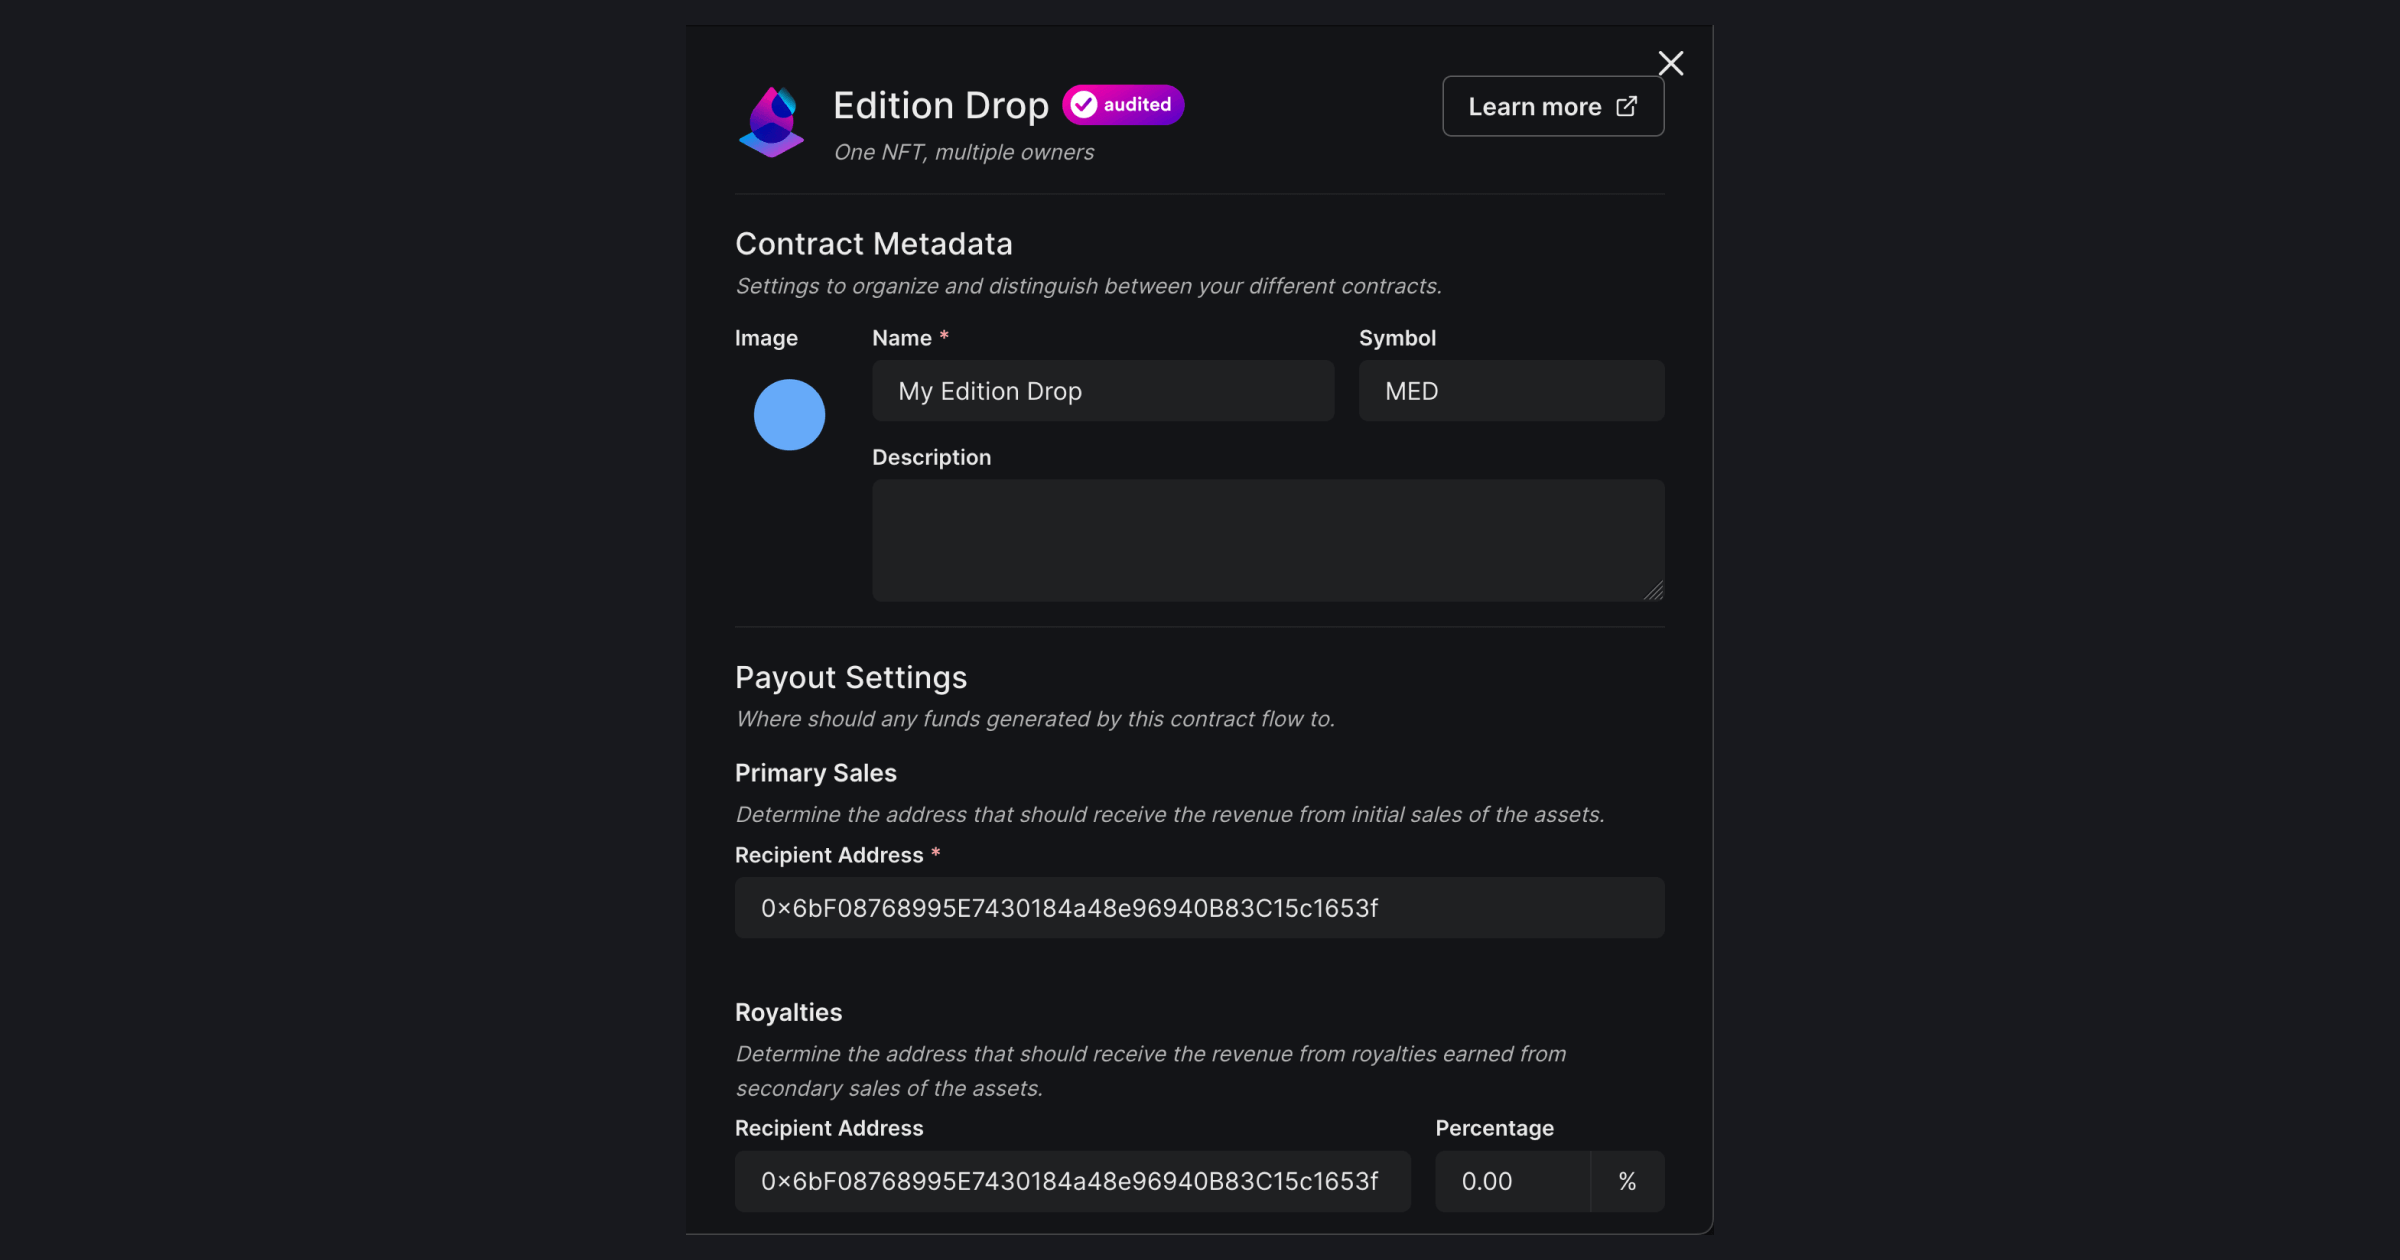
Set up your smart contract with an image, name, description, etc., and configure which wallet address will receive the funds from primary and secondary sales:
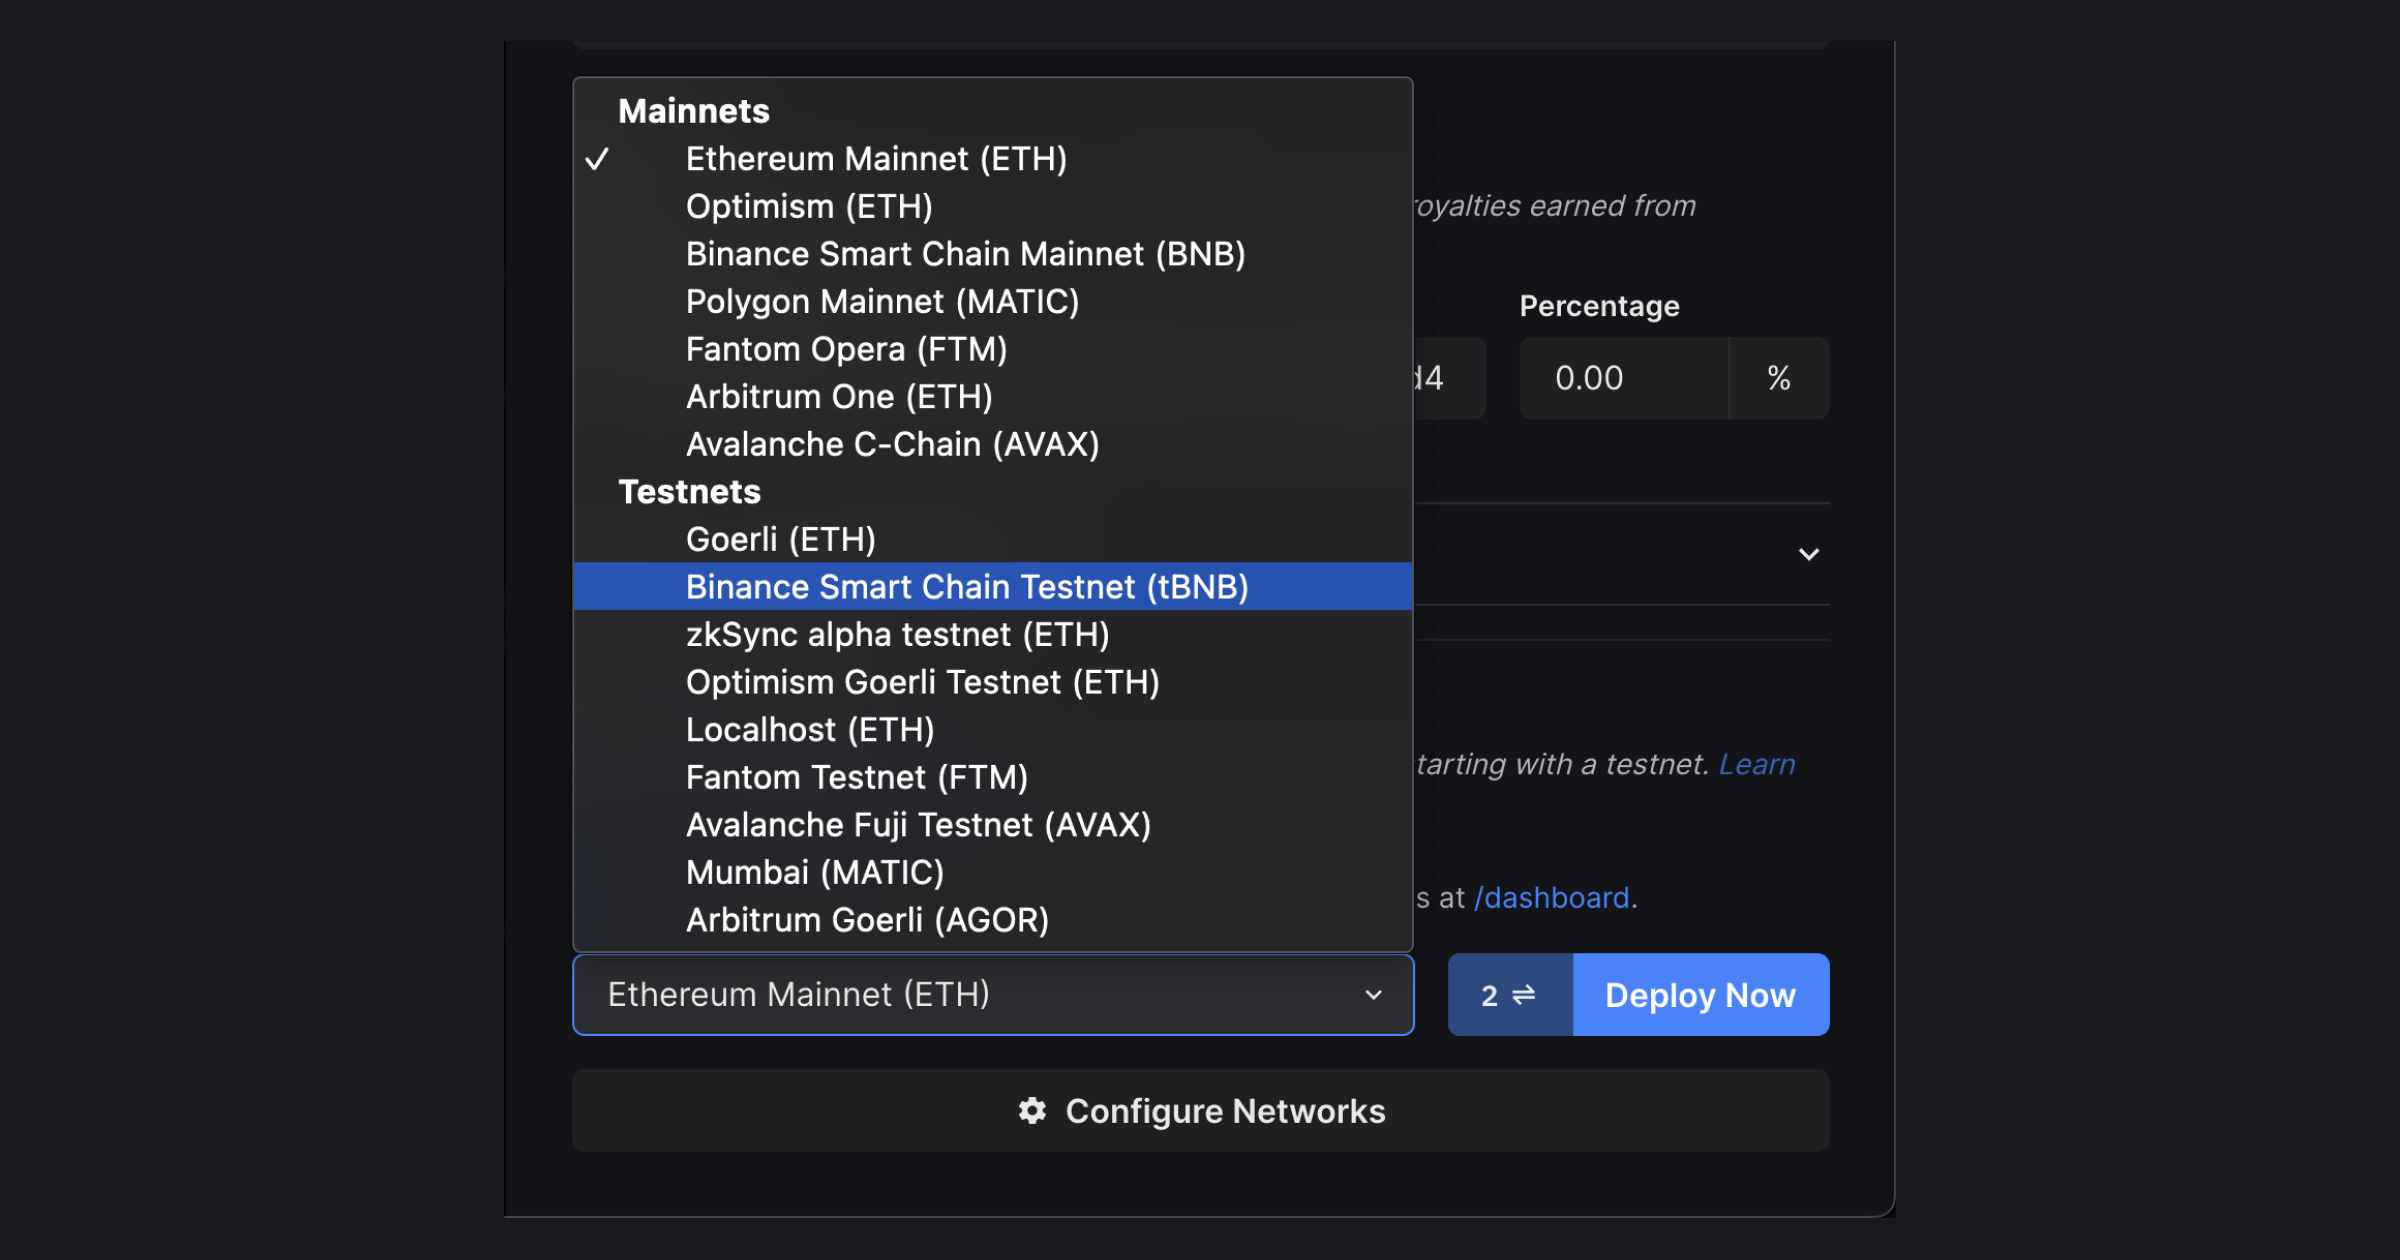
In the network/chain section select Binance Smart Chain Mainnet or Testnet as you wish. For the sake of this guide, I am going to use Binance Smart Chain Testnet
Once you have selected the network, click on deploy now. It will prompt you to switch your network to Binance Smart Chain Testnet.
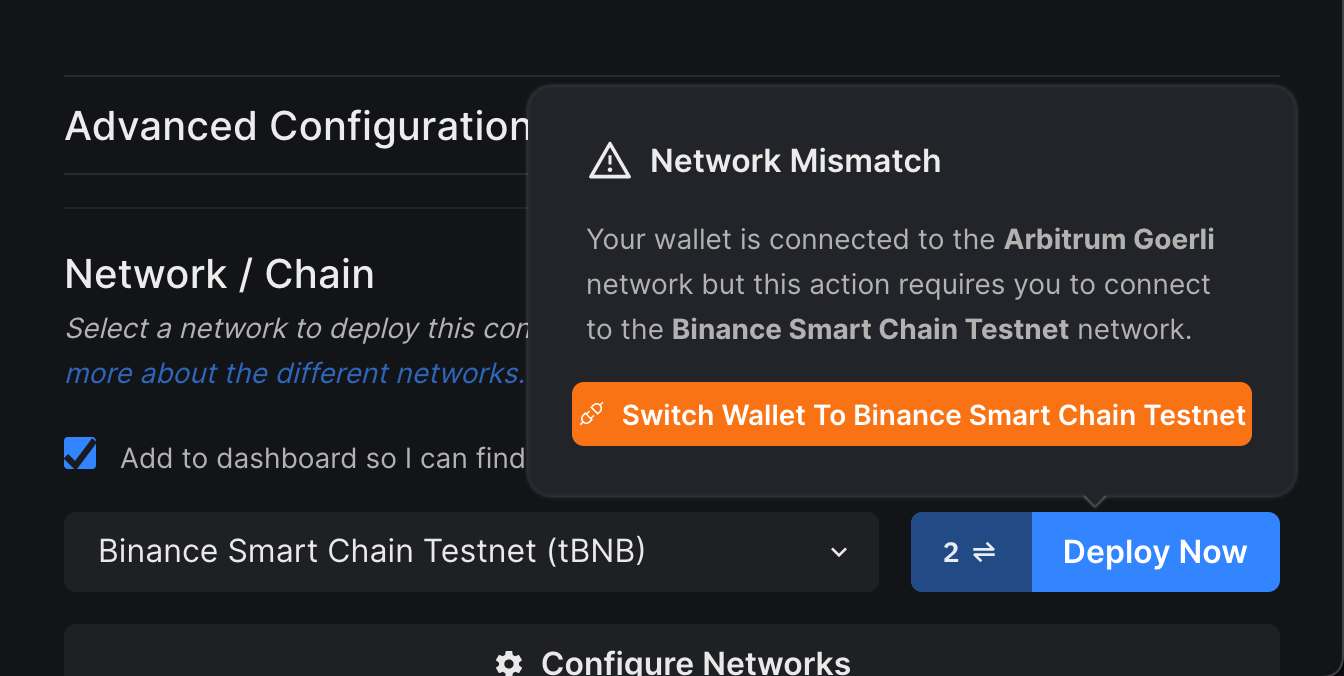
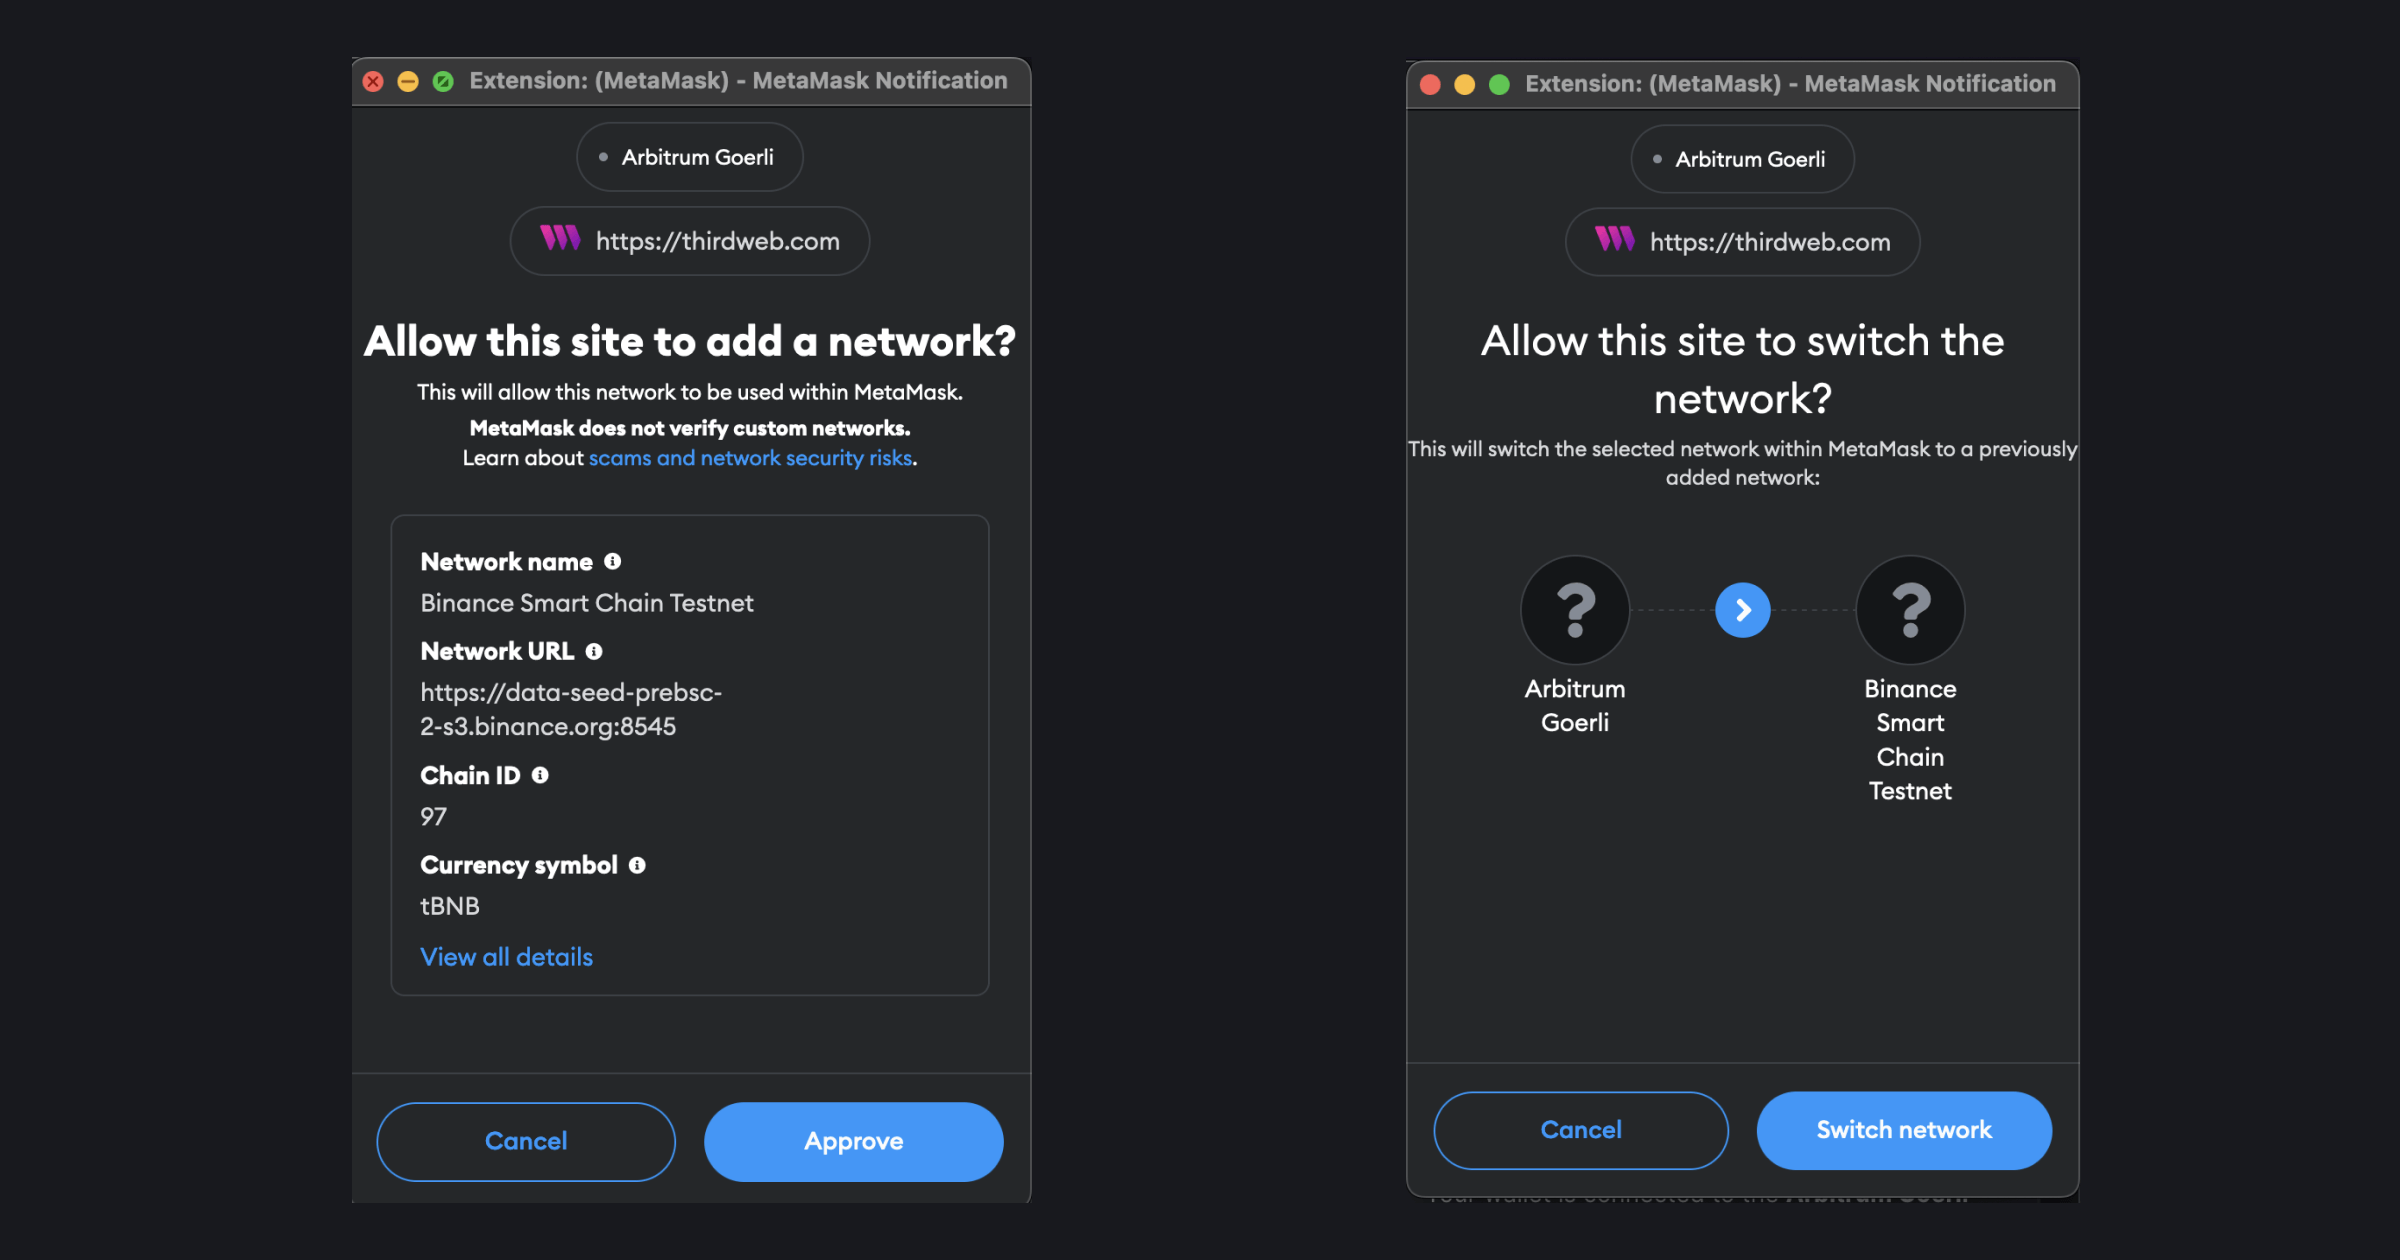
Click on the switch Wallet button and if you don't already have the network in your wallet it will prompt you to add the network and then switch to the network:
Now let's deploy the smart contract on the Binance Smart Chain Testnet! But before that, we need testnet funds.
Get Binance Smart Chain Testnet funds in your wallet
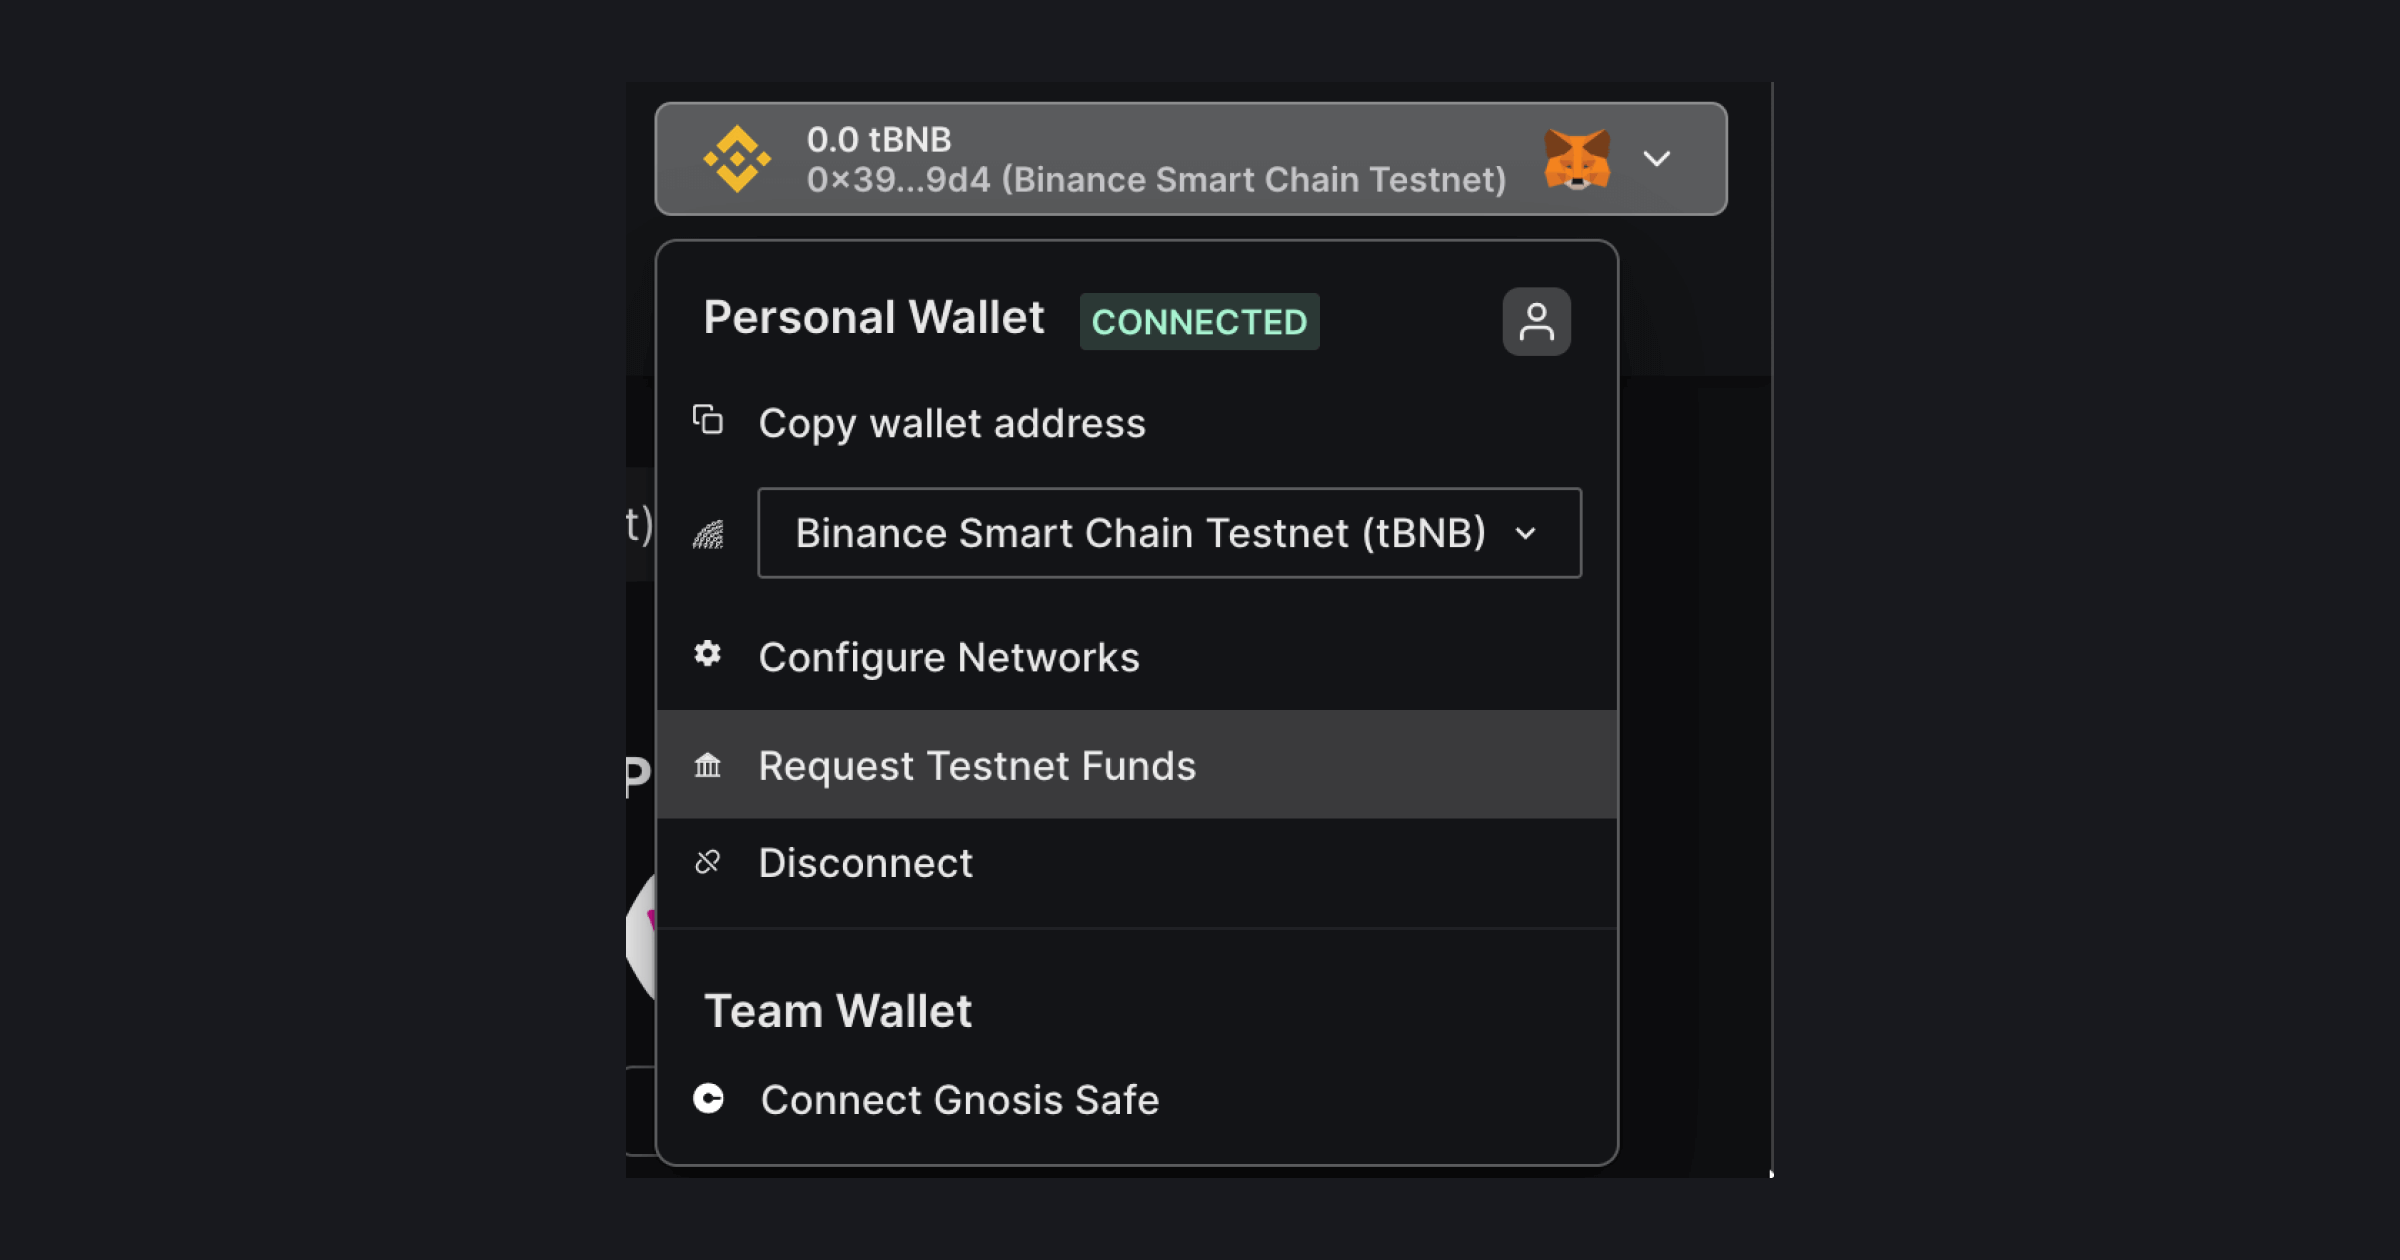
Once you have added the Mumbai network to your wallet. You can either navigate there directly or open the Wallet button and hit "Request Testnet Funds" in the thirdweb dashboard:
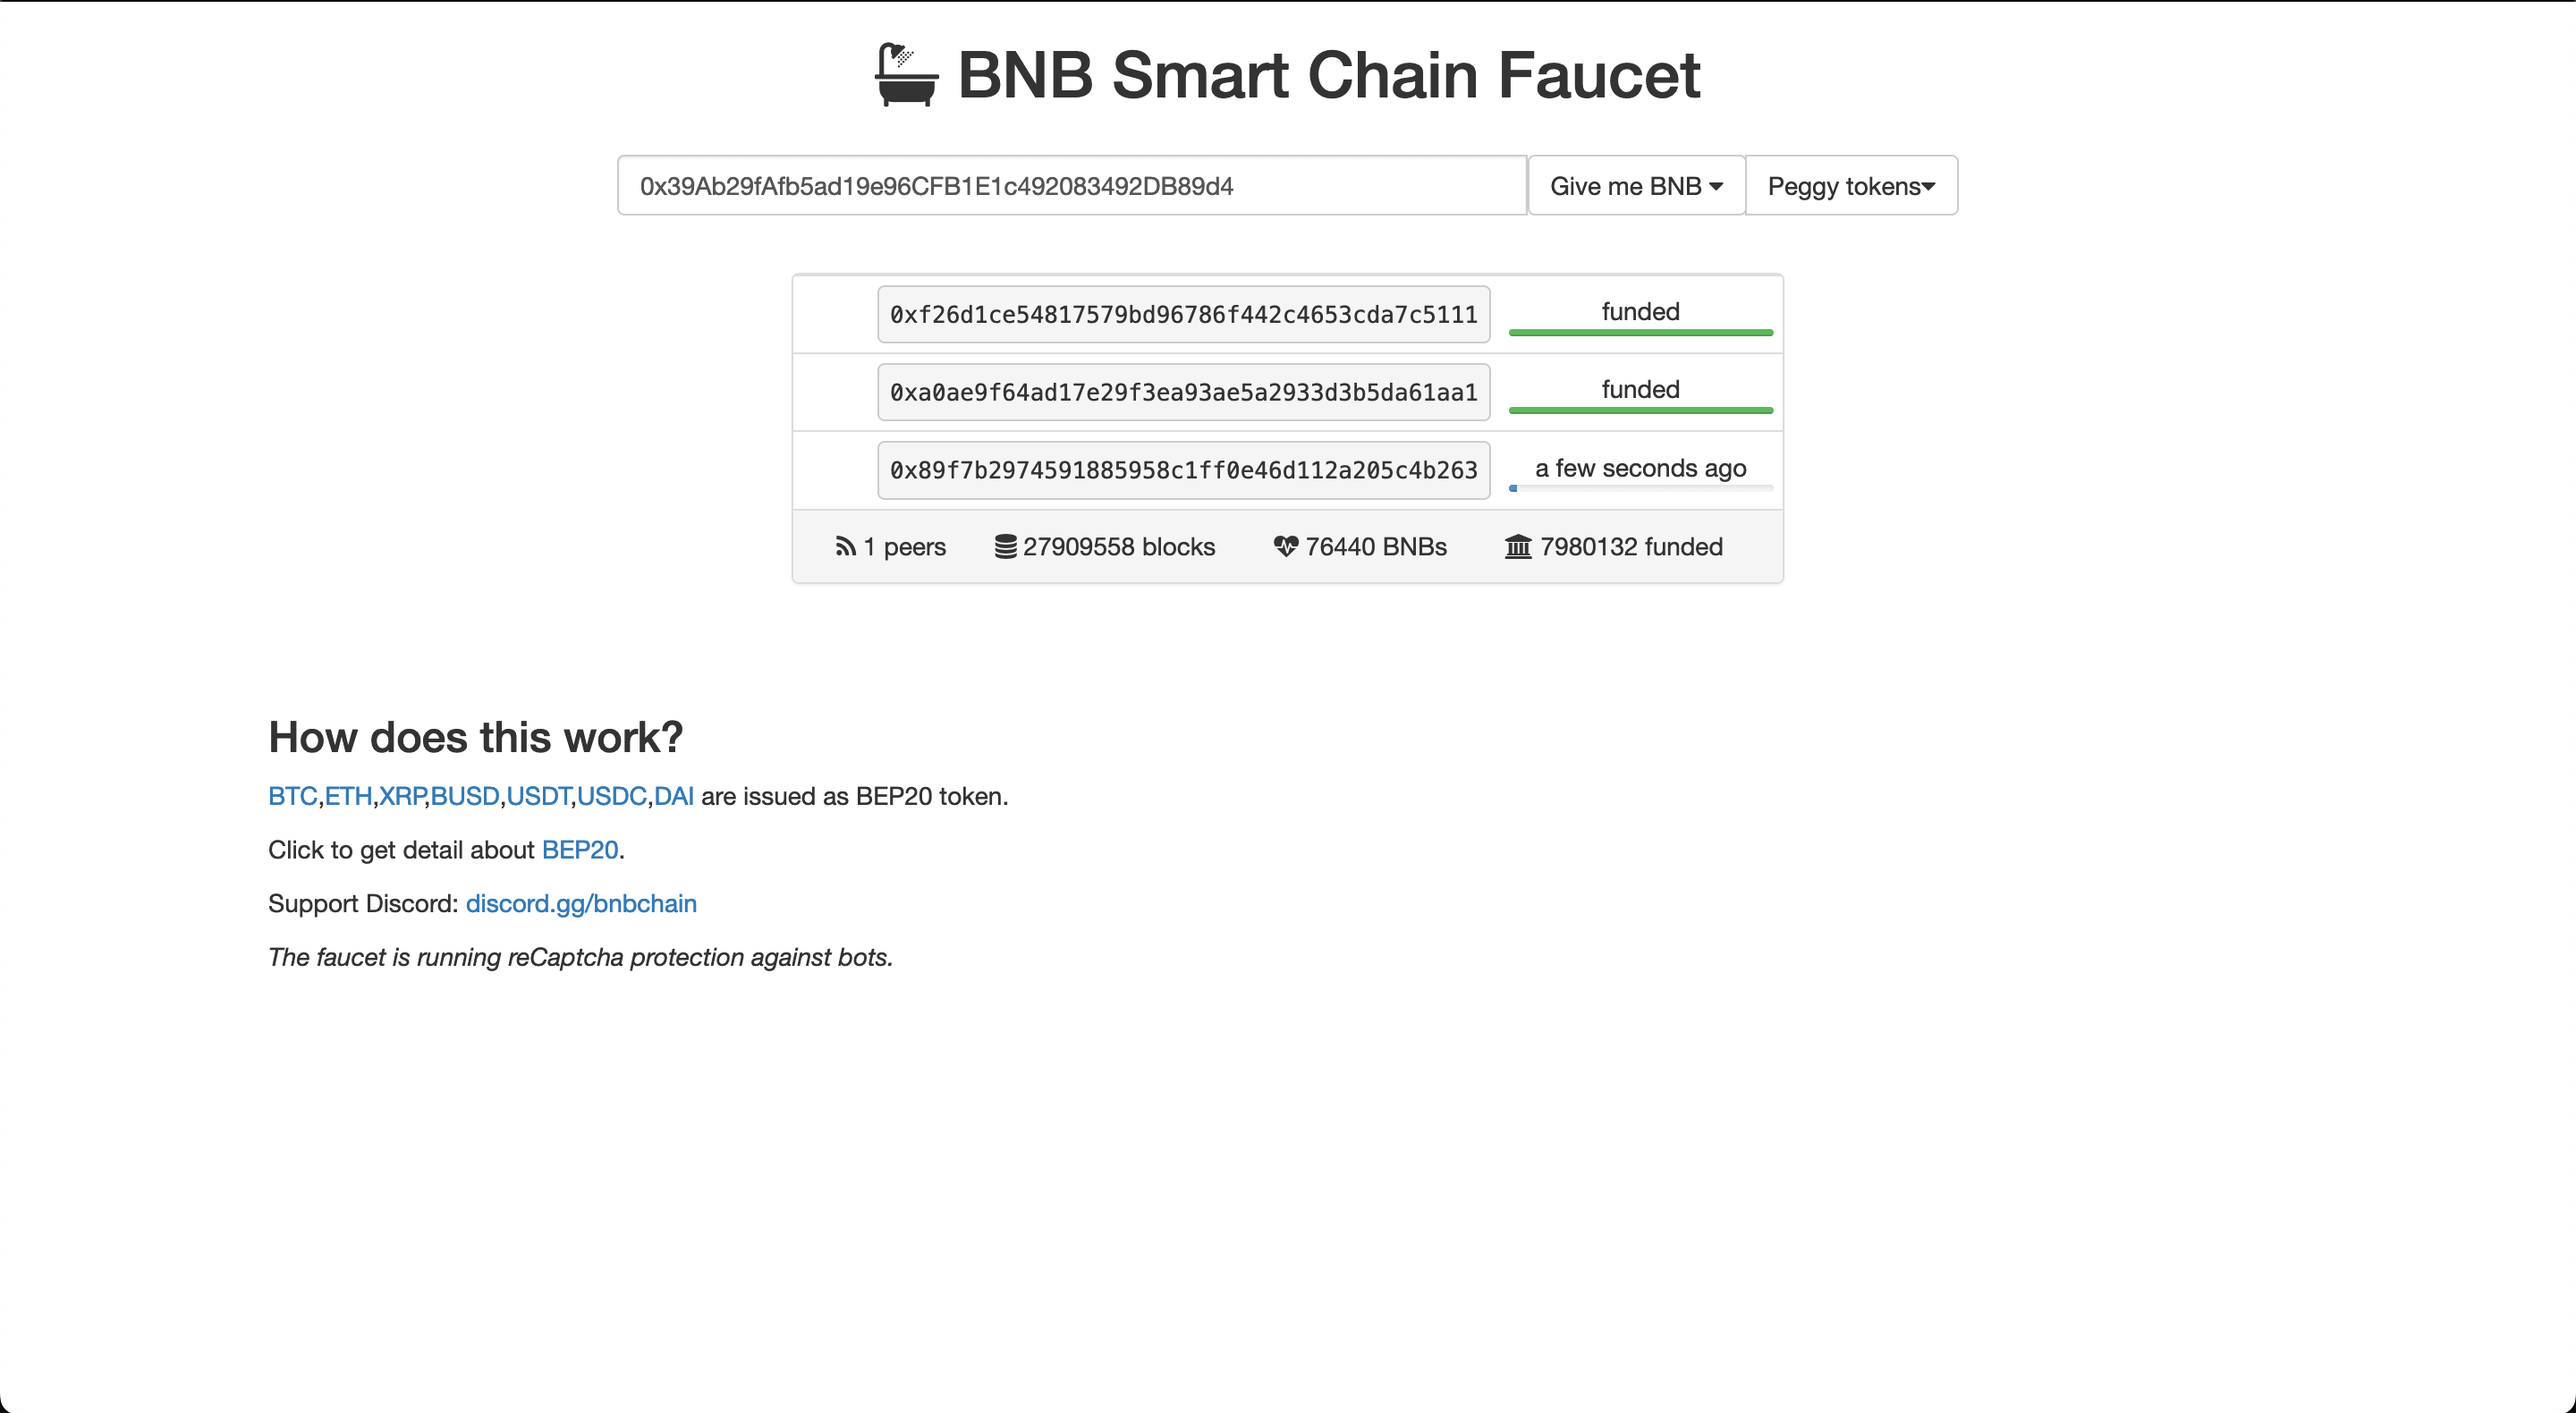
This will take you to the BNB Smart Chain Faucet. Here, paste your address and click on "Give me BNB"
You will see this toast saying Funding request accepted. Once that happens wait for a few seconds.
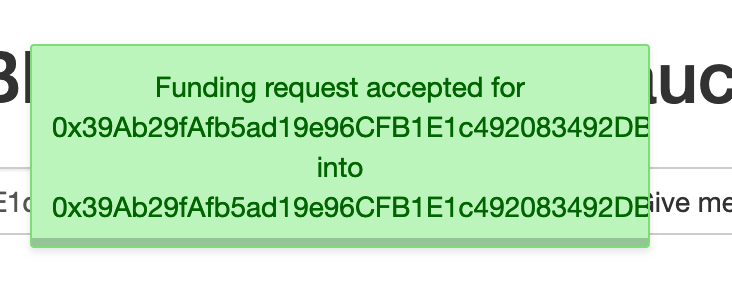
In a few seconds, you will see that your wallet has been funded with 0.1 tBNB.

Deploying the contract on Binance Smart Chain (BNB)
Now that you have your testnet funds, let's go back to the thirdweb Dashboard where we were building our Edition Drop contract.
We have already filled out the metadata so click on "Deploy Now" after selecting the chain. It will prompt a transaction, you have to approve that.

And you're done! You have just deployed to the Binance Smart Chain testnet.
Calling Smart Contract Functions
Let's see how we can use the smart contract by calling some functions on it, such as minting an NFT into our collection!
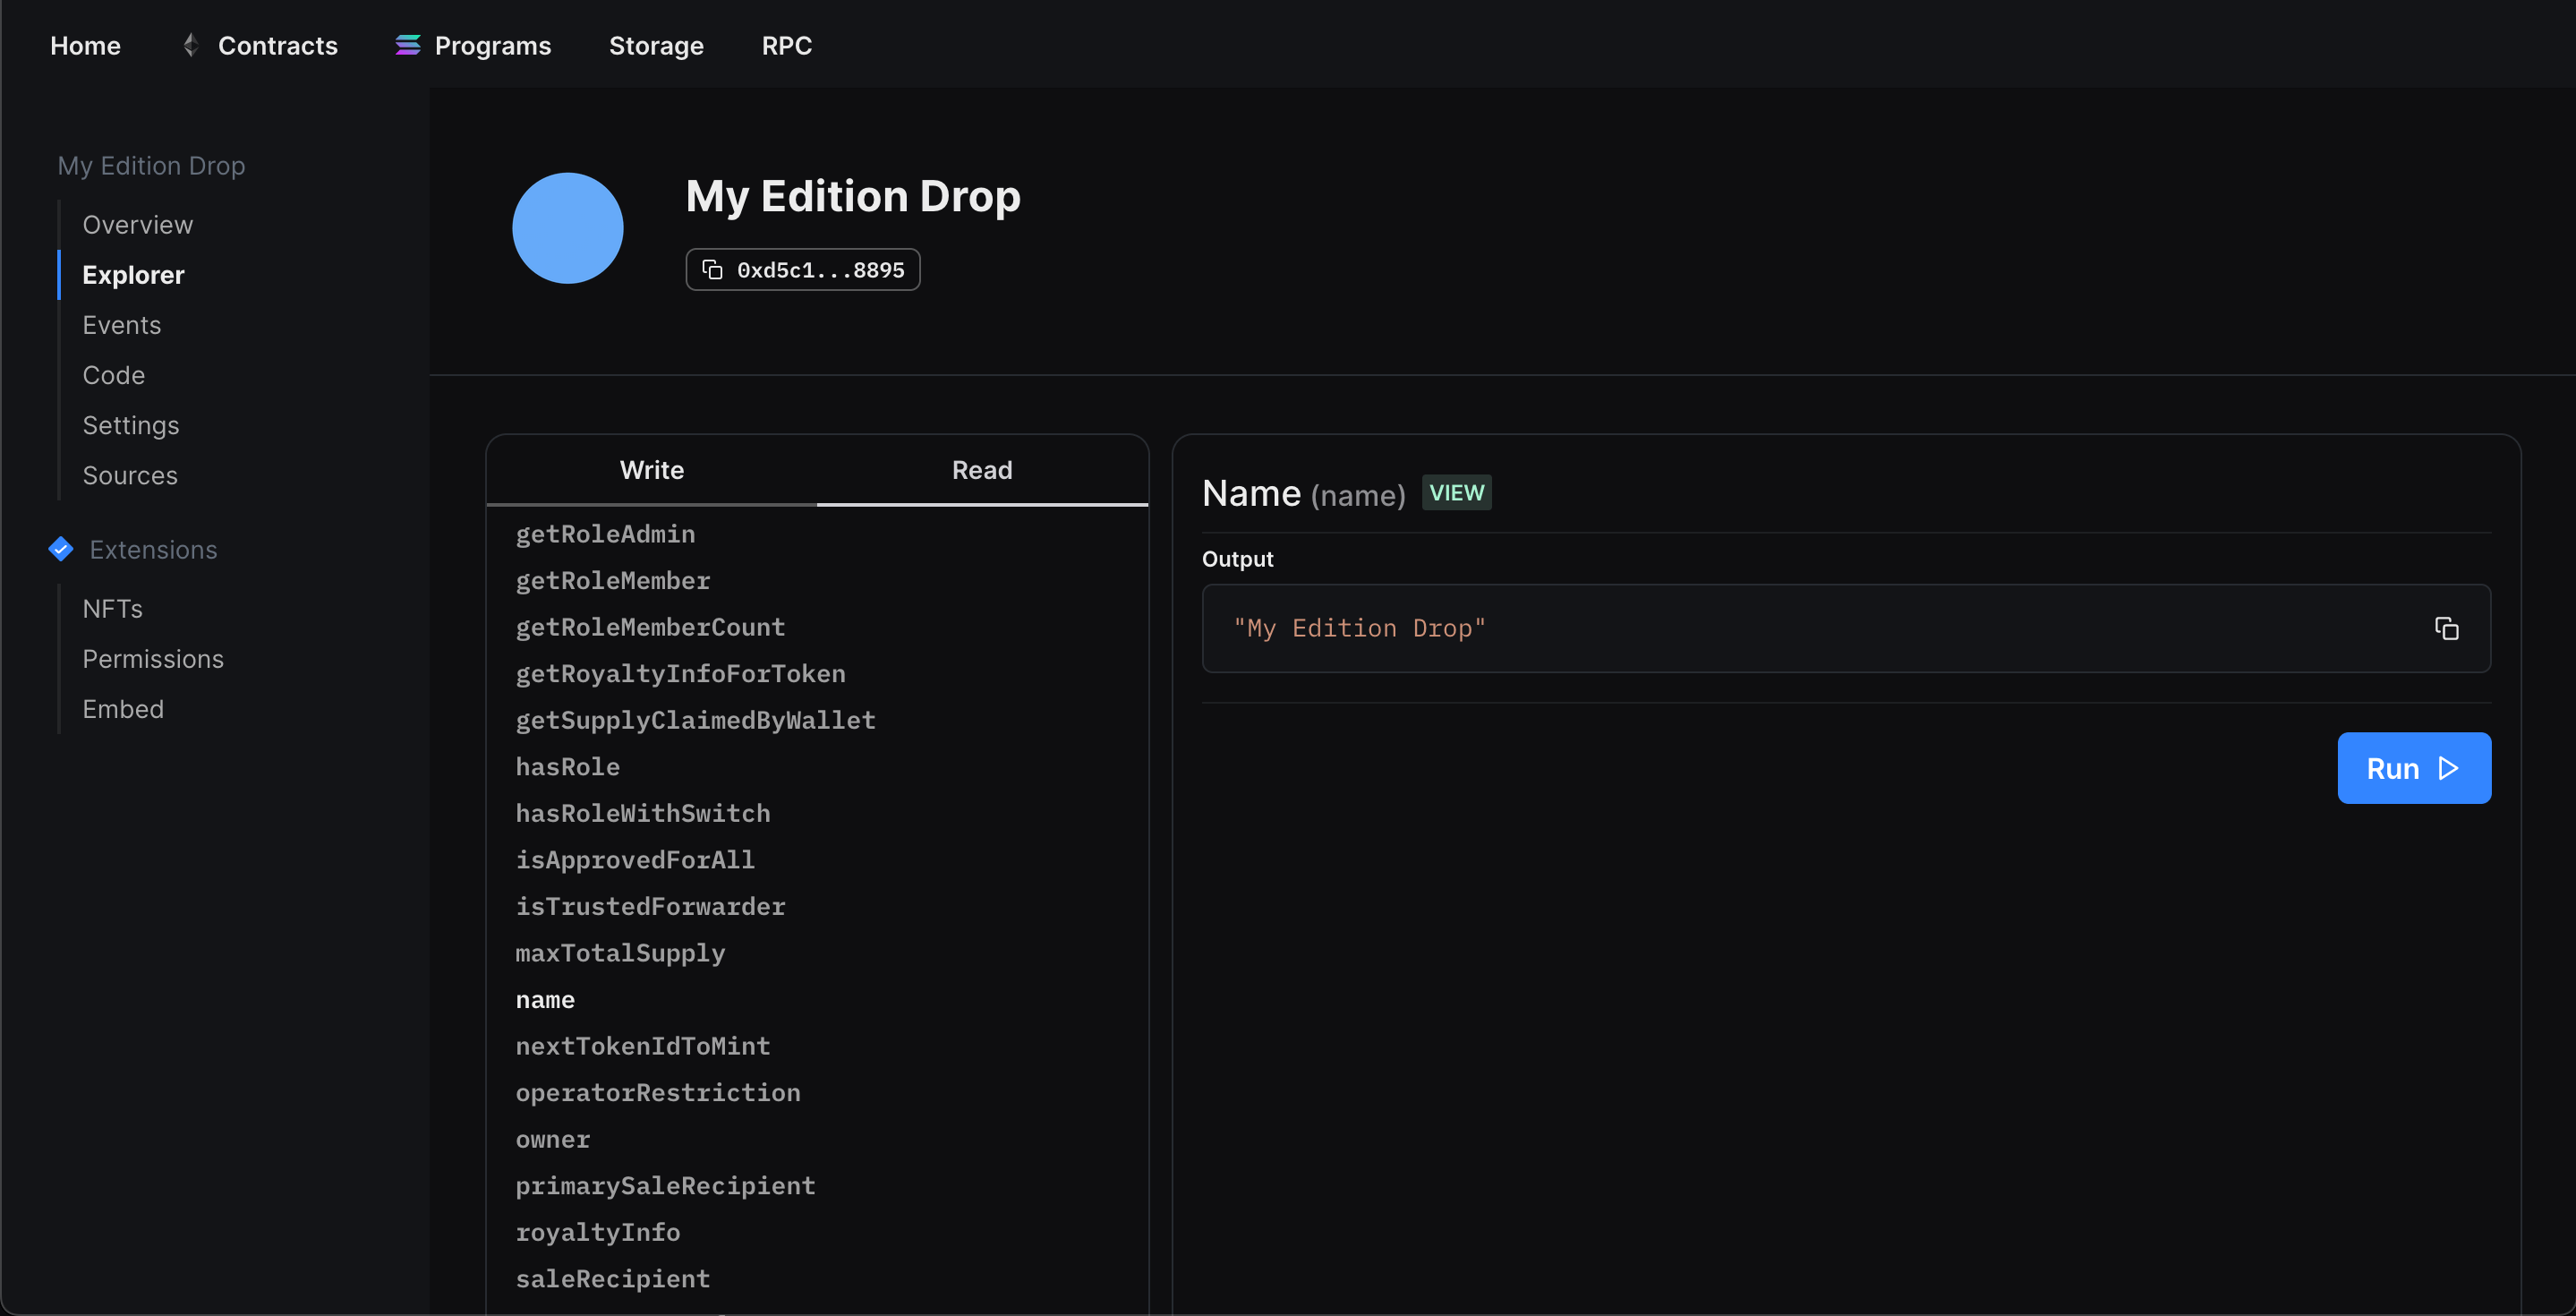
From the Explorer tab, you can view all of the available functions on your smart contract and execute them directly from your connected wallet:
Setting Up Our NFT Collection
In our example, we created an Edition drop smart contract, so we'll quickly set it up and mint our first NFT by performing the following steps:
- Lazy mint some NFTs.
- Configuring our claim conditions.
- Mint an NFT from the drop!
Once we've set up our NFTs, we can click the Claim button in the NFTs tab to mint our first NFT, and voilà! We just minted an NFT on the Binance Smart Chain testnet!

What's Next?
Now that you've deployed your smart contract, you can use our SDK to build a web3 application! Where users can connect their wallets and interact with the functions of your smart contracts. Learn more from our guide below:
Wrapping up
In this guide, you've learned how to create a simple Edition Drop smart contract, deploy it to the Binance Smart Chain Testnet, and mint an NFT on the smart contract. We hope it was helpful!
Need help?
For support, join the official thirdweb Discord server or share your thoughts on our feedback board.