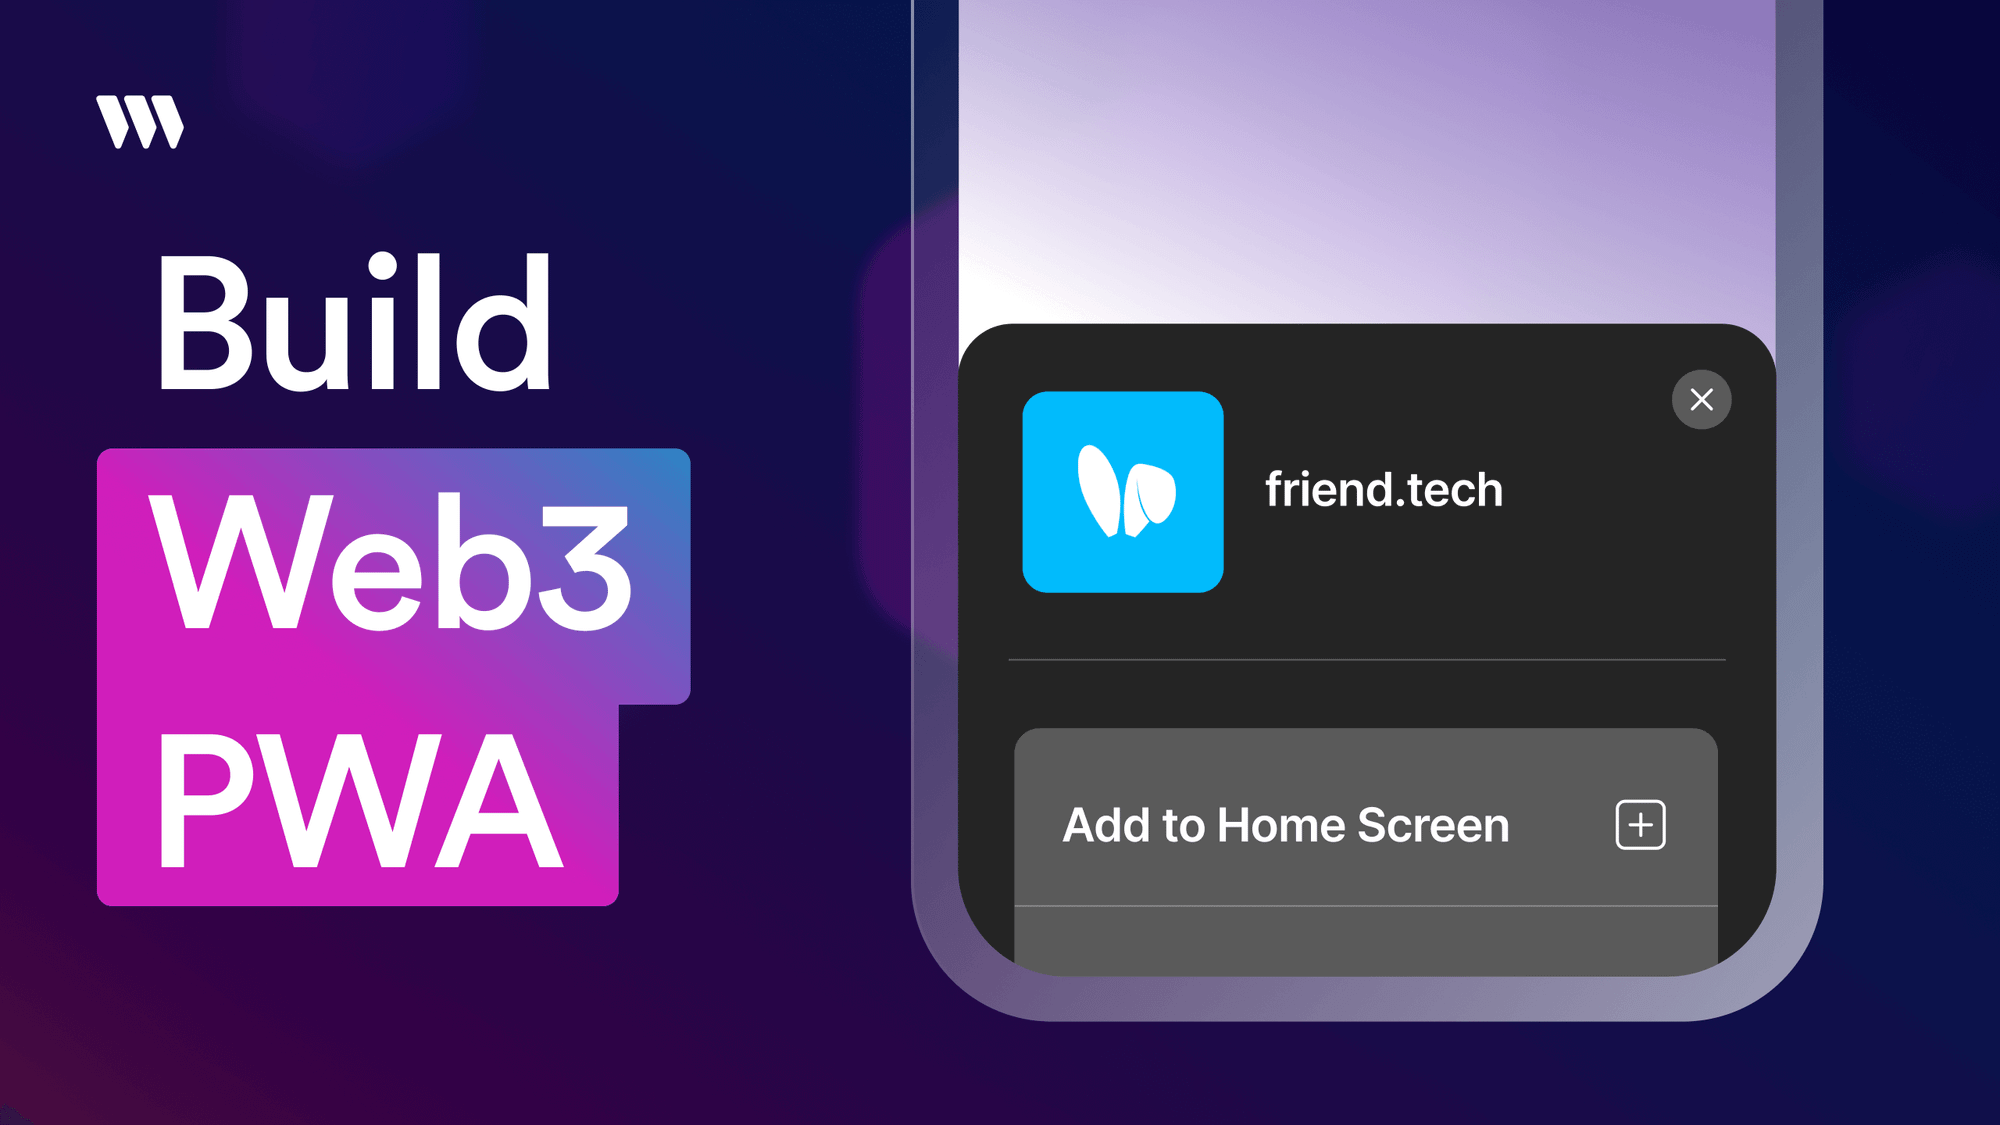
How to Create a Web3 PWA
This guide will show you how to build a web3 PWA (Progressive Web App) using Next.js and thirdweb.

⚠️ Warning: This guide currently uses v4 of the Connect SDK. For v5 (latest) code snippets, please check out our documentation while this guide is being updated. ⚠️
This guide will show you how to build a web3 PWA (Progressive Web App) using Next.js and thirdweb.
By the end you’ll have a PWA that can be installed on you desktop or mobile device.
What is a PWA?
PWA stands for Progressive Web App. It allows a user to install your web app to their device. They appear as native apps on your desktop or mobile device and offer features like offline support and push notifications.
Why are PWAs important to web3?
With high restrictions through app stores on what is allowed for blockchain applications, PWAs allow you to bypass that with allowing a user to directly install the app through your web app.
In-app purchase fees can also be avoided because you are no longer going through the app store.
How to build a web3 PWA with Next.js
Let's now create a PWA using Next.js, Typescript, and thirdweb.
1. Create app using thirdweb
npx thirdweb create app
In this example we will be building this PWA using Next.js and Typescript. Select those from the CLI options.
2. Install next-pwa
We will need to install next-pwa to our Next.js project. More information can be found here.
yarn add next-pwa
3. Create a manifest
A manifest is a JSON file that provides the information about the PWA and allows developers to define things like name, icon image, and theme color.
Manifest example:
{
    "theme_color": "#ffffff",
    "background_color": "#ffffff",
    "display": "standalone",
    "scope": "/",
    "start_url": "/",
    "name": "My PWA",
    "short_name": "My PWA",
    "description": "This is a manifest for a PWA",
    "icons": [
        {
            "src": "/icon-192x192.png",
            "sizes": "192x192",
            "type": "image/png"
        },
        {
            "src": "/icon-256x256.png",
            "sizes": "256x256",
            "type": "image/png"
        },
        {
            "src": "/icon-384x384.png",
            "sizes": "384x384",
            "type": "image/png"
        },
        {
            "src": "/icon-512x512.png",
            "sizes": "512x512",
            "type": "image/png"
        }
    ]
}
You can use something like Simicart to help generate your manifest by adding the information for your app within the form they provide
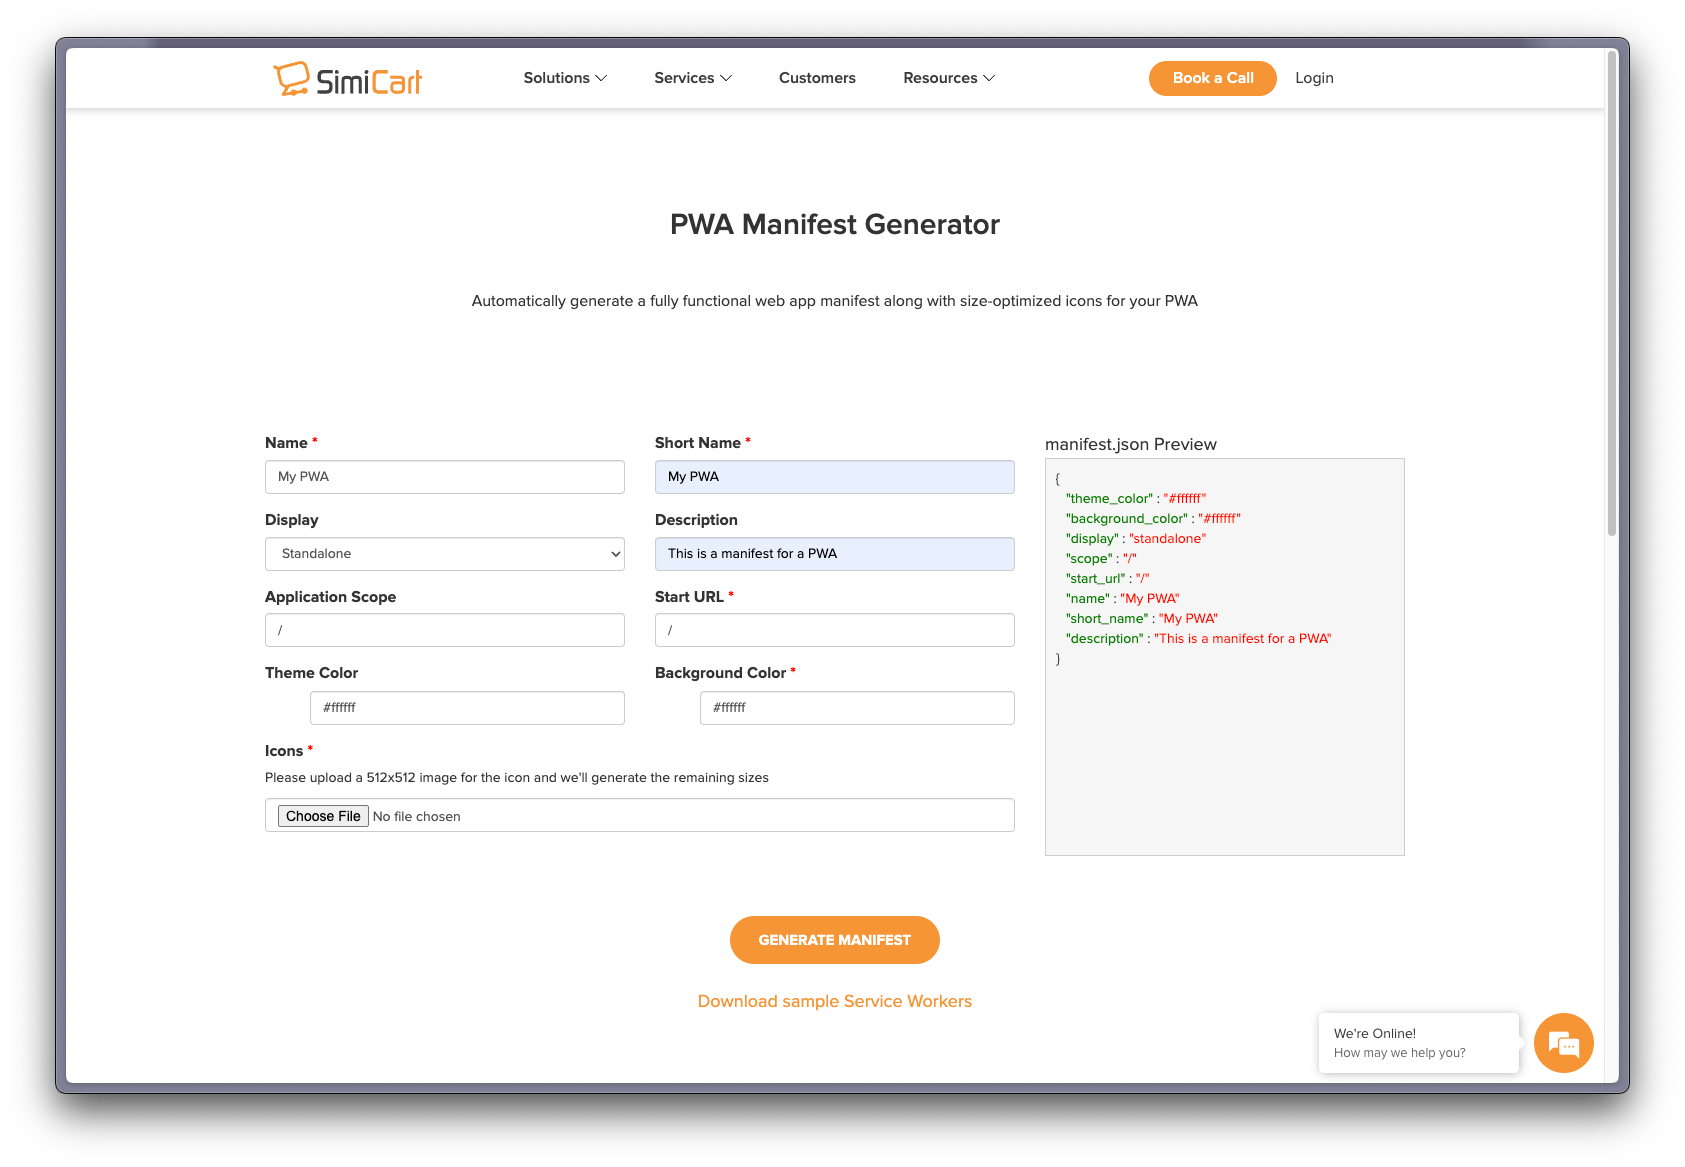
After creating the manifest, drop the files into your public folder. This should include the manifest.json along with the icon image files referenced in the manifest.
manifest.webmanifest and will need to be changed to manifest.json4. Create _document.tsx
In order to connect our `manifest.json` to our app we will create a _document.tsx file in our pages folder and use the code below.
import Document, { Html, Head, Main, NextScript } from "next/document";

class MyDocument extends Document {
  render() {
    return (
      <Html>
        <Head>
          <link rel="manifest" href="/manifest.json" />
          <link rel="apple-touch-icon" href="/icon.png"></link>
          <meta name="apple-mobile-web-app-status-bar-style" content="black-translucent"></meta>
        </Head>
        <body>
          <Main />
          <NextScript />
        </body>
      </Html>
    );
  }
}

export default MyDocument;
5. Next config
In next.config.js we will add some data for configuring our PWA.
const withPWA = require('next-pwa')({
  dest: "public",
  register: true,
  skipWaiting: true,
  disable: process.env.NODE_ENV === "development",
})

module.exports = withPWA({
  basePath: "",
  reactStrictMode: true,
})
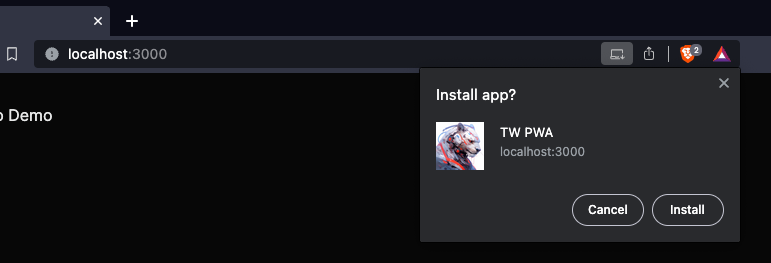
6. Install PWA
Now that your have configured your Next.js app as a PWA. Run your project and you will notice a install icon in your browser search bar next to the URL (on desktop) or find the option to add to home screen (on mobile). When you click on that it will ask you to install your app as a PWA on your device.
Start with a PWA template
Using thirdweb’s CLI you can create a Vite PWA template with everything you need to start building your PWA. Just replace the manifest and icon image files like we did above.
npx thirdweb create app --template --pwa-vite
What's Next?
If you want to watch a tutorial video on how to create a PWA and learn step by step how to create a manifest and configure your Next.js project. Watch our tutorial video below:
Wrapping up
Creating your web3 PWA is as simple as configuring your project and creating a manifest. Combining PWA with a web3 app now opens up possibilities for users to experience web3 mobile apps without the blockers of an app store or in-app purchase fees.
In this guide you learned what a PWA is and how it can be beneficial to a web3 app, along with creating a manifest for your app, and configuring a Next.js project so your app can be installed as a PWA. We hope this was helpful!