How to Style and Call Functions on contracts using Web3Button

⚠️ Warning: This guide currently uses v4 of the Connect SDK. For v5 (latest) code snippets, please check out our documentation while this guide is being updated. ⚠️
In this guide, we will show you how you can call functions on your smart contract using the Web3Button, and understand all the different features it has to offer!
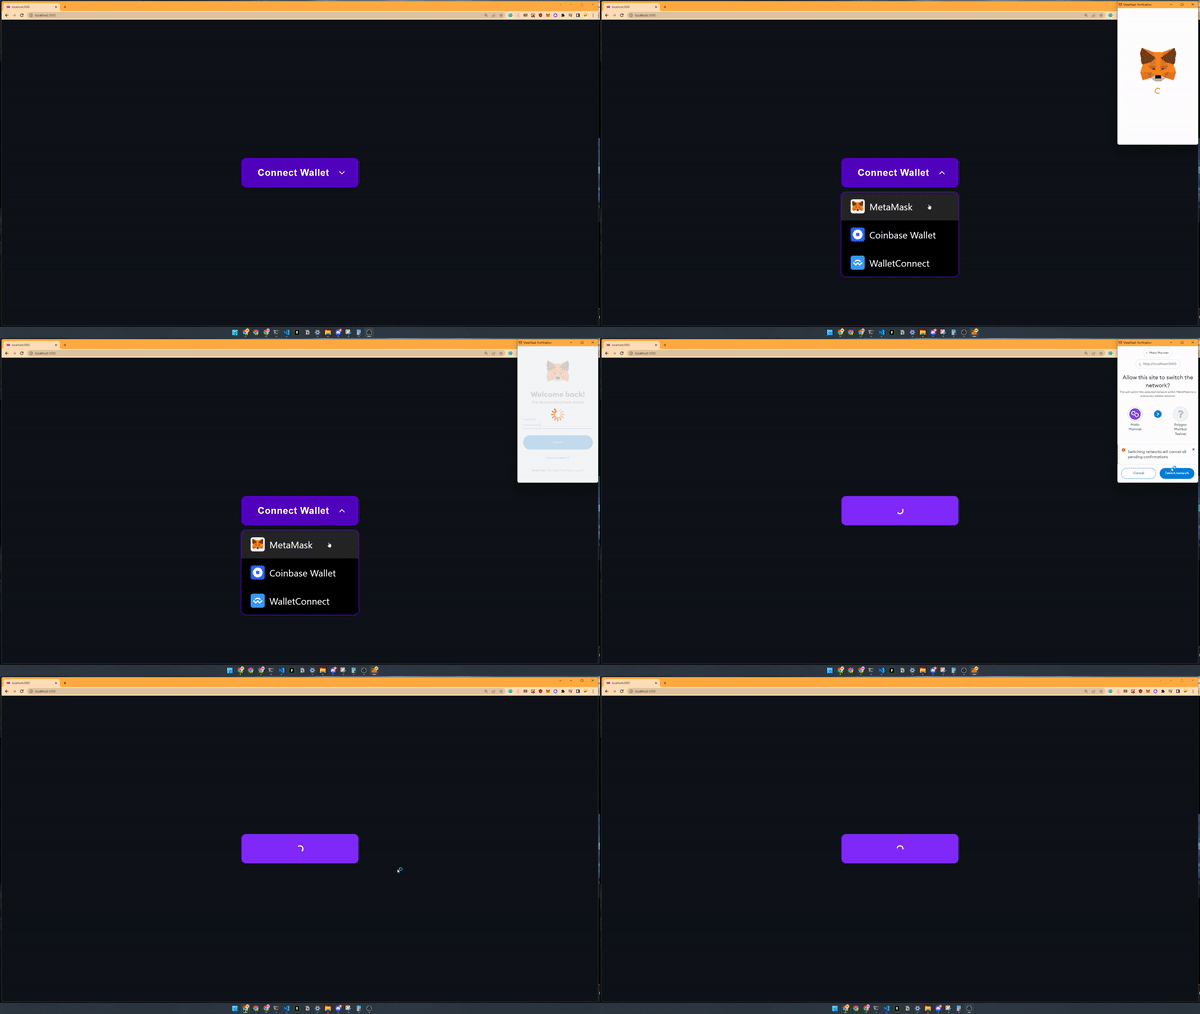
By the end, we'll create a simple button that interacts directly with your smart contract that looks like this:

Let's get started.
What Is The Web3Button?
The Web3Button component provides a convenient way to interact with your smart contract. It ensures the following before attempting to call the contract function:
- There is a connected wallet (If there is not, renders a ConnectWalletButton component instead).
- The connected wallet is on the correct network (as specified in the ThirdwebProvider's
desiredChainId).
This ensures your users are in the correct state before attempting to interact with your contract, avoiding any unexpected behaviors and providing a better user experience.
Creating A React Application With thirdweb
To get started, create a new React application with the React and TypeScript SDKs installed by running the command below:
npx thirdweb create --appNext up, head over to the _app.js (or Index.js for CRA) file in the pages folder and change the activeChainId to the network that your smart contract is deployed to:
const activeChainId = ChainId.MumbaiStyling Web3Button Component
We can pass the className property like any other element while styling the Web3Button component but it's also important to note that it already consists of built-in styles and to have it override those built-in styles we need to use the keyword !important on the passed in className.
<Web3Button
  contractAddress="<contract-address-here>"
  action={(contract) => any}
  className={styles.btn}
  >
  StylingButton
</Web3Button>
.btn {
background-color: aqua !important;
width: fit-content !important;
color: navy !important;
}Calling Smart Contract Functions
To start using the Web3Button component, we first need to import it:
import { WebButton } from "@thirdweb-dev/react";
Then, render the Web3Button component and provide two props:
contractAddress: The address of the contract that you want to call functions on.action: The logic to run when this button gets pressed.
I'm going to set up the button to claim/mint an NFT when it is clicked like so:
<Web3Button
  contractAddress="0x322067594DBCE69A9a9711BC393440aA5e3Aaca1"
  action={(contract) => contract.erc721.claim(1)}
>
    Claim NFT
</Web3Button>
Below is another example, where you use contract.call and provide the name of the smart contract's function along with any required parameters:
<Web3Button
    contractAddress="0x322067594DBCE69A9a9711BC393440aA5e3Aaca1"
    action={(contract) => contract.call("burn", 0)}
>
  Burn NFT
</Web3Button>
You can customize the style of the button and see all the available props to configure in the Web3Button documentation.
Using Contract ABIs
If your smart contract isn't deployed using thirdweb, you can use its ABI to interact with it by providing the contractAbi prop.
Learn how to get a contract ABI and use it in the Web3Button.
Conclusion:
It's that simple to interact with your smart contracts using our UI Components!
Got questions? Check out the GitHub repository or reach out to us on Discord!
