How To Create an NFT Drop on Milkomeda A1 (Algorand EVM Rollup)

⚠️ Warning: This guide currently uses v4 of the Connect SDK. For v5 (latest) code snippets, please check out our documentation while this guide is being updated. ⚠️
In this guide, we will show you how to deploy an ERC721A smart contract on the Milkomeda A1 Rollup using thirdweb's Explore. We will also demonstrate how to build an NFT Drop minting page by modifying one of thirdweb's templates.
Milkomeda is a cutting-edge protocol that allows non-EVM blockchains to access EVM capabilities. Milkomeda A1 is an EVM Rollup that connects to the Algorand blockchain. To learn more about Milkomeda, you can refer to their official website.
System Requirements
- Any modern operating system: Windows, macOS, or Linux
- Browser: To use Explore we recommend modern browsers such as Google Chrome (recommended), Mozilla Firefox, Safari, and Microsoft Edge.
- Node.js: Node.js is required to run the React SDK. The latest stable version of Node.js is recommended.
Before you start, you'll also need to acquire some testnet funds to cover the gas fees for deploying your contract. We recommend following the "Obtaining Test ALGO" guide in the Milkomeda documentation.
Deploy a contract using Explore
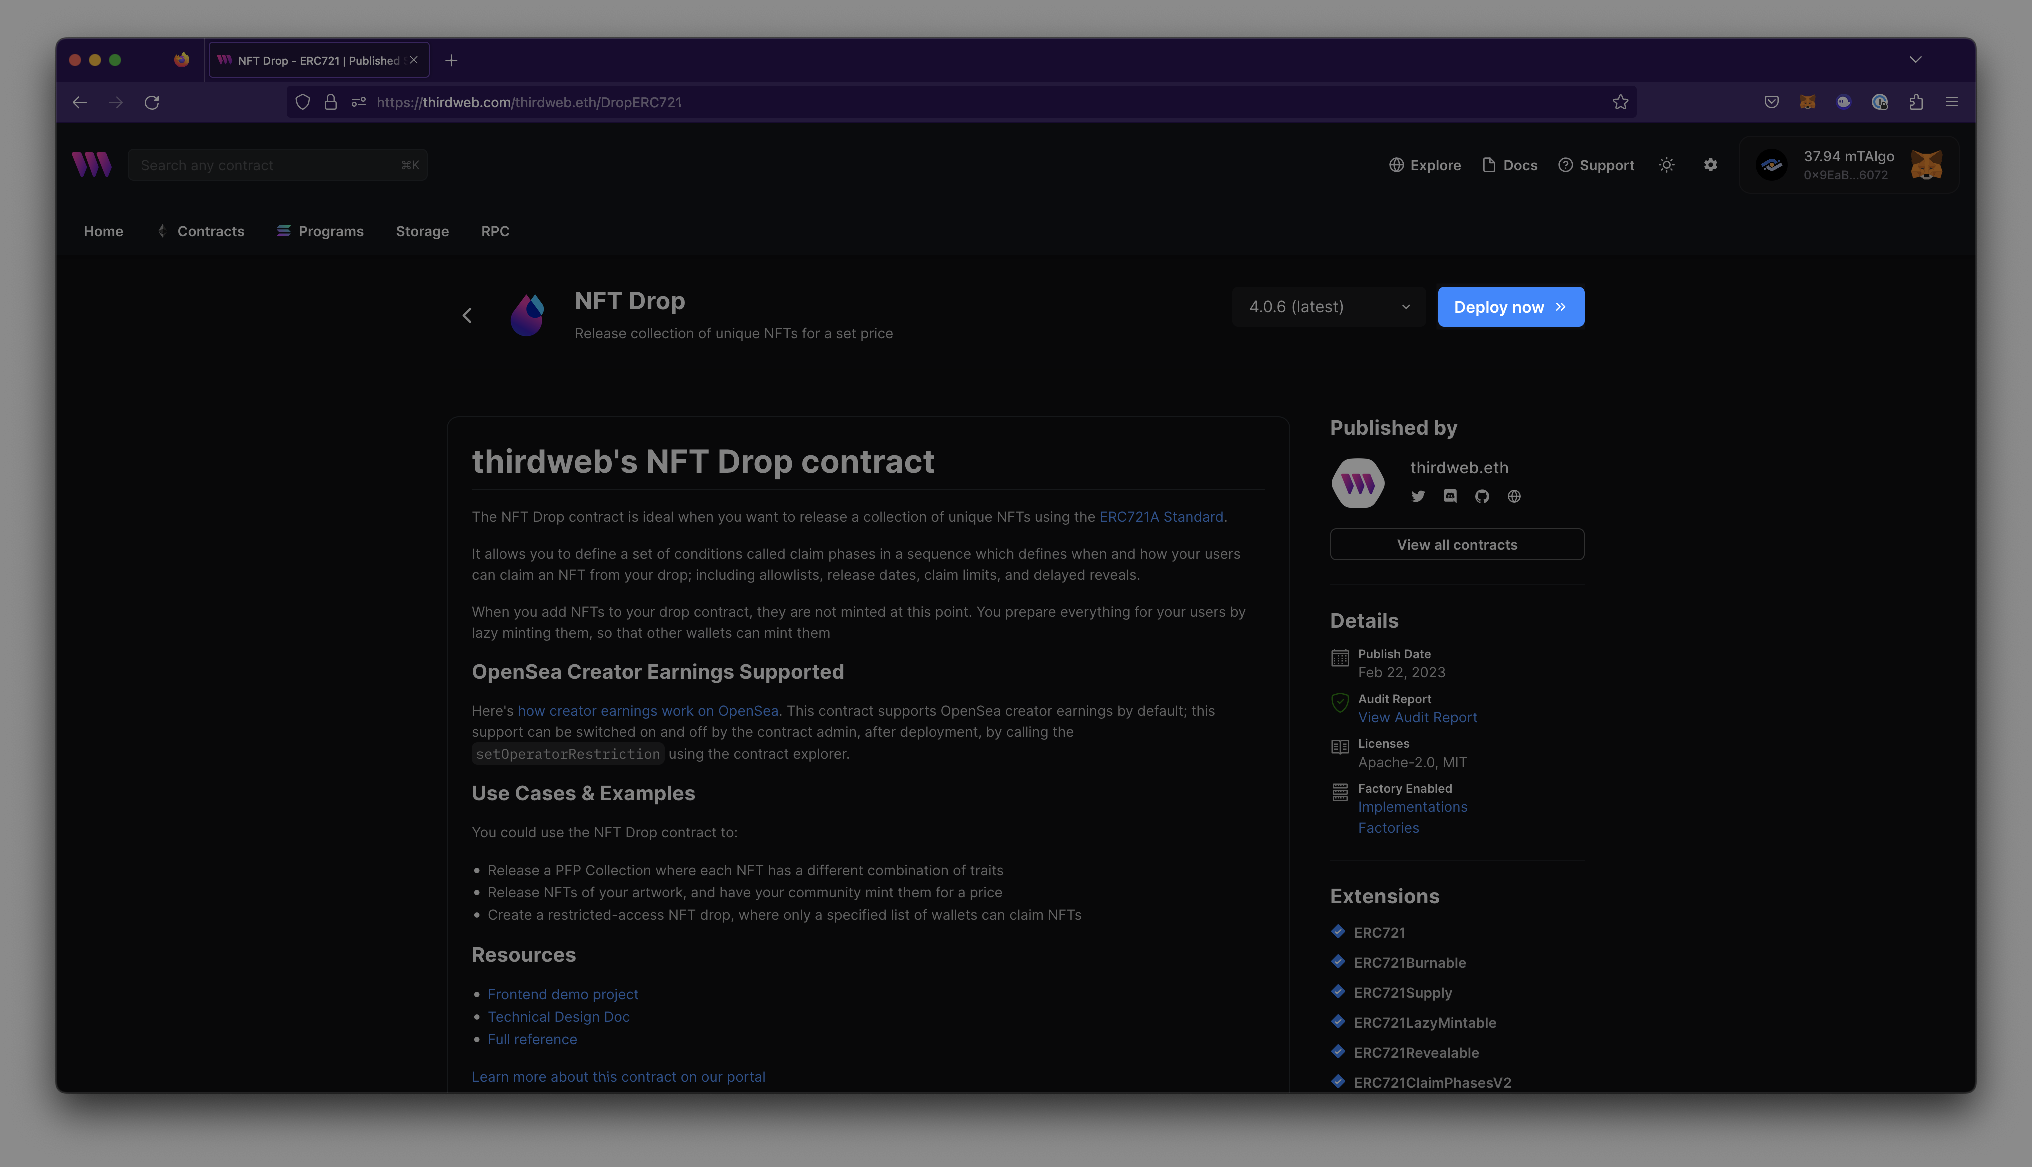
To begin, let's first navigate to the NFT Drop page on Explore by visiting https://thirdweb.com/thirdweb.eth/DropERC721 and connect your wallet.
If you want to develop your own smart contract with additional functionality, the Solidity SDK and Deploy tool provide access to the same dashboard functionality. Alternatively, if you already have a smart contract, you can import it and proceed directly to the 'Build a frontend application' section.
- Click the blue button that says 'Deploy now' to begin deploying your contract.
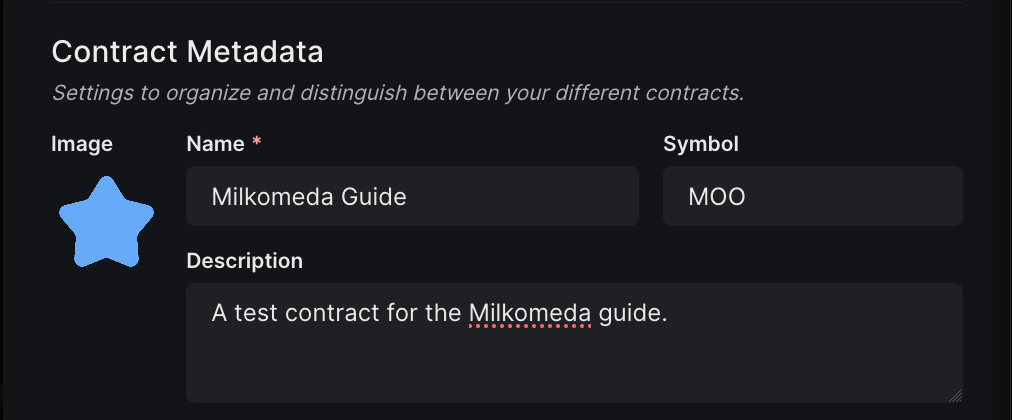
2. Configure your contract metadata: Name, Symbol, Description, and Image
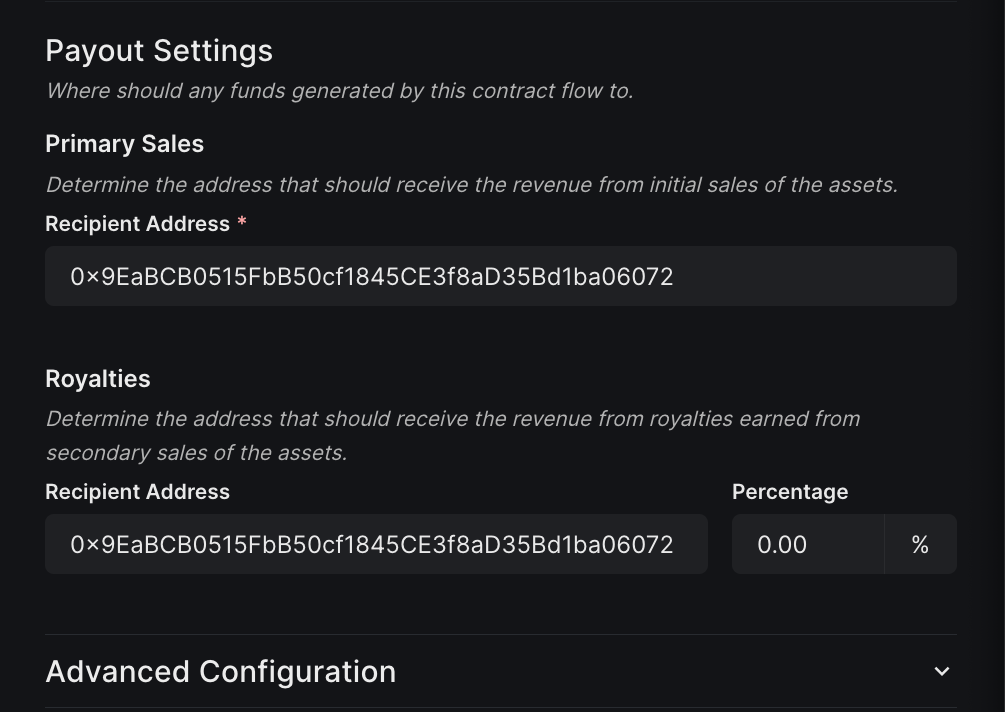
3. Configure recipient payout settings for primary and secondary sales
4. To configure the Milkomeda A1 Testnet, navigate to the 'Network / Chains' section and click on 'Configure Networks'. You may need to search for it. Make sure to choose the testnet option instead of the mainnet.

5. Click the blue Deploy Now button next to the dropdown. This will prompt you to confirm transactions in your connected wallet. After, you will be redirected to your project's dashboard.
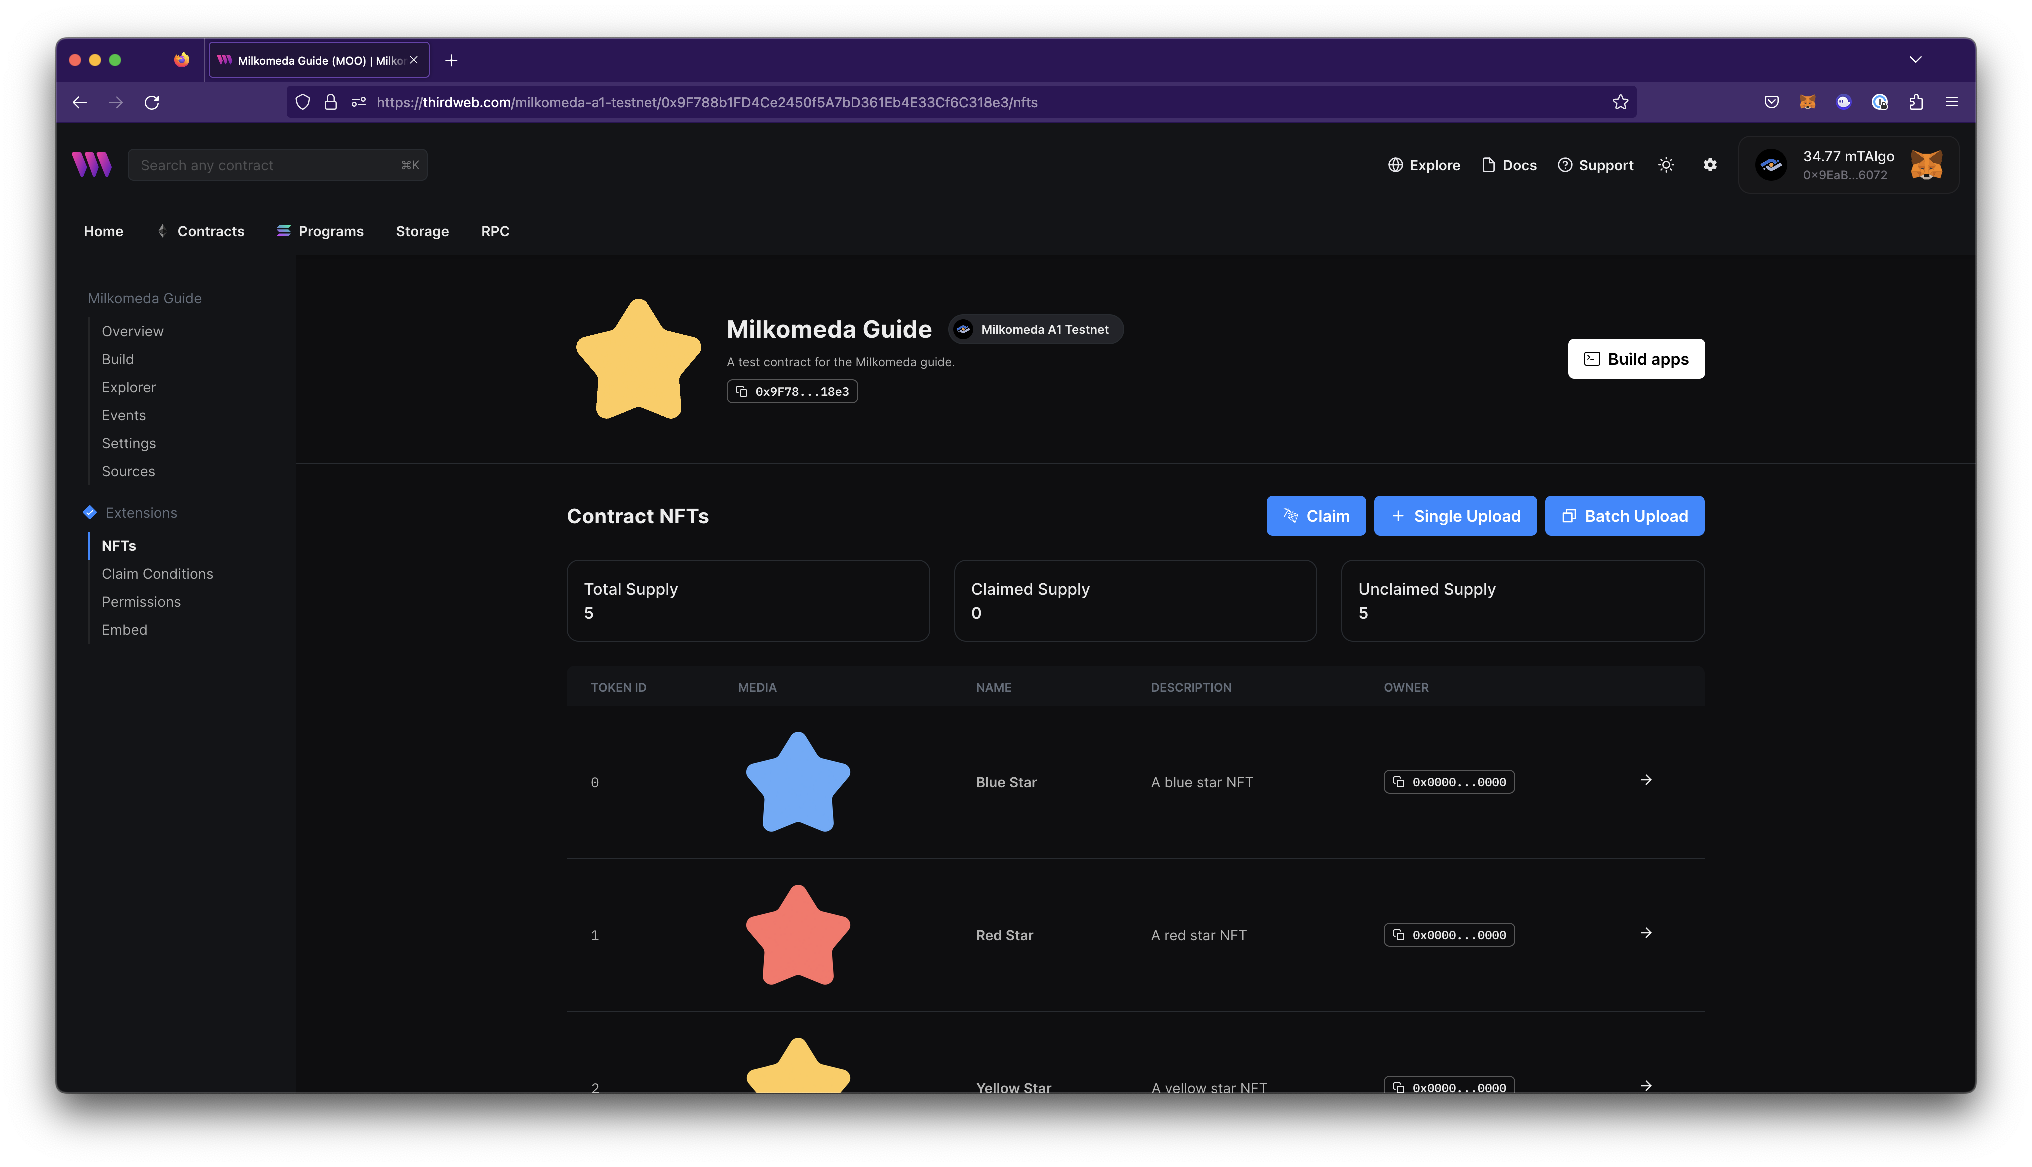
6. Navigate to the NFTs tab under Extensions. Upload your NFTs to the contract by either using Single Upload or Batch Upload. You may configure additional settings here as you upload such as Delayed Reveal.
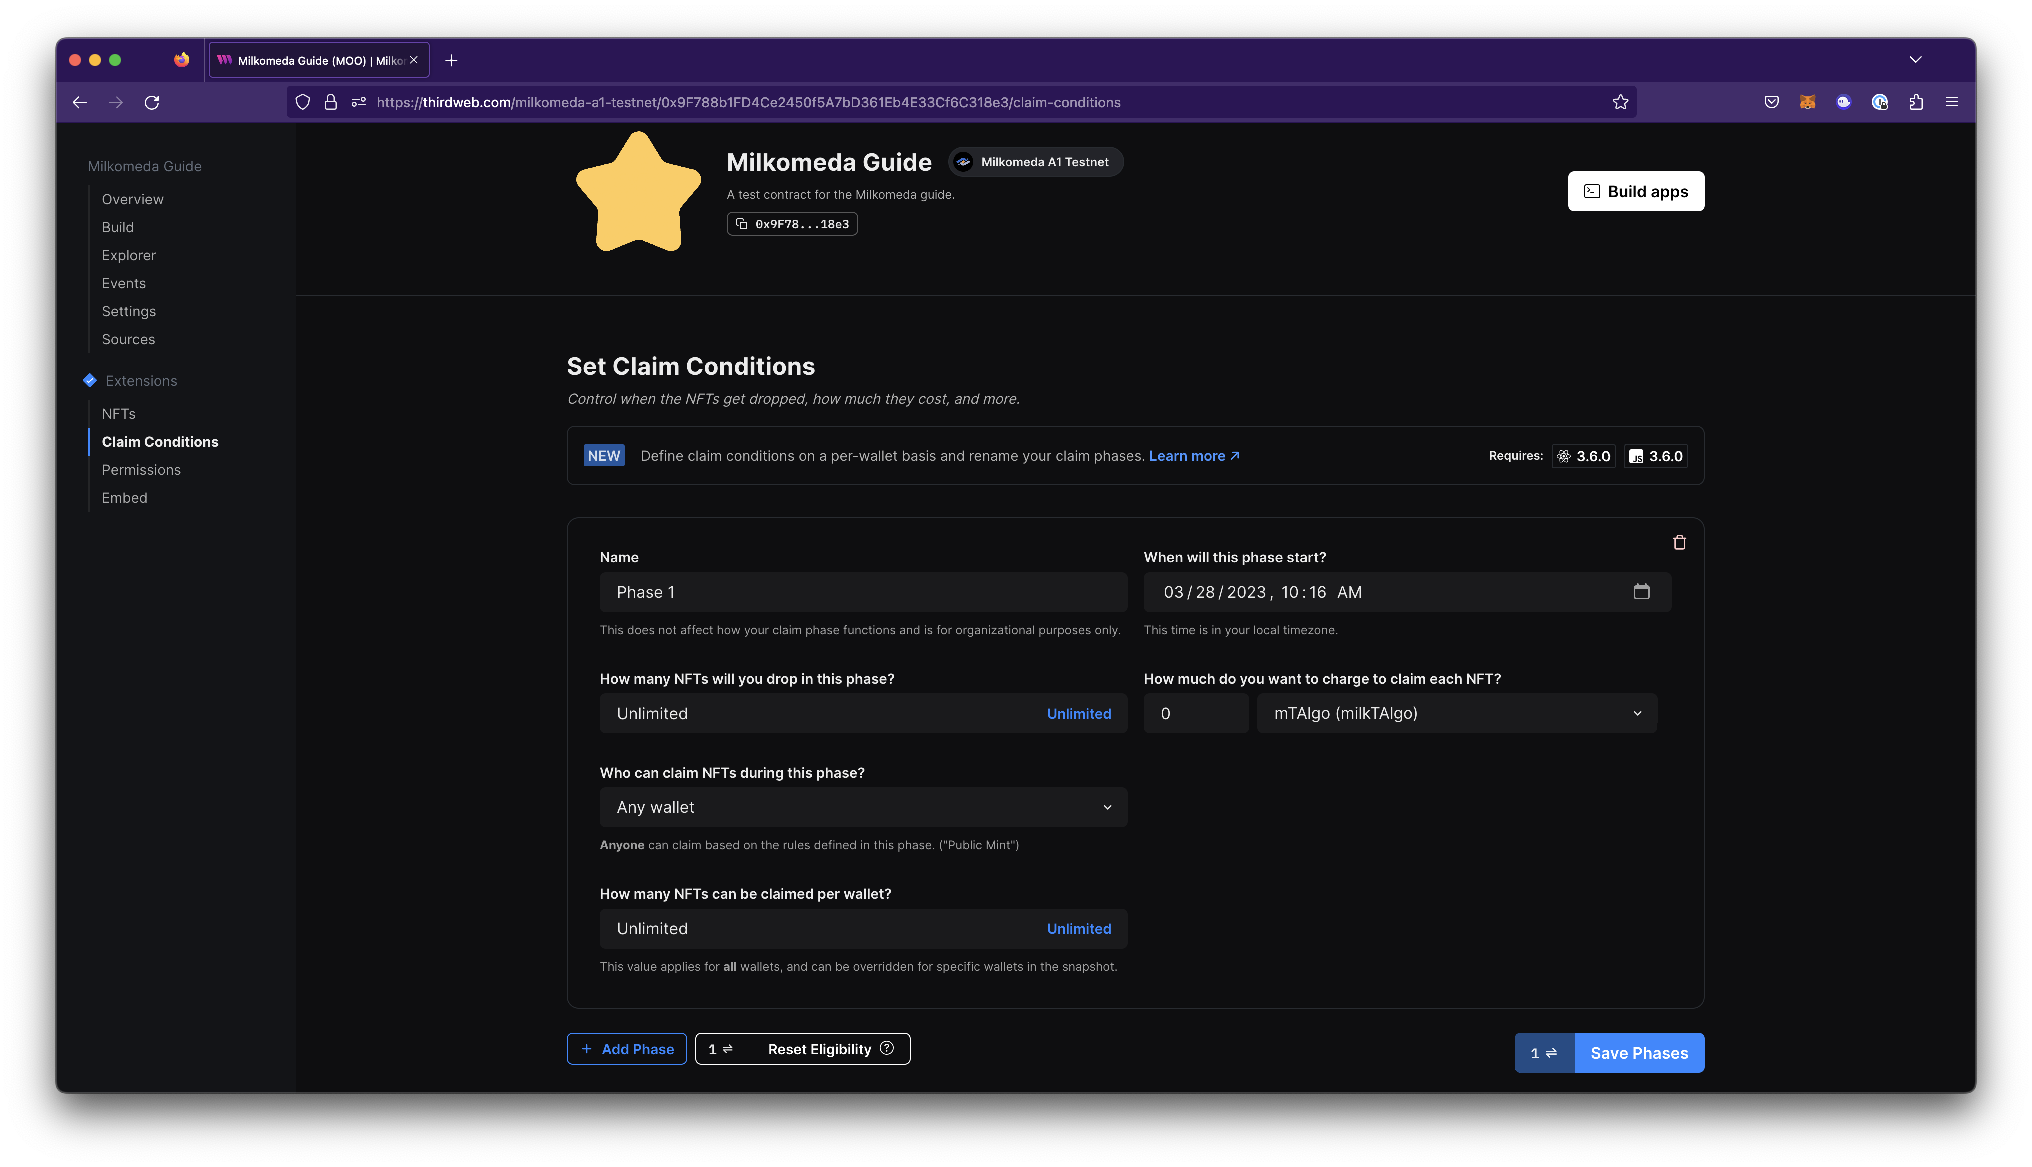
7. Navigate to the claim conditions tab to setup your contract's claim settings. Start a phase by clicking + Add phase and add your preferred settings. When done- click Save Phases which will prompt another transaction.
Our contract configuration is complete- now we can move onto creating our frontend application. You may leave the browser tab open to note the smart contract password or make any changes on your contract, if needed.
Build a frontend application
For this portion of the blog we will switch over to our preferred IDE and begin coding the application part of our app using Next.js
To speedrun through the building flow, I am going to use thirdweb's CLI tool to give me a starter NFT Drop minting page template. Feel free to start from a completely new project by following the configuration steps in the React SDK documentation.cd
- Let's start by creating a new application by running
npx thirdweb create --template nft-dropin your CLI.
2. Now we can begin modifying the code for our contract. Open the _app.js file in the pages folder and import Milkomeda and then change the activeChain to MilkomedaA1Testnet.
import { MilkomedaA1Testnet } from "@thirdweb-dev/chains";

function MyApp({ Component, pageProps }: AppProps) {

return (
    <ThirdwebProvider activeChain={MilkomedaA1Testnet}>
    //additional code...
      <Component {...pageProps} />
      //additional code...
    </ThirdwebProvider>
  );
}

export default MyApp;
3. Open index.js and pass in your smart contract's address to the myNftDropContractAddress variable.
const myNftDropContractAddress = "0x9F788b1FD4Ce2450f5A7bD361Eb4E33Cf6C318e3";"4. Start your program by the corresponding yarn or npm command- depending on which package manager you are using and you should see a Minting Page with your NFT Drop contract.
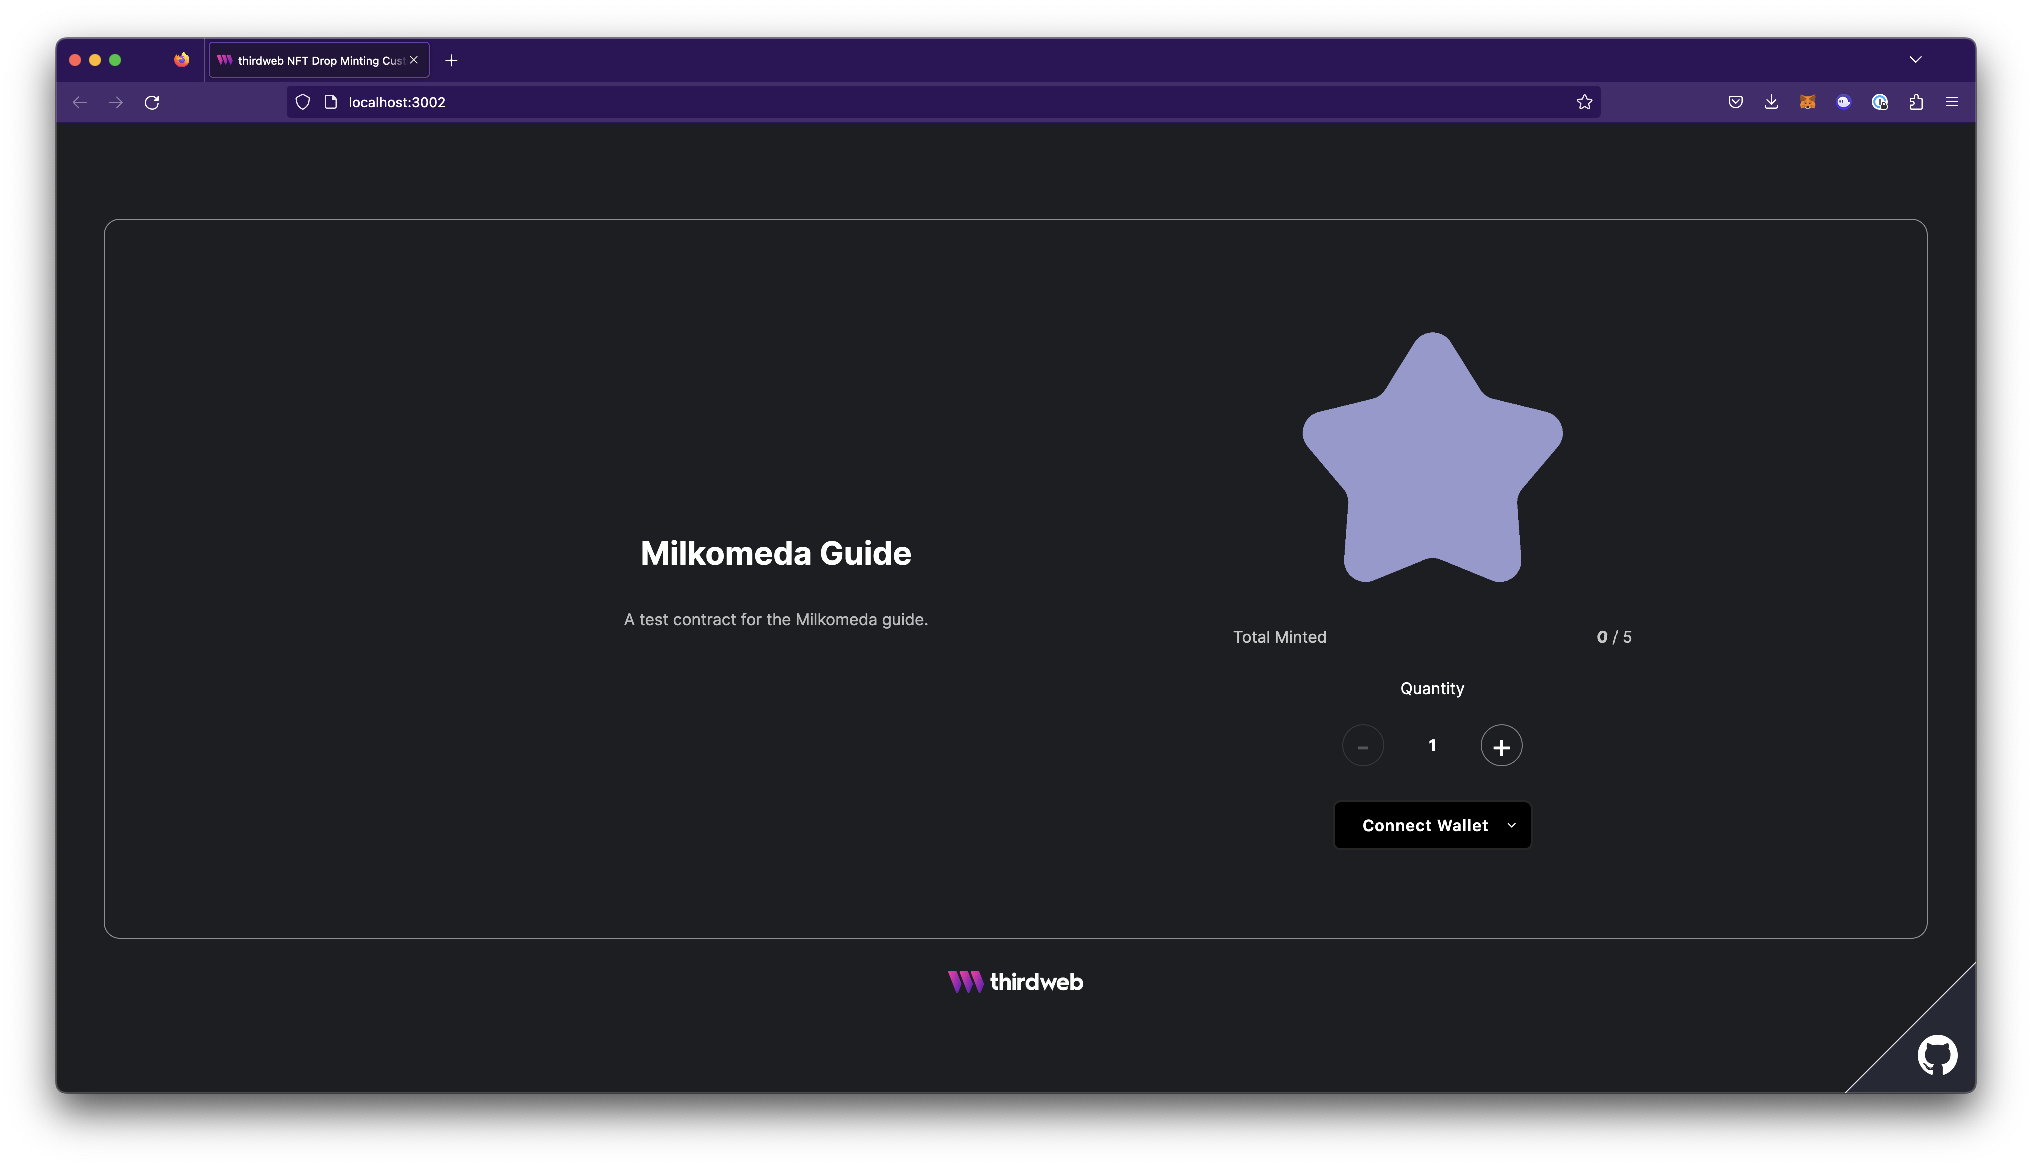
From here you can modify and add more UI components to your project using the React SDK.
Need help?
For support, join the official thirdweb Discord server or share your thoughts on our feedback board.