How to Build a dApp

⚠️ Warning: This guide currently uses v4 of the Connect SDK. For v5 (latest) code snippets, please check out our documentation while this guide is being updated. ⚠️
This guide will show you how to create a smart contract, deploy it, and use it in a front-end application, which we will deploy to IPFS as well.
By the end, you'll learn how to create a simple smart contract using the Solidity SDK, deploy it using our CLI, and use the smart contract on the front end.
Let's get started!
What is a dApp?
dApp stands for decentralised application. The backend of a dApp isn't set up in the traditional way in a centralised way, but it is on the blockchain, which provides much better security and transparency. The kind of dApp that we are going to build today will have two key components:
- Smart contract: We use the thirdweb Solidity SDK to create a contract, and then we will use the CLI to deploy our contract to the blockchain.
- Frontend: We will use the thirdweb React SDK in a vite application to build a simple claim button and deploy it to IPFS.
Creating the smart contract
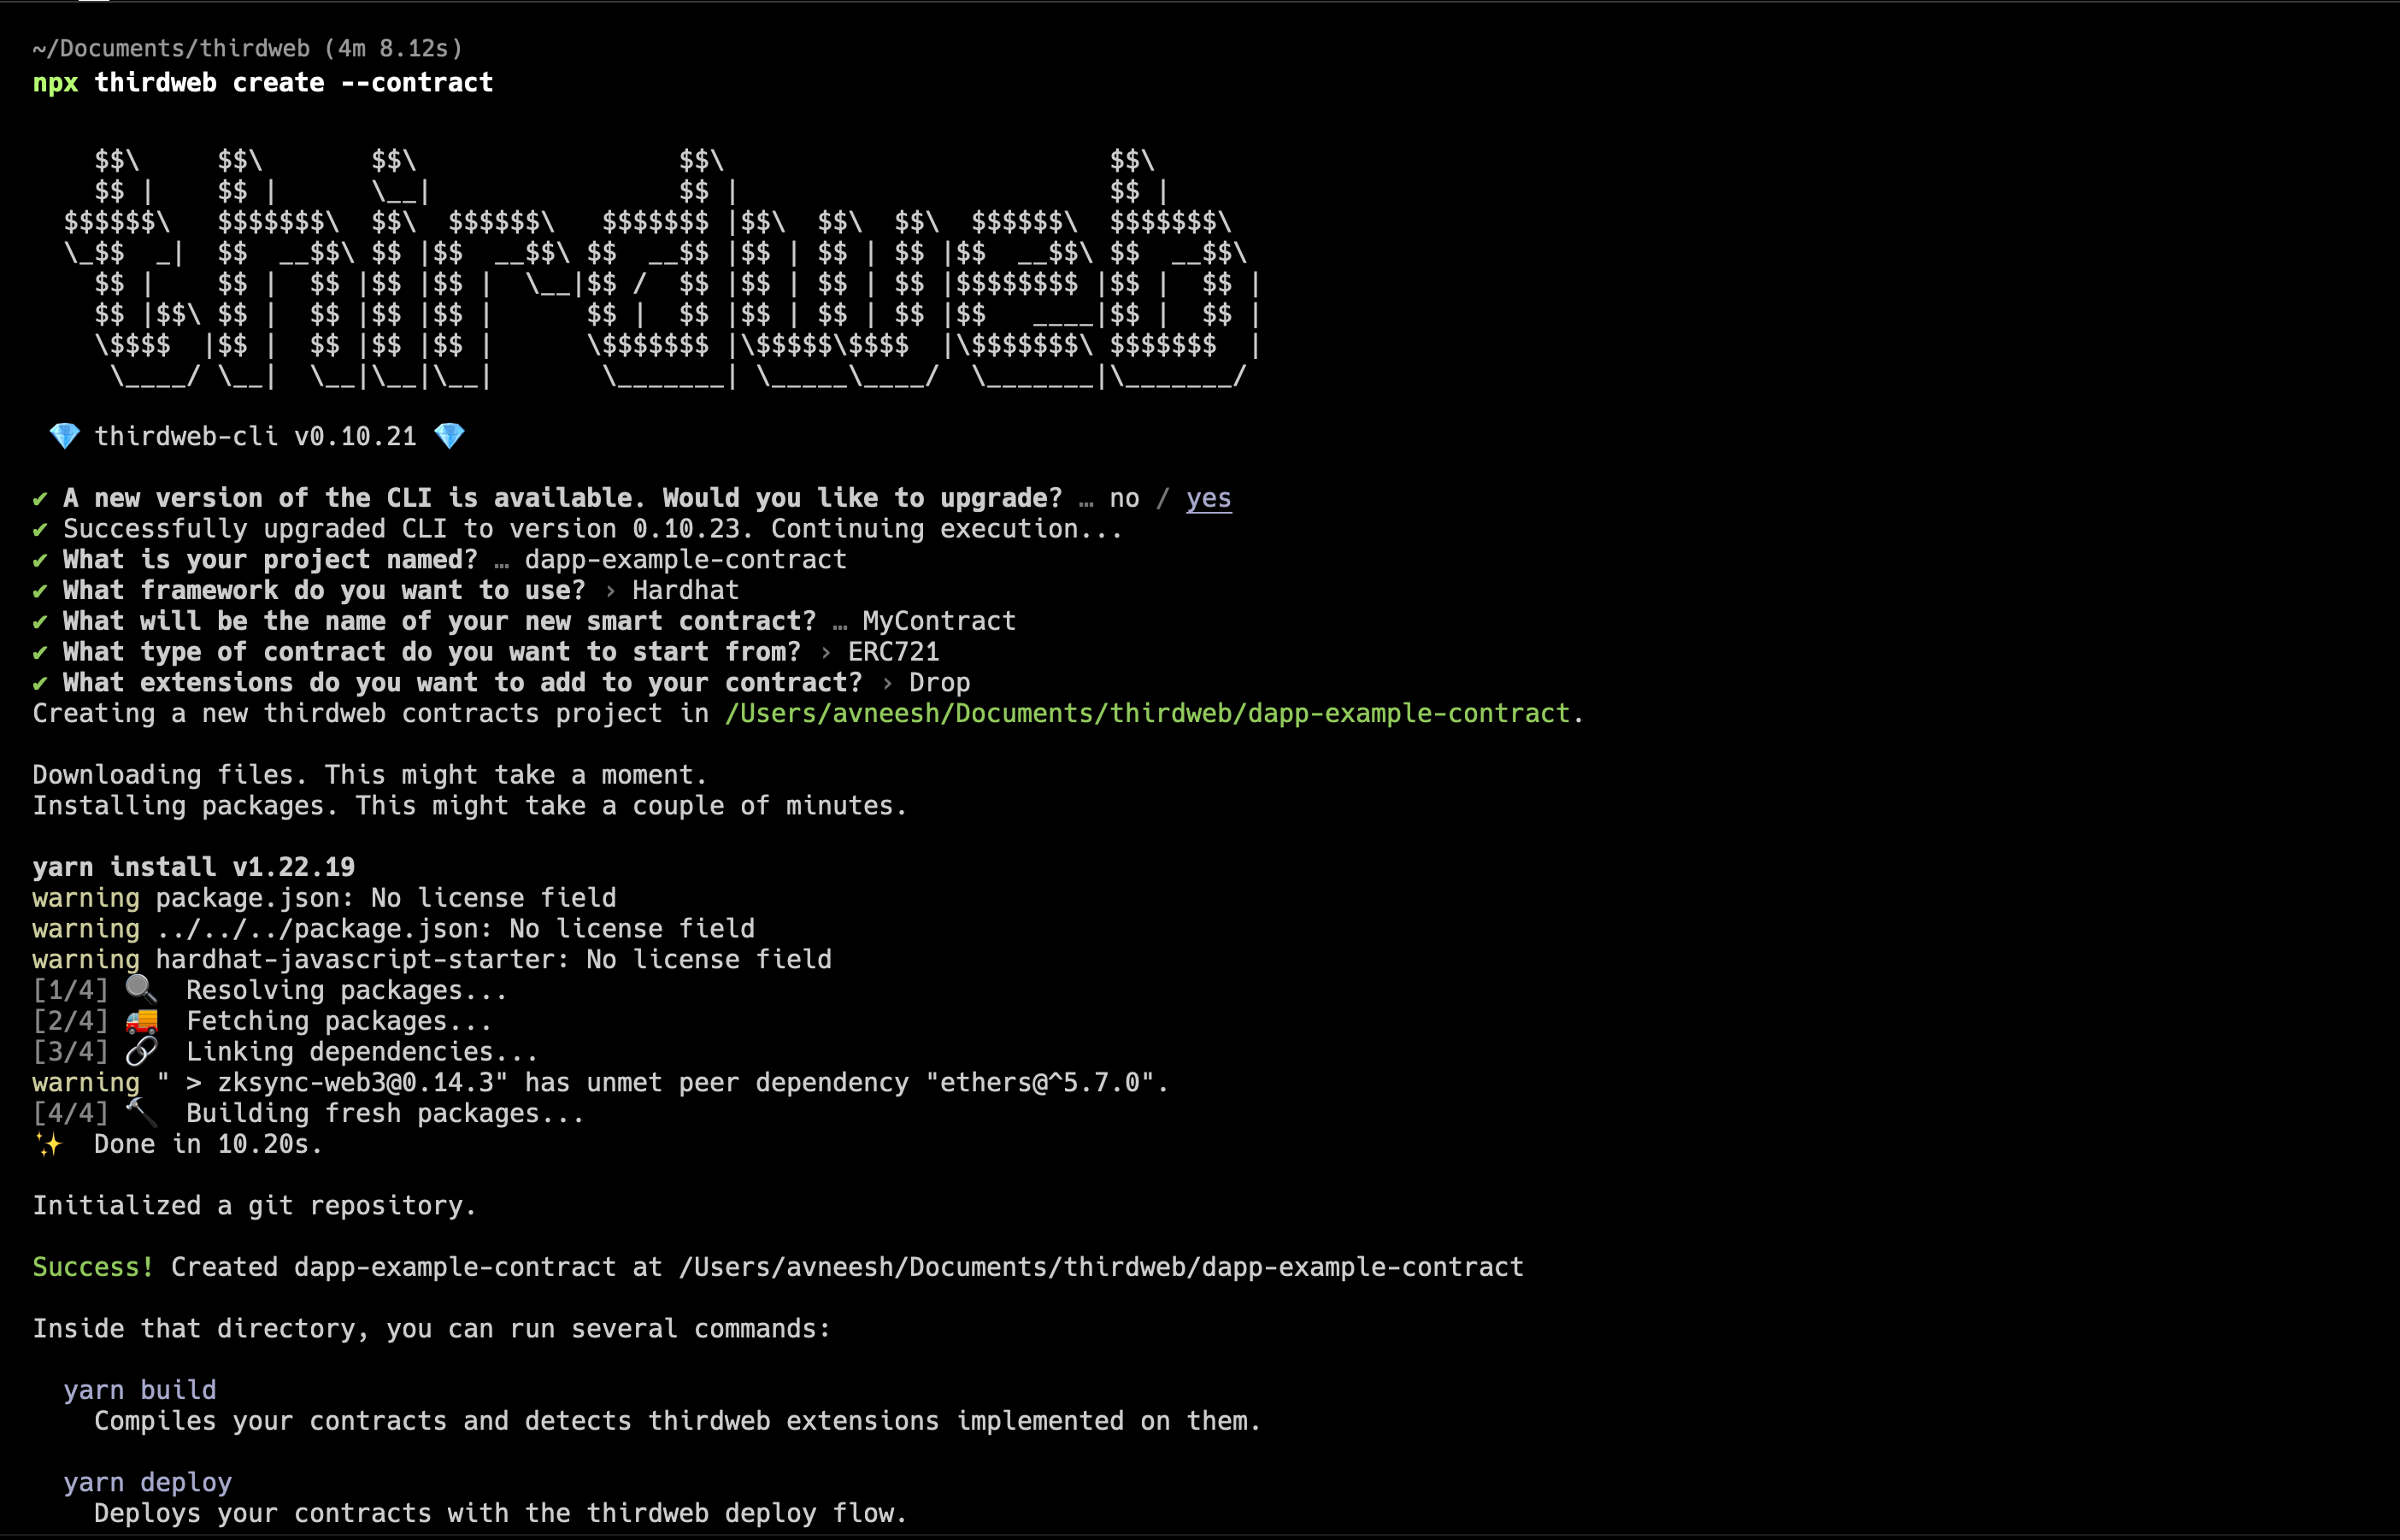
We will use the thirdweb CLI to create a new smart contract base for us. So, run the following command in your terminal:
npx thirdweb create --contractYou will get a couple of questions related to your project, you can select the options as you like, if you are not sure about some configuration, you can have, the same as me. I am creating an ERC721 NFT drop:
Once the contract is created, you can open it in your favourite IDE/code editor.
Inside the contracts folder, open up the MyContract.sol file. You will be able to see something like this:
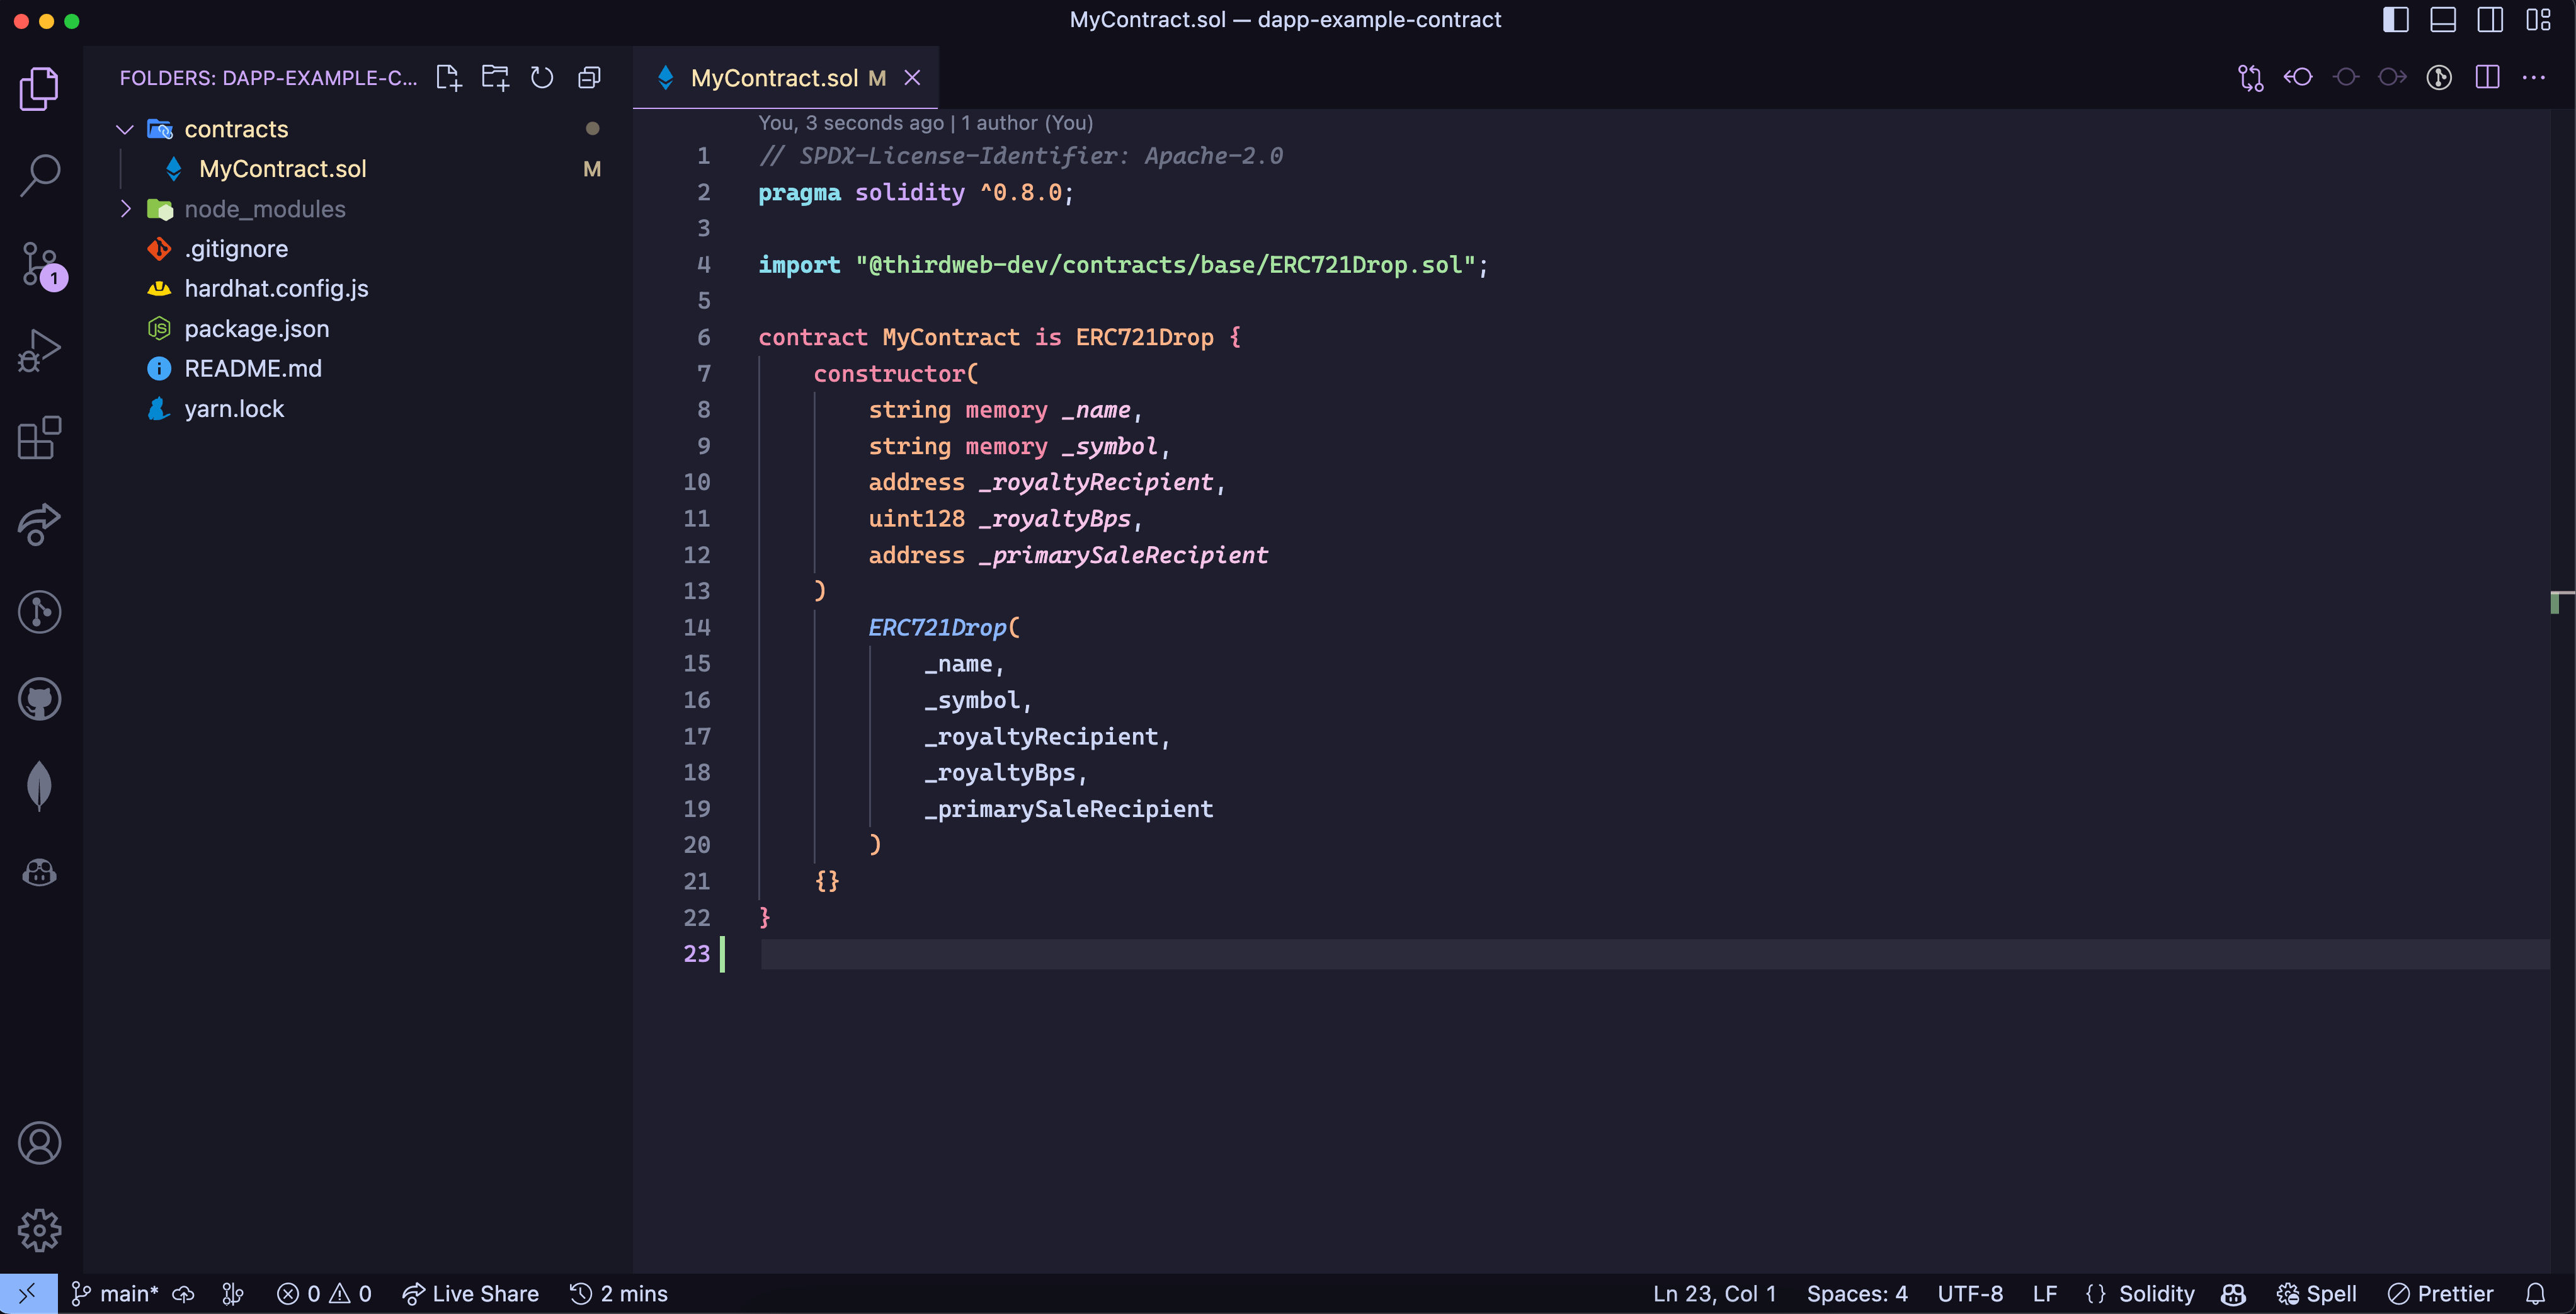
You can make any changes to the functions in this contract or extend the functions as you like, with our Solidity SDK. But for the sake of the simplicity of the guide, I am going to deploy the default NFT drop contract.
Deploying the contract
Once you are done creating your smart contract, we need to deploy it! Open up your terminal and run:
npx thirdweb deploy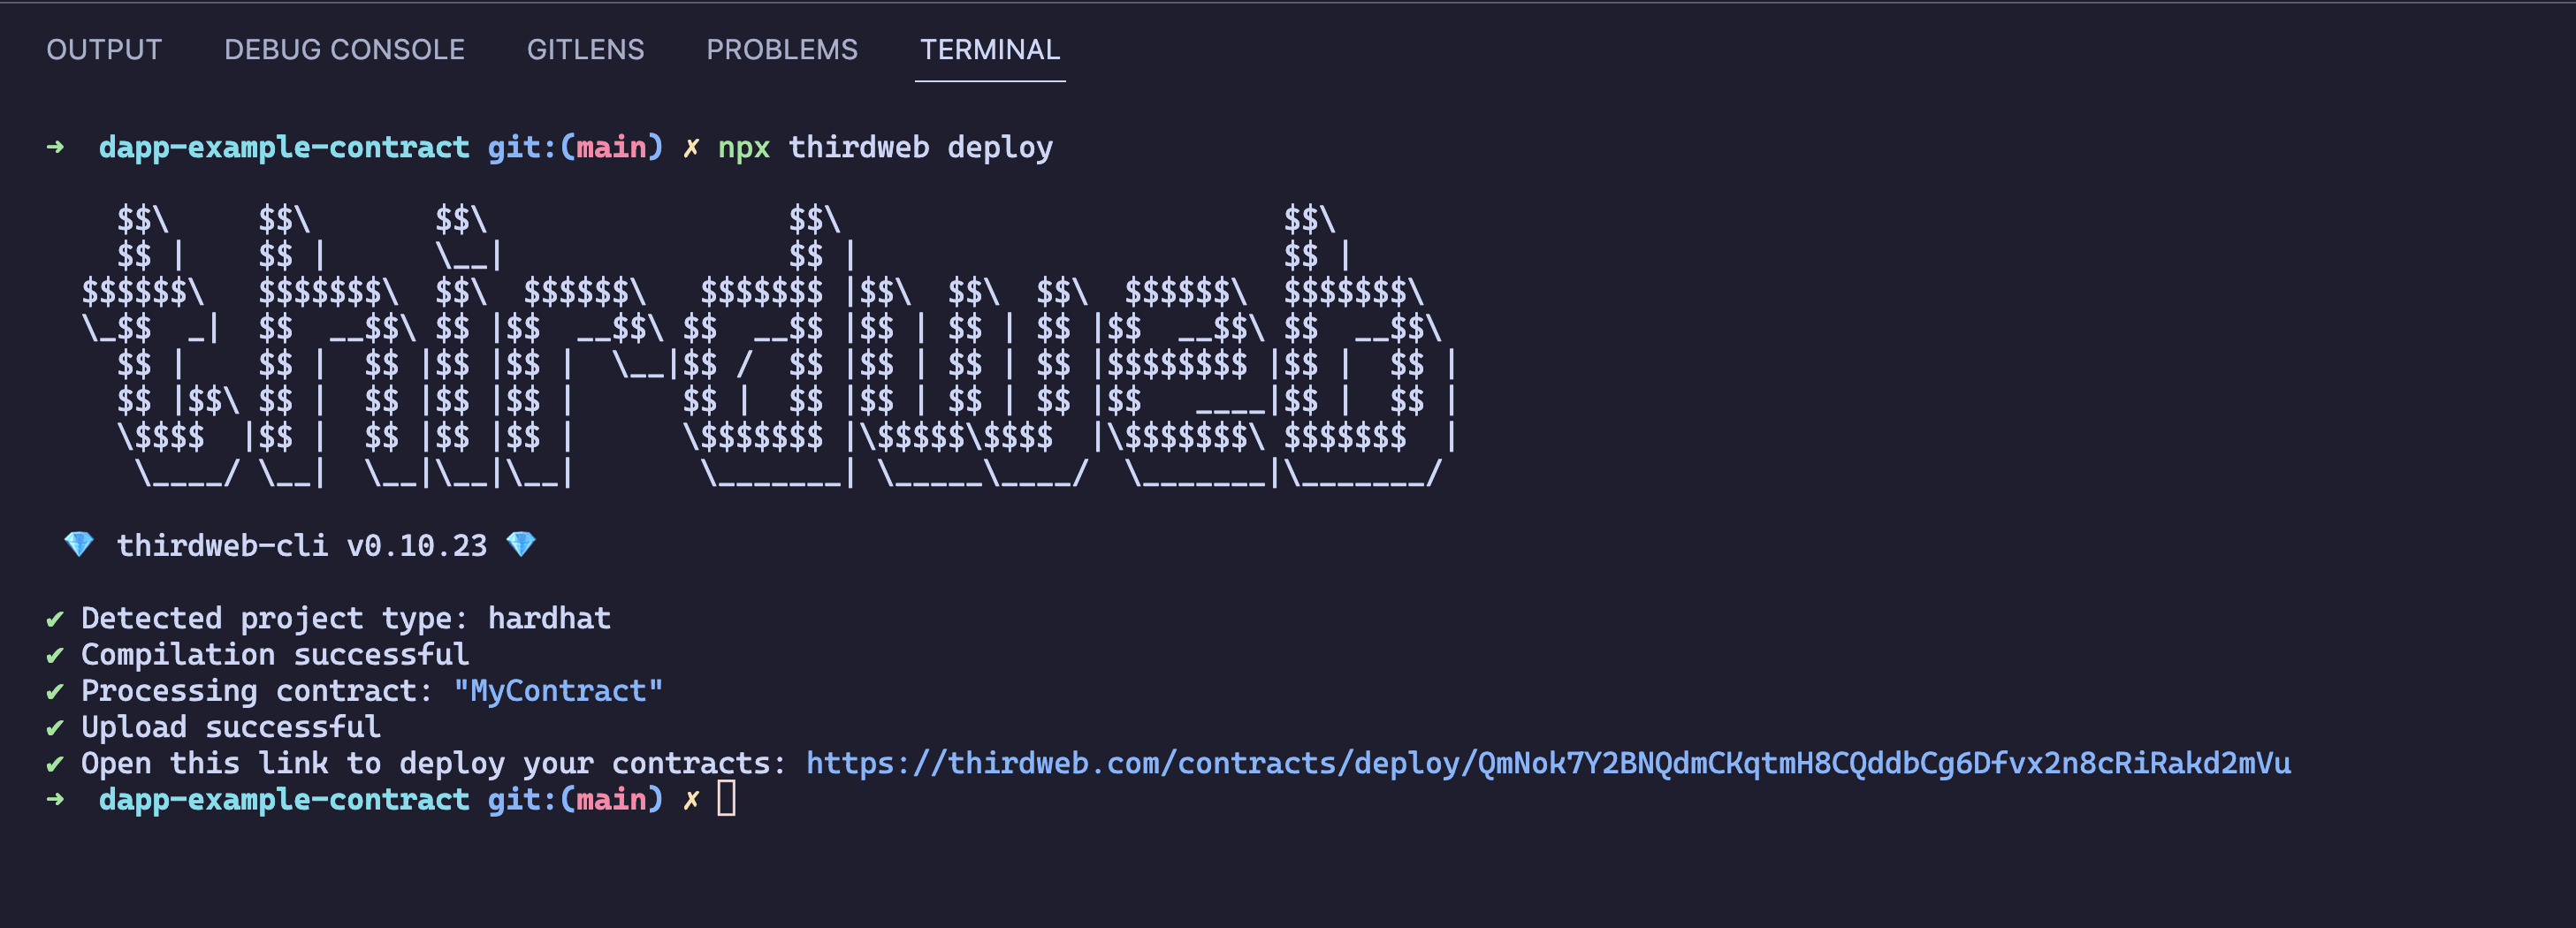
It will automatically compile the contract, upload it to IPFS, and provide you with a link to deploy your contract. It will open up automatically, if not, open it, and you will see the thirdweb dashboard open up. Once the deploy page opens up, fill in the metadata of your contract like this:
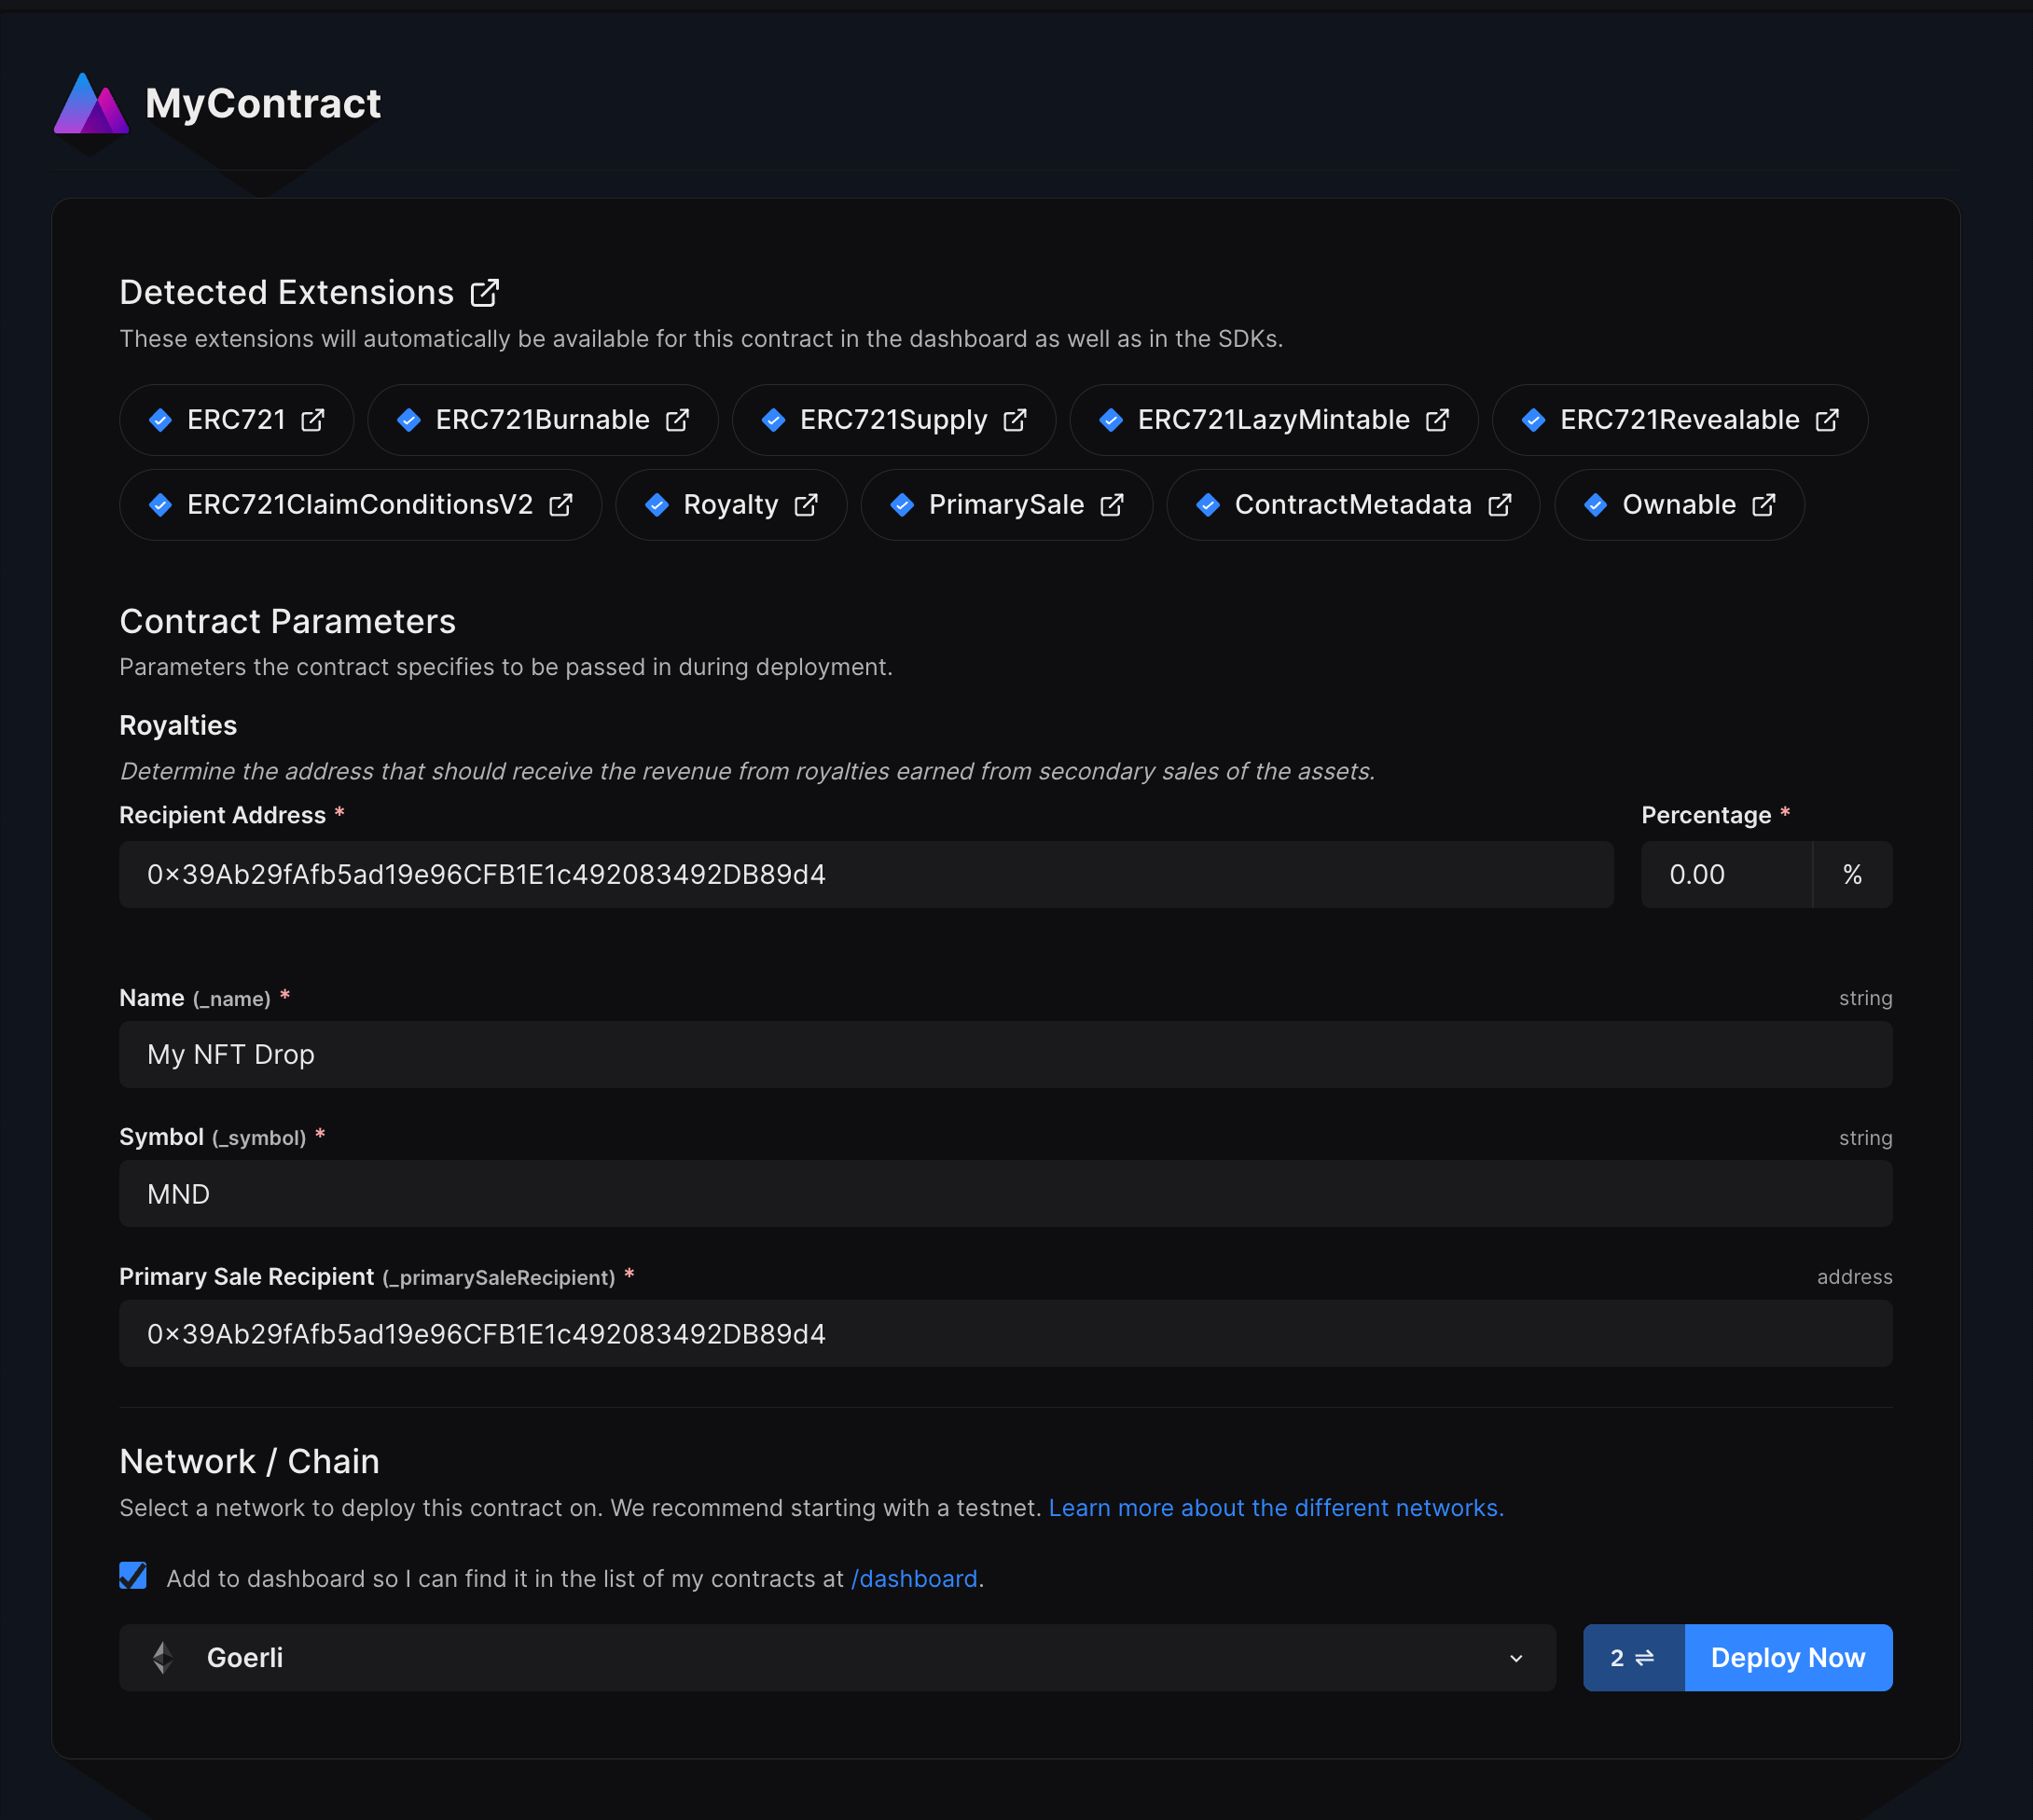
You can select any network you like; for this guide, I am choosing Goerli. You can choose any EVM network you want to deploy to. Learn more about the different networks we have available below:
Once you are done with populating metadata and selecting your network, click on Deploy Now and approve the transactions:
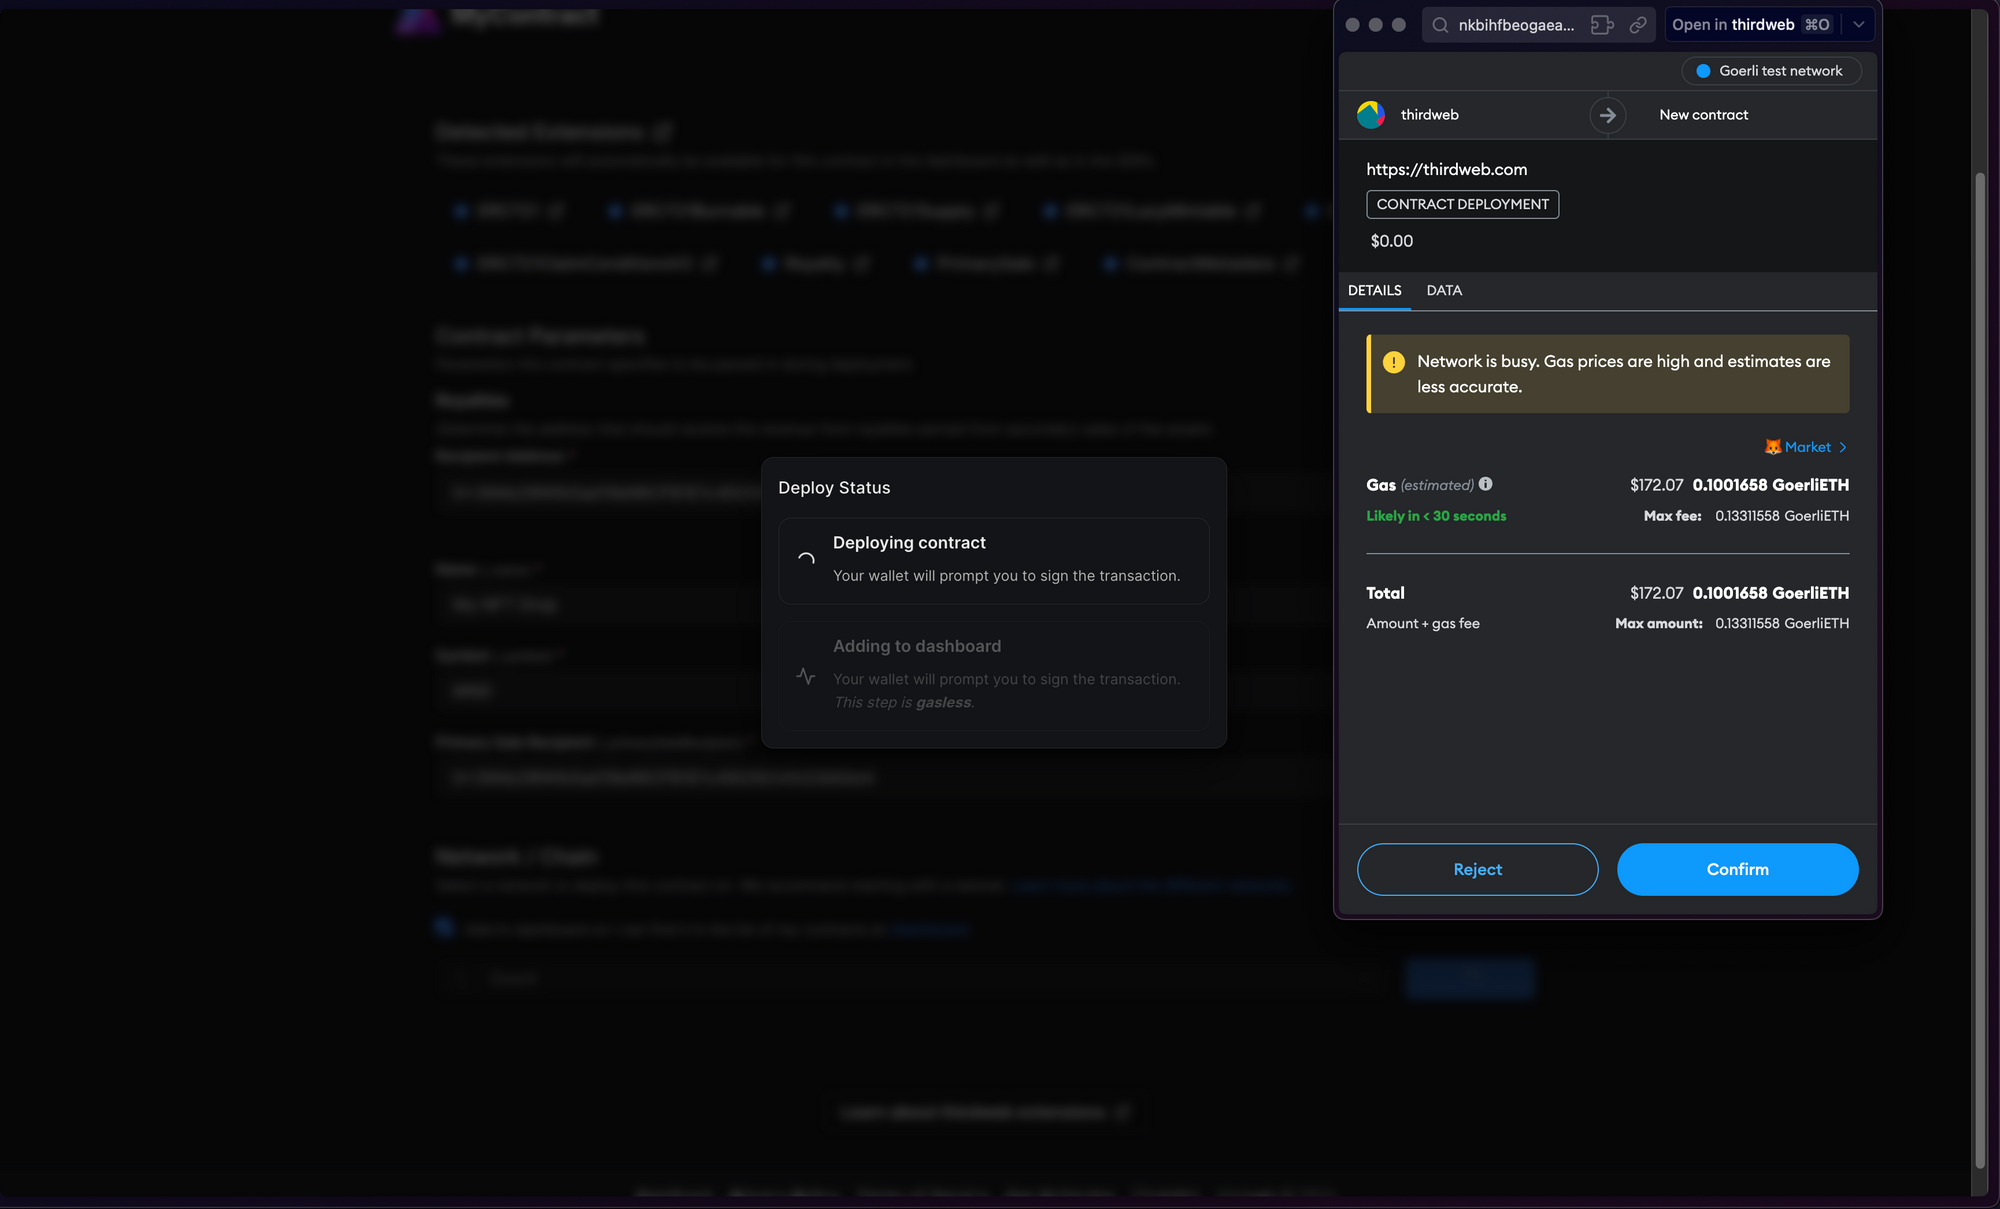
Once the transactions go through, you will be able to see the contract dashboard, feel free to explore it as you like!
In our example, we created an NFT drop smart contract, so we'll quickly set it up and mint our first NFT by performing the following steps:
- Lazy mint a batch of NFTs.
- Configuring our claim conditions.
Let's now move over to the frontend part and build our dApp.
Building the frontend
We are now going to create a front end for our application. I am going to create a vite app, but you can choose any frontend library/framework you like.
To create a new app, run the following:
npx thirdweb create --app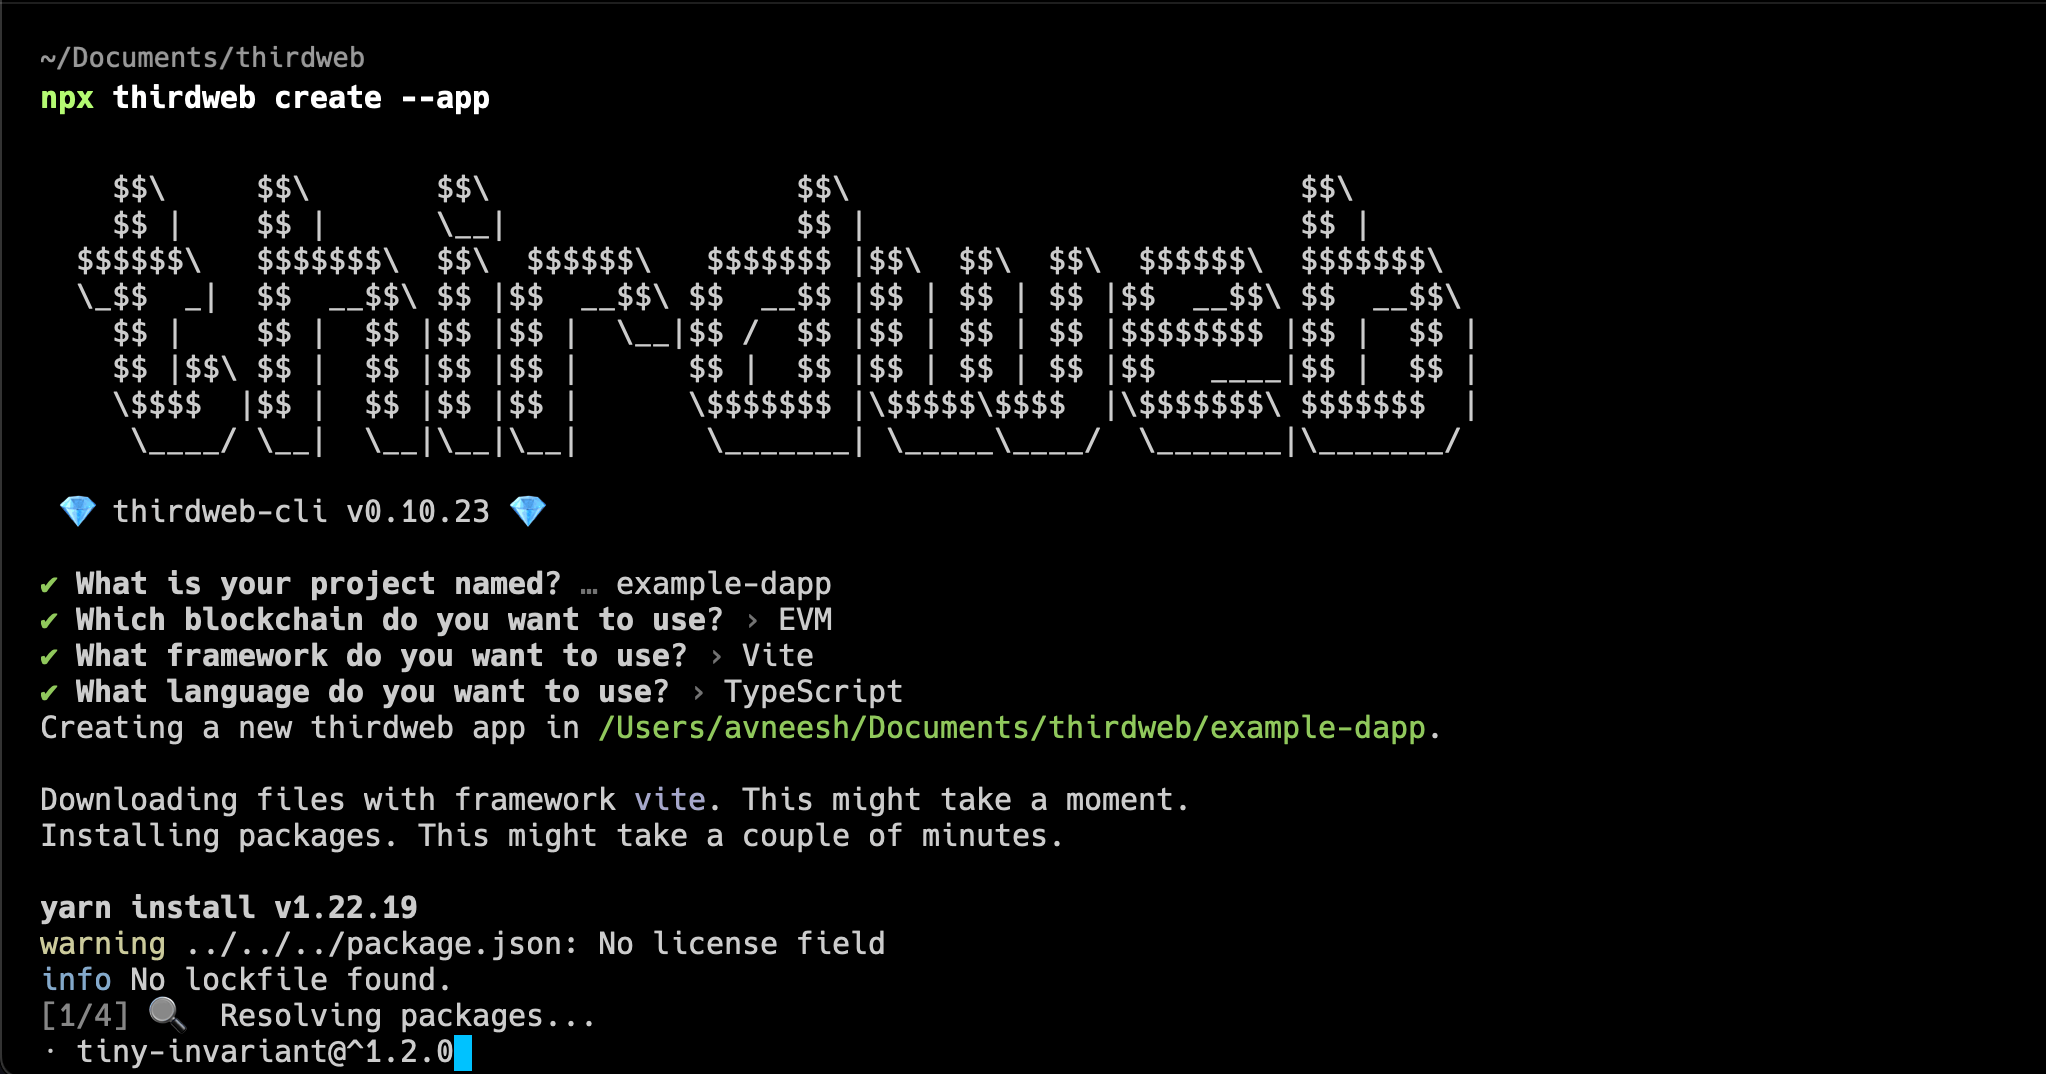
Once the app is created, you can open it in your favourite IDE/code editor.
To use an API key with the React SDK, pass the clientId to the ThirdwebProvider. The template already comes with the clientId, so you can simply create a new .env file and add the client id with the respective name in the .env.example file.
Next, we need to update the chain that our app works on. Go into src/main.tsx and change the activeChain variable to the chain that you deployed your contract to. In my case, it is goerli:
const activeChain = "goerli";
Go into the src/App.tsx file and remove everything inside of the main tag, we will now use a Web3Button to allow people to claim the NFTs from the NFT Drop. So, add this component inside the main tag:
<Web3Button
  action={(contract) => contract.erc721.claim(1)}
  contractAddress="0x7999DE4821f5F4AAe187991D6e69E4aD08a52159"
>
  Claim
</Web3Button>
Run your vite server using yarn dev and you will be able to see a connect wallet button in the centre of your screen:
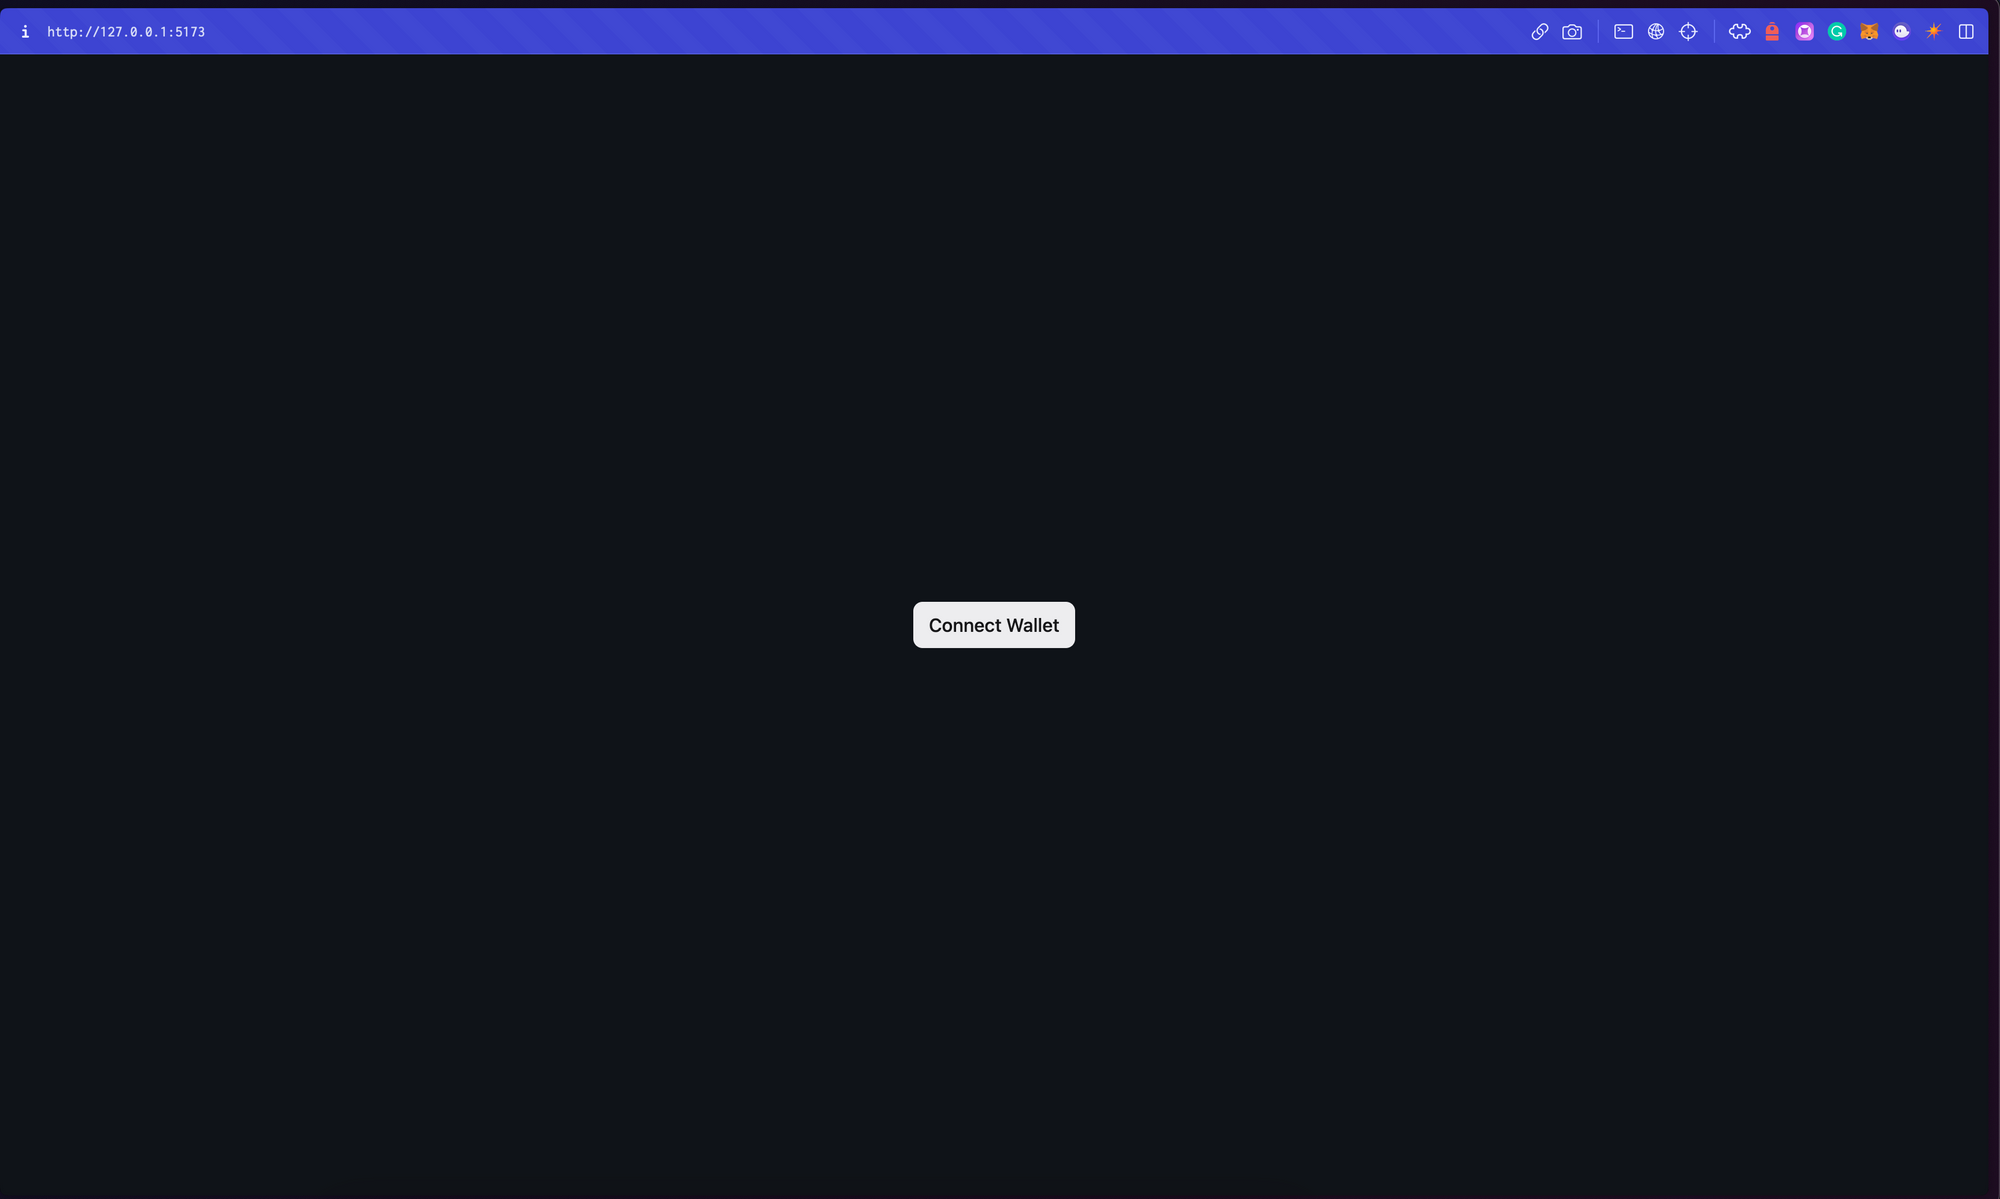
Once you connect your wallet, you will see the button's text change from "Connect Wallet" to "Claim". Click on Claim to claim the first NFT from your dApp! 🎉

Let's now deploy our application to IPFS, so that anyone can access it!
Deploying the frontend
Let's now deploy our dApp to IPFS. We will again use the thirdweb CLI. So, run this command to deploy your app:
yarn deployThis will build out the application, upload it to IPFS, and return the URL where your dApp is hosted. You can share this URL with anyone, and they can claim your NFTs! 🥳
If you do not want to deploy your app on IPFS, you can even use a centralised service like Netlify or Vercel to deploy your application.
Wrapping up
This guide taught us how to create a smart contract, deploy it, use the smart contract on a frontend site, and deploy it on IPFS.
You learned a lot, now pat yourself on the back and share your amazing apps with us on the thirdweb discord!
Need help?
For support, join the official thirdweb Discord server or share your thoughts on our feedback board.