Getting Started with thirdweb Engine: A Step-by-Step Guide

thirdweb Engine is a powerful tool designed to manage transactions with features like automated retries, gas and nonce management, and more. This guide walks you through the process of setting up and getting started with thirdweb Engine to optimize your blockchain projects.
Step 1: Creating an Engine Instance
To begin, log into your thirdweb Dashboard and navigate to the "Engine" tab. Here, you'll create a new Engine instance tailored to your use case.
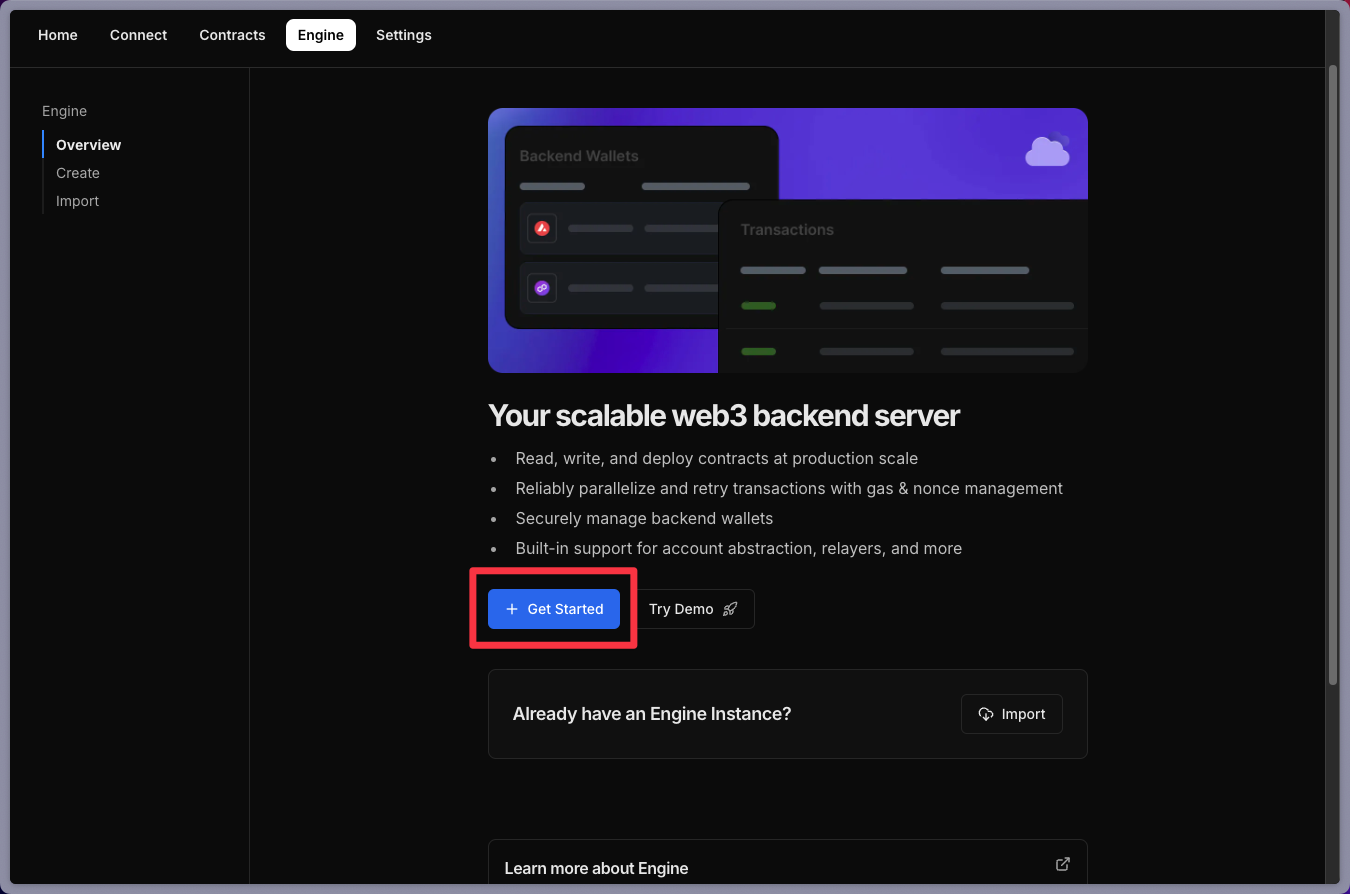
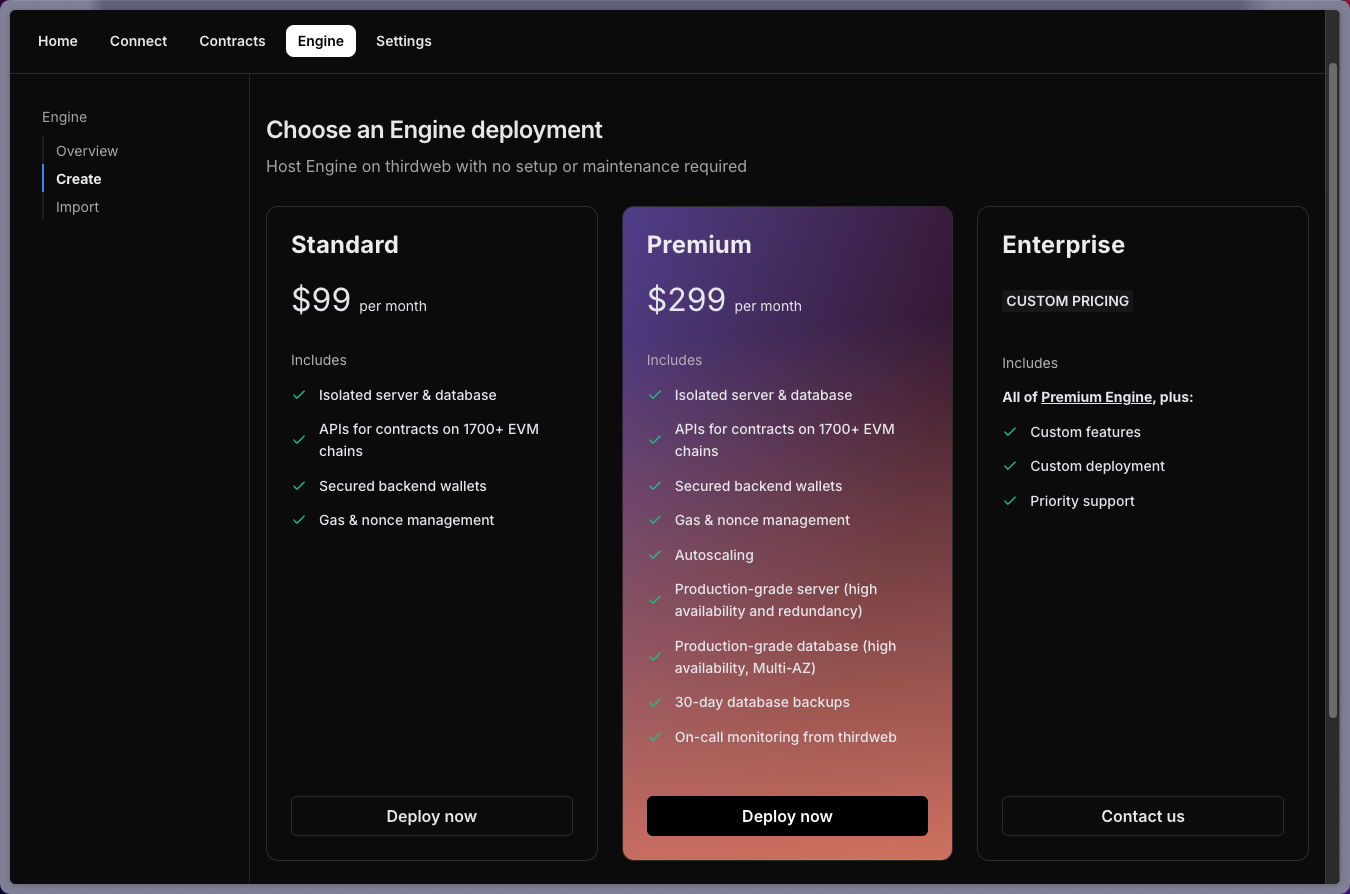
thirdweb offers three different tiers of Engine instances, each suited to different levels of transaction throughput and scaling needs. For those just starting out, the standard tier is typically sufficient. Once you've selected your tier, click "Deploy Now" and confirm your choice.
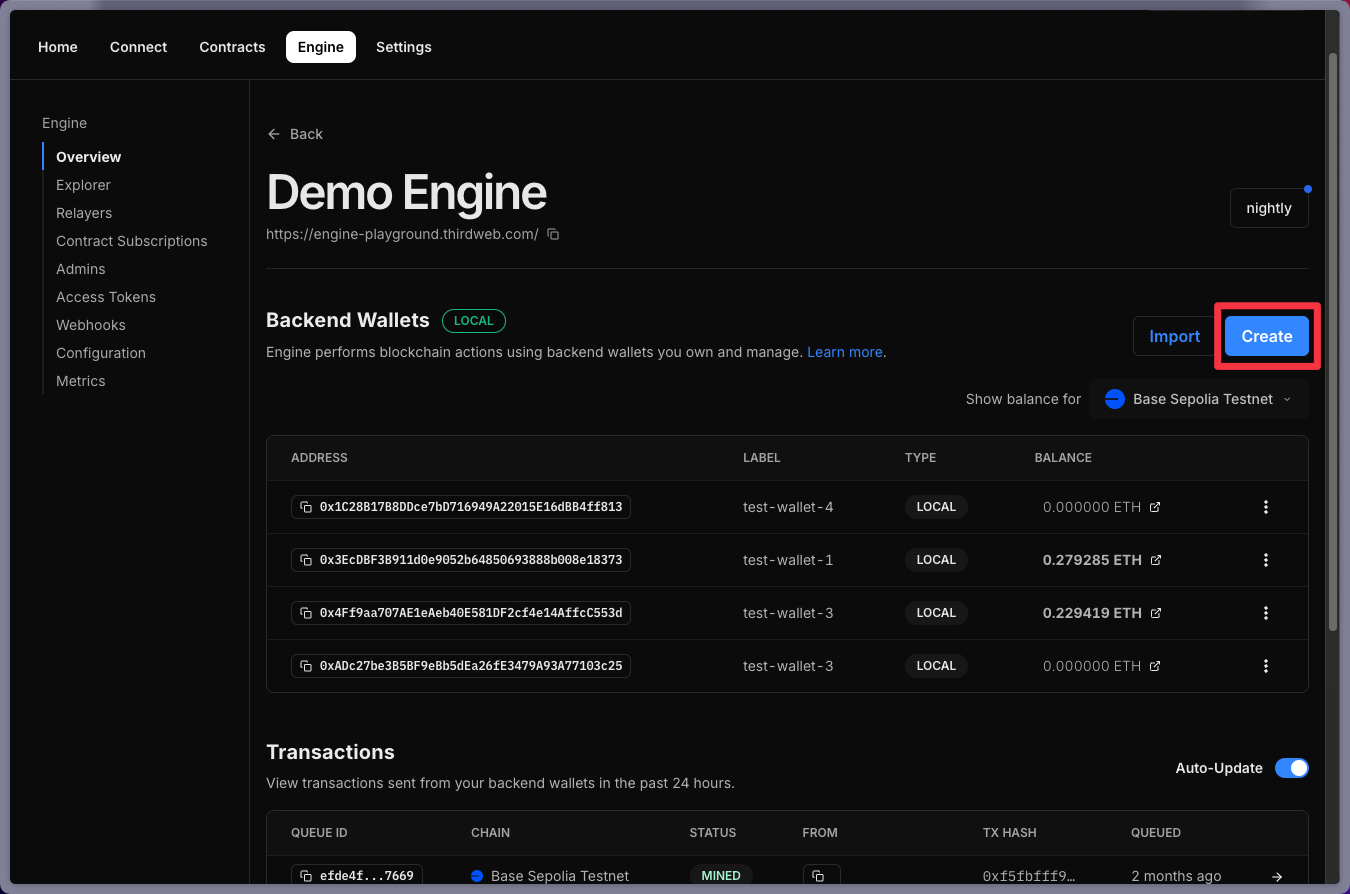
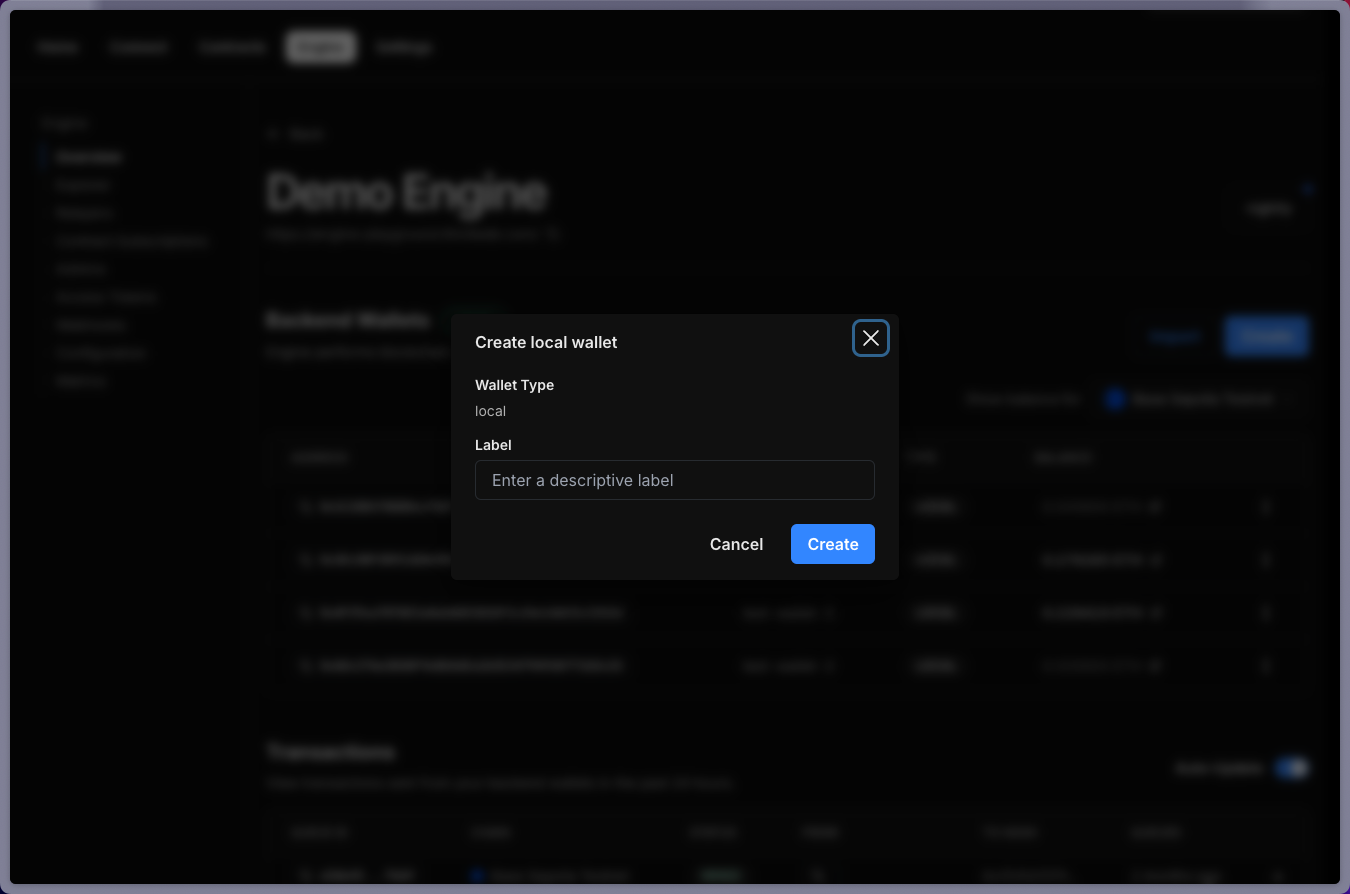
Step 2: Setting Up Backend Wallets
After deploying your Engine instance, the next step is to set up backend wallets. These wallets are integral to your Engine instance, as they handle gas sponsorship and can perform transactions on behalf of your users.
To create a backend wallet, click the blue "Create" button, assign a label (e.g., "Test Wallet 1"), and confirm the creation. It's important to fund these wallets, especially if you'll be sponsoring gas fees or conducting transactions for your users. Ensure that your backend wallet has sufficient funds for the intended operations.
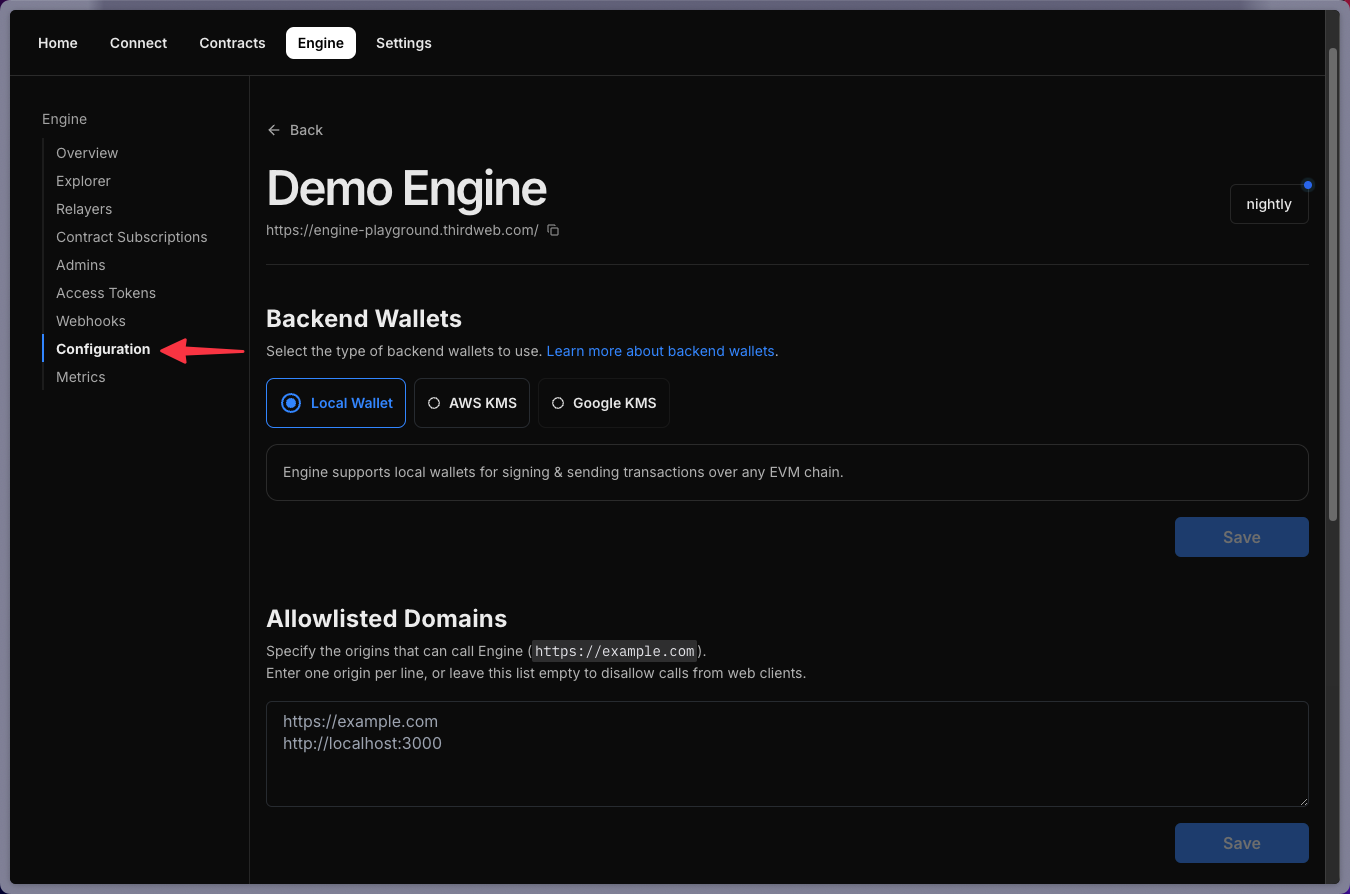
Step 3: Configuring Allow Lists and IP Settings
Next, you'll need to configure your allow list domain and IP settings. This step is similar to setting up an API key allow list for your client ID and secret key. You can specify the domains and IPs that are permitted to interact with your Engine instance. After setting these, don’t forget to click the "Save" button to ensure your configurations are applied correctly.
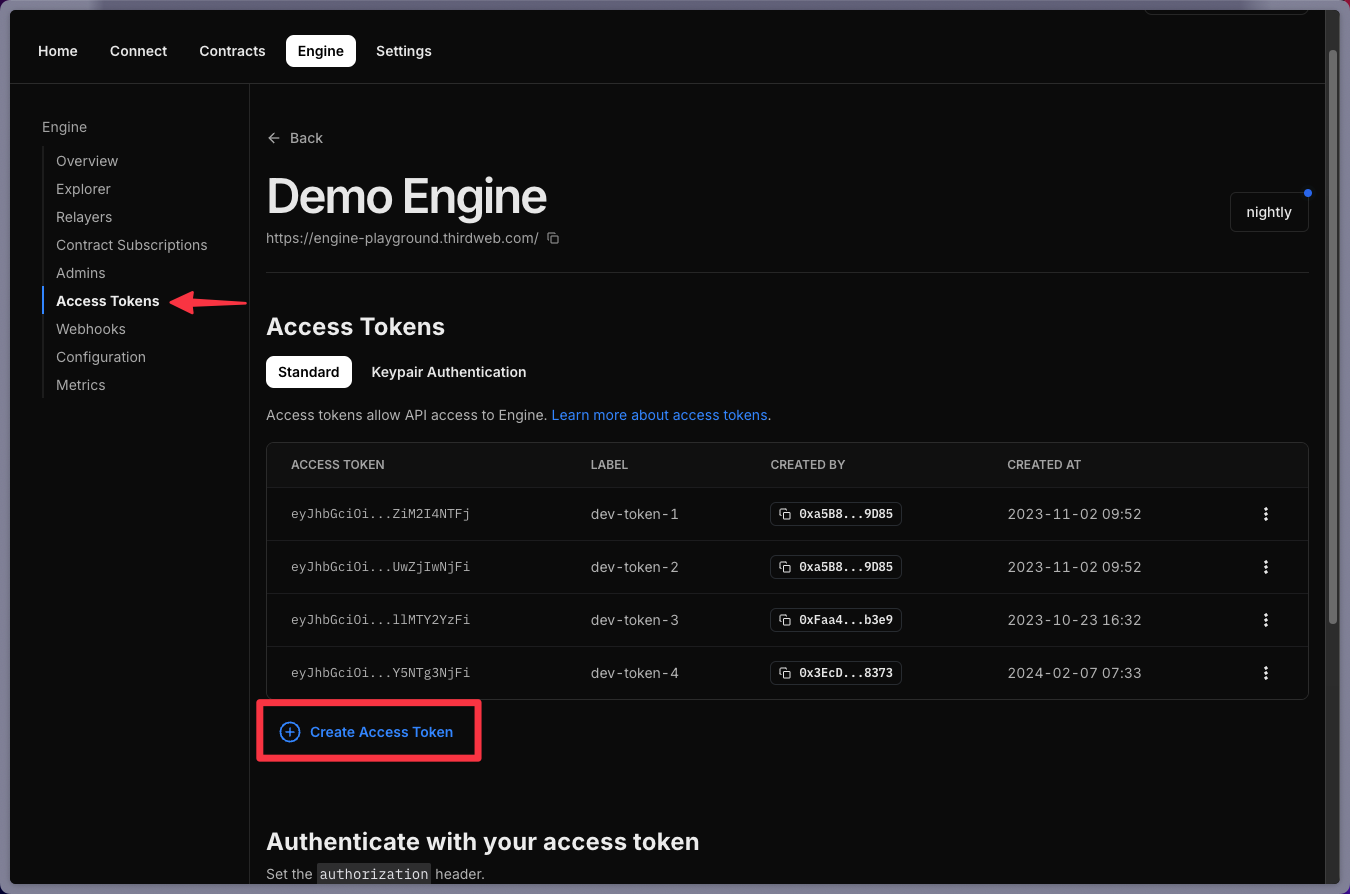
Step 4: Generating and Managing Access Tokens
Access tokens are essential for making requests to your Engine instance, whether they are GET or POST requests. To generate an access token, click the "Create Access Token" button. Note that the token will only be displayed once, so make sure to copy it and store it securely using your preferred management system. After confirming that the token is secured, it will be added to your list of access tokens for future use in Engine requests.
Conclusion
With your Engine instance deployed, backend wallets set up, allow lists configured, and access tokens generated, you're now ready to start using thirdweb Engine to manage your blockchain transactions efficiently. By following these steps, you’ll be well-equipped to handle automated transactions, gas management, and more.
If you have any questions or need further assistance, thirdweb’s support team is always available to help. Until next time, happy building!