Getting started with React Native and thirdweb

⚠️ Warning: This guide currently uses v4 of the Connect SDK. For v5 (latest) code snippets, please check out our documentation while this guide is being updated. ⚠️
In this guide we will see how you can use React Native with thirdweb and have the same ease of use as the React SDK. Recently, we added support for React Native in our SDKs that should allow you to do everything – right from connecting wallets to interacting with contracts.
As a tutorial, in this guide we will create an app that allows you to view an NFT and allow you to claim it. It will be powered by our Edition Drop contract under the hood.
Creating a Web3 React Native app
To quickly create a Web3 React Native app, you can use the following command in your terminal (make sure your machine is set up for React Native):
npx thirdweb@nightly create --template react-native-typescript-starterAfter running the command, you should be asked your desired project name:
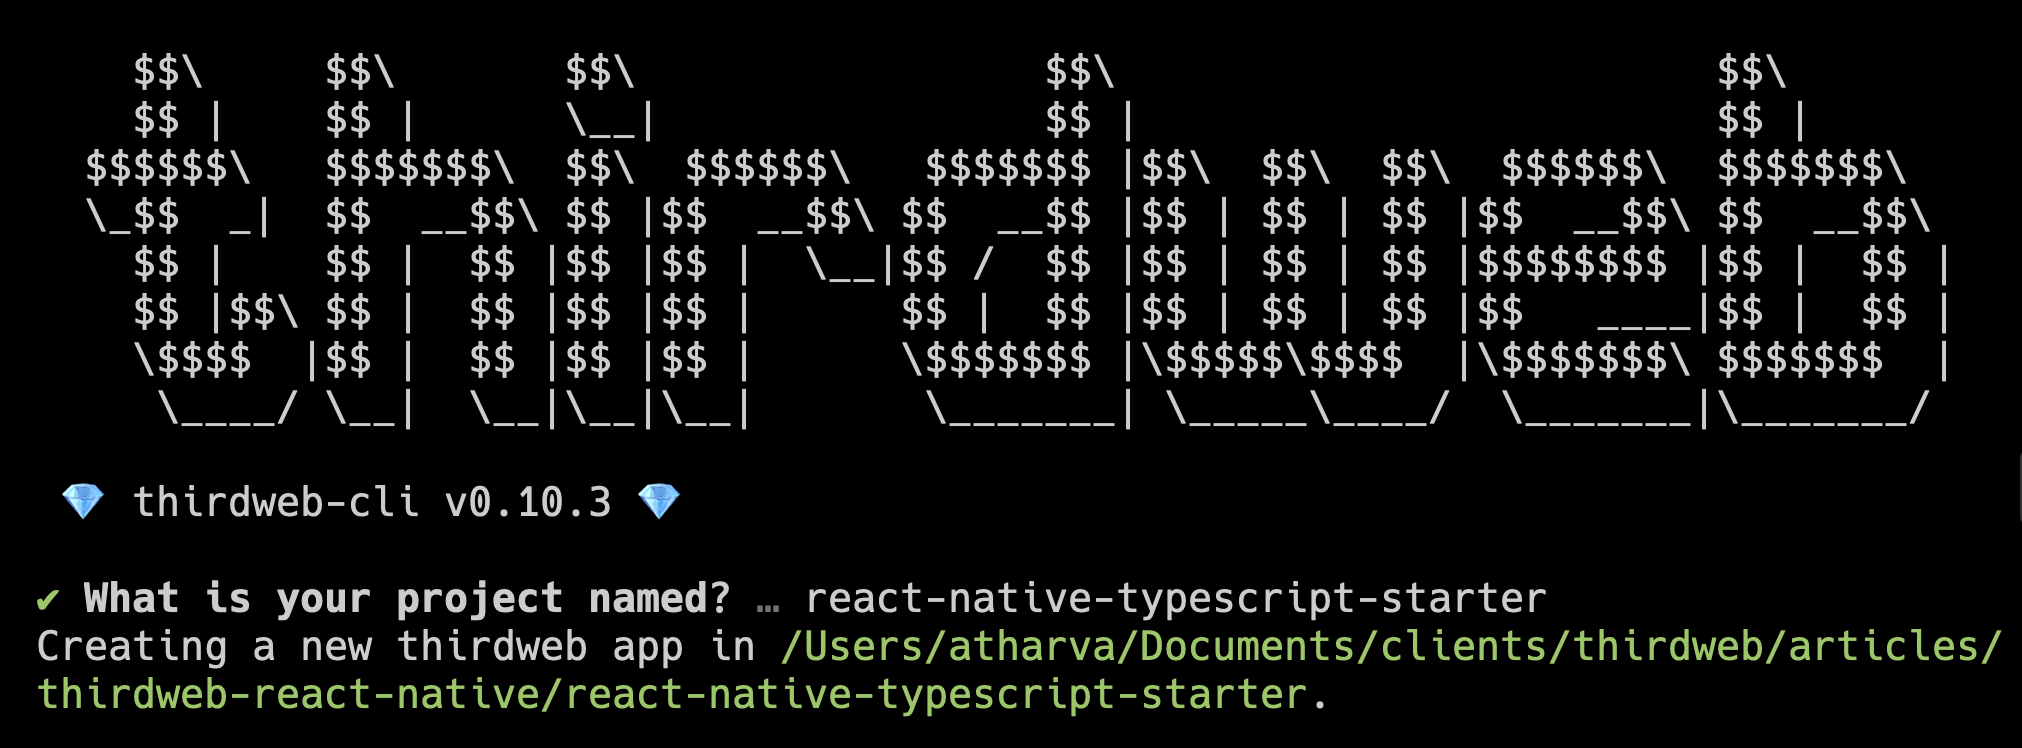
Input a project name and hit enter. This should start creating your project and install the dependencies for it.
Now, let's deploy our contract, and then we will get back to coding our app.
Deploying an NFT Drop contract
Head towards the Edition Drop deploy page and click on Deploy Now. You should be prompted by the following options to deploy:
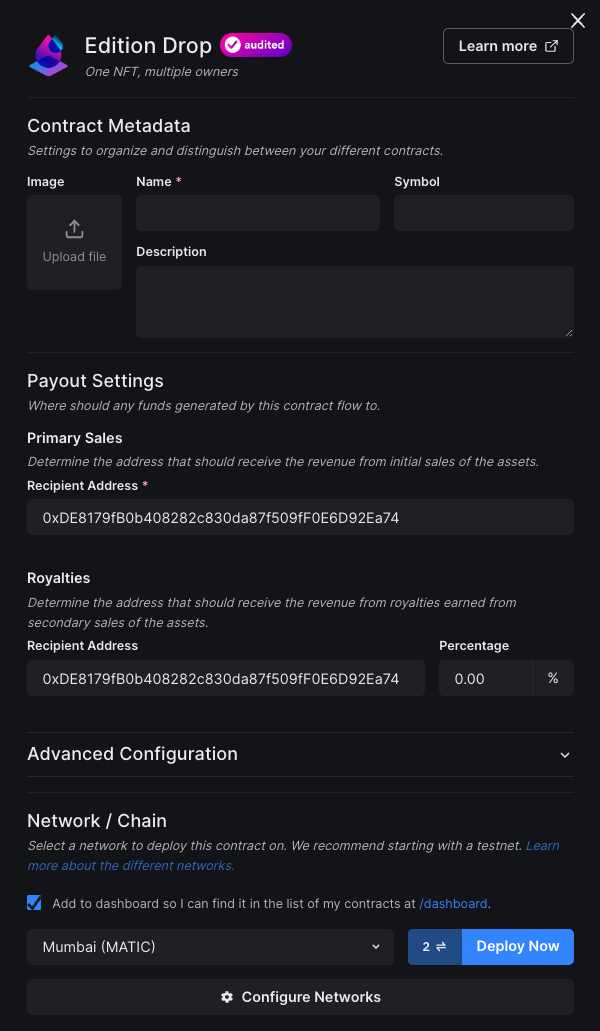
Fill in the form with the information you desire and click on Deploy Now. This should prompt for authorization on your connected wallet. On approval of the transaction, your contract will be deployed and you will be redirected to the contract dashboard:
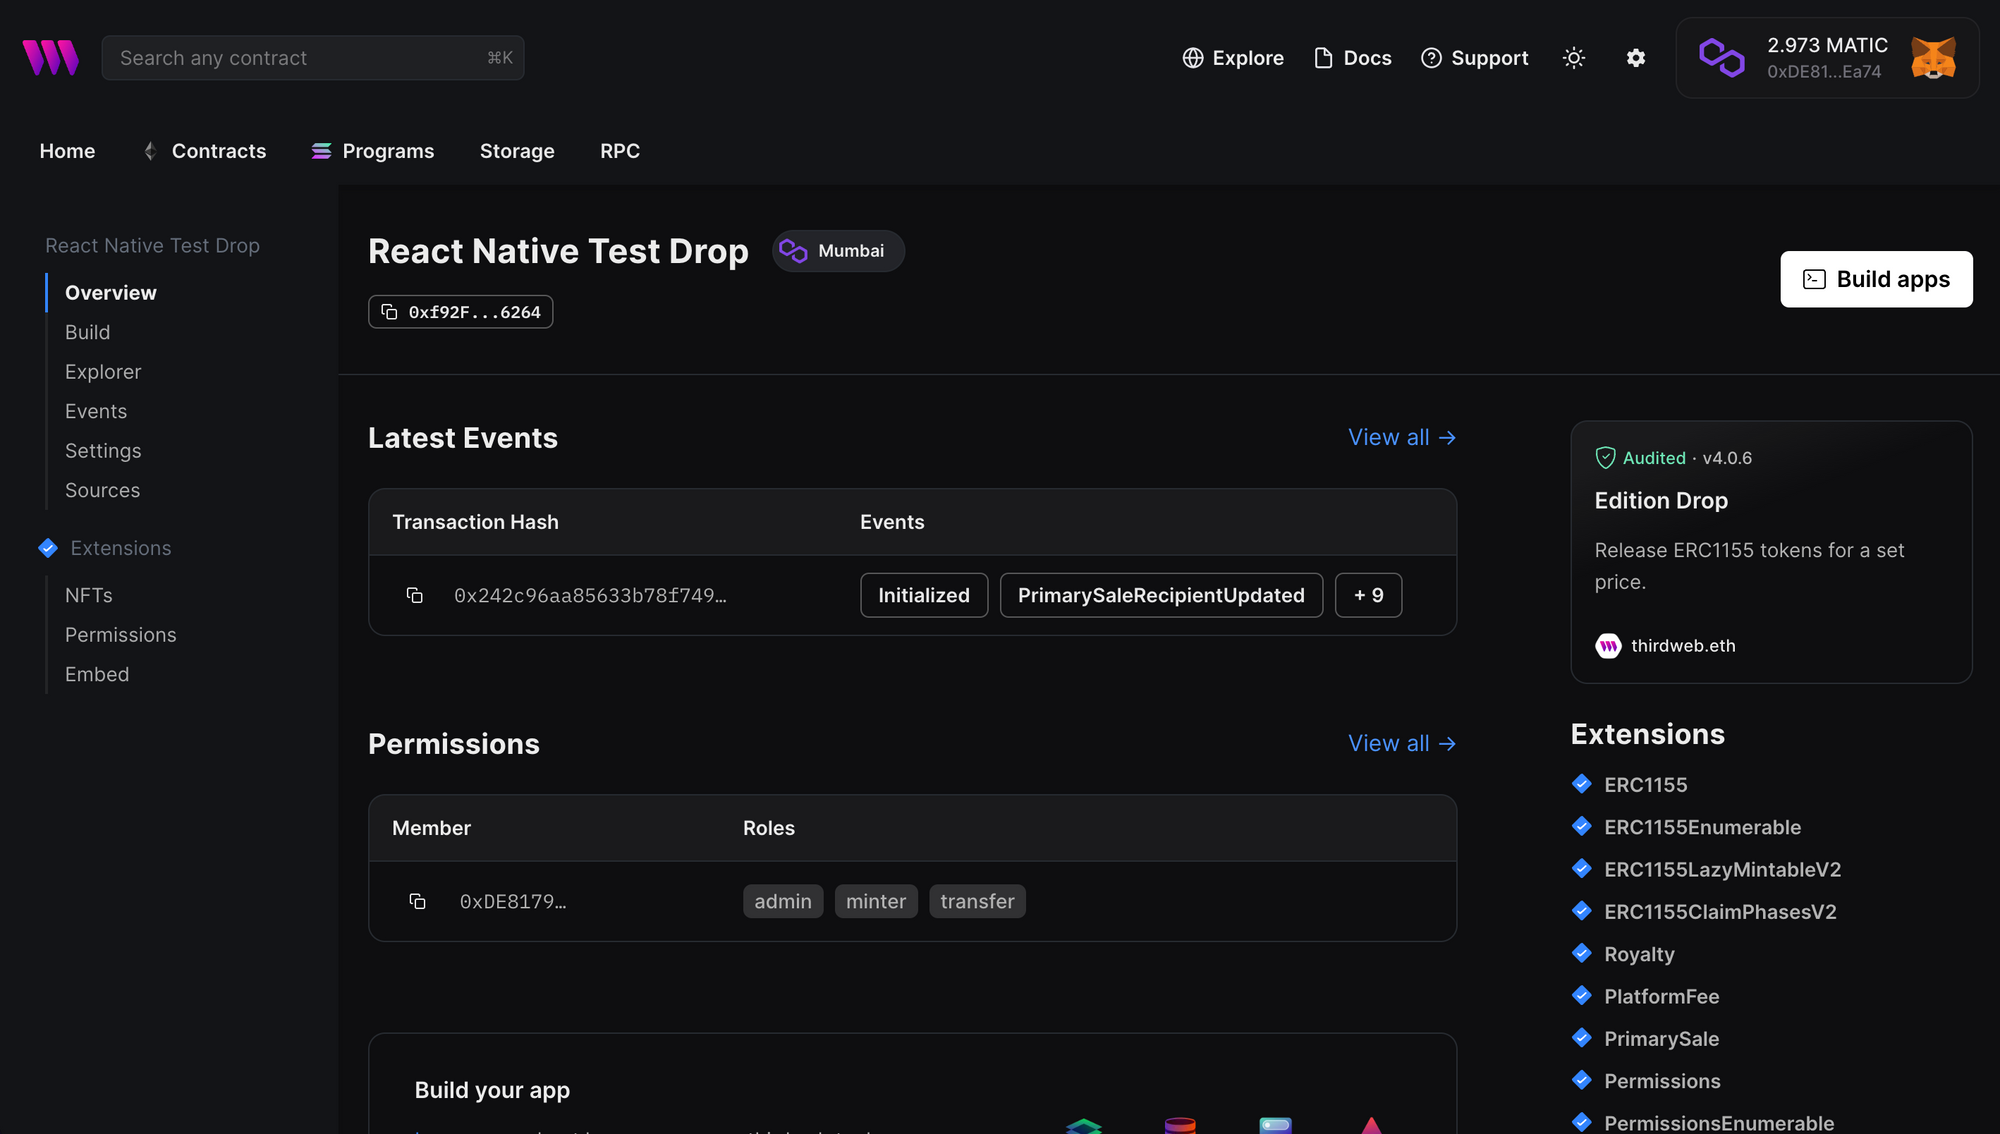
Now, click on the NFTs tab on the left sidebar and click on the Single Upload button. You should be presented with the following drawer with options to mint your NFT:
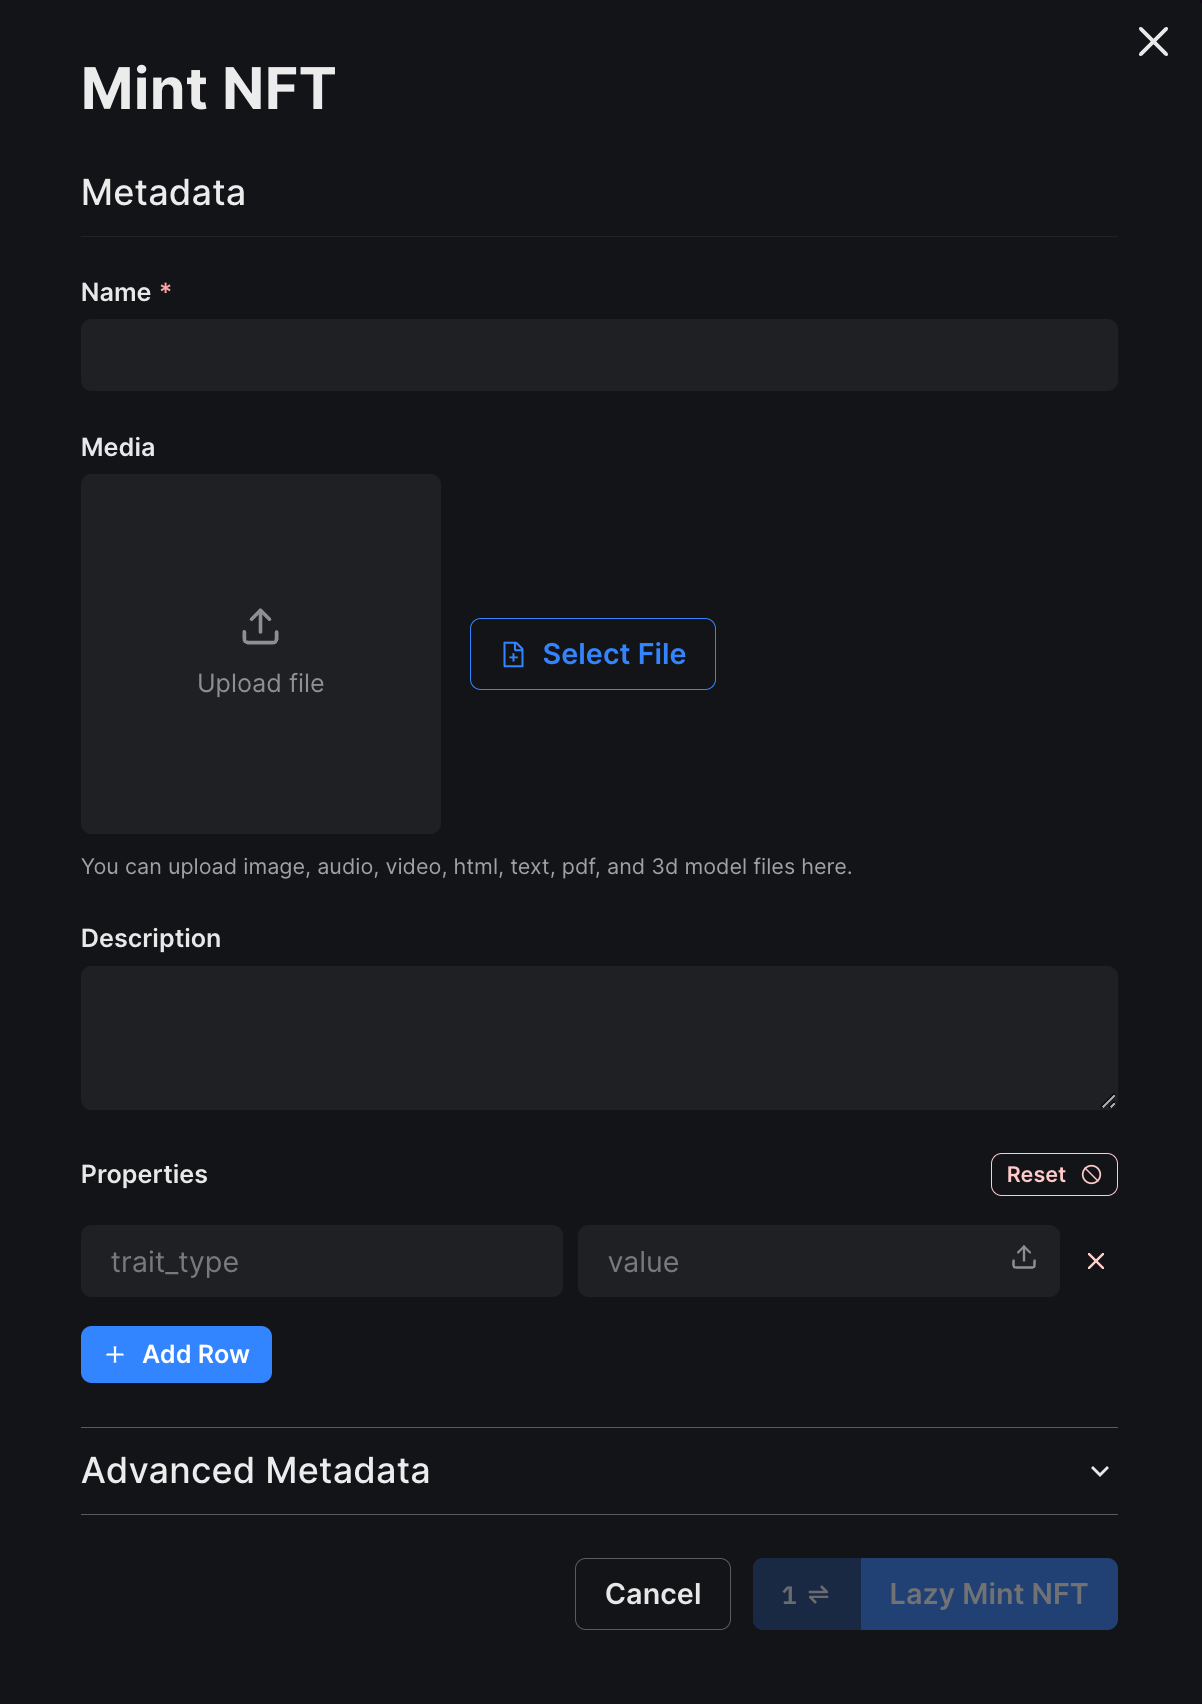
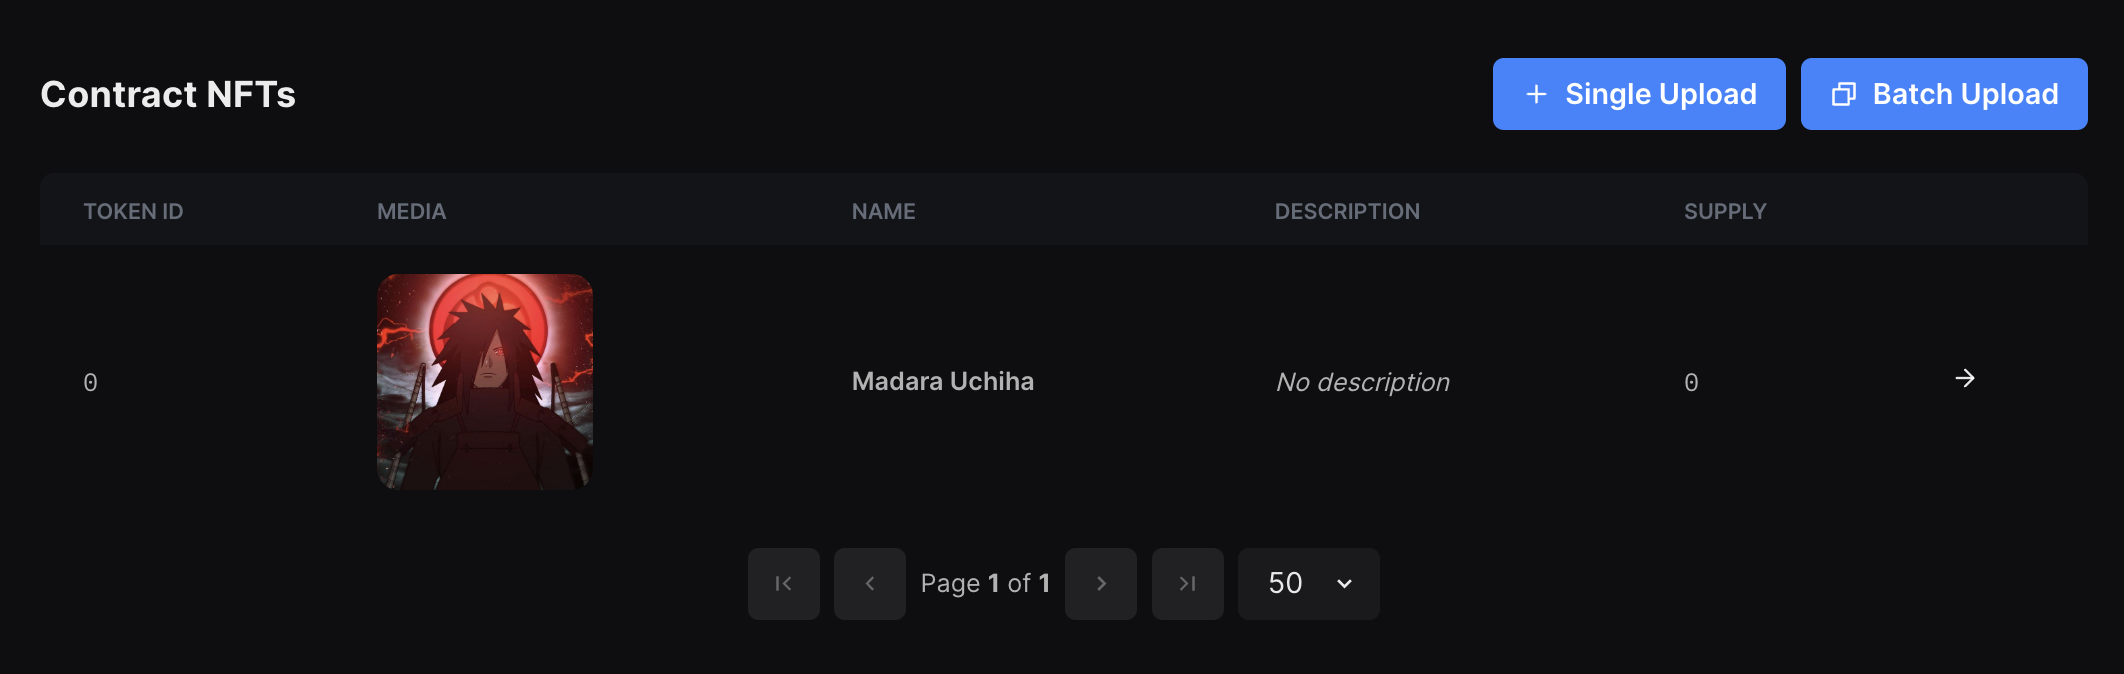
Enter your desired details and click on Lazy Mint NFT and approve the transaction that appears shortly. After the lazy minting is complete, you should now see the NFT on the dashboard:
Now click on the NFT and click on Claim Conditions. Set a desired claim condition. For testing, I'd recommend starting a claim phase at an immediate time. You can set the price as you desire. Once you've added the claim phase, click on Save Phases. This should trigger a transaction, which when approved, should save the claim conditions.
Our contract is now ready to be integrated with our React Native app.
Integrating contract into React Native app
Create a new file called Drop.tsx in the project root and have the following contents:
import {
  useContract,
  useNFT,
  Web3Button,
} from '@thirdweb-dev/react-native';
import {
  Alert,
  Image,
  SafeAreaView,
  StyleSheet,
  useColorScheme,
  View,
} from 'react-native';
import React from 'react';
import { Colors } from 'react-native/Libraries/NewAppScreen';

const Drop = () => {
  const { contract } = useContract(
    '0xf92F6351022CA458EA5d0FA8854A014B50aE6264',
    'edition-drop',
  );
  const { data: nfts } = useNFT(contract, 0);

  const isDarkMode = useColorScheme() === 'dark';
  const backgroundStyle = {
    backgroundColor: isDarkMode ? Colors.darker : Colors.lighter,
  };

  return (
    <SafeAreaView style={backgroundStyle}>
      <View style={styles.view}>
        <Image
          source={{ uri: nfts?.metadata?.image || '' }}
          style={{ width: 200, height: 200 }}
        />

        <Web3Button
          contractAddress="0xf92F6351022CA458EA5d0FA8854A014B50aE6264"
          onSuccess={() => {
            Alert.alert('claimed!');
          }}
          action={contract => contract.erc1155.claim(0, 1)}>
          Claim
        </Web3Button>
      </View>
    </SafeAreaView>
  );
};

const styles = StyleSheet.create({
  view: {
    height: '100%',
    display: 'flex',
    justifyContent: 'space-evenly',
    alignItems: 'center',
    alignContent: 'center',
  },
});

export default Drop;
In the above code, similar to our React SDK, we are using a Web3Button to claim an NFT from our Edition Drop contract.
Now, open the App.tsx file and replace the AppInner component with the following code:
const AppInner = () => {
  const isDarkMode = useColorScheme() === 'dark';
  const backgroundStyle = {
    backgroundColor: isDarkMode ? Colors.darker : Colors.lighter,
  };

  const textStyles = {
    color: isDarkMode ? Colors.white : Colors.black,
    ...styles.heading,
  };

  return (
    <SafeAreaView style={backgroundStyle}>
      <View style={styles.view}>
        <Drop />
      </View>
    </SafeAreaView>
  );
};
Make sure you change the contract address to your Edition Drop contract.
Also you can change the supported wallets by editing supportedWallets array in the ThirdwebProvider component:
const App = () => {
  return (
    <ThirdwebProvider
      activeChain="mumbai"
      supportedWallets={[metamaskWallet(), coinbaseWallet()]}>
      <AppInner />
    </ThirdwebProvider>
  );
};
Currently, support metamaskWallet(), coinbaseWallet(), rainbowWallet() and trustWallet().
Running the app
You can use the following commands in your terminal to run the app:
# android
yarn android

# ios
yarn ios
It's recommended to use a physical device for testing as not a lot of wallets support being installed in a simulator/emulator. If you face any issues running, make sure your React Native setup is properly set up. To run iOS app on physical device, you might need to run it through Xcode depending on your configuration.
Now, your app should compile and pop up on your device:
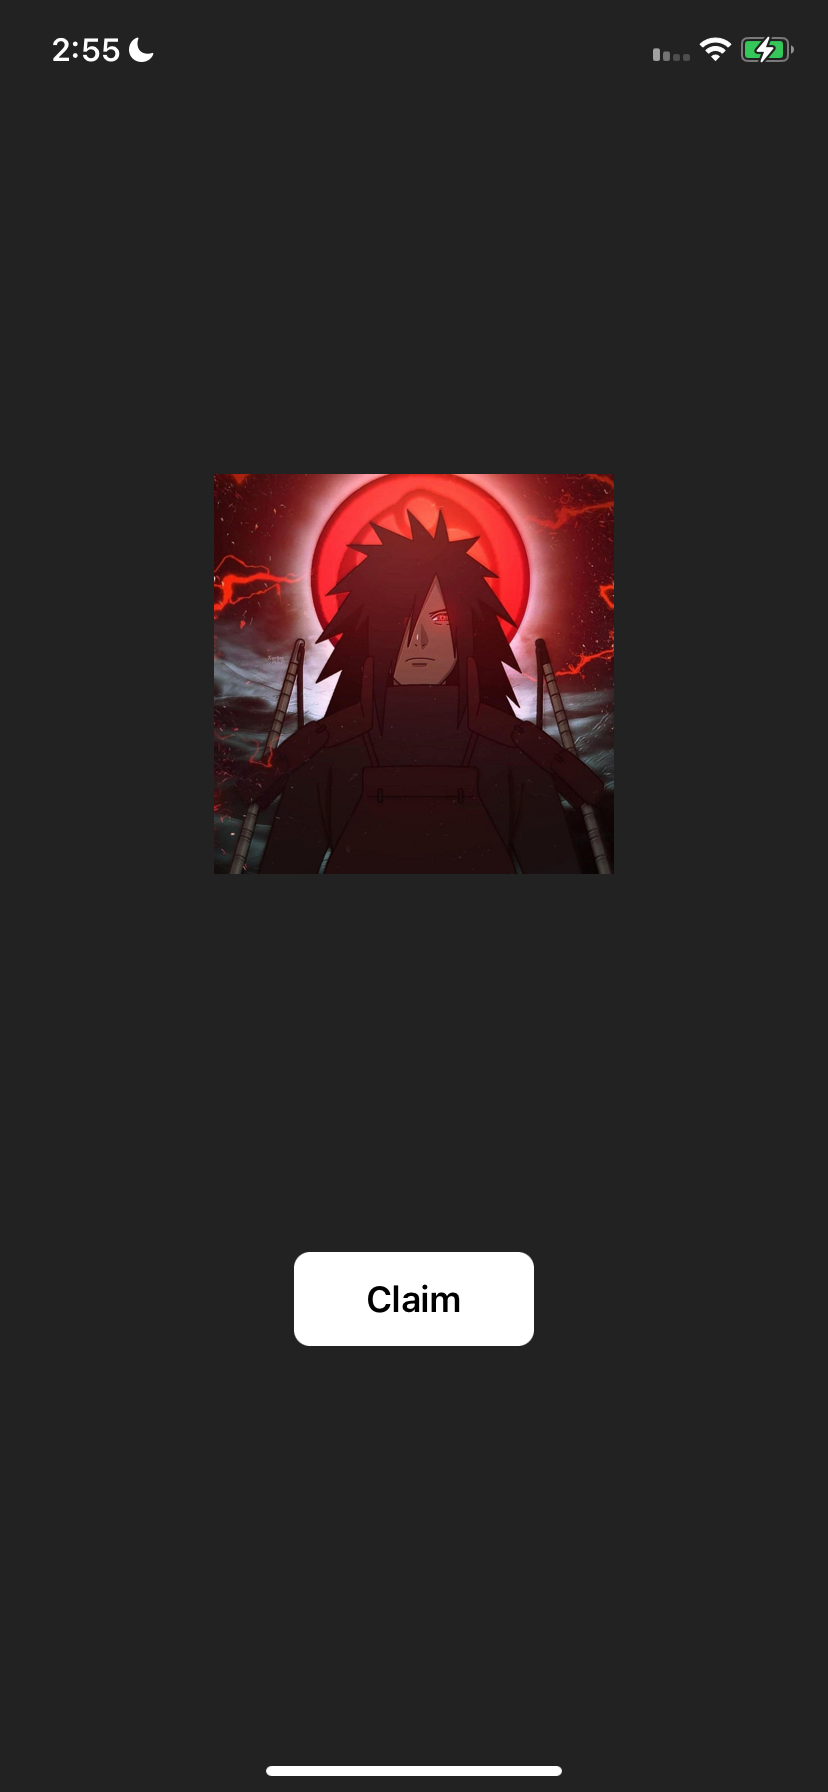
If you don't already have a connected wallet, you will be prompted to connect one either using MetaMask or Coinbase wallet. You can add Rainbow wallet in App.tsx although it doesn't support Polygon Mumbai testnet so we have not used it in this tutorial.
After connecting your wallet you should see the Claim button. After clicking it, your wallet app should open and ask for authorization. After authorization, the NFT will be claimed to the connected wallet.
Conclusion
In this guide, we saw how you can use React Native with thirdweb and use the same ease-of-use of the React SDK in React Native with native wallets such as MetaMask mobile, Coinbase wallet mobile, etc.
Need help?
For support, join the official thirdweb Discord server or share your thoughts on our feedback board.