How to Create an ERC-20 Token Staking App

⚠️ Warning: This guide currently uses v4 of the Connect SDK. For v5 (latest) code snippets, please check out our documentation while this guide is being updated. ⚠️
This guide will show you how to create your ERC-20 staking web application, which rewards your users with ERC-20 tokens for staking other ERC-20 tokens!
We'll show you how to:
- Deploy the prebuilt ERC-20 staking contract to any EVM-compatible network.
- Create a web application for users to stake their tokens and claim rewards.
Let's get started!
Deploying & Configuring the Contract
We'll follow the steps below to set up our staking contract ready for users to start interacting with it:
- Deploy an ERC-20 token for staking tokens
- Deploy an ERC-20 token for reward tokens
- Deploy the staking contract
- Deposit reward tokens to the staking contract so that rewards are claimable by users
Once that is done, the staking contract is usable; anyone can stake tokens in it and claim their rewards.
Deploying Staking Token Smart Contract
If you don't already have an ERC20 token that you want users to stake, head to the Token smart contract page on the thirdweb dashboard and click on the Deploy Now button.
Enter the metadata of your smart contract, select the network to deploy to, and click on Deploy Now. This should open up your connected wallet and you will be asked to approve a transaction. After approval, the contract will be deployed and you will be redirected to the contract dashboard:
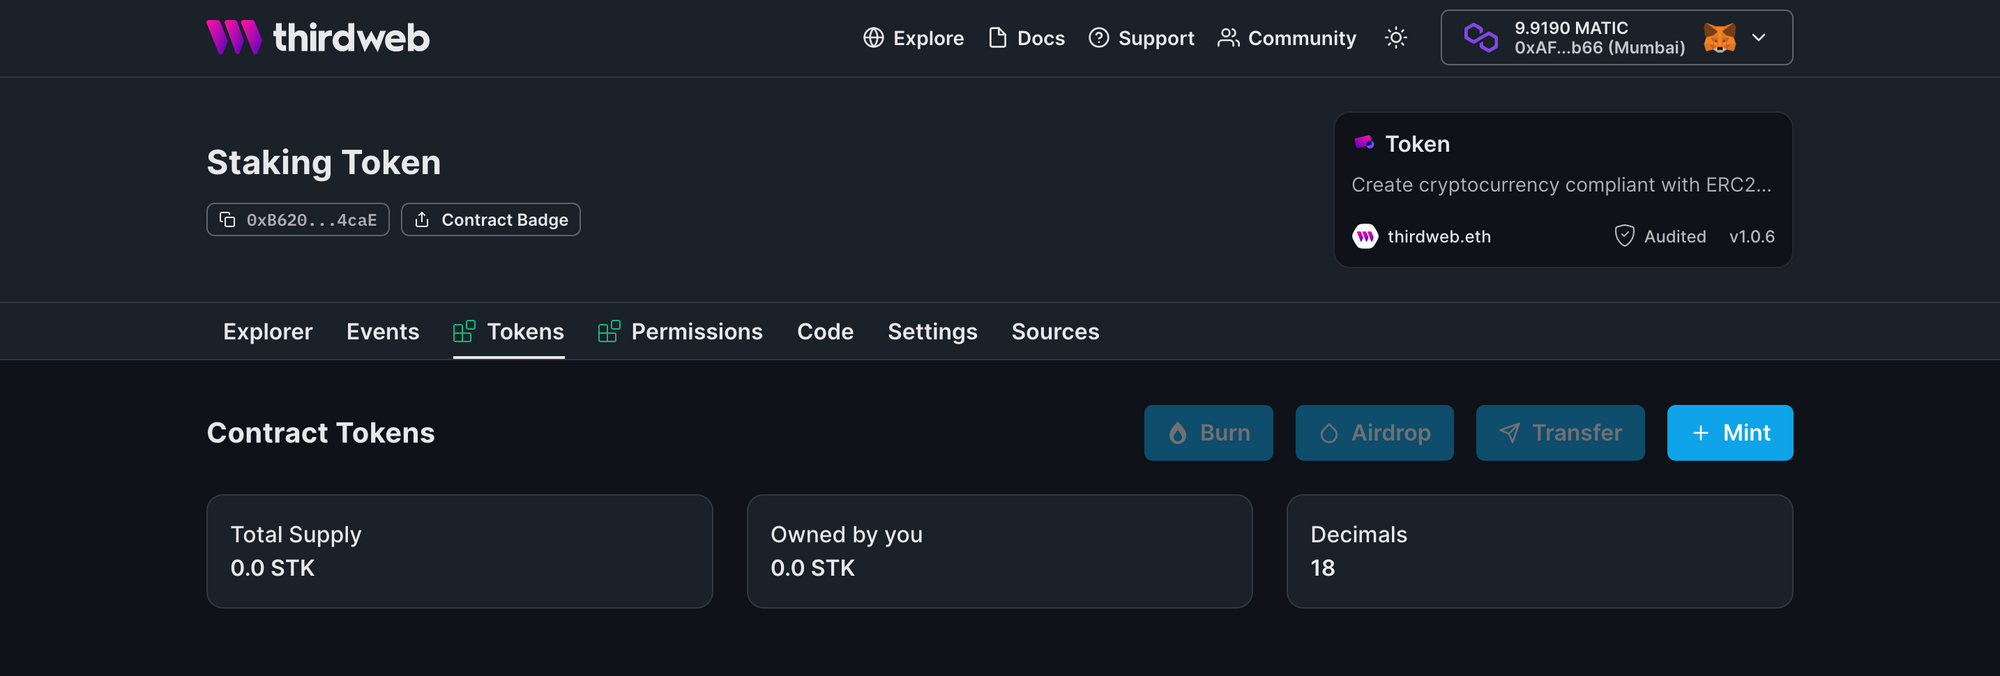
We recommend minting a few tokens using the Mint button, as these will be staked in the contract in the next steps.
Take note of the smart contract address, (beneath the name), as we'll need this to deploy our staking contract shortly.
Deploying Reward Token Smart Contract
Create a new token contract that will act as the reward token. Follow the same steps as done for the staking token contract.
Deploying the Staking Smart Contract
Head to the TokenStake contract deployment page and click on Deploy Now. You should now be asked for details about your contract:
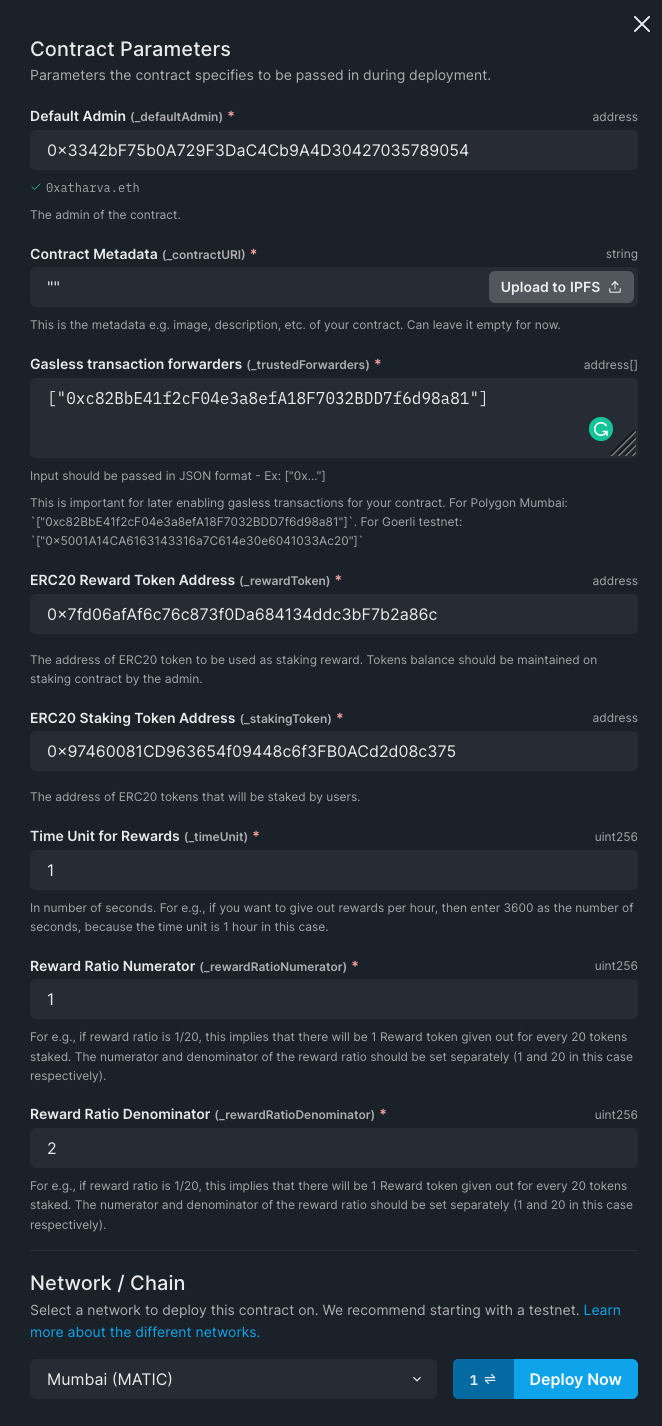
- Default Admin: the wallet that is allowed to change configuration of the contract and is the administrator of the contract.
- Time Units for Rewards: How many seconds before rewards are given. e.g.
1means every1second, a new amount of rewards are provided (you can update this value after deploying) - Rewards Ratio Numerator and Rewards Ratio Denominator: e.g. A ratio of
1/20would mean1reward token is given everytimeUnitfor every20tokens staked. - ERC-20 Staking Token Address: Smart contract address of the ERC20 token you want users to stake to the contract.
- ERC-20 Reward Token Address: Smart contract address of the ERC20 token you want users to be rewarded for staking.
For example, in the screenshot above, the users stake the 0x97 token; and are awarded 1/2 (half) the number of tokens they have staked of the 0x7F token every 1 second.
Finally, select the network you want to deploy to (this needs to be the same as your other smart contracts), and click Deploy Now!
Depositing Reward Tokens to Staking Contract
Before users can claim rewards, you must deposit sufficient reward tokens into the staking contract. Head to the reward token contract's dashboard, you should see a screen similar to the following:
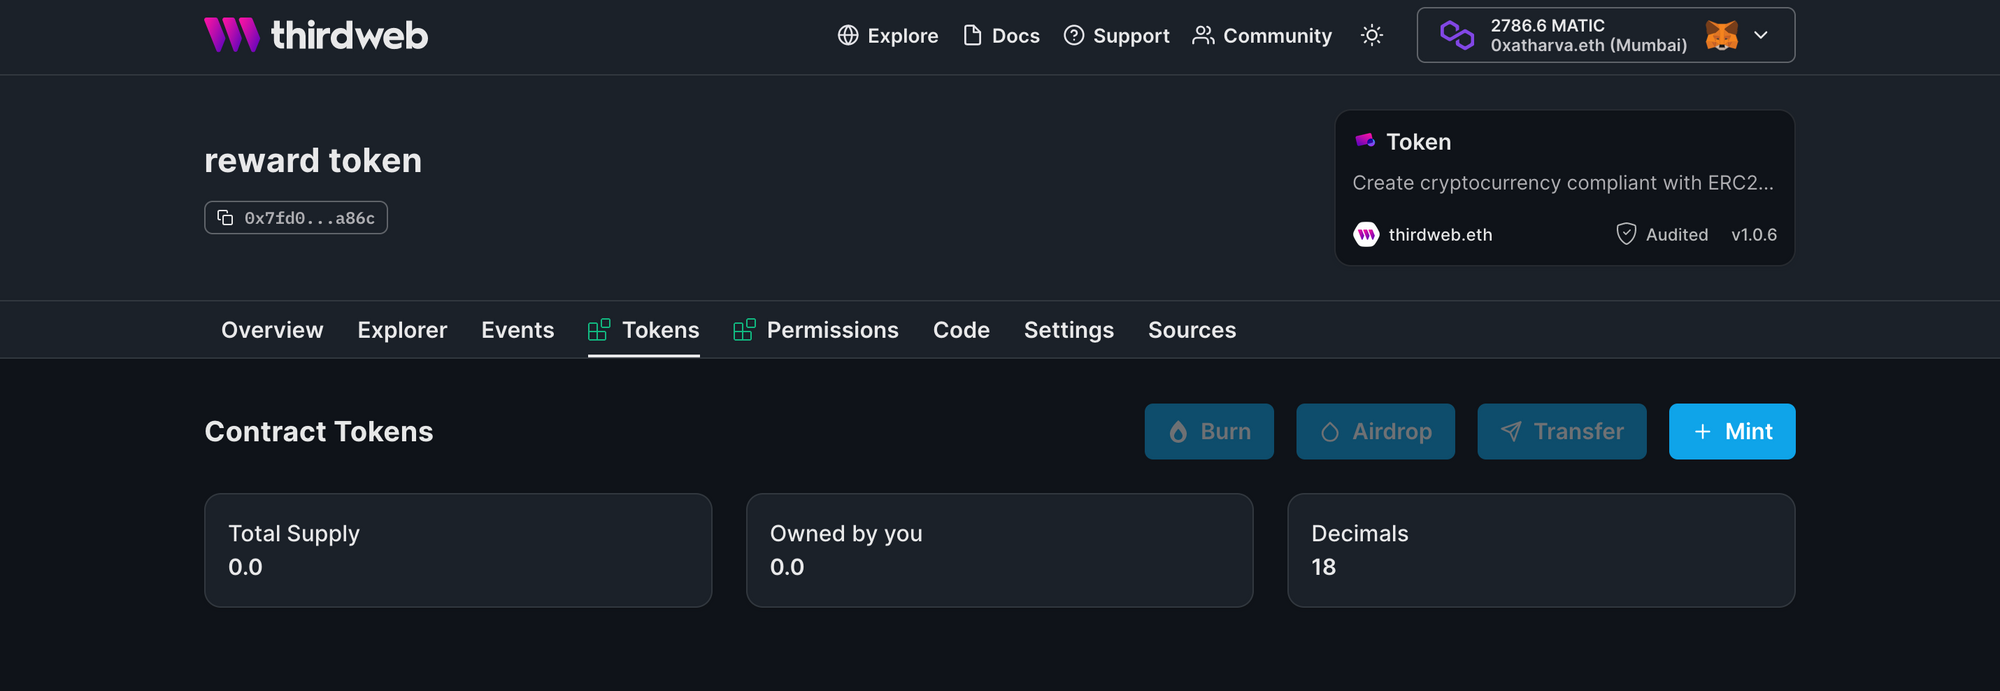
Click on Mint. You should be prompted with the number of tokens you desire to mint:
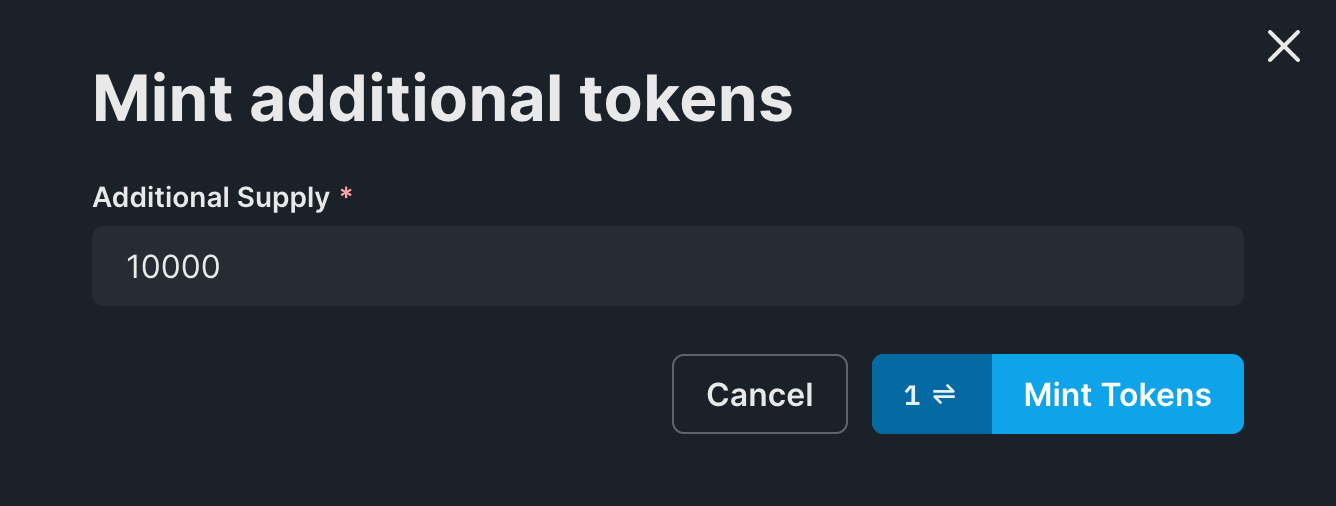
Enter the desired amount and click on Mint Rewards. You should be prompted to approve a transaction.
depositRewardTokens function, as we will see in the next steps. Any tokens sent directly are not claimable as rewards; these tokens will be lost with no chance of recovering them!We need to approve the staking contract to access the reward tokens in our wallet. Head to the Explorer tab and choose the approve function:

In the Spender field, add the staking contract address. In the Amount, enter the number of tokens you wish to deposit with 18 zeroes appended to it (since our token contract uses 18 decimals). So if you are depositing 10,000 tokens, enter 10000000000000000000000. Click on Execute to process the transaction.
Head to the staking contract dashboard's Explore tab and choose the depositRewardTokens function:
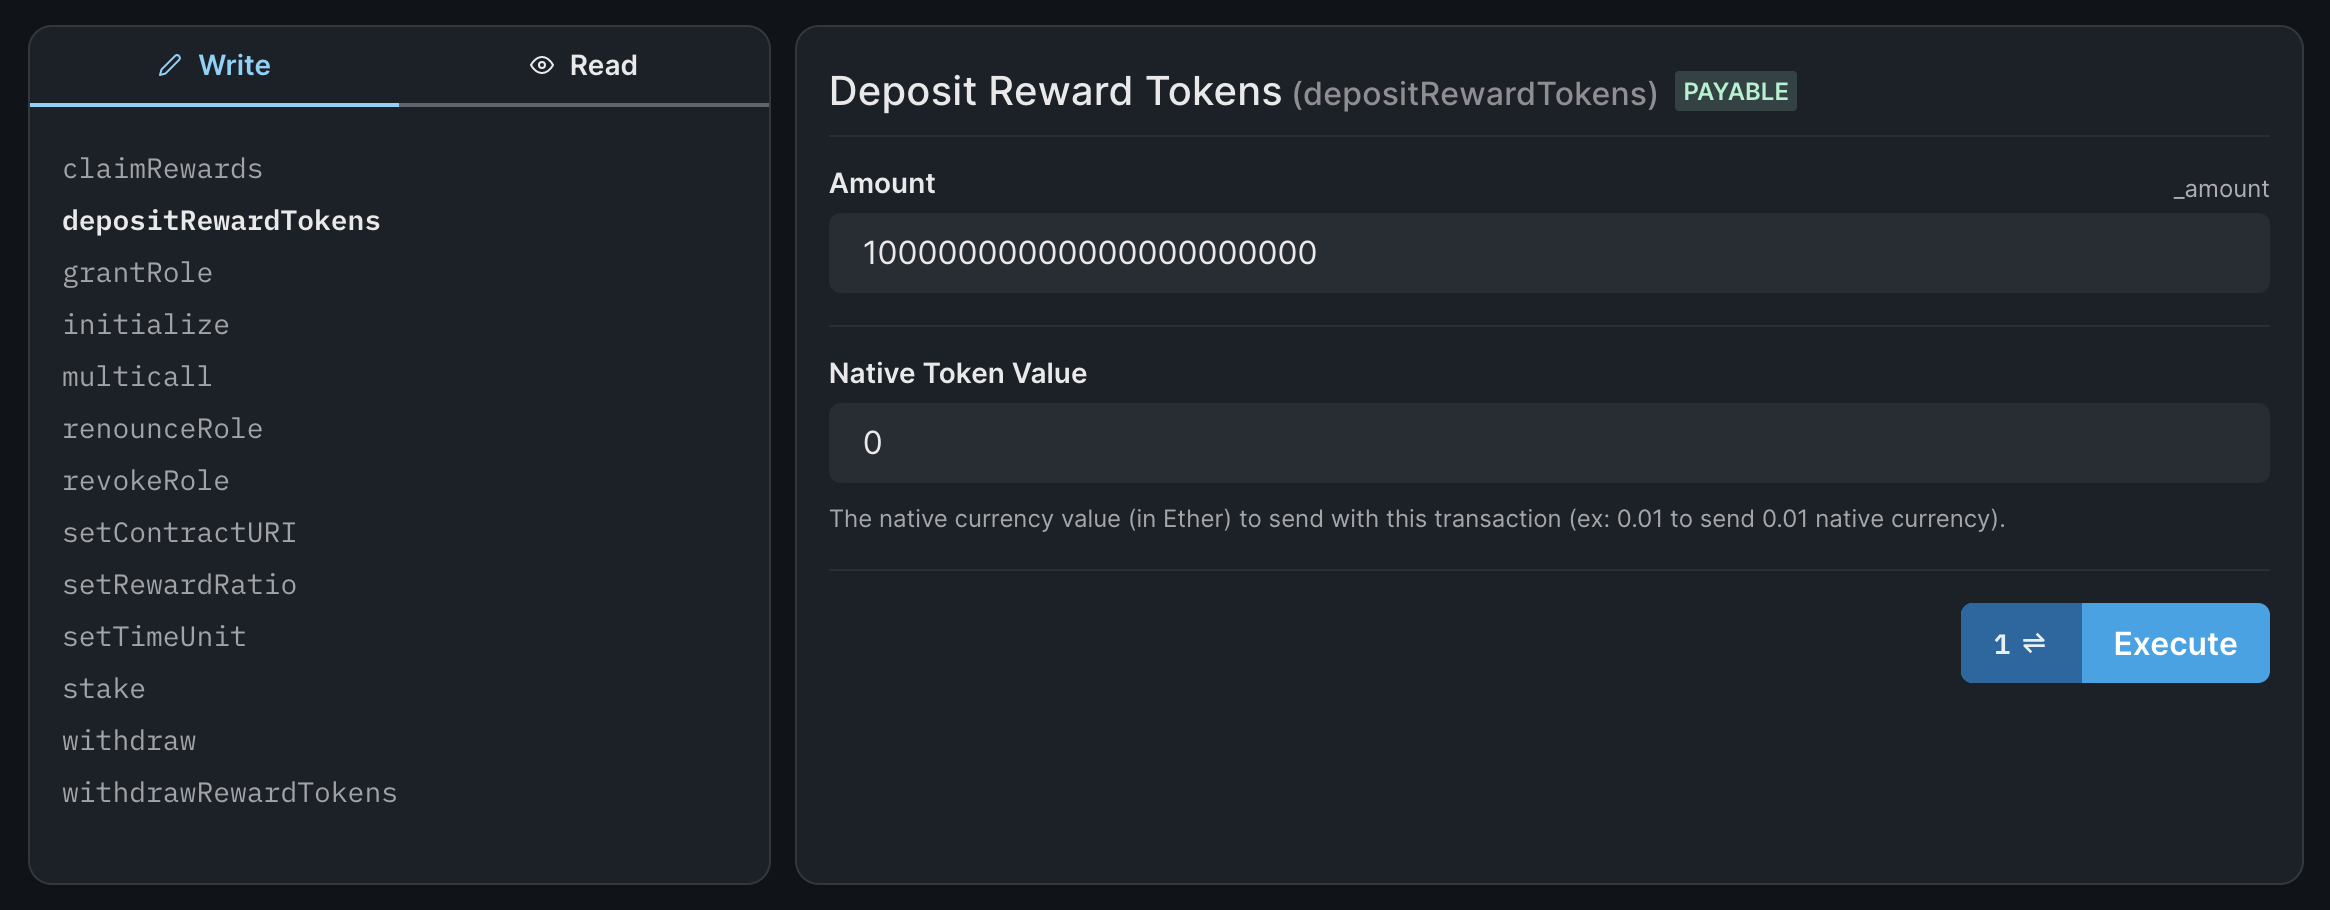
Follow the same instructions above for entering the amount of tokens to deposit. Click on Execute to process the transaction.
Now the tokens deposited by you in the staking contract are claimable as rewards by the users of your contract.
Creating the Staking Application
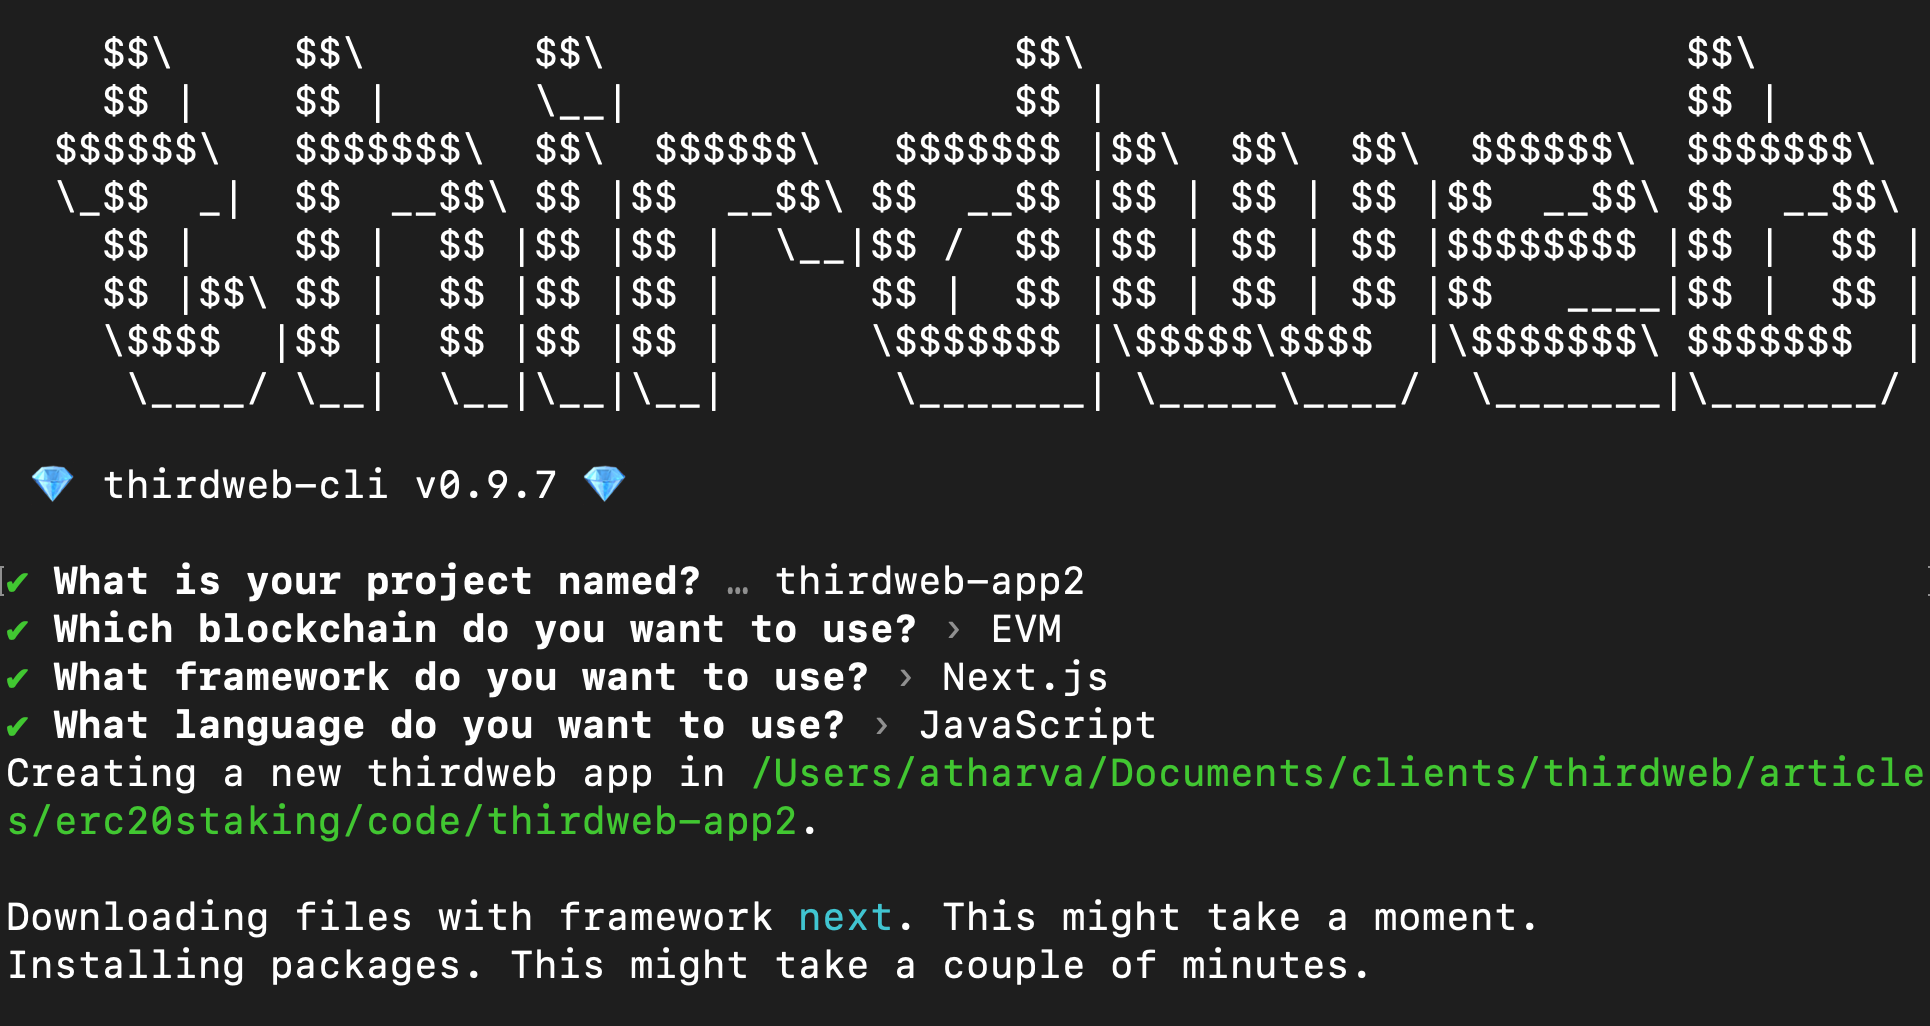
Now let's create a web application project that allows users to connect their wallet and interact with our smart contracts. In a safe directory, run the following command in your terminal to create an app with our SDK installed and configured:
npx thirdweb@latest create appOn running the above command, you should be presented with an app creation wizard with configuration choices.
After the app is created, make sure to head to _app.js and change the chain to the network you have your contracts deployed to.
For example, in this case, the contracts have been deployed on Polygon Mumbai so we will use Mumbai.
clientId to the ThirdwebProvider.Connecting to the Smart Contract
Create a new folder called const and create a file named yourDetails.js within this new folder. Add the following line of code to the file:
export const stakingContractAddress = "<staking_contract_address>";Remember to replace the value of the variable with your staking contract address.
Now, navigate to index.js file in the pages folder and let's load up the staking contract and other data using React hooks.
First, we'll use the useAddress() hook so that we can keep track of the connected wallet address at all times, and initialize a stateful variable called amountToStake that we will later map to a textbox to get input from the user.
const address = useAddress();
const [amountToStake, setAmountToStake] = useState(0);
Next, we'll initialize all our contracts using useContract:
const { contract: staking, isLoading: isStakingLoading } = useContract(
  stakingContractAddress,
  "custom"
);

const { contract: stakingToken, isLoading: isStakingTokenLoading } =
  useContract(stakingTokenAddress, "token");

const { contract: rewardToken, isLoading: isRewardTokenLoading } = useContract(
  rewardTokenAddress,
  "token"
);
Now we have our contracts, we can use the useTokenBalance hook to get the connected wallet's balance of both the staking token and reward token:
// Token balances
const { data: stakingTokenBalance, refetch: refetchStakingTokenBalance } =
  useTokenBalance(stakingToken, address);
const { data: rewardTokenBalance, refetch: refetchRewardTokenBalance } =
  useTokenBalance(rewardToken, address);
Finally, we can use the useContractRead hook to load the staking information for the current user, and use a setInterval inside of a useEffect block to re-fetch this data every 10 seconds.
// Get staking data
const {
  data: stakeInfo,
  refetch: refetchStakingInfo,
  isLoading: isStakeInfoLoading,
} = useContractRead(staking, "getStakeInfo", address || "0");

useEffect(() => {
  setInterval(() => {
    refetchData();
  }, 10000);
}, []);

const refetchData = () => {
  refetchRewardTokenBalance();
  refetchStakingTokenBalance();
  refetchStakingInfo();
};
We now have all the data our app with require from the contracts, now we need to display these values and create logic to stake user tokens.
Creating The UI
Now we can use the information we loaded from the hooks to render onto the UI, making use of the ConnectWallet button and Web3Button UI components.
We can add a button to allow user to stake, unstake, and claim their tokens:
<div className={styles.stakeContainer}>
  <input
    className={styles.textbox}
    type="number"
    value={amountToStake}
    onChange={(e) => setAmountToStake(e.target.value)}
  />
  <Web3Button
    className={styles.button}
    contractAddress={stakingContractAddress}
    action={async (contract) => {
      await stakingToken.setAllowance(
        stakingContractAddress,
        amountToStake
      );
      await contract.call(
        "stake",
        ethers.utils.parseEther(amountToStake)
      );
      alert("Tokens staked successfully!");
    }}
  >
    Stake!
  </Web3Button>

  <Web3Button
    className={styles.button}
    contractAddress={stakingContractAddress}
    action={async (contract) => {
      await contract.call(
        "withdraw",
        ethers.utils.parseEther(amountToStake)
      );
      alert("Tokens unstaked successfully!");
    }}
  >
    Unstake!
  </Web3Button>

  <Web3Button
    className={styles.button}
    contractAddress={stakingContractAddress}
    action={async (contract) => {
      await contract.call("claimRewards");
      alert("Rewards claimed successfully!");
    }}
  >
    Claim rewards!
  </Web3Button>
</div>
And a section to display the information we read from the hooks:
<div className={styles.grid}>
  <a className={styles.card}>
    <h2>Stake token balance</h2>
    <p>{stakingTokenBalance?.displayValue}</p>
  </a>

  <a className={styles.card}>
    <h2>Reward token balance</h2>
    <p>{rewardTokenBalance?.displayValue}</p>
  </a>

  <a className={styles.card}>
    <h2>Staked amount</h2>
    <p>
      {stakeInfo && ethers.utils.formatEther(stakeInfo[0].toString())}
    </p>
  </a>

  <a className={styles.card}>
    <h2>Current reward</h2>
    <p>
      {stakeInfo && ethers.utils.formatEther(stakeInfo[1].toString())}
    </p>
  </a>
</div>
That's it! Your staking app with your custom logic in smart contract is now ready.
Running the app and testing
Run the following command in the terminal to spin up a development server to test out your app:
yarn devThen you can go to localhost:3000 in your browser to view the app. If everything is done correctly, you should see a screen like this after connecting your wallet:

Now, you can stake your previously minted staking tokens and watch your reward token grow over time. You can also withdraw your stake and claim your rewards using the buttons we just created.
Conclusion
In this guide, we created an ERC-20 staking app using the prebuilt TokenStake contract by thirdweb.
If you have any questions about this guide, or want to chat, feel free to join our Discord server and reach out to us in the support channel. If you have any feedback, please post it on our feedback board.