How to add unlockable content to your NFT

In this guide, we will learn how to deploy an NFT Drop contract using the thirdweb dashboard and add unlockable content to the NFT where only the owner of the NFT can access the content using Darkblock.
Before we get started, feel free to check out the tools and resources we will use in this guide mentioned below.
Let's get started!
Deploy an NFT Drop Contract
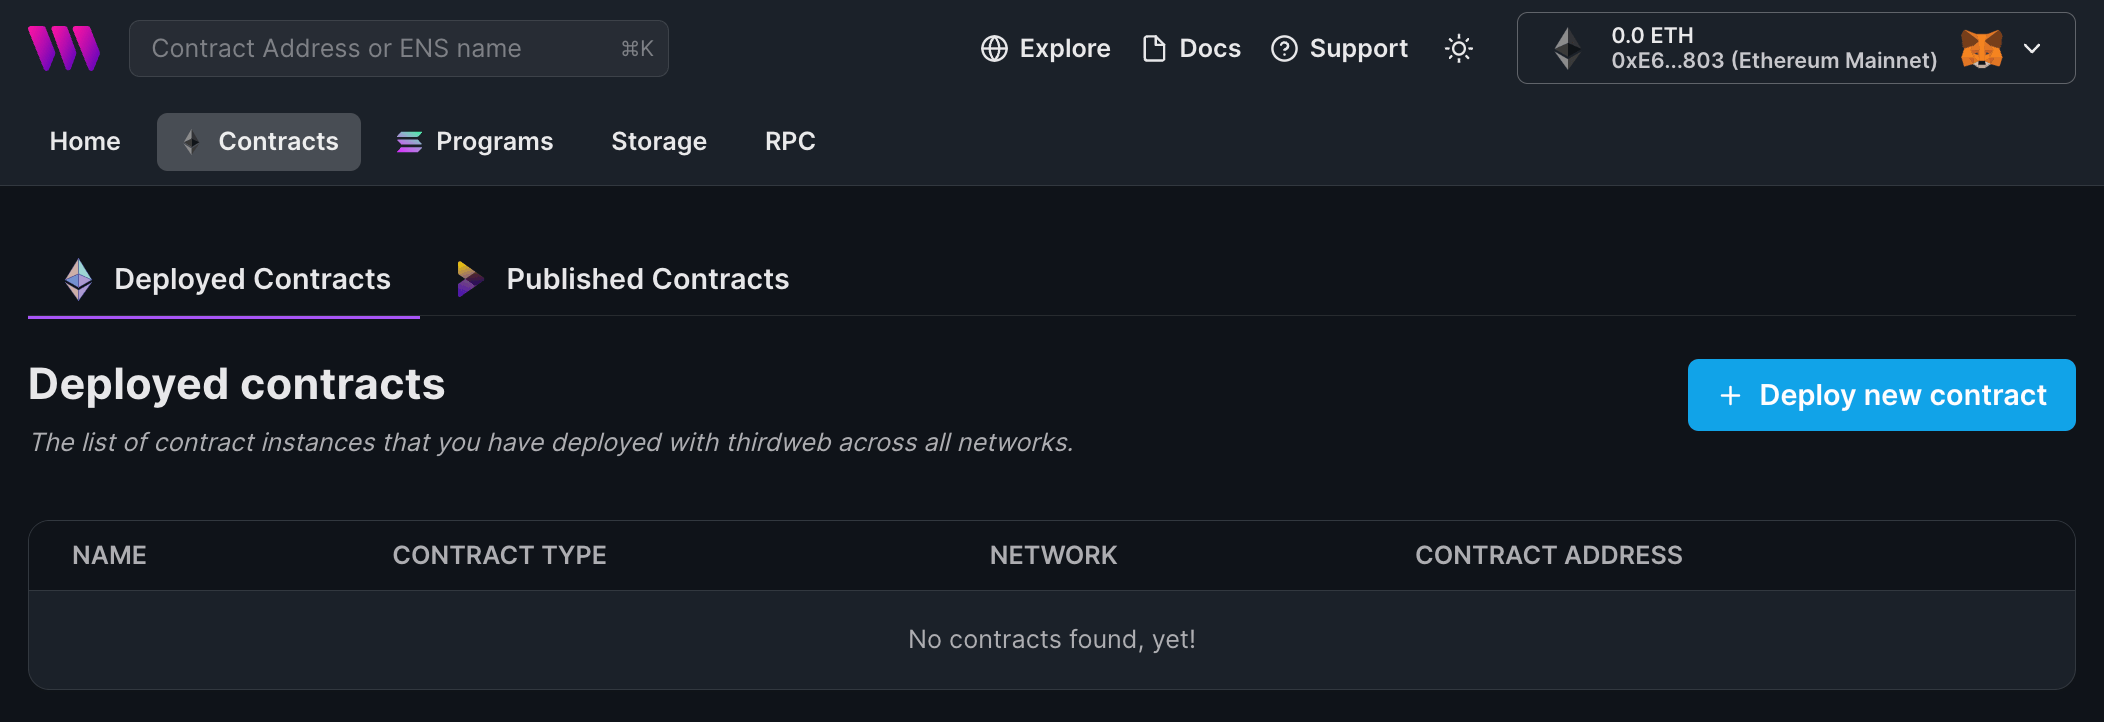
To begin, head to the Contracts page in your thirdweb Dashboard and hit "Deploy new contract":
You will be taken to our Explore page — where you can browse smart contracts built by the top protocols in web3 and deploy them to the Base Goerli testnet in just a few clicks!
Note: You can also use the thirdweb CLI to set up a smart contract environment by running the below command from your terminal:
npx thirdweb create contractThis will take you through an easy-to-follow flow of steps for you to create your contract. Learn more about this in our CLI guide.
Otherwise, let's get back to Explore:
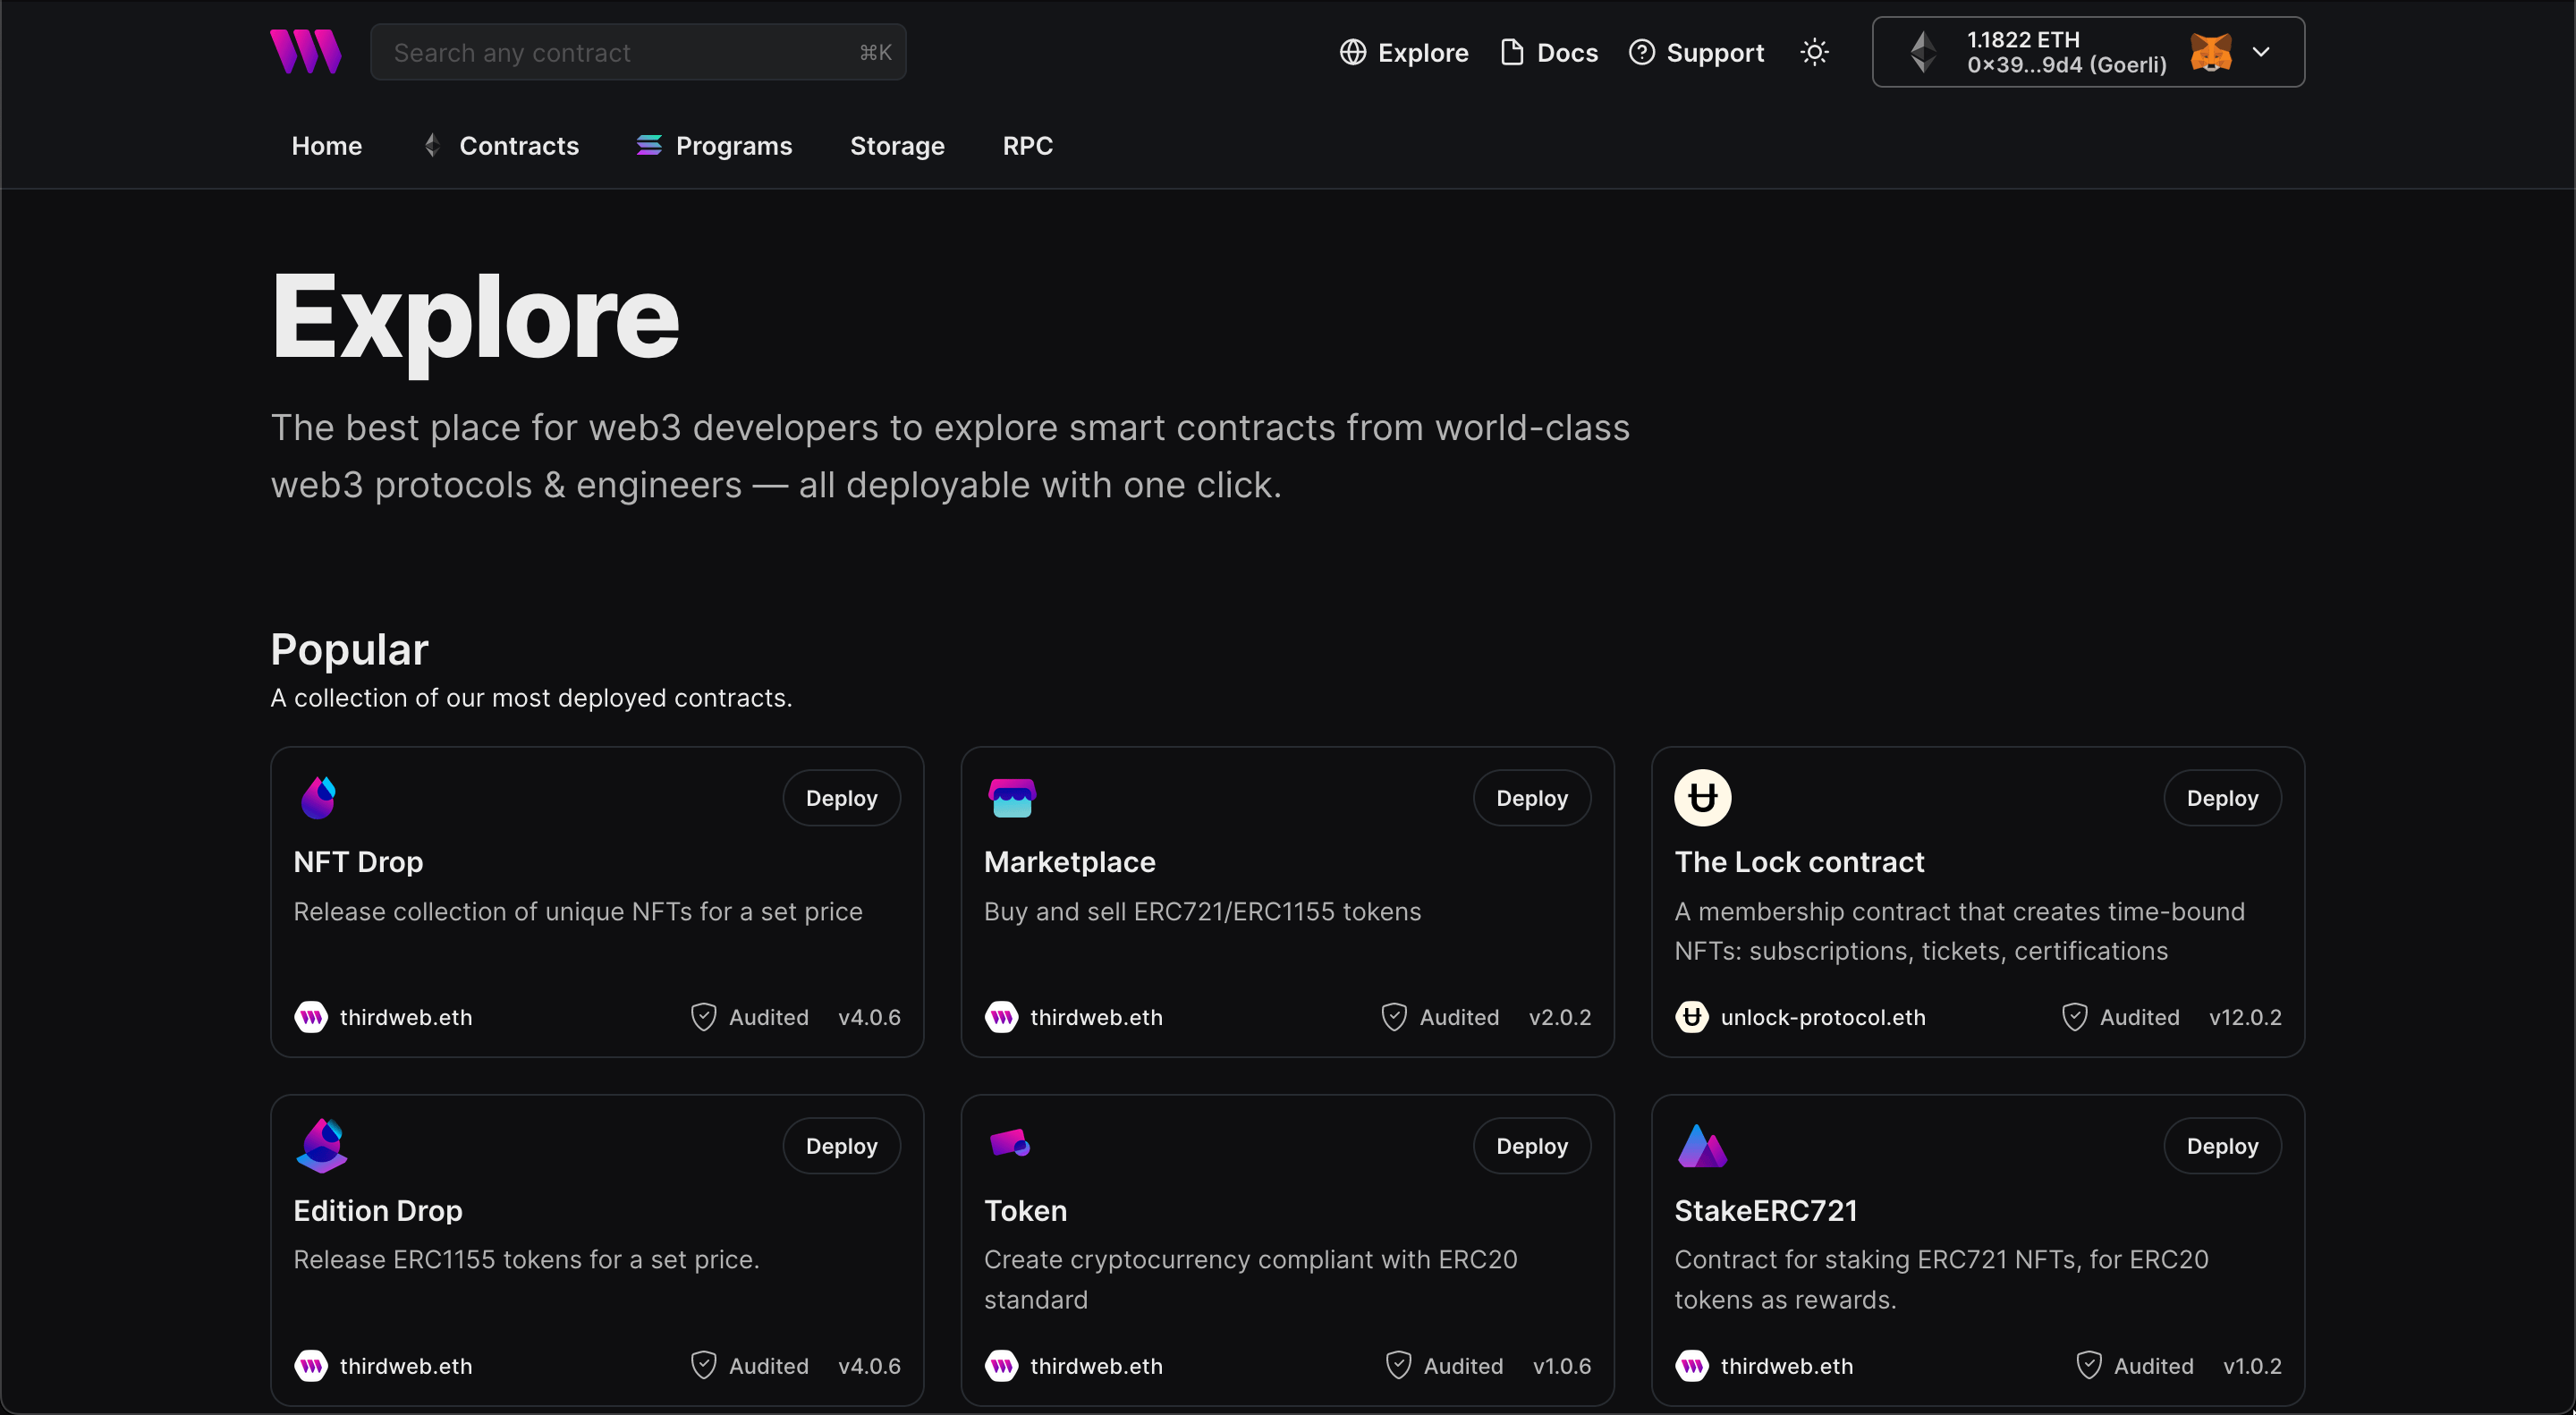
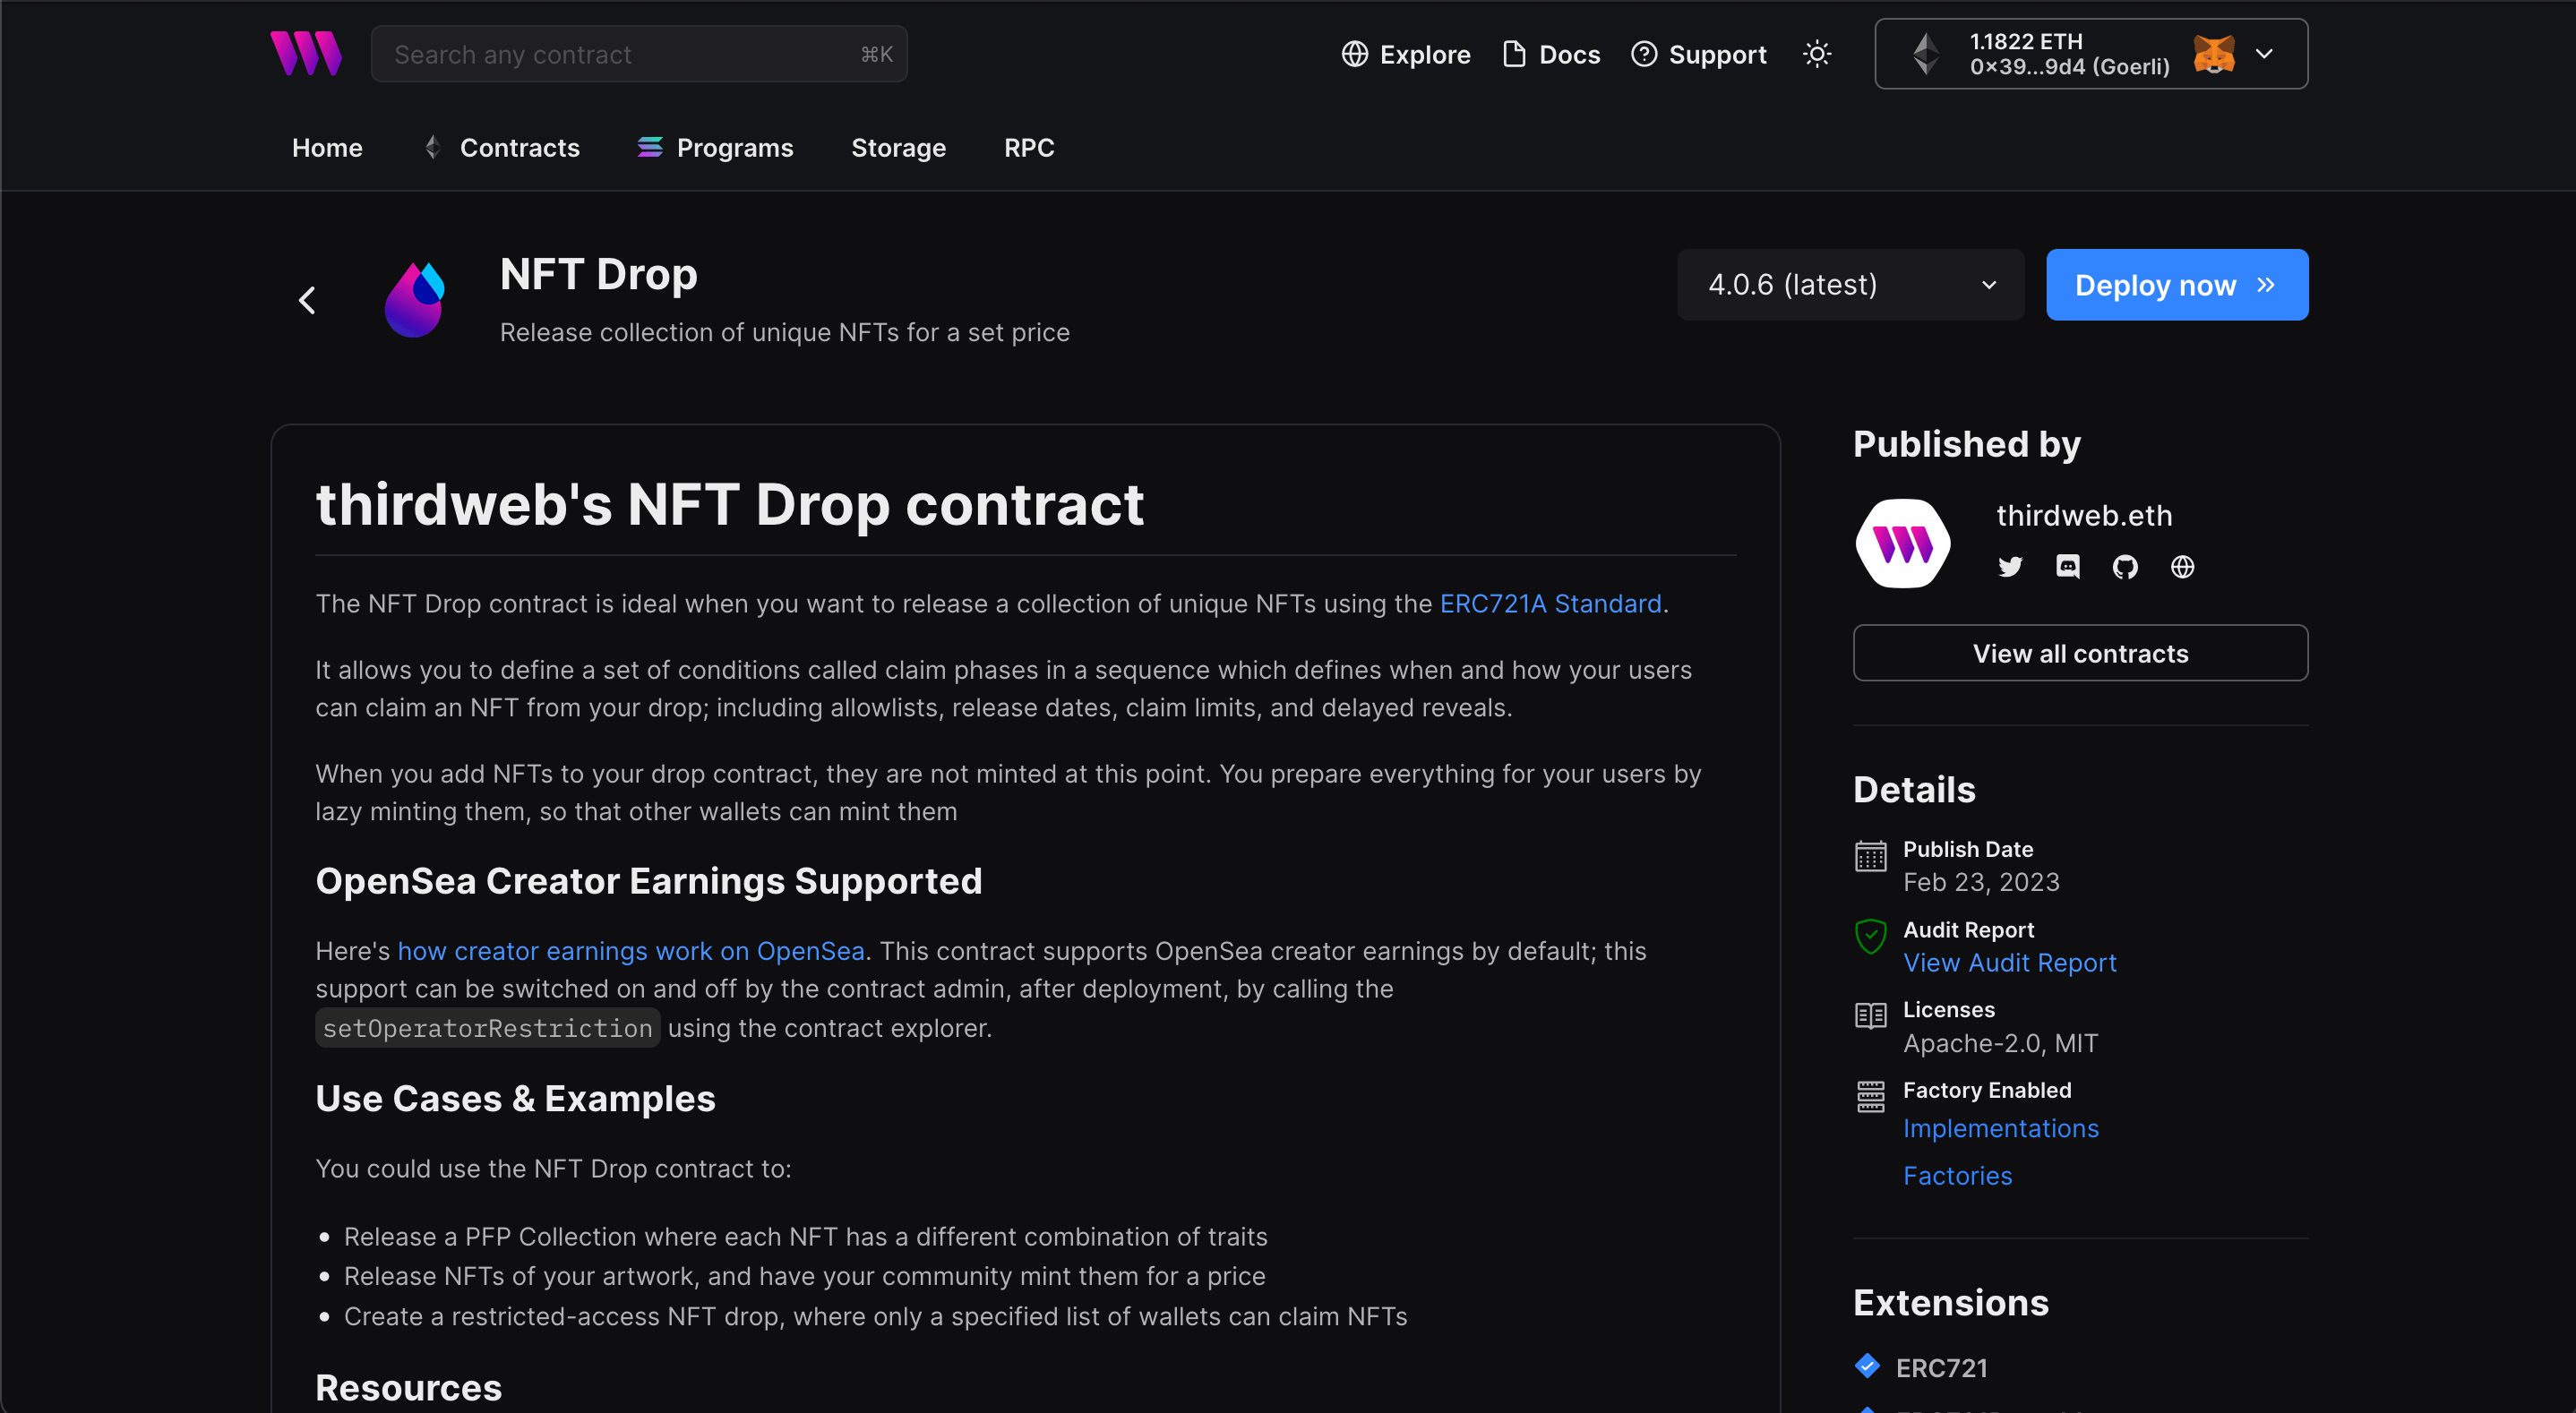
In here, select your smart contract of choice. For this guide, we're going to use the NFT Drop (ERC721) contract to create our NFT collection:
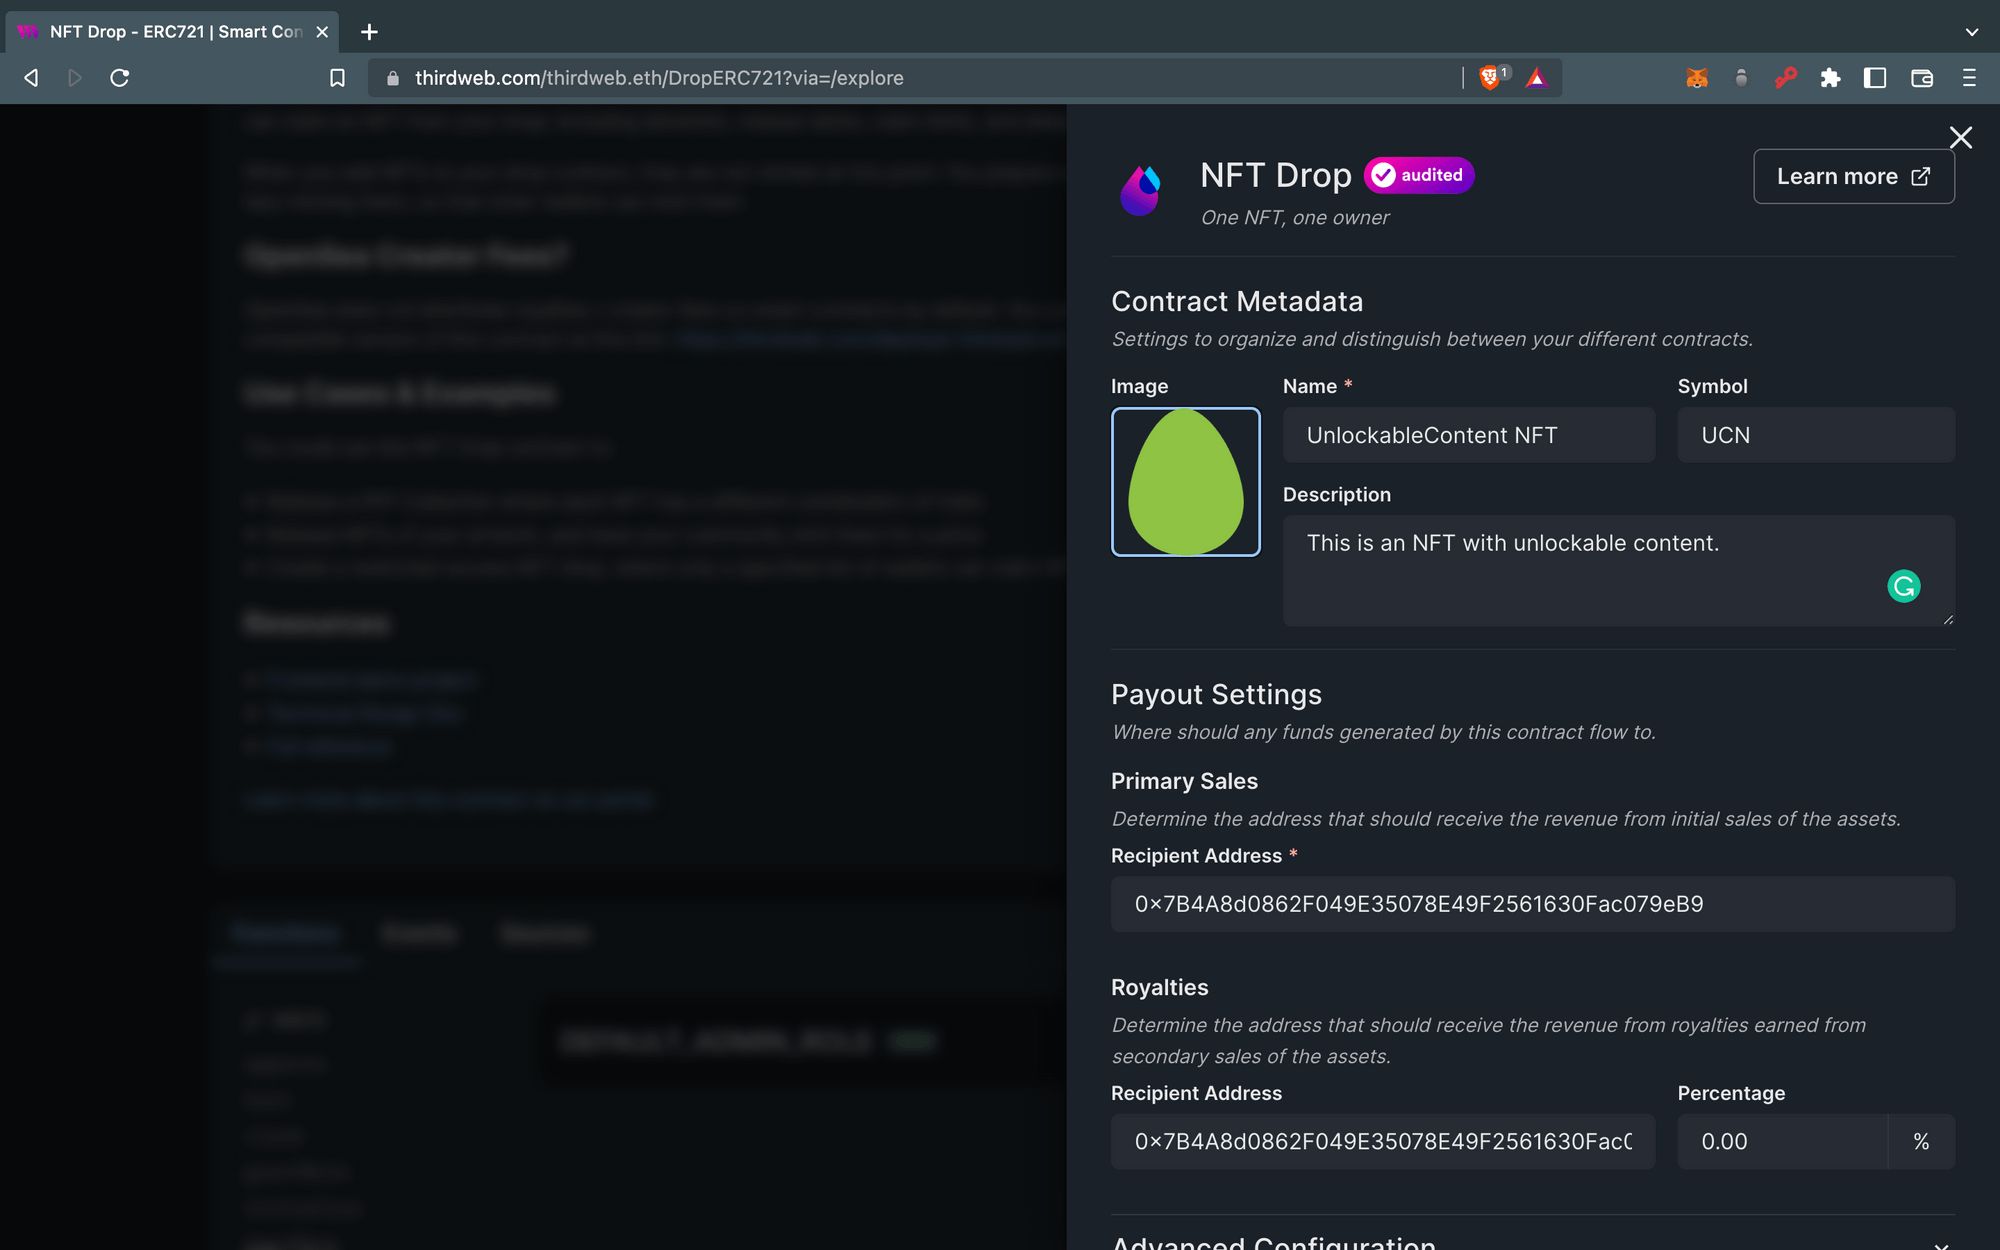
Set up your smart contract with an image, name, description, etc., and configure which wallet address will receive the funds from primary and secondary sales:
You can select any network you like; for this guide, I am choosing Goerli. Learn more about the different networks we have available below:
After deploying the contract, navigate to the Claim Conditions tab and start a claim condition based on your needs.
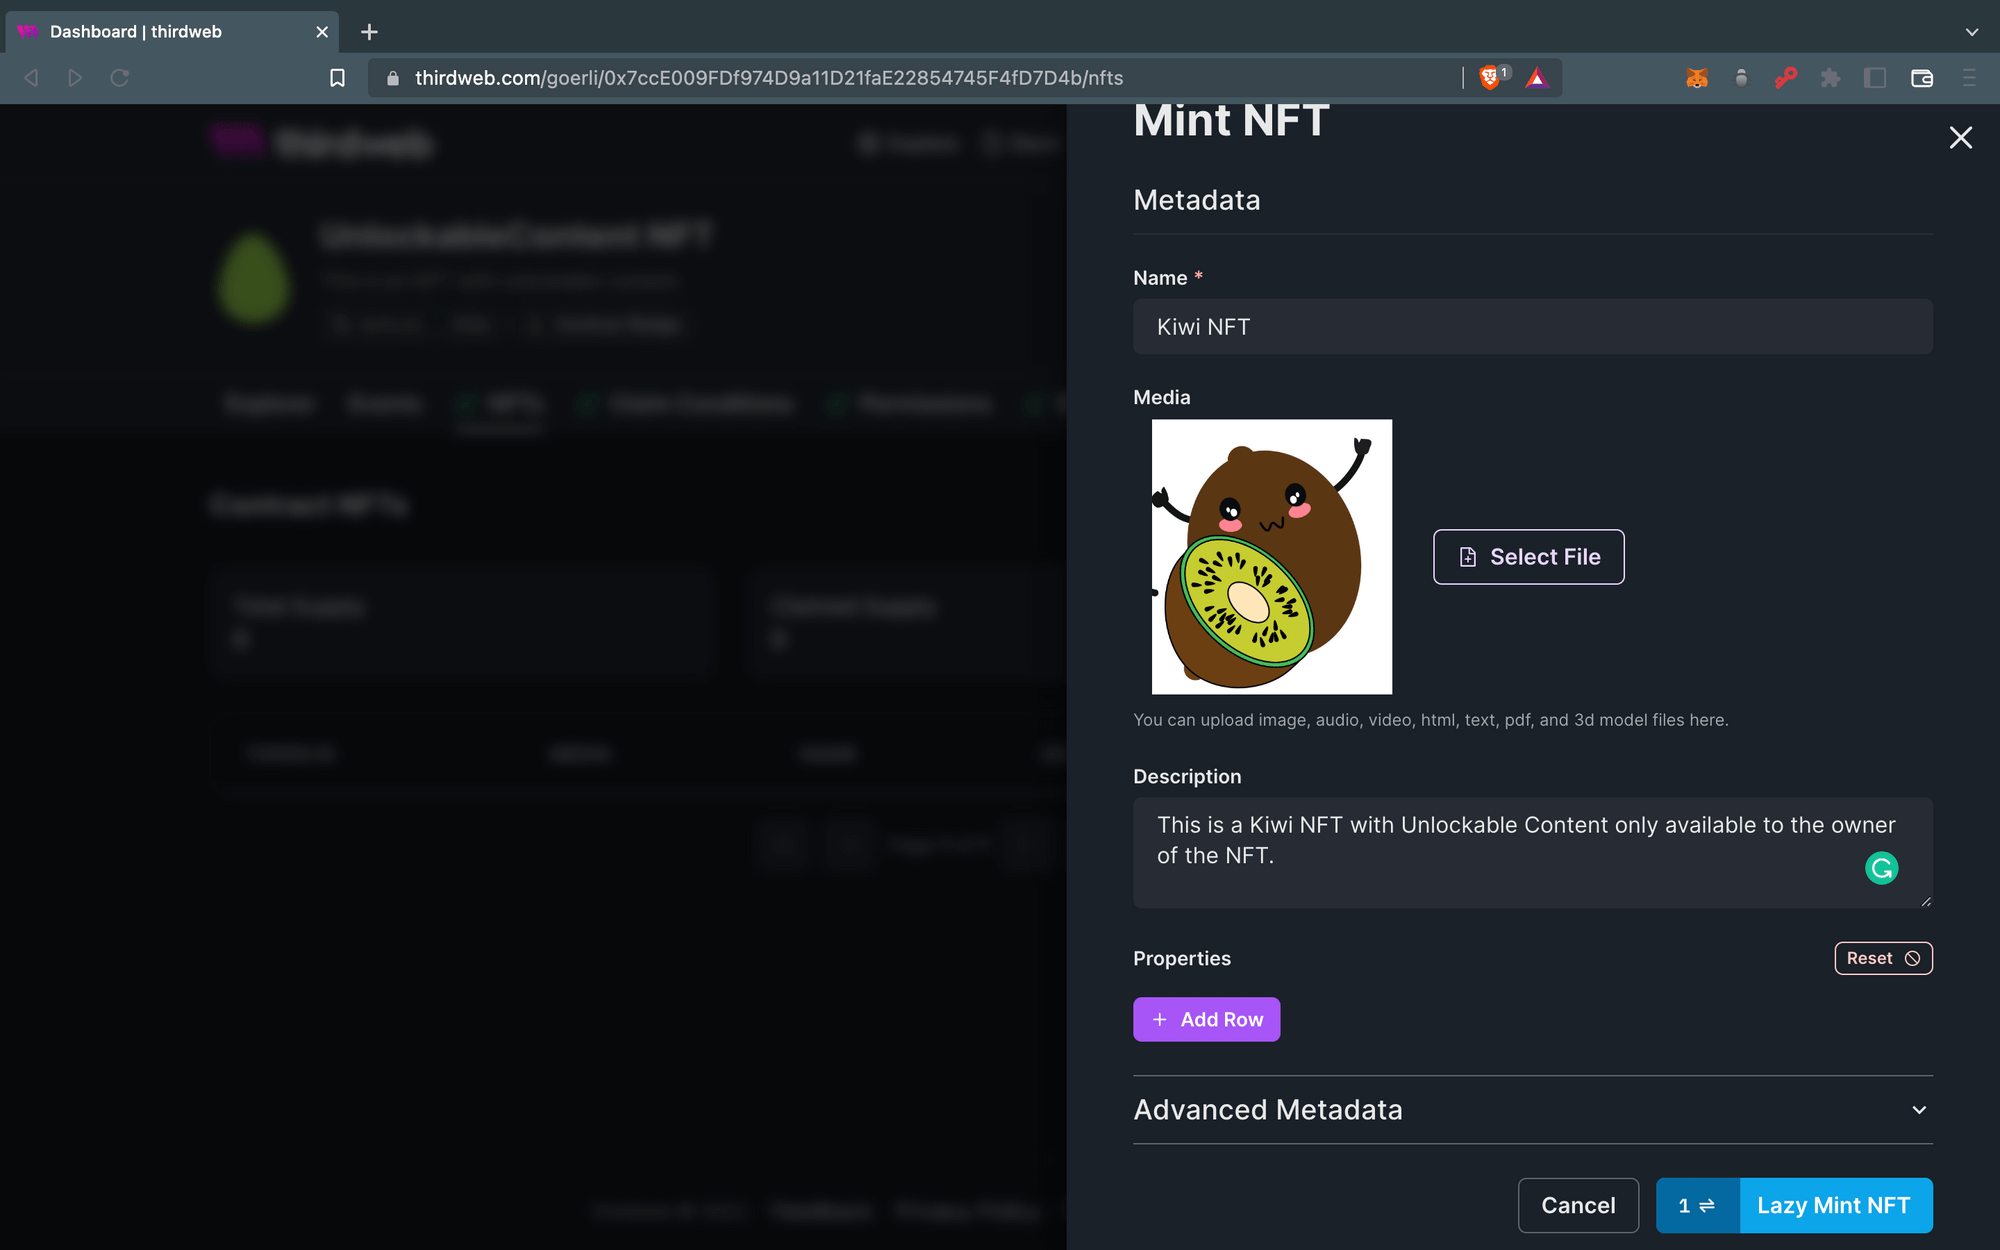
Next, let's do the fun part and LazyMint a cool NFT in the NFTs tab so we can add unlockable content to it later using Darkblock.
Claim the NFT
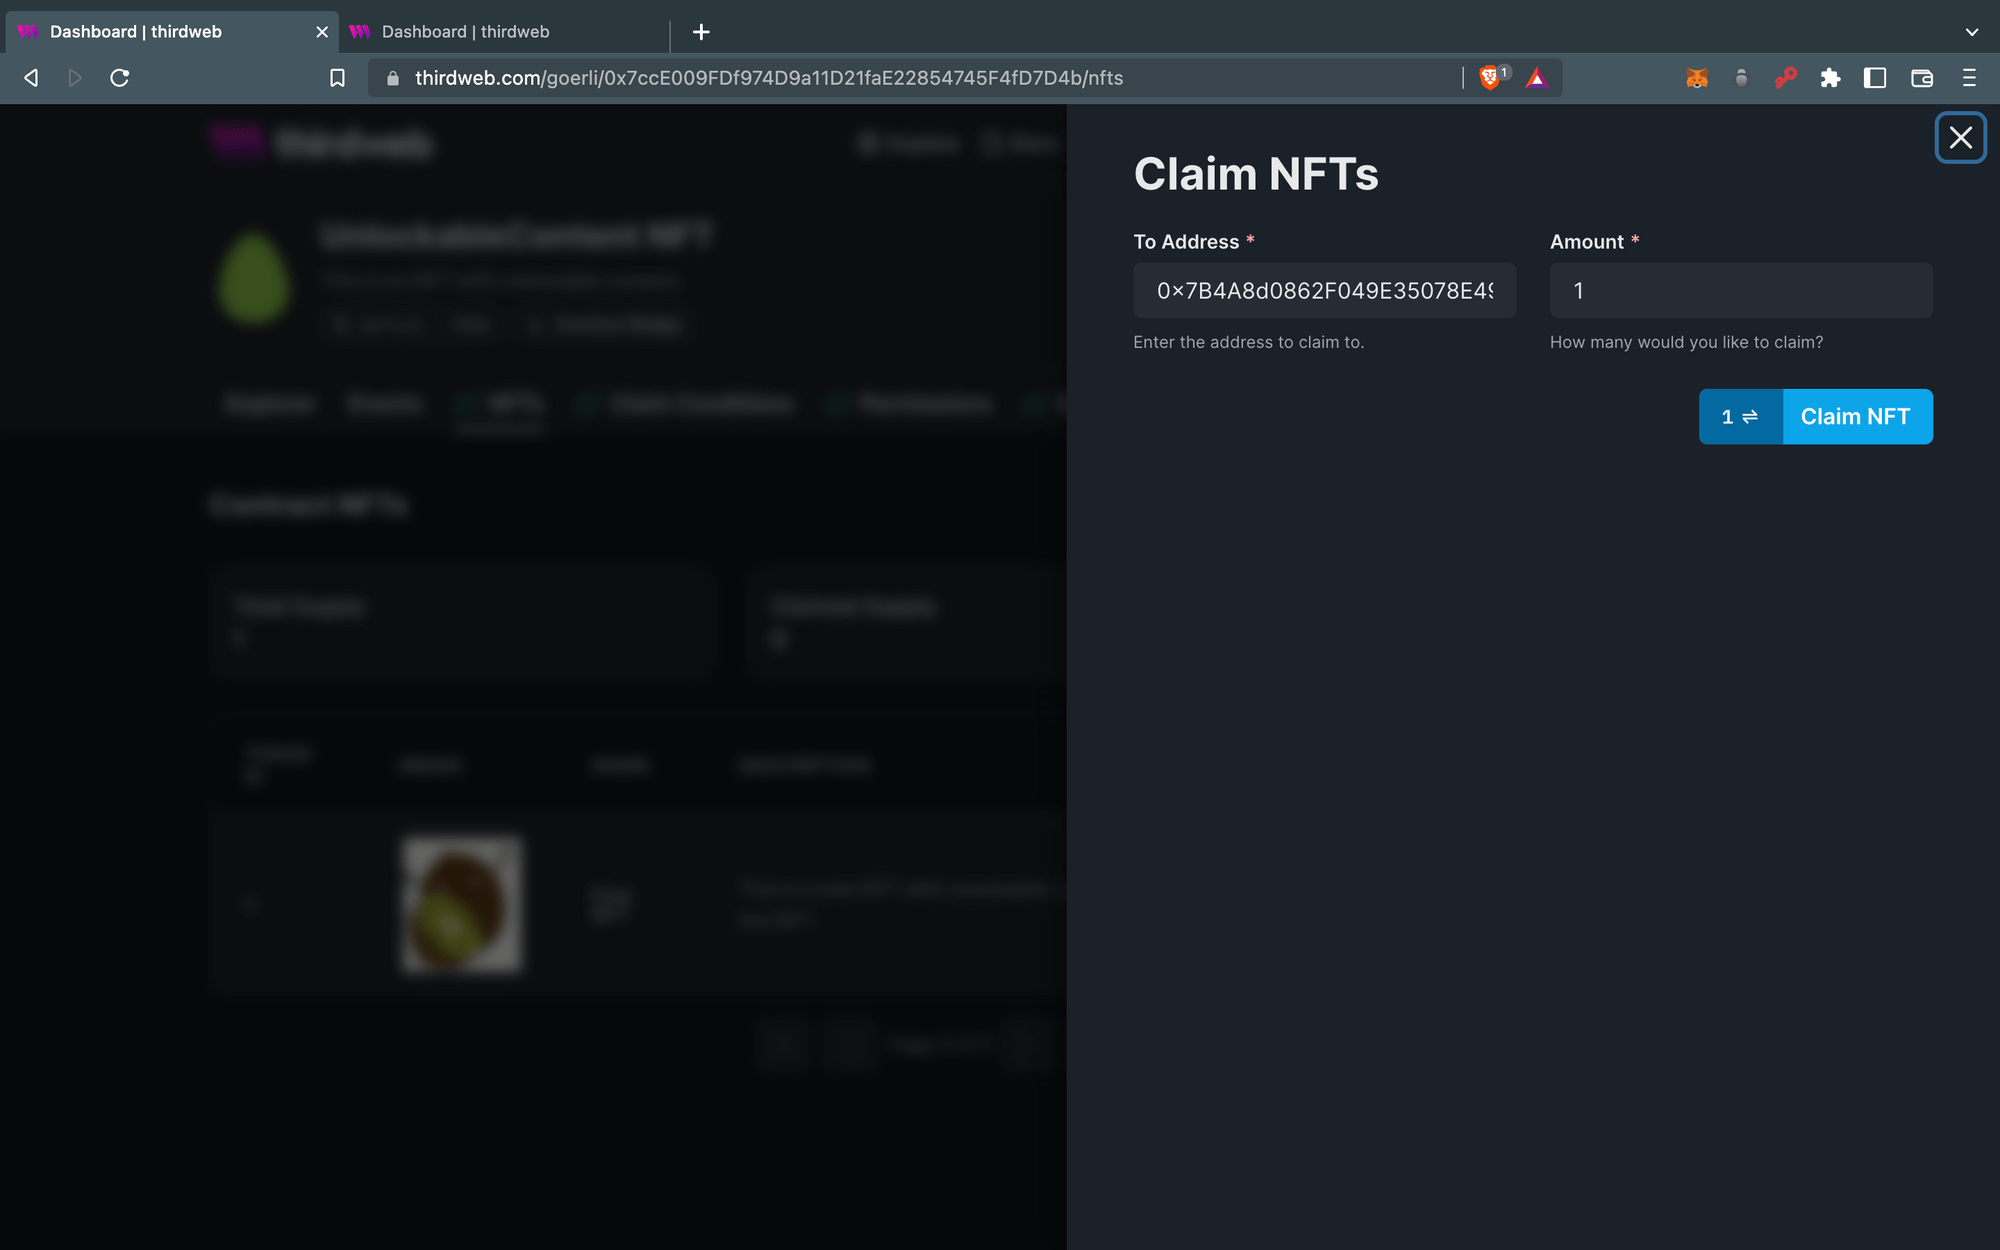
Now we will claim this NFT to our wallet using the Claim button shown in the following image. Later we will see it in Darkblock as the owner of the NFT, but you can claim it to any address you wish by changing it.
Next, we will open up the darkblock app and connect our wallet to the chain our smart contract was deployed on where you will be able to see all the NFTs your wallet owns.
Add Unlockable Content
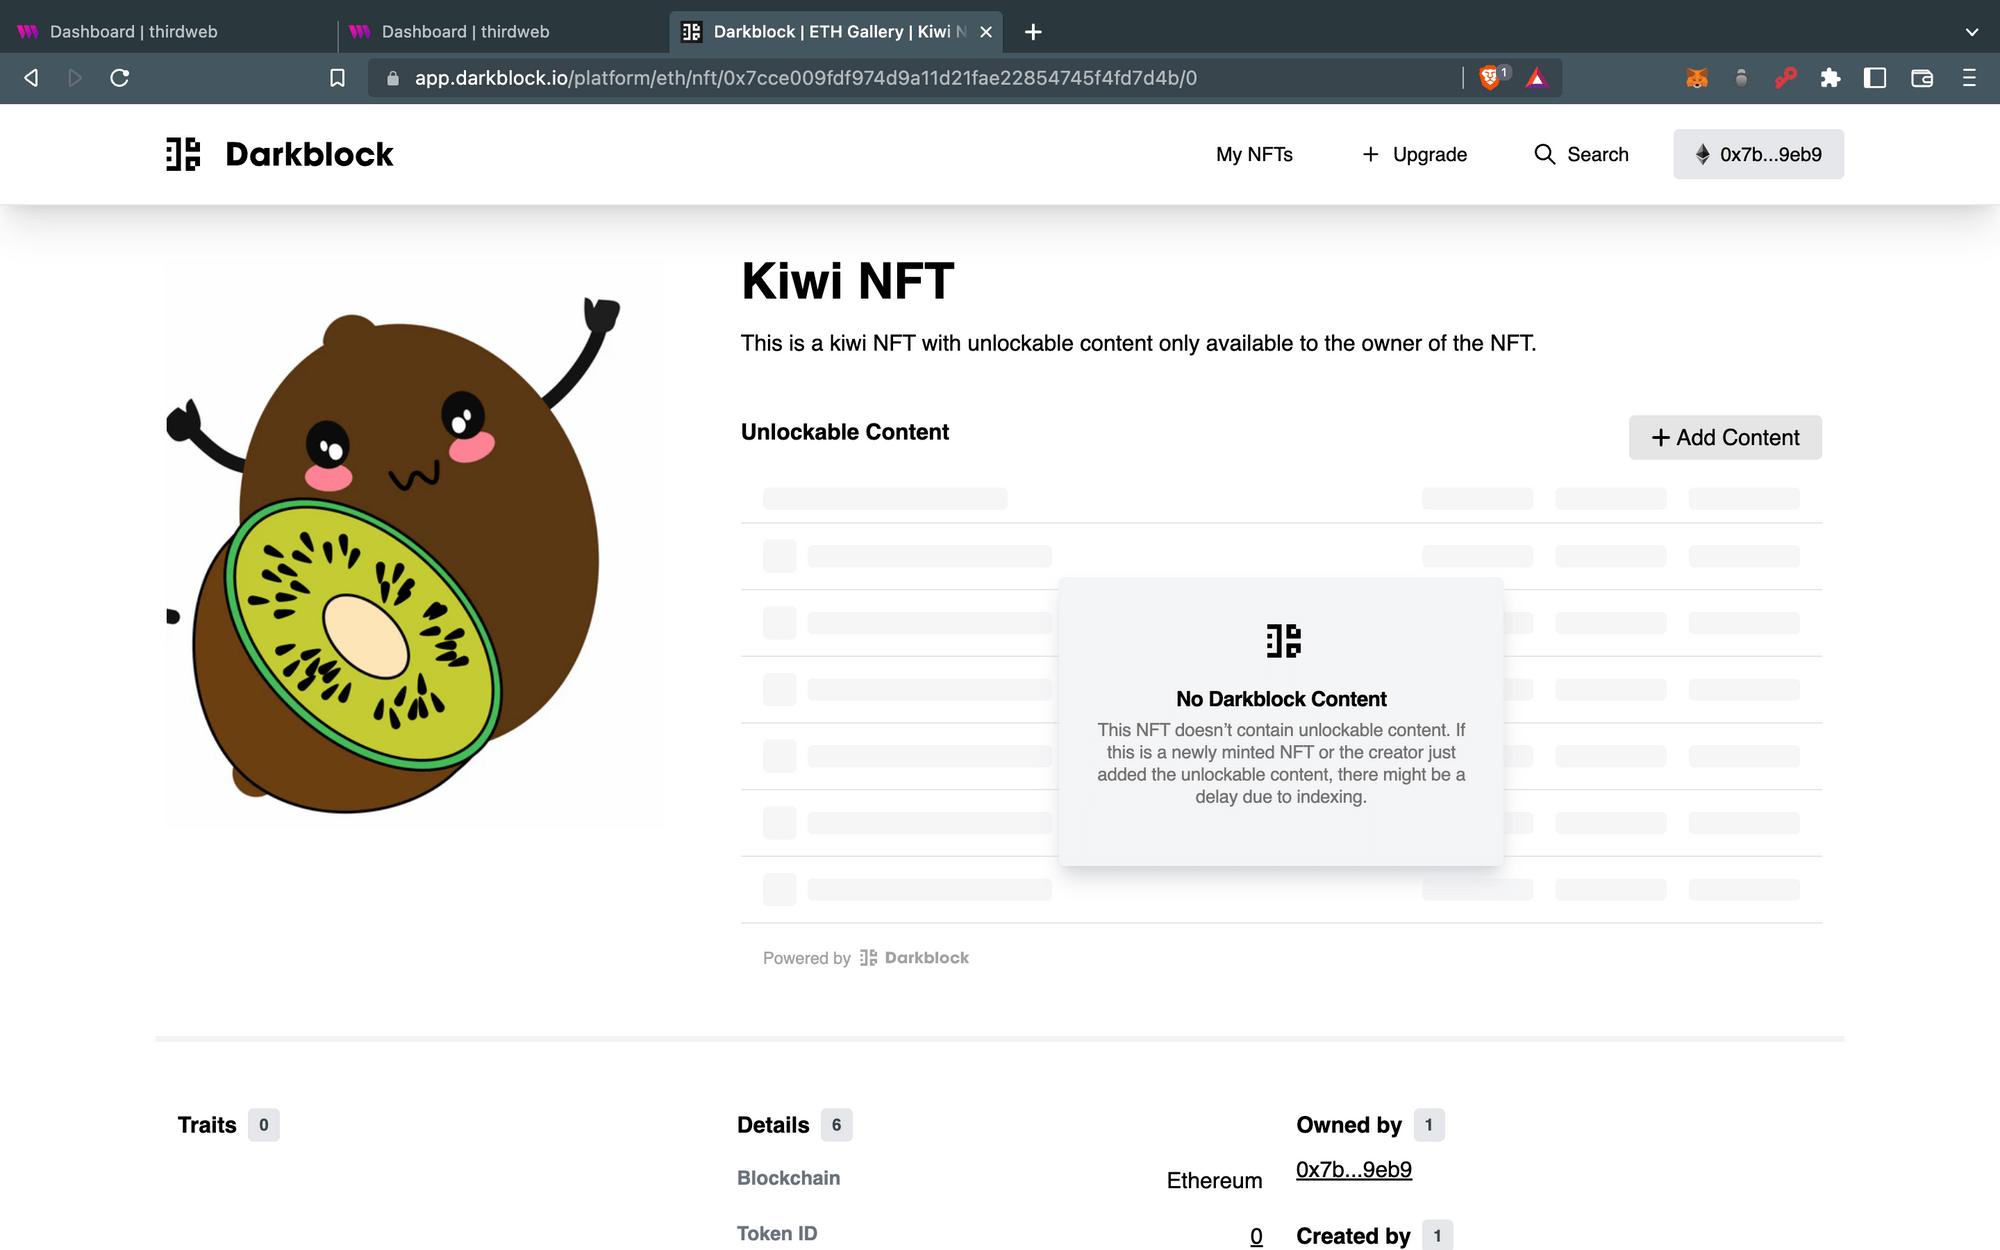
You will be able to see the Add Content button on the new page after clicking on any NFT that you own.
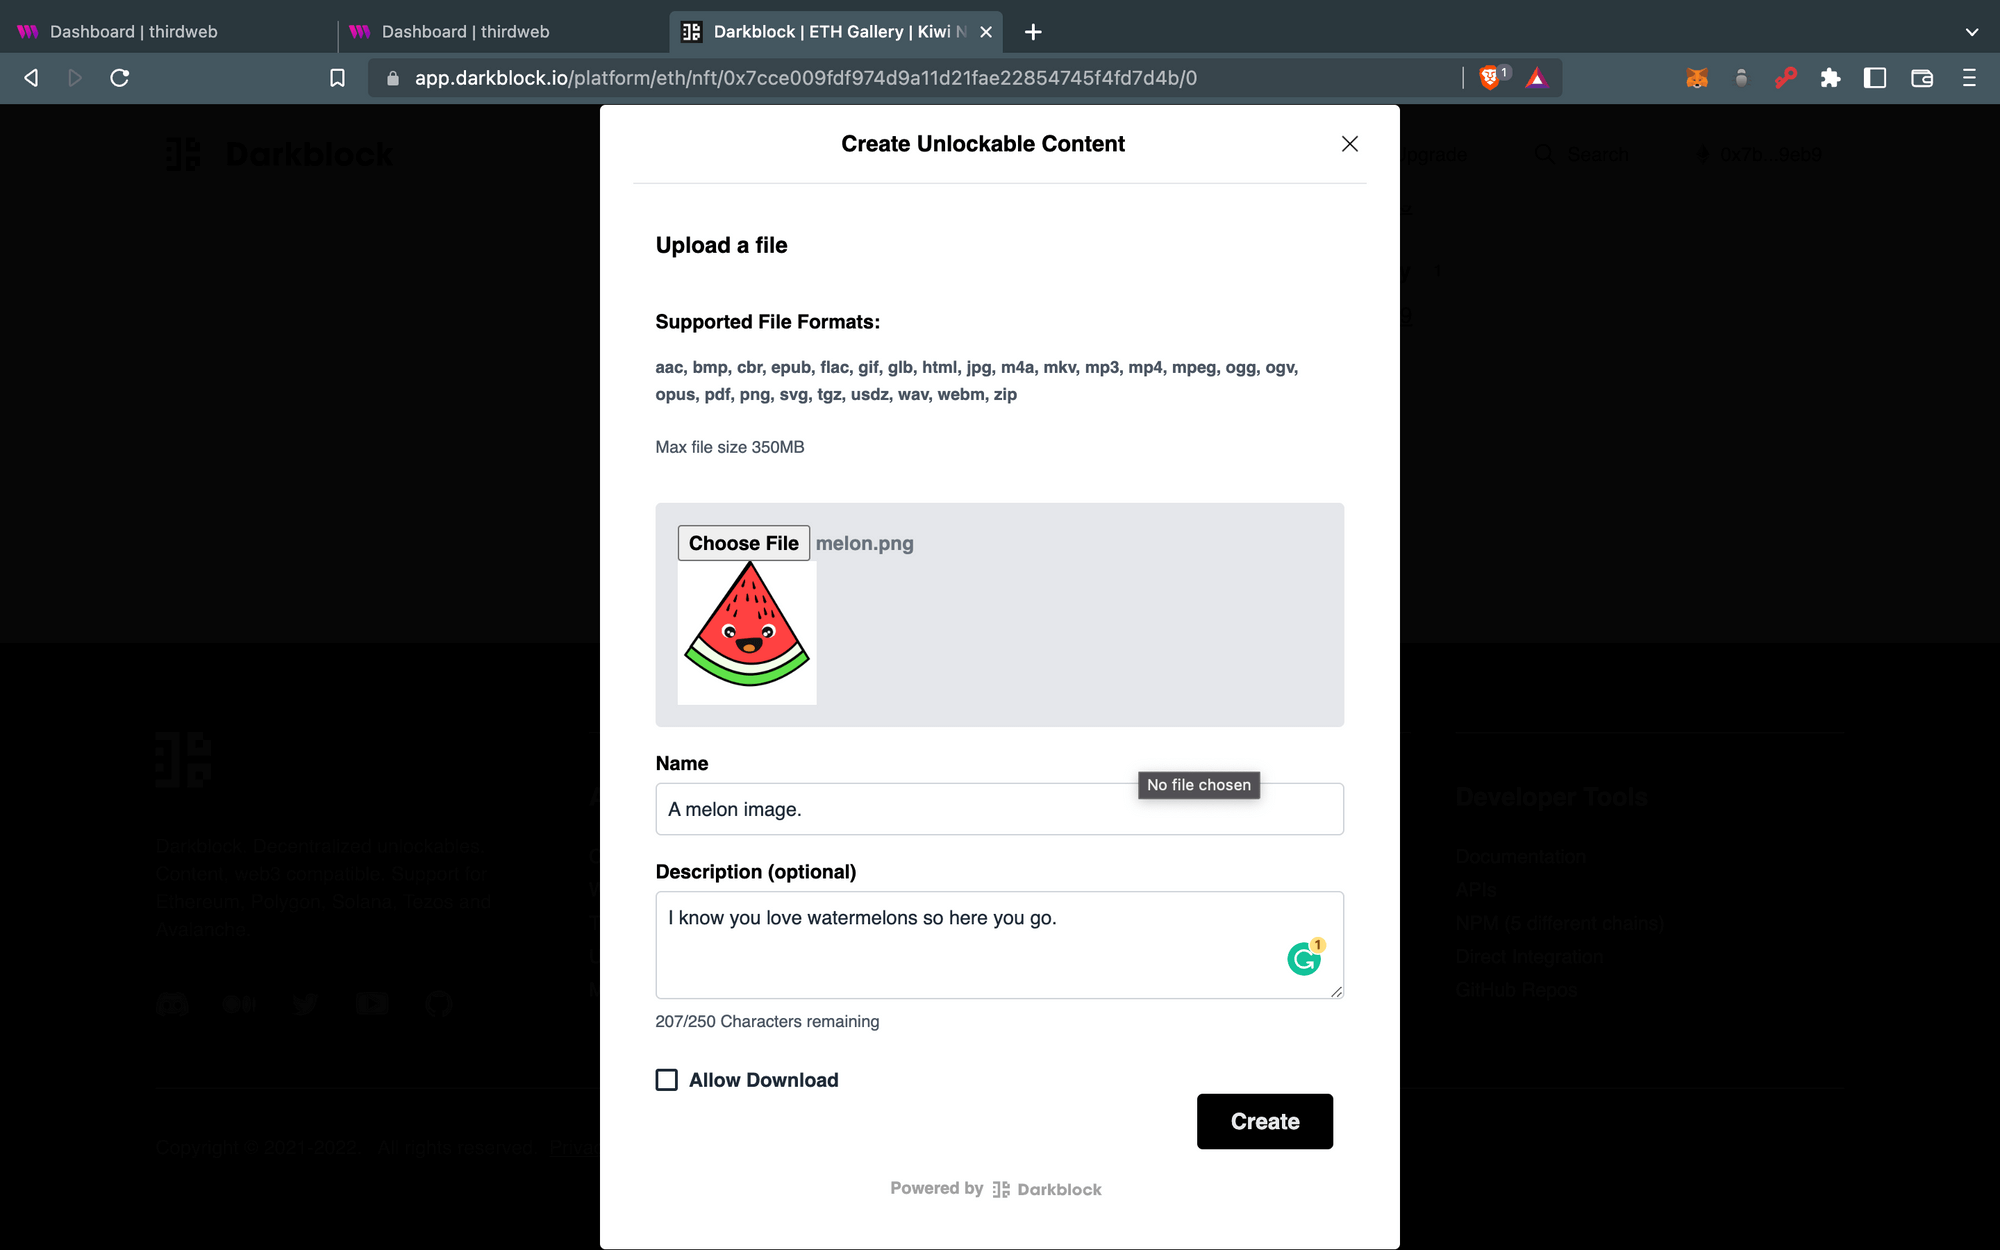
After clicking on the Add Content button you will see a form where you can add files, with a name and a description.
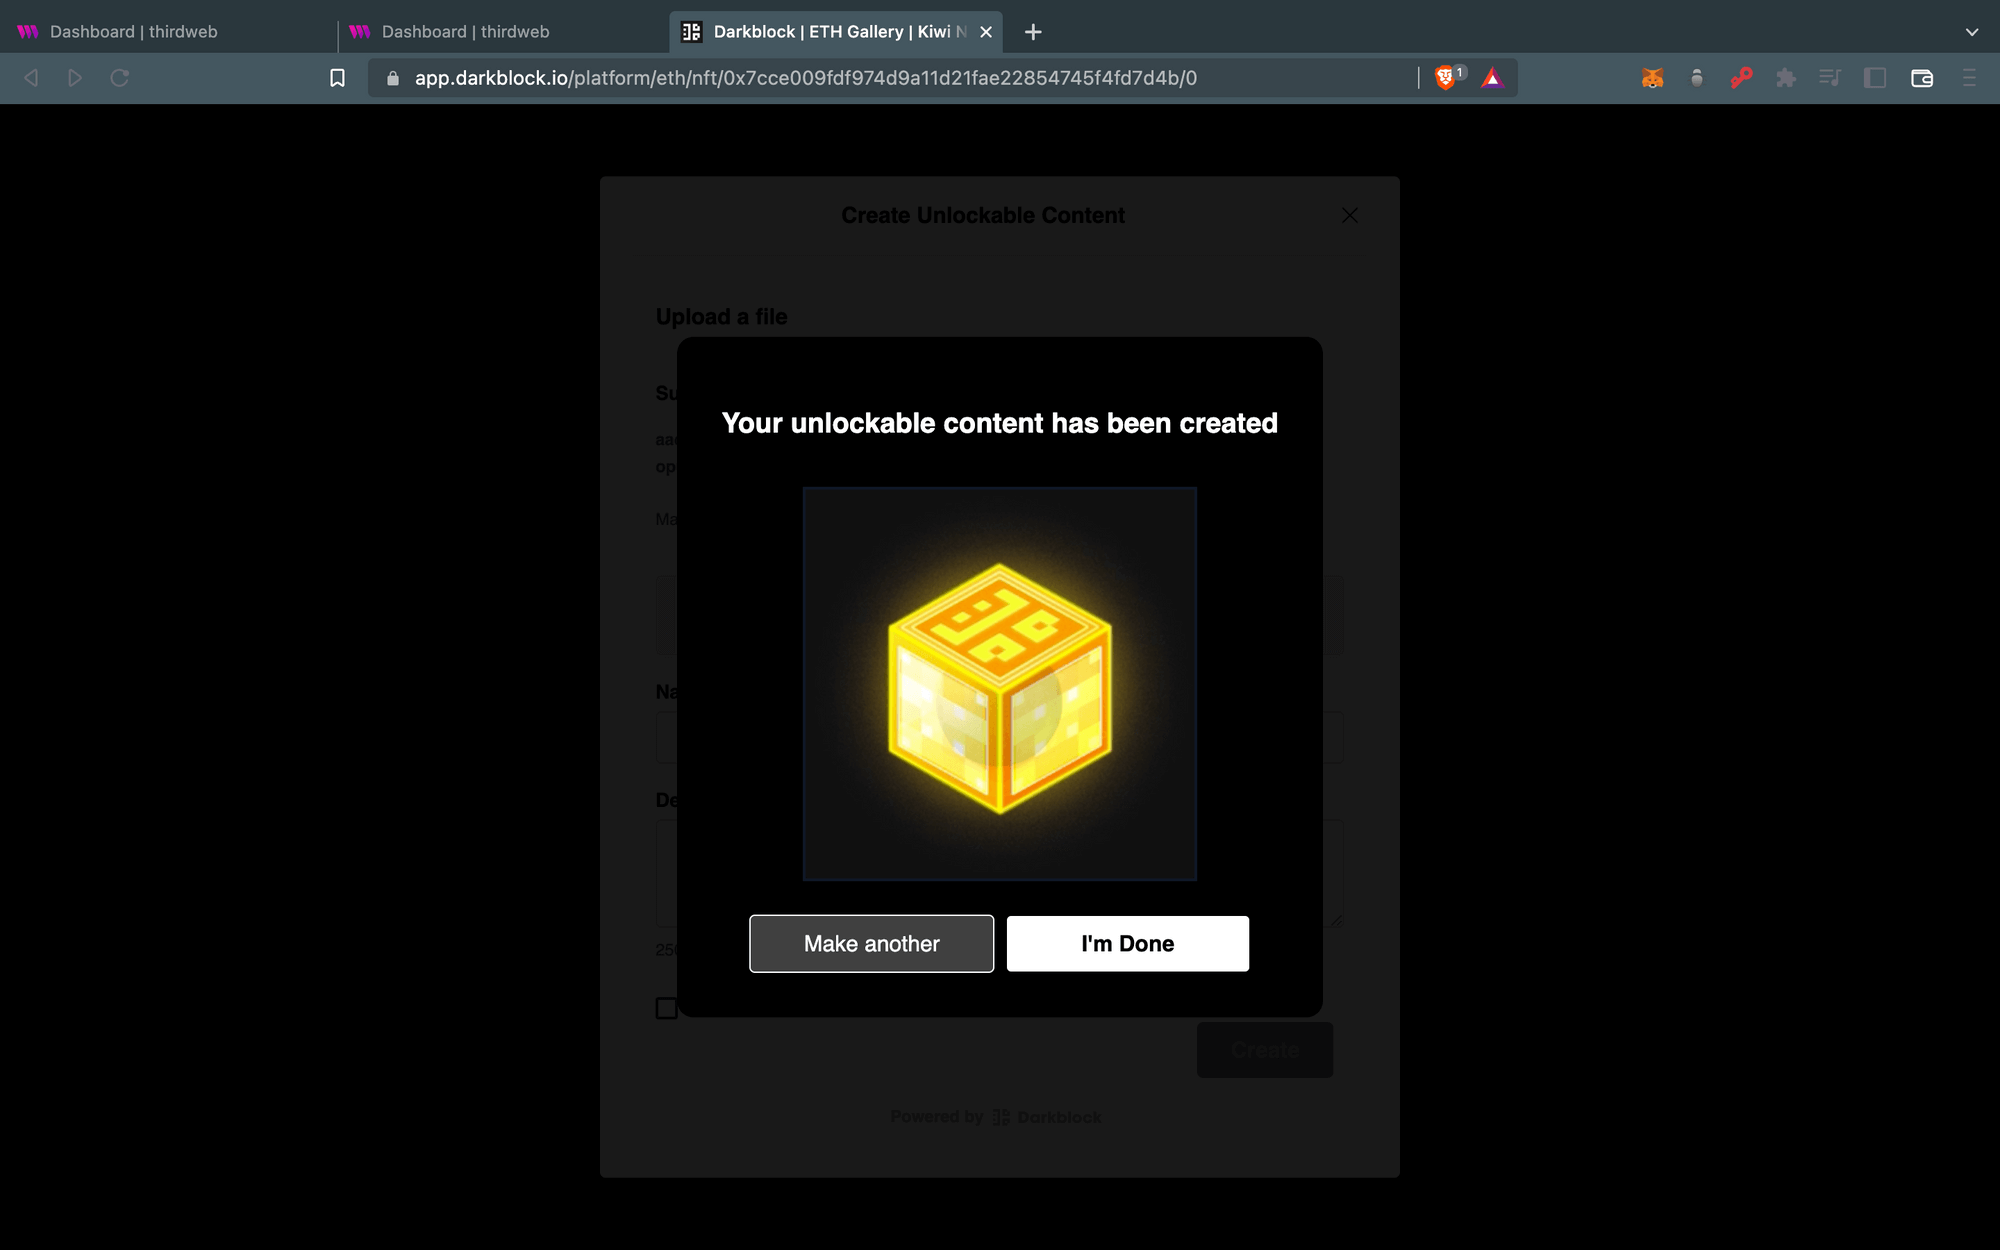
Click the Create button and sign the request and watch the magic happen just like this 👇
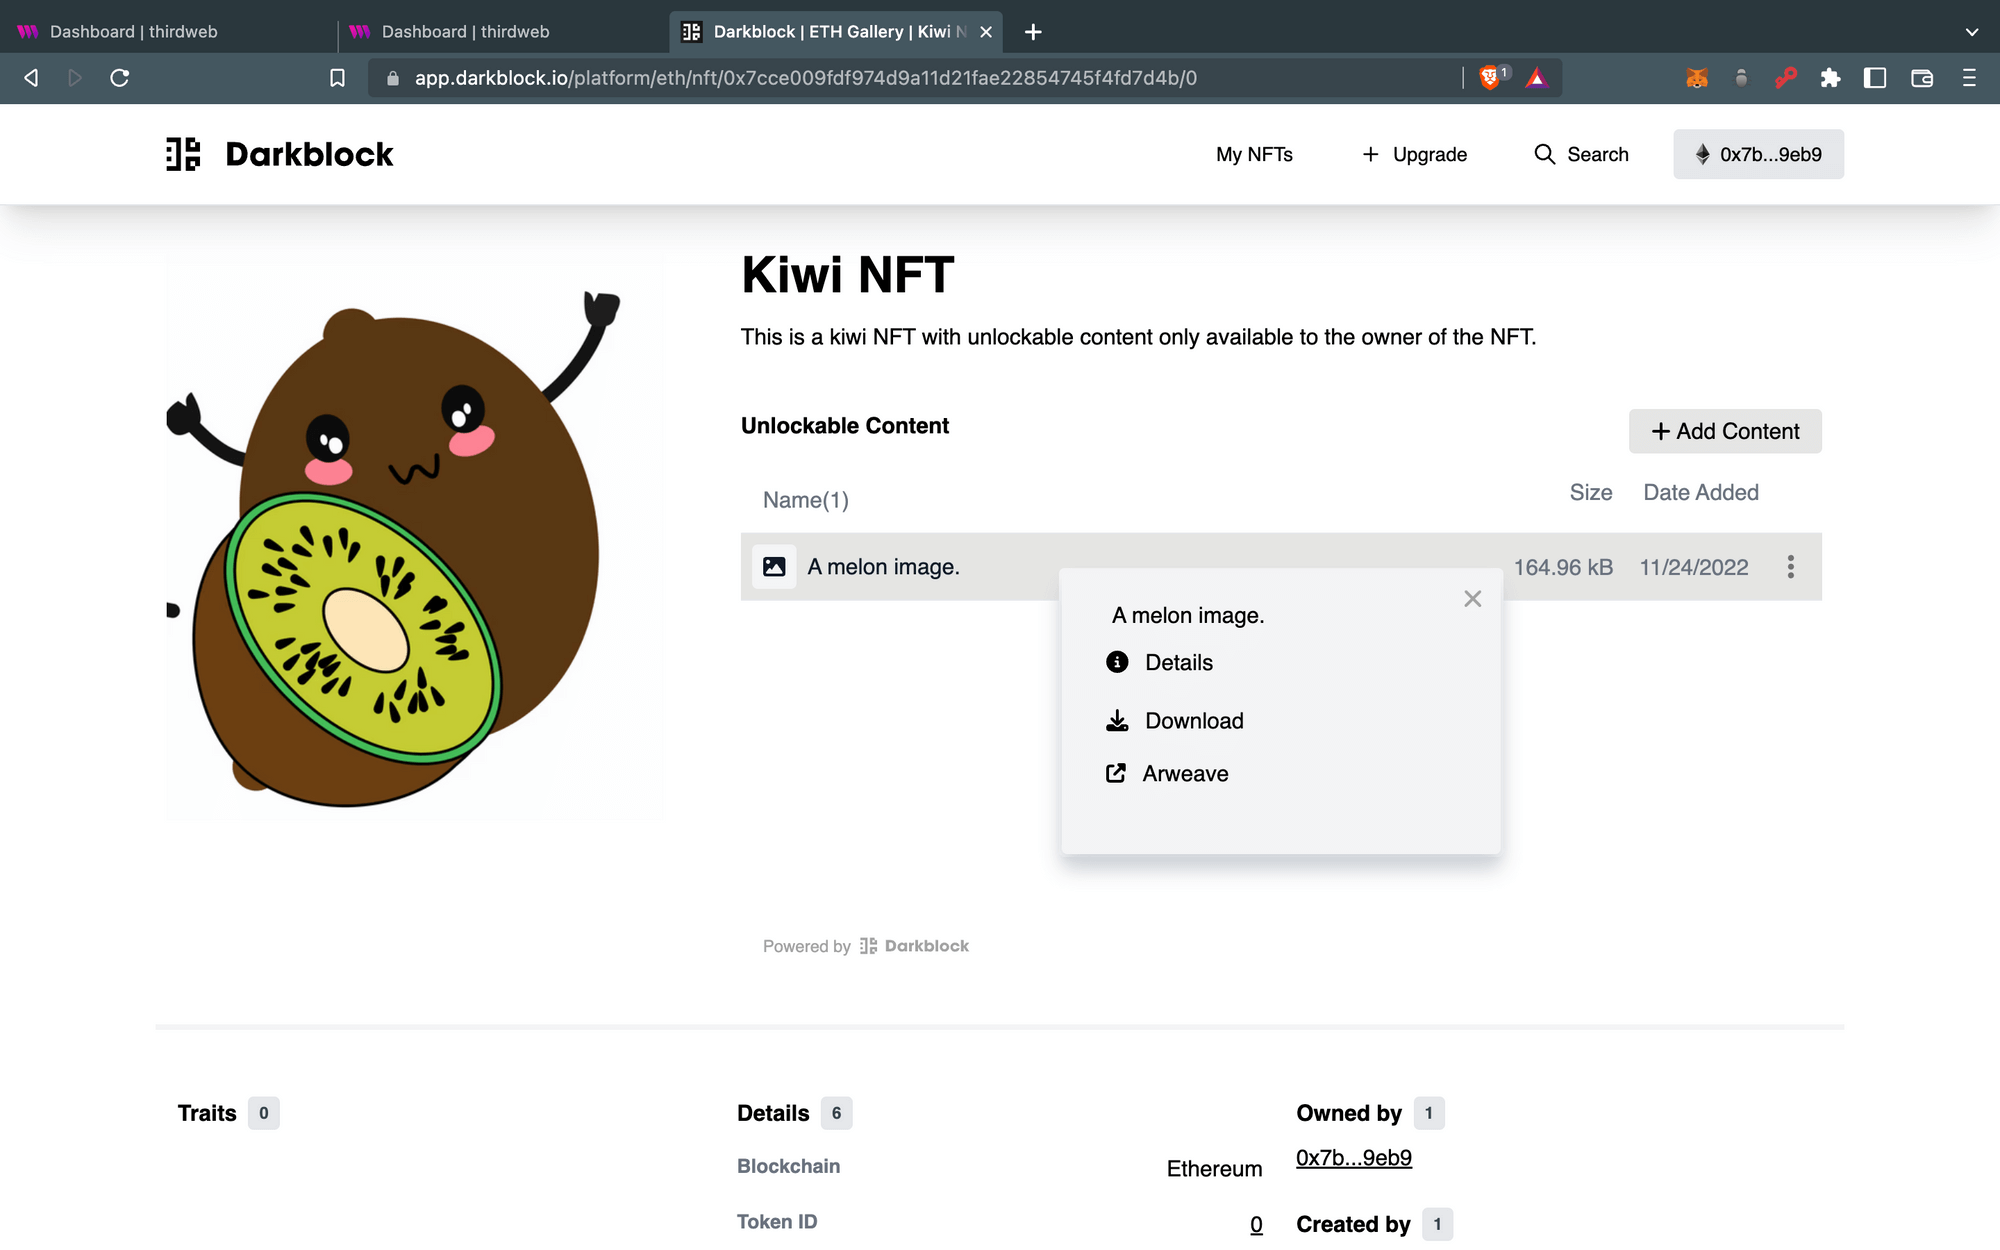
We have now added Unlockable content behind the NFT. Click the Authenticate ownership button and sign the request.
Now, you will be able to access all the unlockable content that we added earlier.
To recap: we first deployed an NFT Drop contract and claimed an NFT using the thirdweb dashboard. Afterwards, we added more utility to the NFT by adding unlockable content very simply by using Darkblock.
If you have any issues while following the process, feel free to let us know in our discord.