Deploy a Smart Contract to ConsenSys zkEVM Testnet

This guide will show you how to deploy any smart contract to ConsenSys' zkEVM testnet, a zero-knowledge-rollup built on top of the Ethereum Mainnet.
By the end, you'll learn how to create a simple ERC1155 Drop smart contract using Solidity, deploy it to the ConsenSys zkEVM network, and mint an NFT on the smart contract!
Let's get started!
What is ConsenSys zkEVM?
ConsenSys zkEVM is a type 2 zero knowledge EVM built to address the scalability issues of the Ethereum main net, such as the transactions per second and gas fees.
The "EVM" is the Ethereum Virtual Machine; responsible for storing the state, transactions, and smart contracts of the Ethereum network. "ZK" refers to the fact that it is a zero-knowledge roll-up, meaning it creates bundles or "rolls up" batches of transactions together and executes them off-chain (i.e., not on the EVM).
Zero-knowledge proofs can cryptographically prove the result of these transactions with a validity proof sent to finalize transactions on the blockchain.
The ConsenSys zkEVM testnet is still in private beta, so sign up for the waitlist here.
Adding ConsenSys zkEVM to Your Wallet
First, we'll need to add the ConsenSys zkEVM network to our wallet. If you still need a wallet, check out our guide below to create one.

After wallet setup, head to the ConsesnSys zkEVM Portal and add in your Infura RPC Endpoint that you got after signing up for the waitlist and click on next. You will now need to add the network to your MetaMask wallet. Click on Add zkEVM testnet and approve the popup.


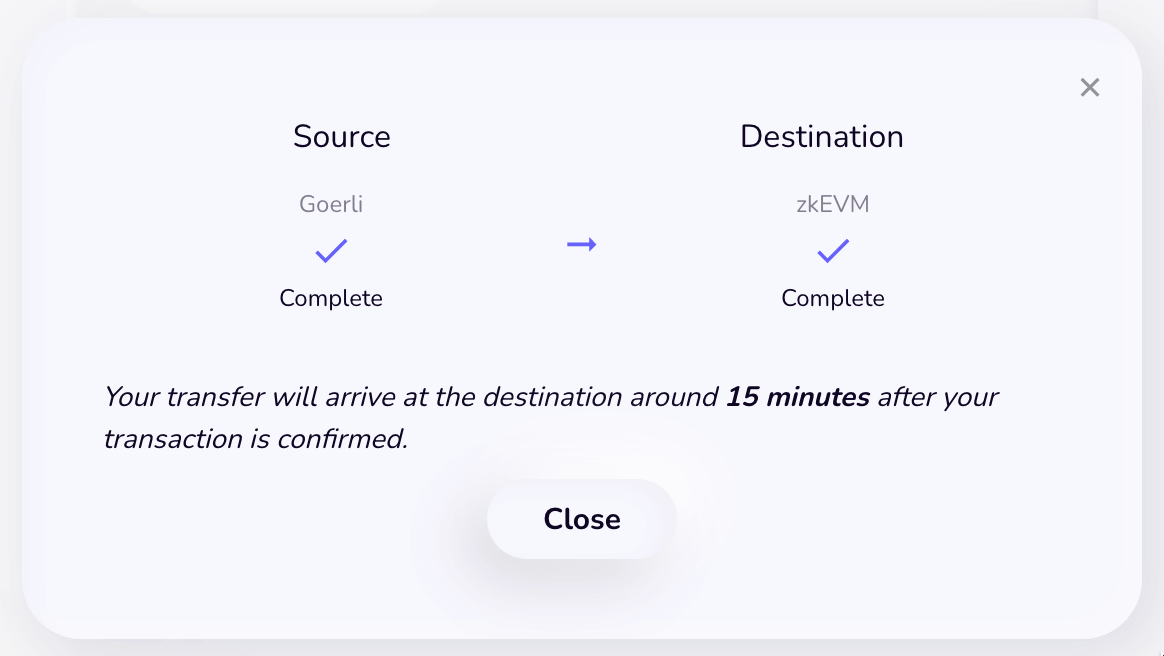
Now, head to the ConsenSys zkEVM Bridge and bridge some funds from Goerli to zkEVM.

Once you click on send, you need to approve a tx for the amount of ETH you are bridging. You will then need to wait for the transaction to go through.

Once you have completed this process, you will have the funds you bridged in your wallet on the zkEVM network, meaning we're ready to deploy our smart contracts!
Creating A Smart contract
In the latter half of this guide, we will write a simple Edition Drop smart contract in Solidity with the help of ContractKit and Deploy.
If you prefer, you can head to our Explore page and browse smart contracts built by the top protocols in web3 and deploy them to the zkEVM testnet in just a few clicks!

Creating An Edition Drop Smart Contract
To get started, we'll use the CLI to set up a smart contract environment by running the below command from your terminal:
npx thirdweb create contractThis command will kick off a series of interactive questions about how you want to set up your smart contract. I am going to create an Edition Drop smart contract in this example:

Deploying Your Smart Contract to ConsesnSys zkEVM Testnet
Once your project is created, change directories into the new project, and use Deploy to begin the deployment process.
npm run deploy # npm

yarn deploy # yarn
Running this command performs the following steps:
- Compile all the contracts in the current directory.
- Allow you to select which contract(s) you want to deploy.
- Uploads your contract source code (ABI) to IPFS.
Finally, it provides a URL to open the deployment flow in the dashboard.
Opening this URL will take you to a page where you can populate the parameters of your smart contracts constructor and deploy it to any EVM-compatible network. To deploy to ConsenSys zkEVM, we first need to add it as a network to the dashboard from our wallet. To do this, connect your wallet and click the ˅ icon. From the menu, select Configure Networks.

This action will open a modal that allows you to add the ConsenSys zkEVM testnet as an option to deploy smart contracts.
Select the custom tab and add the details of the testnet below:
- Network Name: ConsesnSys zkevm Testnet
- Network ID: consesnsys-zkevm-testnet
- RPC URL: Add the RPC URL you received
- Chain ID: 59140
- Currency symbol: crETH
- Network Type: Testnet
- Icon: You can add any icon you like or leave it as well
When you're ready, click Add Network.

Now you can close the modal to head back to the contract parameters page to provide values for each of the required fields of your smart contract constructor:

Finally, click the Deploy Now button and approve the transaction! Once the transaction goes through, you can use it just like any other smart contract!
Calling Smart Contract Functions
Let's see how we can use the smart contract by calling some functions on it, such as minting an NFT into our collection!
From the Overview tab, you can view all of the available functions on your smart contract and execute them directly from your connected wallet:

Setting Up Our Edition Drop
In our example, we created an Edition drop smart contract, so we'll quickly set it up and mint our first NFT by performing the following steps:
- Lazy mint a batch of NFTs.
- Configure claim conditions.
- Mint an NFT from the drop!
Once we've set up our NFTs, we can click the Claim button in the NFTs tab to mint our first NFT, and voilà! We just minted an NFT on ConsenSys zkEVM!

What's Next?
Now that you've deployed your smart contract, you can use our SDK to build a web3 application! Where users can connect their wallets and interact with the functions of your smart contracts. Learn more from our guide below:
Wrapping Up
The ConsenSys zkEVM is a powerful and exciting technology that improves Ethereum's scalability with a combination of zero-knowledge cryptography and off-chain batching of transaction execution.
With thirdweb, you can seamlessly deploy smart contracts to any EVM-compatible chain, including layer two rollups such as zkEVM. In this guide, we've shown you a simple example of how you can deploy an Edition Drop smart contract!
If you have any questions jump into the thirdweb Discord to speak directly with our team!


