Create a gasless NFT drop with Next.js and OpenZeppelin

⚠️ Warning: This guide currently uses v4 of the Connect SDK. For v5 (latest) code snippets, please check out our documentation while this guide is being updated. ⚠️
Learn how to create an NFT Drop in which you pay the gas for your users, using OpenZeppelin, Next.js and thirdweb.
In some cases, you might want to pay the gas for NFT drops like early access drops or when you are accepting payments in some other forms.
In this guide, we are going to see how to create a gasless NFT drop that everyone can claim.
I am going to use an ERC1155 so multiple people can hold the same NFT but you can do it any way you like! Check out our NFT contracts.
If you want to directly jump into the code, here is the finished code.
Creating an NFT drop
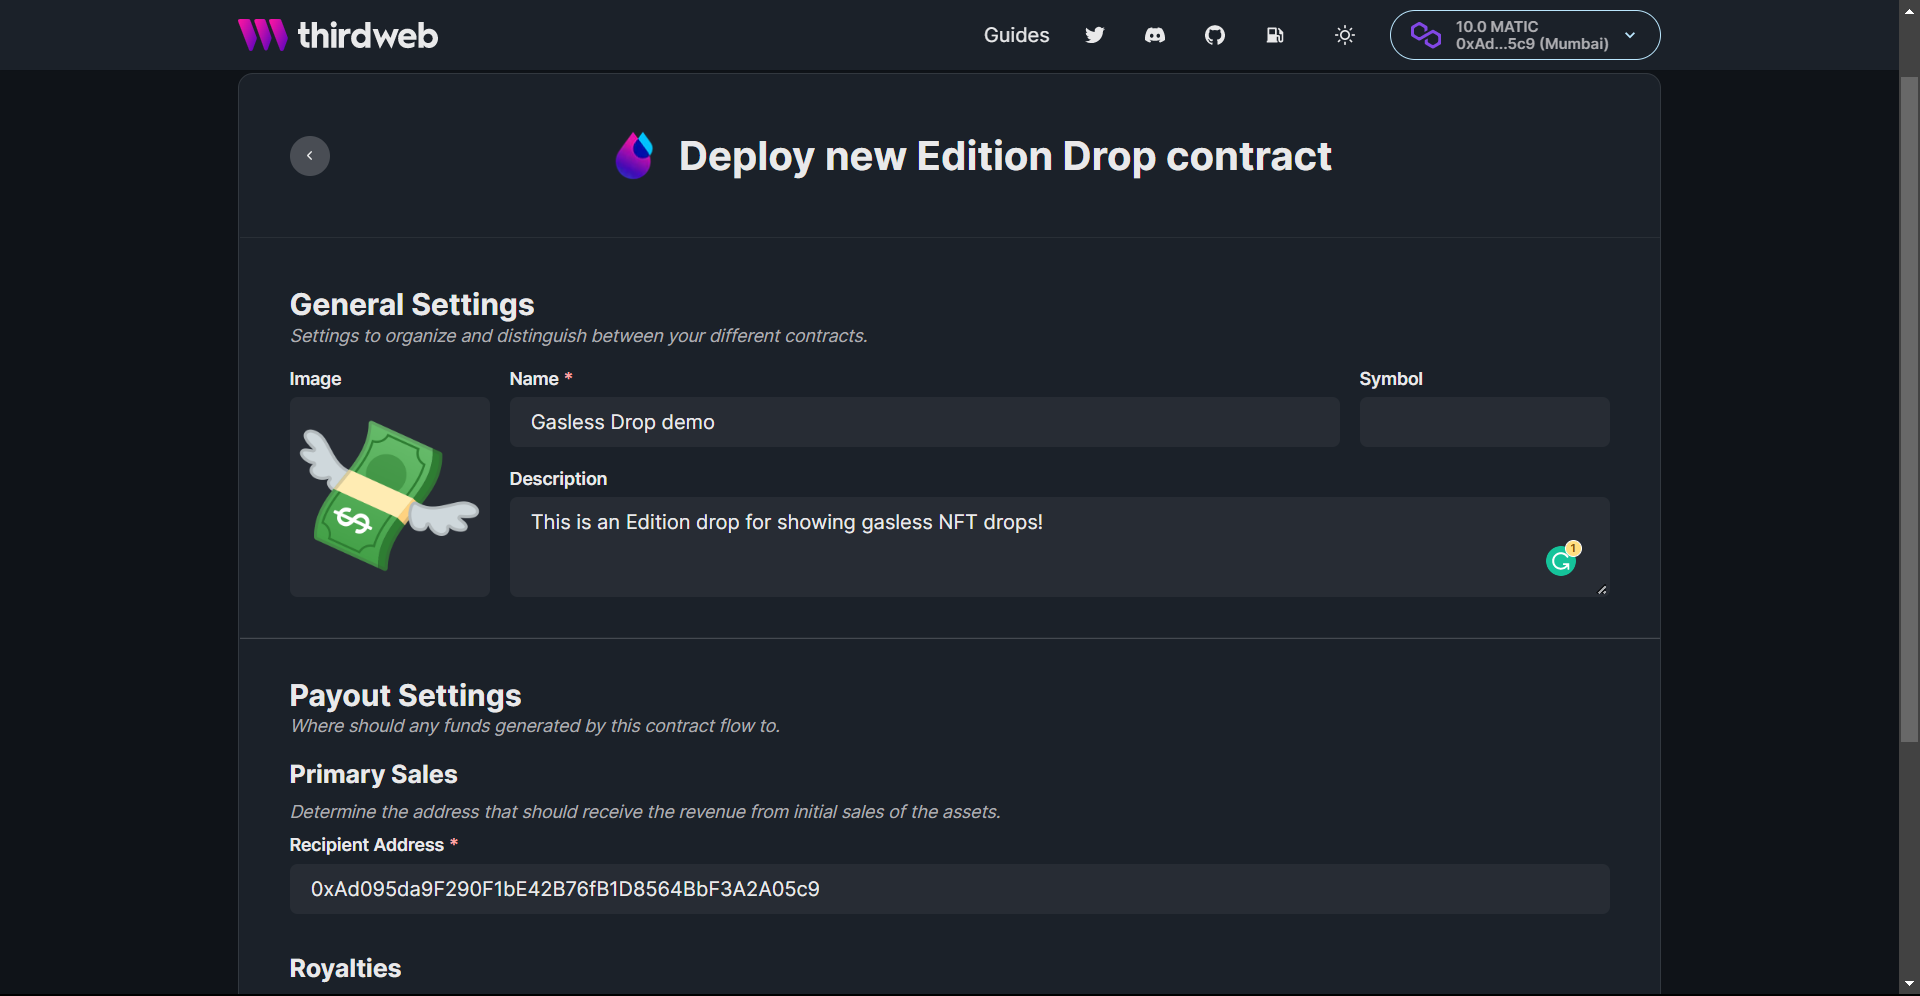
Go to the thirdweb dashboard and click on "Deploy new contract".
From the pre-built contracts, hit Deploy Now on the Edition Drop contract.
Fill out the details and hit deploy!
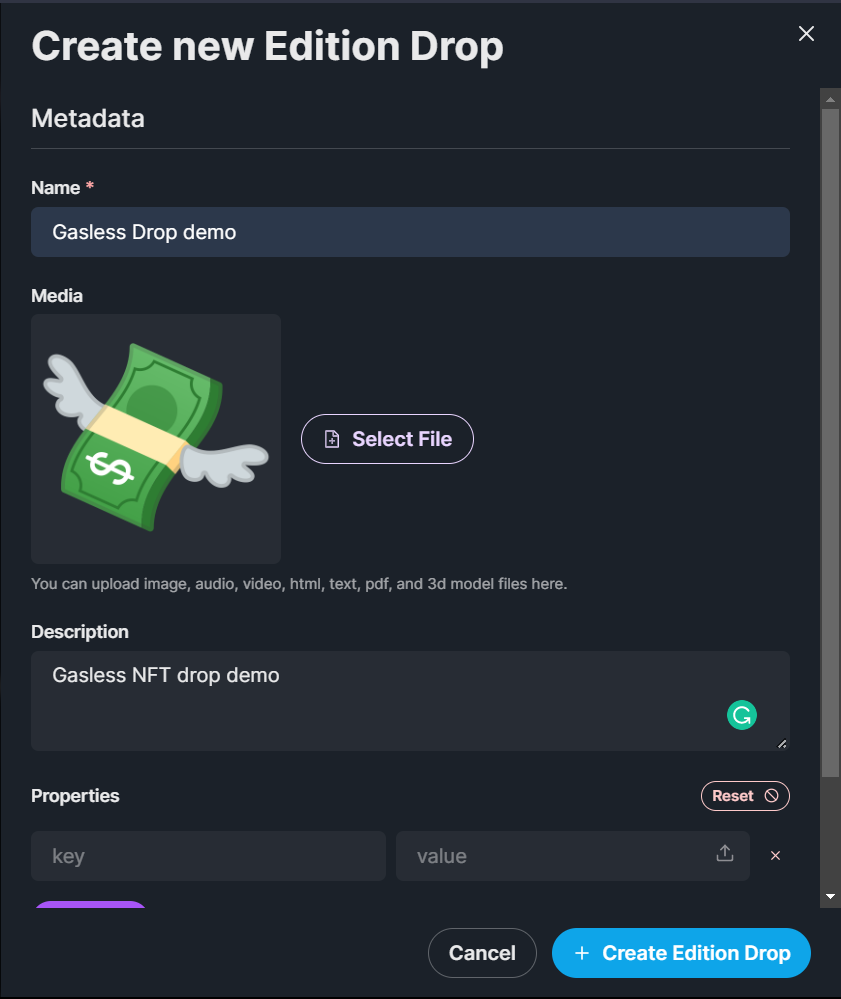
After the drop is created, create a new NFT inside of the drop like this-
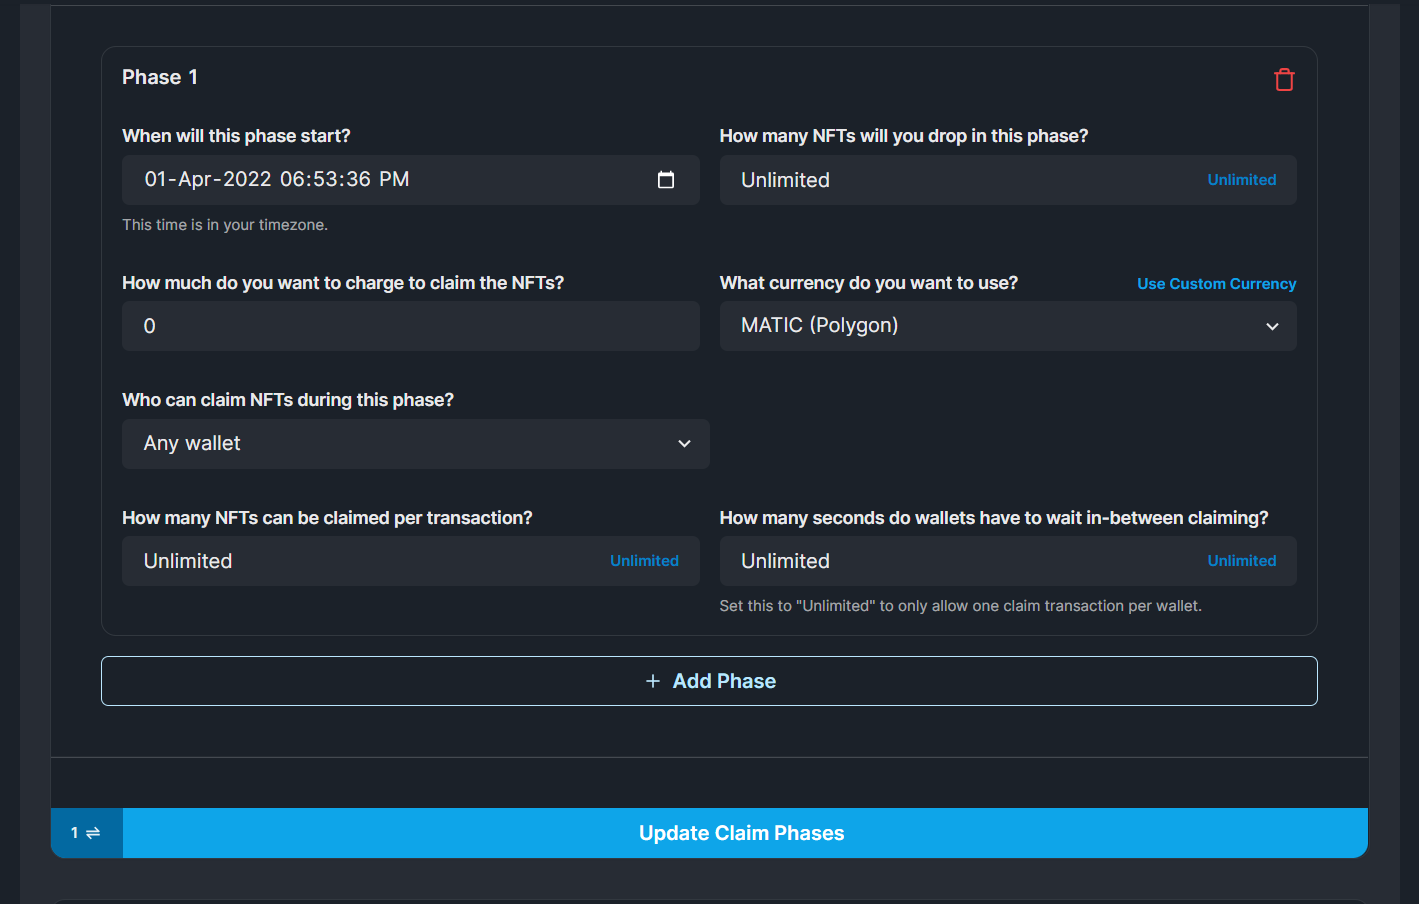
Finally, let’s add a claim phase! Click on the Claim Phases tab, update the details based on what you need, and hit update.
You will be asked to confirm a small transaction to cover the gas fees.
Building the website
We will now build a website where users will be able to come and claim the NFT!
Setting up our project
I am going to use the Next.js Javascript starter template for this guide.
If you are following along with the guide, you can create a project with the template using the thirdweb CLI:
npx thirdweb create --next
If you already have a Next.js app you can simply follow these steps to get started:
-
Install
@thirdweb-dev/reactand@thirdweb-dev/sdkandethers@5. -
Add MetaMask authentication to the site. You can follow this guide to add metamask auth.
Building the mint functionality
We will use the Web3Button component from @thirdweb-dev/react to connect the user’s wallet and mint the NFT.
const tokenId = 0;
const quantity = 1;

return (
  <div className={styles.container}>
    <Web3Button
      contractAddress="EDITION_ADDRESS"
      action={(contract) =>
        contract.erc1155.claimTo(address, tokenId, quantity)
      }
      onSuccess={() => alert("Claimed!")}
      onError={() => alert("Something went wrong")}
    >
      Claim
    </Web3Button>
  </div>
);
I have created two variables for the tokenId and quantity for better readability of code. The second argument is tokenId and the third is quantity.
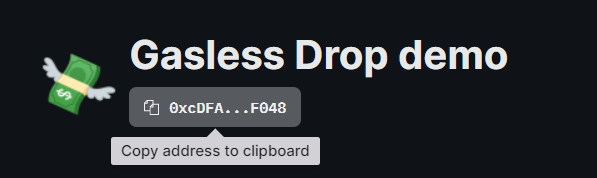
Copy the edition drop address from the dashboard and replace it with EDITION_ADDRESS
Import the component:
import { Web3Button } from "@thirdweb-dev/react";
Let’s now try minting the NFT!
And the minting works! But we have to pay for the gas in the transaction, so let’s relay the gas so that we pay the gas and user can mint their NFTs for free!
Making transactions gasless
thirdweb supports Biconomy and OpenZeppelin for relaying the gas.
For this demo we are going to use OpenZeppelin to relay the gas, so head over to OpenZeppelin and sign up for an account if you haven’t already.
Create a new relayer in OpenZeppelin:
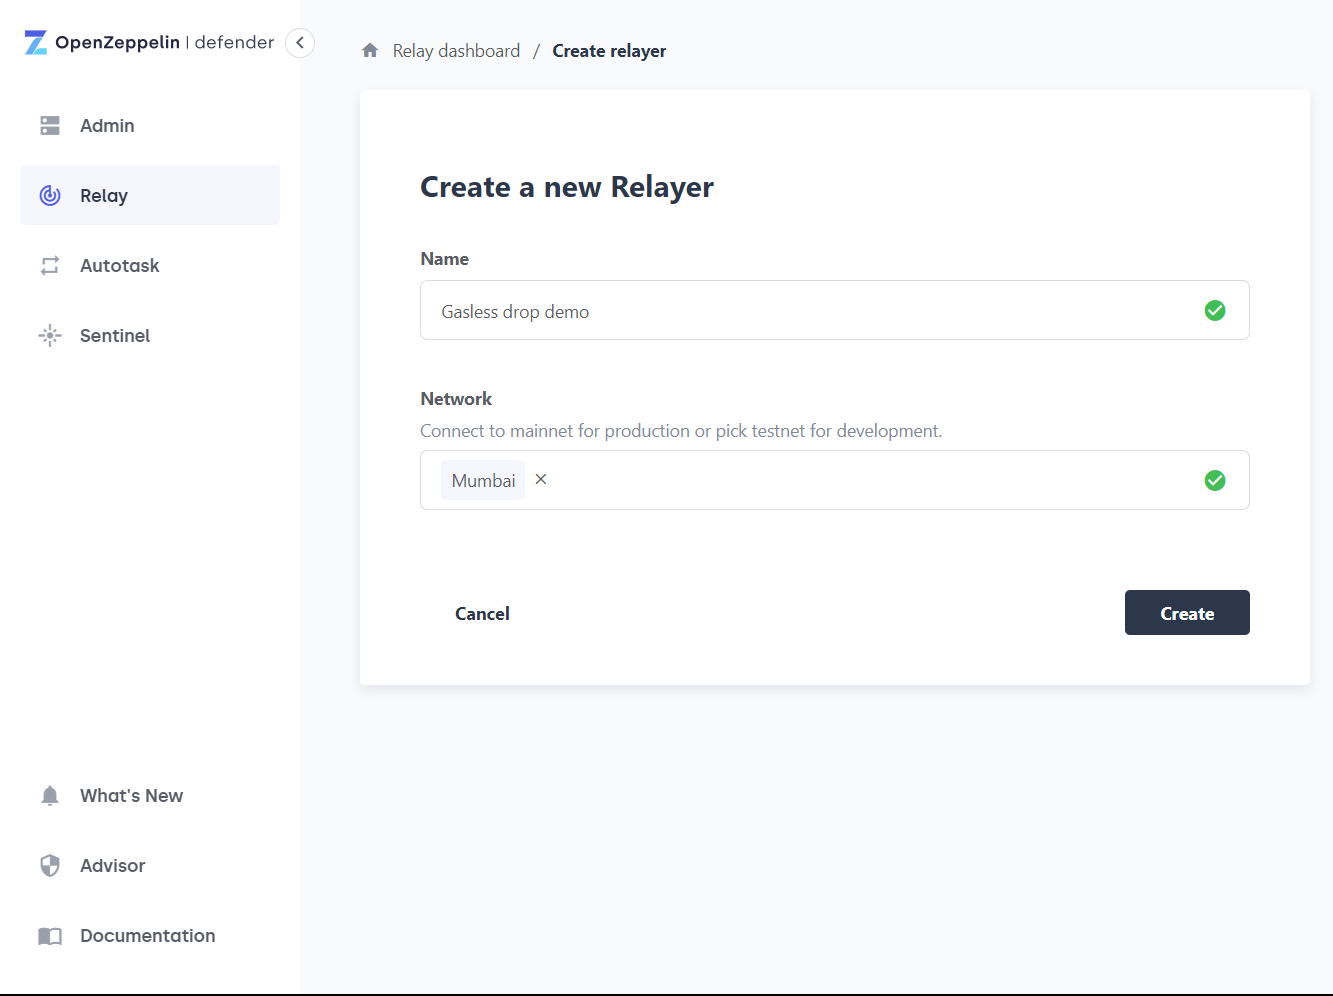
Choose the network that you are building upon and give the relayer a name!
After the relayer has been created, copy the address and transfer some funds into it in the network you created the relayer.
You should be able to see the amount you transferred on your dashboard

Now go ahead and create a new autotask, you will be asked to fill some data-
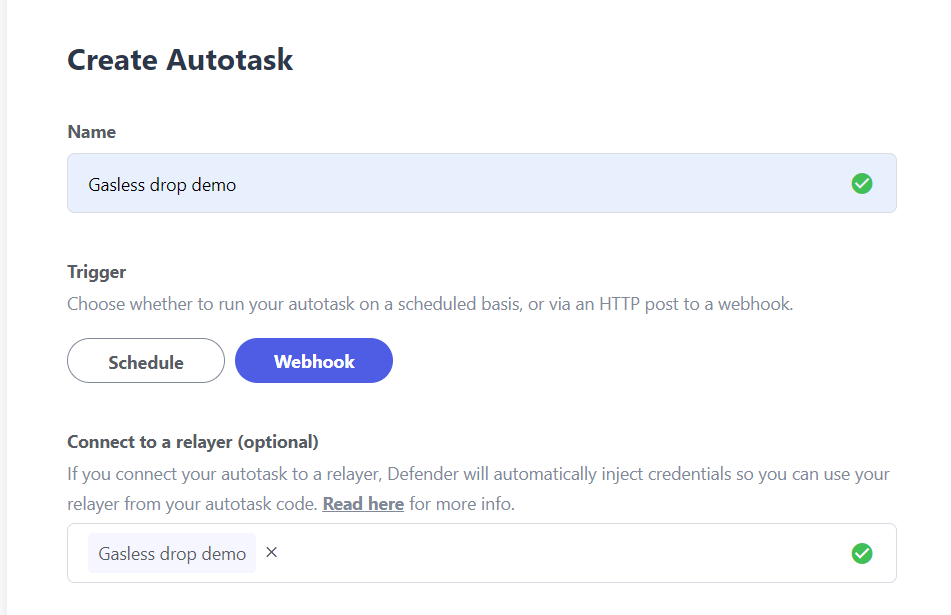
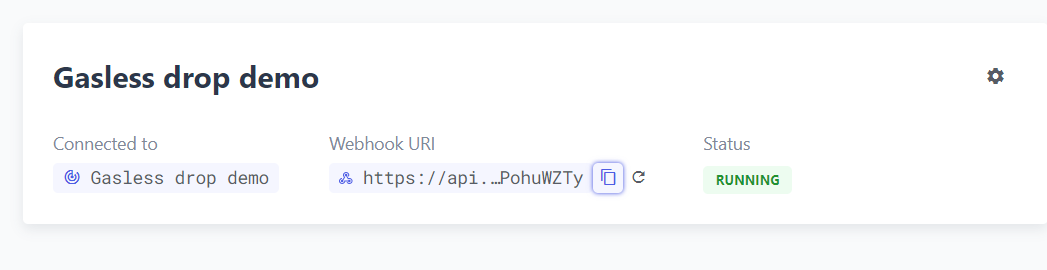
You can get the code from here and paste it into the code section of autotask. After you are done hit create. Once it is done creating, copy the webhook uri
Head back to the Next.js application, and create a new .env.local file in the root of the folder. We will use this to store our environment variables! Create a new variable NEXT_PUBLIC_OPENZEPPELIN_URL like this-
NEXT_PUBLIC_OPENZEPPELIN_URL=https://api.defender.openzeppelin.com/autotasks/secret-stuff
Since we have changed env variables, you need to restart your development server.
Finally, add the OpenZeppelin Uri in the ThirdwebProvider:
<ThirdwebProvider
  sdkOptions={{
    gasless: {
      openzeppelin: {
        relayerUrl: process.env.NEXT_PUBLIC_OPENZEPPELIN_URL,
      },
    },
  }}
  desiredChainId={desiredChainId}
>
Now the gas fees are being relayed and the users don’t have to pay any gas!
Want to have a look at the code? We got you!