How to Create an Edition (ERC1155) Staking Smart Contract + Web App

⚠️ Warning: This guide currently uses v4 of the Connect SDK. For v5 (latest) code snippets, please check out our documentation while this guide is being updated. ⚠️
In this guide, we'll show you how to create and deploy an ERC1155 NFT staking smart contract, where people can stake their Edition NFTs and earn ERC20 tokens as rewards.
We'll walk through:
- Creating the ERC1155 Edition smart contract
- Creating the ERC20 Token smart contract
- Creating the staking smart contract
- Building a frontend web application to interact with the contract
Let's get started!
Deploy An Edition Drop Smart Contract
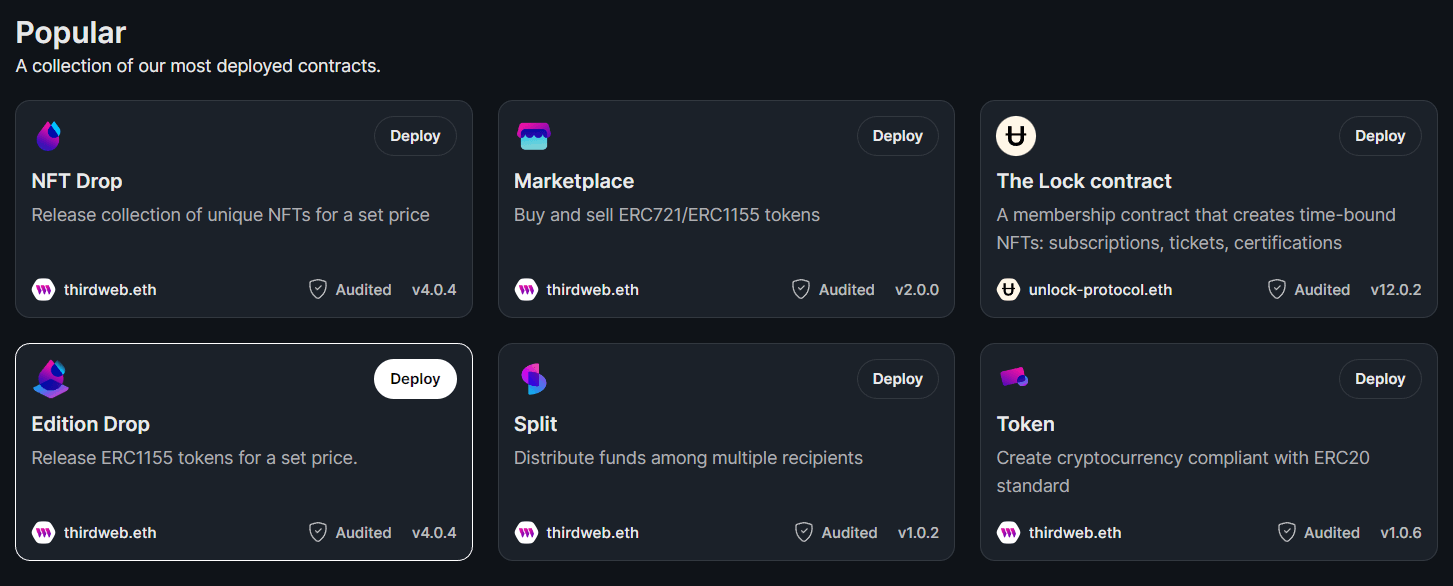
If you don't already have an ERC1155 NFT collection smart contract, head to the Explore page and select the Edition Drop smart contract:
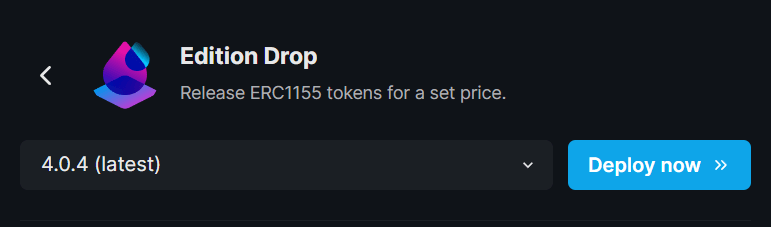
From this page, click Deploy Now on the latest version:
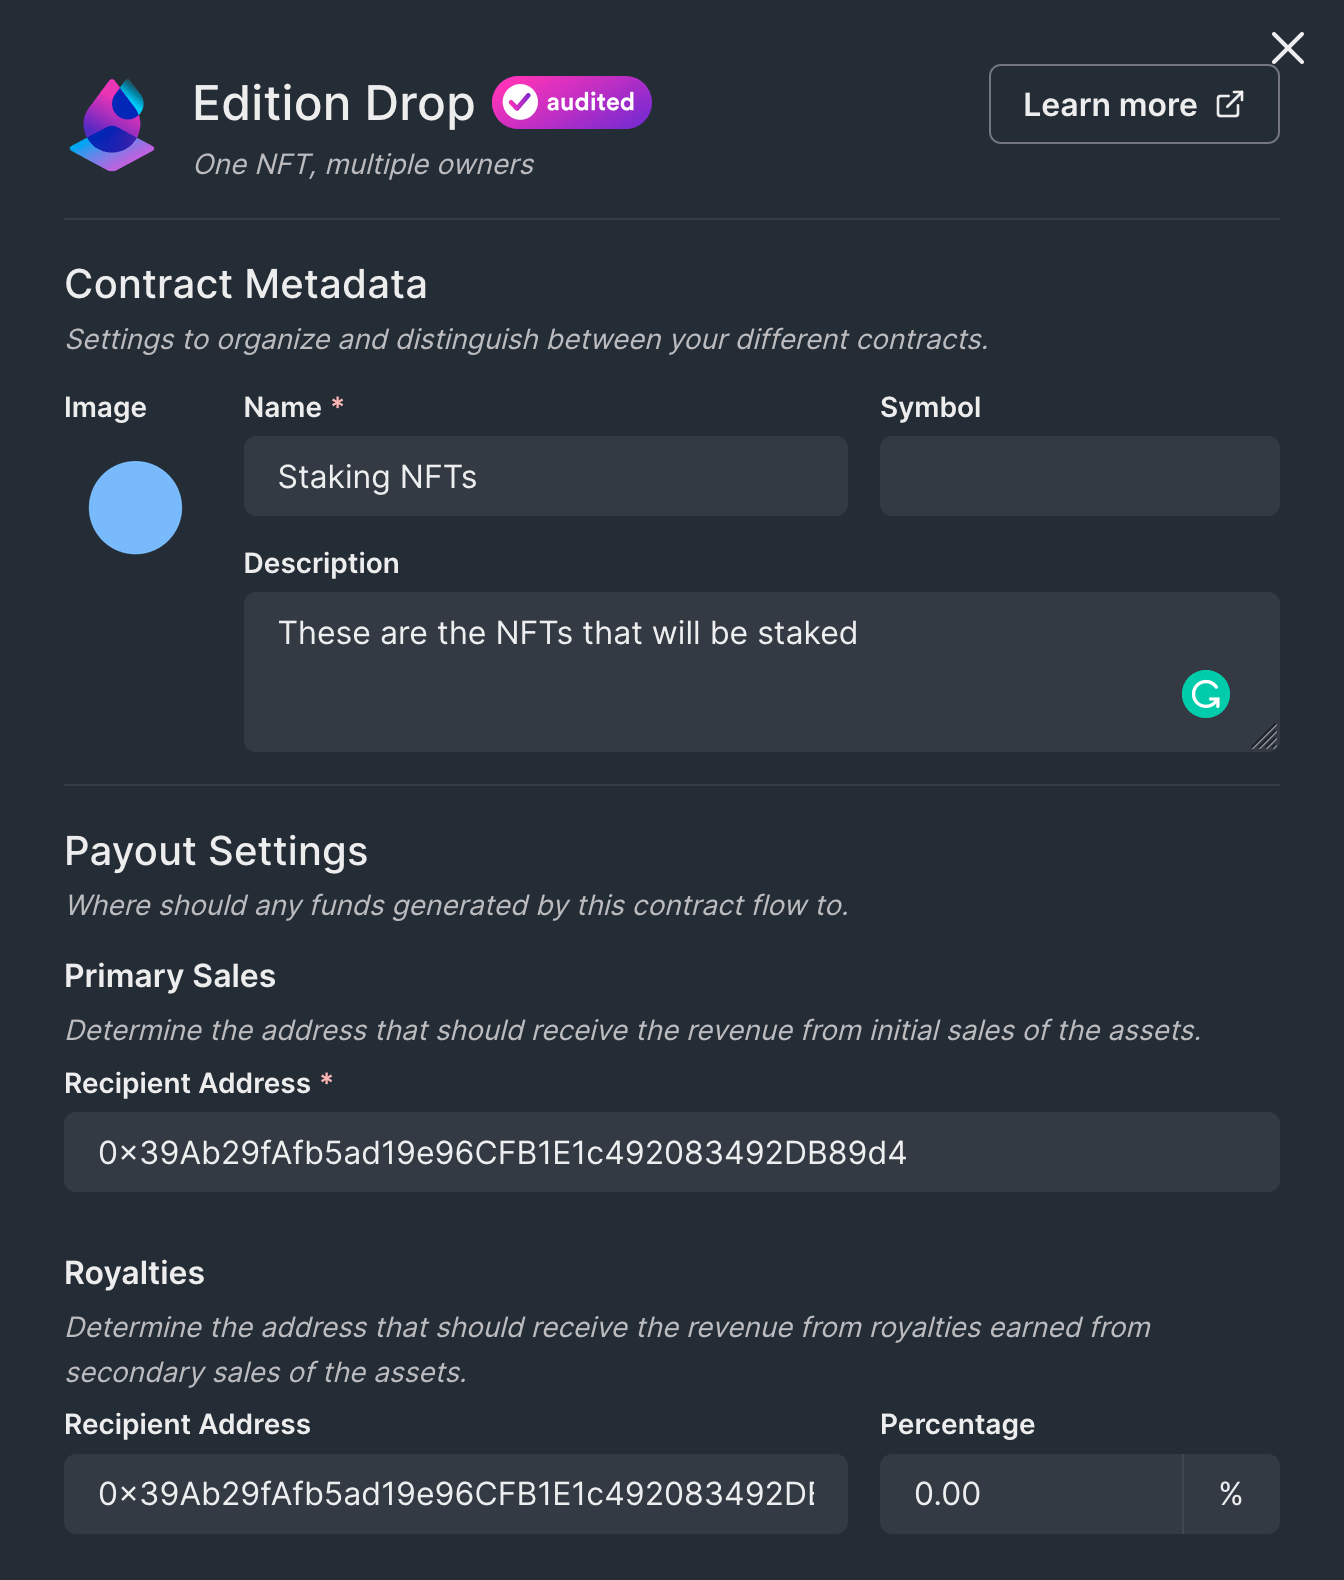
A drawer will open to populate the metadata of the NFT Drop contract you're going to deploy. Set up your smart contract with an image, name, description, etc., and configure which wallet address will receive the funds from primary and secondary sales:
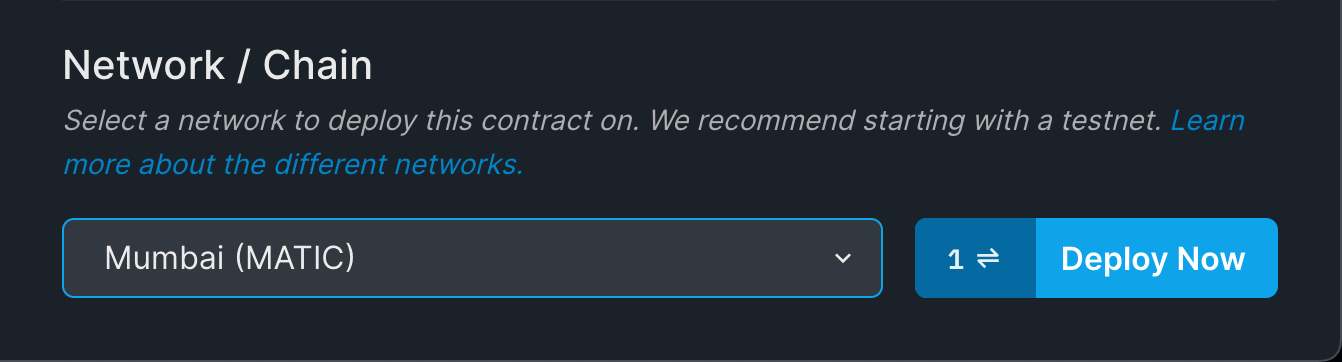
I am using the Polygon testnet Mumbai, but you can choose any network you prefer.
Learn more about the available networks you can deploy to.
When you're ready, click Deploy Now!
Once your smart contract is deployed, you're ready to:
- Lazy-mint NFTs are ready for users to mint from the NFTs tab.
- Configure your claim conditions to set price, release date, quantity, etc.
We won't cover these topics in detail in this guide, feel free to use the documentation on the Edition Drop page if you need any more information!
Deploy an ERC20 Token Smart Contract
Next, let's deploy an ERC20 token smart contract, which represents the token users will be rewarded with for staking their NFTs!
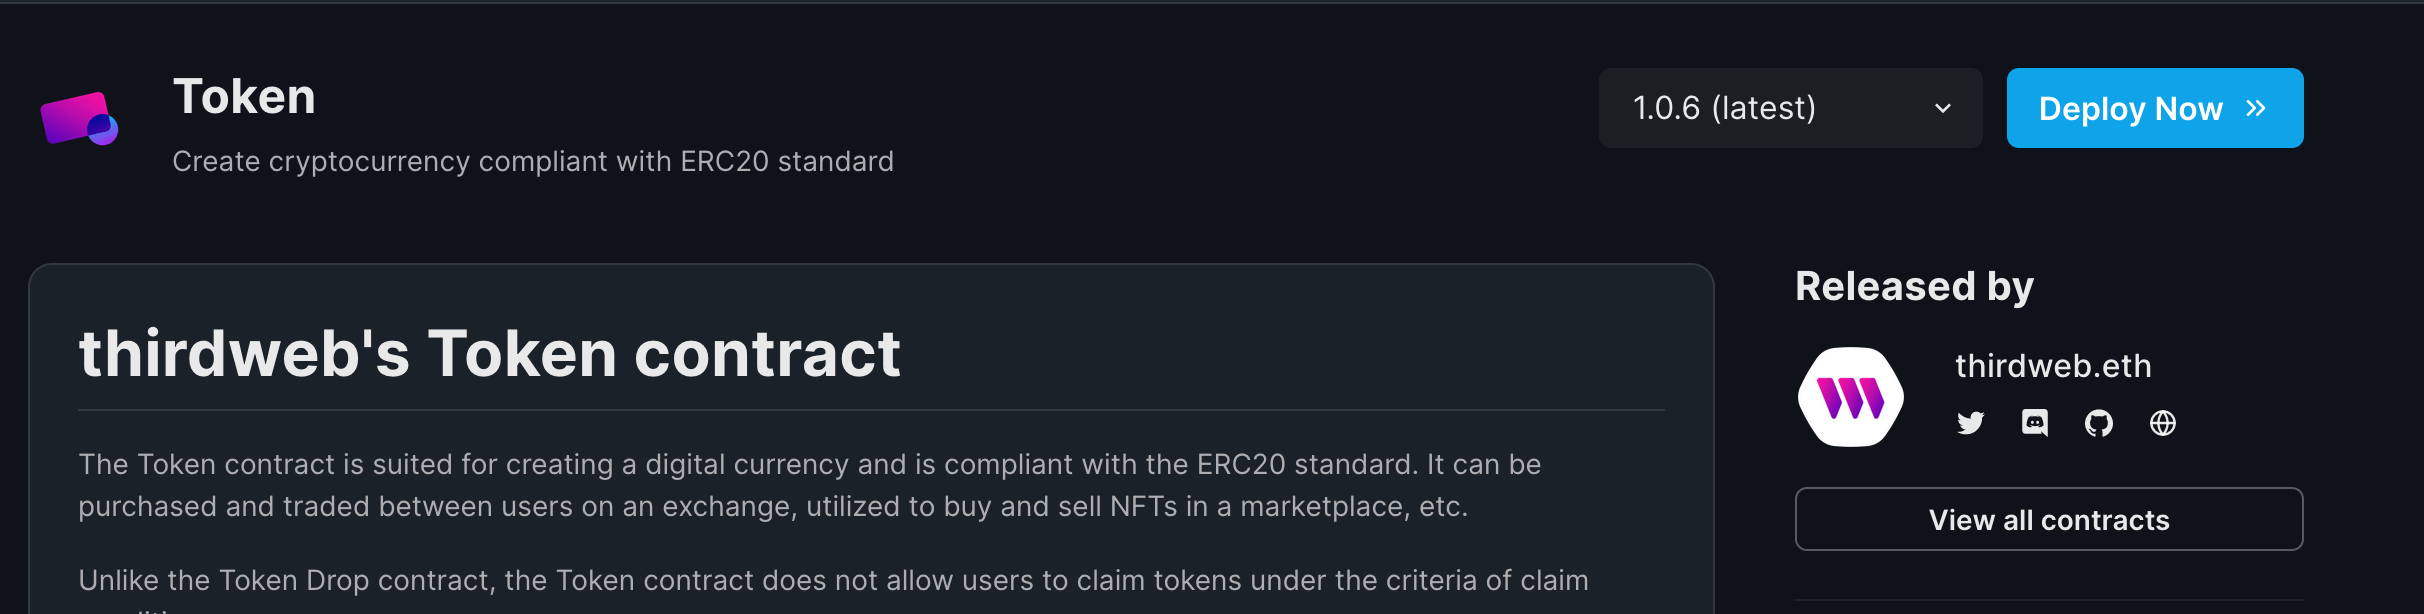
If you don't already have an ERC20 smart contract, head to the Explore page and click on the Token contract.
Click Deploy Now to begin the deployment flow:
Minting ERC20 Token Supply
The way the EditionStake.sol smart contract works that we're going to deploy next is by transferring tokens to the user when they claim their staking rewards.
For this reason, we need to provide the staking smart contract with a supply of tokens for it to transfer.
To do that, let's first mint some tokens in our ERC20 smart contract and transfer them to the staking contract.
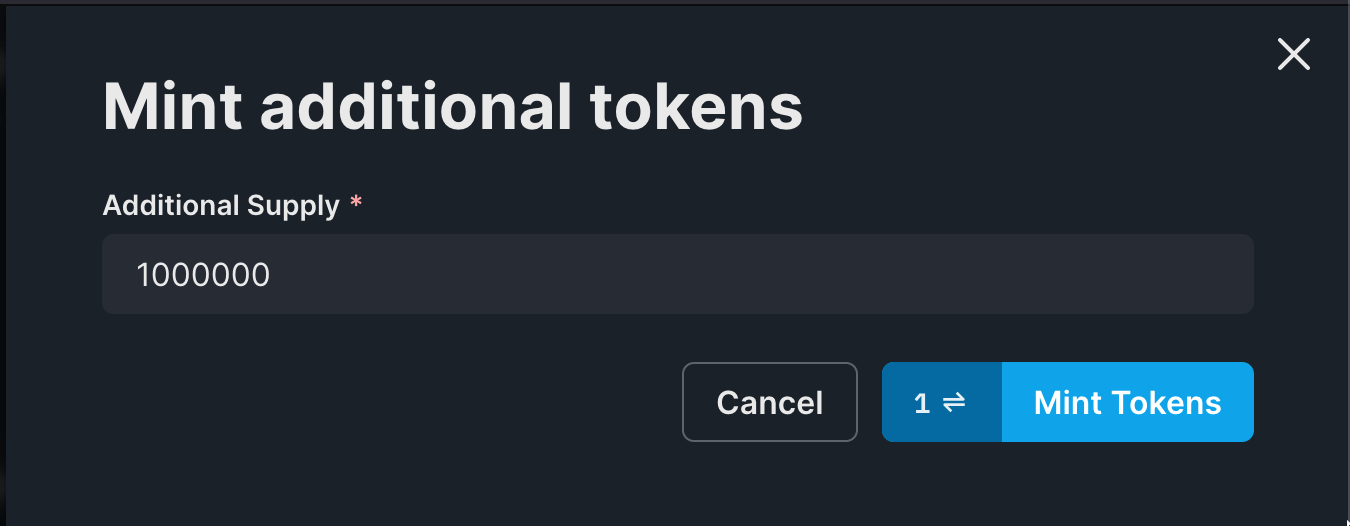
Head to the Tokens tab and click on Mint.
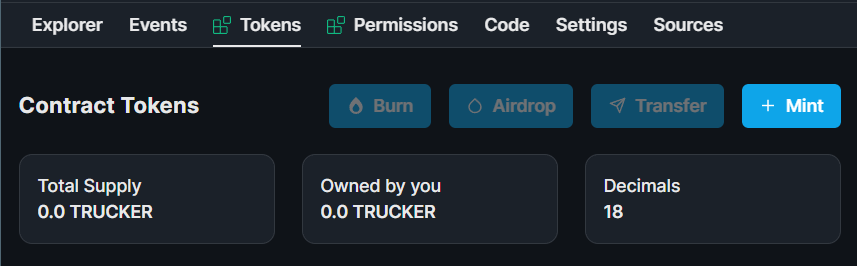
Enter an amount and click on Mint tokens:
Deploy an Edition Staking Smart Contract
We will move on to the exciting part and deploy the staking contract itself!
Head to the EditionStake smart contract page, and click Deploy Now:

You will now need to provide some configuration for your staking contract.
You can use the information below each field to help you understand what values you need to fill them out with.
Once you're ready, click Deploy Now to ship your staking smart contract!
Deposit ERC20 Token
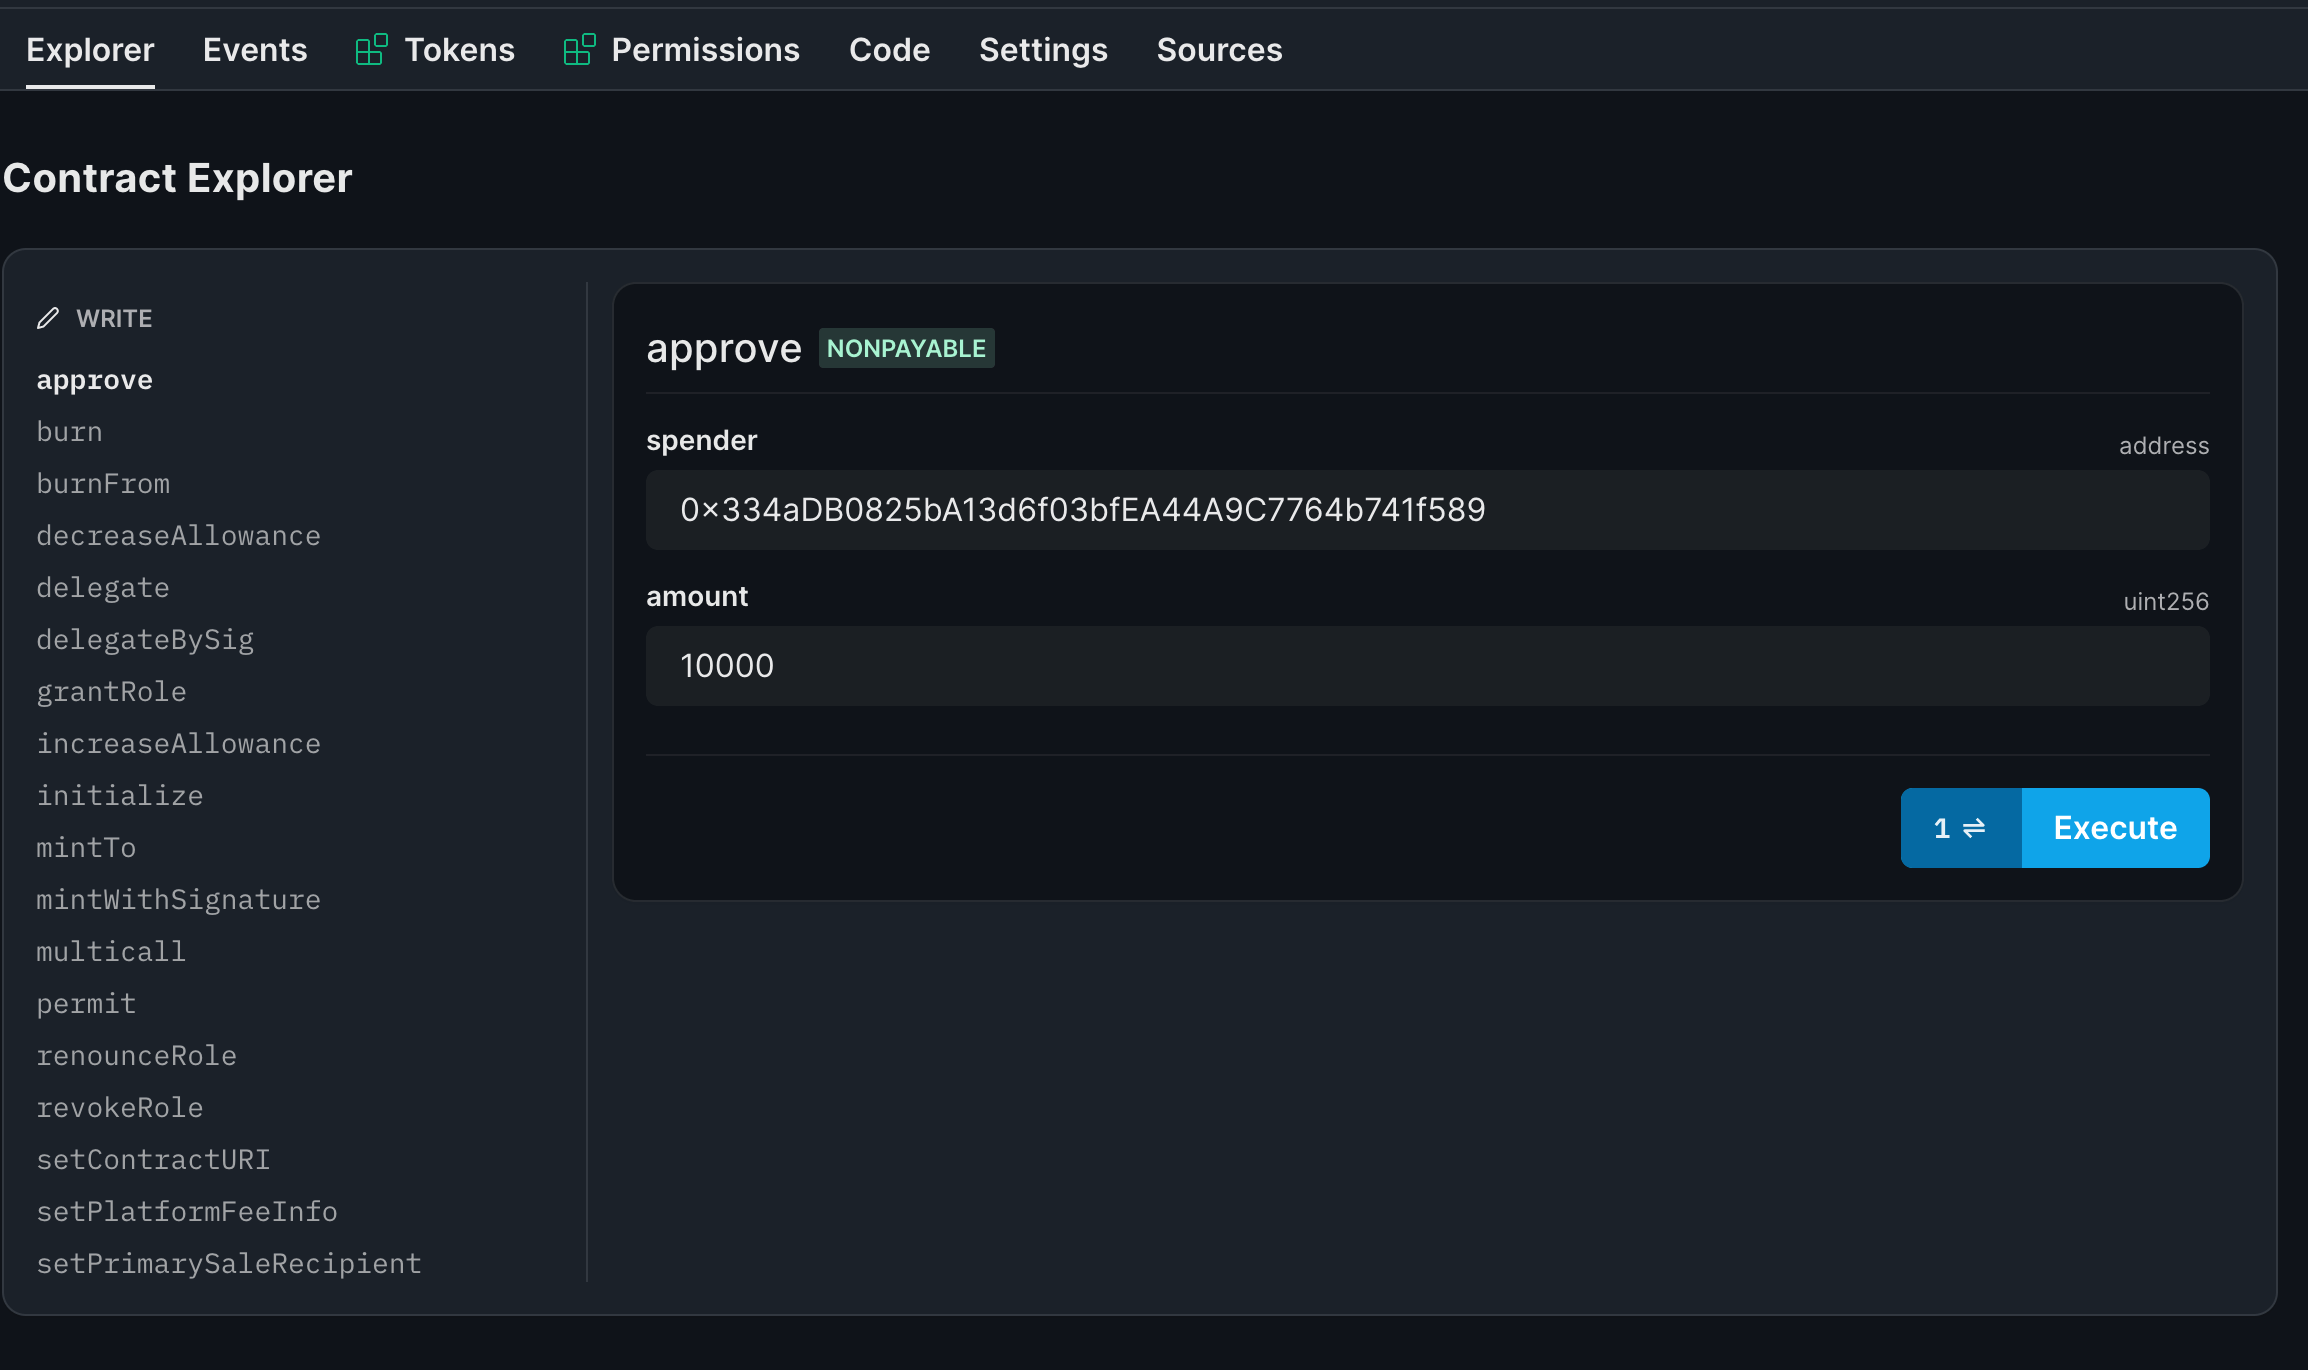
Head back to your ERC20 smart contract and approve tokens for your newly deployed staking smart contract address to spend.
Head over to the explore tab on your Token contract, and click on the approve function. We're going to allow the staking contract to spend (amount) of tokens so that it can pay rewards to the stakers.
Enter your staking contract address and an amount that you think is suitable, click on Execute and approve the transaction.
Finally, go to the explore tab of the Staking contract.
Here, you will see a depositRewardTokens function. This is the function we're going to use to supply our staking contract with funds for it to distribute as rewards.
Add the amount of tokens you want to deposit into the staking contract address.
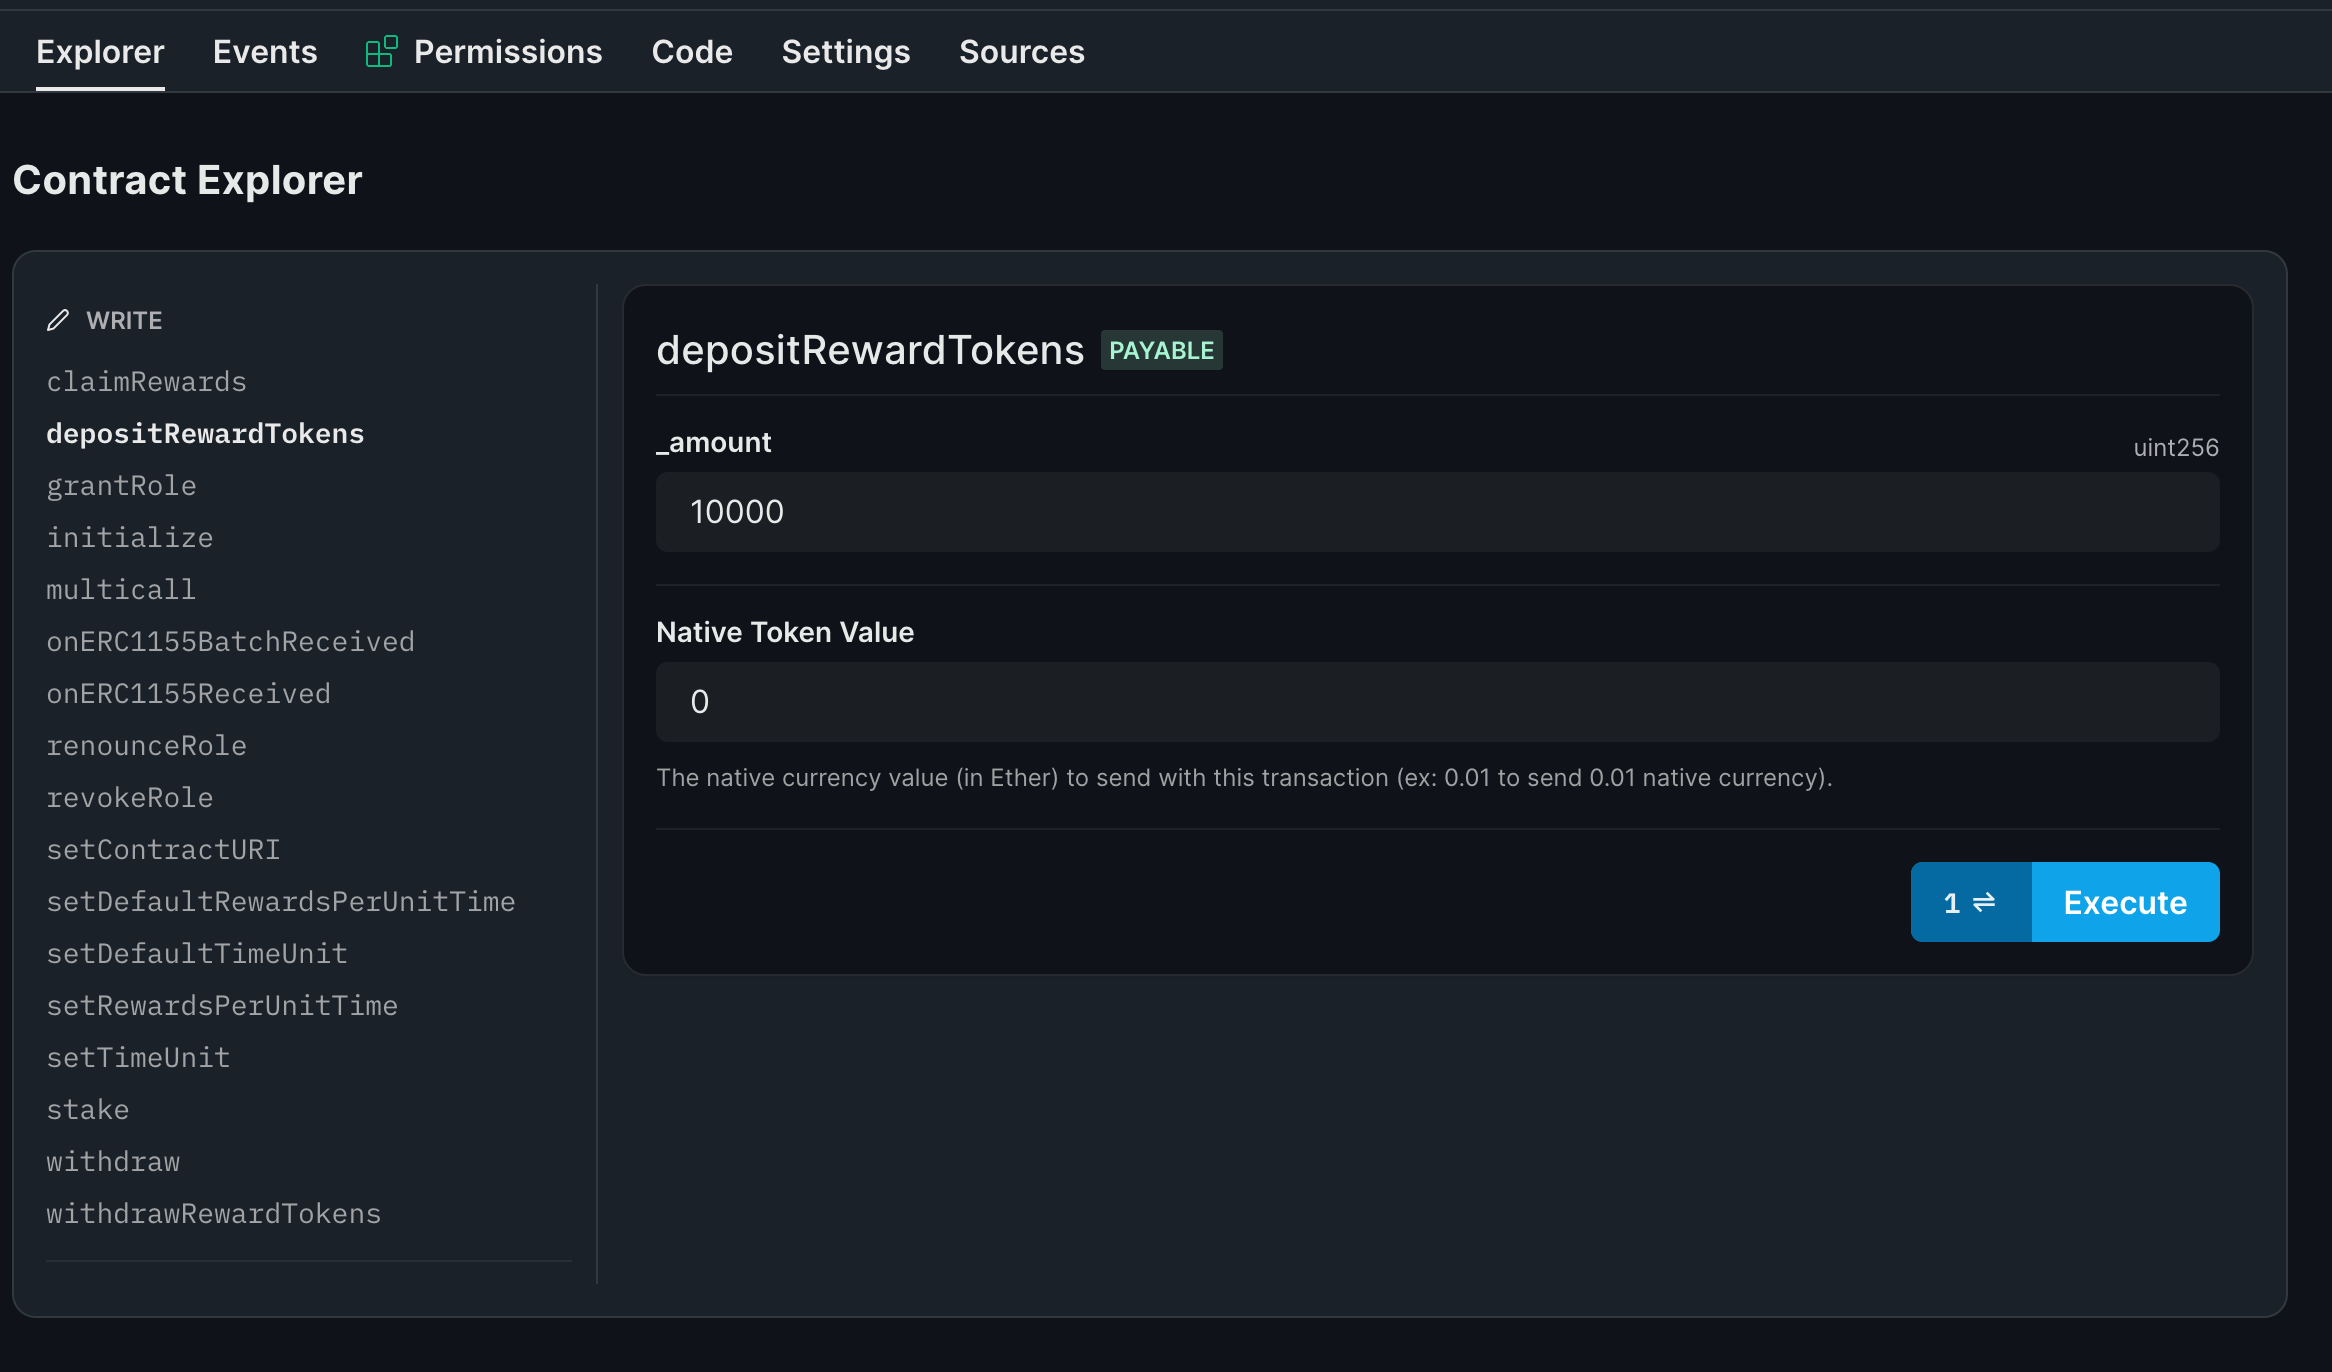
Once done click on execute and you are good to go!
Creating a Staking Web Application
Now let's create an NFT staking web app where users can connect their wallets, stake/withdraw NFTs, and claim rewards.
Before we begin, you can access the complete source code for this template on GitHub.
 thirdweb-example
Using the CLI, create a new Next.js & TypeScript project with the React SDK preconfigured for you, using the following command:
npx thirdweb create app --next --tsBy default the network is Ethereum Mainnet, you'll need to change it to the network you deployed your smart contracts to inside the _app.tsx file.
// This is the chainId your dApp will work on.
const activeChain = Mumbai;clientId to the ThirdwebProvider.Showing Owned NFTs of Connected Wallet
We will first show the NFTs that the person holds and allow them to stake these with a button. Let's edit the index.tsx page to add this logic.
Getting the owned NFTs:
const address = useAddress();
const { contract: editionDropContract } = useContract(
  <your-edition-drop-contract-address-here>,
  "edition-drop"
);
const { data: ownedNfts } = useOwnedNFTs(editionDropContract, address);
Rendering them on the UI:
<div>
  {ownedNfts?.map((nft) => (
    <div key={nft.metadata.id.toString()}>
      <ThirdwebNftMedia metadata={nft.metadata} />
      <h3>{nft.metadata.name}</h3>
      <Web3Button
        contractAddress={stakingContractAddress}
        action={() => stakeNft(nft.metadata.id)}
      >
        Stake
      </Web3Button>
    </div>
  ))}
</div>
We are using the ThirdwebNftMedia component from thirdweb to display the NFT.
Next, we need to create a stakeNft function that will prompt the user to stake the NFT, and first request them to grant approval for the staking contract address to transfer NFTs from the user's wallet (from the NFT collection).
const { contract, isLoading } = useContract(stakingContractAddress);

async function stakeNft(id: string) {
  if (!address) return;

  const isApproved = await editionDropContract?.isApproved(
    address,
    stakingContractAddress
  );
  if (!isApproved) {
    await editionDropContract?.setApprovalForAll(stakingContractAddress, true);
  }
  await contract?.call("stake", id, 1);
}
The third parameter in the await contract?.call("stake", id, 1); line is the quantity of the token you want your users to stake. You could make this a dynamic value and accept user input; for simplicity, we're hard-coding it to 1 here.
Showing the staked NFTs
Now that we have staked our NFT, we also need to display the NFTs that the user has staked so far. To do so, we will create a new component.
So, create a new file components/NFTCard.tsx and add the following:
import {
  ThirdwebNftMedia,
  useContract,
  useNFT,
  Web3Button,
} from "@thirdweb-dev/react";
import type { FC } from "react";
import {
  editionDropContractAddress,
  stakingContractAddress,
} from "../consts/contractAddresses";
import styles from "../styles/Home.module.css";

interface NFTCardProps {
  tokenId: number;
}

const NFTCard: FC<NFTCardProps> = ({ tokenId }) => {
  const { contract } = useContract(editionDropContractAddress, "edition-drop");
  const { data: nft } = useNFT(contract, tokenId);

  return (
    <>
      {nft && (
        <div className={styles.nftBox}>
          {nft.metadata && (
            <ThirdwebNftMedia
              metadata={nft.metadata}
              className={styles.nftMedia}
            />
          )}
          <h3>{nft.metadata.name}</h3>
          <Web3Button
            action={(contract) =>
              contract?.call("withdraw", nft.metadata.id, 1)
            }
            contractAddress={stakingContractAddress}
          >
            Withdraw
          </Web3Button>
        </div>
      )}
    </>
  );
};

export default NFTCard;
This gives us a nice card to show our staked NFTs, each card shows the image of the NFT, the name of the NFT, as well as a Withdraw button that allows the user to unstake.
Now, in pages/stake.tsx we will transform each staked token into this component like so:
const { data: stakedTokens } = useContractRead(
  contract,
  "getStakeInfo",
  address
);

<div>
  {stakedTokens &&
    stakedTokens[0]?.map((stakedToken: BigNumber) => (
      <NFTCard tokenId={stakedToken.toNumber()} key={stakedToken.toString()} />
    ))}
</div>
Great! Now we have both the staked NFTs and the un-staked NFTs of the user.
Show claimable rewards
const [claimableRewards, setClaimableRewards] = useState<BigNumber>();

useEffect(() => {
  if (!contract || !address) return;

  async function loadClaimableRewards() {
    const stakeInfo = await contract?.call("getStakeInfoForToken", 0, address);
    setClaimableRewards(stakeInfo[1]);
  }

  loadClaimableRewards();
}, [address, contract]);
This will get the stakeInfo from the contract and then set the rewards.
To render it, we need to format it like this:
<p>
  {!claimableRewards
    ? "Loading..."
    : ethers.utils.formatUnits(claimableRewards, 18)}
</p>
Claiming rewards
To allow the users to claim the rewards, we will create a button and attach a function to it.
<Web3Button
  action={(contract) => contract.call("claimRewards", 0)}
  contractAddress={stakingContractAddress}
>
  Claim Rewards
</Web3Button>
Conclusion
This guide taught us how to allow your users to stake the ERC1155 NFTs they hold and earn rewards for staking them!
If you did as well, pat yourself on the back and share it with us on the thirdweb Discord! If you want to take a look at the code, check out the GitHub Repository.