Create a todo app with thirdweb deploy and Next.js

⚠️ Warning: This guide currently uses v4 of the Connect SDK. For v5 (latest) code snippets, please check out our documentation while this guide is being updated. ⚠️
In this guide, we'll show you how to build a full web3 application that allows users to create an on-chain to-do list, using Solidity for the smart contract and Next.js for the application.
Before we get started, below are some helpful resources where you can learn more about the tools we're going to be using in this guide.
Let's get started!
Creating the Smart Contract
To build the smart contract we will be using Hardhat.
Hardhat is an Ethereum development environment and framework designed for full stack development in Solidity. In simple words, you can write your smart contract, deploy them, run tests, and debug your code.
Setting up a new hardhat project
Create a folder where the hardhat project and the Next.js app will go. To create a folder, open up your terminal and execute these commands
mkdir todo-dapp
cd todo-dapp
Now, we will use the thirdweb CLI to generate a new hardhat project! So, run this command:
npx thirdweb@latest create contractWhen it asks for what type of project, you need to select an empty project!
Now you have a hardhat project ready to go!
Creating the smart contract
Once the app is created, create a new file inside the contracts directory called Todo.sol and add the following code:
// SPDX-License-Identifier: MIT

// specify the solidity version here
pragma solidity ^0.8.0;

contract Todos {
    // We will declare an array of strings called todos
    string[] public todos;

    // We will take _todo as an input and push it inside the array in this function
    function setTodo(string memory _todo) public {
        todos.push(_todo);
    }

    // In this function we are just returning the array
    function getTodo() public view returns (string[] memory) {
        return todos;
    }

    // Here we are returning the length of the todos array
    function getTodosLength() public view returns (uint) {
        uint todosLength = todos.length;
        return todosLength;
    }

    // We are using the pop method to remove a todo from the array as you can see we are basically just removing one index
    function deleteToDo(uint _index) public {
        require(_index < todos.length, "This todo index does not exist.");
        todos[_index] = todos[getTodosLength() - 1];
        todos.pop();
    }
}
This smart contract allows you to add todos to your contract, remove them, get their length and also return the array which consists of all the tasks you have set up.
Now that we have written our basic Todos smart contract, we will go ahead and deploy our contract using deploy.
Deploying the contract
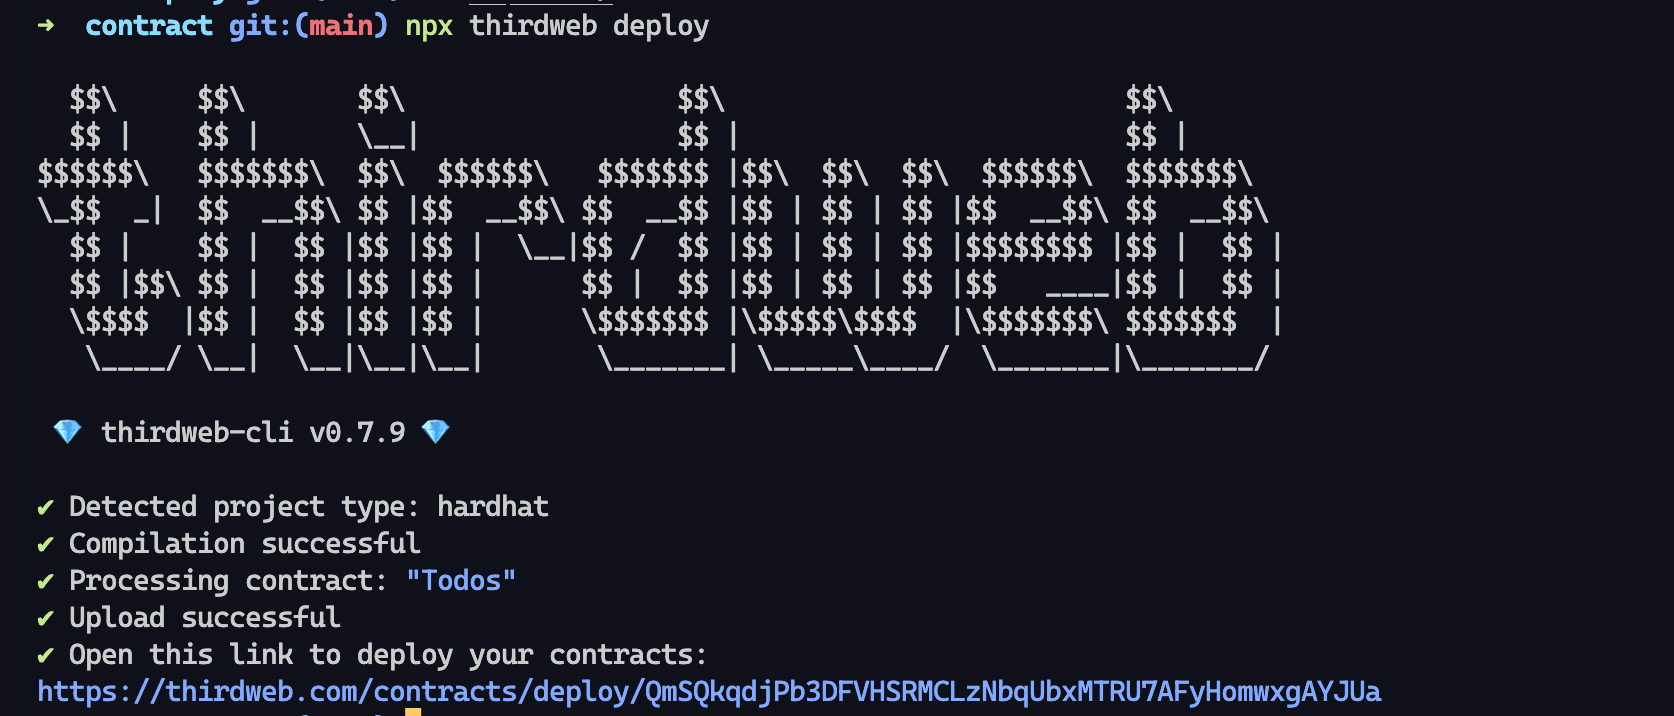
npx thirdweb deploy
This command allows you to avoid the painful process of setting up your entire project like setting up RPC URLs, exporting private keys, and writing scripts.
Upon success, a new tab will automatically open and you should be able to see a link to the dashboard in your CLI.
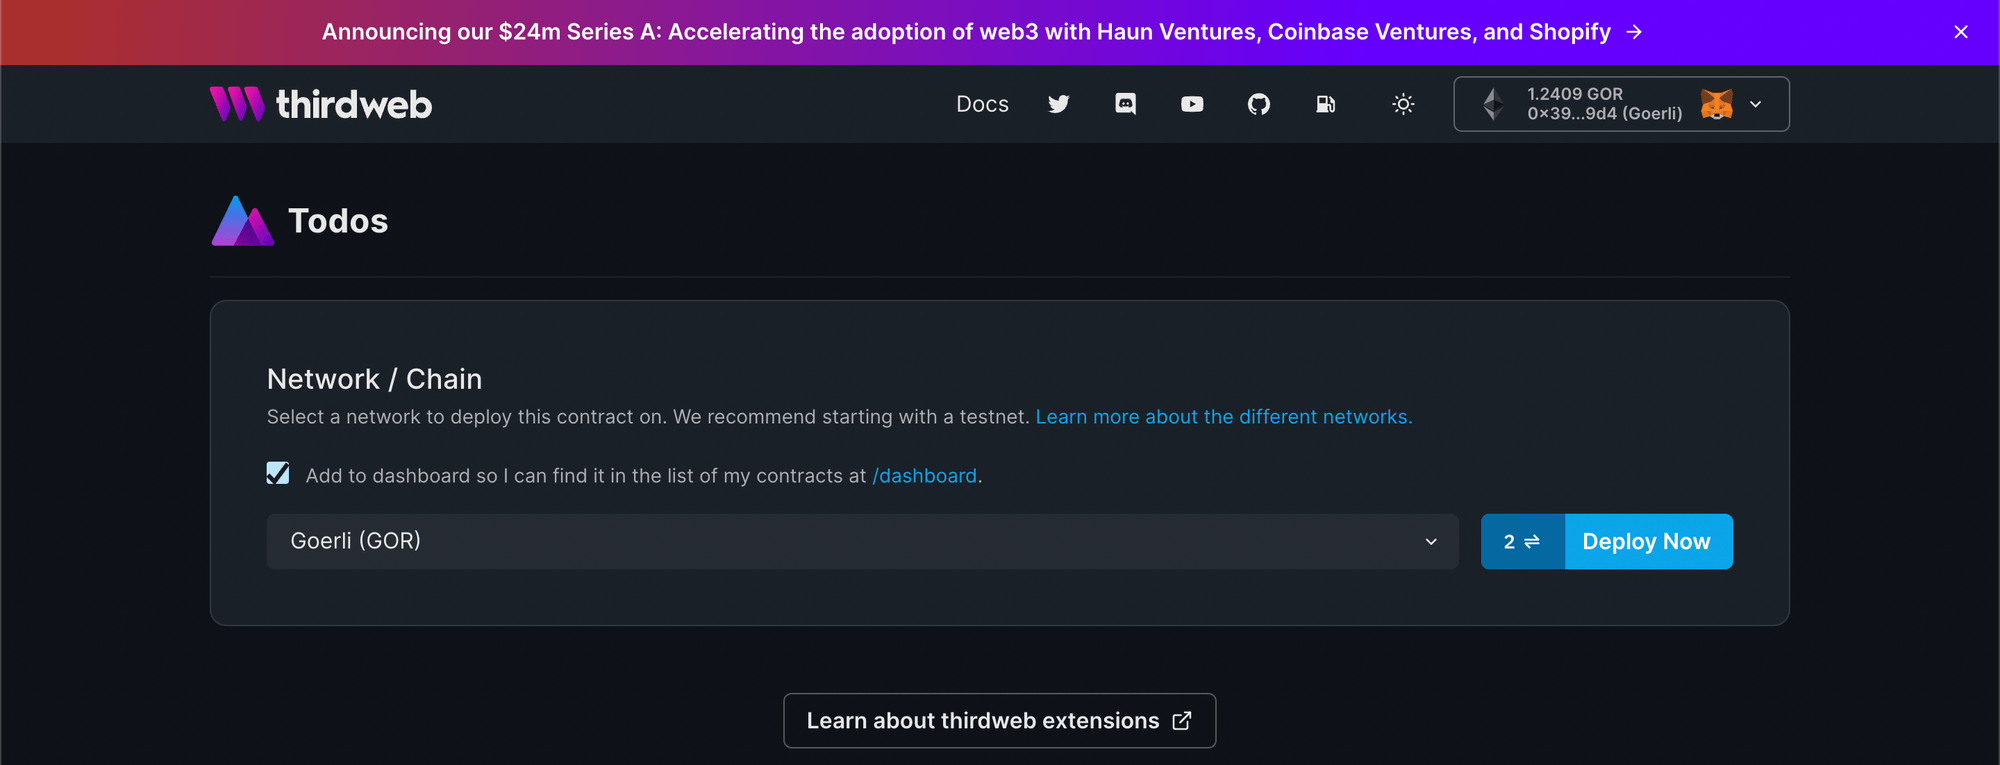
Now, choose the network you want to deploy your contract to! I am going to use Goerli but you can use whichever one you like. Once you have chosen your network click on Deploy now!
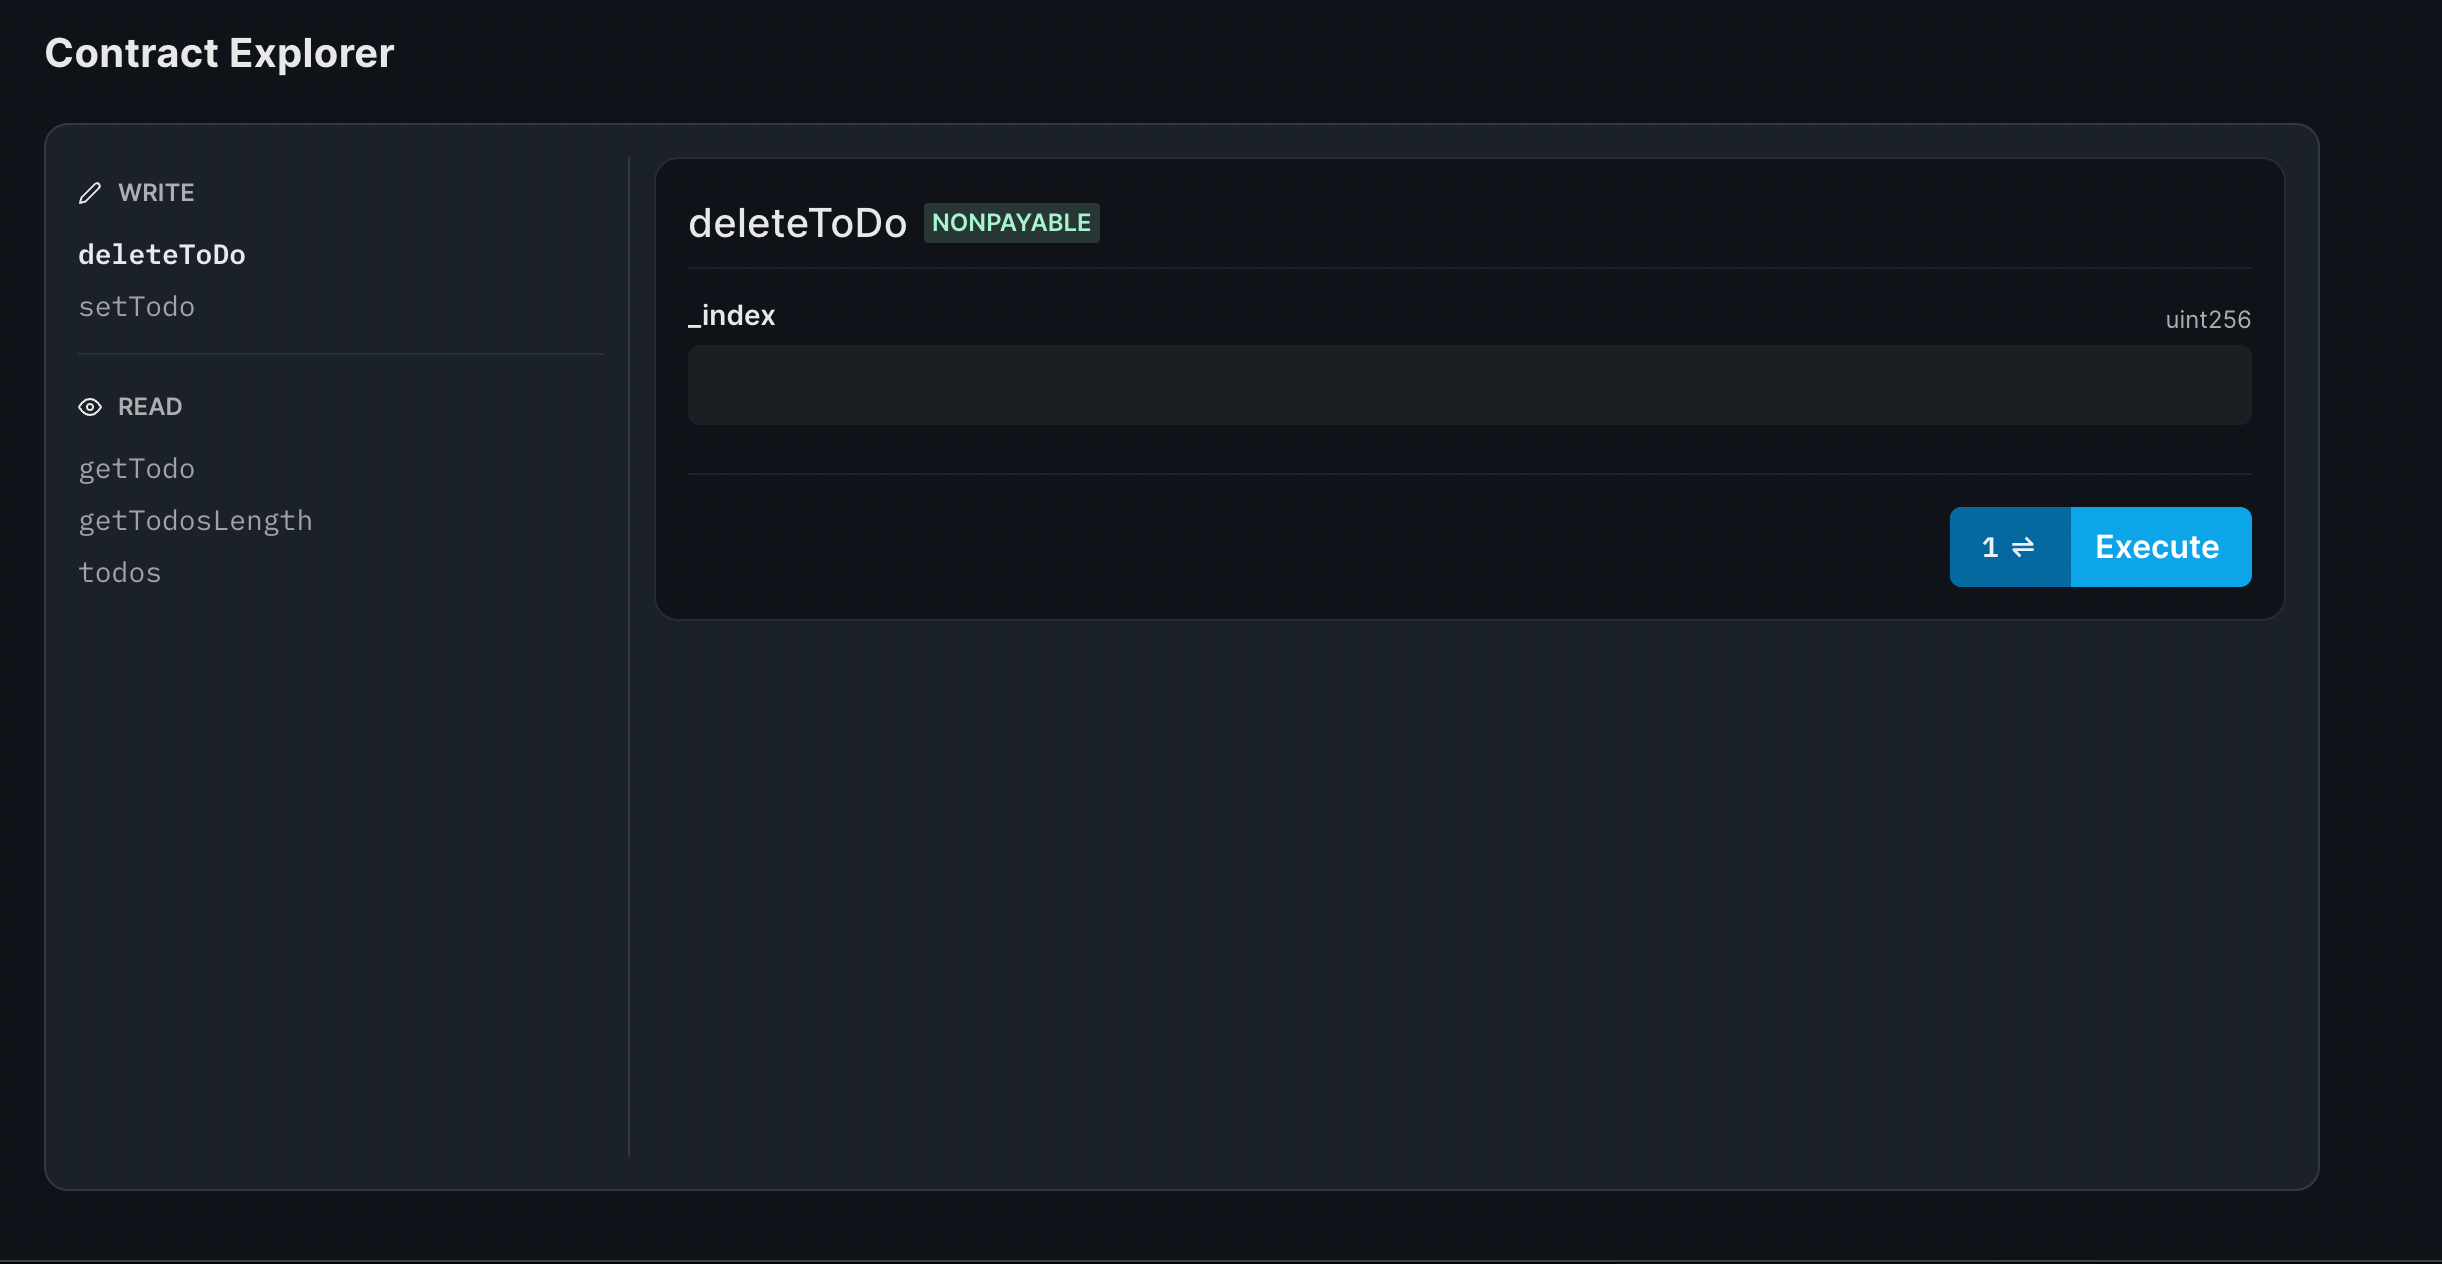
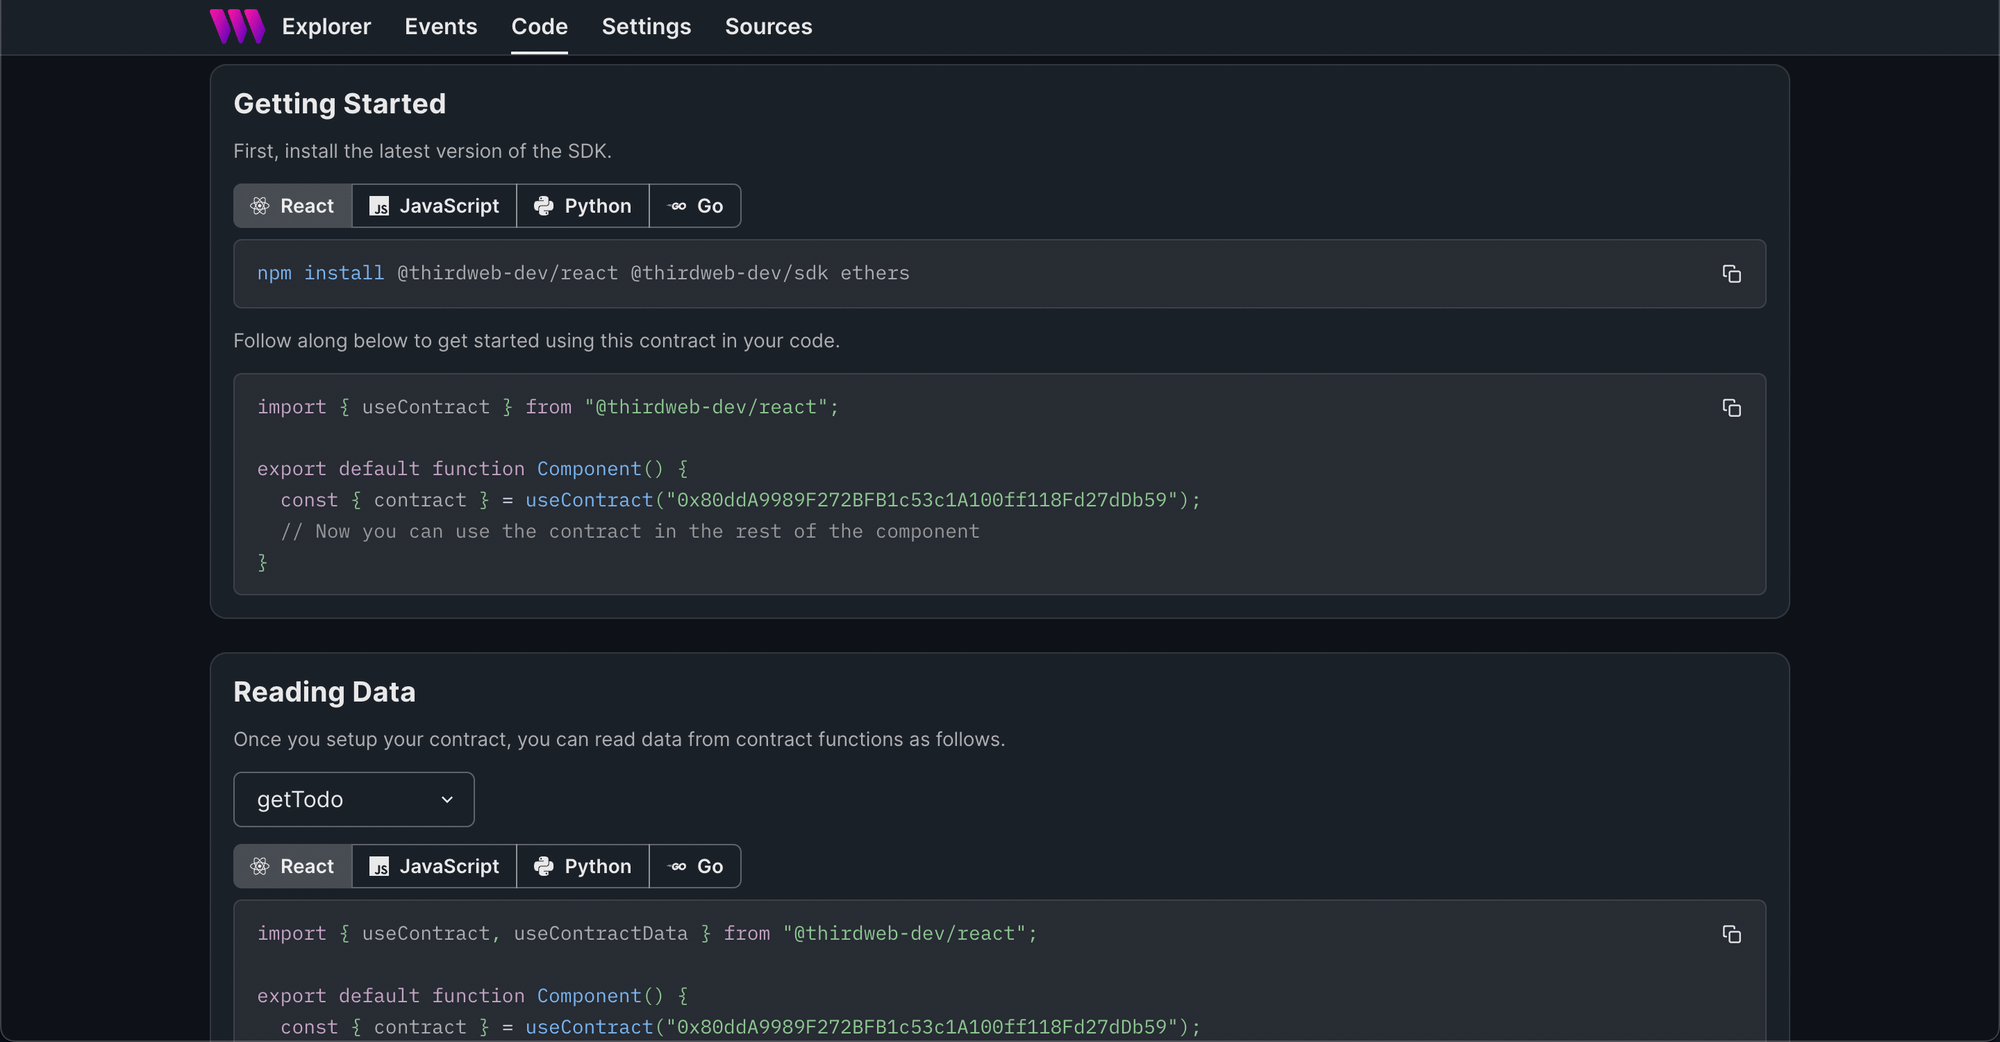
After the transactions are mined you will be taken to the dashboard which consists of many options.
- In the overview section, you can explore your contract and interact with the functions without having to integrate them within your frontend code yet so it gives you a better idea of how your functions are working and also acts as a good testing environment.
- In the code section, you see the different languages and ways you can interact with your contract. Which we will look into later on in the tutorial.
- In the events section, you can see all the transactions you make.
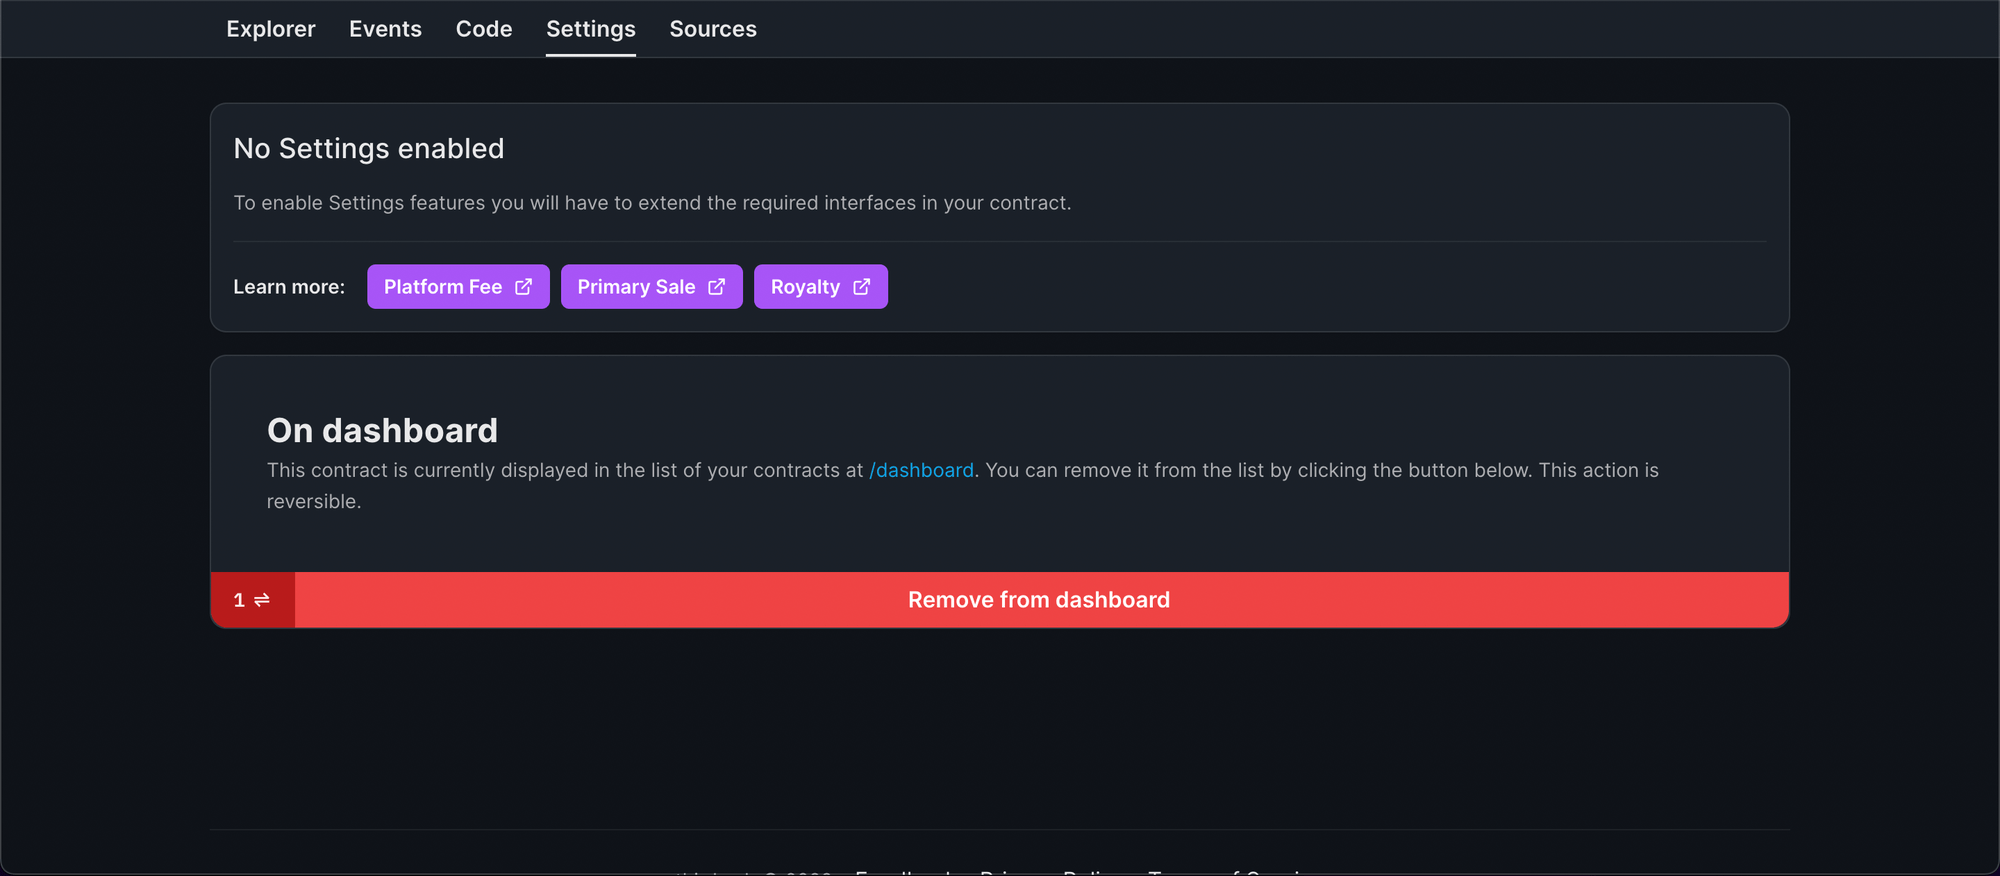
- You can also customize the settings after enabling the required interfaces in the settings section.
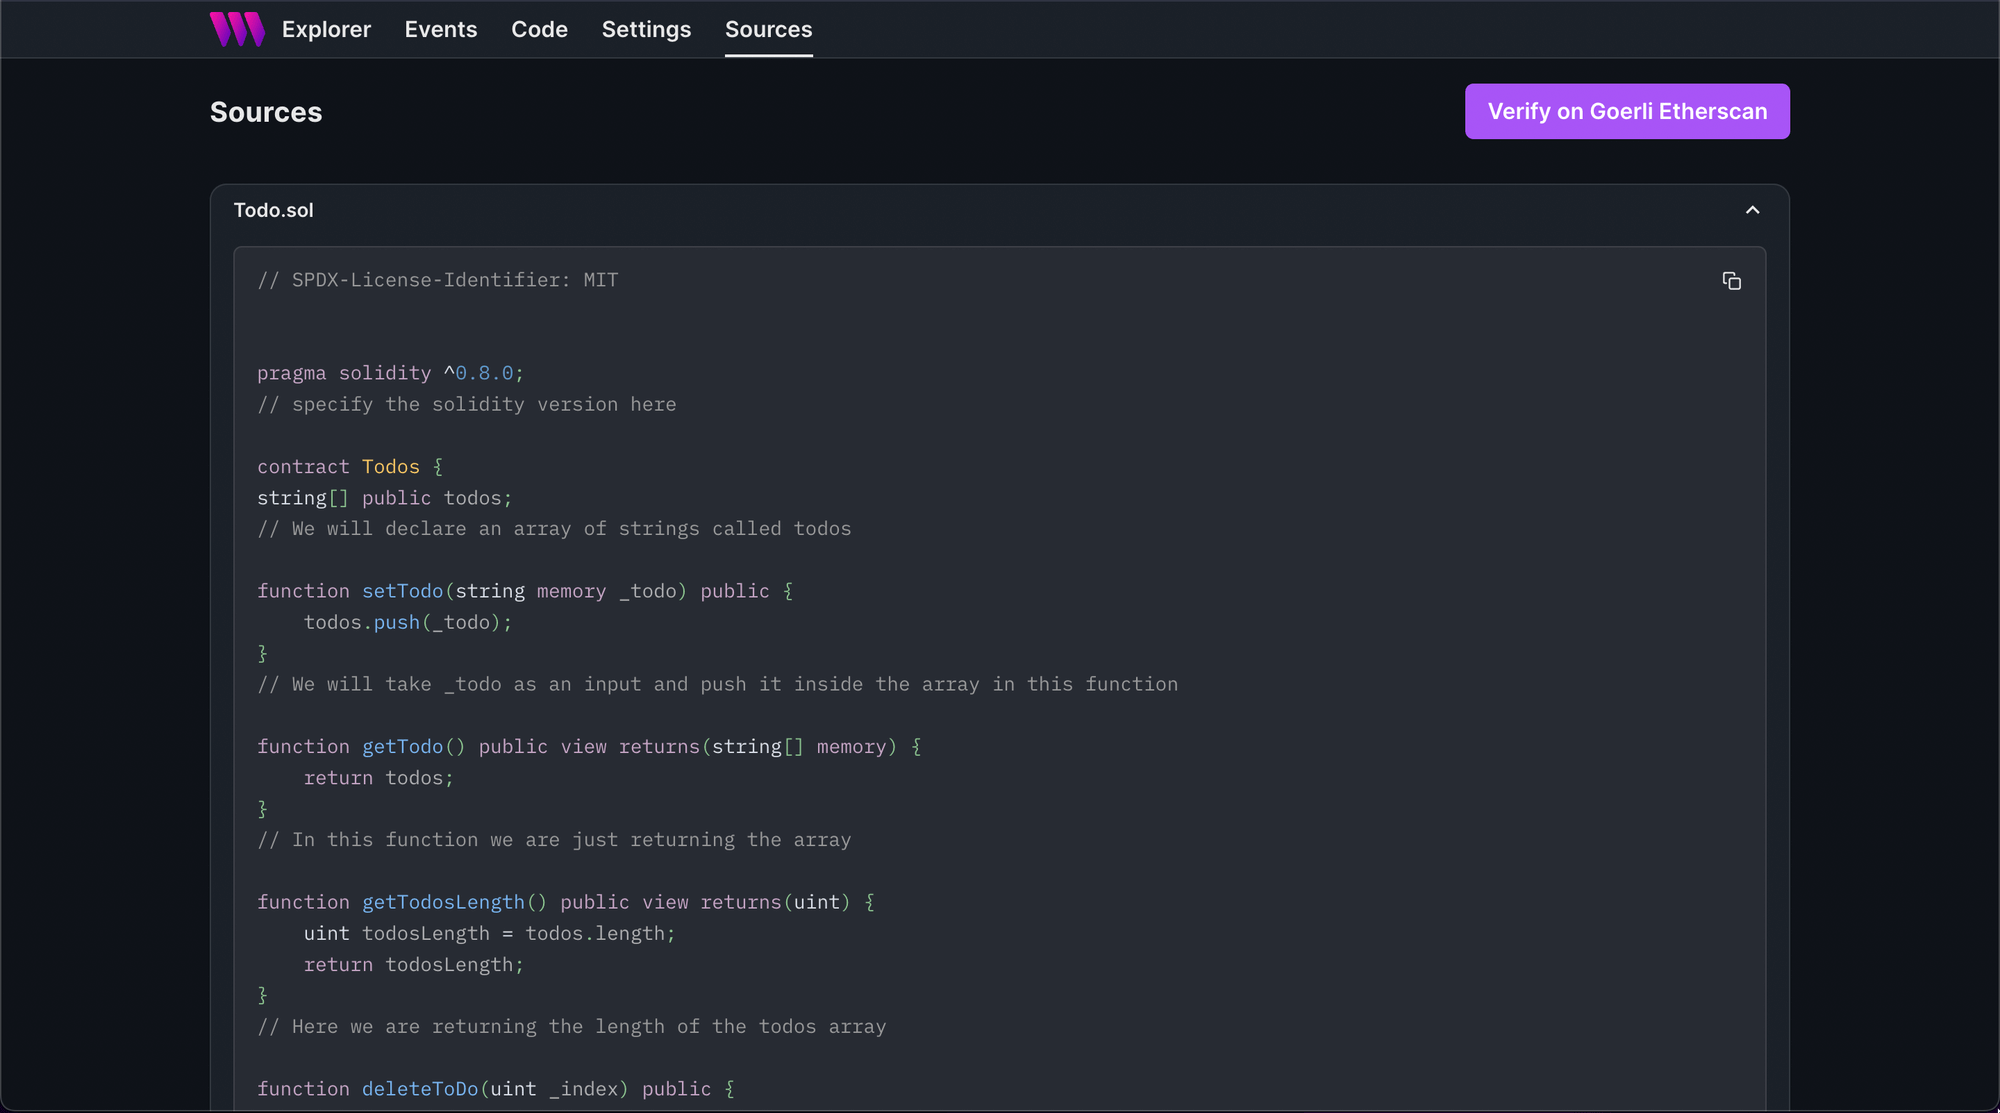
- In the source section, you can see your smart contract and it also gives you a verification button to the relevant chain you have deployed your contract to.
Creating the Frontend
I am going to use the Next.js Typescript starter template for this guide.
If you are following along with the guide, you can create a project with the template using the thirdweb CLI:
npx thirdweb@latest create appIf you already have a Next.js app you can simply follow these steps to get started:
- Install
@thirdweb-dev/reactand@thirdweb-dev/sdkandethers@5 - Add MetaMask authentication to the site. You can follow this guide to do this.
By default the network is Mainnet, we need to change it to Goerli
import type { AppProps } from "next/app";
import { ThirdwebProvider } from "@thirdweb-dev/react";
import "../styles/globals.css";

// This is the chain your dApp will work on.
// Change this to the chain your app is built for.
// You can also import additional chains from `@thirdweb-dev/chains` and pass them directly.
const activeChain = "goerli";

function MyApp({ Component, pageProps }: AppProps) {
  return (
    <ThirdwebProvider activeChain={activeChain}>
      <Component {...pageProps} />
    </ThirdwebProvider>
  );
}

export default MyApp;
Create todo functionality
Let's now go to pages/index.tsx and firstly, get the wallet address of the user like this:
const address = useAddress();Then, we are going to check if the address exists and if it does we are going to show a simple input and button to create a new todo:
<div>
{address ? (
<div>
<input
value={input}
onChange={(e) => setInput(e.target.value)}
placeholder="Enter todo"
/>
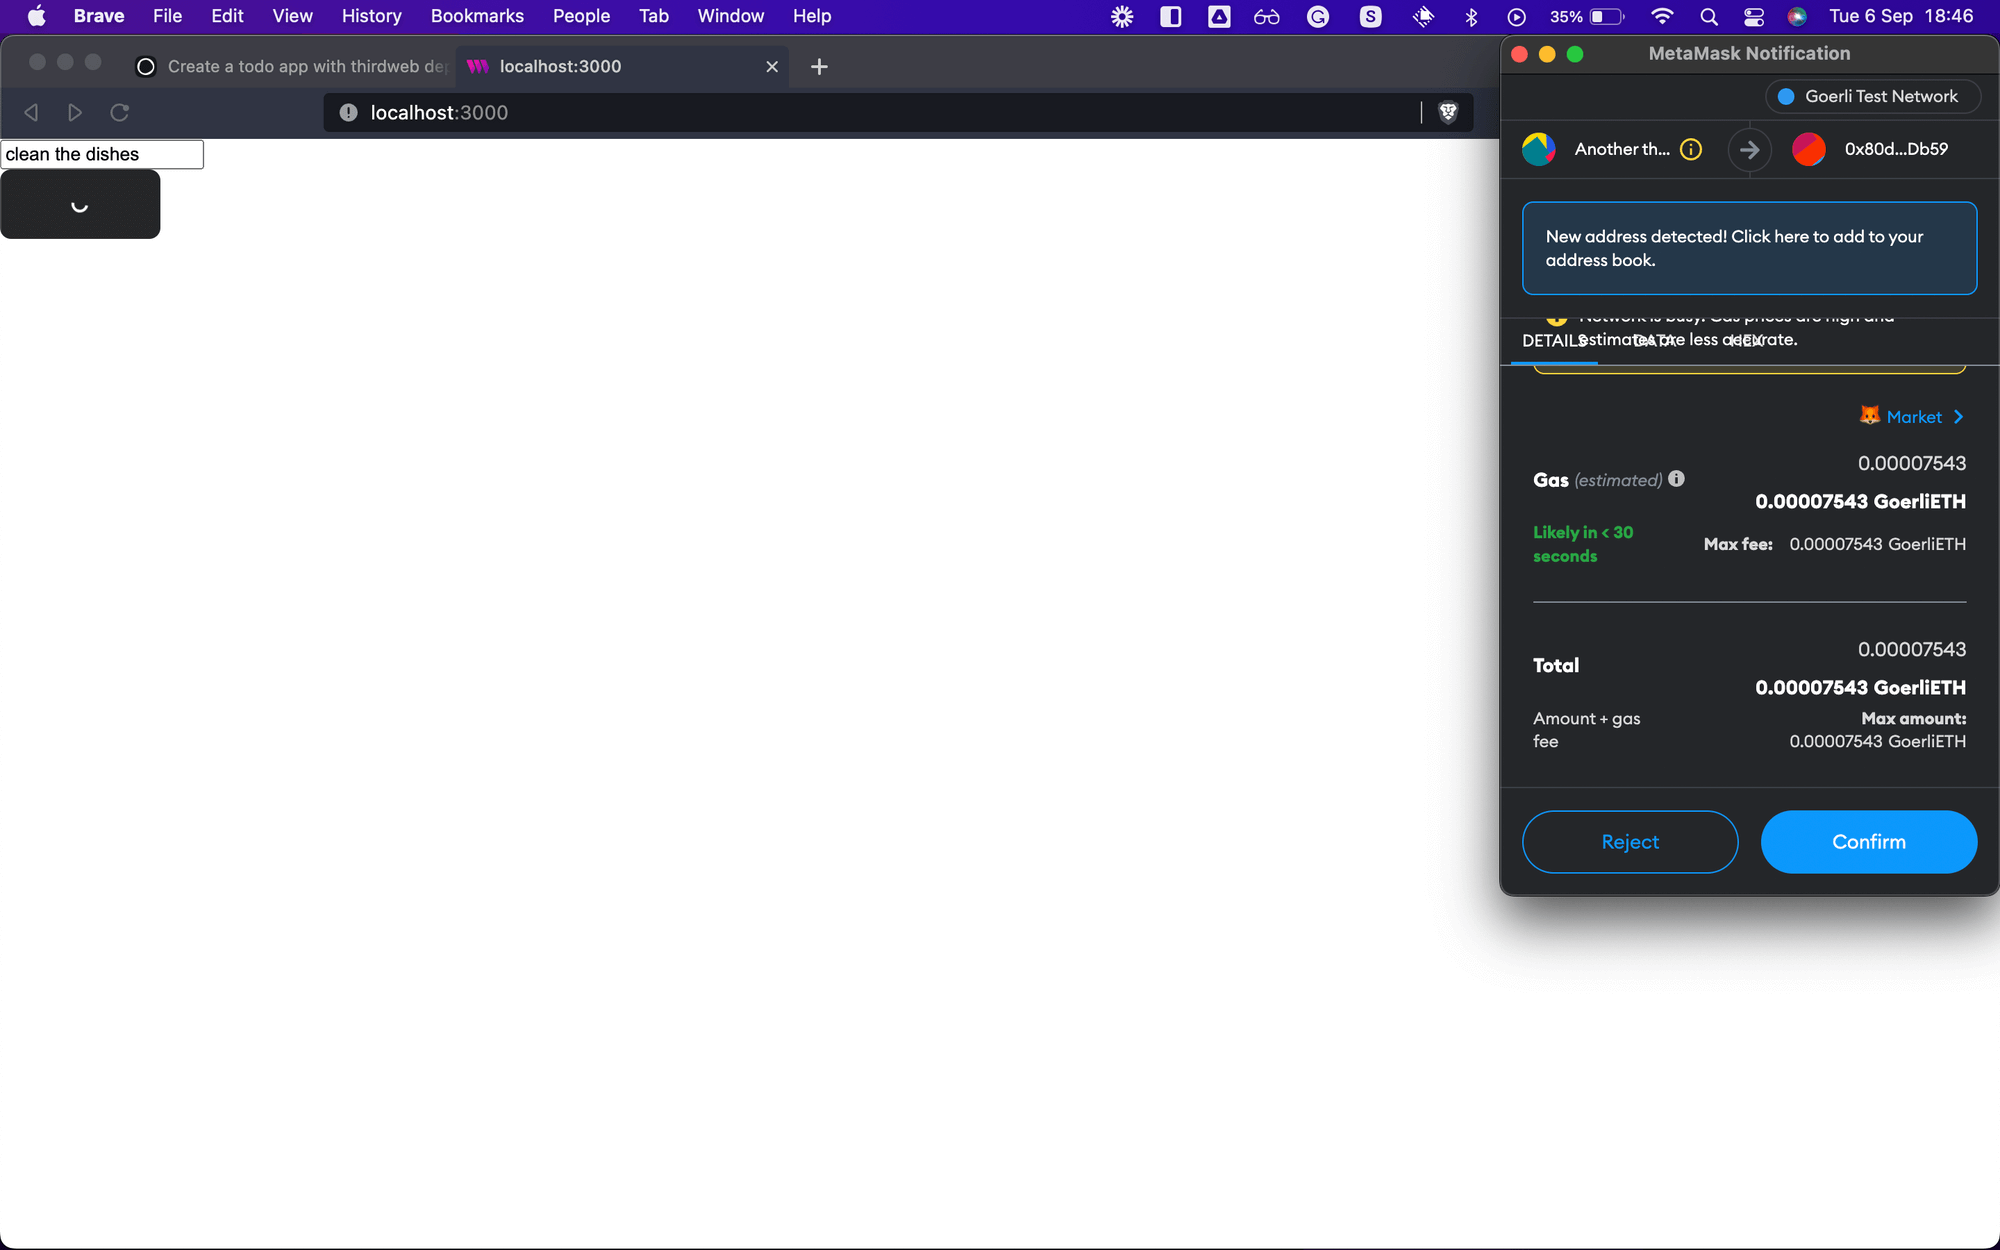
<Web3Button
contractAddress={contractAddress}
action={(contract) => contract.call("setTodo", input)}
>
Set Todo
</Web3Button>
</div>
) : (
<ConnectWallet />
)}
</div>We are using a state to store the value of a state variable and I have also created a variable for contractAddress as it will be used in multiple places:
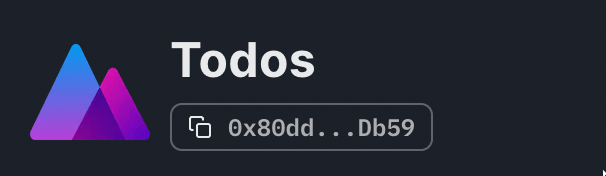
  const contractAddress = "0x80ddA9989F272BFB1c53c1A100ff118Fd27dDb59";
  const [input, setInput] = useState("");
To get the contract address go to your contract on thirdweb and copy the contract
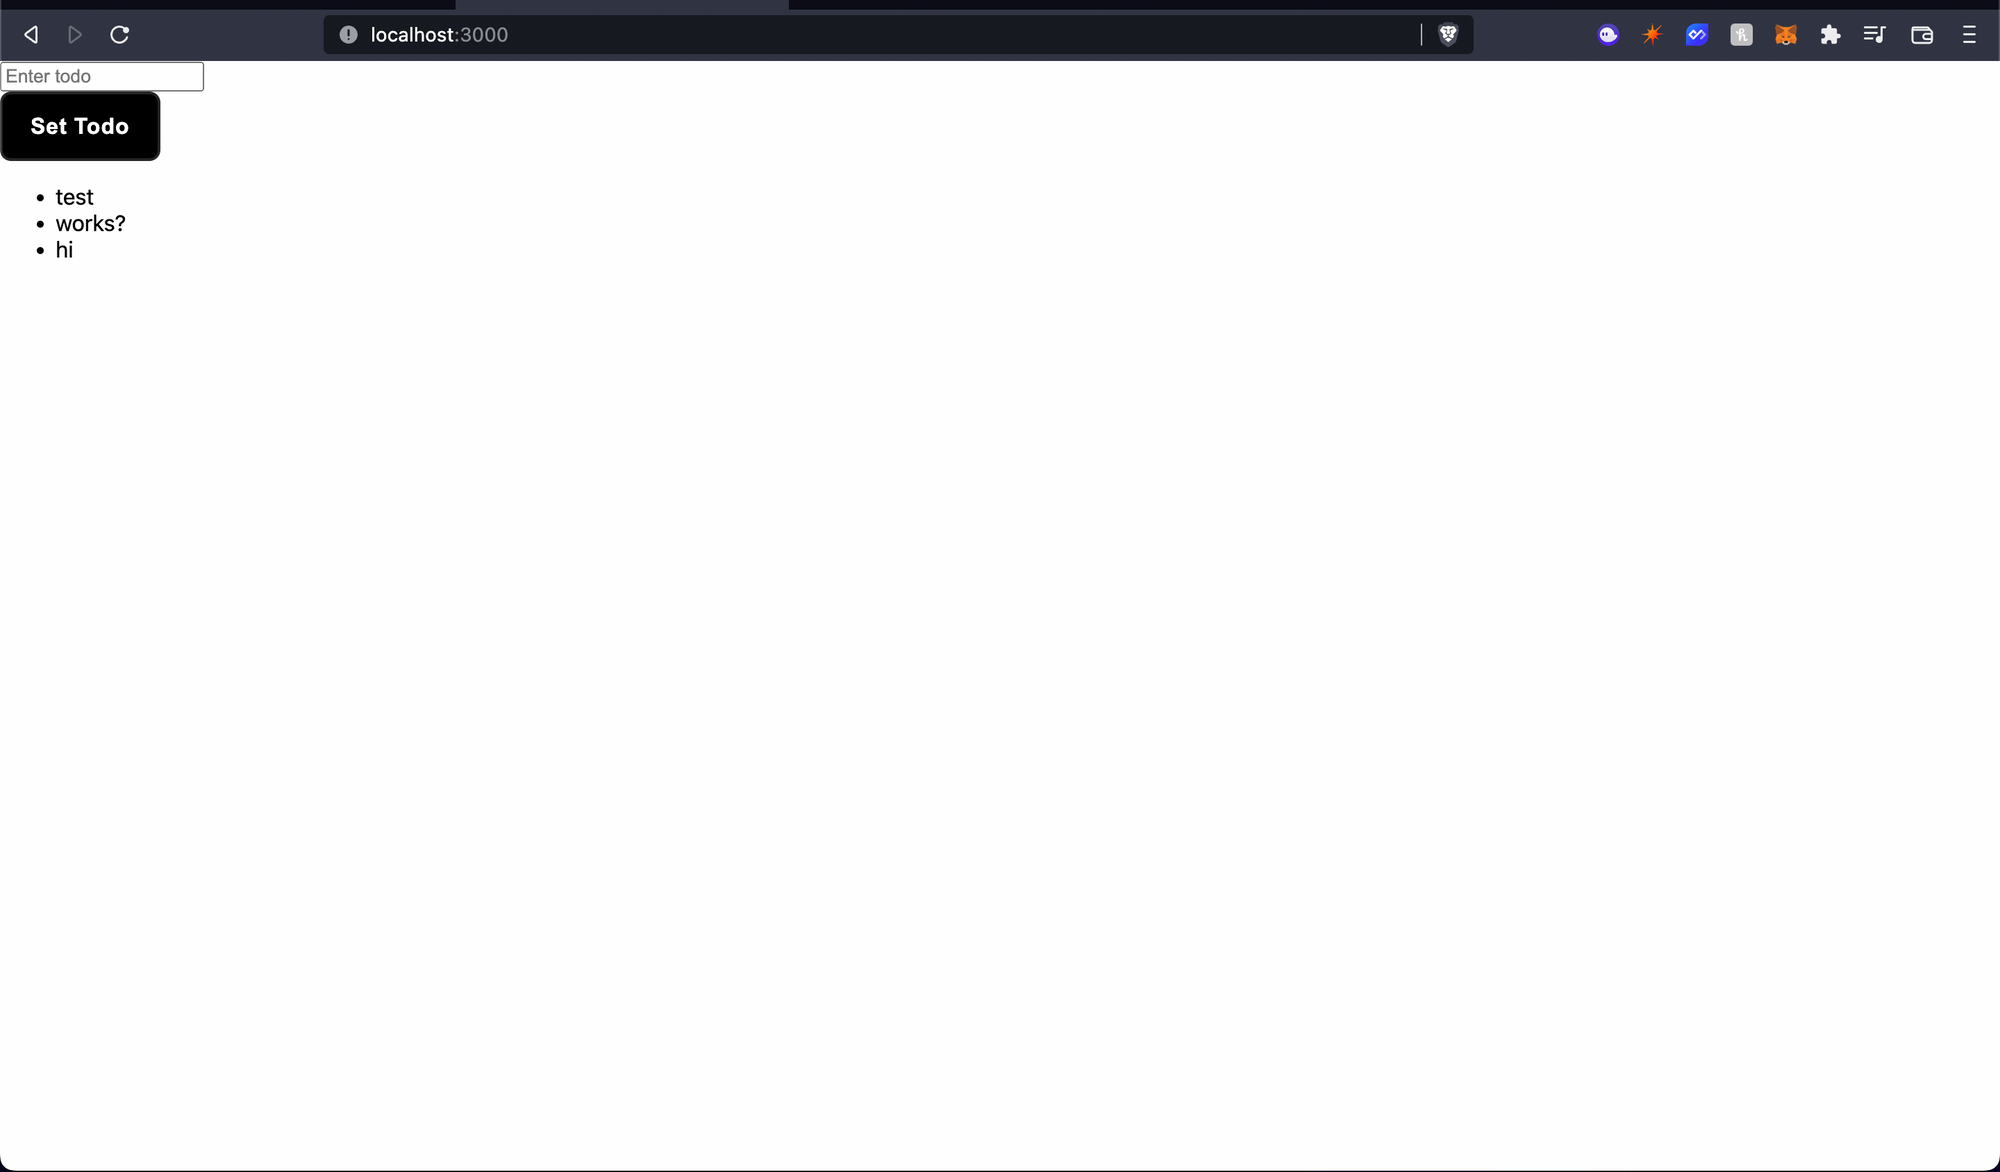
If you now check out the app, you will be able to add todos!
Read todos functionality
Using the useContract and useContractData hooks we will get the todos like this:
  const { contract } = useContract(contractAddress);
  const { data, isLoading } = useContractData(contract, "getTodo");
Now, we will check if the todos are loading and if it is loading we will show a loading screen otherwise we will show the todos:
  <div>
            {isLoading ? (
              "Loading..."
            ) : (
              <ul>
                {data.map((item: string, index: number) => (
                  <li key={index}>
                    {item}
                  </li>
                ))}
              </ul>
            )}
          </div>
You will now be able to see all the todos 🎉
Adding delete functionality
Where we are mapping through all the todos we will add another Web3Button that will be responsible for deleting the todos:
{data.map((item: string, index: number) => (
<li key={index}>
{item}
<Web3Button
contractAddress={contractAddress}
action={(contract) => contract.call("deleteToDo", index)}
>
Delete Todo
</Web3Button>
</li>
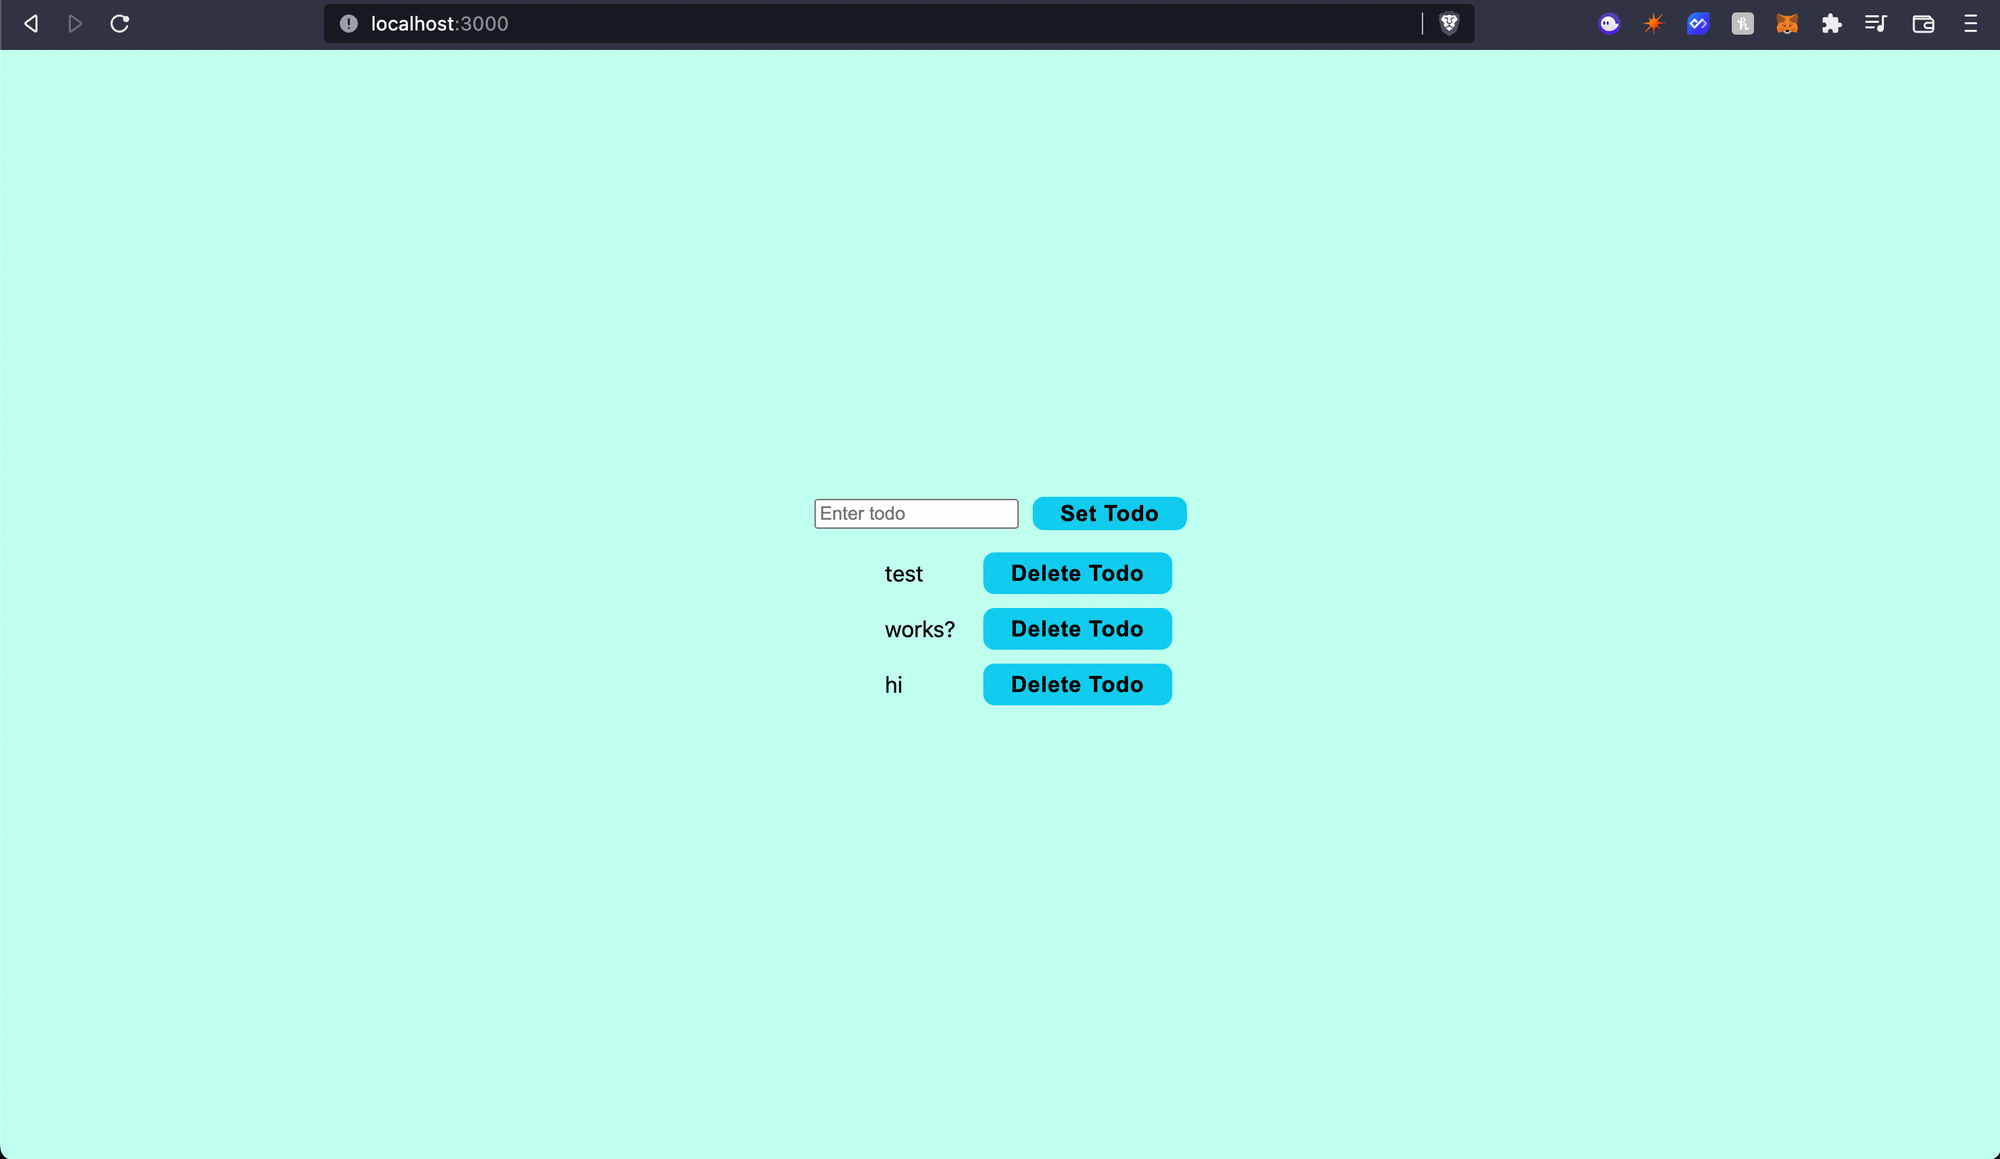
))}Adding some styles
We will add some basic styles to our app so it looks good! So, create a globals.css file in the styles folder and add the following:
html,
body {
  padding: 0;
  margin: 0;
  font-family: -apple-system, BlinkMacSystemFont, Segoe UI, Roboto, Oxygen, Ubuntu,
    Cantarell, Fira Sans, Droid Sans, Helvetica Neue, sans-serif;
}

a {
  color: inherit;
  text-decoration: none;
}

* {
  box-sizing: border-box;
}
Now, import it in _app.tsx like this:
import "../styles/globals.css";Let's style the home page now! Create a file Home.module.css and add the following:
.container {
  display: flex;
  flex-direction: column;
  align-items: center;
  justify-content: center;
  width: 100vw;
  min-height: 100vh;
  background-color: #c0ffee;
}

.todo {
  display: flex;
  align-items: center;
  justify-content: space-between;
  gap: 20px;
  margin-top: 10px;
}

.todo > span > button {
  border: none;
  height: 30px !important;
}

.todoForm {
  display: flex;
  align-items: center;
  justify-content: space-between;
  margin-top: 10px;
  gap: 10px;
}

.todoForm > span > button {
  border: none;
  height: 20px !important;
}
Finally, add the classNames:
import {
  ConnectWallet,
  useAddress,
  useContract,
  useContractData,
  Web3Button,
} from "@thirdweb-dev/react";
import type { NextPage } from "next";
import { useState } from "react";
import styles from "../styles/Home.module.css";

const Home: NextPage = () => {
  const address = useAddress();
  const contractAddress = "0x80ddA9989F272BFB1c53c1A100ff118Fd27dDb59";
  const [input, setInput] = useState("");
  const { contract } = useContract(contractAddress);
  const { data, isLoading } = useContractData(contract, "getTodo");

  return (
    <div className={styles.container}>
      {address ? (
        <>
          <div className={styles.todoForm}>
            <input
              value={input}
              onChange={(e) => setInput(e.target.value)}
              placeholder="Enter todo"
            />

            <Web3Button
              contractAddress={contractAddress}
              action={(contract) => contract.call("setTodo", input)}
              accentColor="#1ce"
            >
              Set Todo
            </Web3Button>
          </div>

          <div>
            {isLoading ? (
              "Loading..."
            ) : (
              <ul>
                {data.map((item: string, index: number) => (
                  <li key={index} className={styles.todo}>
                    {item}
                    <Web3Button
                      contractAddress={contractAddress}
                      action={(contract) => contract.call("deleteToDo", index)}
                      accentColor="#1ce"
                    >
                      Delete Todo
                    </Web3Button>
                  </li>
                ))}
              </ul>
            )}
          </div>
        </>
      ) : (
        <ConnectWallet accentColor="#1ce" colorMode="light" />
      )}
    </div>
  );
};

export default Home;
Now, we have an awesome web3 to-do app ready! 🥳
Conclusion
In this guide, we've learned how to build a full-stack web3 todo app! If you did as well pat yourself on the back and share it with us on the thirdweb discord.