How to Create a thirdweb Account and Get Started

In this guide, we'll walk you through the process of getting started with thirdweb. You'll learn how to create an account and create an API key to get started developing your web3 apps.
For those new to thirdweb and interested in exploring its powerful tools, here are the steps required to create an account and set up a first project.
To see a video version of this guide, check out the video below:
Step 1: Create an account
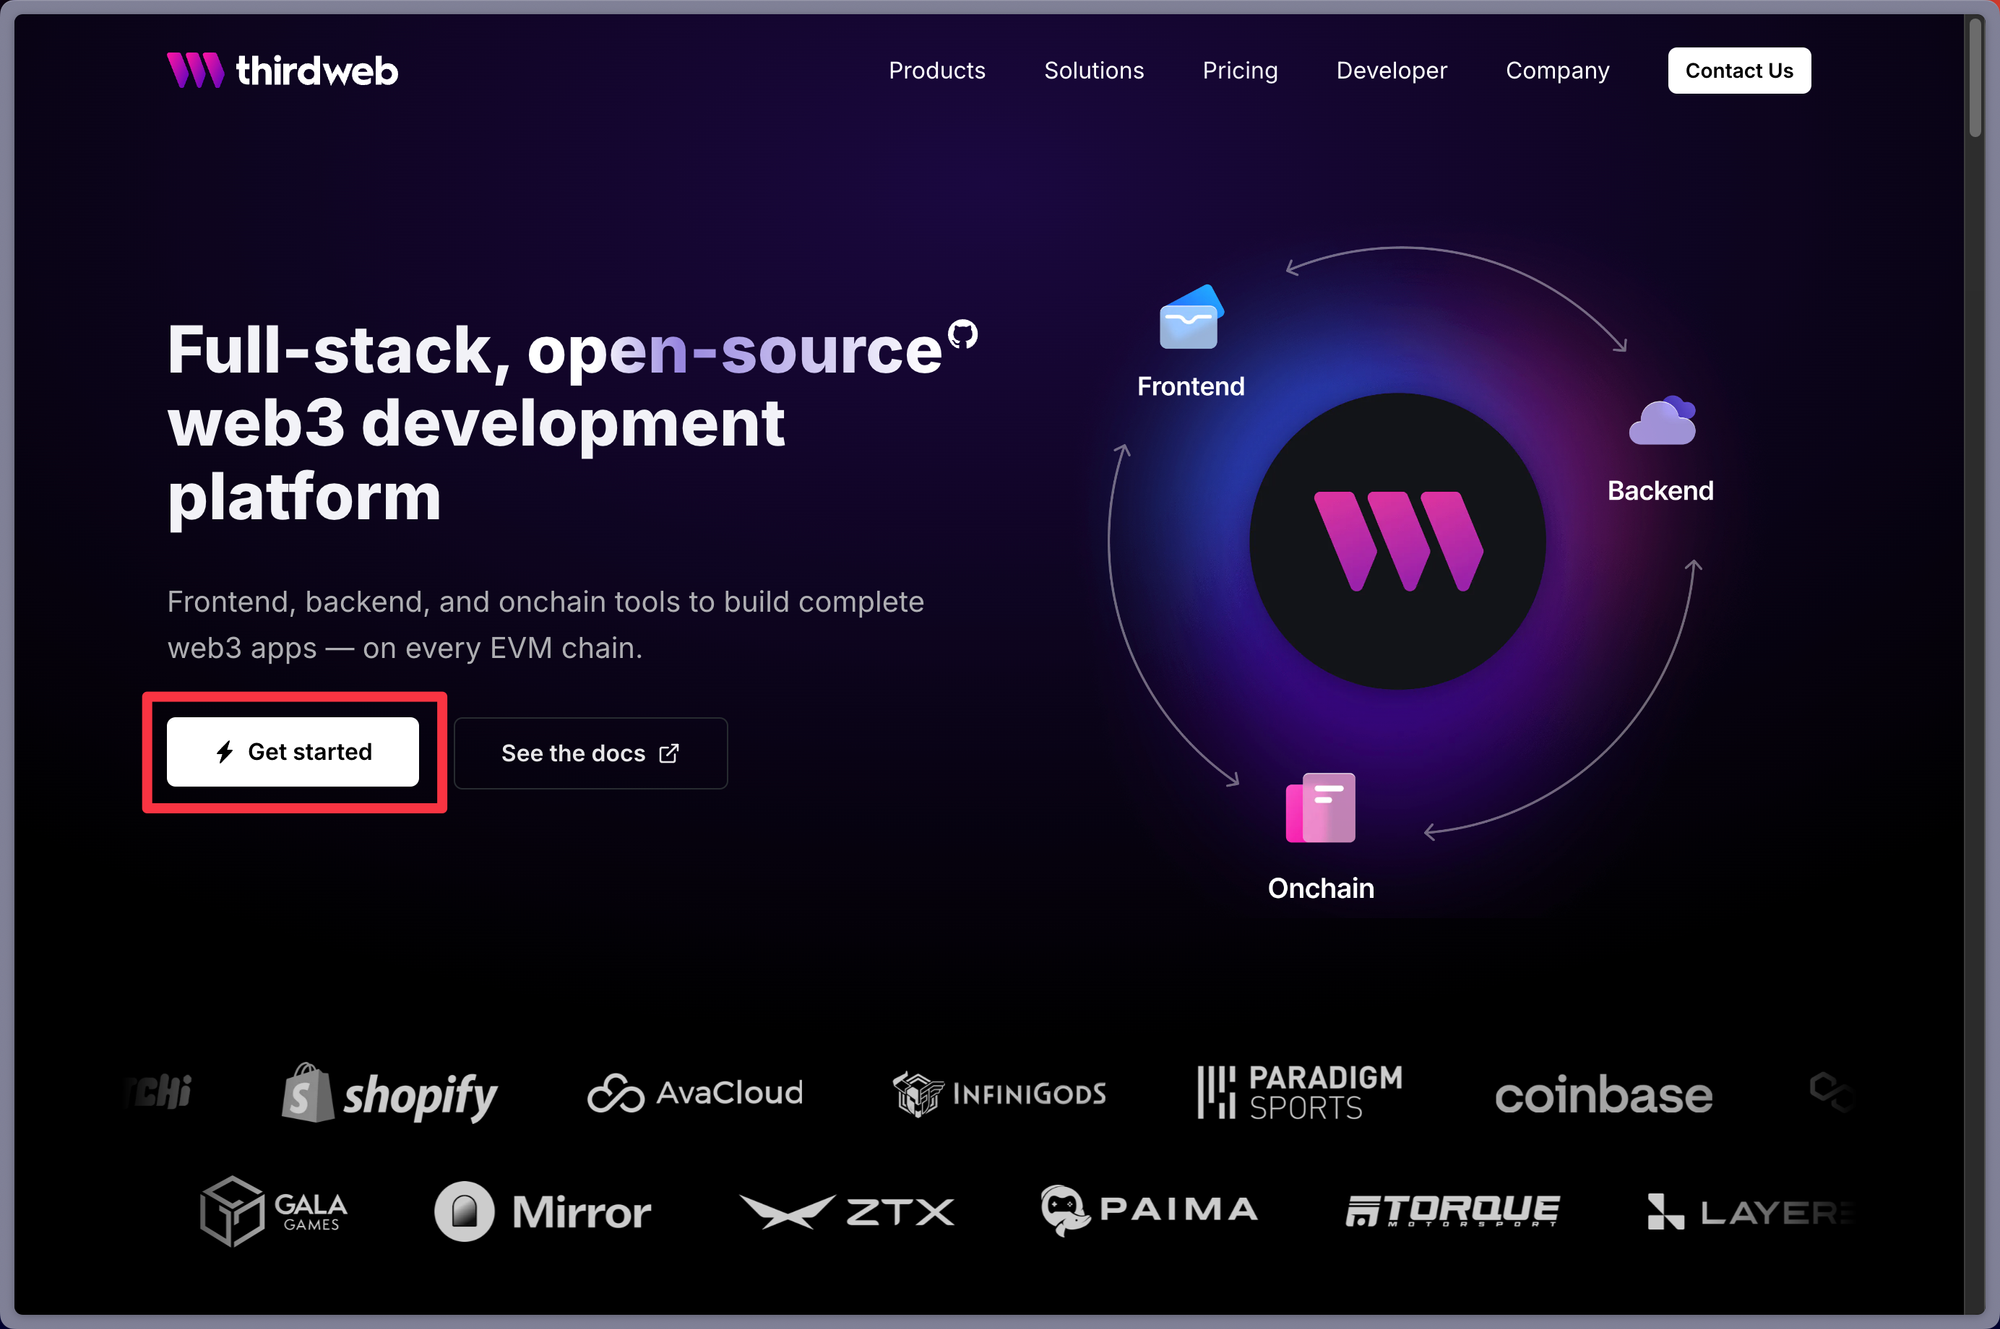
First, on thirdweb.com select the "Get Started" button.
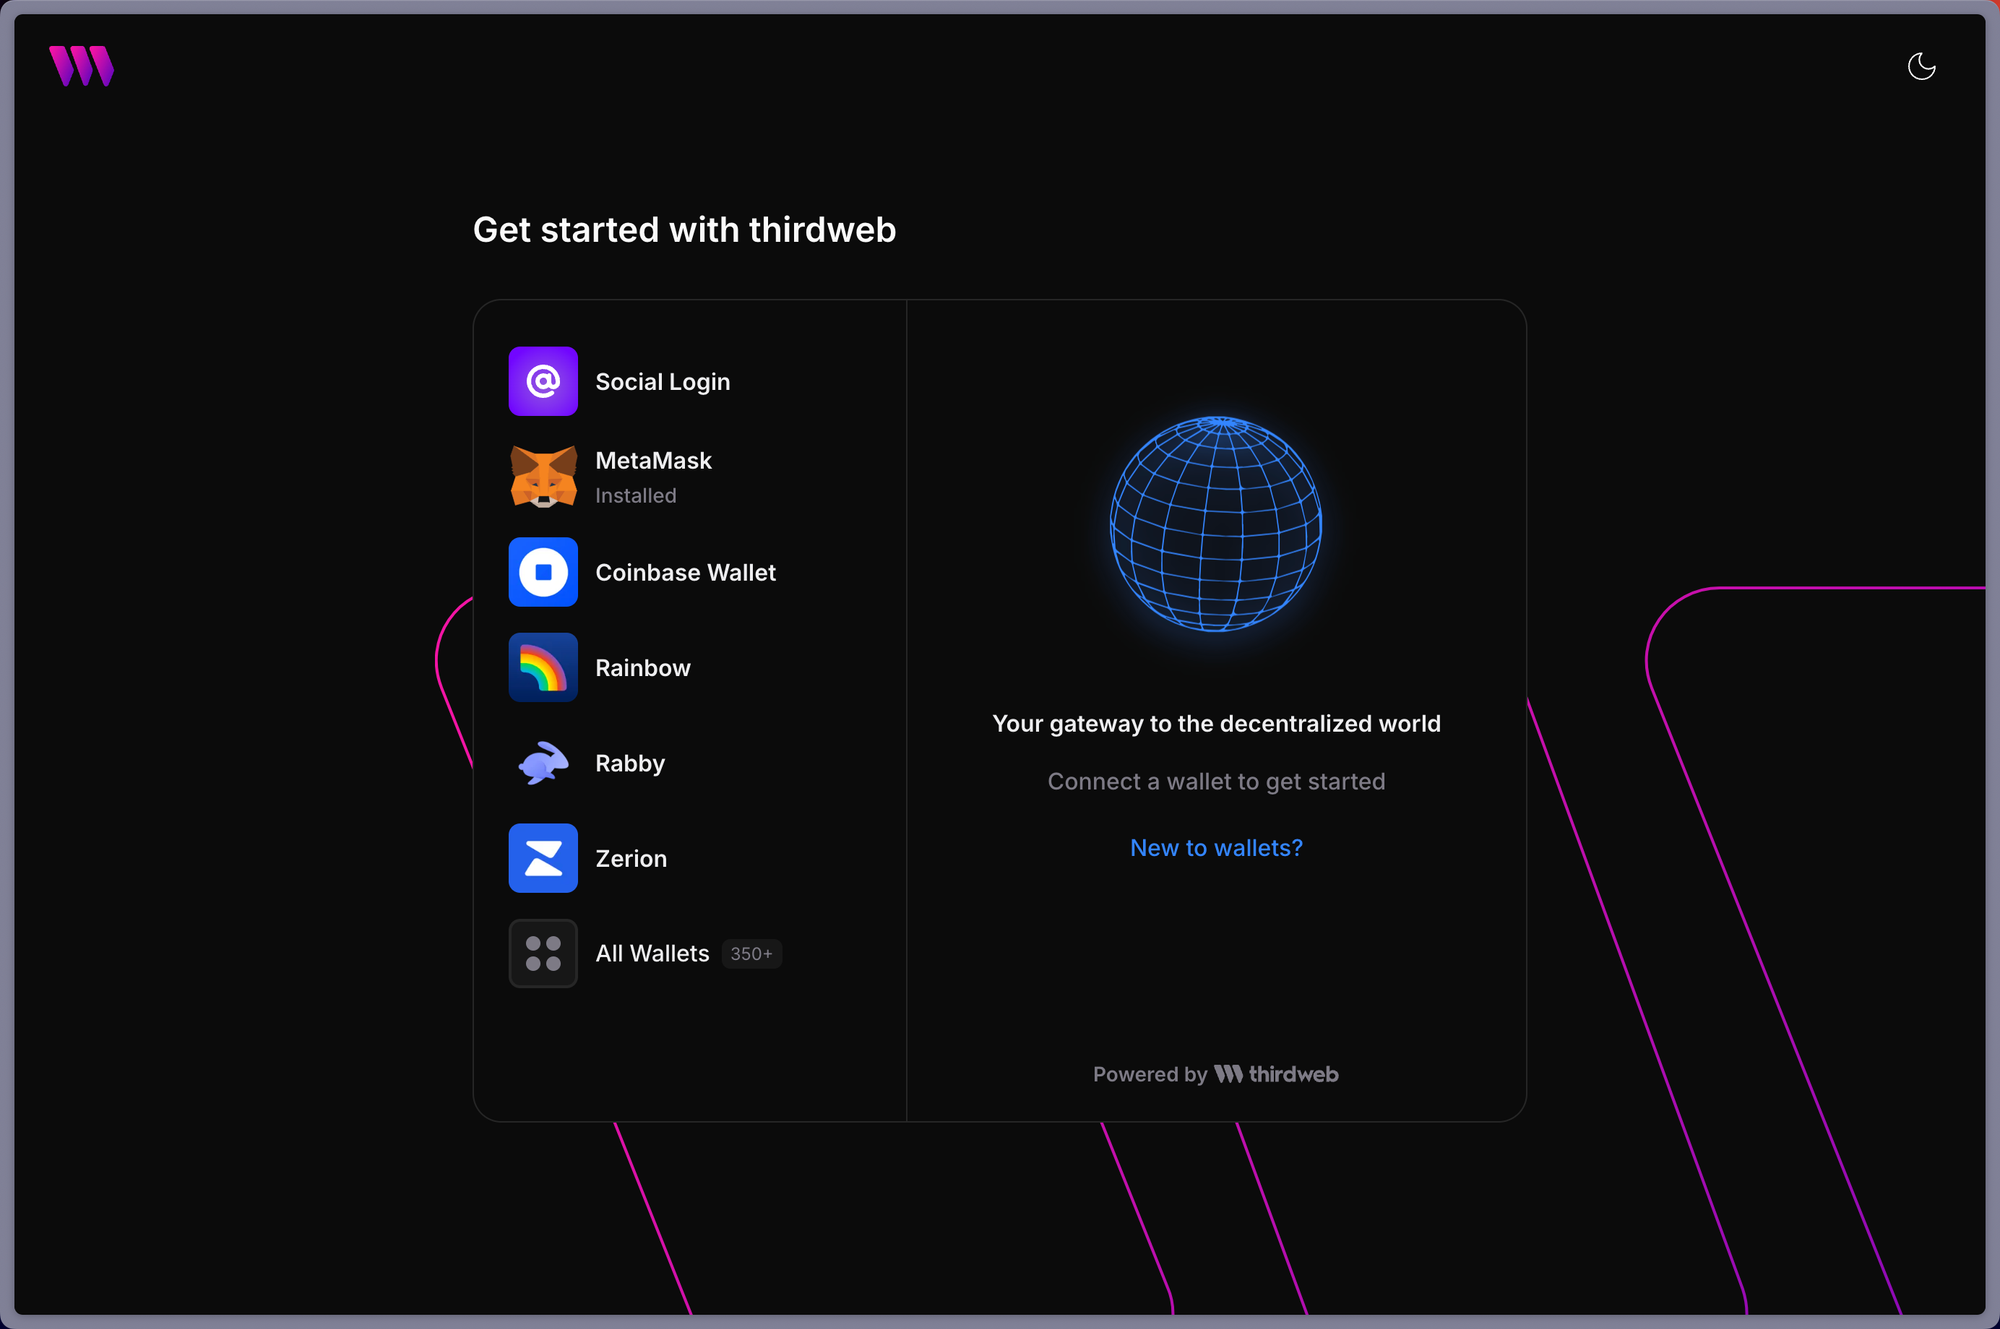
Here you will be prompted to connect a wallet and can choose from any supported wallet or create an In-App wallet by authenticating with an email or social login.
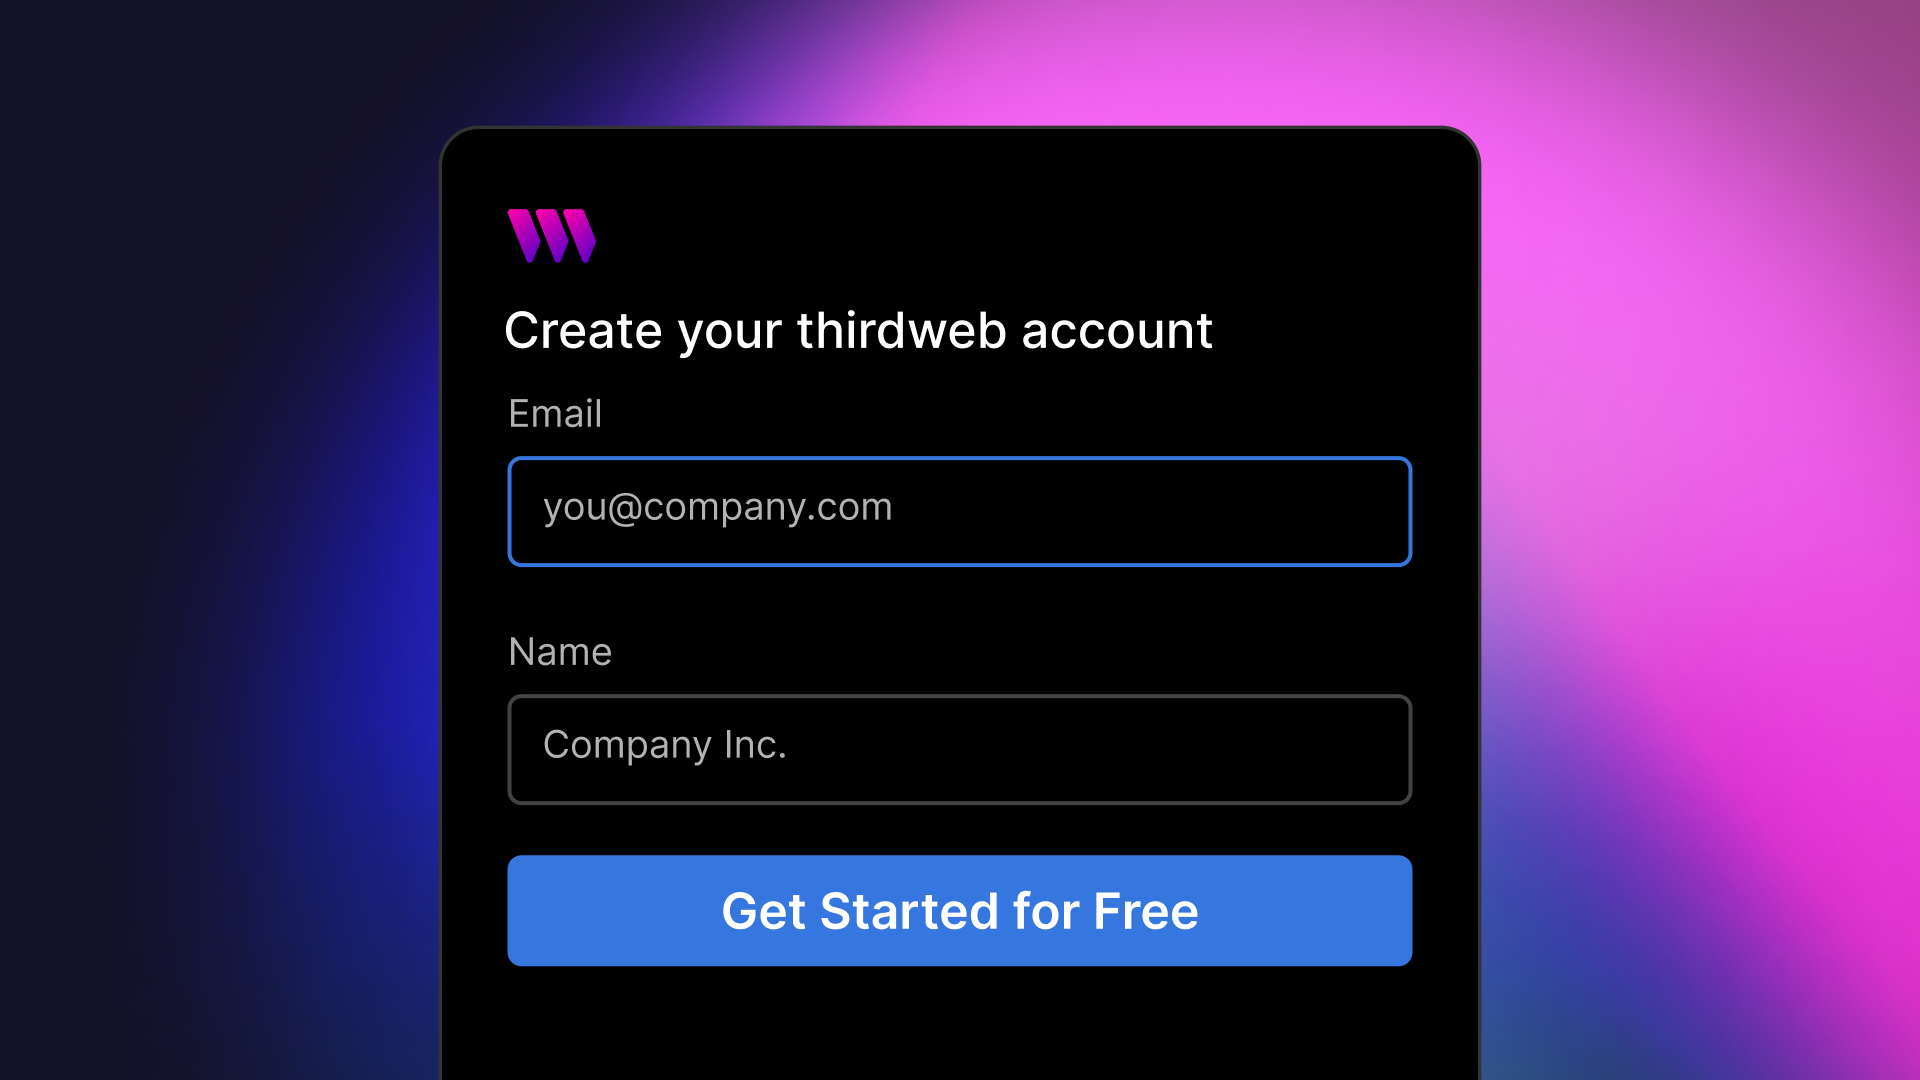
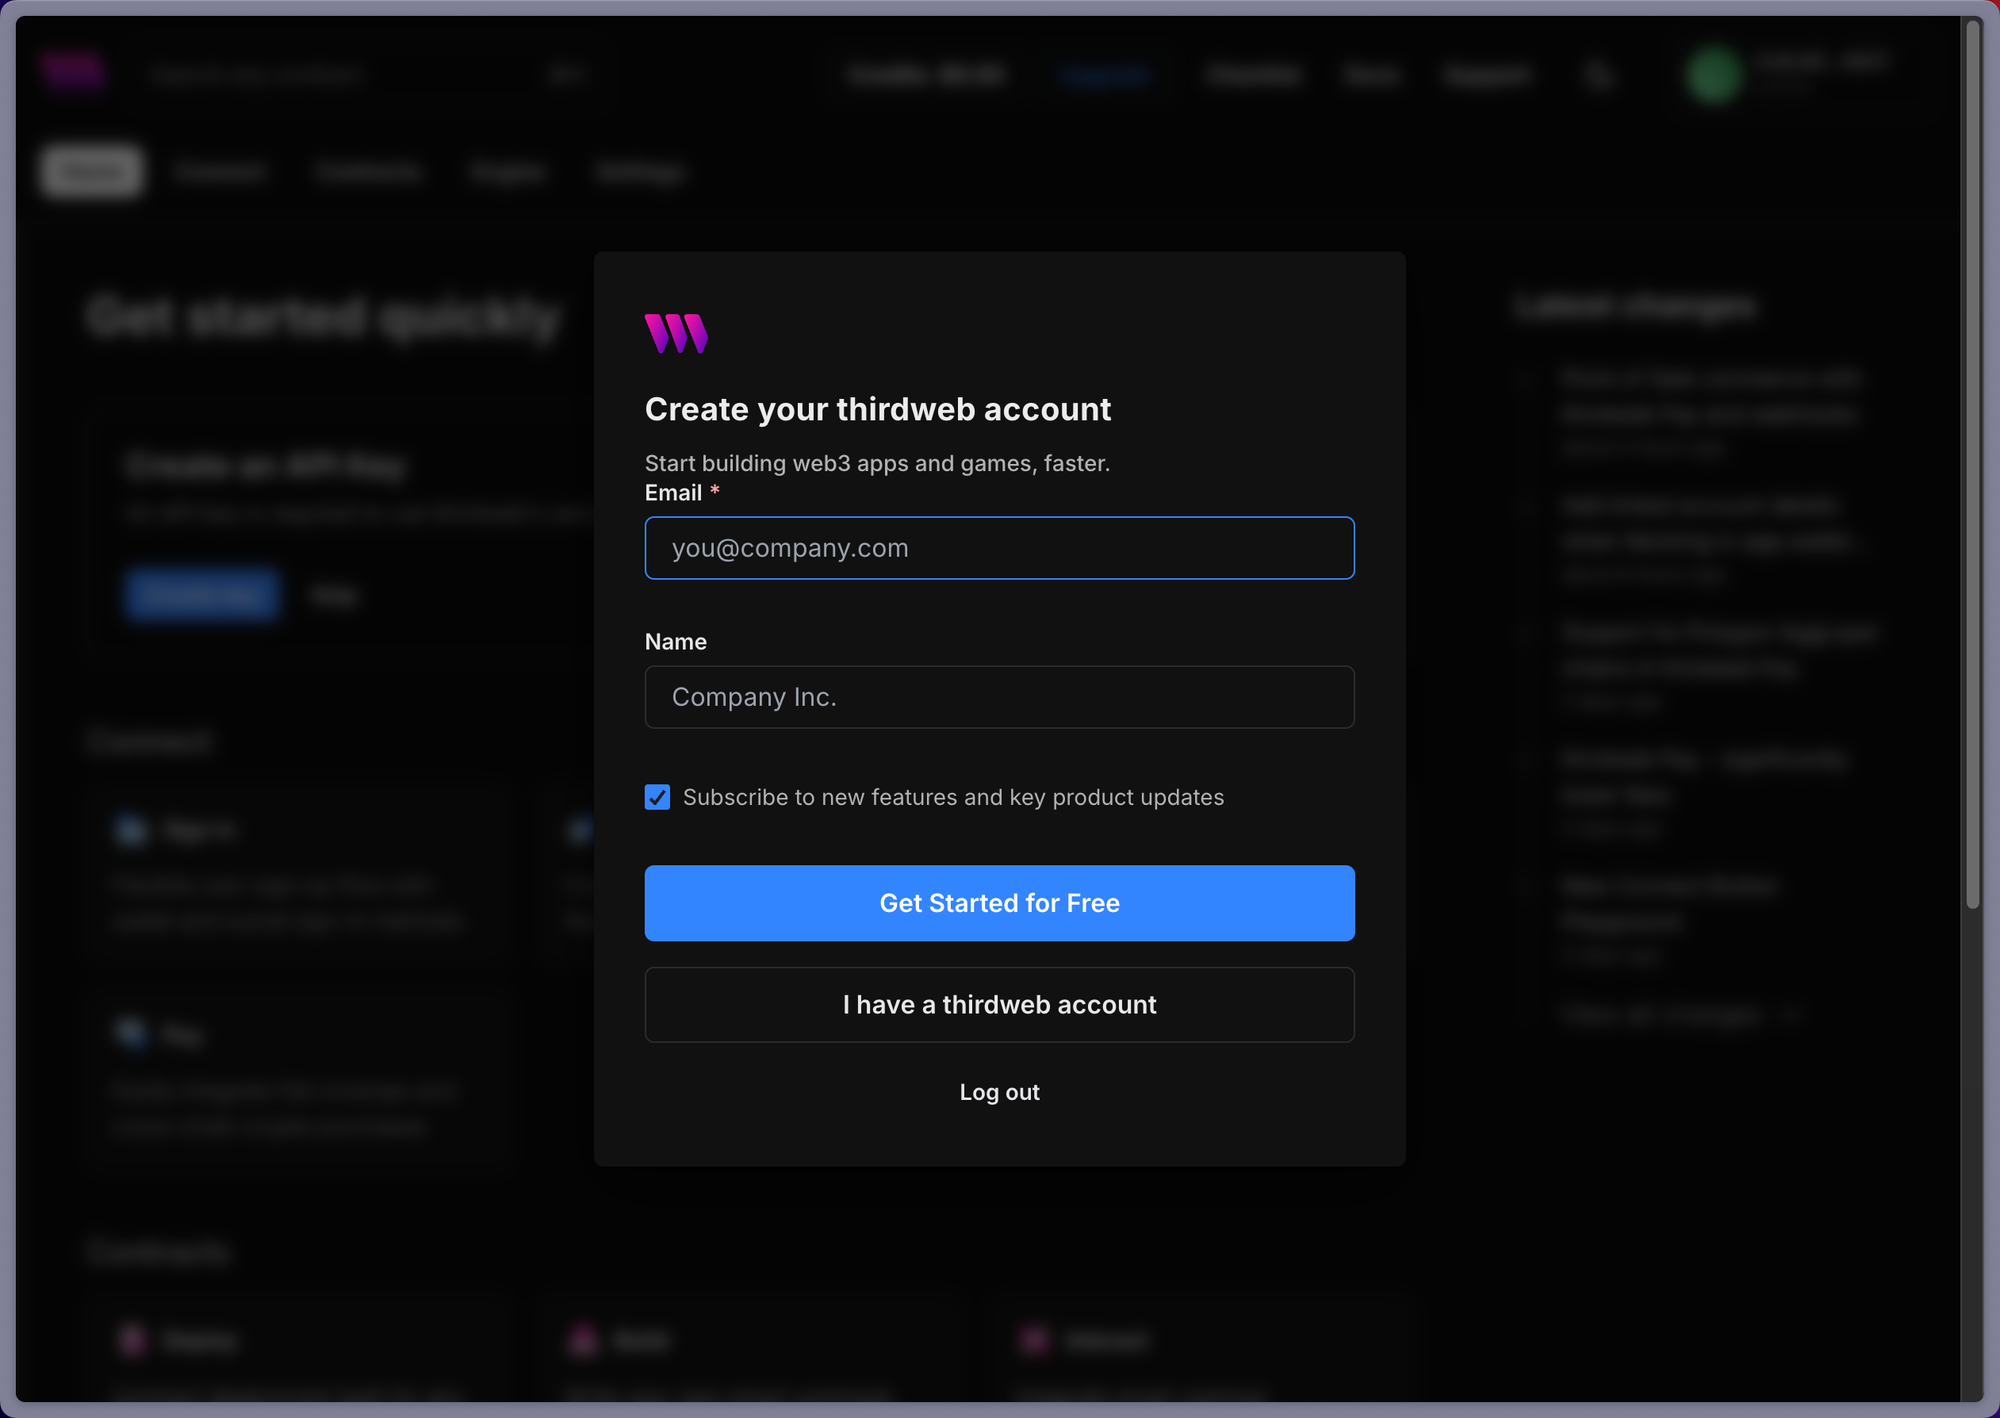
Next, you'll be asked to create a thirdweb account by providing your email and company name (optional). You can check the box if you would like to subscribe to our newsletter and stay up to date with new features and products we release.
After submitting the required information, a verification code will be sent to the provided email address, which must be confirmed before proceeding.
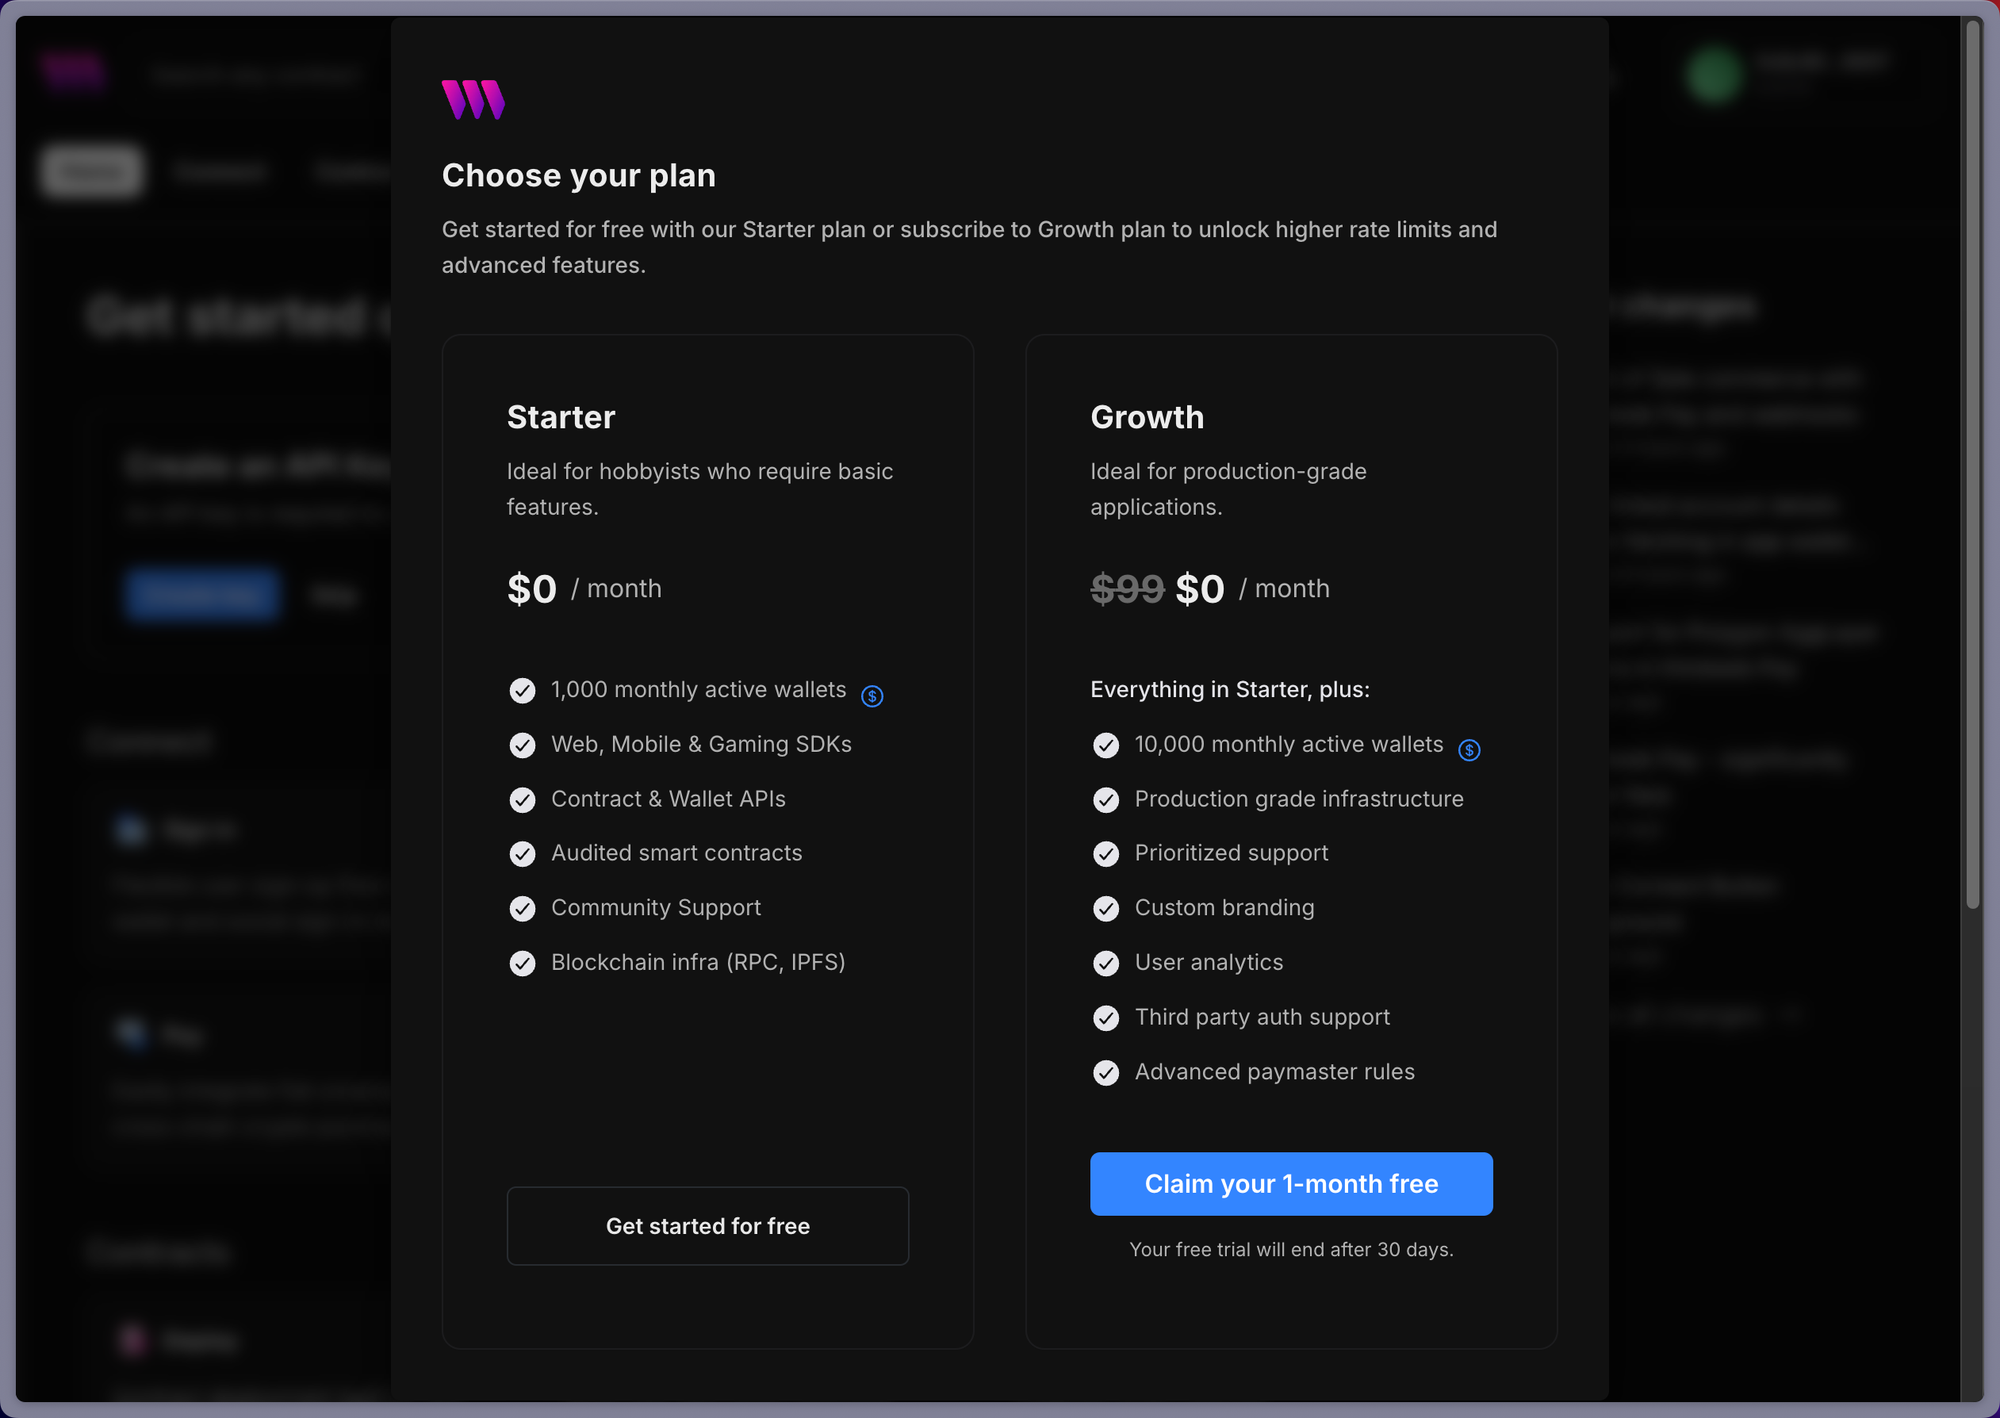
Step 2: Choose a plan
Upon email verification, users can choose between the free Starter Plan or the Growth Plan, which offers additional features and a complimentary one-month trial. In this guide, the focus remains on the Starter Plan, which includes 1GB of storage and 1,000 free monthly active users for in-app wallets.
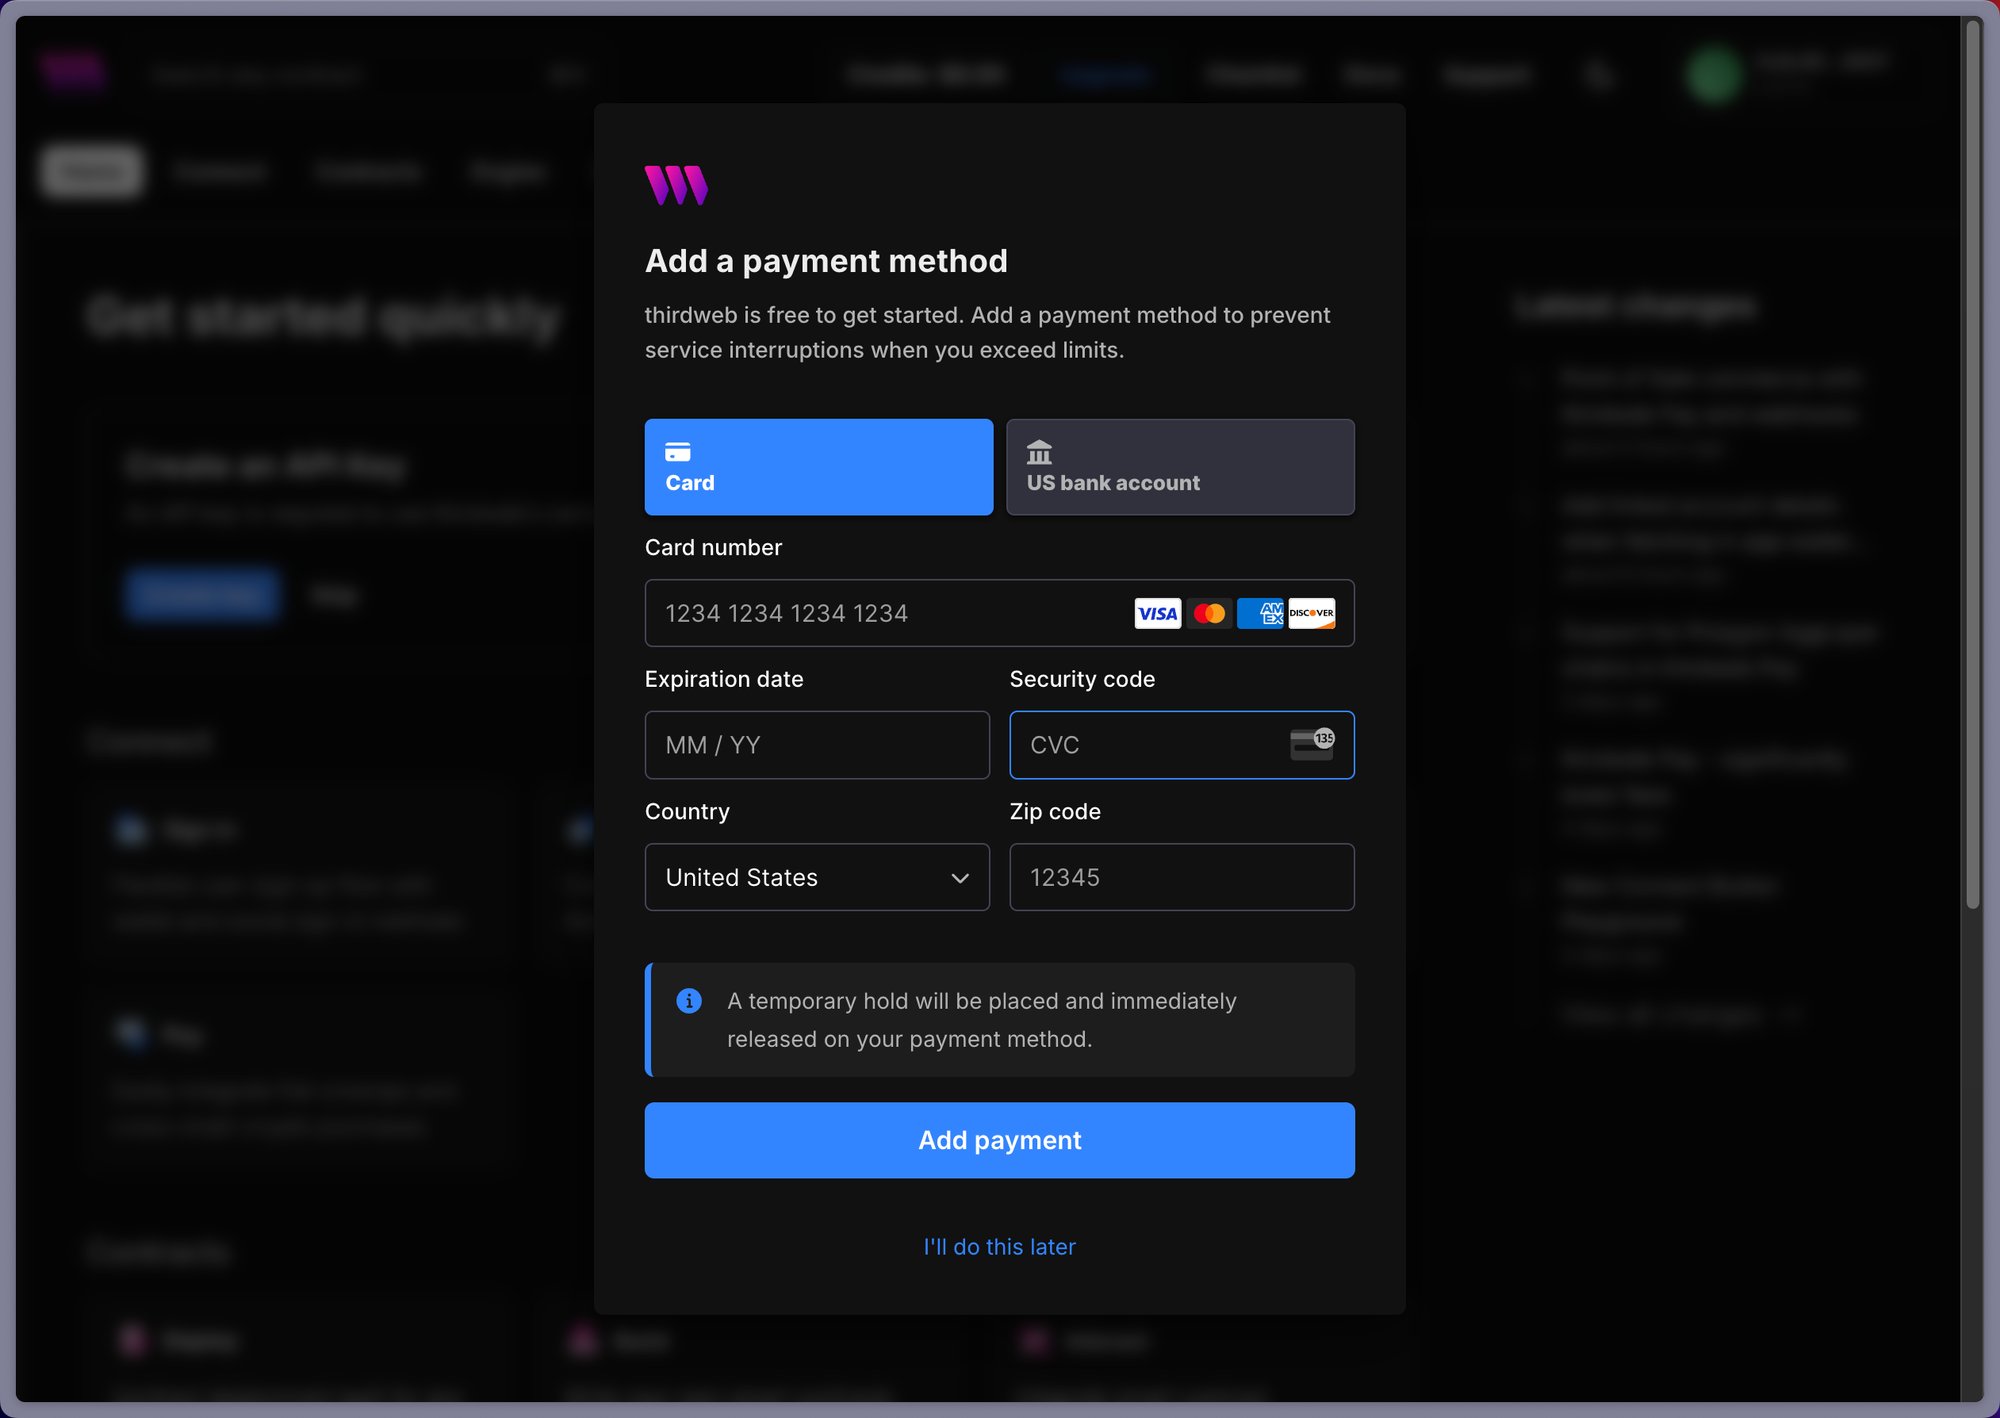
Step 3: Add a payment method
While the Starter Plan does not require immediate payment information, it is important to note that without adding a payment method, users will face certain limitations. Specifically, they will be unable to subscribe to other paid thirdweb services, such as Engine, and will not be able to use account abstraction (AA) or gas sponsorship on mainnets. Additionally, a payment method is required to participate in promotions and free trials. Users who anticipate needing these features in the future will need to provide payment details.
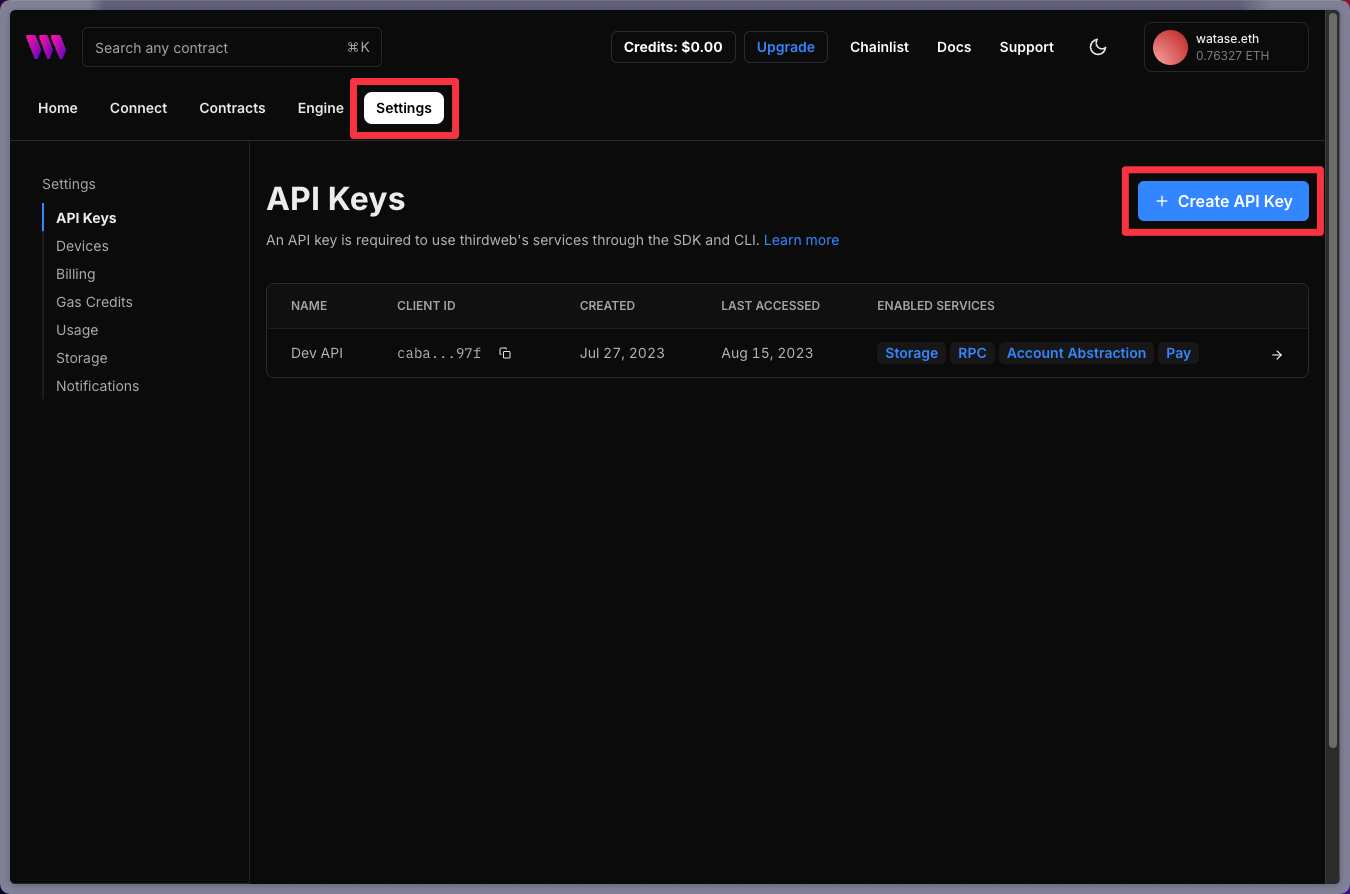
Step 4: Setting up an API Key
After the account setup is complete, the next step involves creating an API key, a crucial component for integrating thirdweb products into projects. This can be done by navigating to the settings, selecting "Create API Key" and assigning it a name. During development, it is possible to allow all domains, though specifying allowed domains is recommended for production environments.
Upon proceeding, users will receive a client ID and a secret key. It is important to securely store the secret key for future reference. After confirming that the key is saved, the API key is ready to be used to access thirdweb services such as RPC, account abstraction, app wallets, pay, storage, and more.
Conclusion
Congratulations, now have a thirdweb account created and can start building your web3 apps. To learn how to build web3 apps check out our documentation, GitHub Repo, and YouTube Channel.
Happy building! 🚀