Create a GO server for signature minting NFTs

This guide will show you how to create a GO server using gin that can be used on the front end to signature mint some NFTs.
We'll walk through the following:
- Creating an NFT Collection Contract
- Creating a go server
- Adding the signature minting ability
- Using this API in a frontend react application
Before we begin, you can access the complete source code for this template on GitHub.
Let's get started!
Deploying an ERC721 contract
First, we will deploy an NFT Collection contract that we will use to signature mint the NFTs.
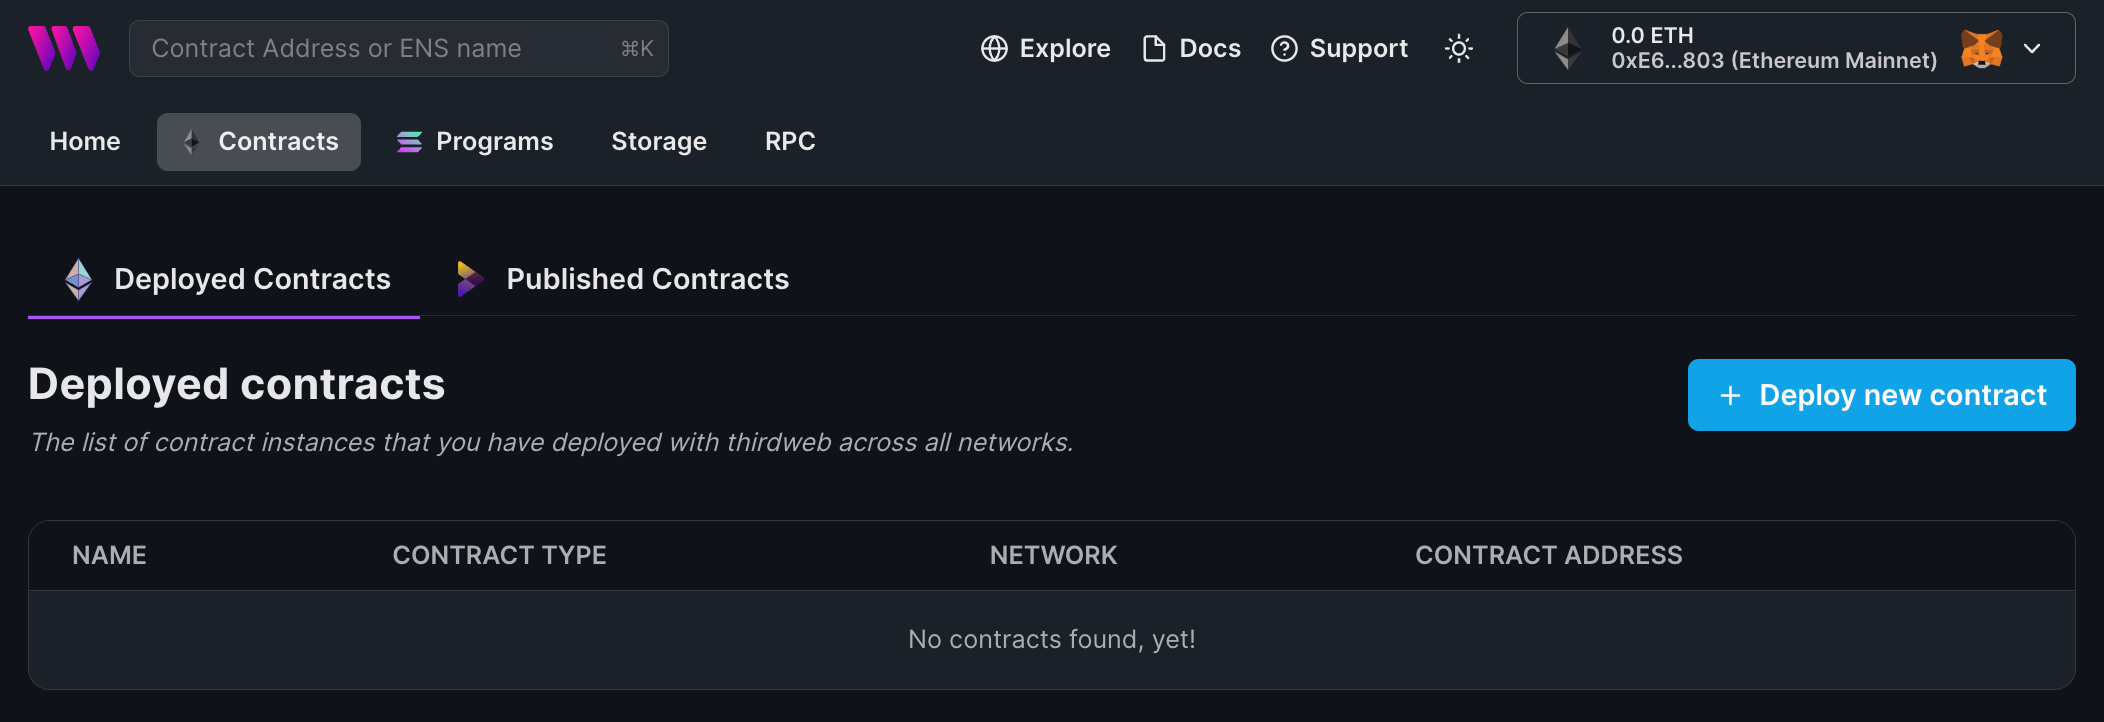
To begin, head to the Contracts page in your thirdweb Dashboard and hit "Deploy new contract":
You will be taken to our Explore page — where you can browse smart contracts built by the top protocols in web3 and deploy them in just a few clicks!
Note: You can also use the thirdweb CLI to set up a smart contract environment by running the below command from your terminal:
npx thirdweb create contractThis will take you through an easy-to-follow flow of steps for you to create your contract. Learn more about this in our CLI guide.
Otherwise, let's get back to Explore:
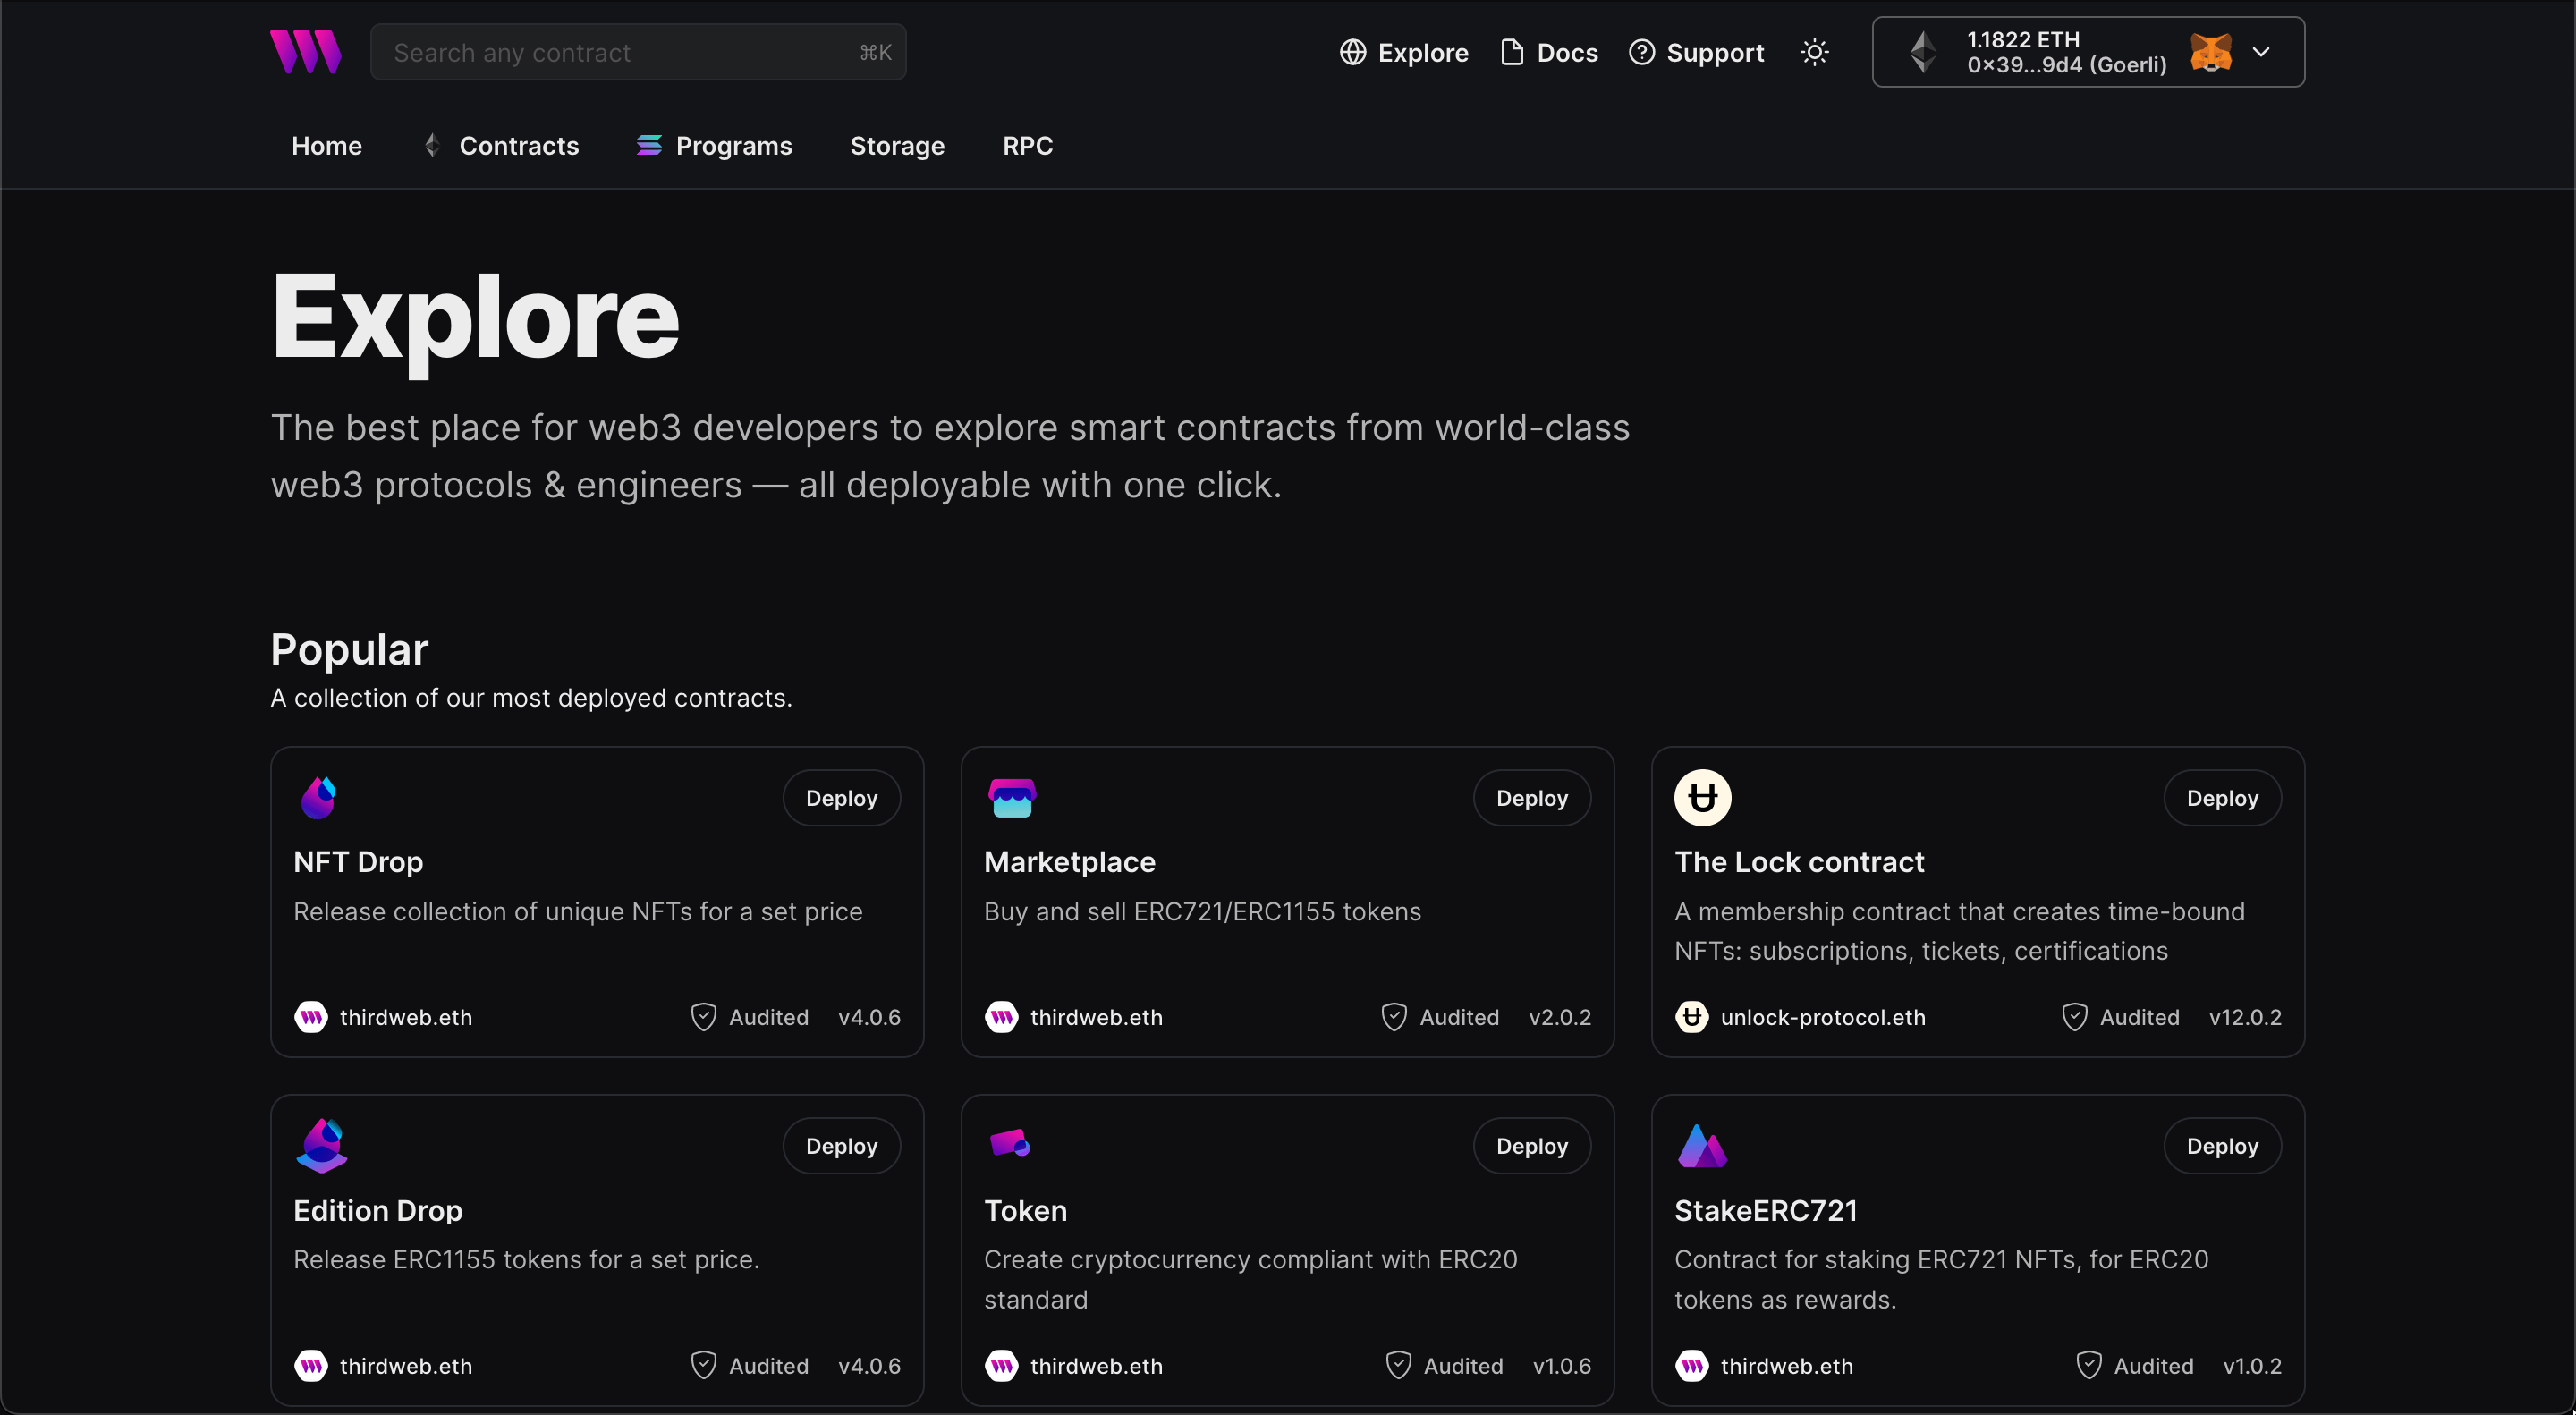
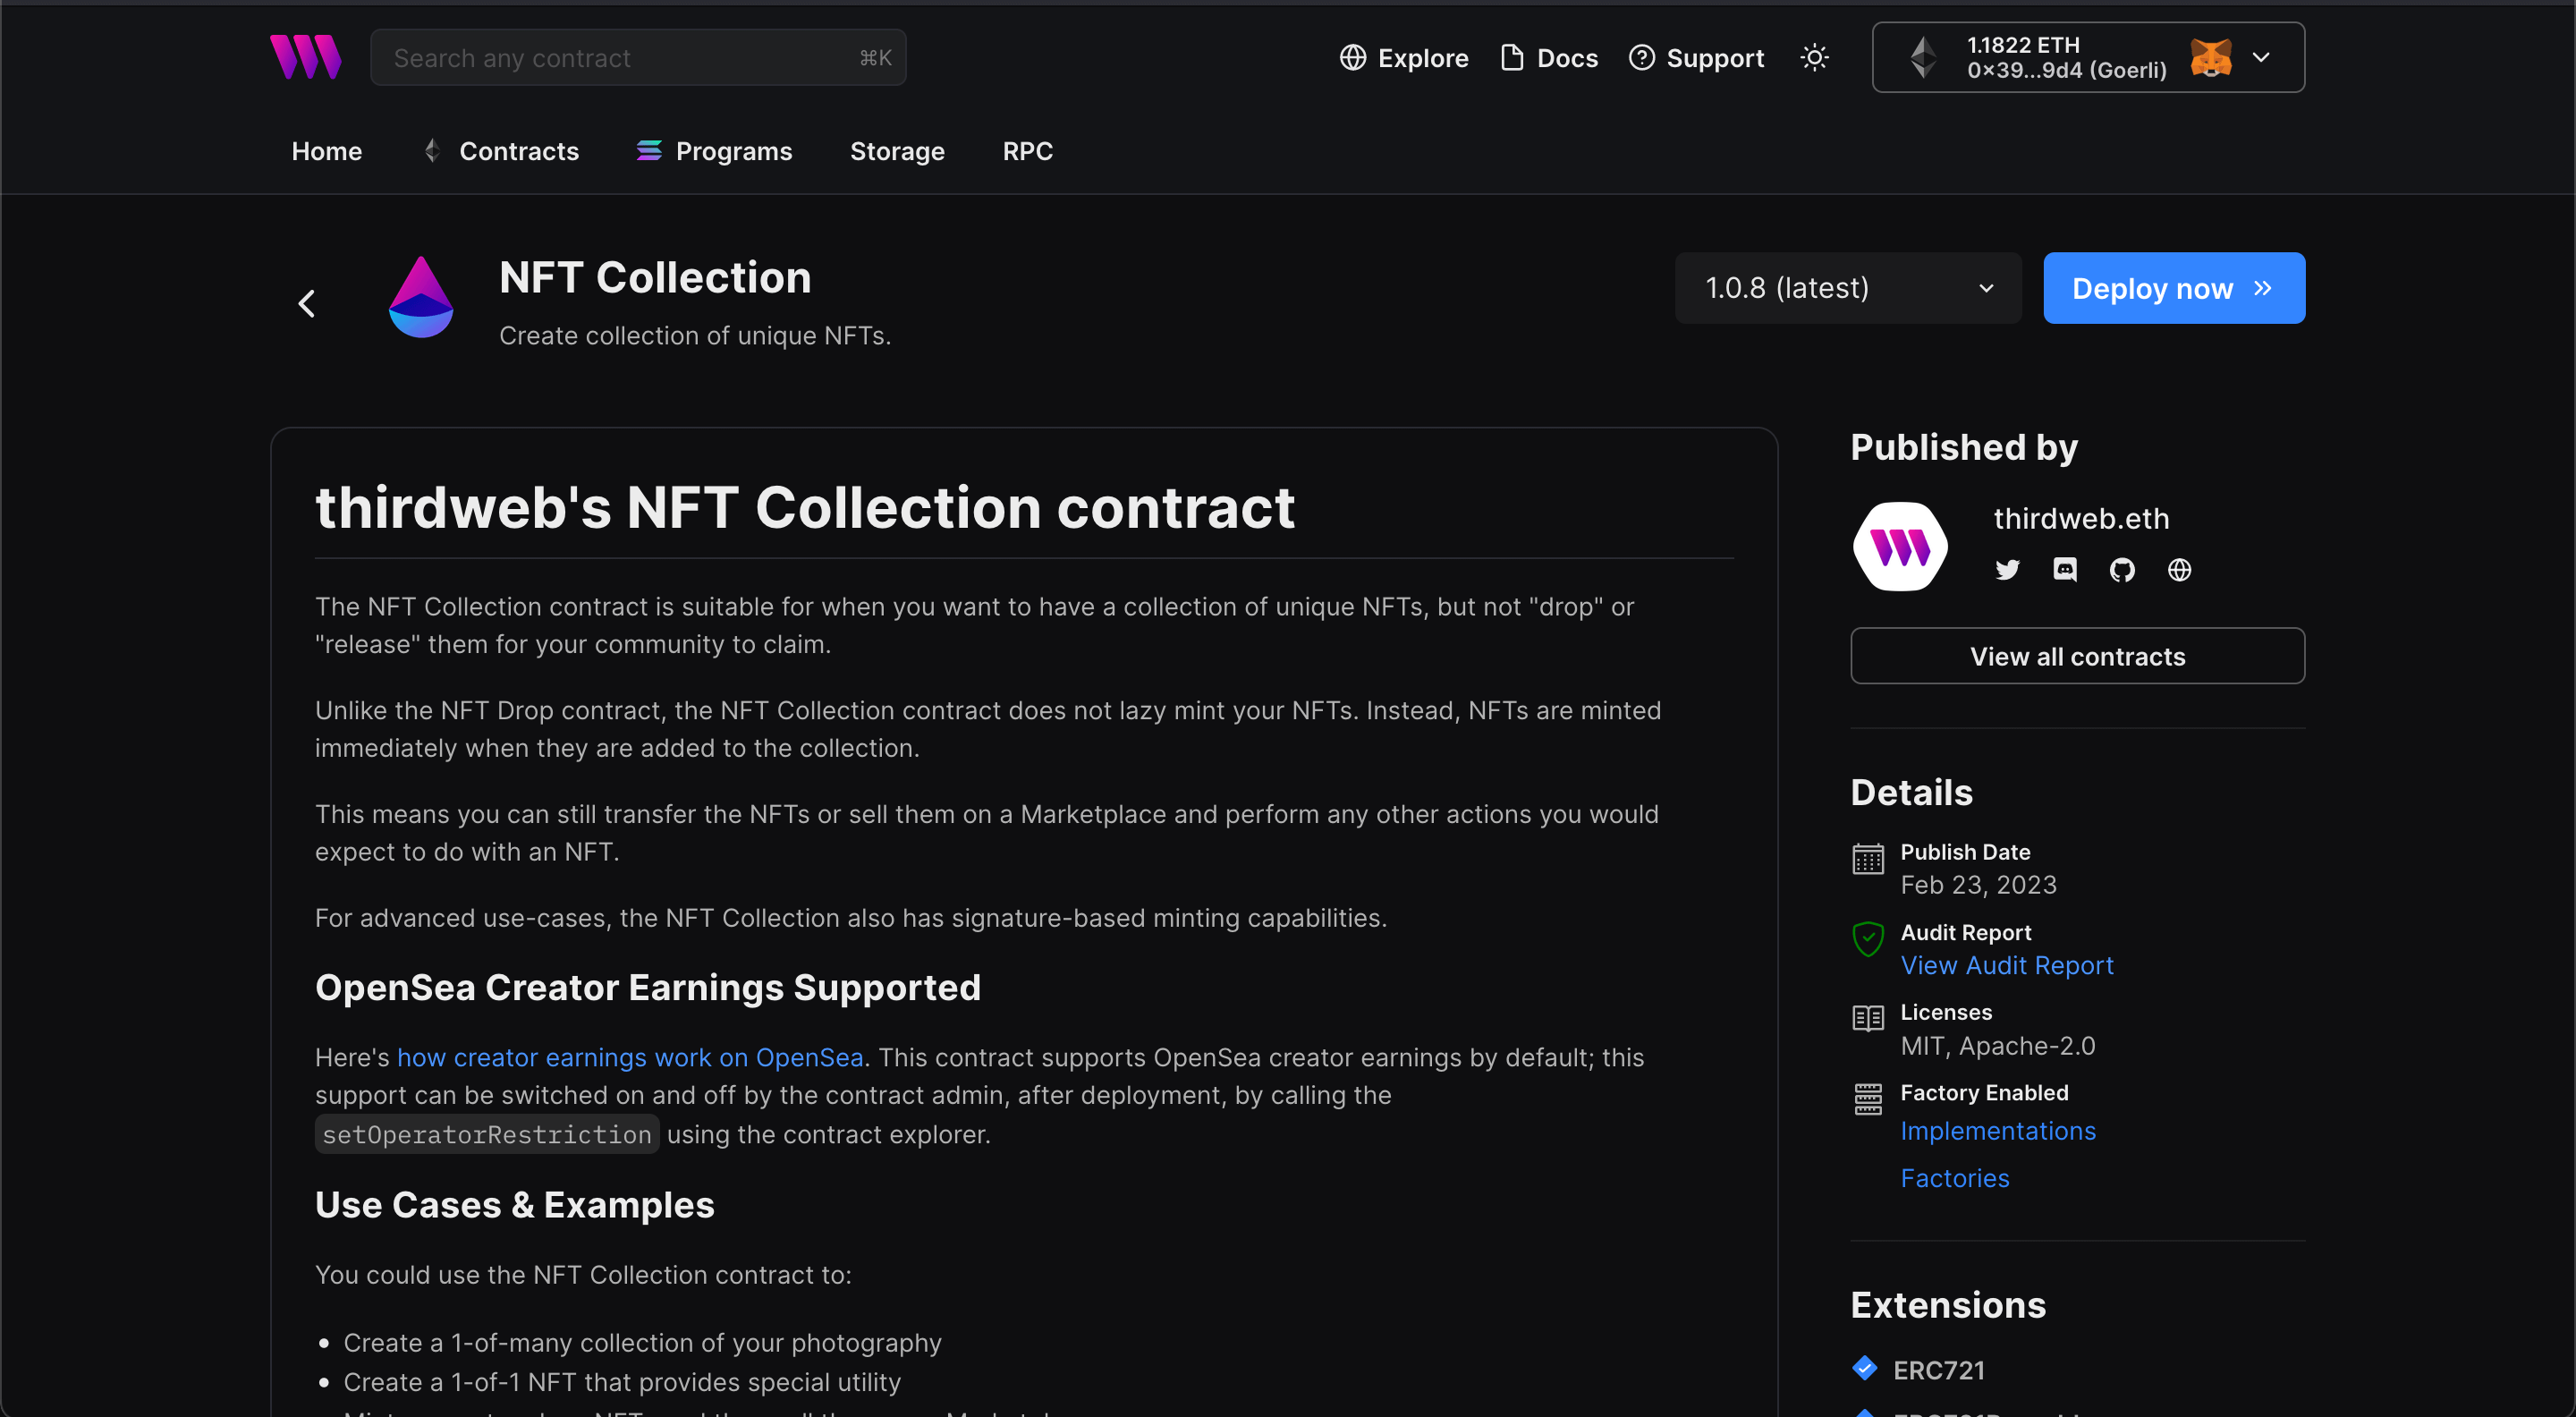
Here, select your smart contract of choice. For this guide, we're going to use the NFT Collection contract to create our NFT collection:
Set up your smart contract with an image, name, description, etc., and configure which wallet address will receive the funds from primary and secondary sales:
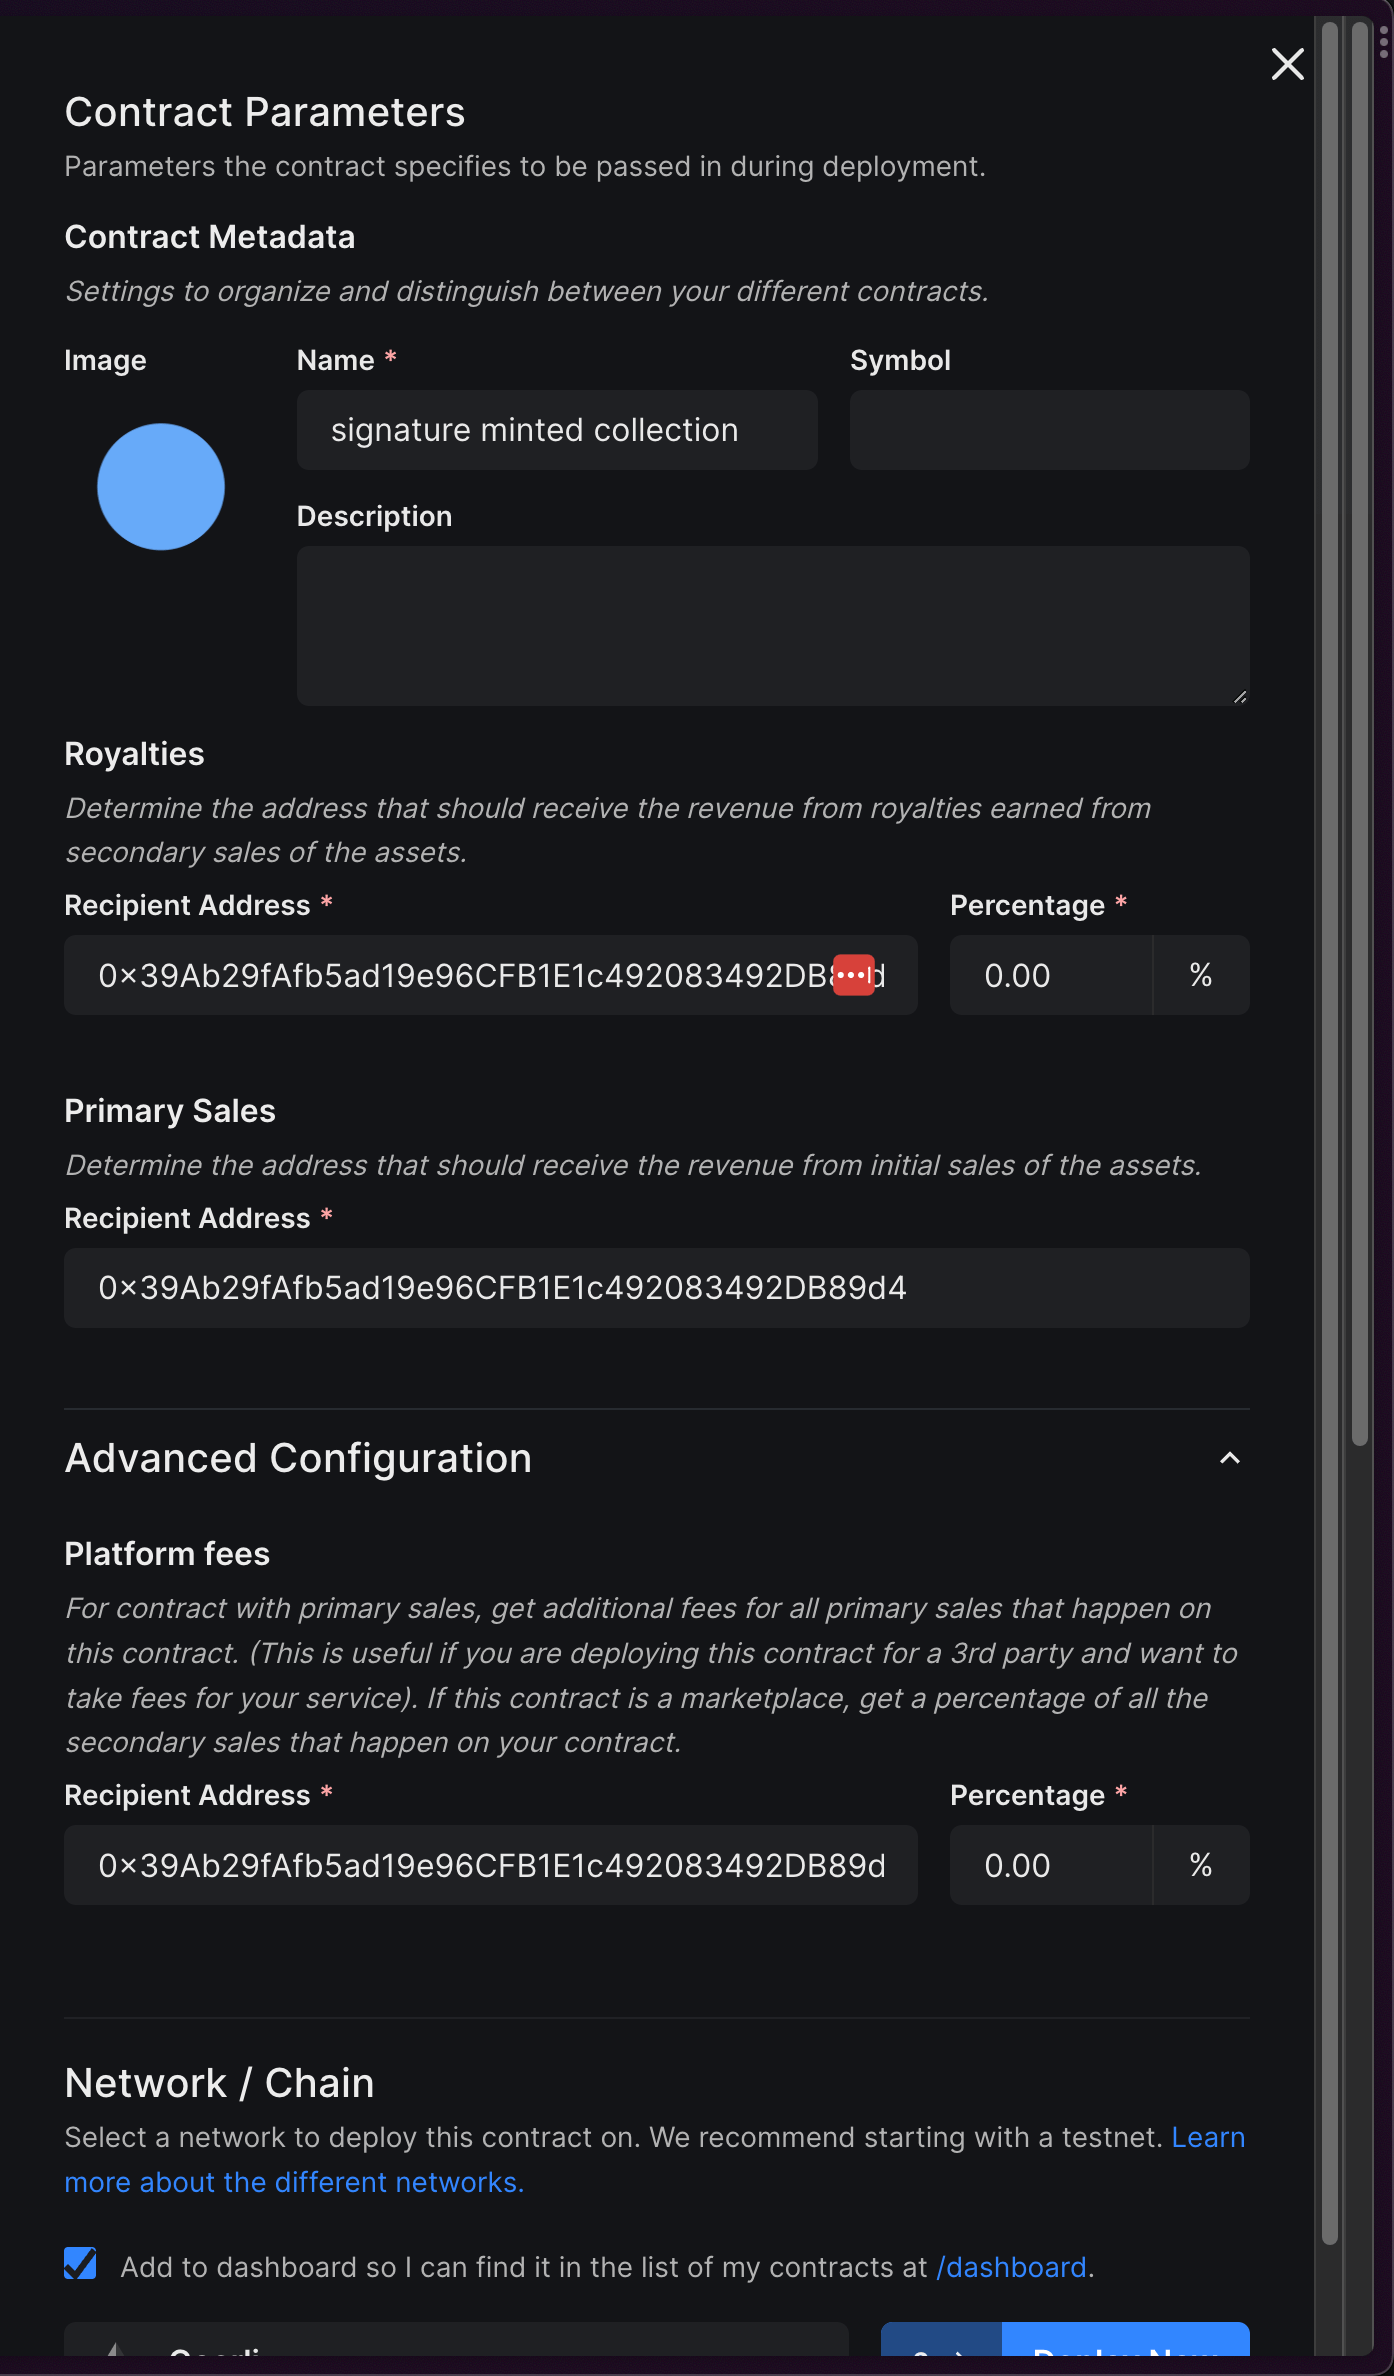
You can select any network you like; for this guide, I am choosing Goerli for this guide. Learn more about the different networks here:
Once the contract is deployed, we are good to go. We don't need to do anything with the contract for now.
Creating the GO server
Now, let's create the GO server. Firstly we will initialise an empty go project:
mkdir signature-mint
cd signature-mint
go mod init signature-mint
This creates a new signature-mint directory and initialises a new go project in it.
Now, let's install the thirdweb go SDK:
go get github.com/thirdweb-dev/go-sdk/v2/thirdwebWe also need to install gin since we are going to use that for creating our API:
go get -u github.com/gin-gonic/gin
Finally, let's add dotenv so we can store our private key safely:
go get github.com/joho/godotenv
Create a new .env file and add in the secret key that you created as THIRDWEB_SECRET_KEY. We will use it soon in the SDK!
We can now start building our application. So, create a new main.go file and add the following:
package main

import (
	"fmt"

	"github.com/gin-gonic/gin"
	"github.com/joho/godotenv"
)

func main() {
	// Load .env file
	err := godotenv.Load(".env")

	// If .env file is not present
	if err != nil {
		fmt.Println("Error loading .env file")
	}

	// Initialize gin router
	router := gin.Default()

	// Start and run the server
	router.Run("localhost:8080")
}
As you can see, we are loading env variables from the .env file. So, add your private key in this format:
PRIVATE_KEY=...IMPORTANT: Using private keys as an env variable is vulnerable to attacks and is not the best practice. We are doing it in this guide for brevity, but we strongly recommend using a secret manager to store your private key.
If you are using environment variables to store your private key (not recommended), never commit your private key to Git.
If you push your private key to GitHub, your wallet will be drained!
Now, let's create a handlers folder. Firstly I will create a common.go and add the following:
package handler

import (
	"os"

	"github.com/thirdweb-dev/go-sdk/v2/thirdweb"
)

func getContract() *thirdweb.NFTCollection {
	sdk := initSdk()
	collectionAddress := "0x9D6597681B67FF75034dA5CF4F5e01Ef64F478cF"

	contract, _ := sdk.GetNFTCollection(collectionAddress)

	return contract
}

func initSdk() *thirdweb.ThirdwebSDK {
	privateKey := os.Getenv("WALLET_PRIVATE_KEY")
	secretKey := os.Getenv("THIRDWEB_SECRET_KEY")

	sdk, err := thirdweb.NewThirdwebSDK("goerli", &thirdweb.SDKOptions{
		PrivateKey: privateKey,
		SecretKey:  secretKey,
	})
	if err != nil {
		panic(err)
	}

	return sdk
}
These are just some basic functions we will require often, so it's good to separate them into their own functions.
We can now move on to the generate route. So, create a new file named generate.go in handlers and create an empty function like this:
package handler

import (
	"github.com/gin-gonic/gin"
)

func GenerateSignature(c *gin.Context) {

}
Let's use the function that we created earlier to get the contract like this:
contract := getContract()We also need to get the address from the client so we will get that in the form of body, for that let's create a struct first:
type Body struct {
	Address string `json:"address"`
}
We can then use it in the function like this:
var address Body
c.BindJSON(&address)
We use this address to generate a payload for the signature mint which consists of the details of the NFT to mint:
payload := &thirdweb.Signature721PayloadInput{
		To:                   address.Address,
		Price:                0,
		CurrencyAddress:      "0x0000000000000000000000000000000000000000",
		MintStartTime:        0,
		PrimarySaleRecipient: "0x0000000000000000000000000000000000000000",
		Metadata: &thirdweb.NFTMetadataInput{
			Name:        "My NFT",
			Description: "This is my cool NFT",
			Image:       "https://gateway.ipfscdn.io/ipfs/QmXXjx3aJCs9W9mN35Aade6etSoceqMk8ykkasbB87MaLt/0.png",
		},
		RoyaltyRecipient: "0x0000000000000000000000000000000000000000",
		RoyaltyBps:       0,
	}
Finally, we can generate the signature and return it:
signedPayload, err := contract.Signature.Generate(context.Background(), payload)

	// Panic if error
	if err != nil {
		panic(err)
	}

	println(signedPayload)

	// return signed payload
	c.JSON(200, gin.H{
		"signedPayload": signedPayload,
	})
Head back to main.go and add this route:
router.POST("/generate", handler.GenerateSignature)
We will need to import the handler as well like this:
import (
	"fmt"
	handler "signature-mint/handlers"

	"github.com/gin-gonic/gin"
	"github.com/joho/godotenv"
)
If you have given a different name to your project, update the import.
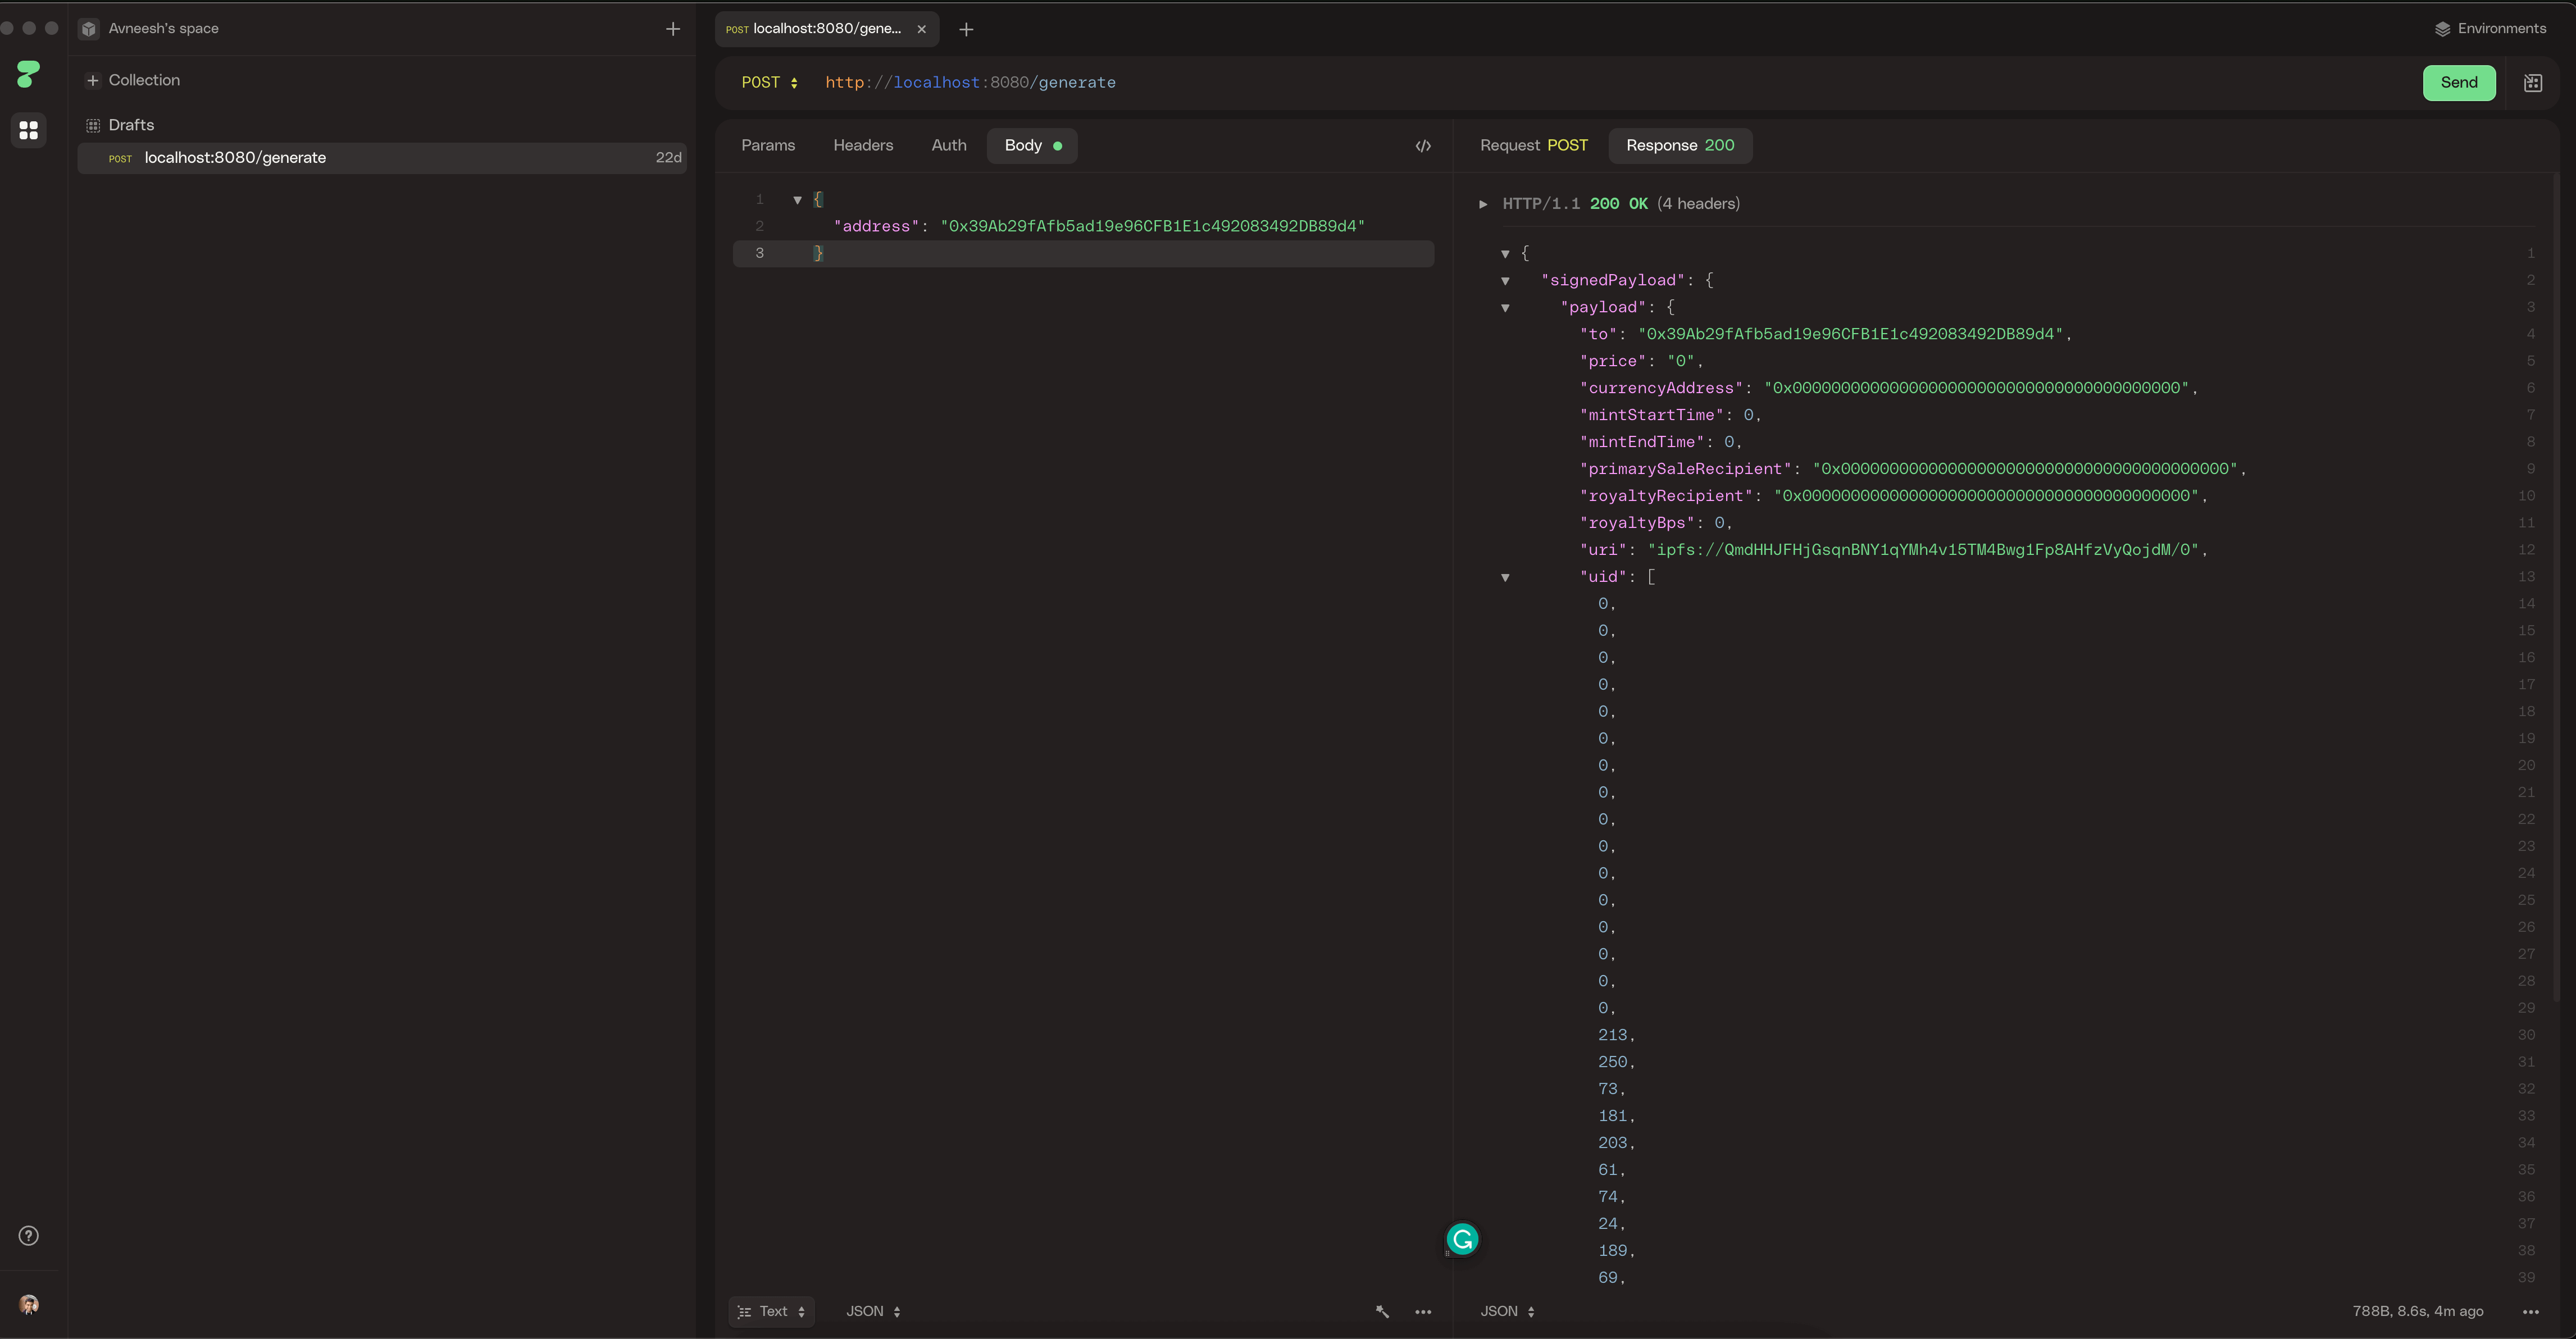
You can test this API endpoint using any HTTP client you like. Just run go run main.go and make a POST request to http://localhost:8080/generate with a wallet address in the body. You will receive a signature like this:
Using the API in a frontend Vite app
Now let's create an NFT staking web app where users can connect their wallets, choose the NFT they want to mint, and mint it.
Using the thirdweb CLI, create a new Vite & TypeScript project with the React SDK preconfigured for you using the following command:
npx thirdweb create app --vite --ts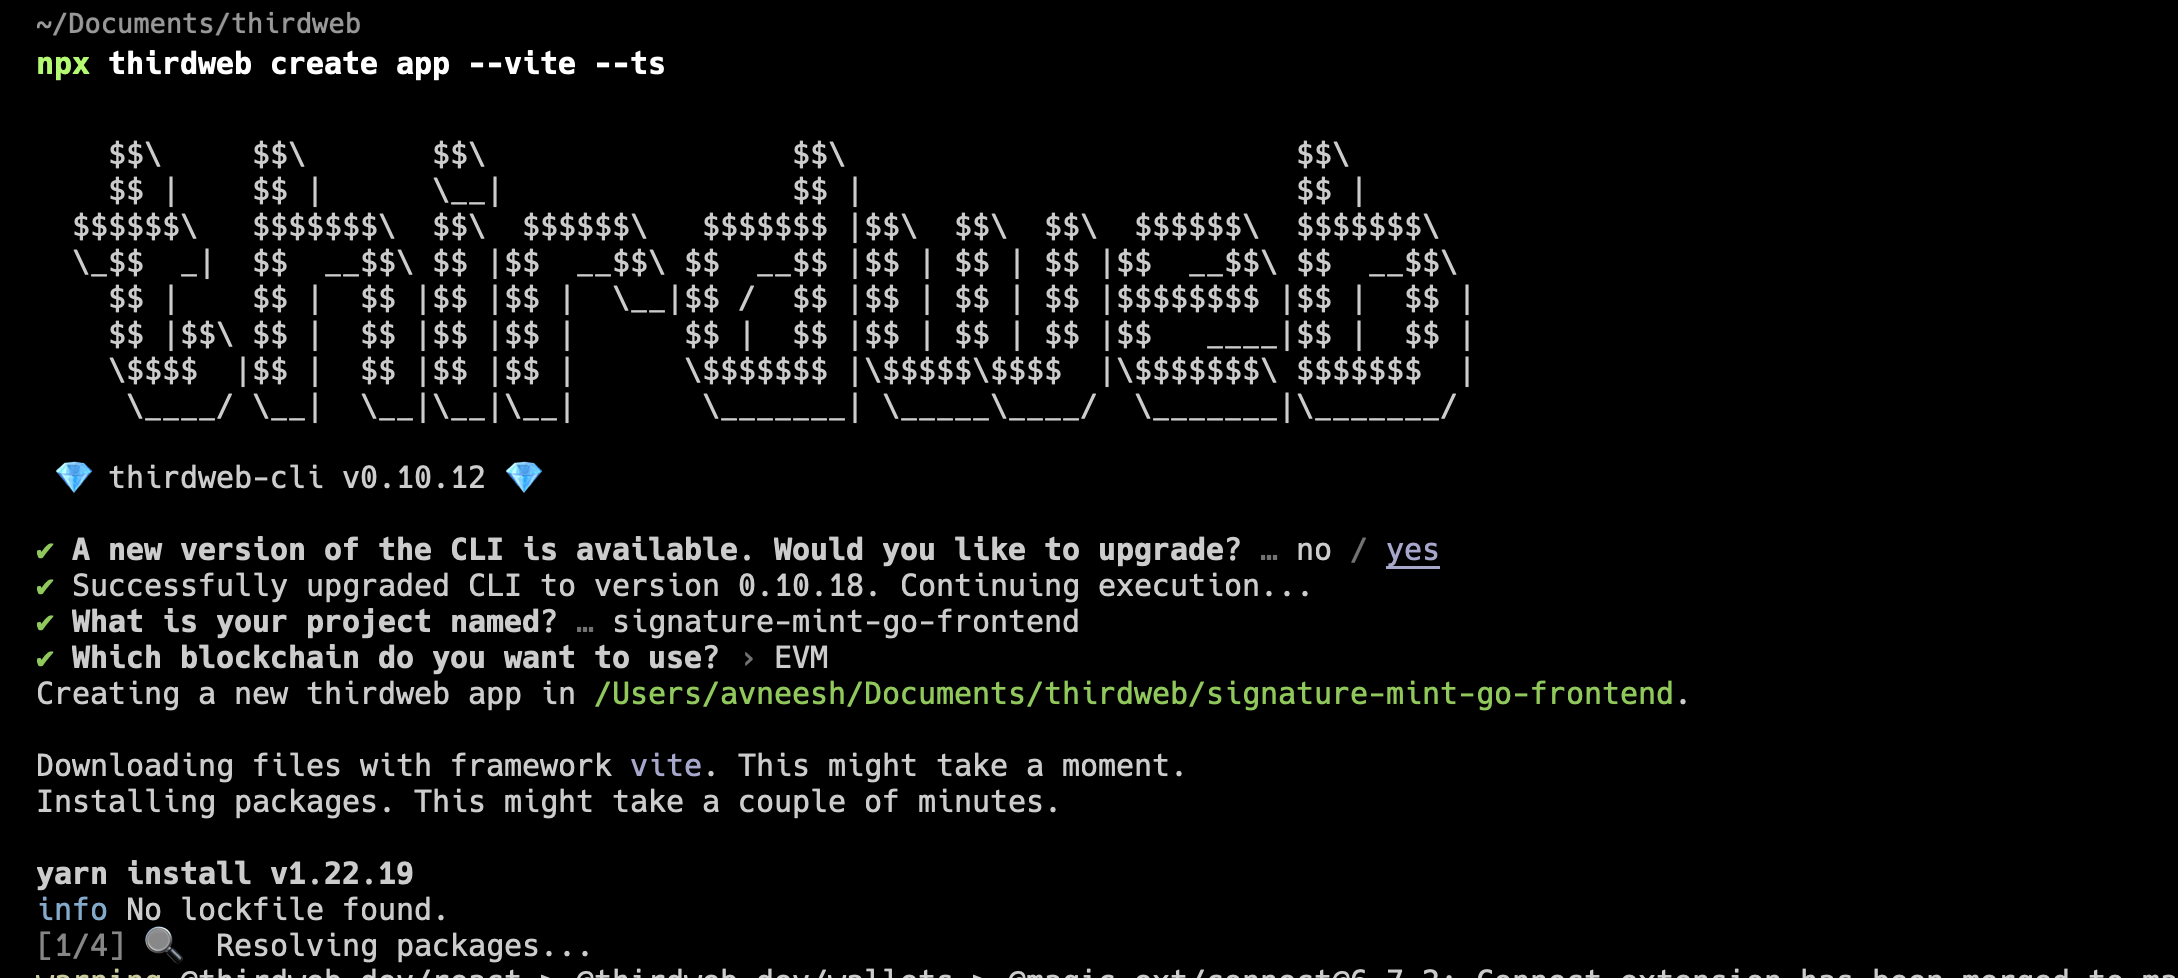
To use an API key with the React SDK, pass the clientId to the ThirdwebProvider.
By default, the network is Mainnet; you'll need to change it to the network you deployed your smart contracts to inside the main.tsx file.
// This is the chain your dApp will work on.
const activeChain = "goerli;
Head over to App.tsx and remove everything inside of the main tag since we won't be needing it. Then, add a new Web3Button component in the main like this:
<Web3Button
  action={mint}
  contractAddress="0x9D6597681B67FF75034dA5CF4F5e01Ef64F478cF"
>
  Mint
</Web3Button>
Now, as you can see we need a mint function so add the following:
const mint = async () => {
  try {
    const request = await fetch("http://localhost:8080/generate", {
      method: "POST",
      headers: {
        "Content-Type": "application/json",
      },
      body: JSON.stringify({ address }),
    });

    const signature = await request.json();
    console.log(signature);

    const nft = await nftCollection?.erc721.mint(signature);
    console.log(nft);
    return nft;
  } catch (error) {
    console.log(error);
  }
};
If you run the vite server using yarn dev and try minting an NFT you will get a CORS error like this:
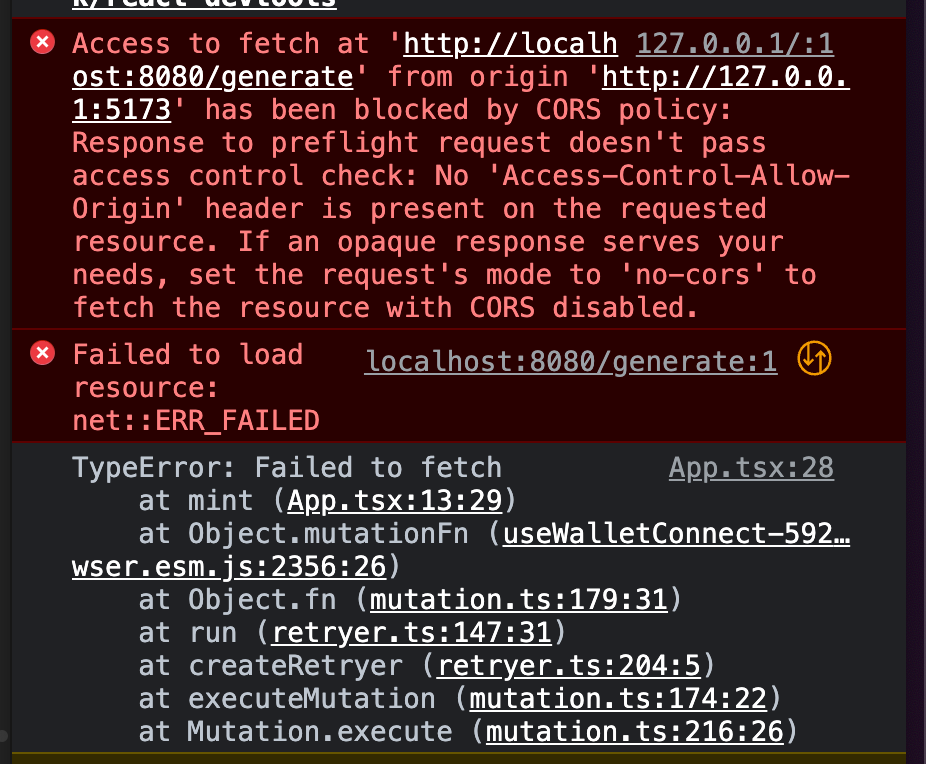
So, we need to add this URL to our go server to make requests.
Firstly, install the cors package in your go project:
go get github.com/gin-contrib/corsAnd then, just after we initialise the router add this:
	router.Use(cors.New(cors.Config{
		AllowOrigins: []string{"http://127.0.0.1:5173"},
		AllowMethods: []string{"PUT", "PATCH", "POST", "GET", "DELETE"},
		AllowHeaders: []string{"Origin", "Content-Type"},
	}))
If you are using a different domain, make sure to update the URL and re-run the project:
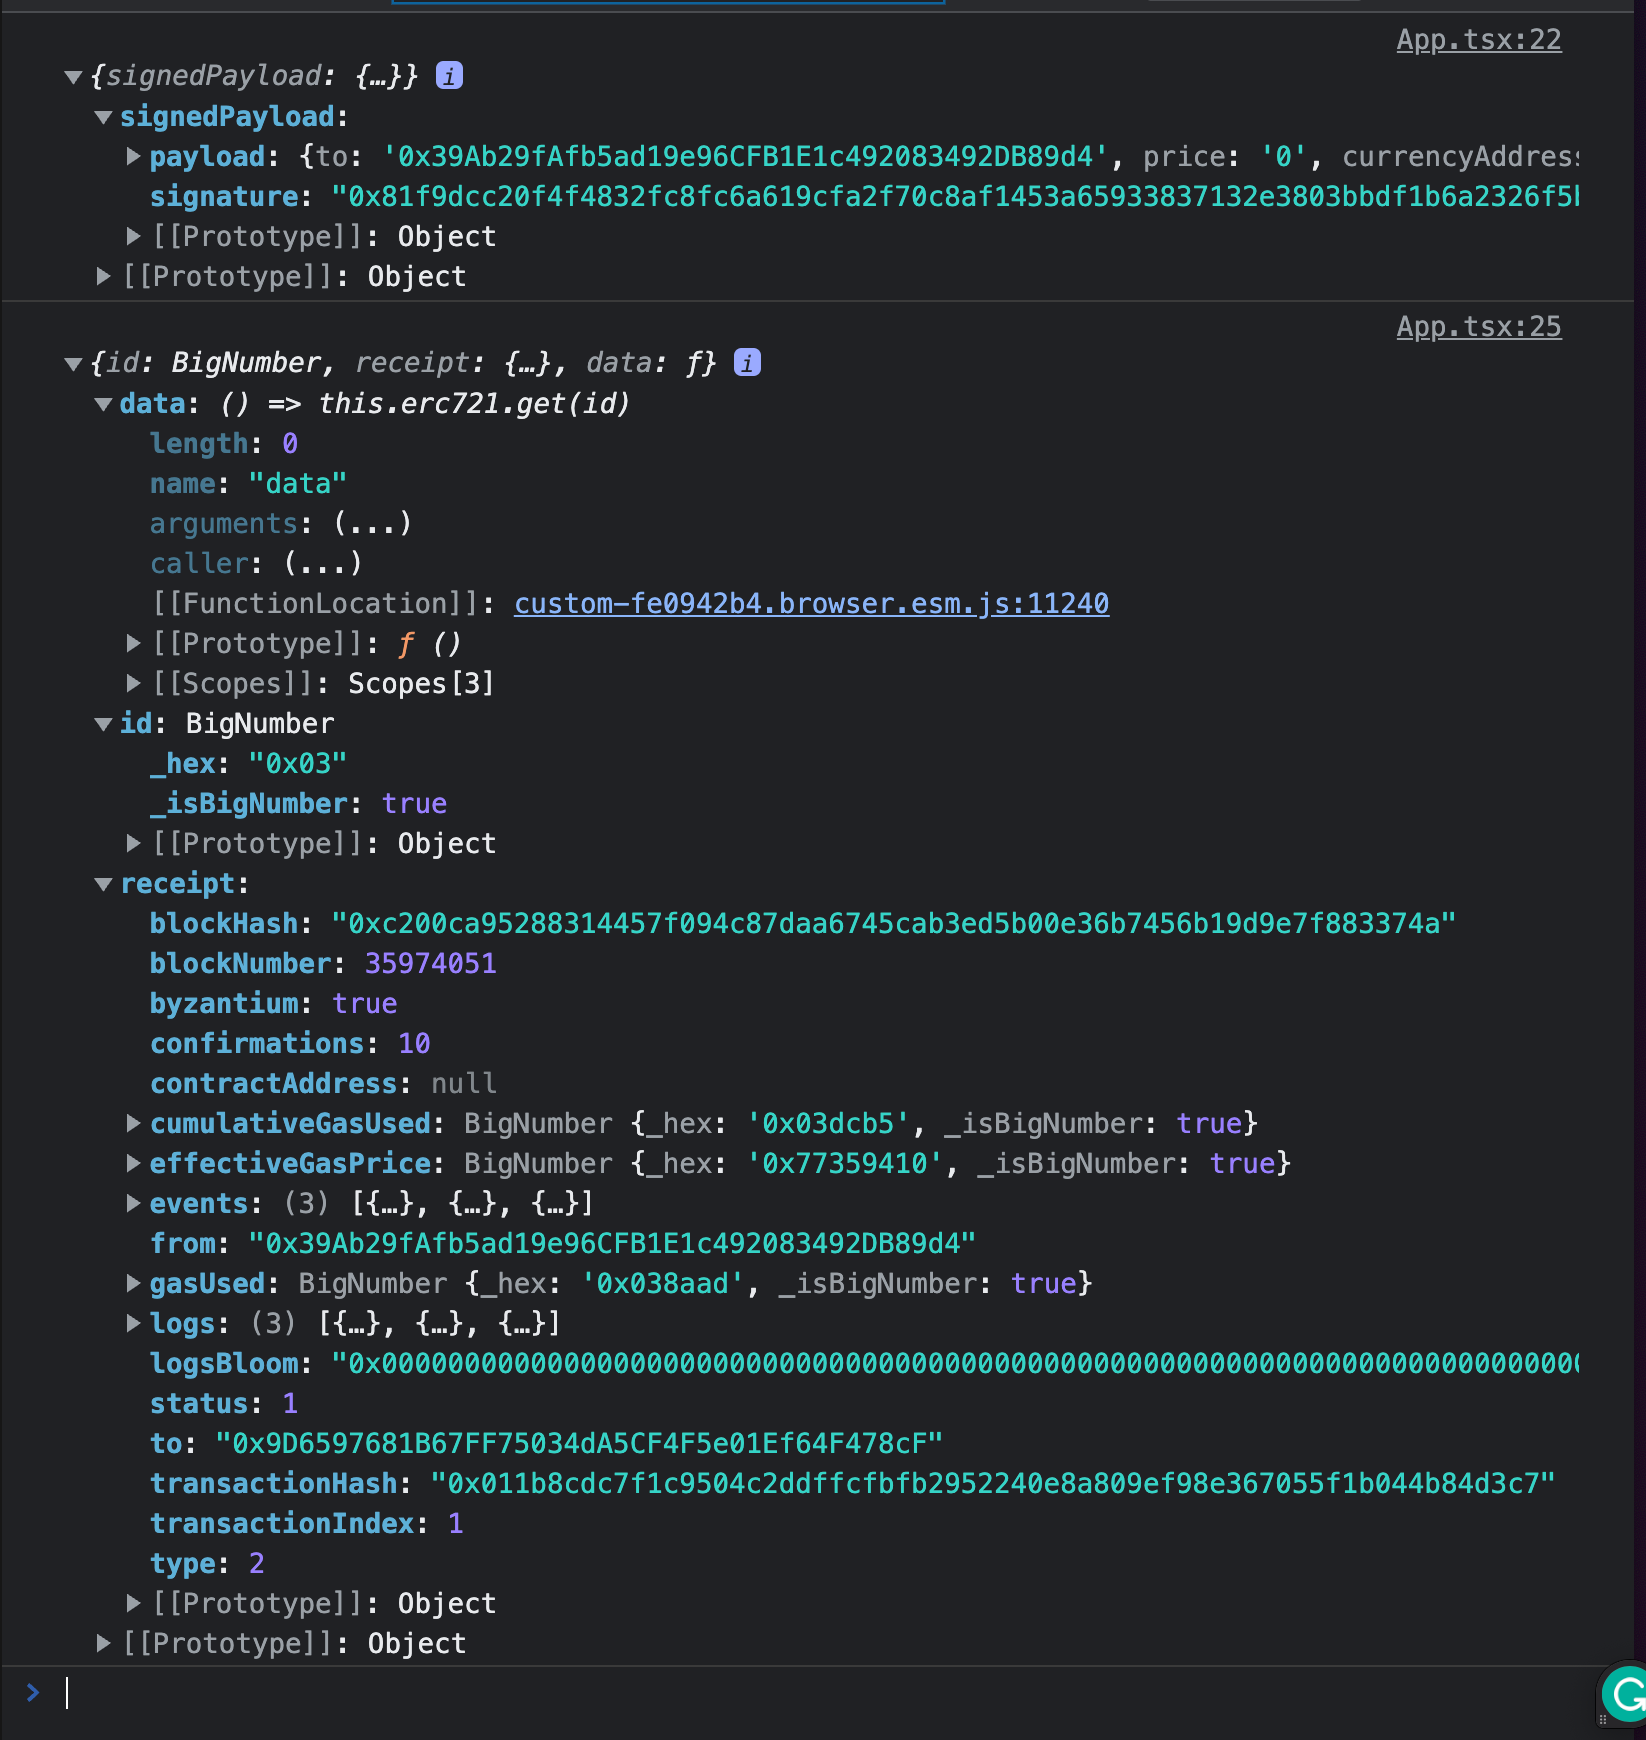
go run main.goNow, you can go back to your front-end application and try minting. You will be prompted with a transaction, and on confirming, you'll be able to see the logs in the console.
Conclusion
This guide taught us how to use the thirdweb GO SDK in a GO server to signature mint NFTs from a client-side app.
You learned a lot, now pat yourself on the back and share your amazing apps with us on the thirdweb discord! If you want to look at the code, check out the GitHub Repository.
Need help?
For support, join the official thirdweb Discord server or share your thoughts on our feedback board.