How to Build an NFT Minting dApp

In this tutorial, we'll walk you through the process of building a decentralized application (dApp) that allows users to mint NFTs from an ERC-721 smart contract using thirdweb. By the end of this guide, you'll have a fully functional NFT minting dApp with wallet connection, NFT metadata display, and minting functionality.
To see a video version of this tutorial, check out the YouTube video:
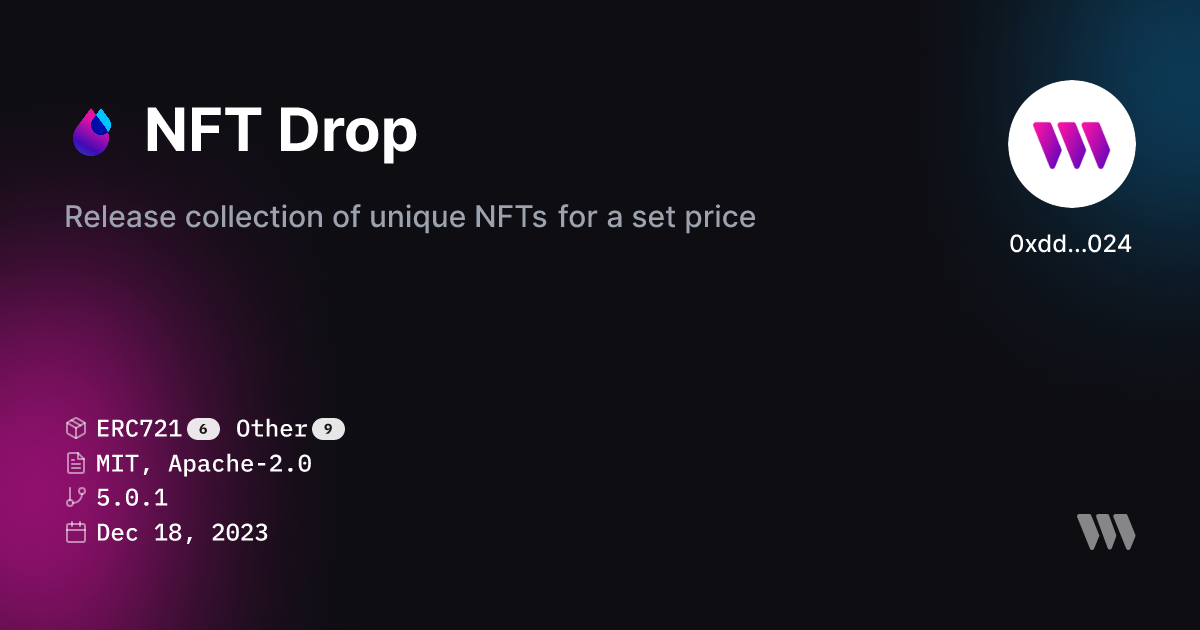
Step 1: Deploy an NFT Smart Contract
First, we need to deploy an ERC-721 NFT (NFTDrop) smart contract that we'll use to mint NFTs from our dApp.
- Go to the thirdweb dashboard and navigate to the "Contracts" tab.
- Click the "Deploy Contract" button and select the "NFT Drop" contract from the NFTs section.
- Fill out the contract details like name, symbol, image, and description.
- Choose the network you want to deploy to
- Click "Deploy Now" and confirm the transaction in your wallet.
Step 2: Upload NFT Metadata
Next, we need to upload the metadata for the NFTs that will be minted from our contract.
- In the thirdweb dashboard, go to the "NFTs" tab under your deployed contract.
- You can either single upload NFT metadata manually or batch upload multiple NFTs at once.
- Prepare a folder with your NFT metadata files in JSON format. Each file should include properties like name, description, image (IPFS hash), and any custom attributes.
- Click "Batch Upload" and drag your metadata files into the uploader.
- Choose whether to do a normal mint (reveal upon mint) or a delayed reveal. For this example, we'll select "Delayed Reveal" which will hide the actual NFT metadata until we decide to reveal it later.
- Set a password for the delayed reveal, the placeholder metadata, and the number of NFTs to upload.
- Click "Upload NFTs" and confirm the transaction.
Step 3: Set Claim Conditions
To control how users can mint NFTs from our contract, we need to set claim conditions.
- Go to the "Claim Conditions" tab under your contract in the thirdweb dashboard.
- Click "Add Phase" to create a new claim phase. There are several options like only owner, allow list, public, etc.
- For this tutorial, we'll create a public claim phase where anyone can mint. Set a price (e.g. 0.01 ETH) per NFT and any other conditions like max quantity per wallet.
- Click "Save Phase" and confirm the transaction.
Want to watch a tutorial video going through the process of deploying and setting up an ERC-721 smart contract. You can view a full tutorial here:
Step 4: Set Up a Next.js Project
We'll be using Next.js and the thirdweb React SDK to build our minting dApp.
 thirdweb-example
npx thirdweb create app --next- Open the
.env.examplefile and add your thirdweb API key (client ID). - Rename
.env.exampleto.env.local
Step 5: Connect User Wallet to App
Add a ConnectButton UI component to allow a user to connect a wallet to your app. ConnectButton component supports over 350 wallets.
thirdweb-exampleconst chain = defineChain( <chain> );
<ConnectButton client={client} chain={chain}/>Step 6: Build the Minting dApp UI
Now let's build the user interface for our NFT minting dApp. We'll create a component that displays the NFT metadata, a quantity selector, and a mint button.
thirdweb-example- Lets first get our contract so we can read information from it.
const contract = getContract({
  client: client,
  chain: chain,
  address: "<contract_address>"
});- Now lets get some data from our smart contract using thirdweb extensions.
const { data: contractMetadata } = useReadContract( getContractMetadata,
  { contract: contract });

const { data: claimedSupply } = useReadContract( getTotalClaimedSupply,
  { contract: contract});

const { data: totalNFTSupply } = useReadContract( nextTokenIdToMint,
  { contract: contract });

const { data: claimCondition } = useReadContract( getActiveClaimCondition,
{ contract: contract } );- Create a function to get the price of the NFT from the current claim condition.
const getNFTPrice = (quantity: number) => {
  const total = quantity * parseInt(
    claimCondition?.pricePerToken.toString() || "0"
  );
  return toEther(BigInt(total));
}- Display information of contract like contract name, description, and image using the data from above.
{isLoadingContractMetadata ? (
  <p>Loading contract metadata...</p>
) : (
  <>
    <MediaRenderer
      client={client}
      src={contractMetadata?.image}
    />
    <h2>
      {contractMetadata?.name}
    </h2>
    <p>
      {contractMetadata?.description}
    </p>
  </>
)}- Display the total supply and the total number of claimed NFTs from the collection.
{claimedSupply && totalNFTSupply && (
  <p className="text-lg mt-2 font-bold">
    Total NFT Supply:
    {claimedSupply?.toString()}/{totalNFTSupply?.toString()}
  </p>
)}- Create a component for the quantity selector for a user to select to quantity of the NFT they want to claim
const [quantity, setQuantity] = useState(1);<div>
<button onClick={() => setQuantity(Math.max(1, quantity - 1))}>
-
</button>
<input
type="number"
value={quantity}
onChange={(e) => setQuantity(parseInt(e.target.value))}
/>
<button onClick={() => setQuantity(quantity + 1)}>
+
</button>
</div>- Finally, lets create a button for a user to claim the selected quantity of NFTs. We'll be using thirdweb's
TransactionButtonUI component to easily do this.
<TransactionButton
  transaction={() => claimTo({
    contract: contract,
    to: account?.address || "",
    quantity: BigInt(quantity),
  })}
  onTransactionConfirmed={async () => {
    setQuantity(1);
    alert("NFT claimed!");
  }}
>
  {`Claim NFT (${getNFTPrice(quantity)} ETH)`}
</TransactionButton>
Conclusion
Congratulations, you've built a NFT claim dapp using thirdweb! In this guide, we covered how to:
- Deploy an ERC-721 NFTDrop contract using thirdweb
- Get and display data from our smart contract
- Build a way for users to claim NFTs to their connected wallet
Feel free to explore the final source code, make modifications, and adapt it for your own projects. If you have any questions or feedback, don't hesitate to reach out.
Happy building! 🚀