Build an NFT App On Any Layer 2 Blockchain

Introduction
In this tutorial, you'll learn how to build an NFT app on an L2 blockchain using thirdweb's Connect SDK.
By the end of this guide, you'll have an app that allows users to:
- Connect their wallet
- Claim NFTs from the collection
- View and display owned NFTs from collection
To see a demo of the final app and follow along with the video version of this tutorial, check out the YouTube video:
Prerequisites
Before we get started, make sure you have the following:
- A thirdweb account
- A wallet like MetaMask to connect to thirdweb
- Some testnet tokens on the your testnet of choice to pay for gas fees
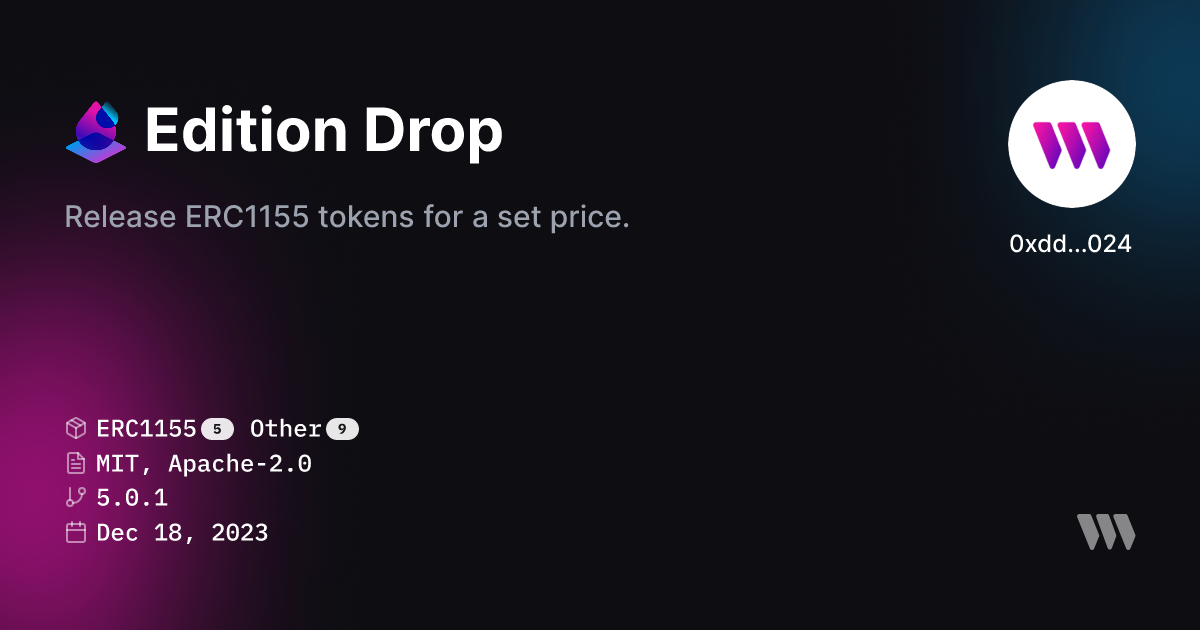
Step 1: Deploy the ERC-1155 Smart Contract
First, we need to deploy an ERC-1155 smart contract that will store our NFTs.
- Go to the thirdweb dashboard and connect your wallet
- Click "Deploy New Contract" and search for the "Edition Drop" contract
- Give your contract a name, symbol, description, and set the network to the Layer 2 network of your choice
- Click "Deploy Now" and approve the transaction in your wallet
- Once deployed, save the contract address as we'll need it later
Step 2: Create Project and Configure Connect SDK
Let's start off by creating a new Next.js project with thirdweb.
- Create a new app with thirdweb
npx thirdweb create app - Select
Next.jsas the framework - Edit the
.envfile and add youclientID - Create a
chain.tsfile with the following:
import { defineChain } from "thirdweb";

export const chain = defineChain( <Layer_2_Chain> );
<Layer_2_Chain> with the chain ID of the L2 of your choice or import and use a predefined chain from thirdweb.- Add a
ConnectButtonorConnectEmbedto you app to allow a user to connect their wallet to claim an NFT
<ConnectButton
  client={client}
  chain={chain}
/>
Step 4: Prepare Contract with Connect SDK
Next, lets get and wrap our contract to be able to easily use it within the Connect SDK.
- Create a variable for our contract using
getContractfrom the Connect SDK
import { chain } from '@/app/chain';
import { client } from '@/app/client';
import { getContract } from 'thirdweb';

const ERC1155ContractAddress = "<Contract_Address>";

export const ERC1155Contract = getContract({
  client: client,
  chain: chain,
  address: ERC1155ContractAddress
});
Step 5: Create an NFT Claim
Now let's create a component that will handle claiming and displaying the NFTs.
- Check whether or not a wallet is connected to our app. Using
useActiveAccountwe can get the data of a connected account or get returnedundefined
export const ERC1155 = () = {
  const account = useActiveAccount();

  return (
    <div>
      {account && (

      )}
    </div>
  )
};- Next we need to get NFTs from our ERRC-1155 contract that can be claimed. To do this we will use the
useReadContracthook along with thegetNFTsERC-1155 extension to get back an array of all the NFTs in our smart contract.
const { data: nfts } = useReadContract(
  getNFTs,
  {
    contract: ERC1155Contract
  }
);- Now, we can map through the array of NFTs returned and display the NFT along with a
TransactionButtonto execute the "claimTo" function from the smart contract.
{nfts && nfts.length > 0 ? (
    nfts.map((nft) => (
        <div key={nft.id}>
            <MediaRenderer
                client={client}
                src={nft.metadata.image}
            />
            <TransactionButton
                transaction={() => (
                    claimTo({
                        contract: ERC1155Contract,
                        to: account.address || "",
                        tokenId: nft.id,
                        quantity: BigInt(1),
                    })
                )}
                onTransactionConfirmed={() => {
                    alert("NFT claimed!");
                }}
            >Claim NFT</TransactionButton>
        </div>
    ))
) : (
    <p>No NFTs</p>
)}
Step 6: Display Owned NFTs
Now that we can claim NFTs, let's display the owned NFTs for the connected wallet.
- First, lets get the owned NFTs of the connected wallet using
useReadContractagain. This time we'll use thegetOwnedNFTsERC-1155 extension to get returned an array of NFTs owned.
const { data: ownedNFTs } = useReadContract(
    getOwnedNFTs,
    {
        contract: ERC1155Contract,
        address: account?.address || "",
    }
);- Now we can map through the array of owned NFTs and display information about each NFT like token ID, image, or quantity owned.
{ownedNFTs && ownedNFTs.length > 0 ? (
    ownedNFTs.map((nft) => (
        <div key={nft.id}>
            <p>Token ID: {nft.id.toString()}</p>
            <p>Quantity: {nft.quantityOwned.toString()}</p>
        </div>
    ))
) : (
    <p>No owned NFTs</p>
)}- We can add a refetch to getting the owned NFTs to refetch the data once an NFT has been claimed. Add
refetchto theuseReadContracthook when getting the owned NFTs and refetch that data when an NFT is claimed successfully with theTransactionButton
const { data: ownedNFTs, refetch: refetchOwnedNFTs } = useReadContract(
    getOwnedNFTs,
    {
        contract: ERC1155Contract,
        address: account?.address || "",
    }
);
<TransactionButton
transaction={() => (
claimTo({
contract: ERC1155Contract,
to: account.address || "",
tokenId: nft.id,
quantity: BigInt(1),
})
)}
onTransactionConfirmed={() => {
alert("NFT claimed!");
refetchOwnedNFTs();
}}
>Claim NFT</TransactionButton>Conclusion
And there you have it! We've built an NFT app that allows users to:
- Connect their wallet
- View claimable NFTs from an ERC-1155 contract
- Claim an NFT to their wallet
- Display the NFTs they own and the quantity of each
By using thirdweb's Connect SDK, we were able to easily interact with our smart contract to read data and make transactions.
You can build an app like this on any EVM-compatible blockchain, including popular L2s like Optimism, Base, Arbitrum, Avalanche and more.
The thirdweb Connect SDK provides a simple and powerful way to build web3 apps with a great developer experience.
I hope you enjoyed this tutorial and found it valuable!