How to Build a Multi-Chain Account Abstraction Wallet

Building a multi-chain account abstraction wallet allows users to have the same wallet address across multiple chains. In this tutorial, we'll walk through the process of creating an app where users can claim NFTs on different chains using the same smart wallet.
You can check out the full tutorial video here:
Step 1: Deploy the NFT Smart Contracts
First, let's deploy the NFT smart contracts that we'll be using to test our multi-chain wallet. We'll deploy 2 NFT contracts, but on different chains.

- Go to the thirdweb dashboard and navigate to the "Contracts" tab
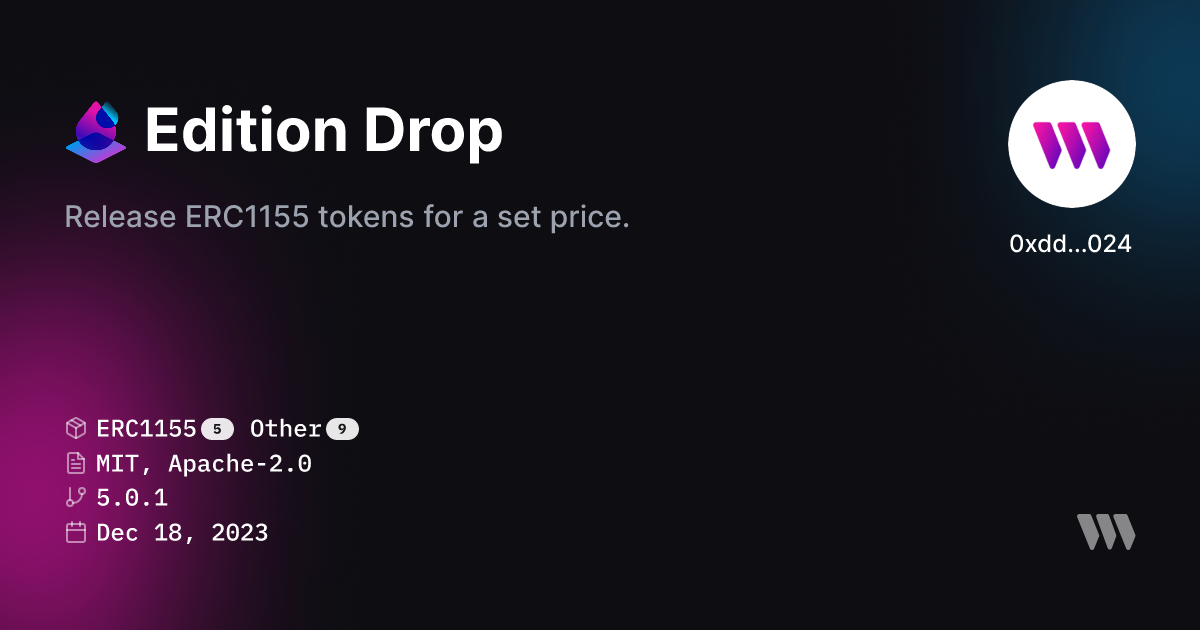
- Click "Deploy Contract" and select the "Edition Drop" contract (ERC-1155)
- Fill out the contract parameters (name, description, symbol, and image)
- Select a chain to deploy the smart contract to and click "Deploy Now"
- Once deployed, go to the "NFTs" tab and create a new NFT with a public claim phase
- Repeat steps 2-5 for another chain
Make sure to save the contract addresses for both NFTs as we'll need them later.
Step 2: Set Up the Next.js Project
Next, let's set up a new Next.js project using thirdweb's CLI.
npx thirdweb create app --next- Open the project in your preferred code editor.
- In the
.env.examplefile, add your thirdweb client ID. - Rename
.env.exampleto.env.local
Step 3: Create the NFT Claimer Component
Now, let's create a component that will handle claiming the NFTs. We will provide the receiver address, NFT contract, and the token ID being claimed.
- Create a type for NFTClaimerProps. Will contain receiver address, NFT contract, and token ID
type NFTClaimerProps = {
  receiverAddress?: string;
  dropContract: ThirdwebContract;
  tokenId: bigint;
};
- Get the NFT metadata using
getNFTand quantity of owned NFTs withbalanceOfextension.
const { data: nft, isLoading: isNFTLoading } = useReadContract(
  getNFT,
  {
    contract: props.dropContract,
    tokenId: props.tokenId,
  }
);

const { data: ownedNFTs } = useReadContract(
  balanceOf,
  {
    contract: props.dropContract,
    owner: props.receiverAddress!,
    tokenId: props.tokenId,
    queryOptions: { enabled: !!props.receiverAddress },
  }
);- Create the rest of the component to show an image of the NFT, the balance of the NFT the connected wallet owns, and a
TransactionButtonto claim an NFT.
type NFTClaimerProps = {
  receiverAddress?: string;
  dropContract: ThirdwebContract;
  tokenId: bigint;
};

const NFTClaimer: React.FC<NFTClaimerProps> = ( props: NFTClaimerProps) => {
  const { data: nft, isLoading: isNFTLoading } = useReadContract(
    getNFT,
    {
      contract: props.dropContract,
      tokenId: props.tokenId,
    }
  );
  const { data: ownedNFTs } = useReadContract(
    balanceOf,
    {
      contract: props.dropContract,
      owner: props.receiverAddress!,
      tokenId: props.tokenId,
      queryOptions: { enabled: !!props.receiverAddress },
    }
  );
  return(
    <div>
      {isNFTLoading ? (
        <div>Loading...</div>
      ) : (
        <>
          {nft ? (
            <MediaRenderer
              client={client}
              src={nft.metadata.image}
            />
          ) : null}
          {props.receiverAddress ? (
            <>
              <p>
                You own {ownedNFTs?.toString() || "0"} NFTs on {props.dropContract.chain.name}
              </p>
              <TransactionButton
                transaction={() =>
                  claimTo({
                    contract: props.dropContract,
                    tokenId: props.tokenId,
                    to: props.receiverAddress!,
                    quantity: 1n,
                  })
                }
                onError={(error) => alert(`Error: ${error.message}`)}
                onTransactionConfirmed={async () => {
                  alert("NFT Claimed!");
                }}
              >Claim</TransactionButton>
            </>
          ) : (
            <p>
              Login to claim this NFT on {props.dropContract.chain.name}
            </p>
          )}
        </>
      )}
    </div>
  )
};
Step 4: Add the NFT Claimers to the Home Page
Finally, let's add the NFTClaimer components to our page:
- Import the
NFTClaimercomponent and the deployed contract addresses. - Add two
NFTClaimercomponents and provide the information of the NFT contract usinggetContractwith the information of your contract
<NFTClaimer
  receiverAddress={address}
  dropContract={getContract({
    address: "<contract_address>",
    chain: <chain>,
    client,
  })}
  tokenId={0}
/>

<NFTClaimer
  receiverAddress={address}
  dropContract={getContract({
    address: "<contract_address>",
    chain: <chain>,
    client,
  })}
  tokenId={0}
/>
And that's it! You should now see the two NFT claimers on your home page.
When you connect your wallet, it will create a new smart contract wallet for you using account abstraction. This smart wallet will have the same address across multiple chains.
You can now seamlessly claim NFTs on both chains using the same wallet address. The thirdweb SDK handles the multi-chain support and gas payments for you.
Step 6: Implement the Connect Button with Account Abstraction
Now that we have our NFT claimer components set up, let's add the connect button to enable account abstraction and multi-chain support.
To enable account abstraction, we need to pass the accountAbstraction prop to the ConnectButton component.
<ConnectButton
    client={client}
    accountAbstraction={SmartWalletOptions = {
    	chain,
    	sponsorGas: true,
    }}
/>
Step 7: Test the Multi-Chain Account Abstraction Wallet
Let's test our application and see the multi-chain account abstraction wallet in action:
- Run project locally to start the development server.
- Open in your browser.
- Click the "Connect Wallet" button and choose your preferred wallet provider (e.g., MetaMask).
- After connecting, you will be created a smart account.
- Click the "Claim NFT" button on one of the NFTs.
- Transaction should process and claim the NFT without you have to pay for the gas to mint the NFT
- Try claiming the other NFT. You should be prompted to switch chains, but your smart account wallet address should remain the same and NFT should be claimed gas free again.
Conclusion
In this tutorial, we learned how to build a multi-chain account abstraction wallet using thirdweb. With just a few lines of code, we enabled users to:
- Create a smart contract wallet
- Have the same wallet address across multiple chains
- Claim NFTs on different chains using the smart wallet
The account abstraction support in the thirdweb SDK makes it super easy to implement advanced wallet features in your web3 apps.
Feel free to extend this demo and try adding more cross-chain functionality! The possibilities are endless with account abstraction.
